United States
The White Quilt
This is a great opportunity to try out all those beautiful stitches and techniques on your sewing machine. The finished result will be a fantastic quilt. I think it will look great in black or other color schemes as well! FInshed size: approx.35x35" (90x90cm)
What you need:
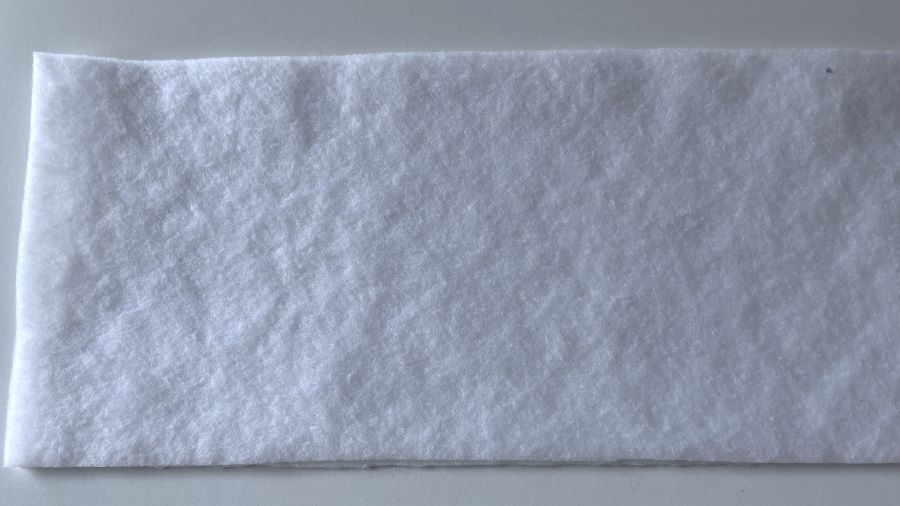
- Three pieces of fusible fleece 40x6"(15x 100cm)
- Three pieces of cut away stabilizer40x6" (15x100cm)
- Small pieces of fabric in white and silver
- Silk or satin fabric 40x40" (100x100cm) for the top layer.
- Batting for the top layer 40x40" (100x100cm)
- Fabric for the lining of the top layer four pieces approx 40x12" (30x100cm)
- Fabric for the back of the quilt 40x40" (100x100cm) plus four pieces 6x6" (15x15cm) for the hanging sleeve corners.
- Fabric for binding three strips 3½" (9cm) wide
- Optional rhinestone pearl string 10 yards (10meters)
- Embroidery thread, sewing thread and other materials needed fo the decorative stitches and techniques.
How to make the decorated panels.
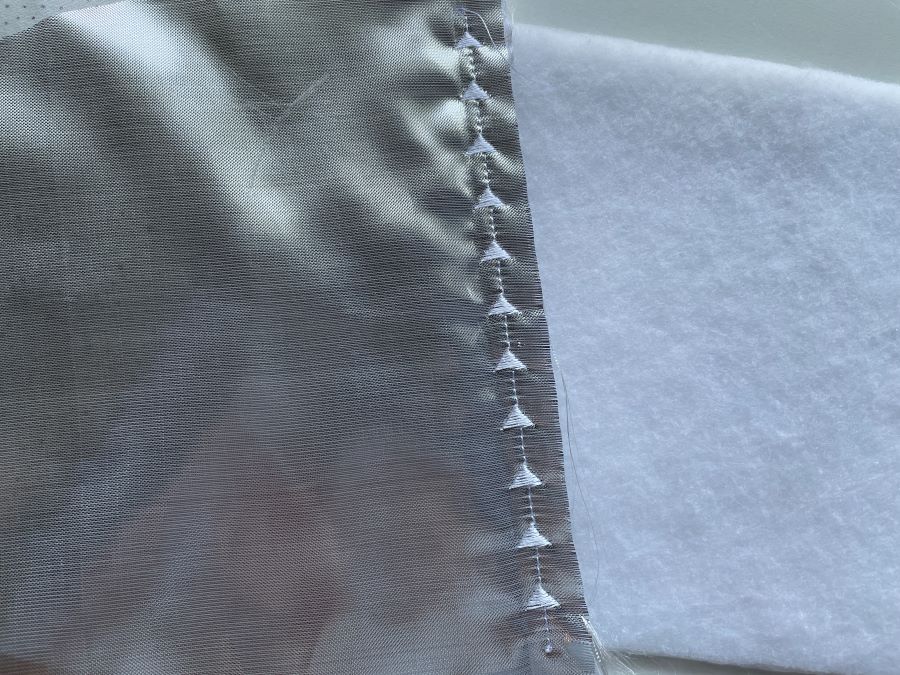
1. Fuse the fleece on the cut-away stabilizer to make the panels.
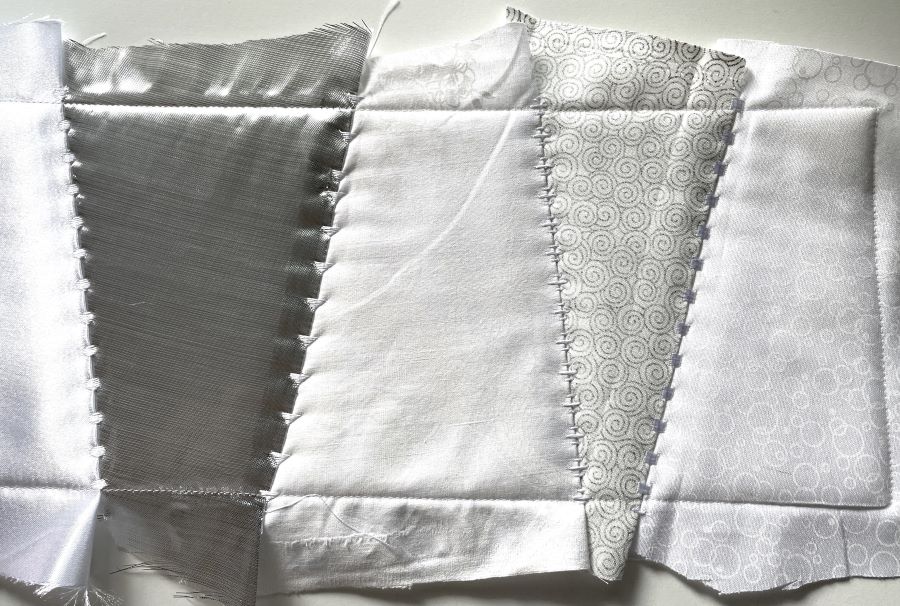
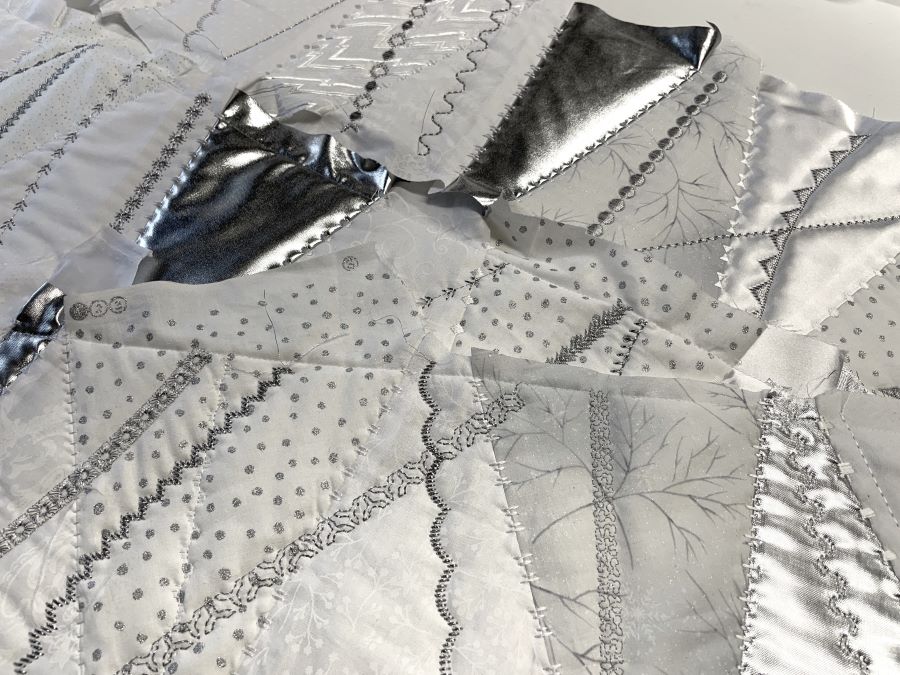
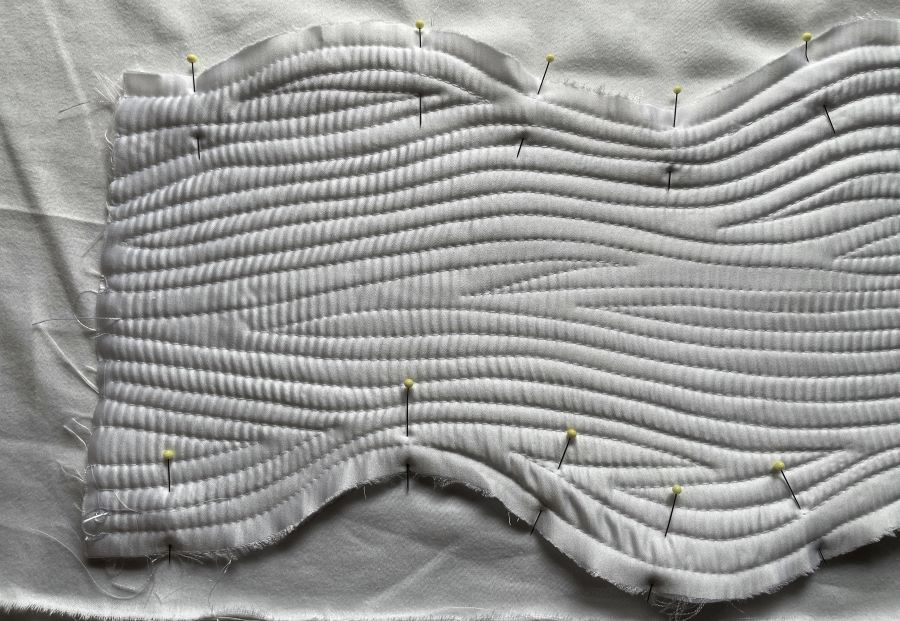
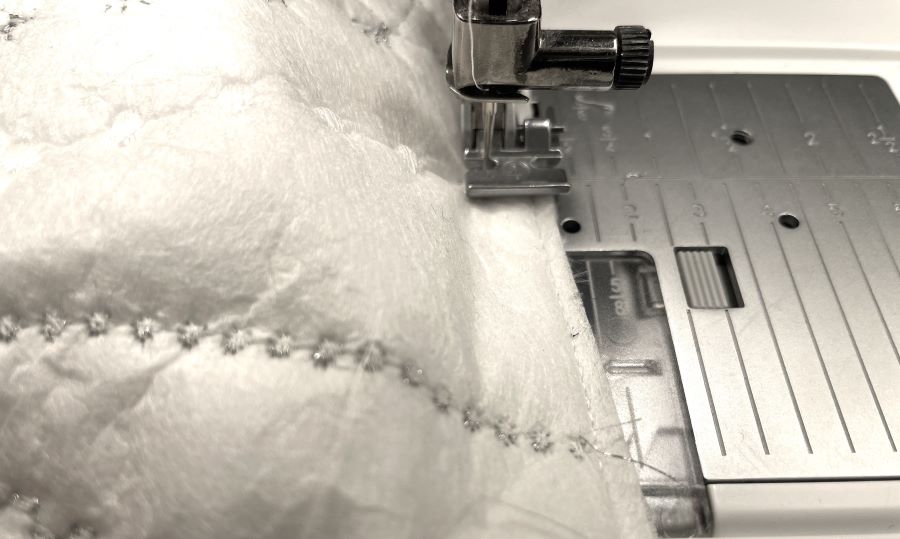
2. Place a fabric piece on top of the fleece, right side up. Put another piece of fabric on top with the raw edges even. Select a floating stitch and sew through all layers. Flip out and pull to reveal the stitching on the right side.
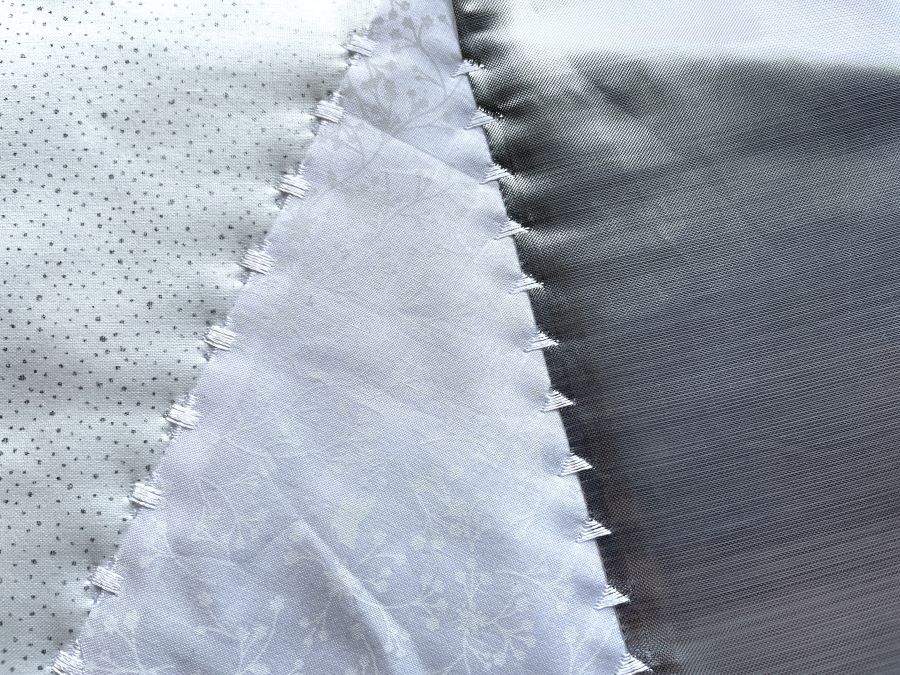
3. Place another piece of fabric on top with raw edges even and sew in place with floating stitches. Flip out and pull as before.
4. Continue adding fabric pieces to cover the whole surface of the panels.
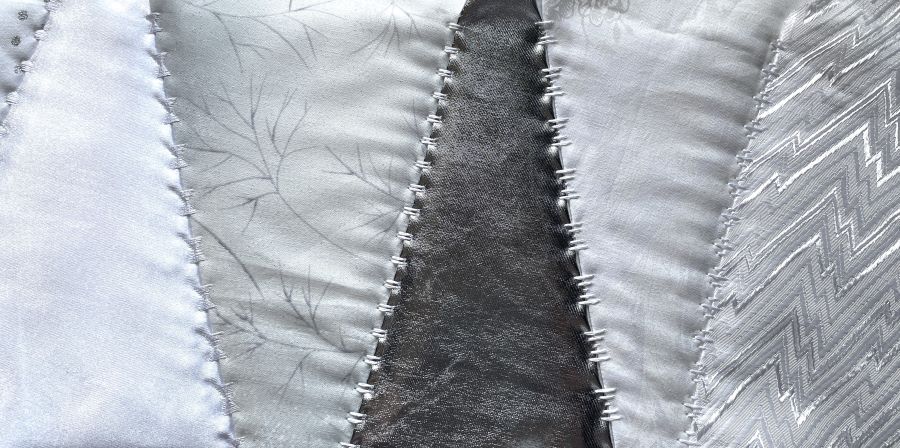
Tip! Work on all three panels at the same time to get more variations on each piece.
5. When finished, turn the panels upside down and make a stitch line close to the edge to secure all layers.
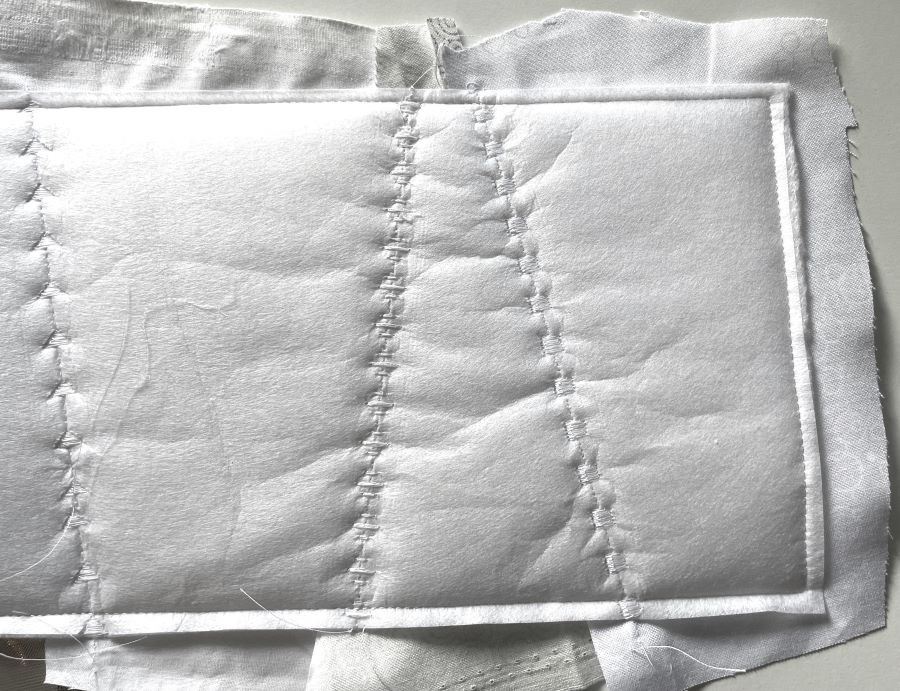
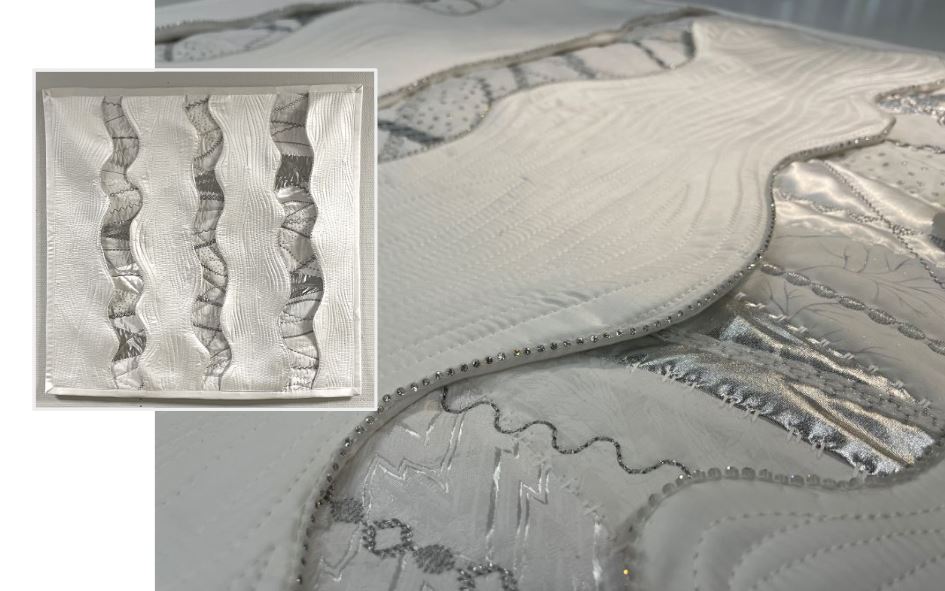
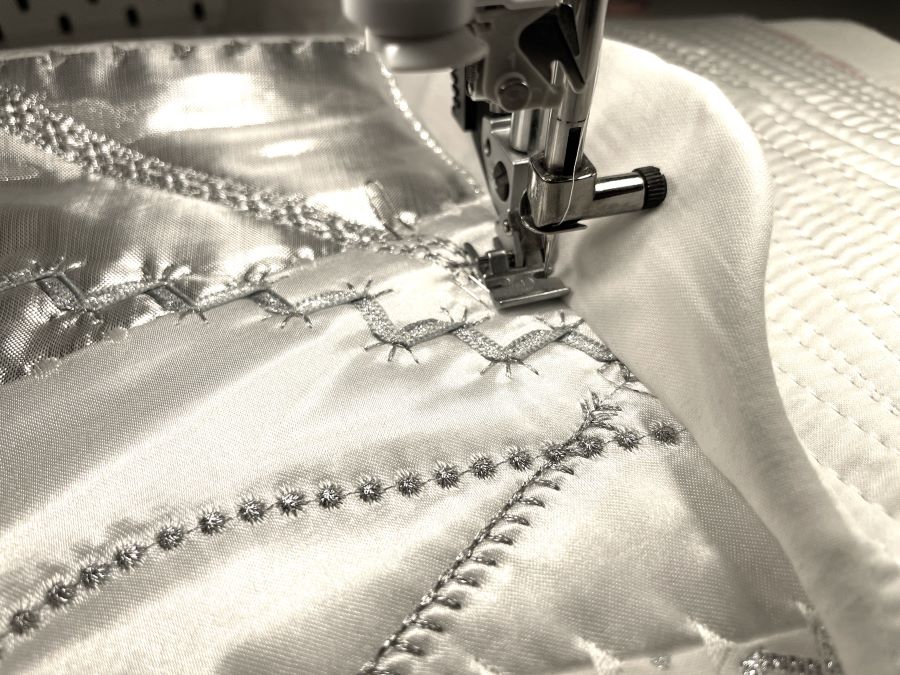
Adding decorative stitches to the panels
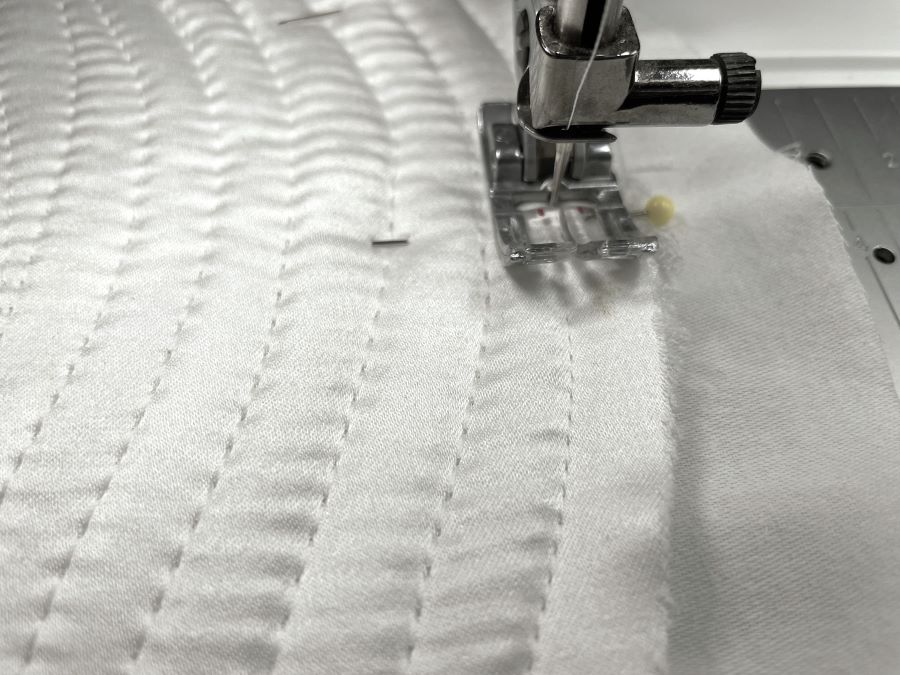
6. Select the stitches and techniques you want to use on your quilt and add them to the different panels. It is easier to work on all panels at the same time. Let the stitching extend beyond the stitched line around the panels to get a neater fish later.
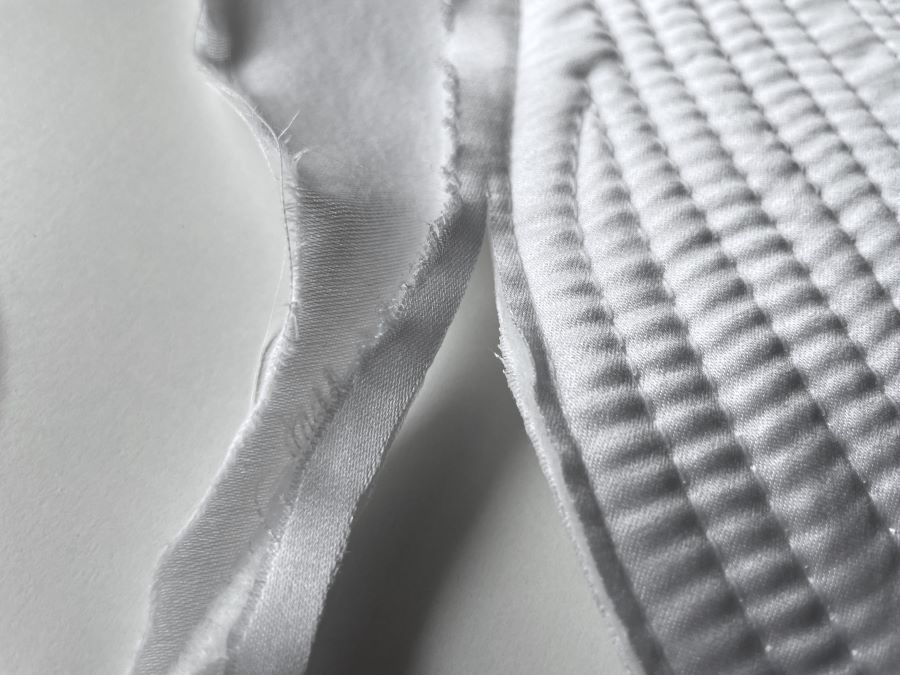
7. When finished, cut close to the edge of the panel using the cut-away stabilizer as a guide.
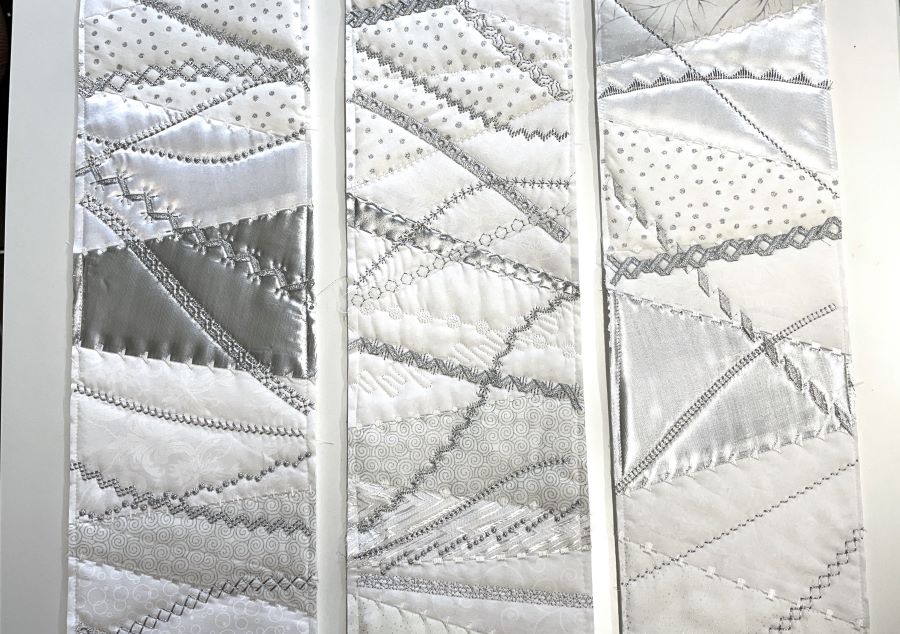
8. Now it will look like this:
Making the top layer
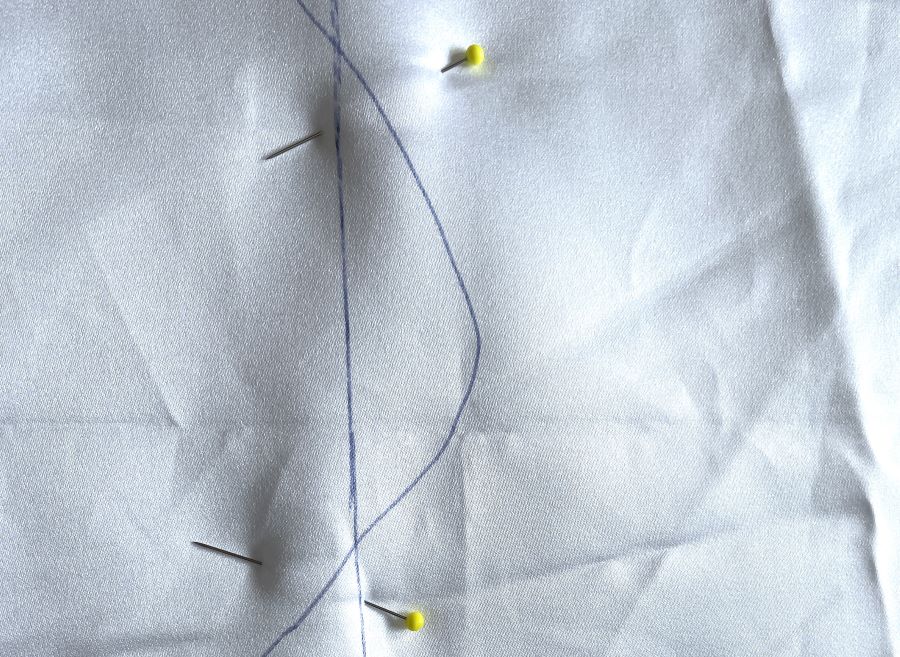
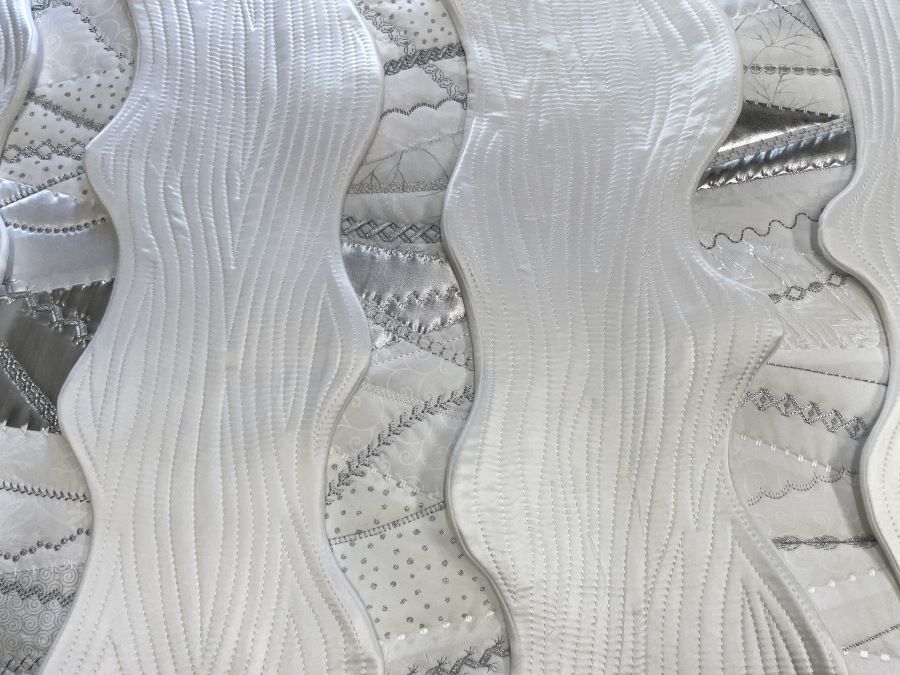
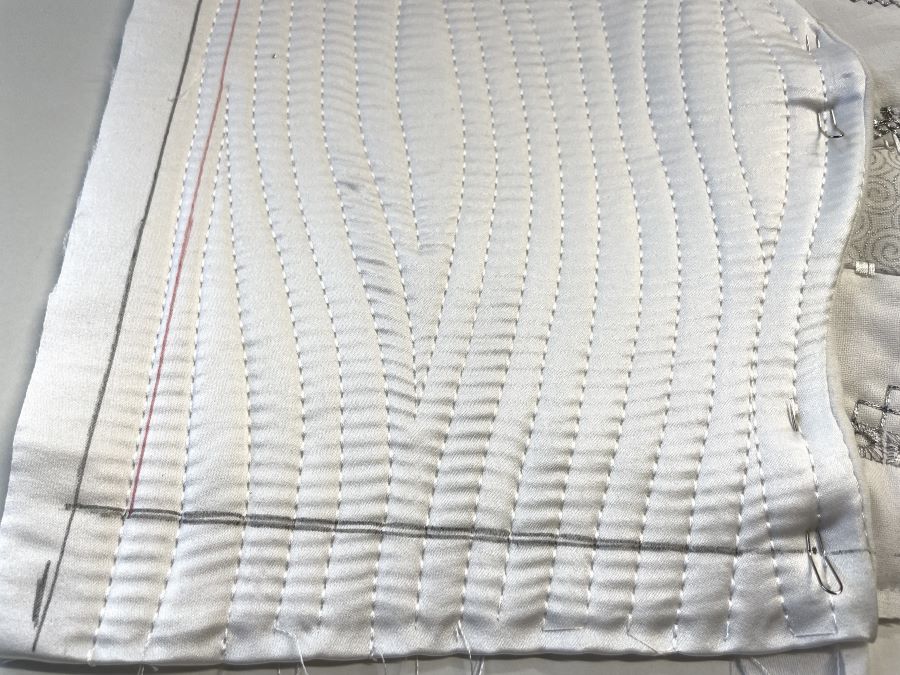
9. Put the batting on the table and place the satin fabric on top. Using a disappearing marker, divide the surface into four parts with three lines.
10. Make a wavy line on top of each of the lines.
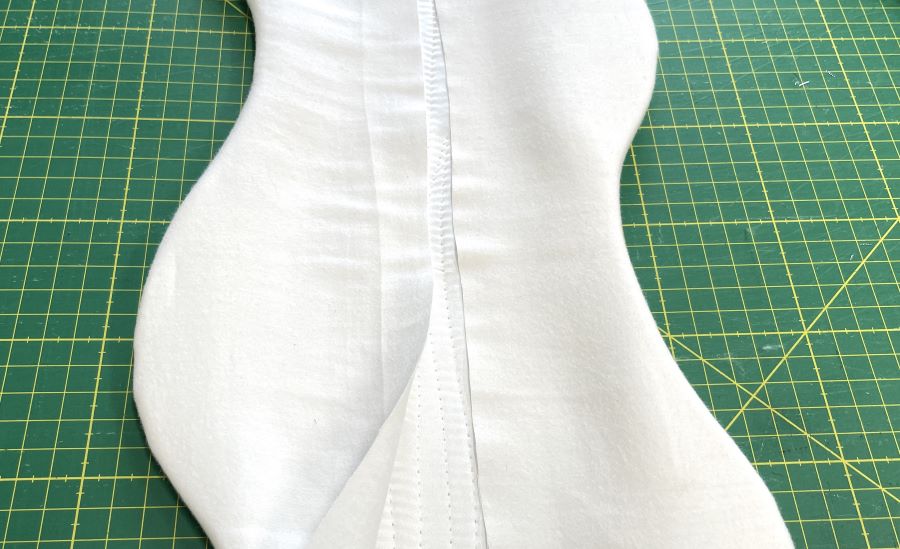
11. Make a straight stitch on the line and two parallel lines, one on each side of the middle one.
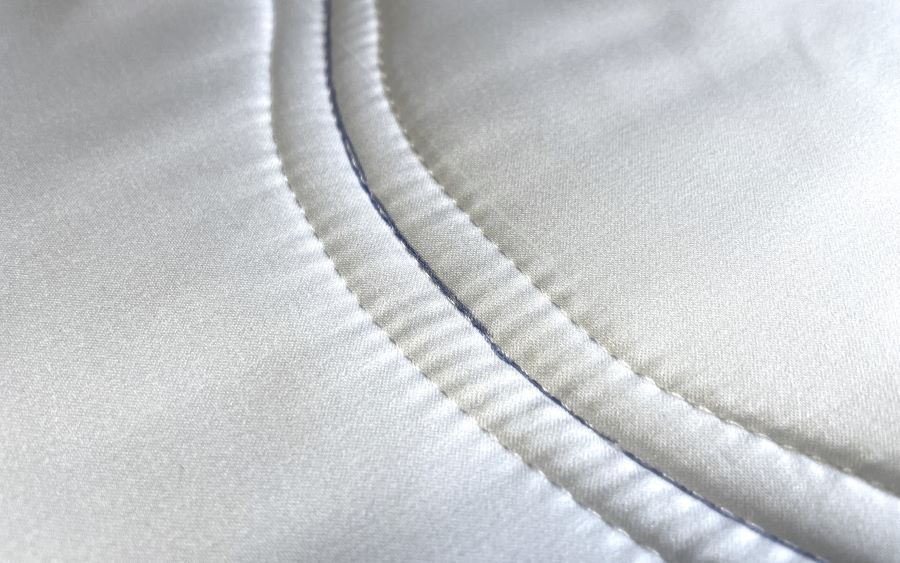
12. Cut on the middle stitched line.
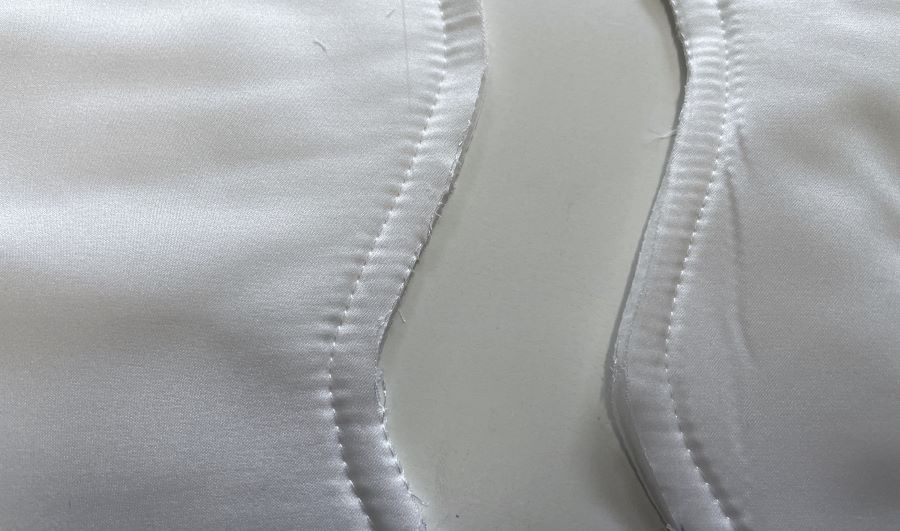
13. Quilt each top layer panel through all layers, I used straight stitch for this and made random, wavy lines, like water ripples or tree bark.

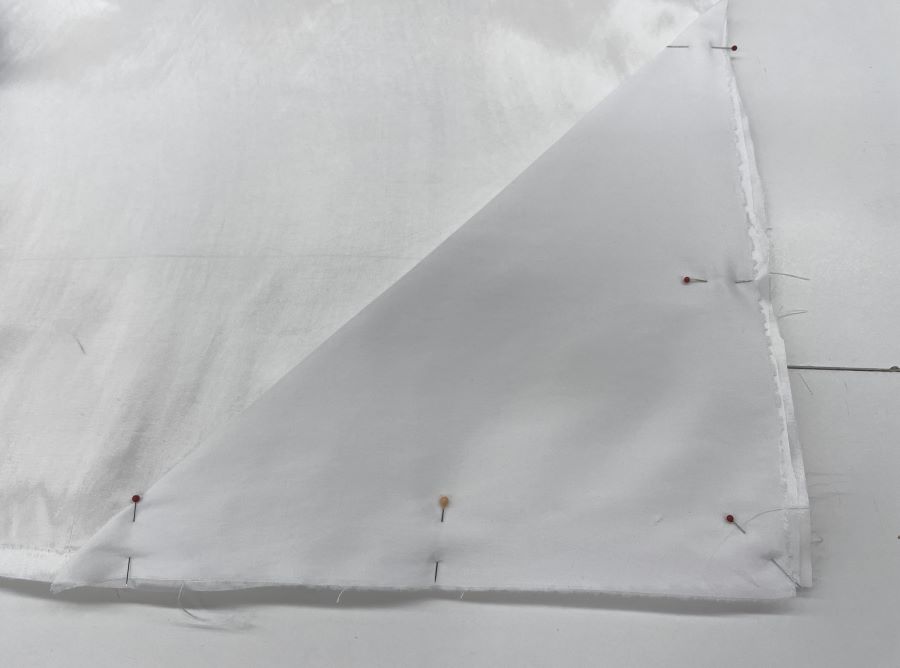
14. When finished quilting place the top layer panels on the lining fabric pieces right sides together. Stitch in the previous stitch line from step 11 on the wavy lines, do not stitch the straight edges of the right and left side panels.
15. Cut close to the stitched seams and turn the right side out.
16. Turn the top panels with the lining side up, mark a line in the middle of the panels and cut.
Final assembly:
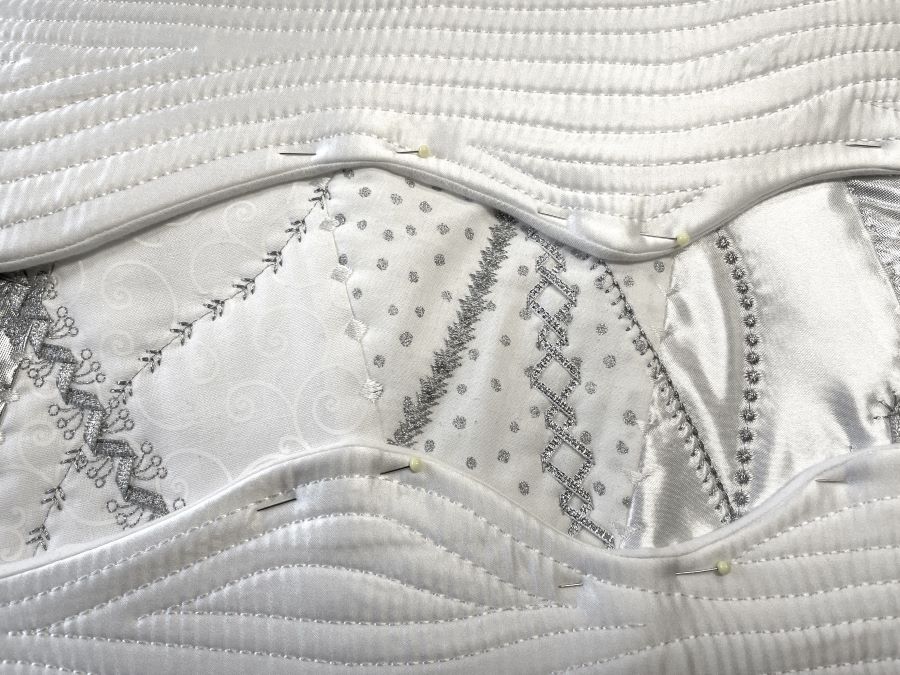
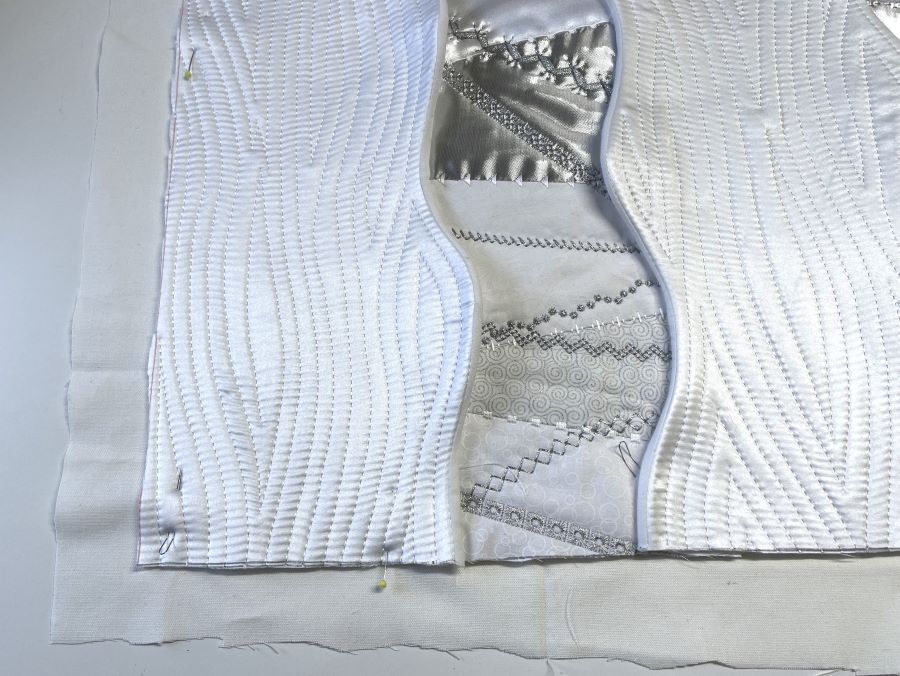
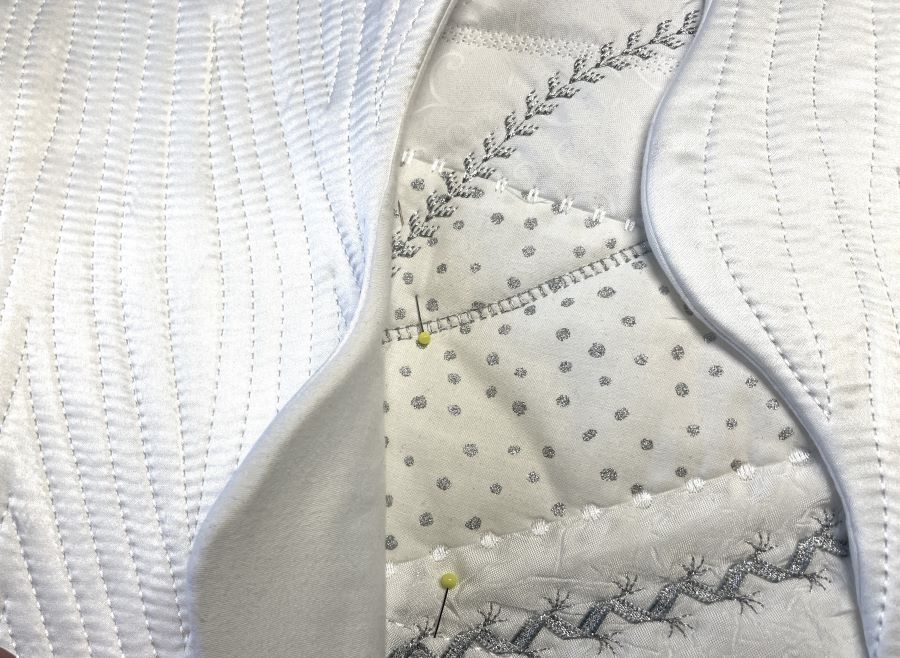
17. Place the panels with decorative stitching on the table, right sides up.
18. Place the top panels on top, right sides up.
19. Arrange the parts as you like them, pin the layers in place on the edges of the top panels.
20. Turn the wrong side up and cut away excess lining fabric.

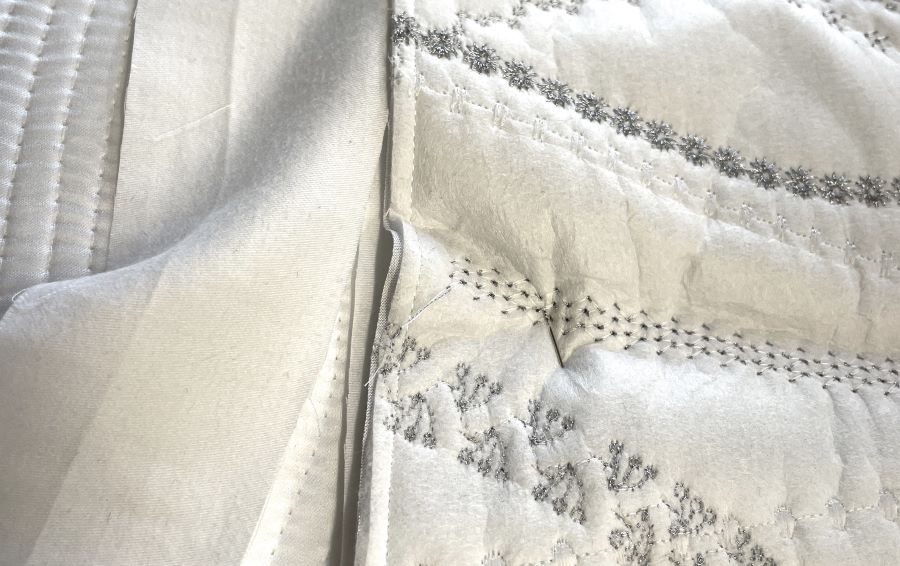
21. Sew the layers together using a ¼” (6mm) seam allowance. Repeat with all panels.
22. Square up the quilt and cut it to size
23. Place the quilt on top of the backing fabric. Make sure the backing extends on all sides. Pin in place and make a stitch line to secure all layers together.
24. To secure the panels, lift the top layer and stitch close to the inner edges.
Hanging sleeve corners:
25. Fold the four squares diagonally and pin them in place in the corners of the quilt, raw edges even. Baste in place.
26. Bind the edges of the quilt see separate instructions for this, finished edge width ¾” (2cm)
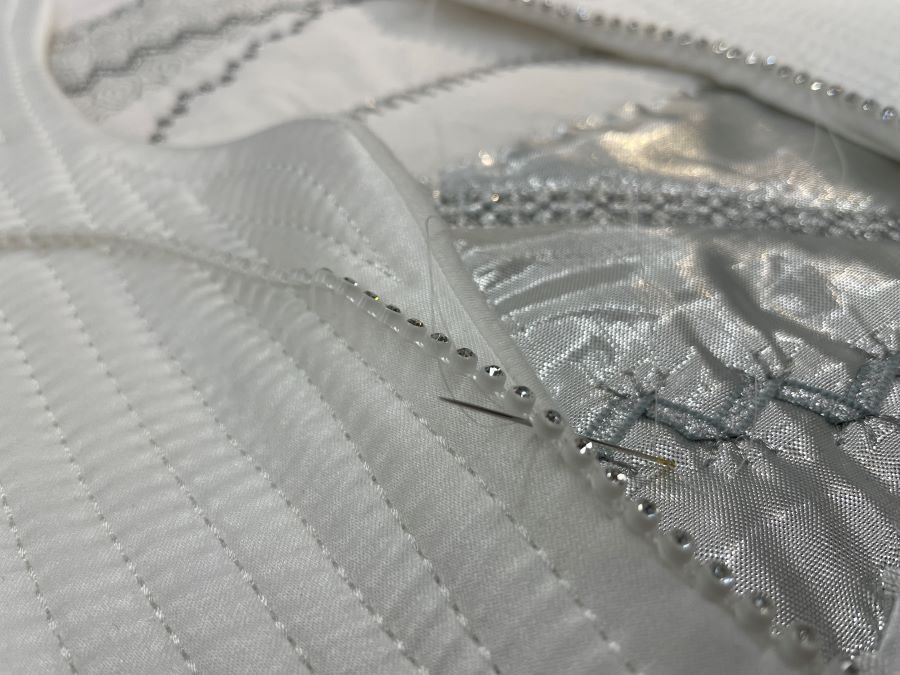
Optional: Add rhinestone string ribbon to the edge of the quilt to decorate it further. You can also add beads and other decorations.