 United States
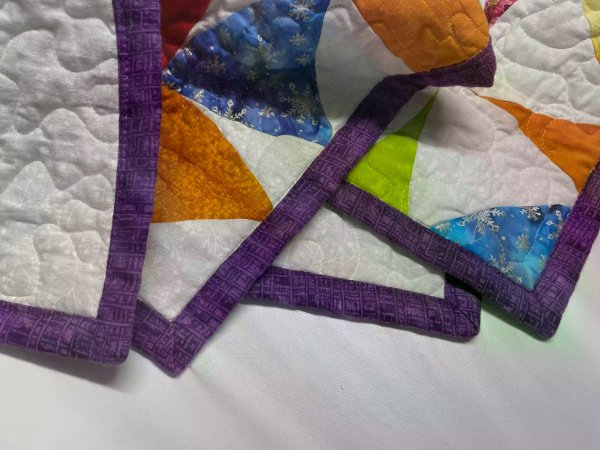
Binding Edges with Mitered Corners - Single layer
What you need:
- Fabric for binding see preparation for the amount needed.
Preparation
In our example we have chosen the finished width to ⅝” (1,5cm) but you can easily change to whatever width you want following the instructions below:
To determine how wide to cut the strips:
Example:
Finished width four times= 5/8" (1,5cm) x4 = 2½" (6cm)
Add 1/4" (0,5cm) to compensate for batting and fabric thickness = 2 3/4" (6,5cm)
To determine the required number of strips:
Example:
Quilt length x2 and width x2 = 138" (350cm) Add at least 6-8" (15-20cm) for joining strips. =146" (350+20cm)
Fabric width: 55" (140cm)
Calculation:
Inches: 146/55=2,65 (round up to three strips)
Centimeters 370/140= 2,64(round up to three strips)
Making the binding:
1. Cut the required strips 2 ¾” (6,5cm) wide.
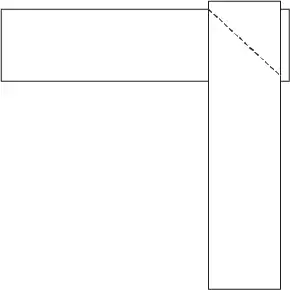
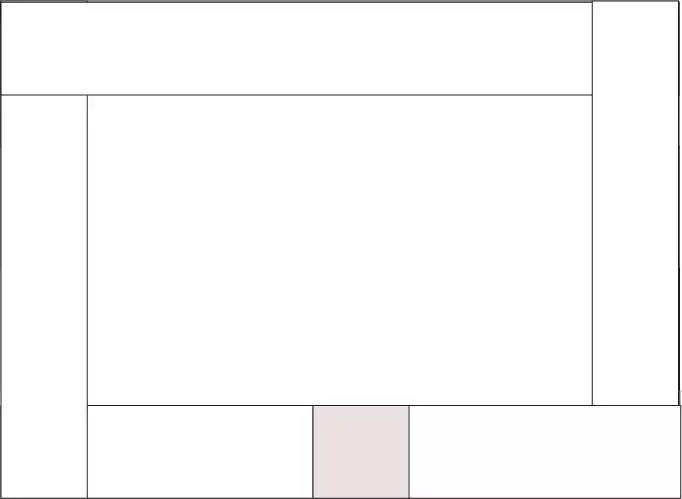
2. Put the strips right sides together and Join them together with a diagonal seam, see pictures. Do the same with all the strips to get one long binding strip

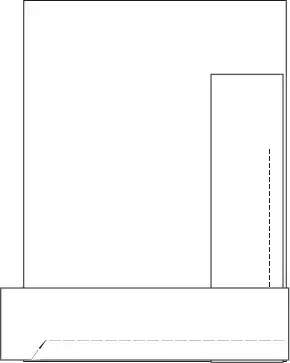
3. On the back of the quilt, start in the middle on one side, leaving a 6” (15cm)tail for joining later.
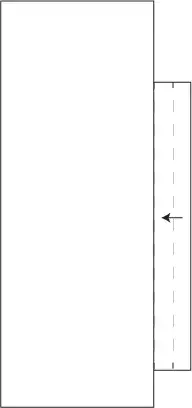
4. Sew with ⅝” (1,5cm) seam allowance, stop ⅝” (1,5cm) from the corner.
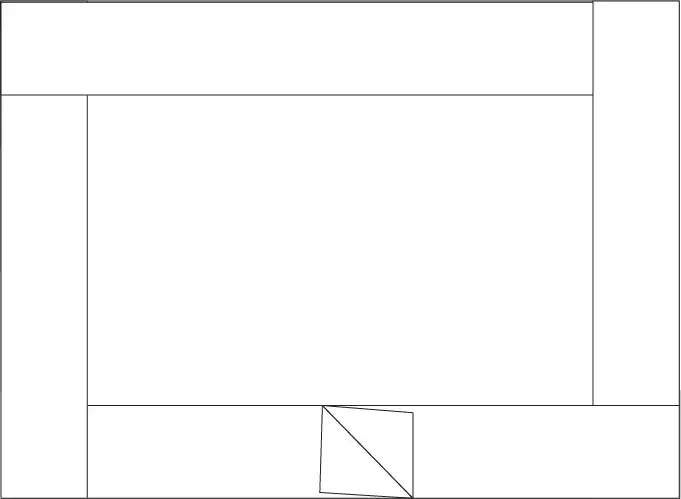
5. Sew diagonally at 45 degrees angle out into the corner. Cut thread.
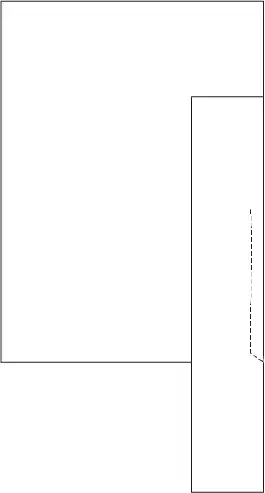
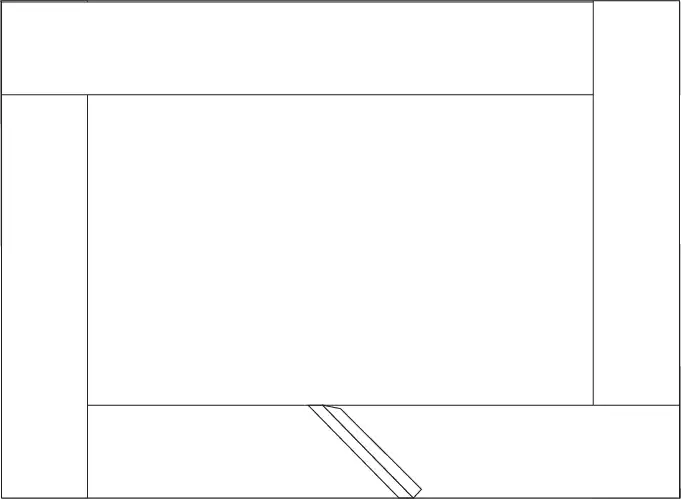
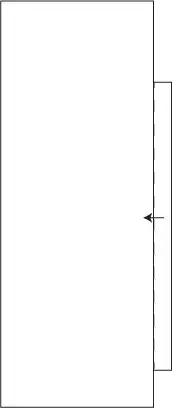
6. Fold the strip up and then down along the next side, see pictures for clarity.
7. Start sewing from the edge and stop ⅝” (1,5cm) from the next corner. Repeat on the next two sides.
8. To join the edges stop about 6-8” (15-20cm) from the starting point. Lay the strips on top of each other and cut the top strip 2 ¾“ (6,5cm) from the overlap.
9. Join the edges diagonally and finish the seam.
10. Turn the right side of the quilt up. Turn the raw edges to the quilt side, then turn again and pin in place, be careful to cover the previous seam..
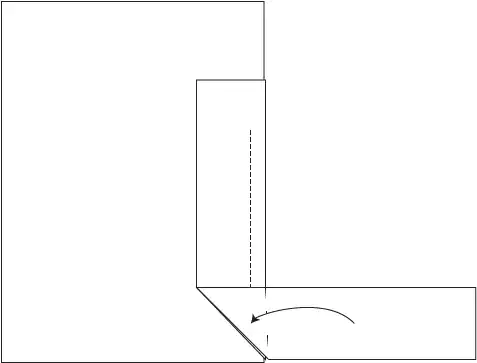
11. In the corner, fold the edge up and to the end and from the next side, fold the corner in forming a mitered corner.
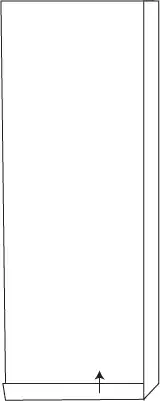
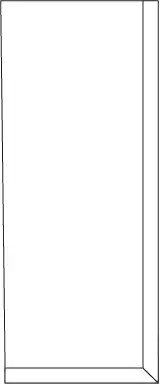
12. Stitch the binding close to the edge
© mySewnet Studio