 United States
Mosaic Jeans Jacket
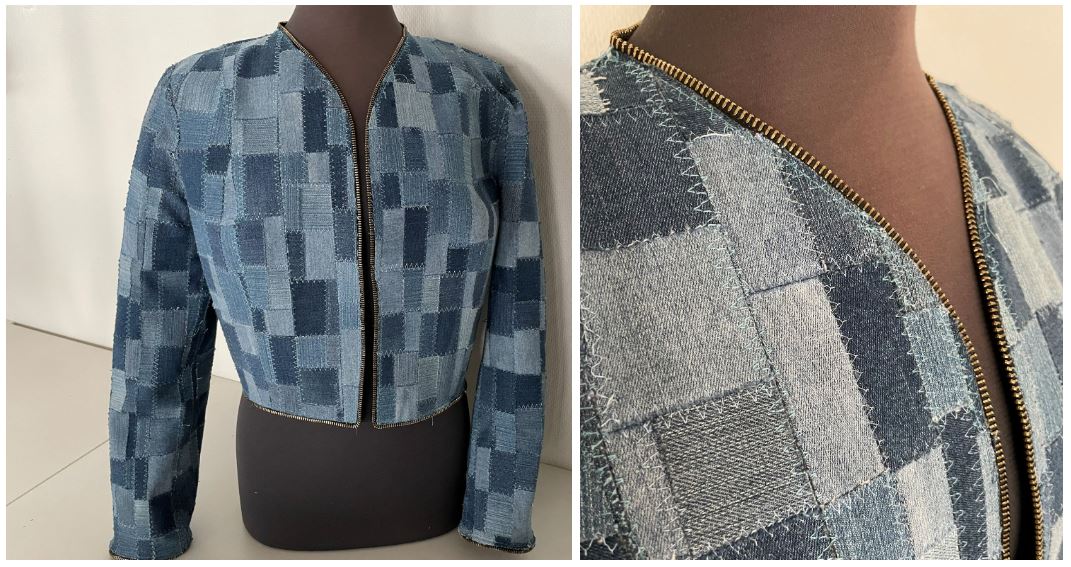
Make new fabric from all of those small remnants from earlier projects. In this example we will recycle old jeans into a new life as a jacket!
What you need:
- Discarded jeans, no problem if there are holes and stains, we will cut it into small pieces, avoiding those parts. You will need about 4 pairs depending on size.
- Fusible web adhesive
- Backing fabric, this will not be visible in the finished project e.g old cotton sheets
- Woven interfacing
- Fabric for lining ( thin jeans fabric or similar)
Preparing the project
1. In this project we will make a jacket.First choose a pattern with as few pattern pieces, darts and seams as possible.
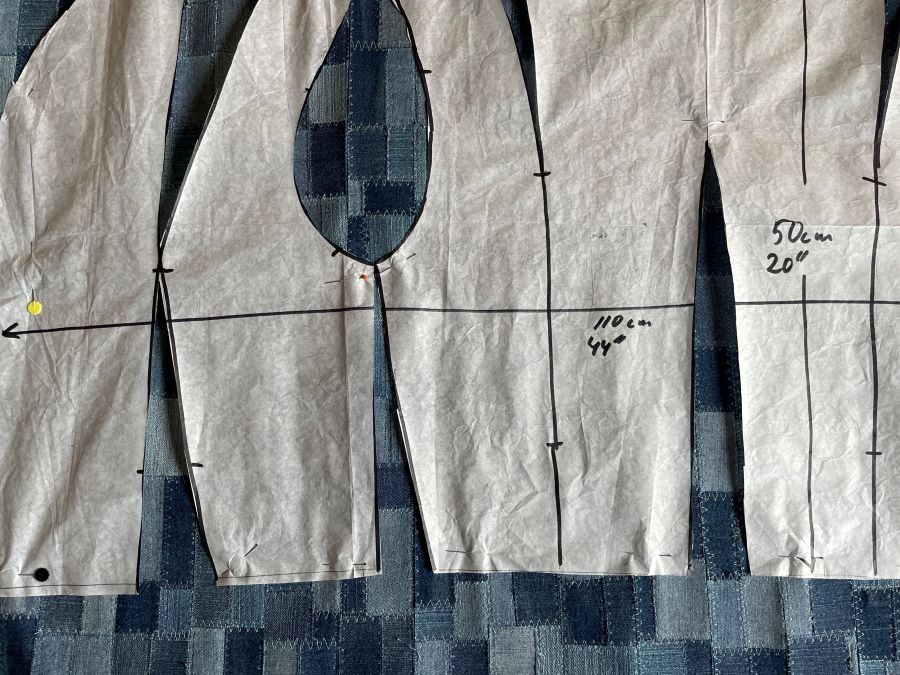
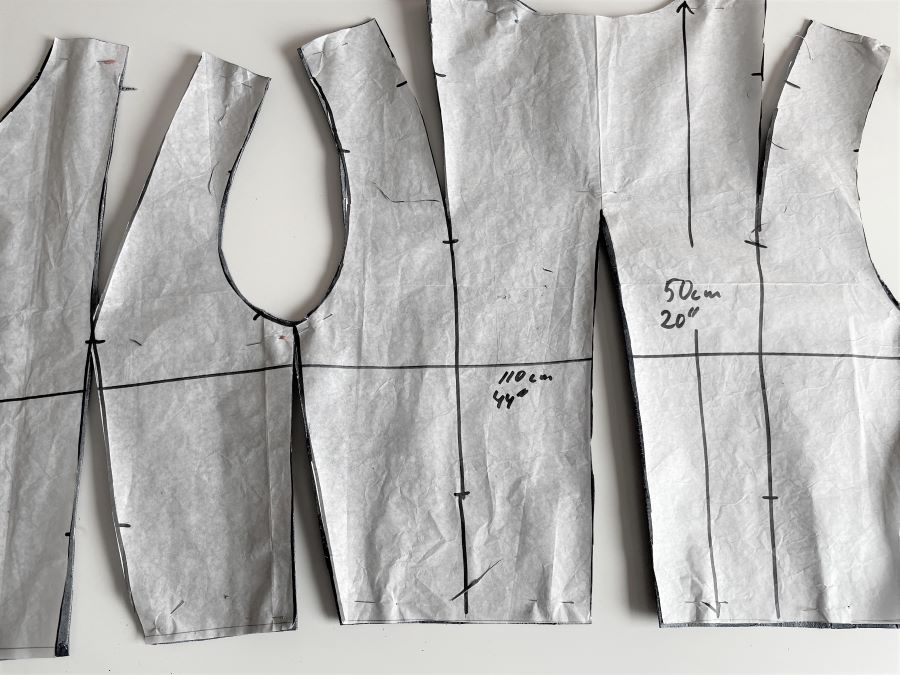
2. Make a mockup if needed to make alterations. Trace the pattern on pattern paper and cut out the pieces. If possible, try to tape them together to a bigger piece, for example at the side seams.
3. Measure the size of the different pattern pieces to determine the size of mosaic fabric pieces you'll need to make.
4. Cut out the backing fabric into rectangles that match the pattern pieces with some extra fabric around it.
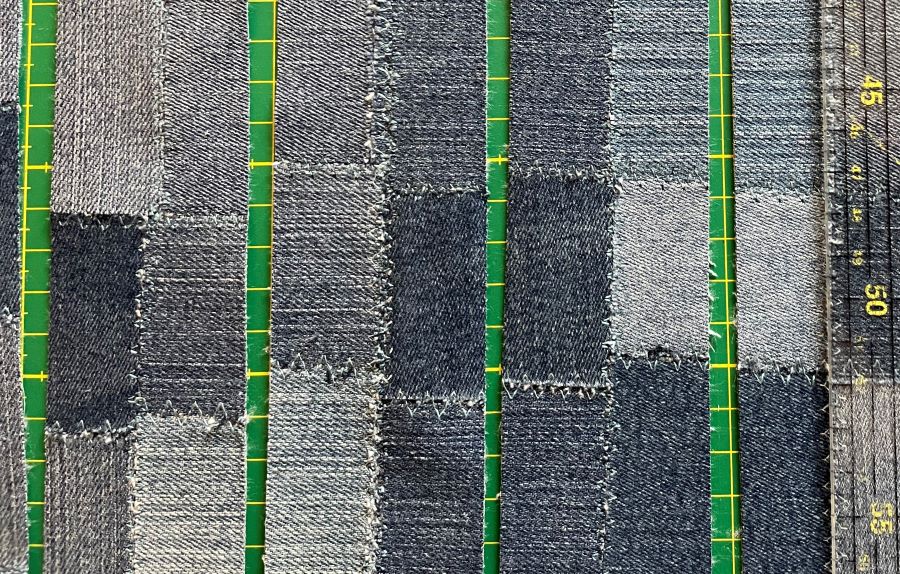
5. Cut the fusible web adhesive in 10x10cm (4”x4”) pieces. Iron it onto jeans fabric and cut them out. Color variation is not a problem, it is a great way to add interest to the finished project!
6. Remove the paper backing from the fusible web and arrange the squares onto the backing fabric and fuse. Try to get the raw edges together, leaving no gap between them.
Making the fabric
Now the fun begins, follow the instructions and it will be easy! If you want more instructions on this technique you can find it HERE:
7. Set up your sewing machine with a three step zig-zag. Make it wide to cover the raw edges better. The thread will be a part of the decorative expression. You can choose a thread that coordinates with the fabric or you can use a contrasting color, either will be fine. A metal thread can give your finished project an extra elegant style!
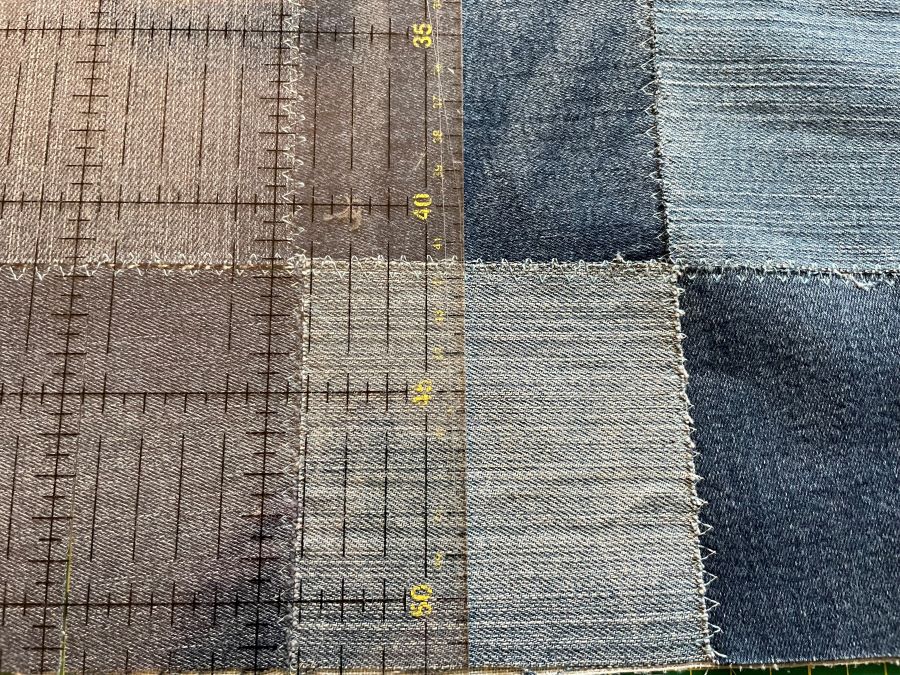
8. Zig-zag over the raw edges row by row horizontally and vertically.

9. Now it is time for the first cut: lay out the fabric piece in front of you. Cut in the middle of each vertical row. It doesn't have to be exactly in the middle, if it gets a little offcentered that is fine, it adds more interest to the finished project!
10. Now turn every second strip 180 degrees to get the fabric squares mixed up.
11. Zig-zag the fabric rows together again.
12. Now it is time for the second cut. Turn the fabric piece 90 degrees. Cut in the middle of each vertical row.again. It doesn't have to be exactly in the middle.
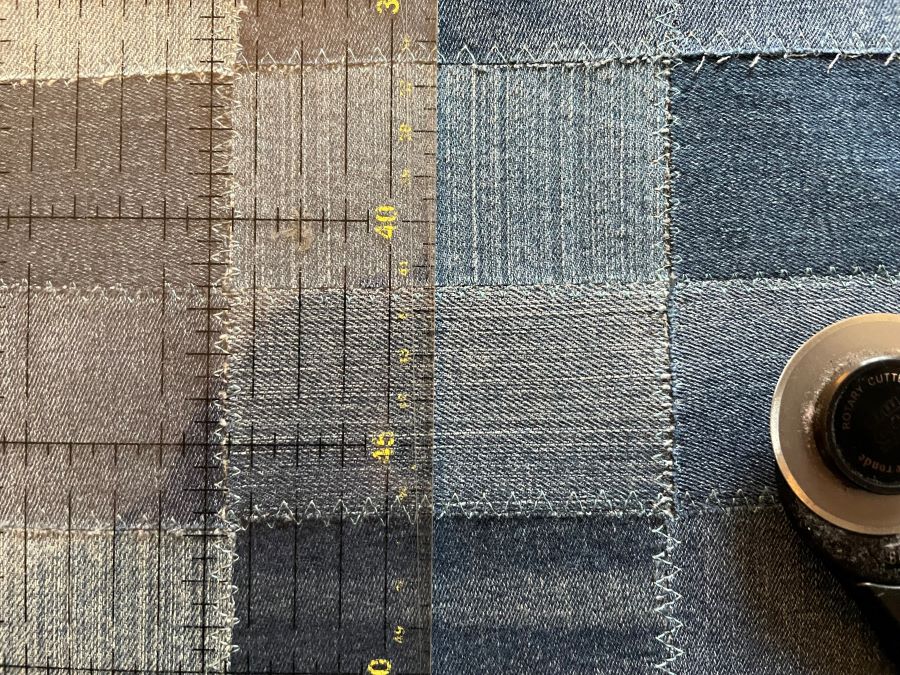
13. Turn every second strip 180 degrees.
14. Zig-zag the fabric rows together again.
15. Measure the fabric piece and cut out woven interfacing in the same size.
16. Now it is time for the third cut. Turn the fabric 90 degrees Cut in the middle of each vertical row. Remember you don't have to be exact when you cut.
17. Turn every second strip 180 degrees.
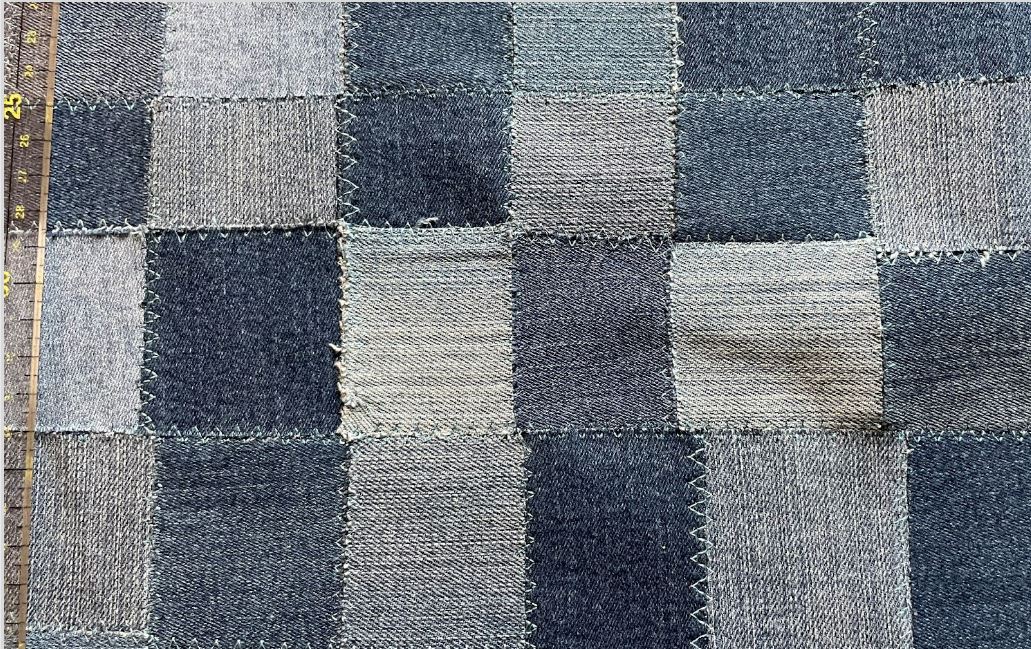
18. Now turn the fabric strips with the wrong side up and put the thin woven interfacing on top with the glue side down. Fuse the interfacing on top of the strips to hold them together. . This will make the finished fabric less fragile. Turn the fabric over and press well to be certain that the layers are fused together properly.
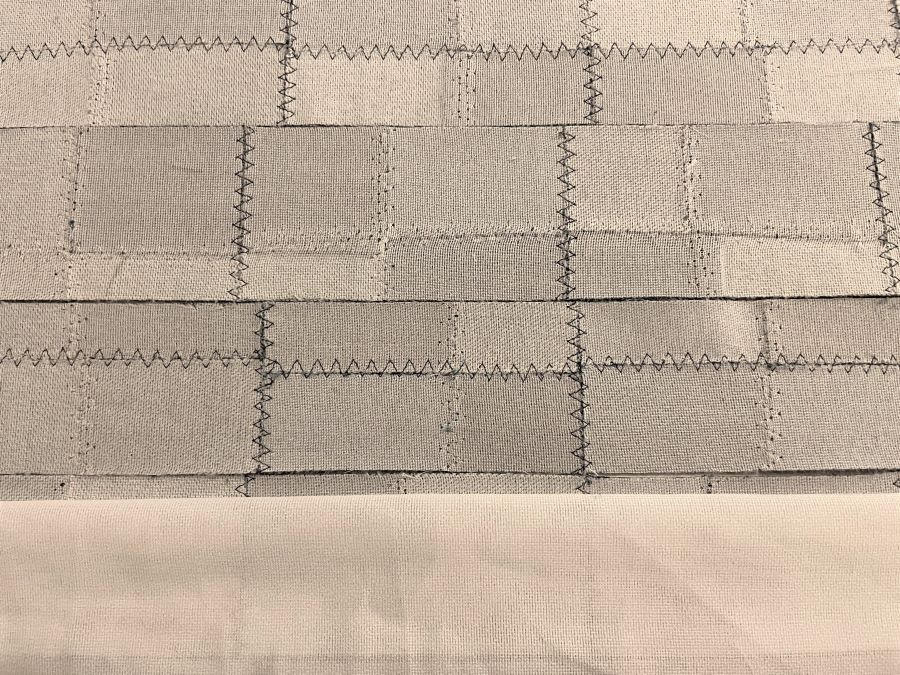
19. Zig-zag the fabric rows together. Now you have a finished piece of fabric to cut out the pattern pieces from. If you want to you can embellish the surface with more seams e.g with metallic thread.
Cutting and sewing the jacket
20. Cut out the pattern pieces without seam allowance, except in the armhole, sleeve cap and underarm seams where you add ⅜” (1cm) seam allowance.
21. Tear strips of the woven fusible interfacing about 1,5cm (½”).
22. Start by making the darts and inseams, bring the raw edges close together, put an interfacing strip under, glue side up and zig-zag together with a three-step-zigzag.
23. Make the shoulder seams. And the longer of the two seams on the arm in the same way as instructed above.
24. Sew the underarm seams with ⅜” (1cm) seam allowance).
25. Pin and sew the arm into the armhole on the jacket.
Zipper edge decor
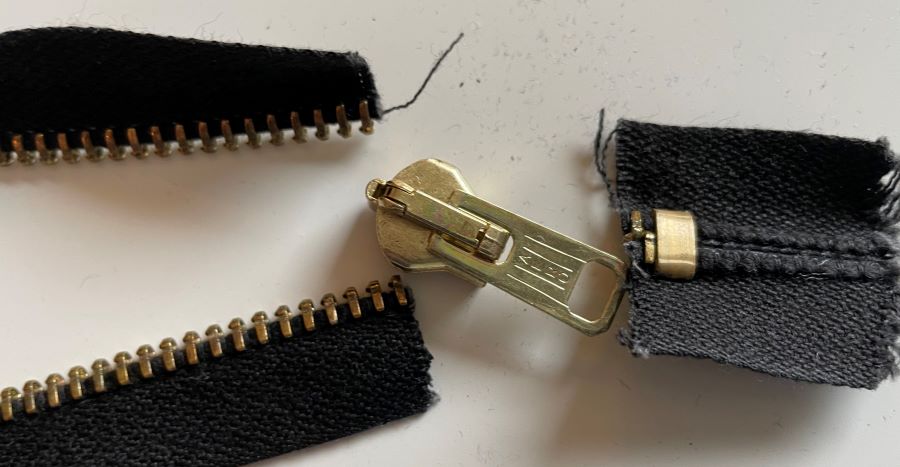
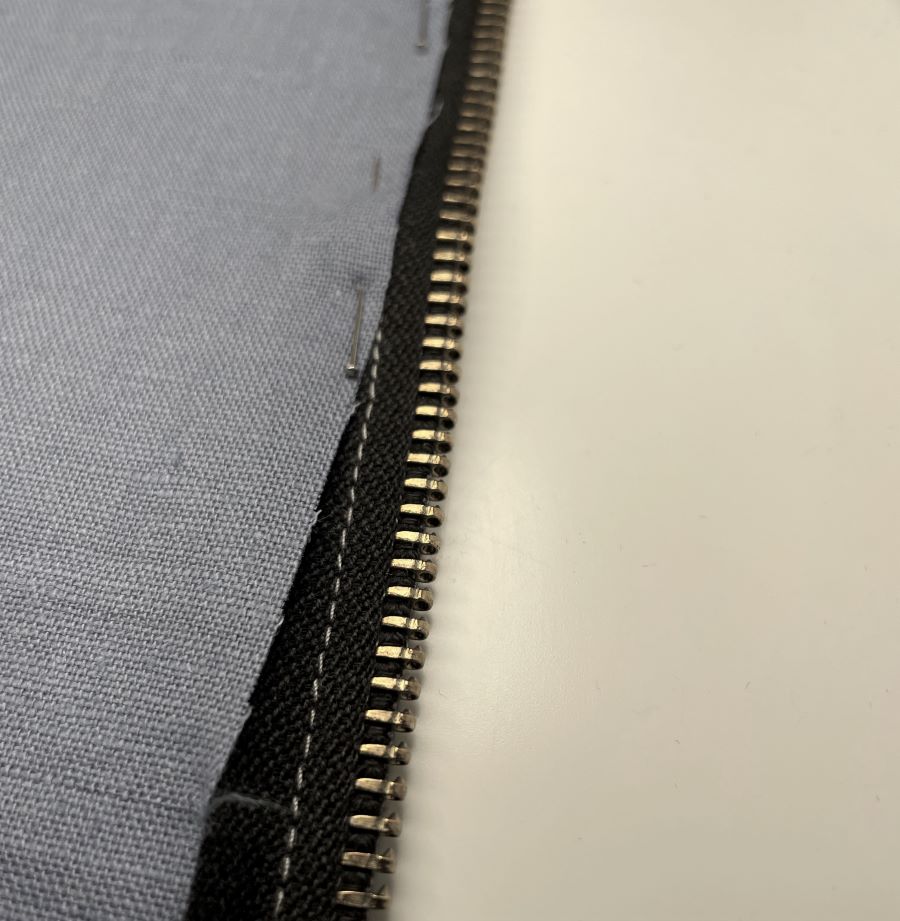
26. Measure the length around outer edges of the jacket and the arms to determine how much zipper ”teeth” you need. You can use zipper from old jeans, but there will be a lot of short pieces so I prefer longer ones. Cut the zipper apart and remove the zipper pull.
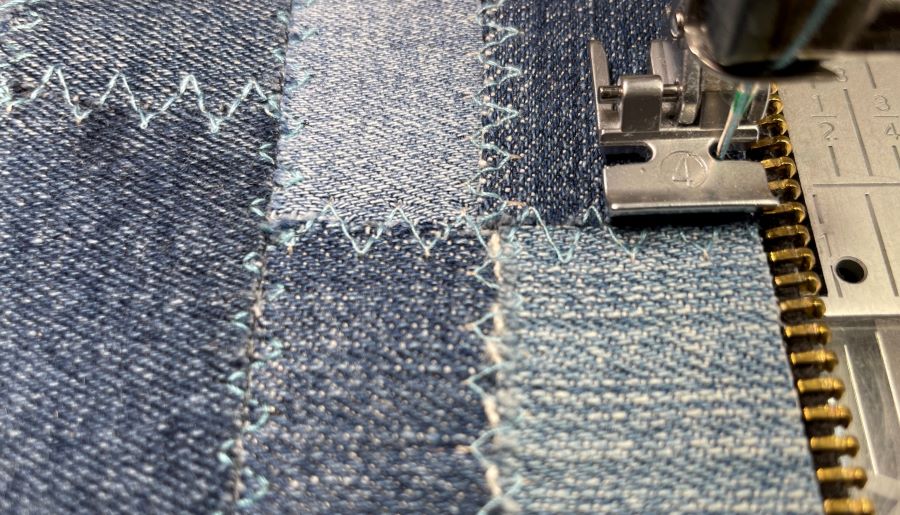
27. Cut the zippers apart and start sewing them along the edges of the jacket. Use a straight stitch and the zipper foot for this.
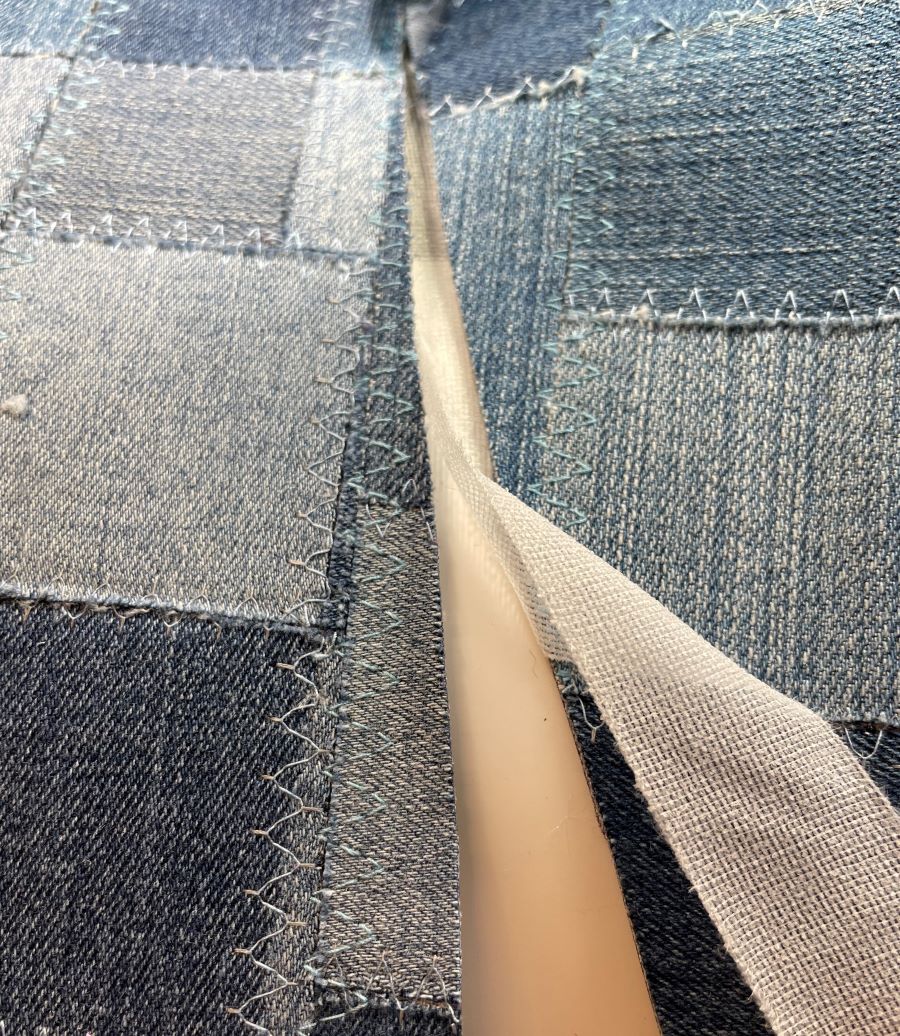
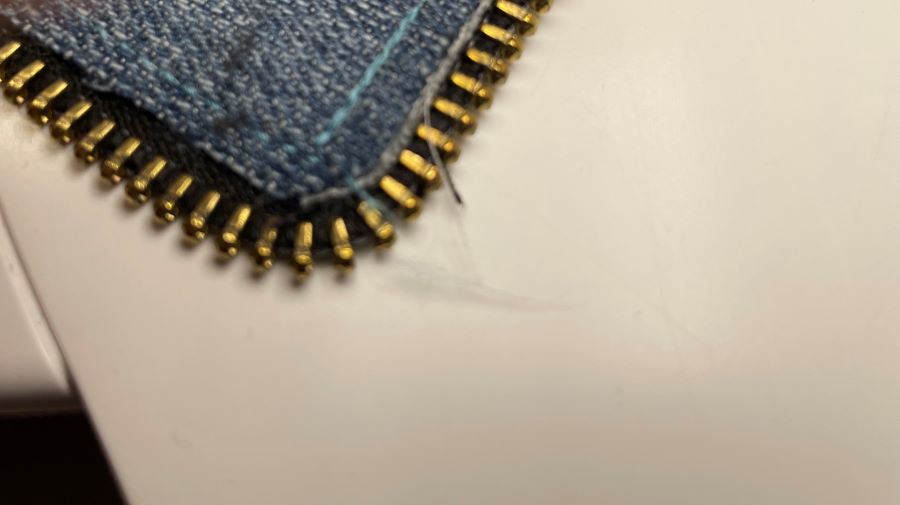
28. Cut in the corners to make it easier to fold the zipper around the edge.
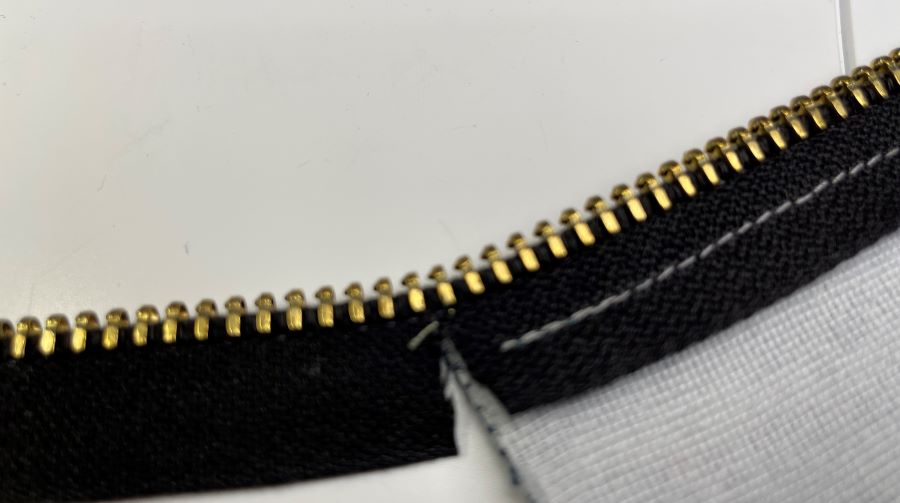
29. When you need to join the zippers, cut between the teeth and put the pieces firmly together.
Lining and finishing
30. Cut out the lining pieces with seam allowance except at the outer edges of the jacket.
31, Sew the lining together and put it into the jacket, wrong sidesfacing each other.
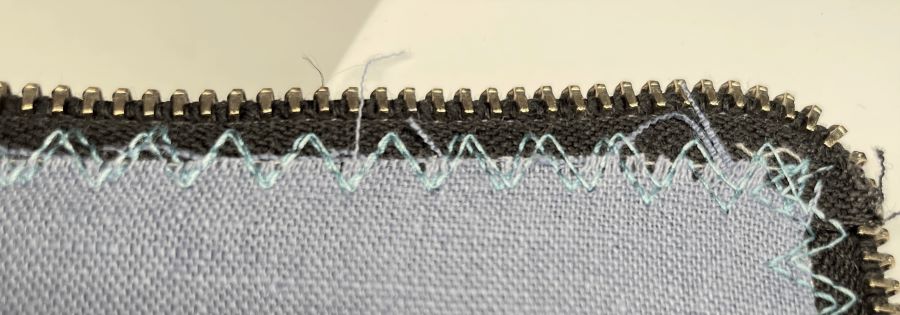
Pin in place at the outer edges aligning the raw edges with the straight stitch you made attaching the zipper earlier.
32. From the lining side of the jacket: Secure the lining with a three-step-zigzag all around, catching the edge of the lining.
33. From the outside of the jacket: Make another row of three step zig-zag on the jacket front close to the edge
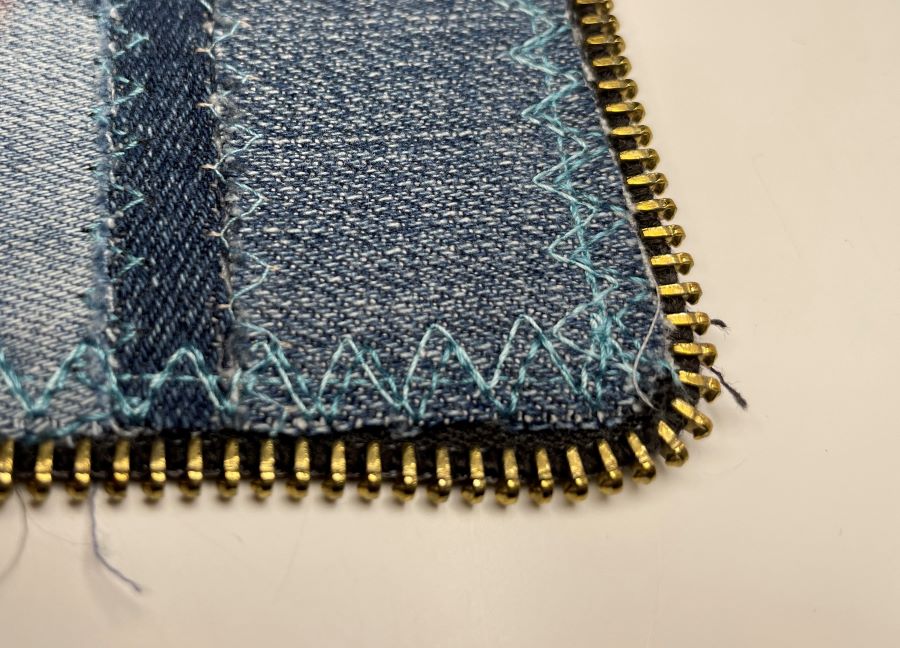
34. Press.
Now your mosaic jeans jacket is finished! Tip: Make a matching dress....