United States
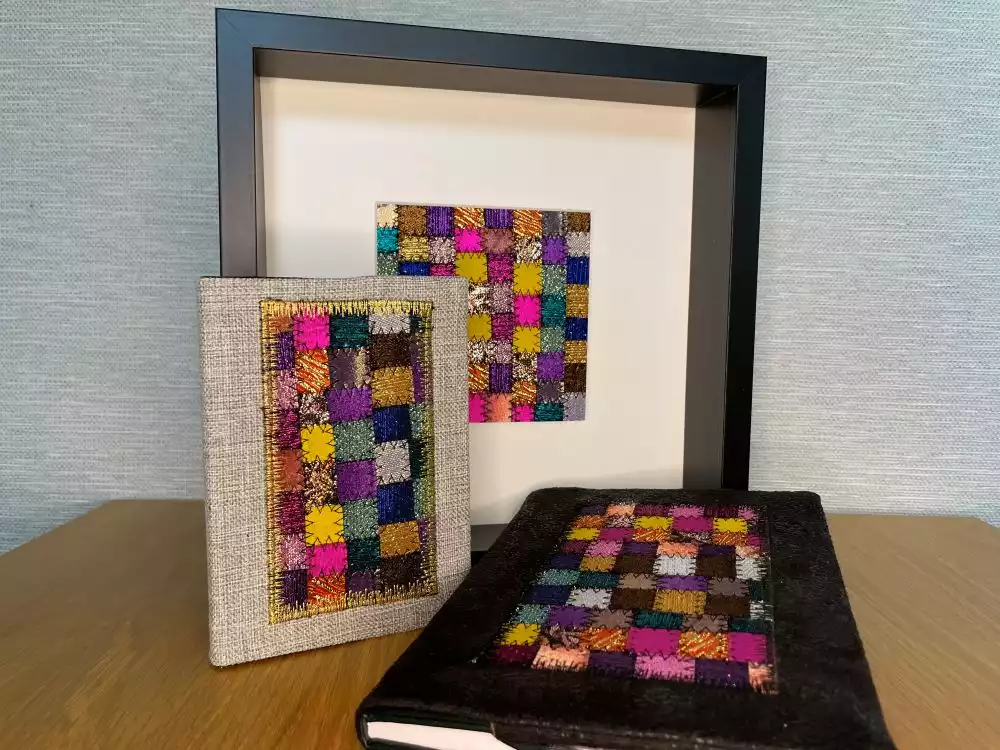
Fabric Mosaic
Make new fabric from all of those small remnants from earlier projects. You can use all types of fabric, the more variation, the better result!
Finished size approx 30x30cm (12”x12”)
What you need:
- Small pieces of fabric at least 3"x3" (7,5x7,5cm)
- Iron on fusible web, 12”x12” (30x30 cm)
- Backing fabric (this will not be visible in the finished project) 13"x13”(32x32cm)
Prepare the pieces
1. Start by cutting the fusible web into 16 squares, 3" (7,5 cm)
2. Iron them onto the fabric pieces on the wrong side of fabric and cut them out
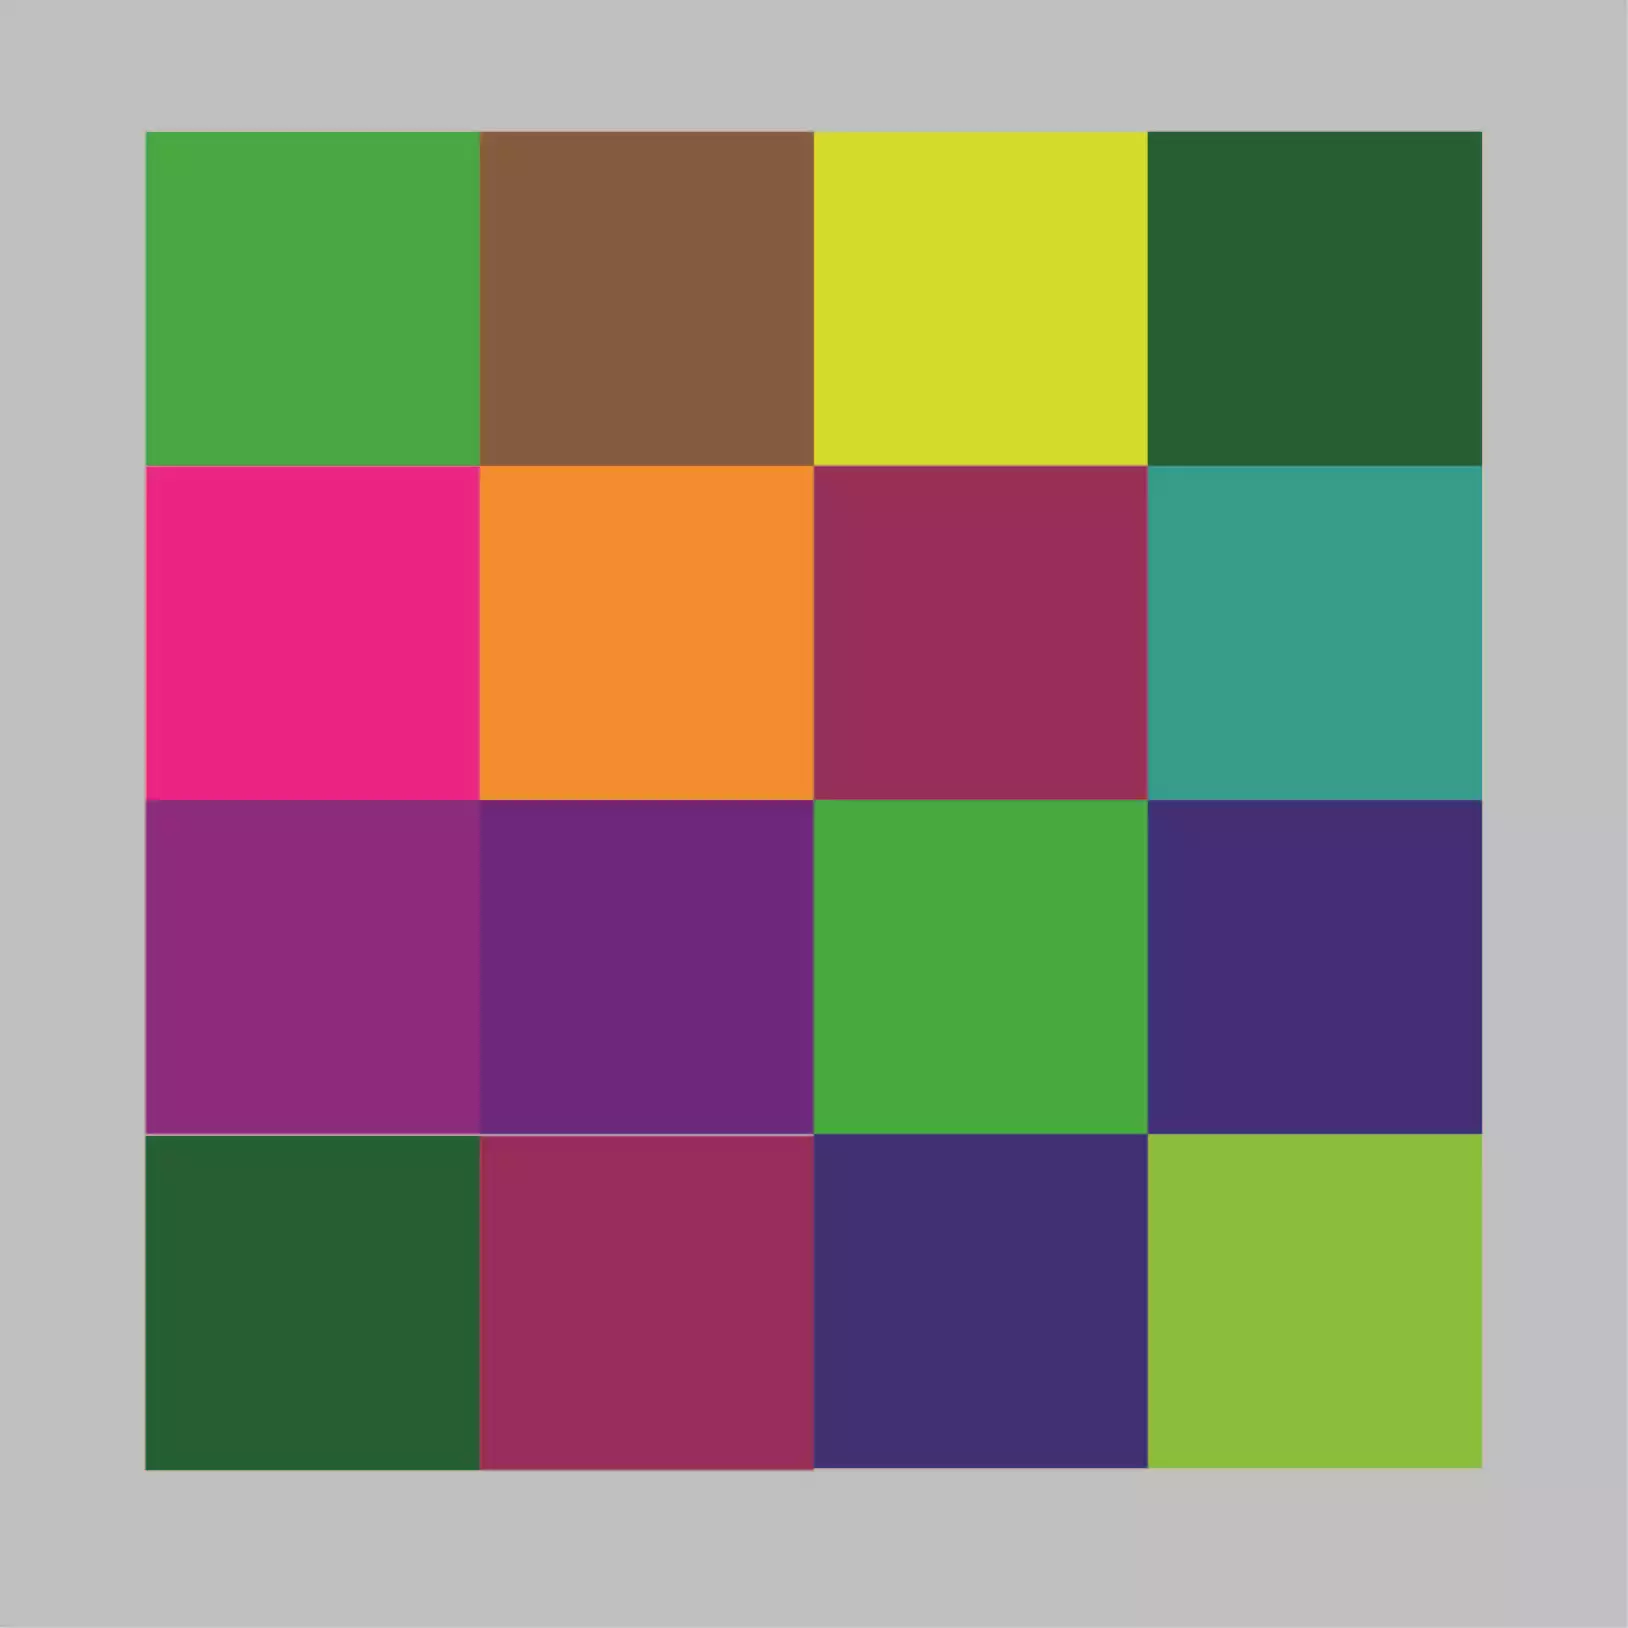
3. Arrange the squares on the background fabric , four rows with four squares. When you are pleased with the arrangement remove the paper backing and fuse them onto the fabric backing. Try to get them as close together as possible.
Sewing and cutting
Now the fun begins, follow the instructions and it will be easy!
4. Set up your sewing machine with a three step zig-zag. Make it wide to cover the raw edges better. The thread will be a part of the decorative expression. You can choose a thread that coordinates with the fabric or you can use a contrasting color, either will be fine. A metal thread can give your finished project an extra elegant style!
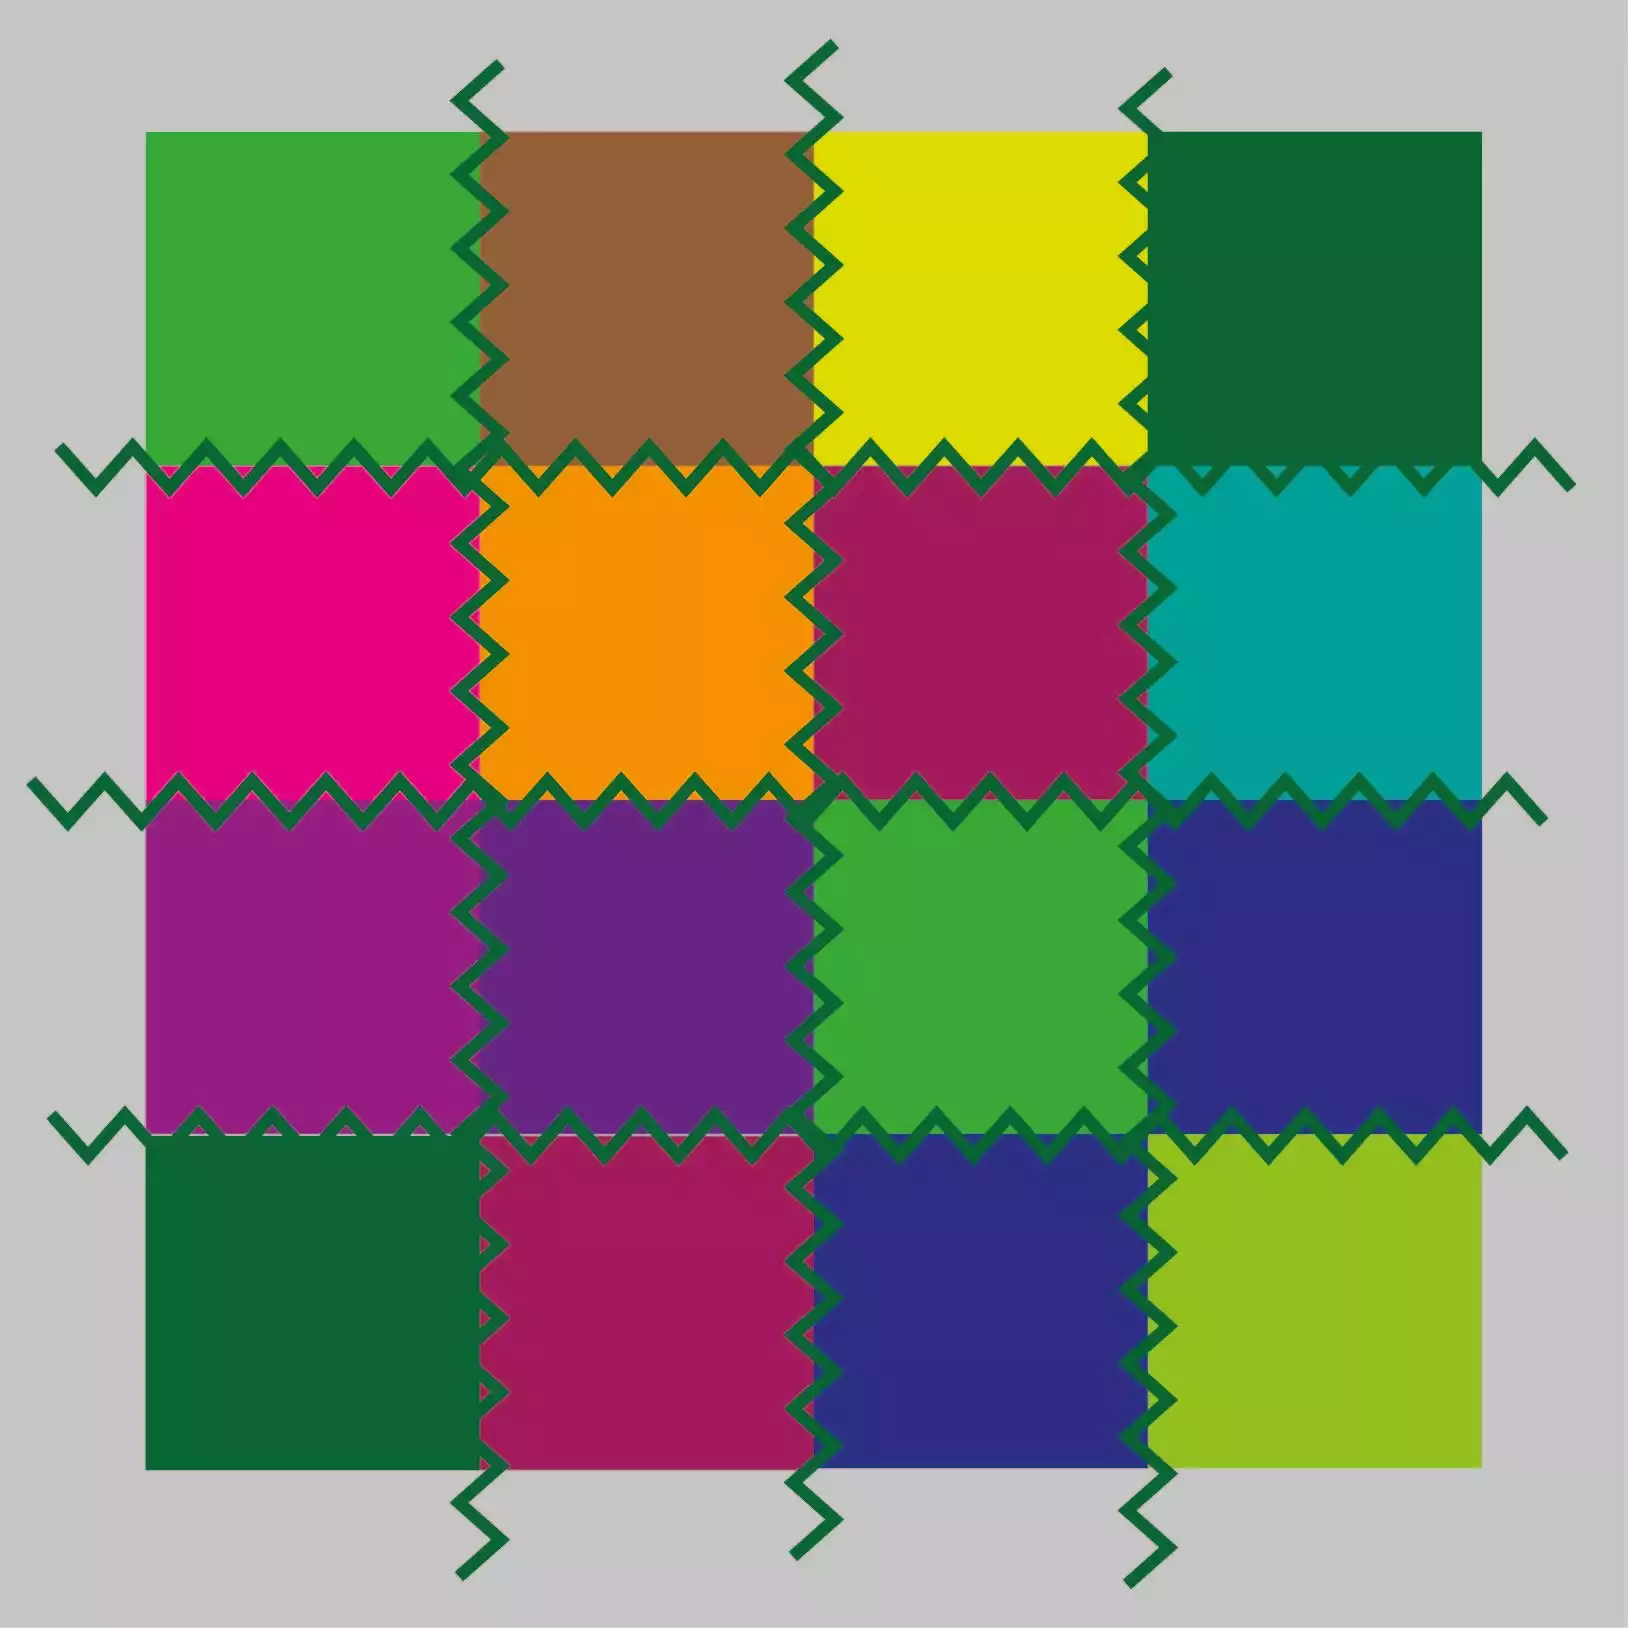
5. Zig-zag over the raw edges horizontally and vertically.
6. Now it is time for the first cut: lay out the fabric piece in front of you. Cut in the middle of each vertical row. It doesn't have to be exactly in the middle, if it gets a little offcentered that is fine, it adds more interest to the finished project!
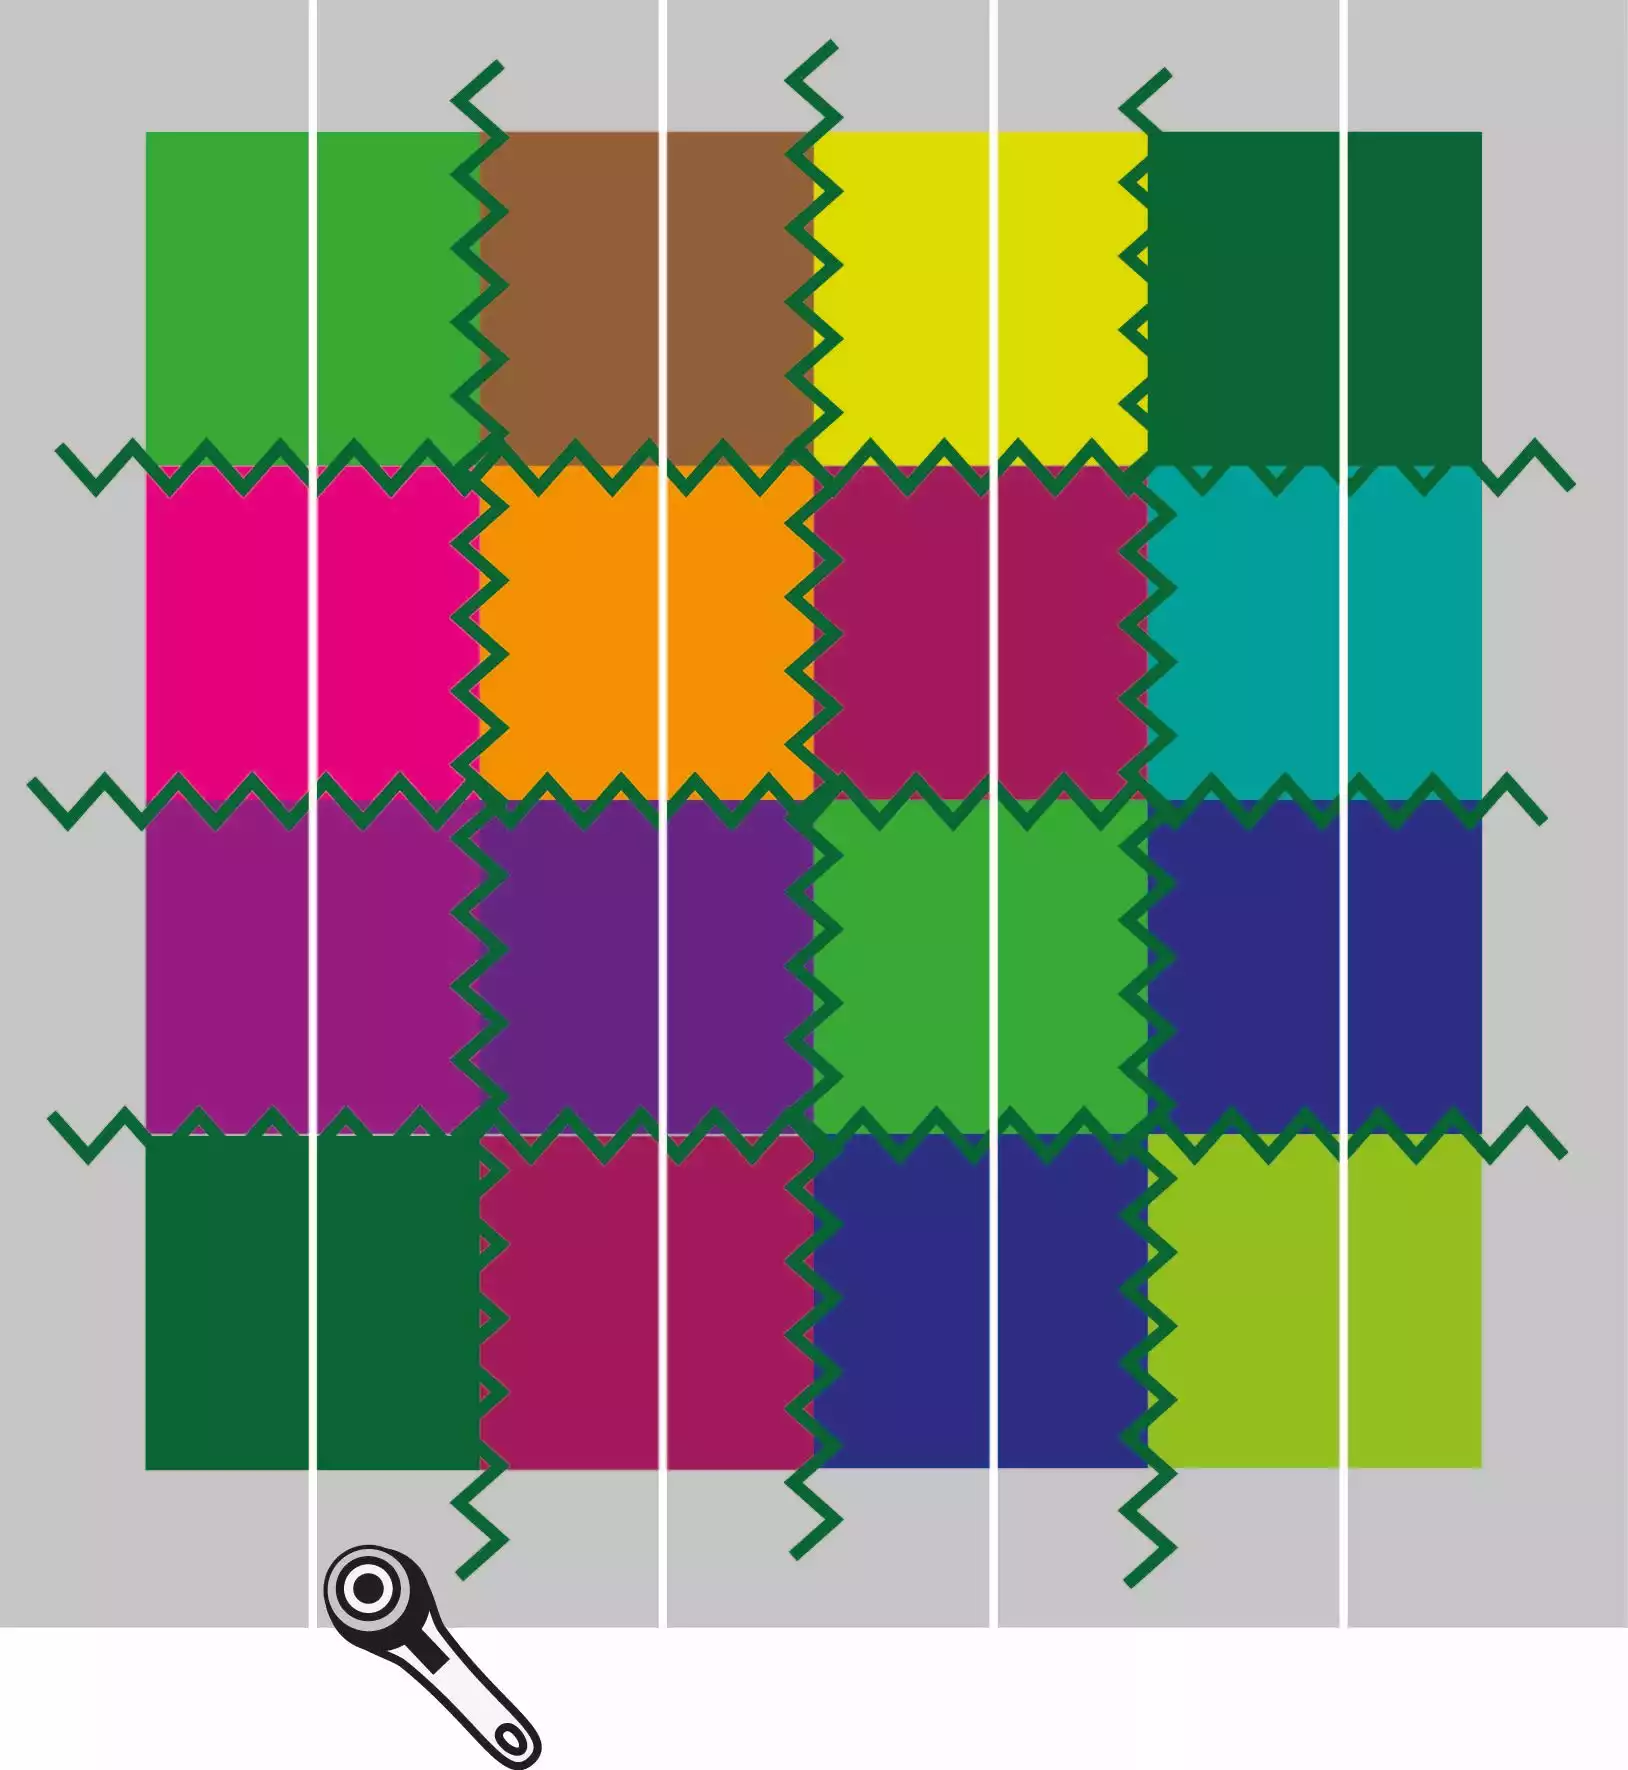
7. Turn every second strip 180 degrees to get the fabric squares mixed up.
picture
8. Zig-zag the fabric rows together holding the edges closely together as you sew.
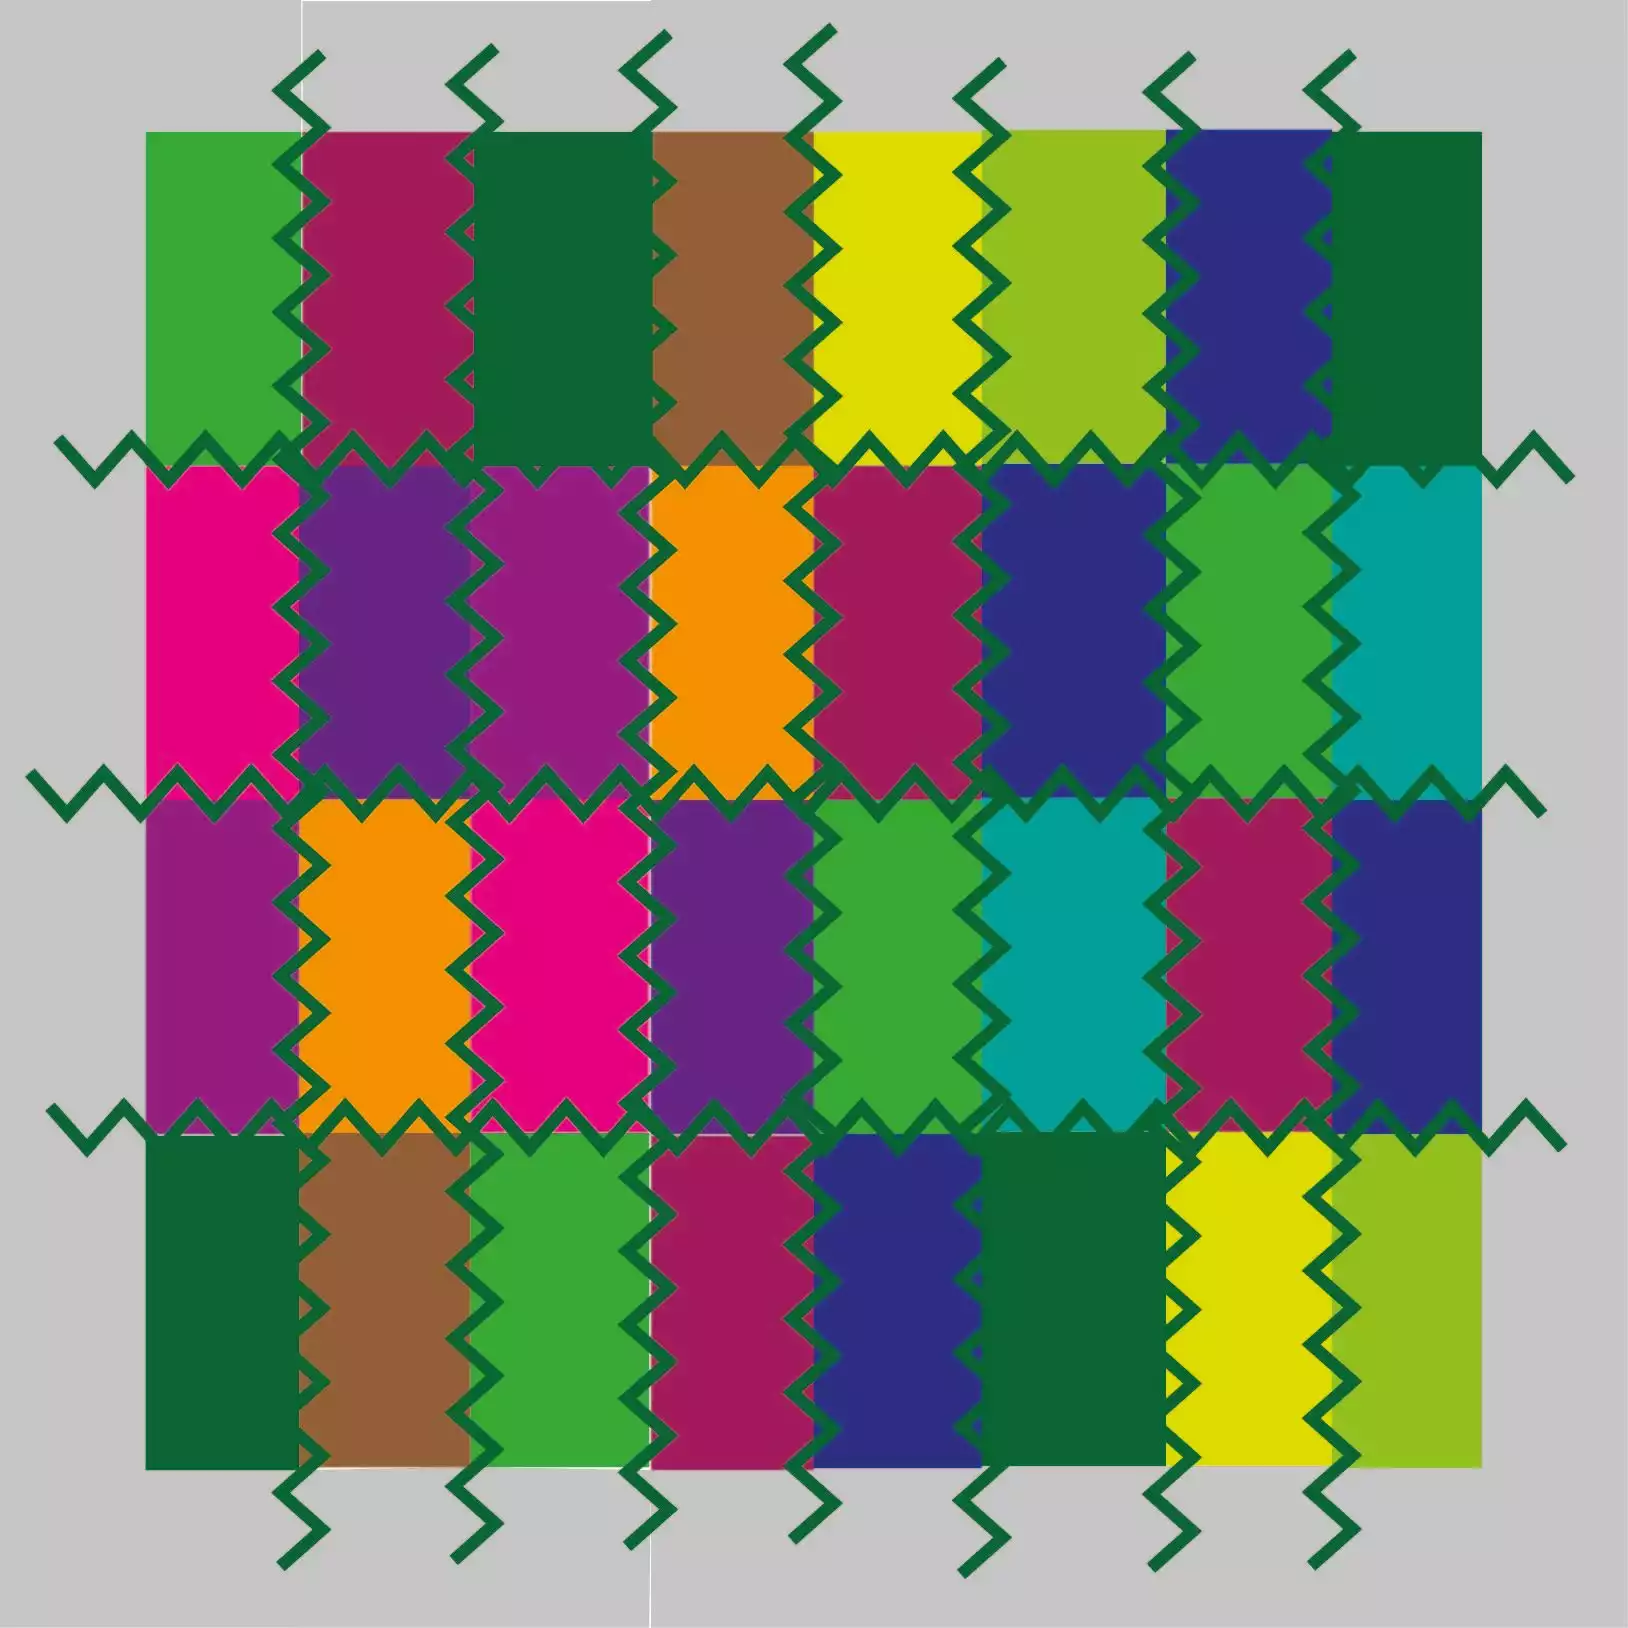
9. Time for the second cut. Turn the fabric piece 90 degrees.
10. Cut in the middle of each vertical row.again It doesn't have to be exactly in the middle.
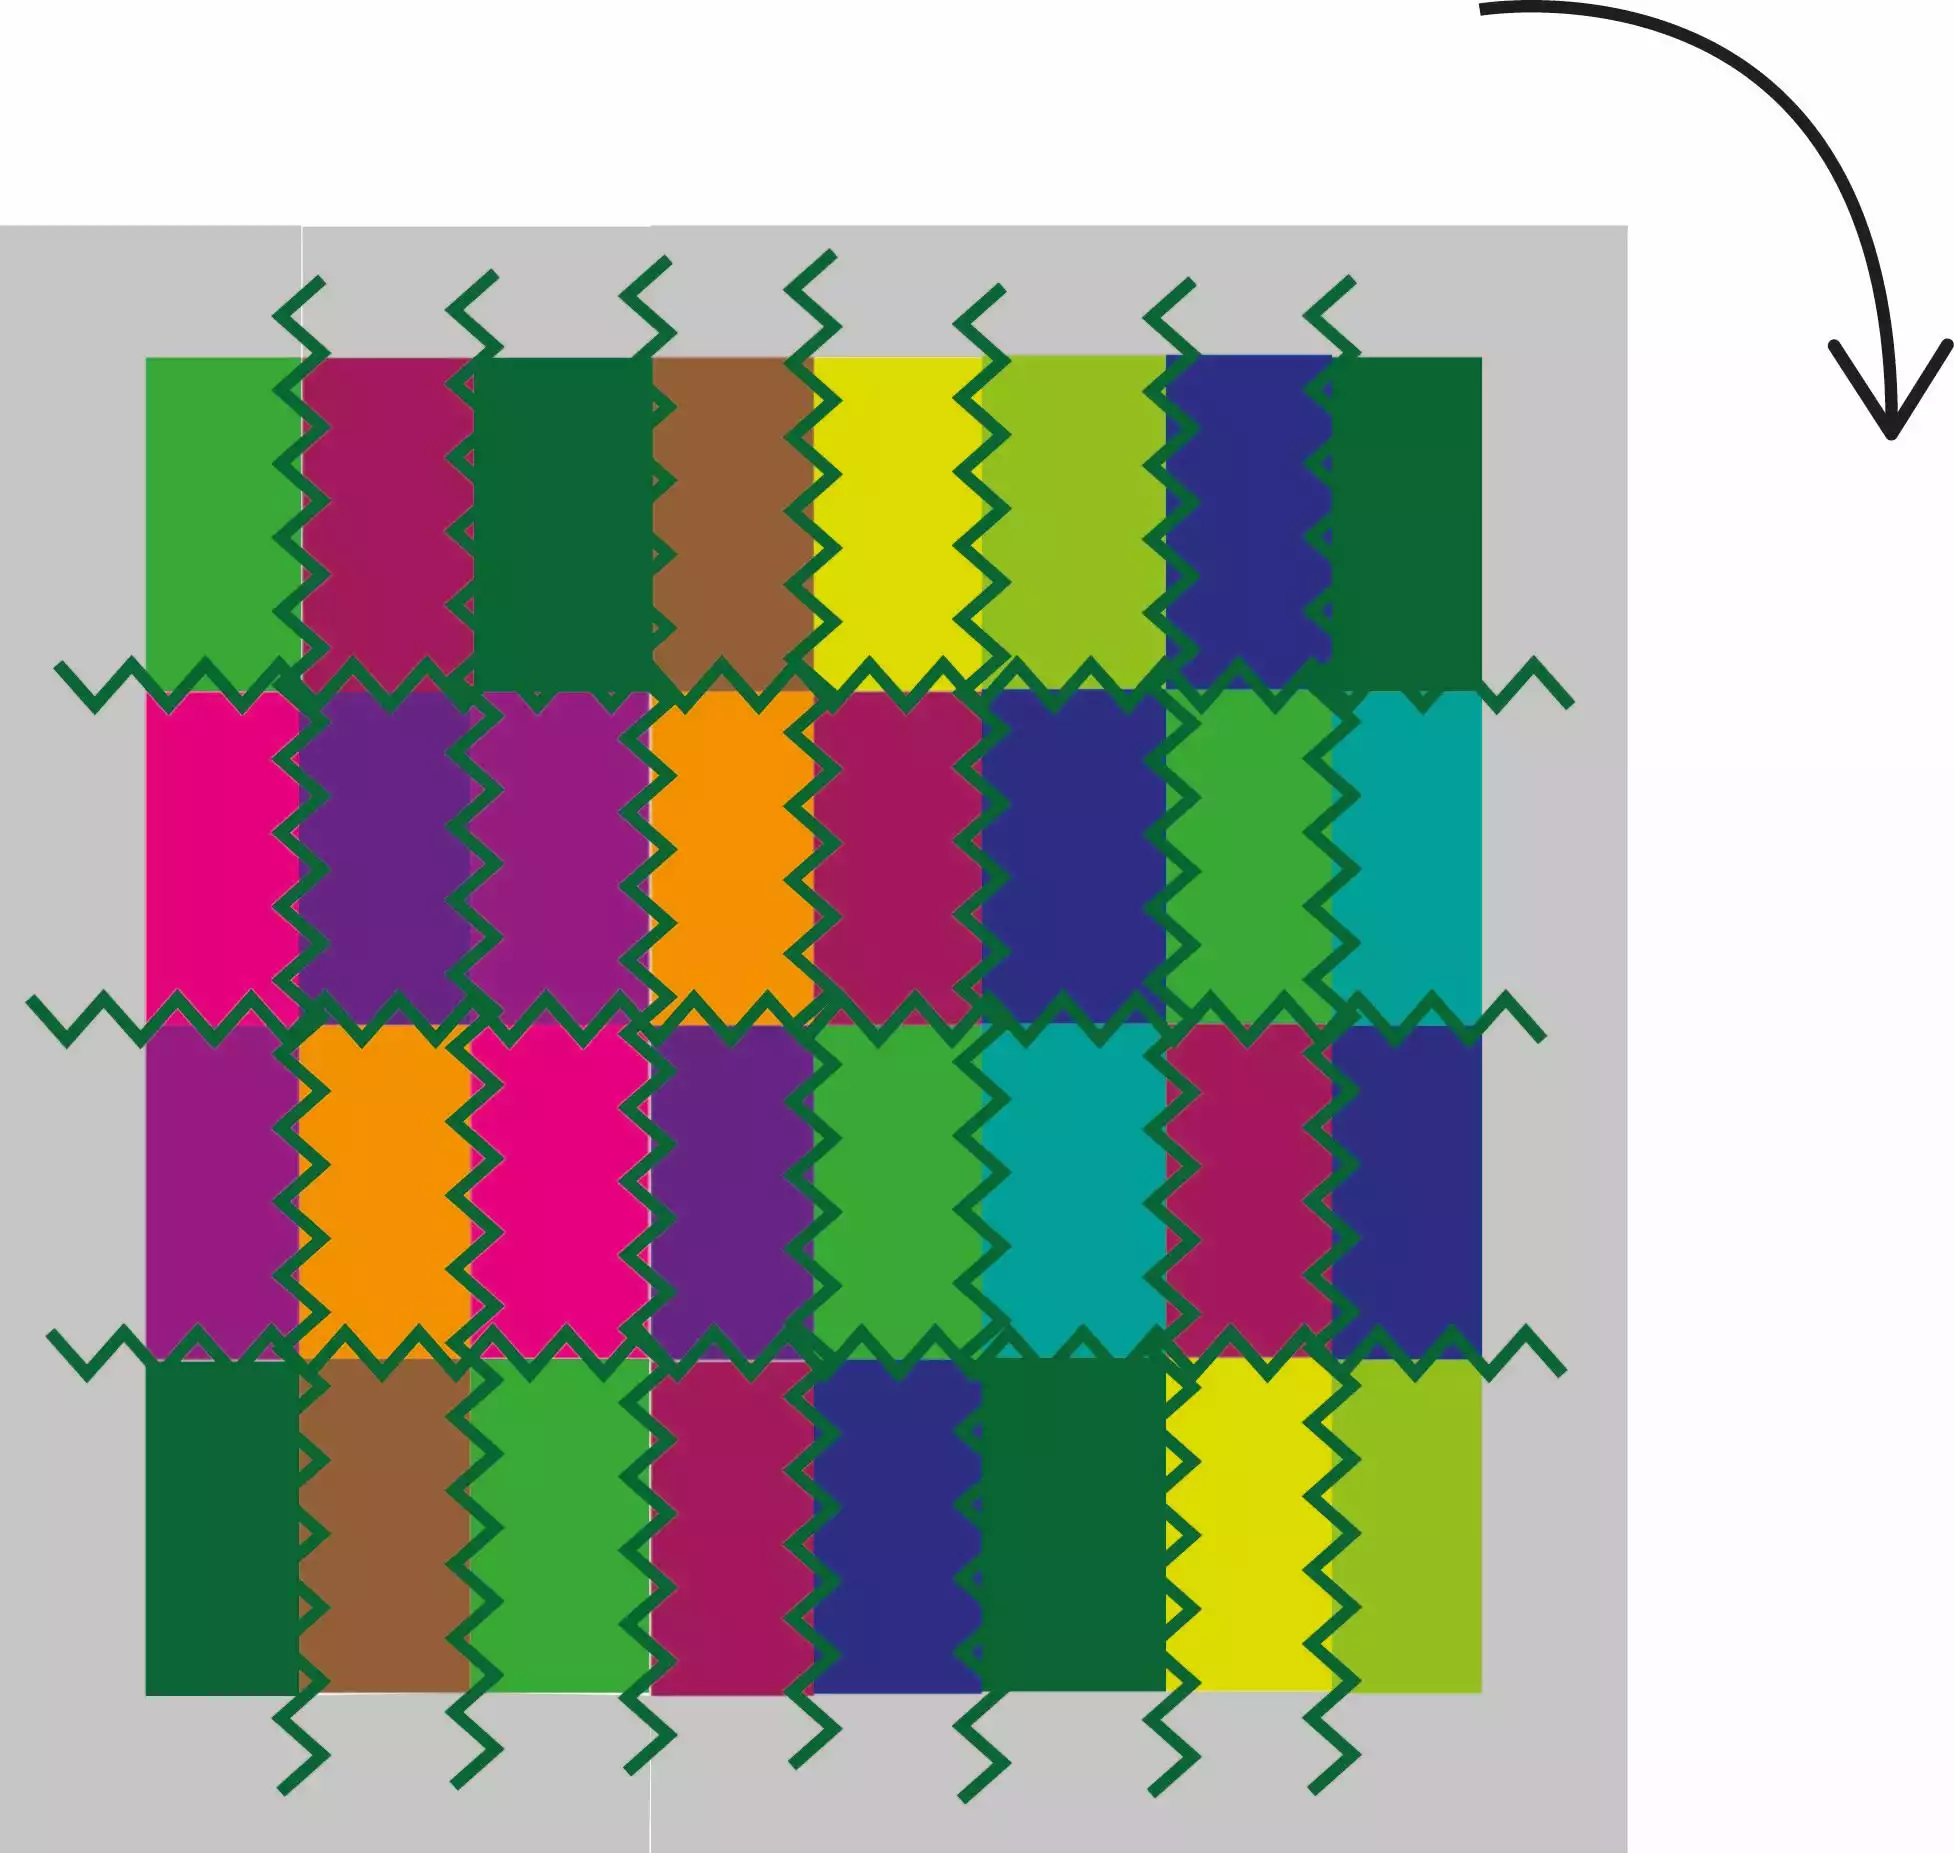
11. Turn every second strip 180 degrees to mix them into new squares and zig-zag the fabric rows together again

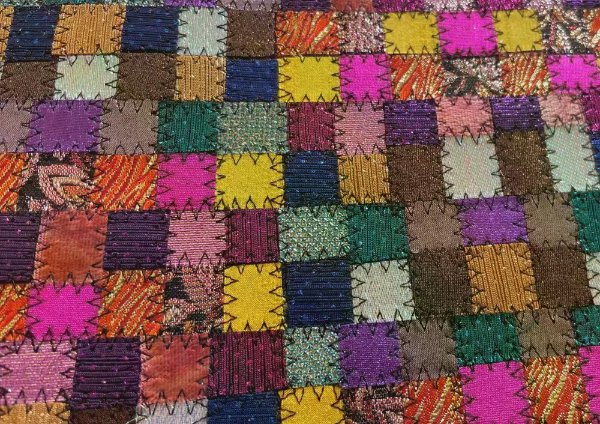
12. Now you have 64 squares. You can stop here or repeat the process to get even smaller pieces. In that case repeat from step 6-12 and your 16 squares have turned into a 128-piece of art!
The finished fabric can be used in many ways, the only limitation is your fantasy! Look for further projects using this technique!