United States
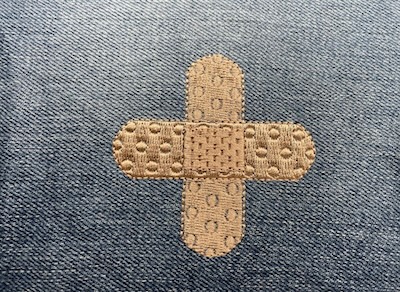
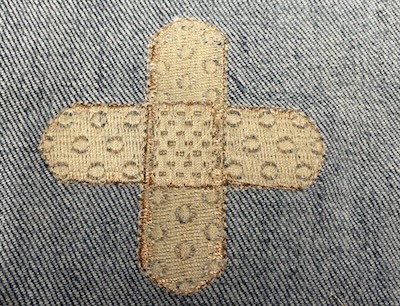
Band Aid Collection: Mending with Band Aid Repair Embroidery
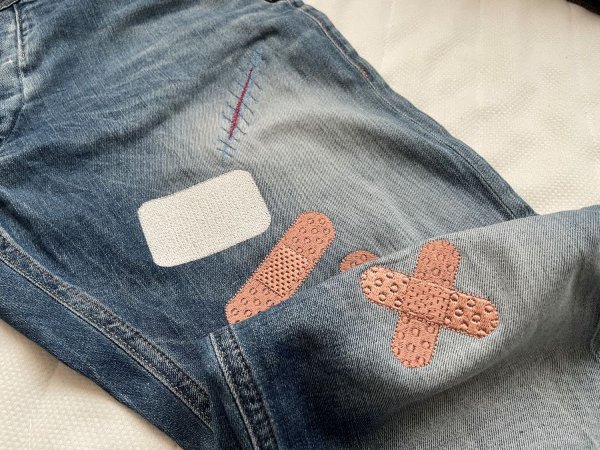
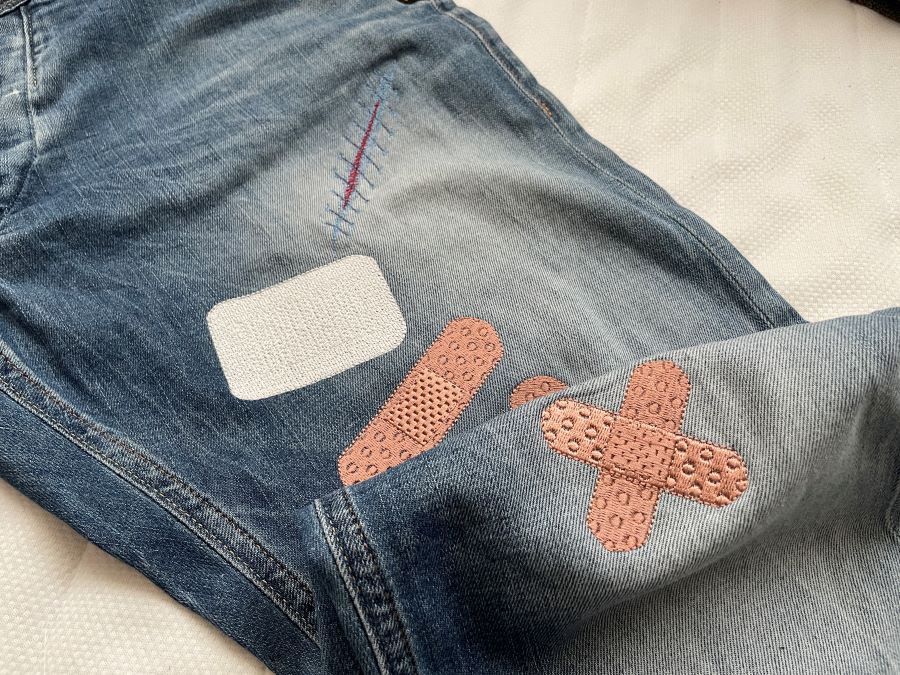
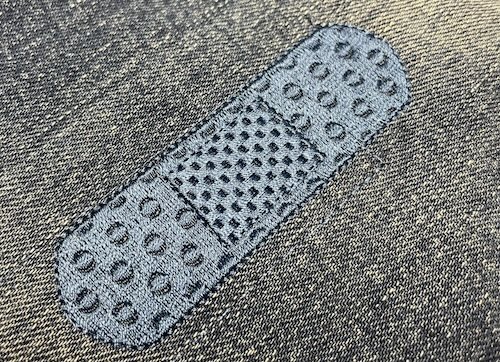
When your clothes get a tear or hole, why not mend it with a band aid? These embroidery files are constructed to first mend the hole with an underlay stitch and then embroider a nice Band Aid over it. For a less visible result consider using the same color as your garment. After all, the Band-Aid is supposed to imitate the skin color, so why not imitate the garments “skin” color?
With 30-day Free Trial of mySewnet Embroidery Software you will get to try out the most user-friendly and feature rich digitizing software on the market. It works with all embroidery machine brands and is available for both Windows and Mac.
Materials needed:
- Embroidery file from the Band Aid Repair Kit Collection, find it Here:
- Cut away stabilizer or fabric, tear away stabilizer works also for smaller holes.
- Embroidery thread in suitable color
- Magnetic hoop 100x100mm (other hoops works as well, but it is easiest to work with the magnetic hoop)
Do like this:
1. Hoop the stabilizer or fabric in place in the hoop. A cut away stabilizer is the firsthand choice, but if you want to you can use fabric instead or tearaway stabilizer.
2. Put the garment on top with the hole to be mended centered in the hoop. Secure with magnets. Make sure you can keep the rest of the garment out of the way when stitching out the embroidery. E.g. You may need to open the side seams of trousers to be able to mend properly. If it is a big hole, consider putting a piece of fabric with the same color and material in the opening to make the mending stronger. Match the thread for the underlay (color1) with the fabric.
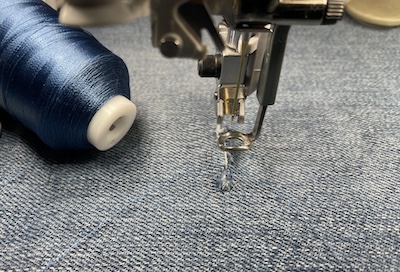
3. Transfer the embroidery file to your embroidery machine. Position the embroidery on top of the hole. You can use the baste function to secure the fabric layers if needed.
4. Stitch out color 1, this will make the mending stitches.
5. Stitch out color 2, this will embroider a nice band aid on top of the mending.
6. Unhoop and cut away excess stabilizer or fabric on the back.
7. Your mending project is now finished.
8. The other Band Aids are made in the same way.
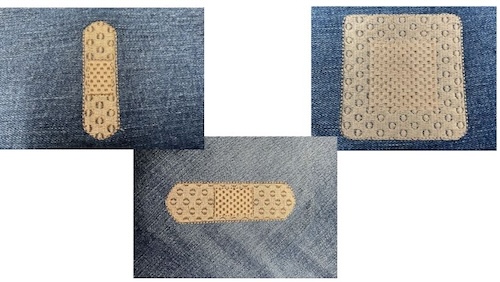
Tip: You can make some extra band Aids just for decoration, omit the first color (the mending) for a softer result. There is also a sutured scar and a Wound dressing in the collection.
If you want the mending to be less visible, consider making the embroidery in the same color as the garment.