United States
Band Aid Collection: Embroidered Patching With Sutures
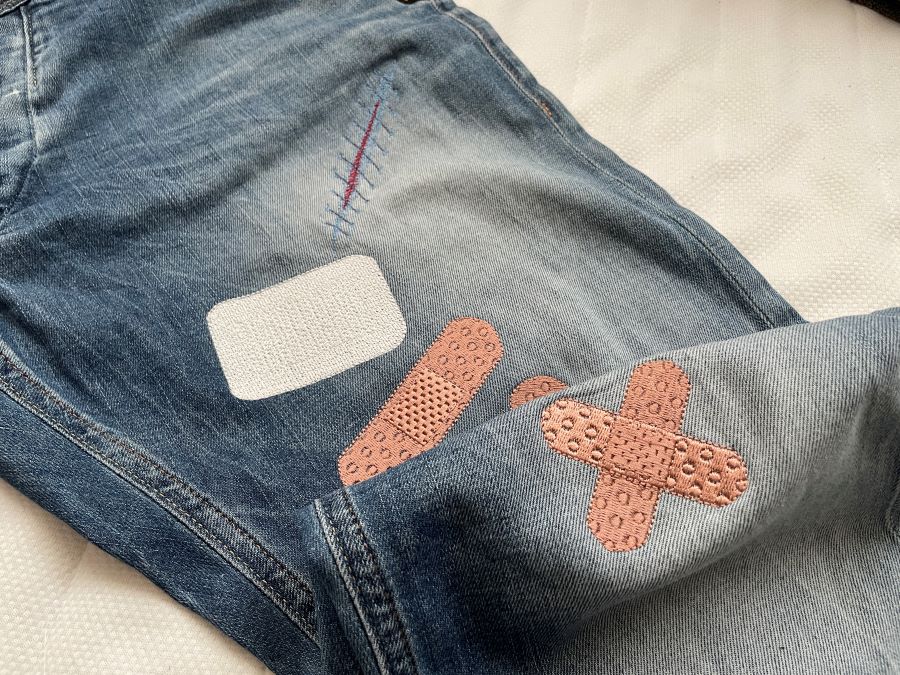
Instead of merely patching up your clothes with a plain old patch or a stitch, why not inject some creativity into the process? Imagine having a embroidery file specifically designed to mend those tears and holes with finesse. For a less visible result consider using the same color as your garment.
With 30-day Free Trial of mySewnet Embroidery Software you will get to try out the most user-friendly and feature rich digitizing software on the market. It works with all embroidery machine brands and is available for both Windows and Mac.
Materials needed:
- Embroidery file from the Band Aid Repair Kit Collection, find it Here:
- Tear away stabilizer
- Embroidery thread in suitable color
- Magnetic hoop 100x100mm (other hoops works as well, but it is easiest to work with the magnetic hoop)
Do like this:
1. Hoop the stabilizer and garment in the hoop. A tearaway stabilizer is the best choice for this embroidery.
2. Transfer the embroidery file to your embroidery machine. You can use the baste function to secure the fabric layers if needed.
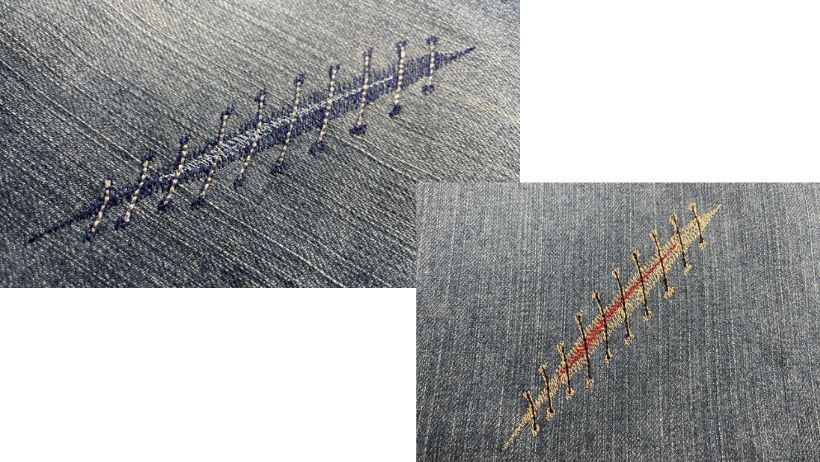
3. Stitch out color 1, This will make the edges of the wound, consider making it in a darker shade of the garment color instead of skin color.
4. Stitch out color 2, this will make the wound itself. Consider using a lighter shade of the garment color instead of blood red.
5. Stitch out color 3, this is the sutures. Use black or silver colored thread for this.
6. Unhoop and remove excess stabilizer on the back
7. Your embroidery is now finished.