 United States
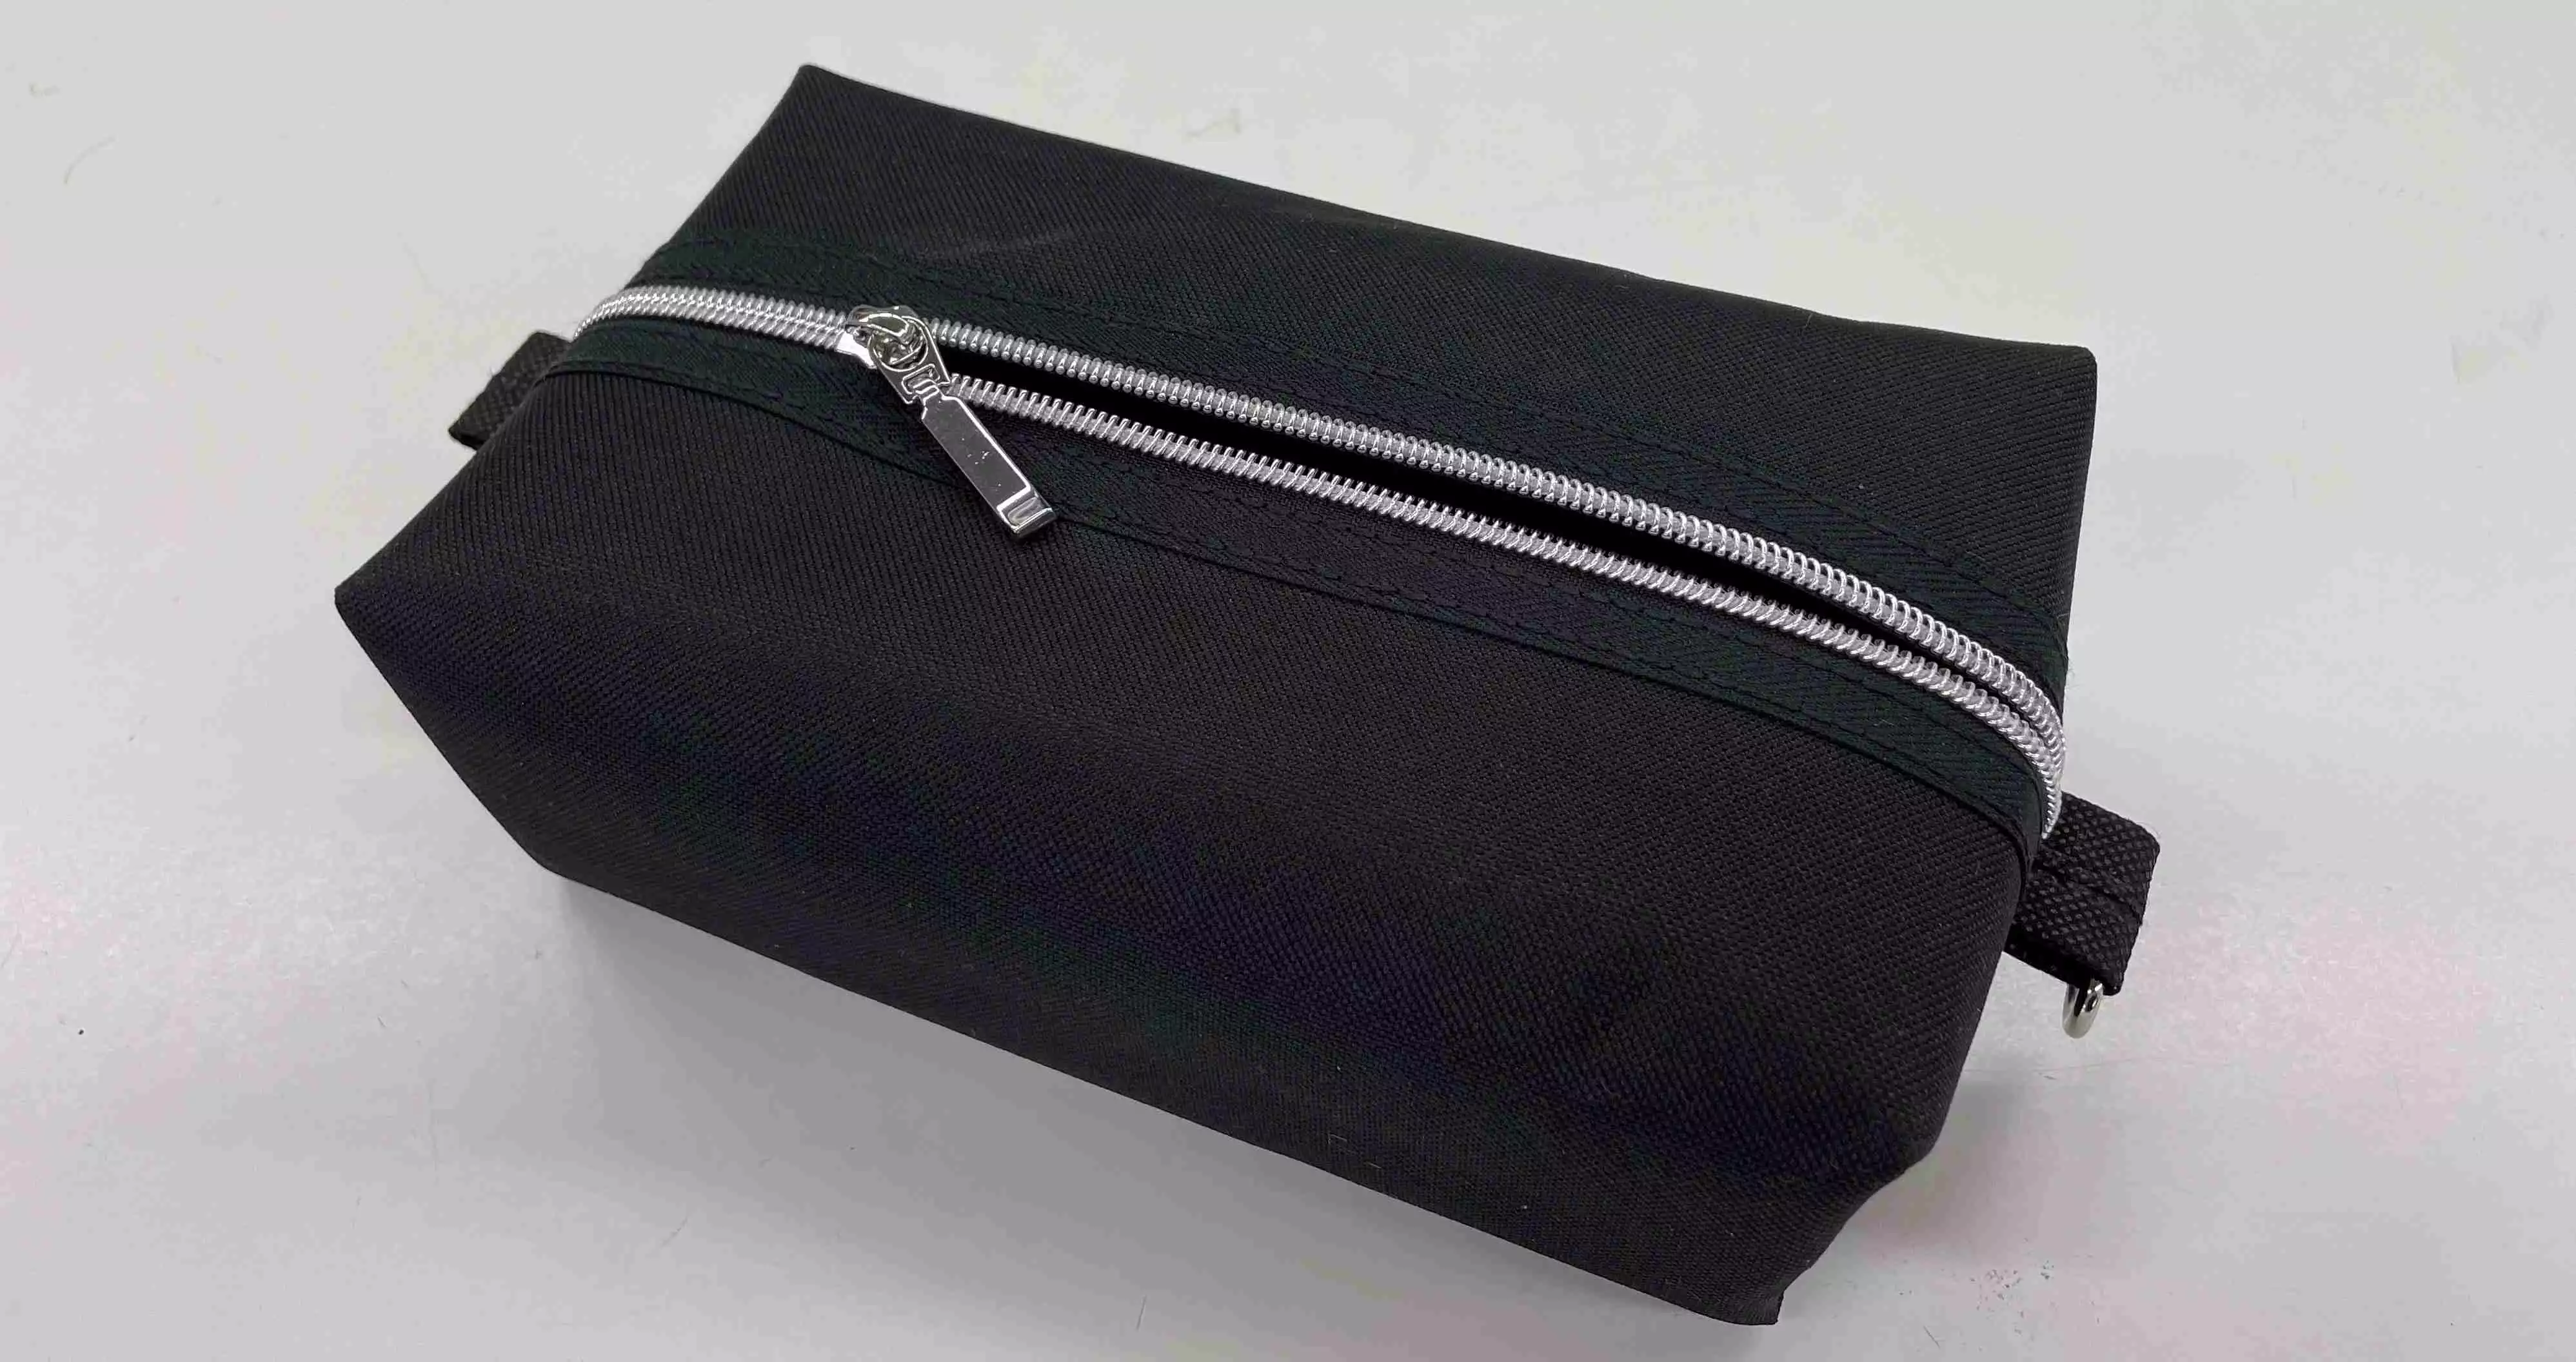
Simple Zippered Cosmetic Bag
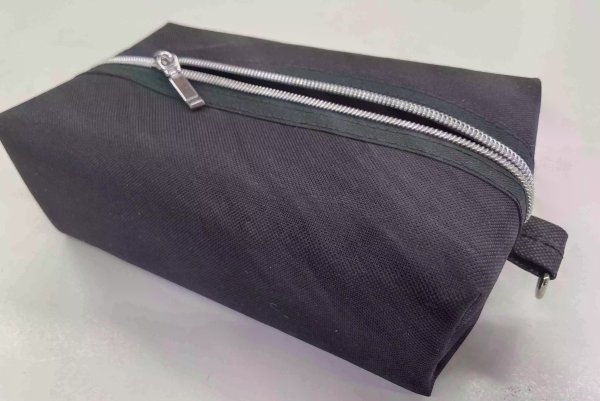
This unlined cosmetic bag is easy to make and works best with fabric that don't fray, like cordura, vinyl and synthetic canvas, It can be made any size. The zipper is added in a new way that is easy for a beginner, but in the end of the instruction I will show you an alternative way to do it.
What you need:
For each pouch you need:
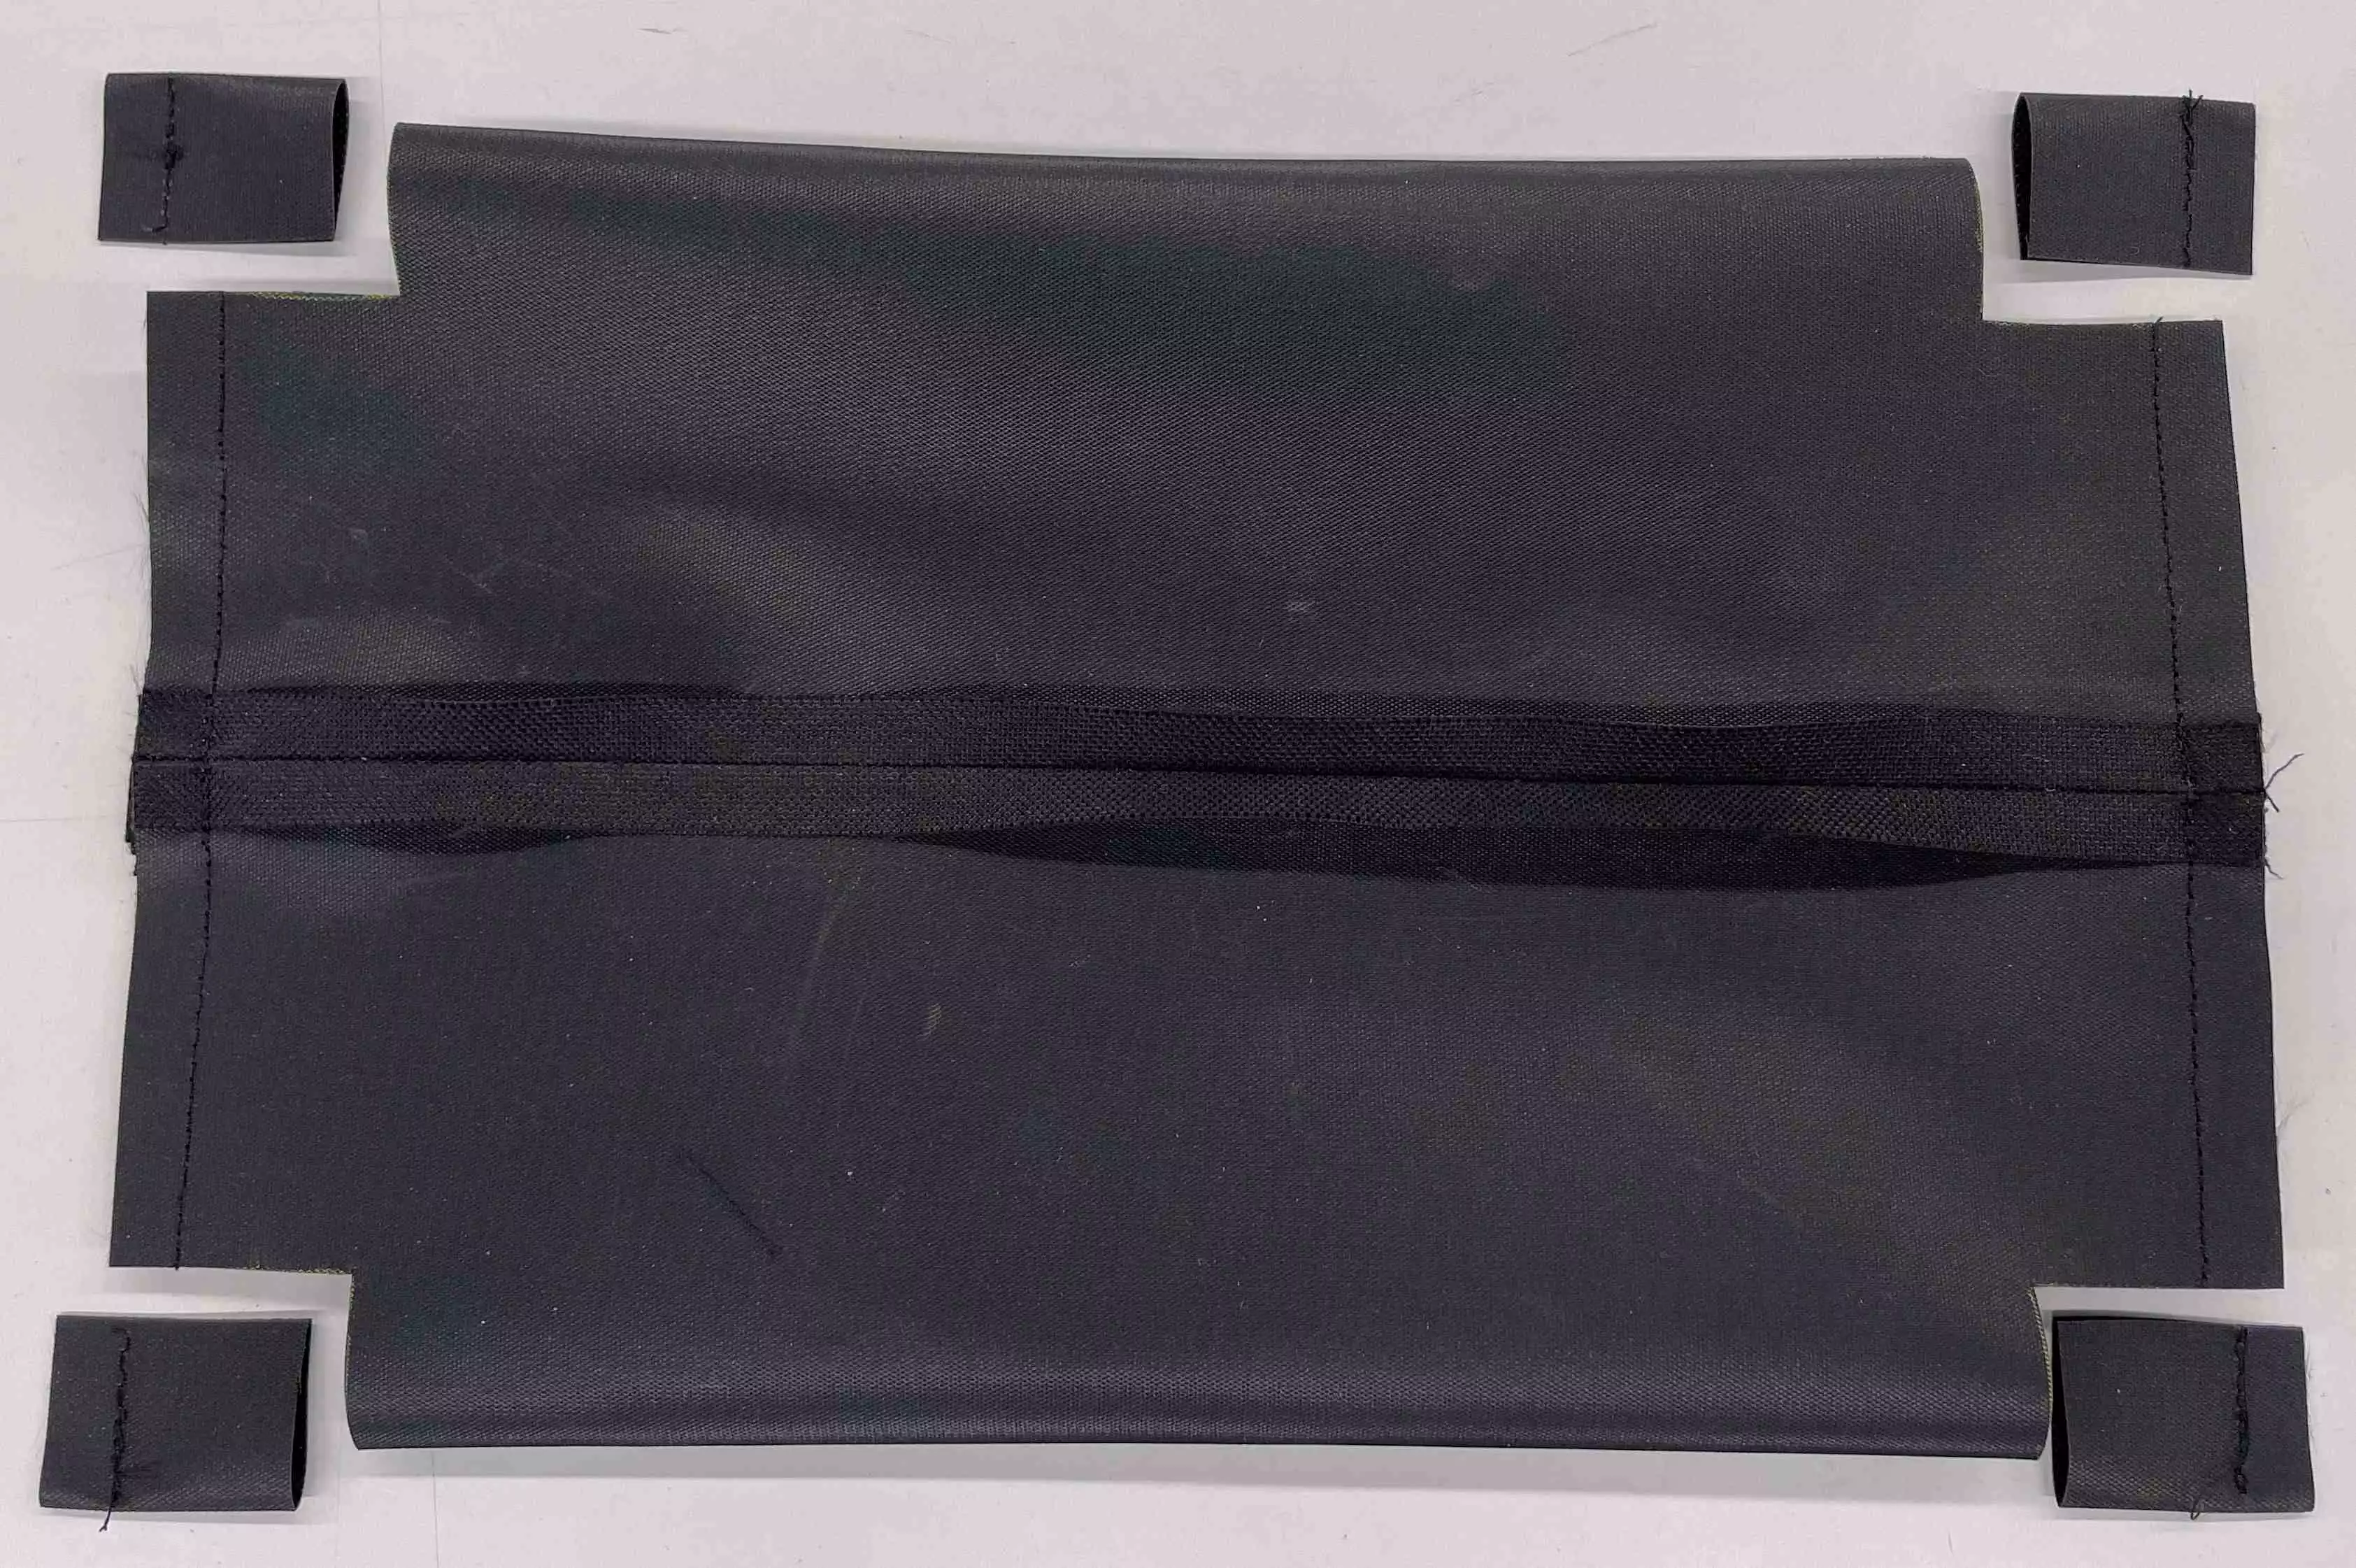
- Synthetic leather, cordura fabric or synthetic canvas. Other sturdy fabrics work as well, but must be edge finished to avoid fraying. 1 piece 12x16” (30x40cm)
- Zipper, at least 35cm or zipper by the yard
- Heavy duty sewing thread
- Herringbone twill tape or thin webbing 2 pieces 3” (7cm) for tabs
- Double sided tape, ¼” (6mm) wide
In this instruction I will show you two ways of making this simple unlined cosmetic bag The finished result will look the same.
Version 1
Preparing:
1. Draw a line on the middle of the fabric.
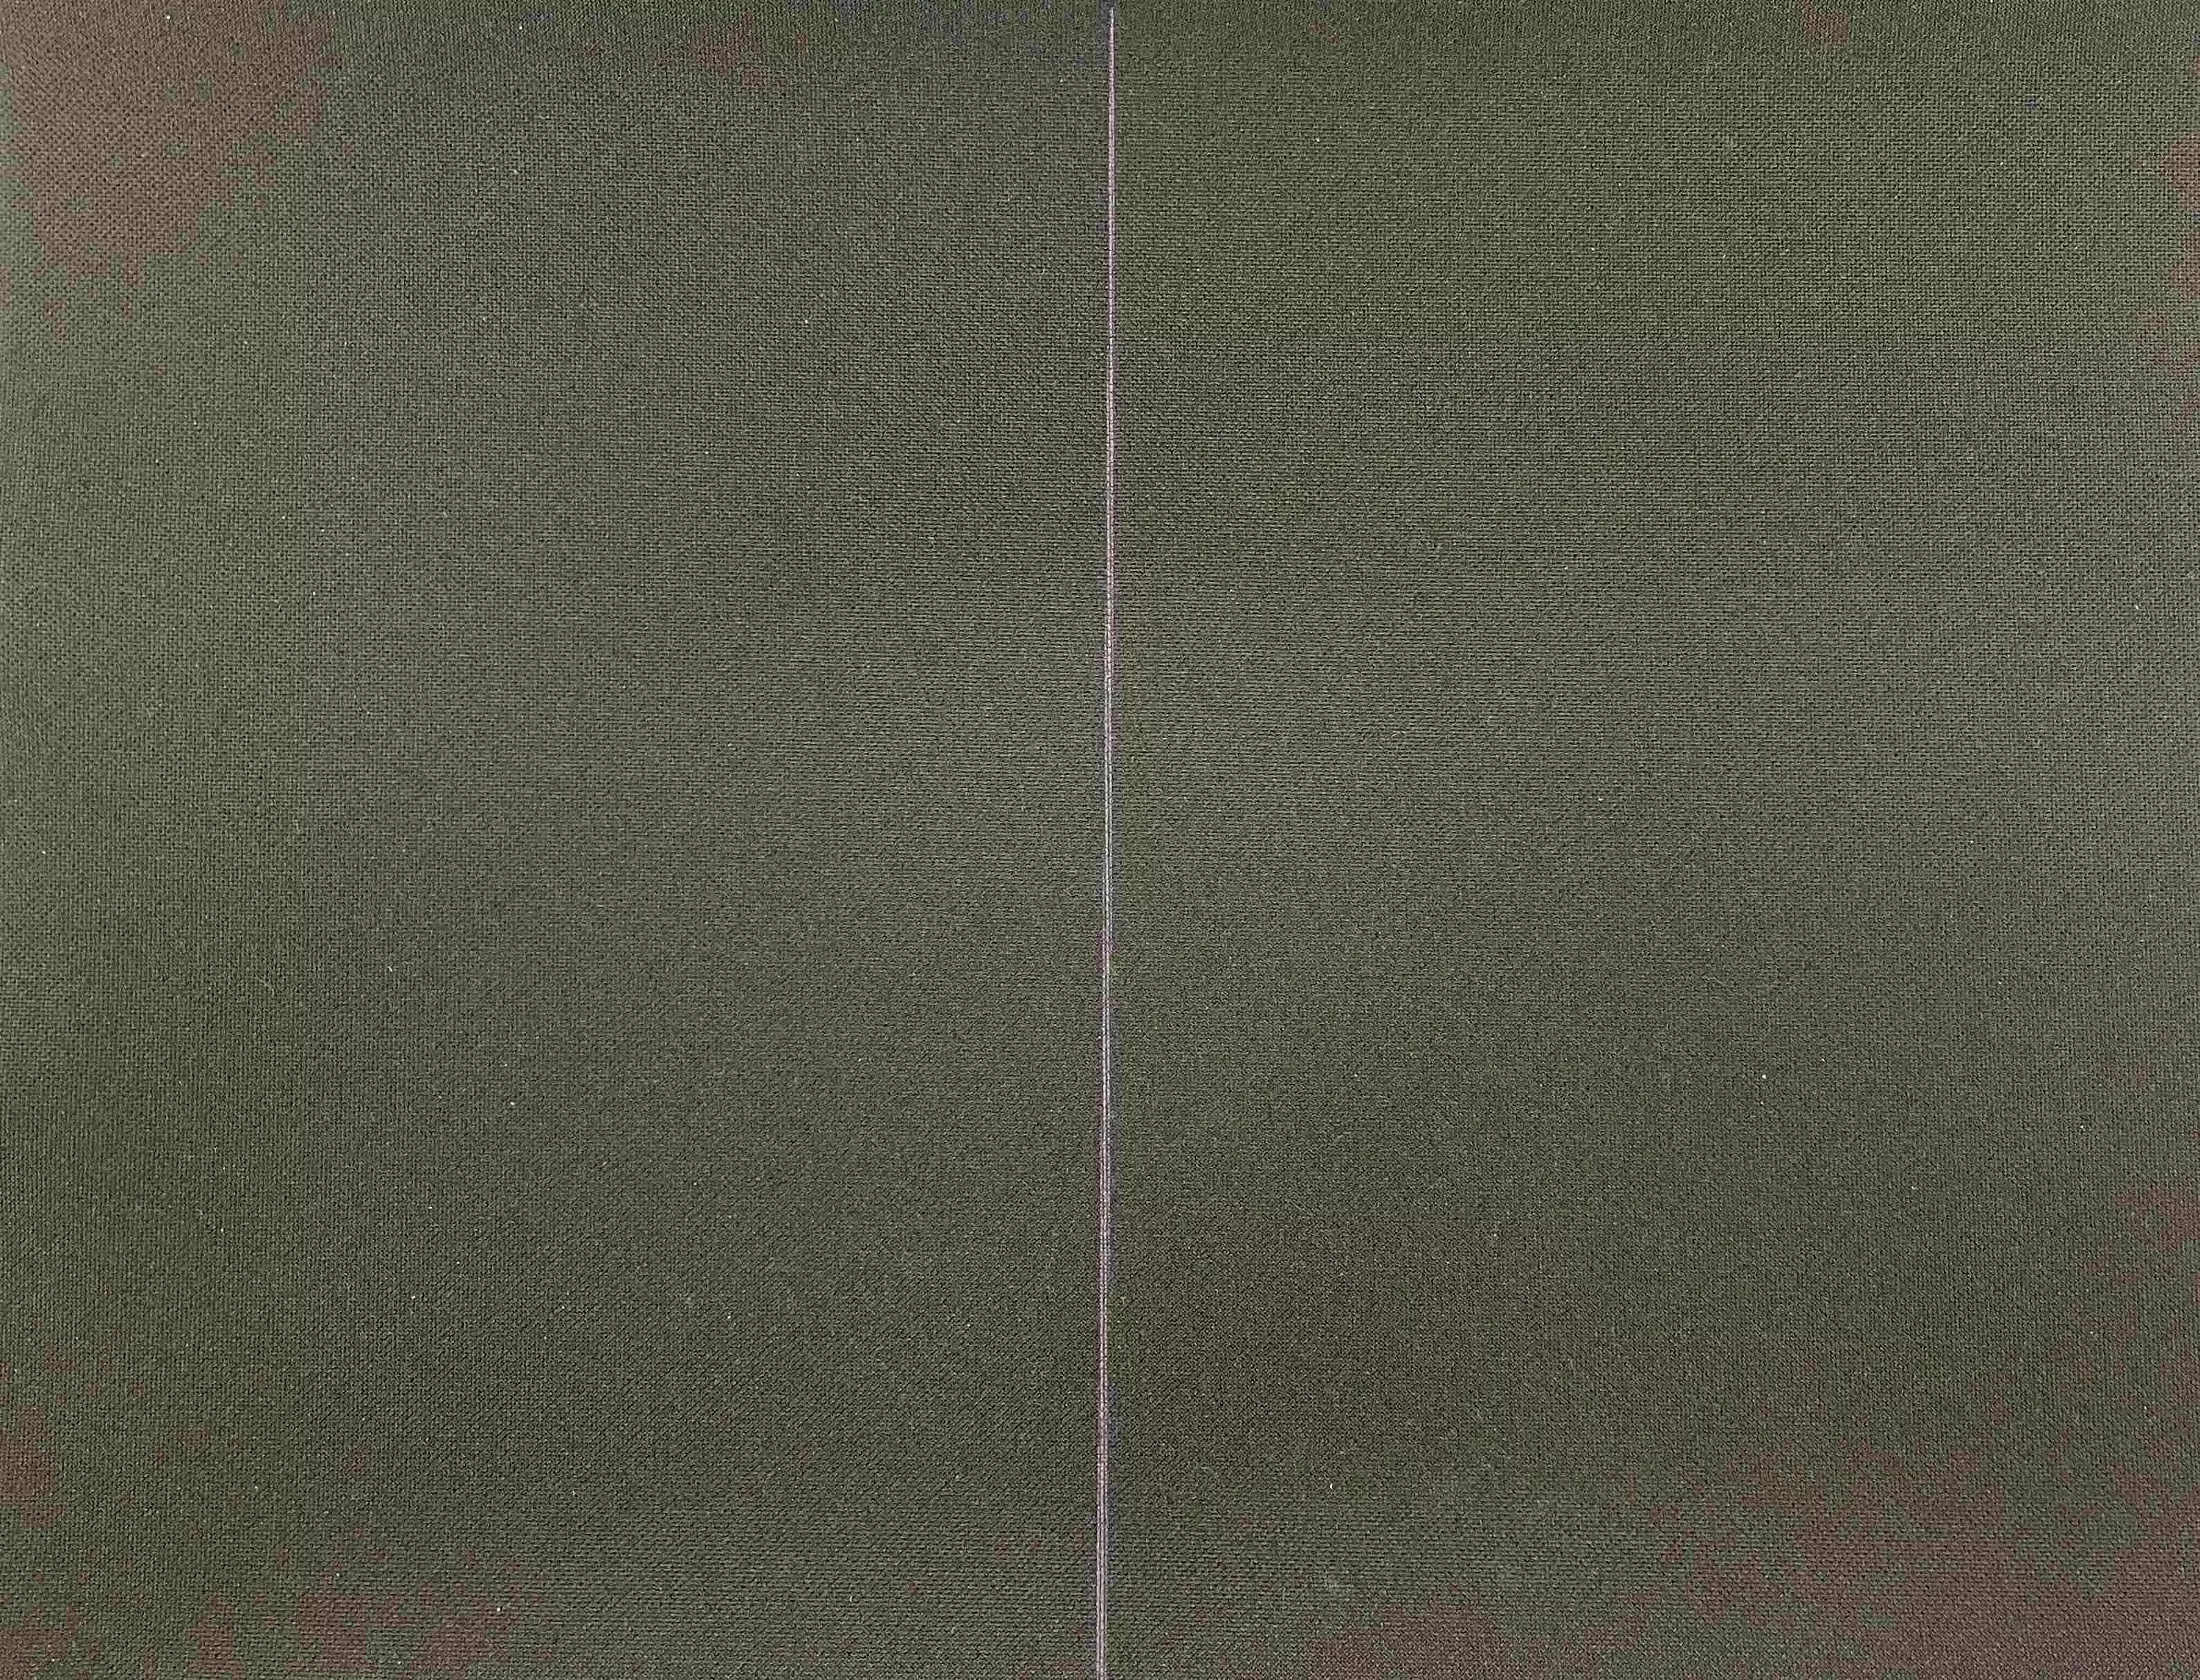
2. Take the zipper and mark the width of the closed zipper at the edges and in the middle. The zipper teeth should be aligned with the drawn center line on the fabric.
3. Cut two pieces of double sided tape the same length as the middle line and place them just inside the wrong side edge of the zipper tape. The zipper should be closed.

3. Remove the paper and place the zipper along the middle line, use the markings as a help to get it straight.
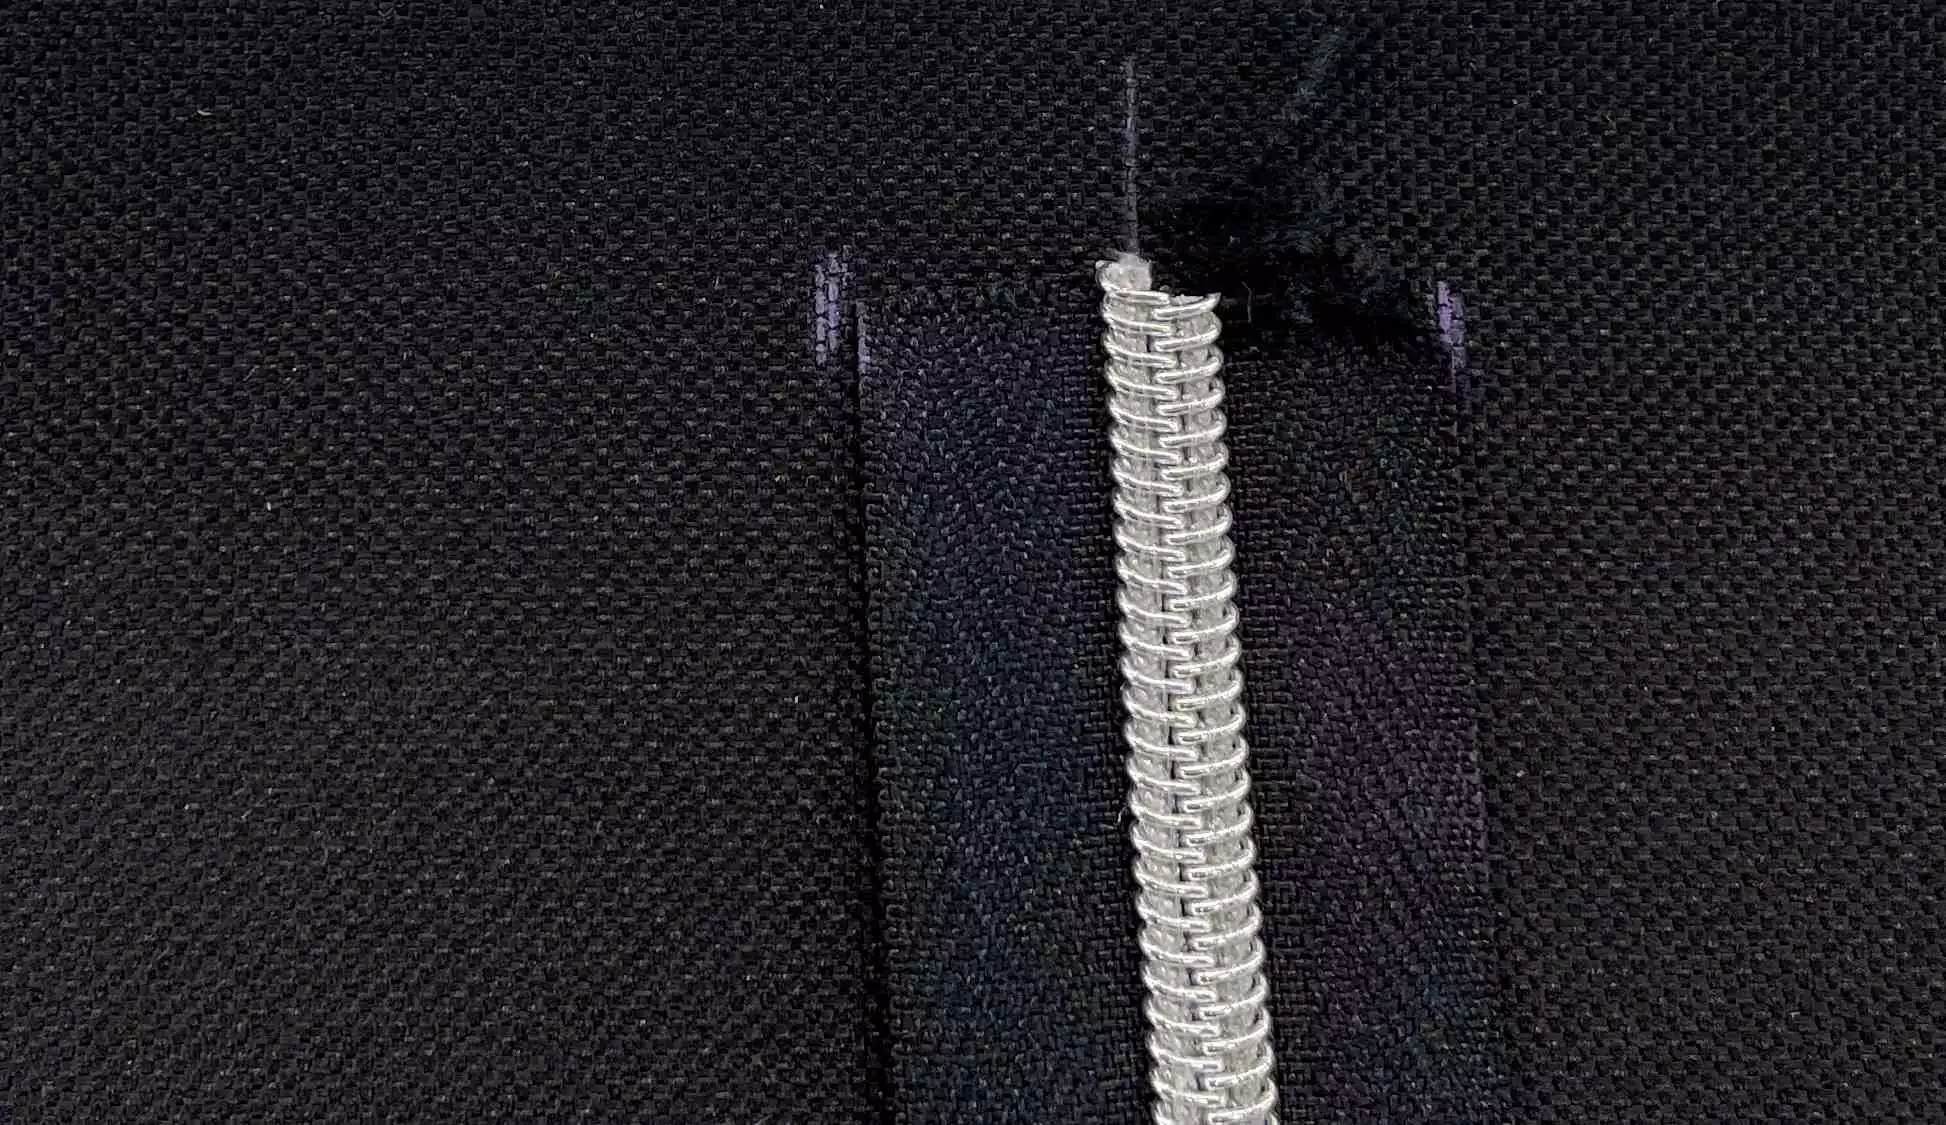
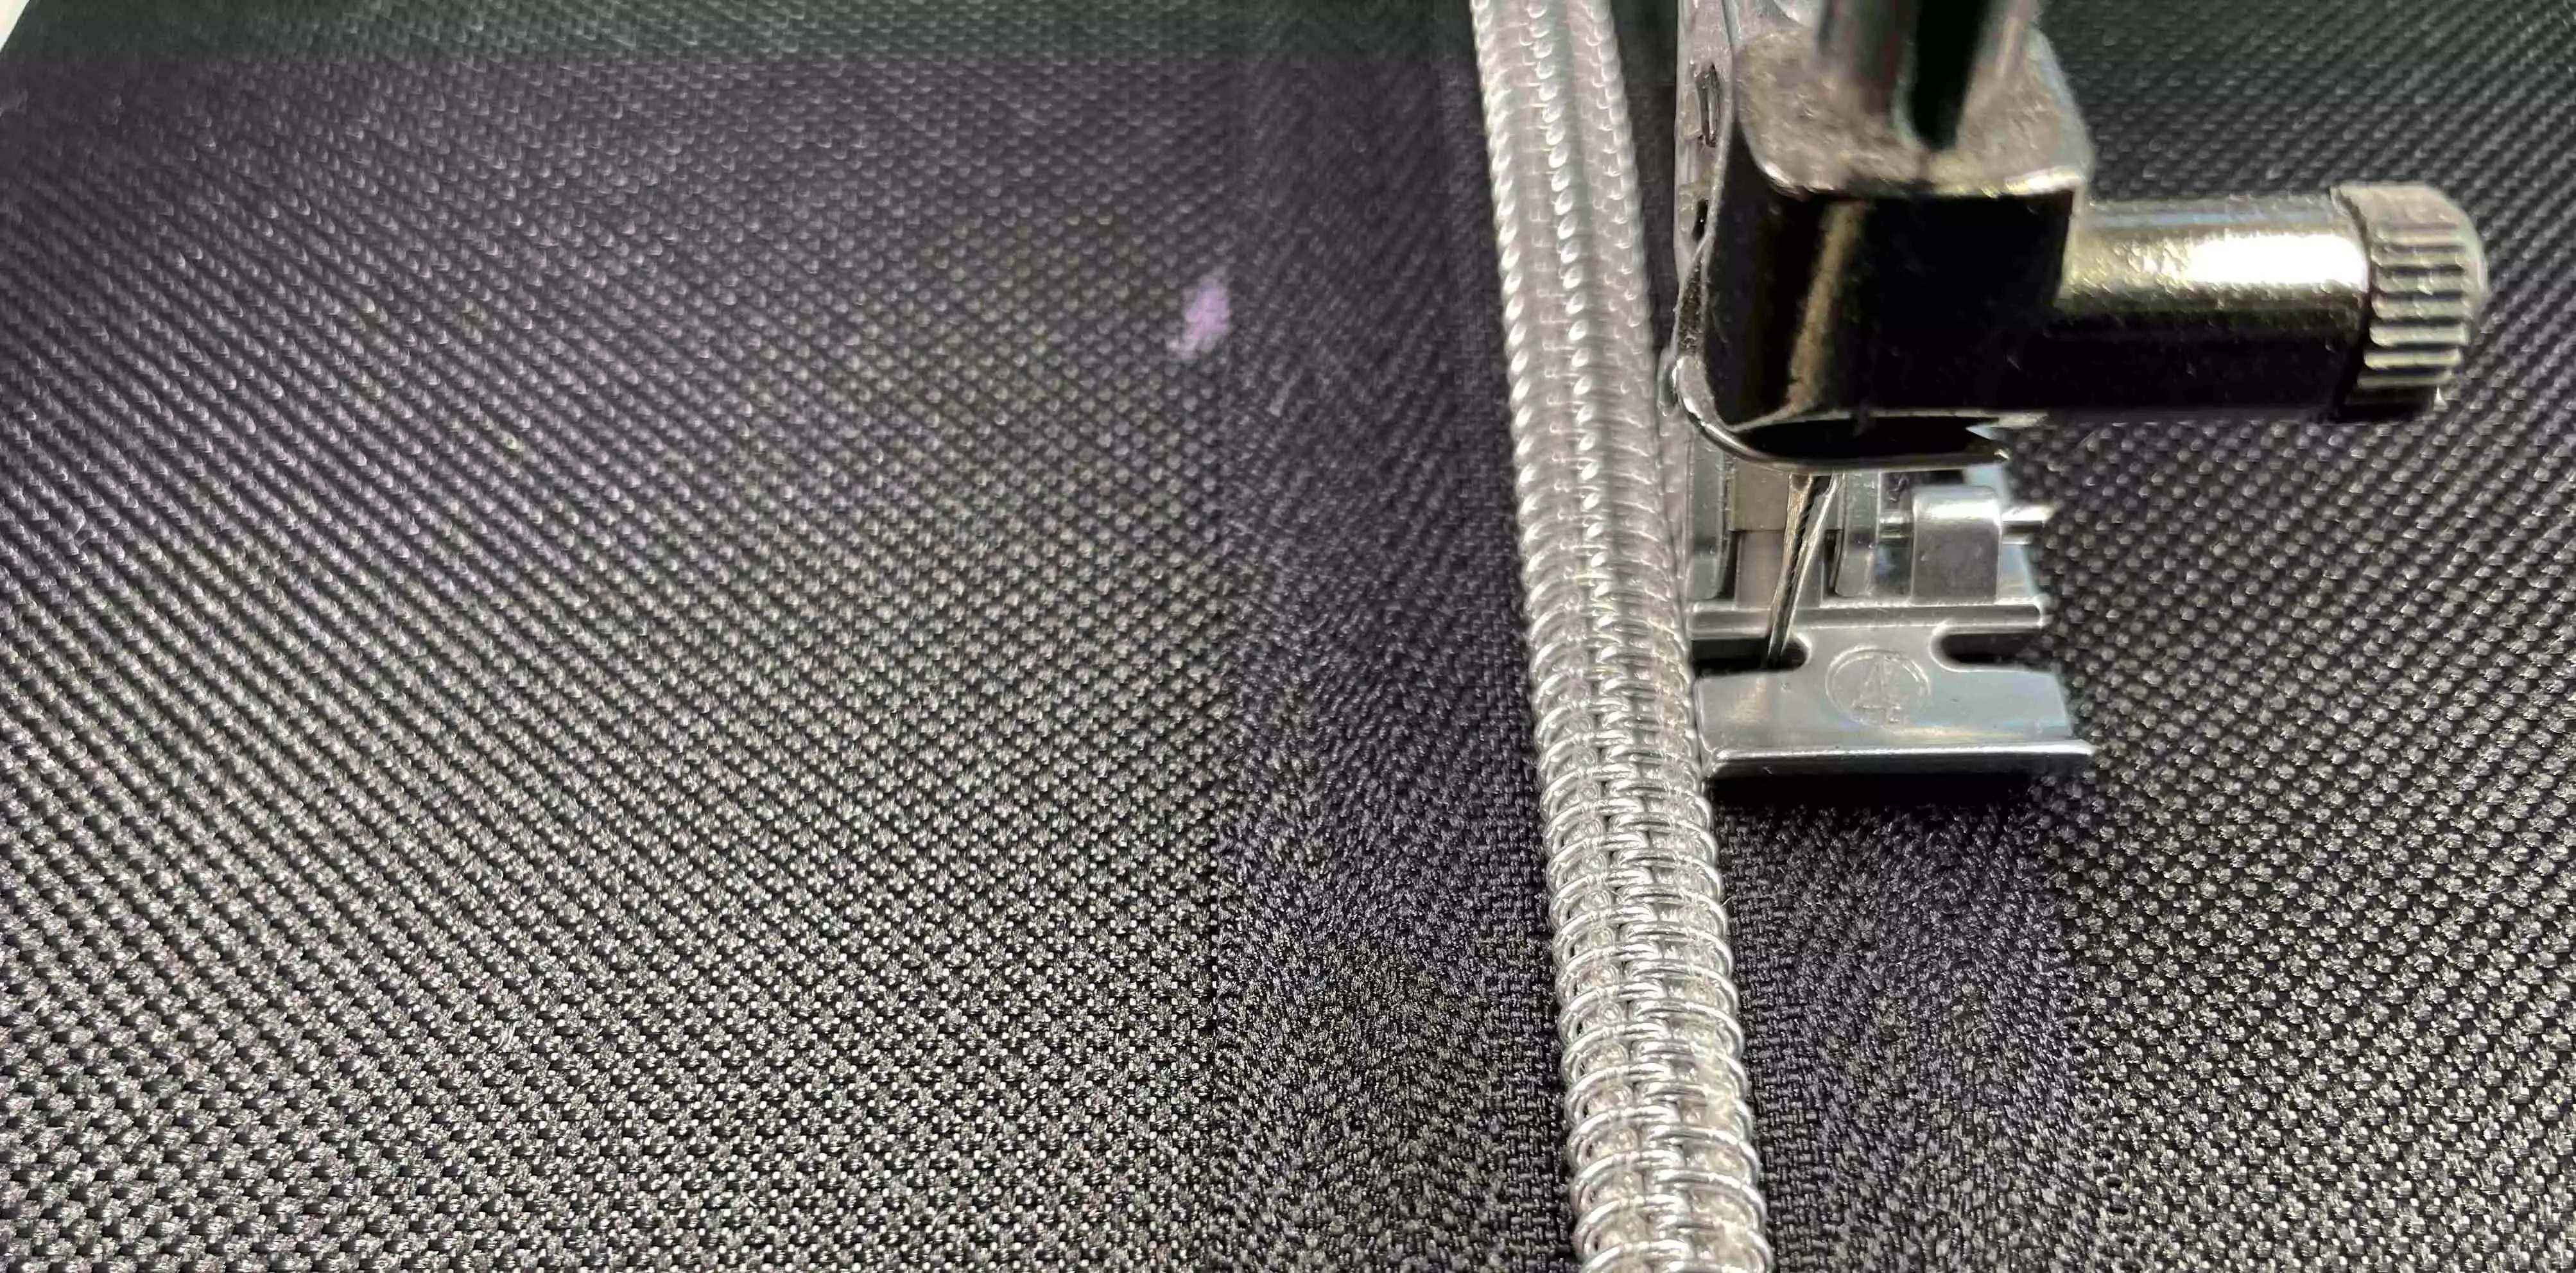
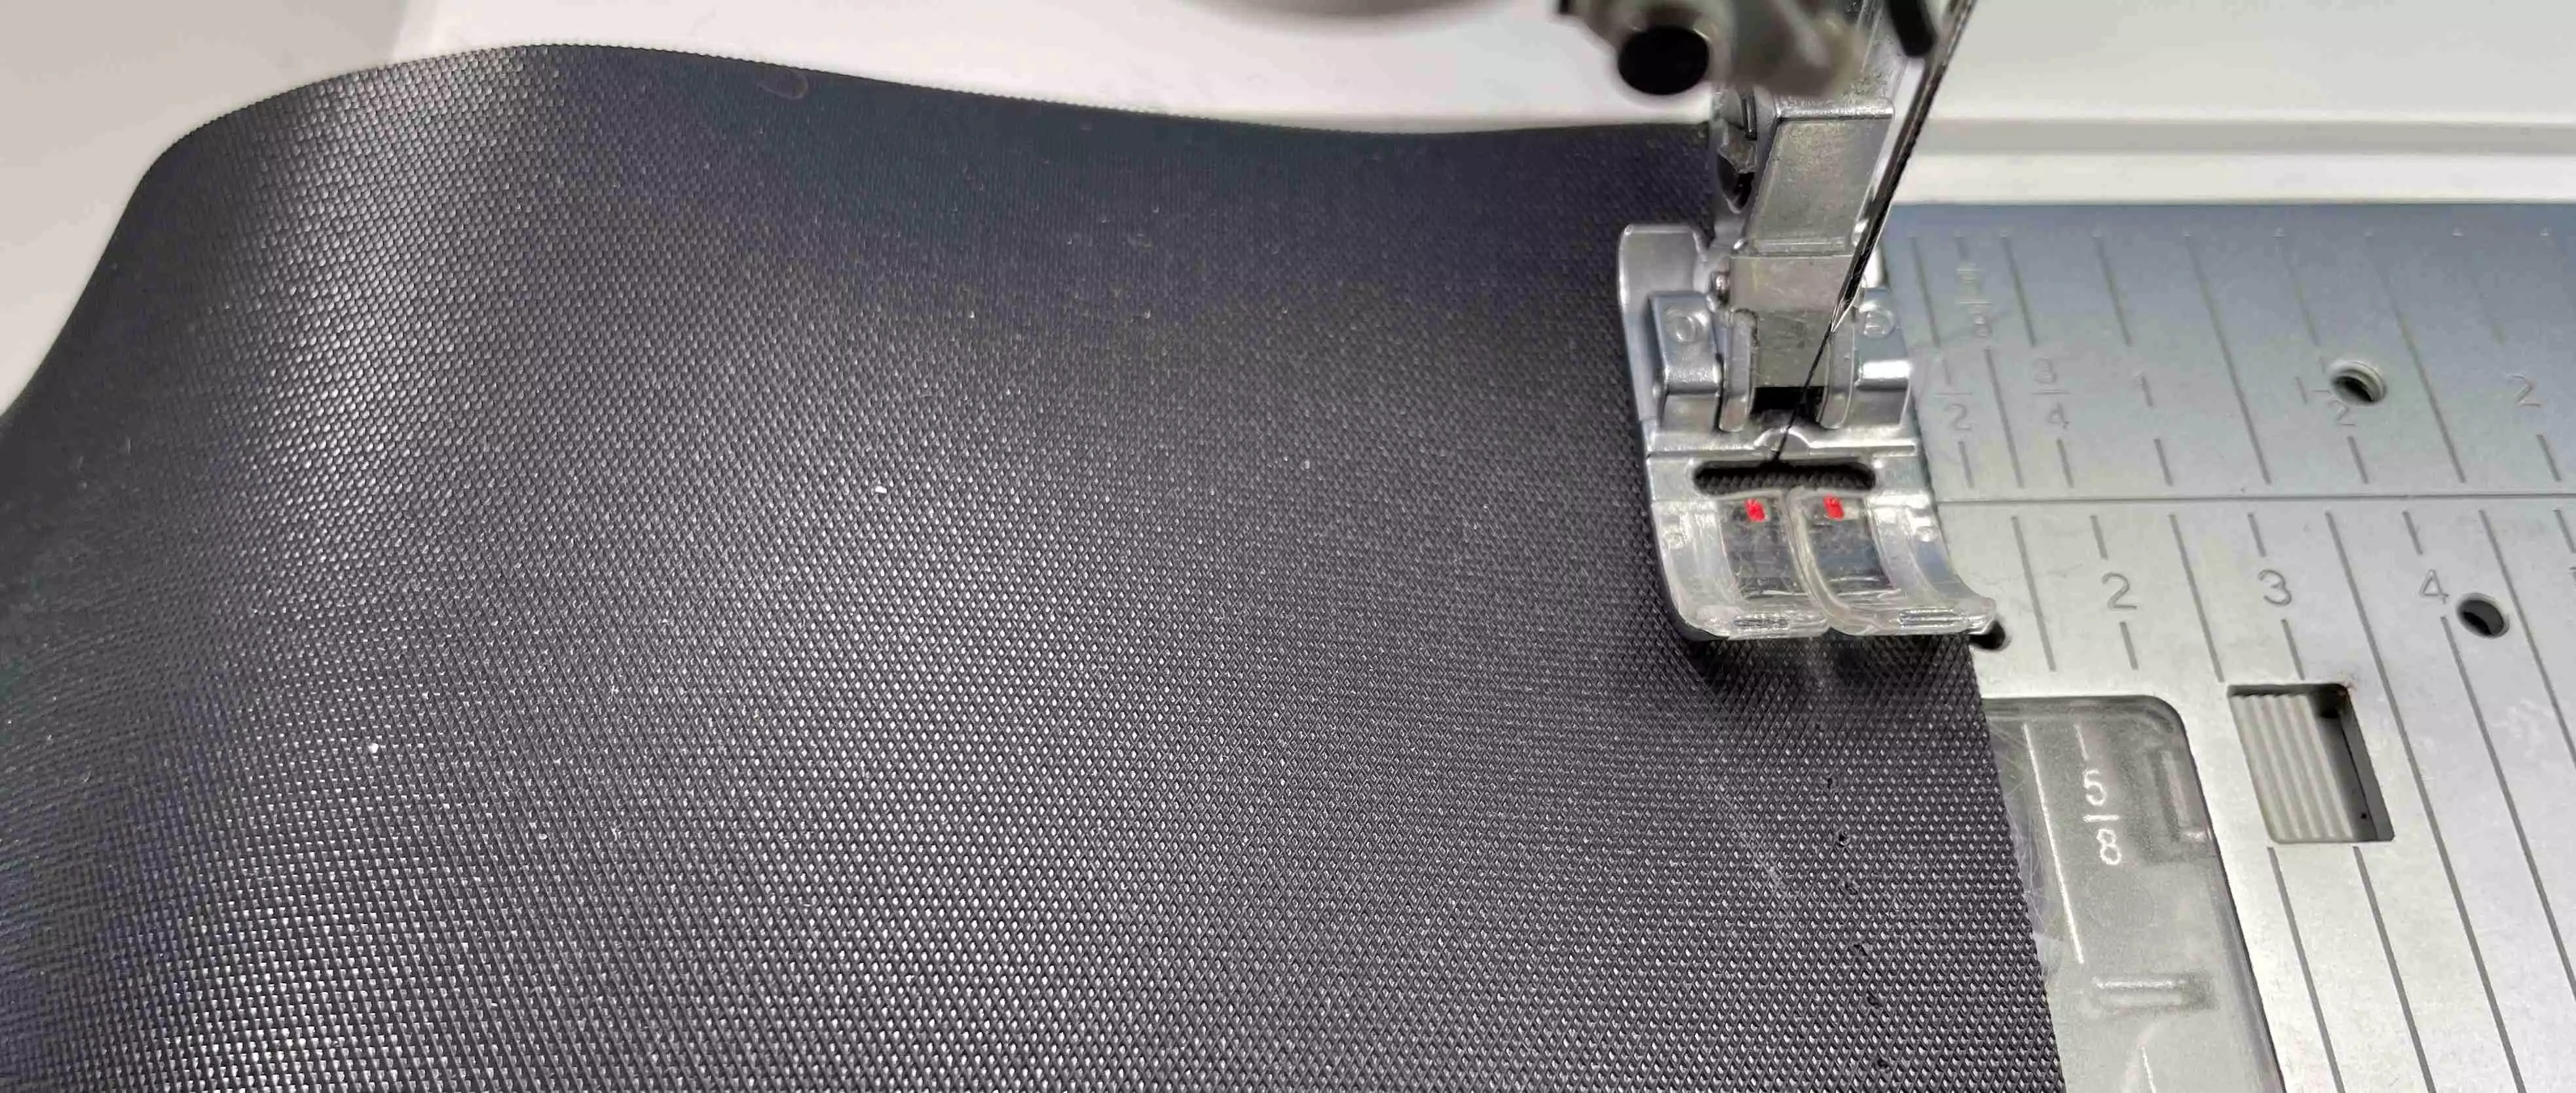
4. Stitch in place using a zipper foot with two straight stitch lines. I used a triple stitch to get a more visible stitching. You can also use zig-zag, or decorative stitches, in this case use the regular foot.
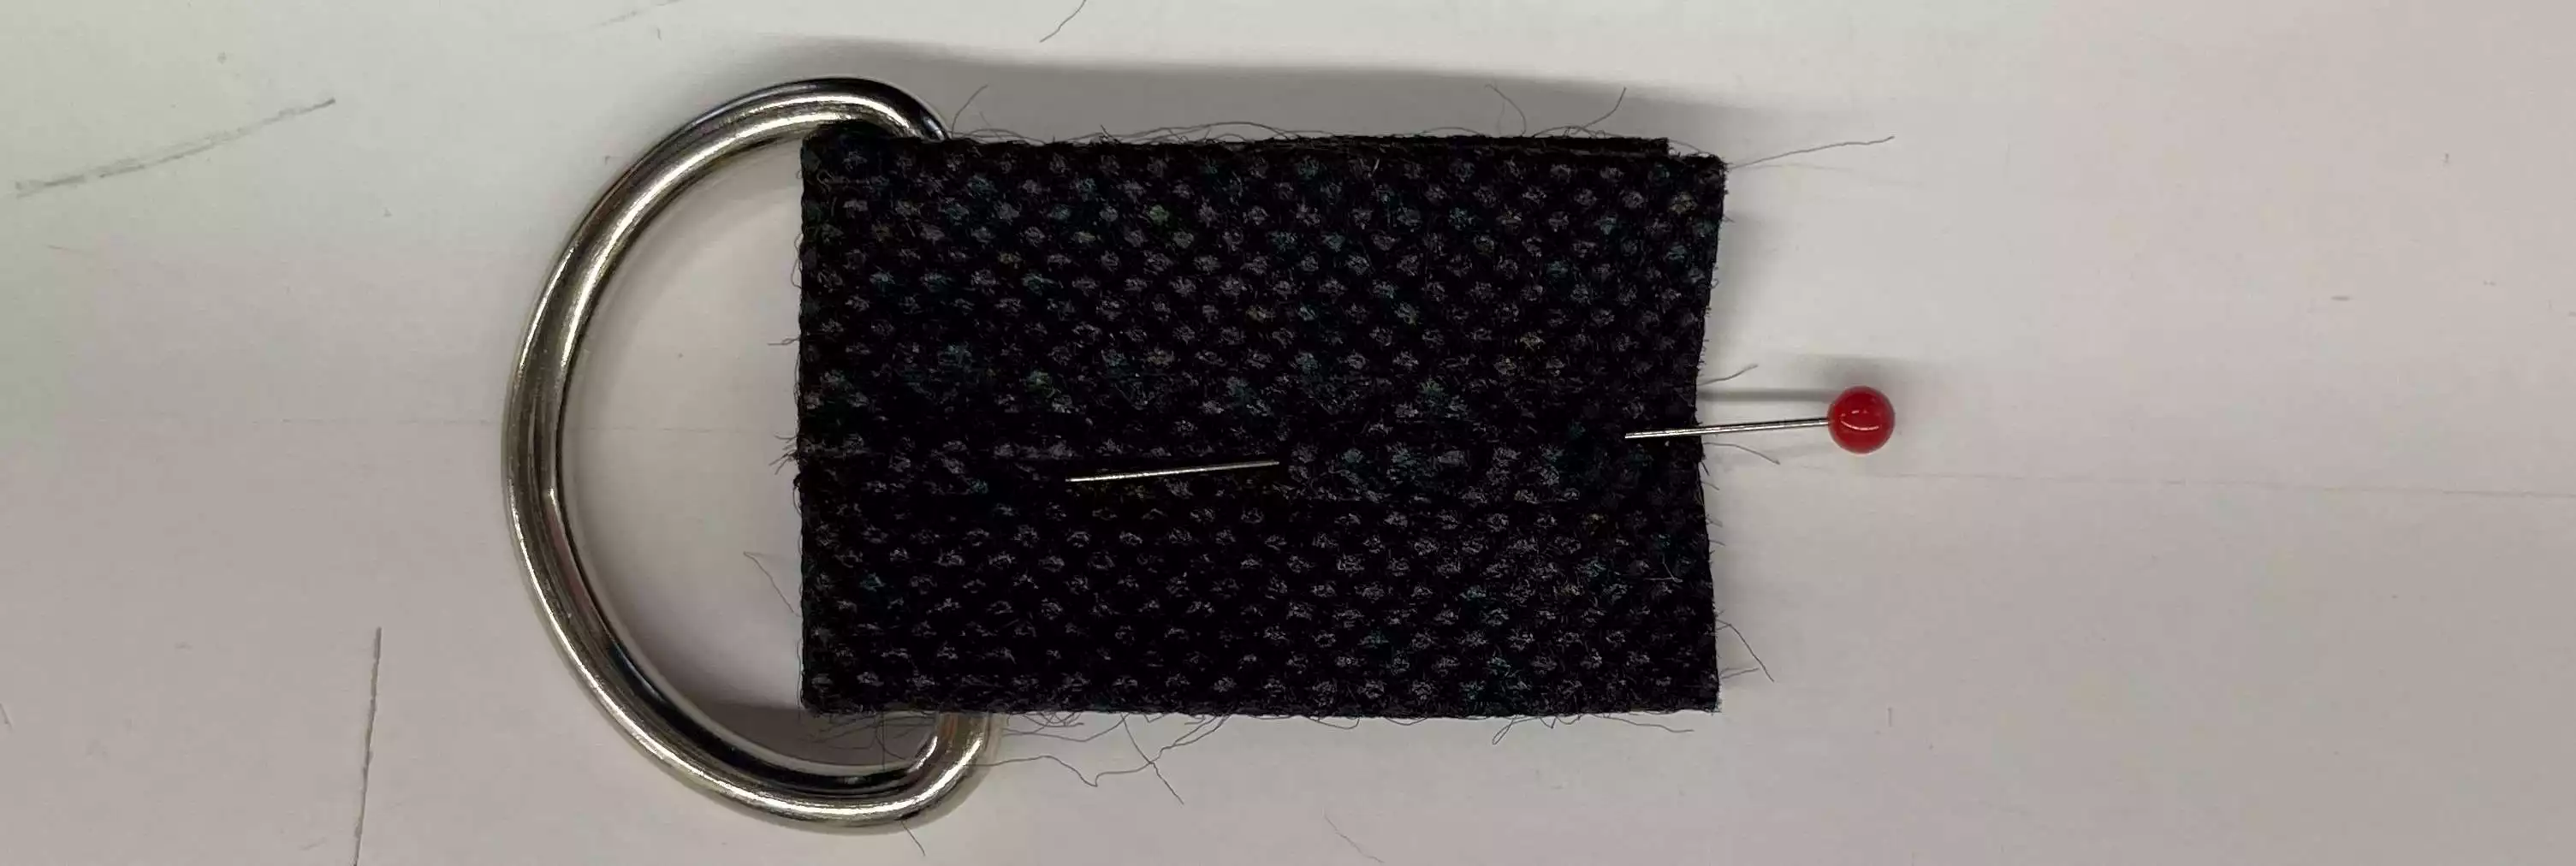
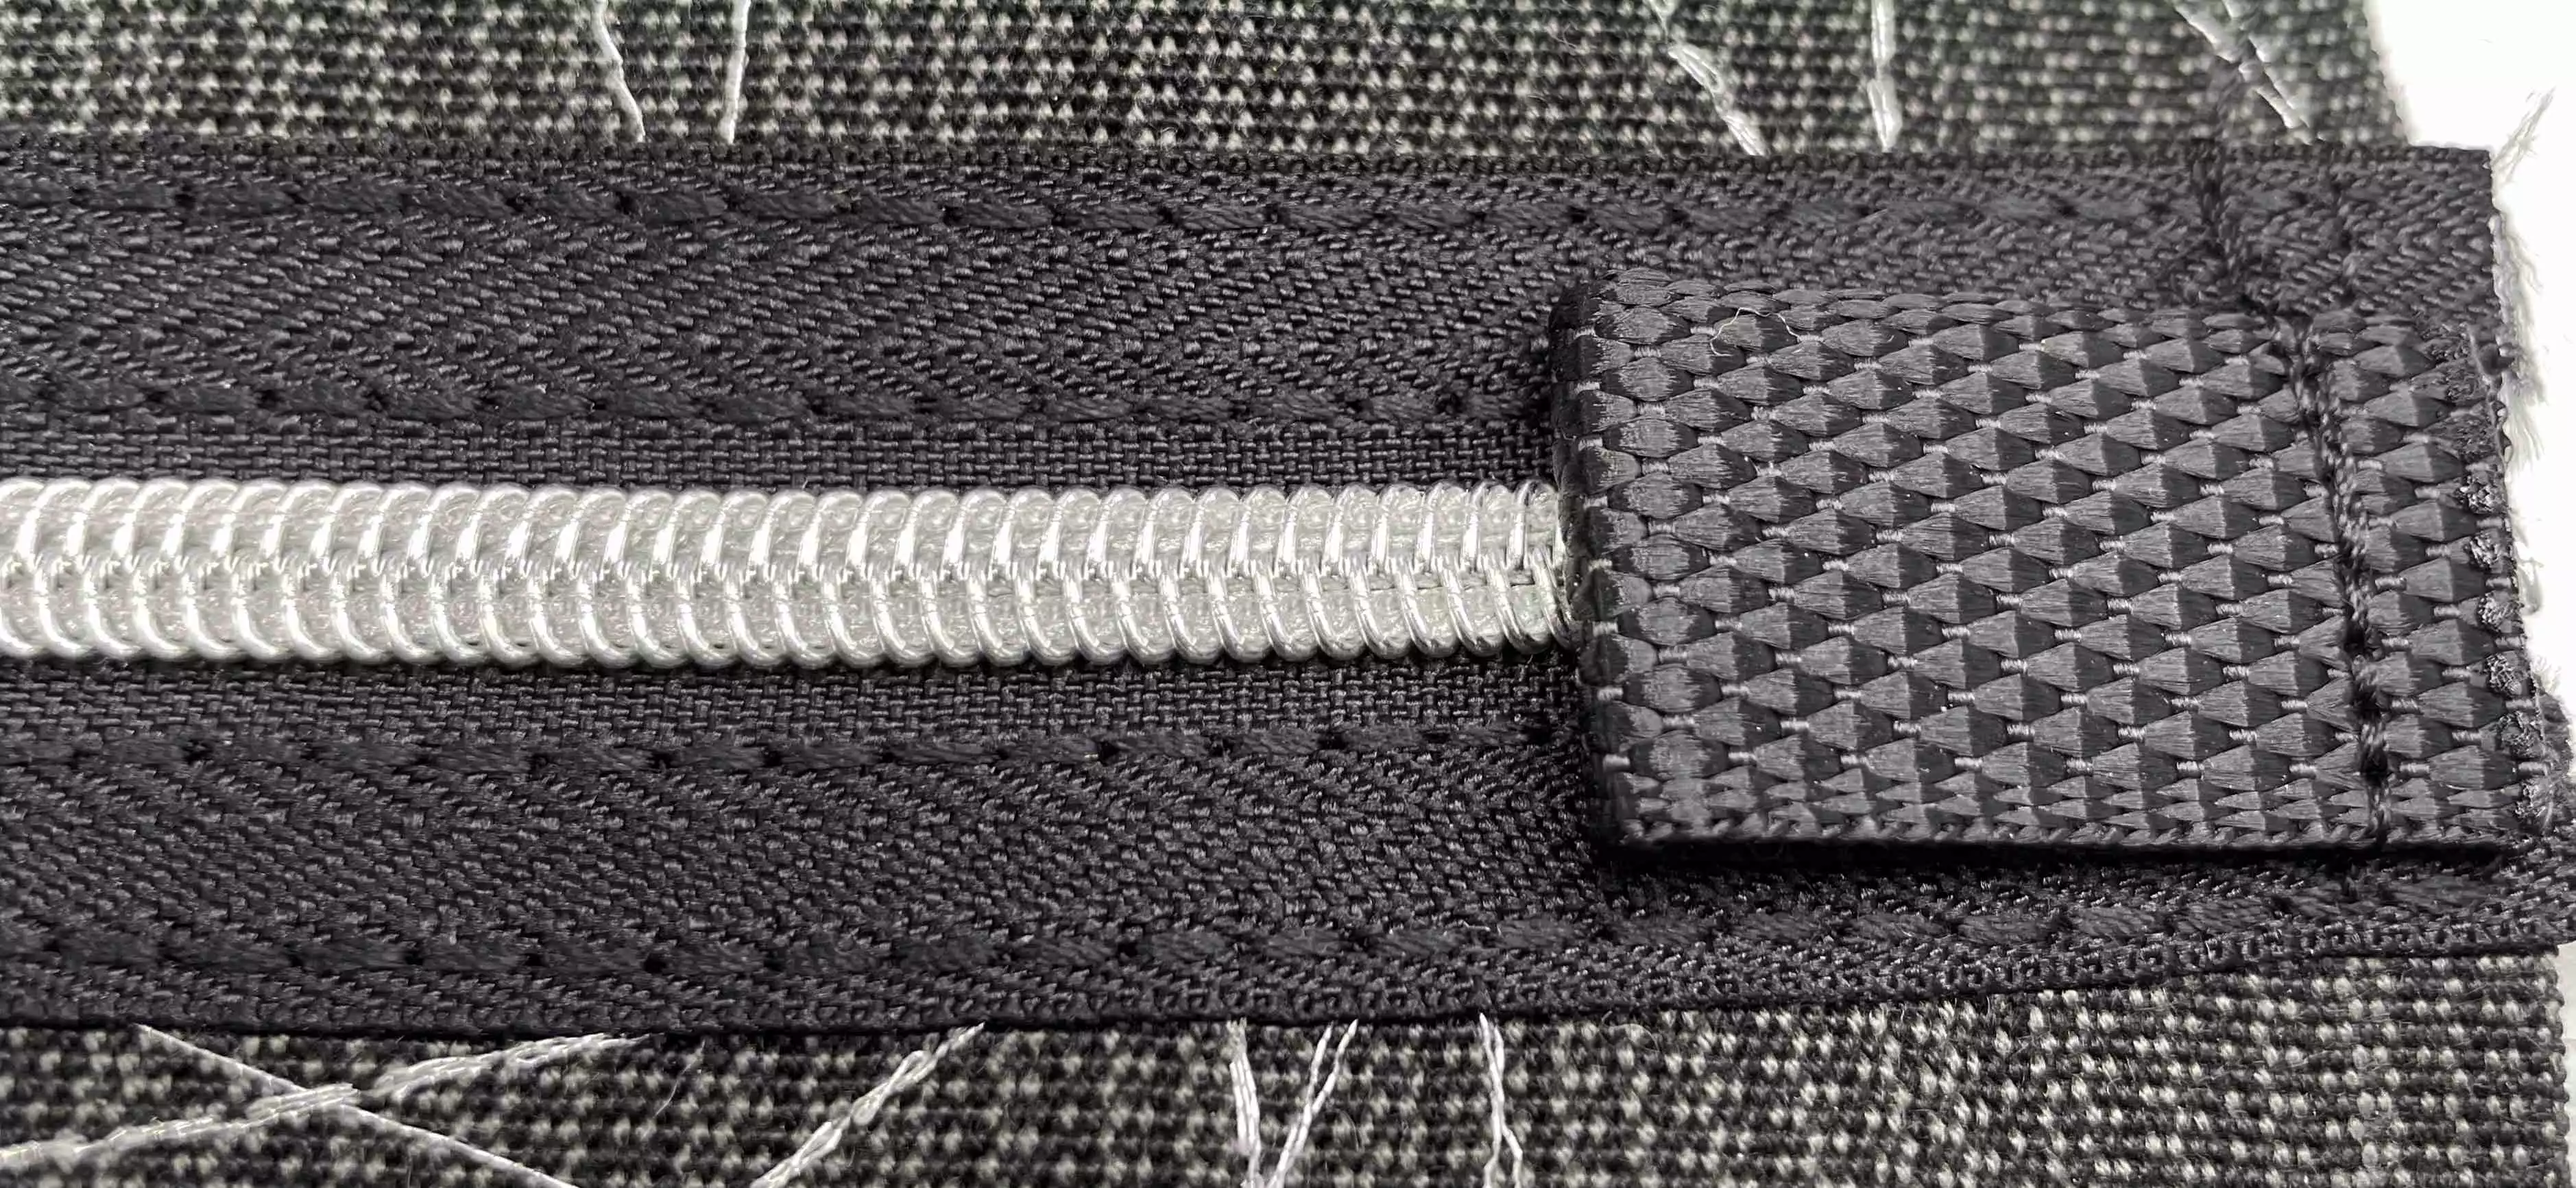
5. Fold the tabs, wrong sides together. If you like it you can put a 1” (2,5cm) D-ring in the fold.
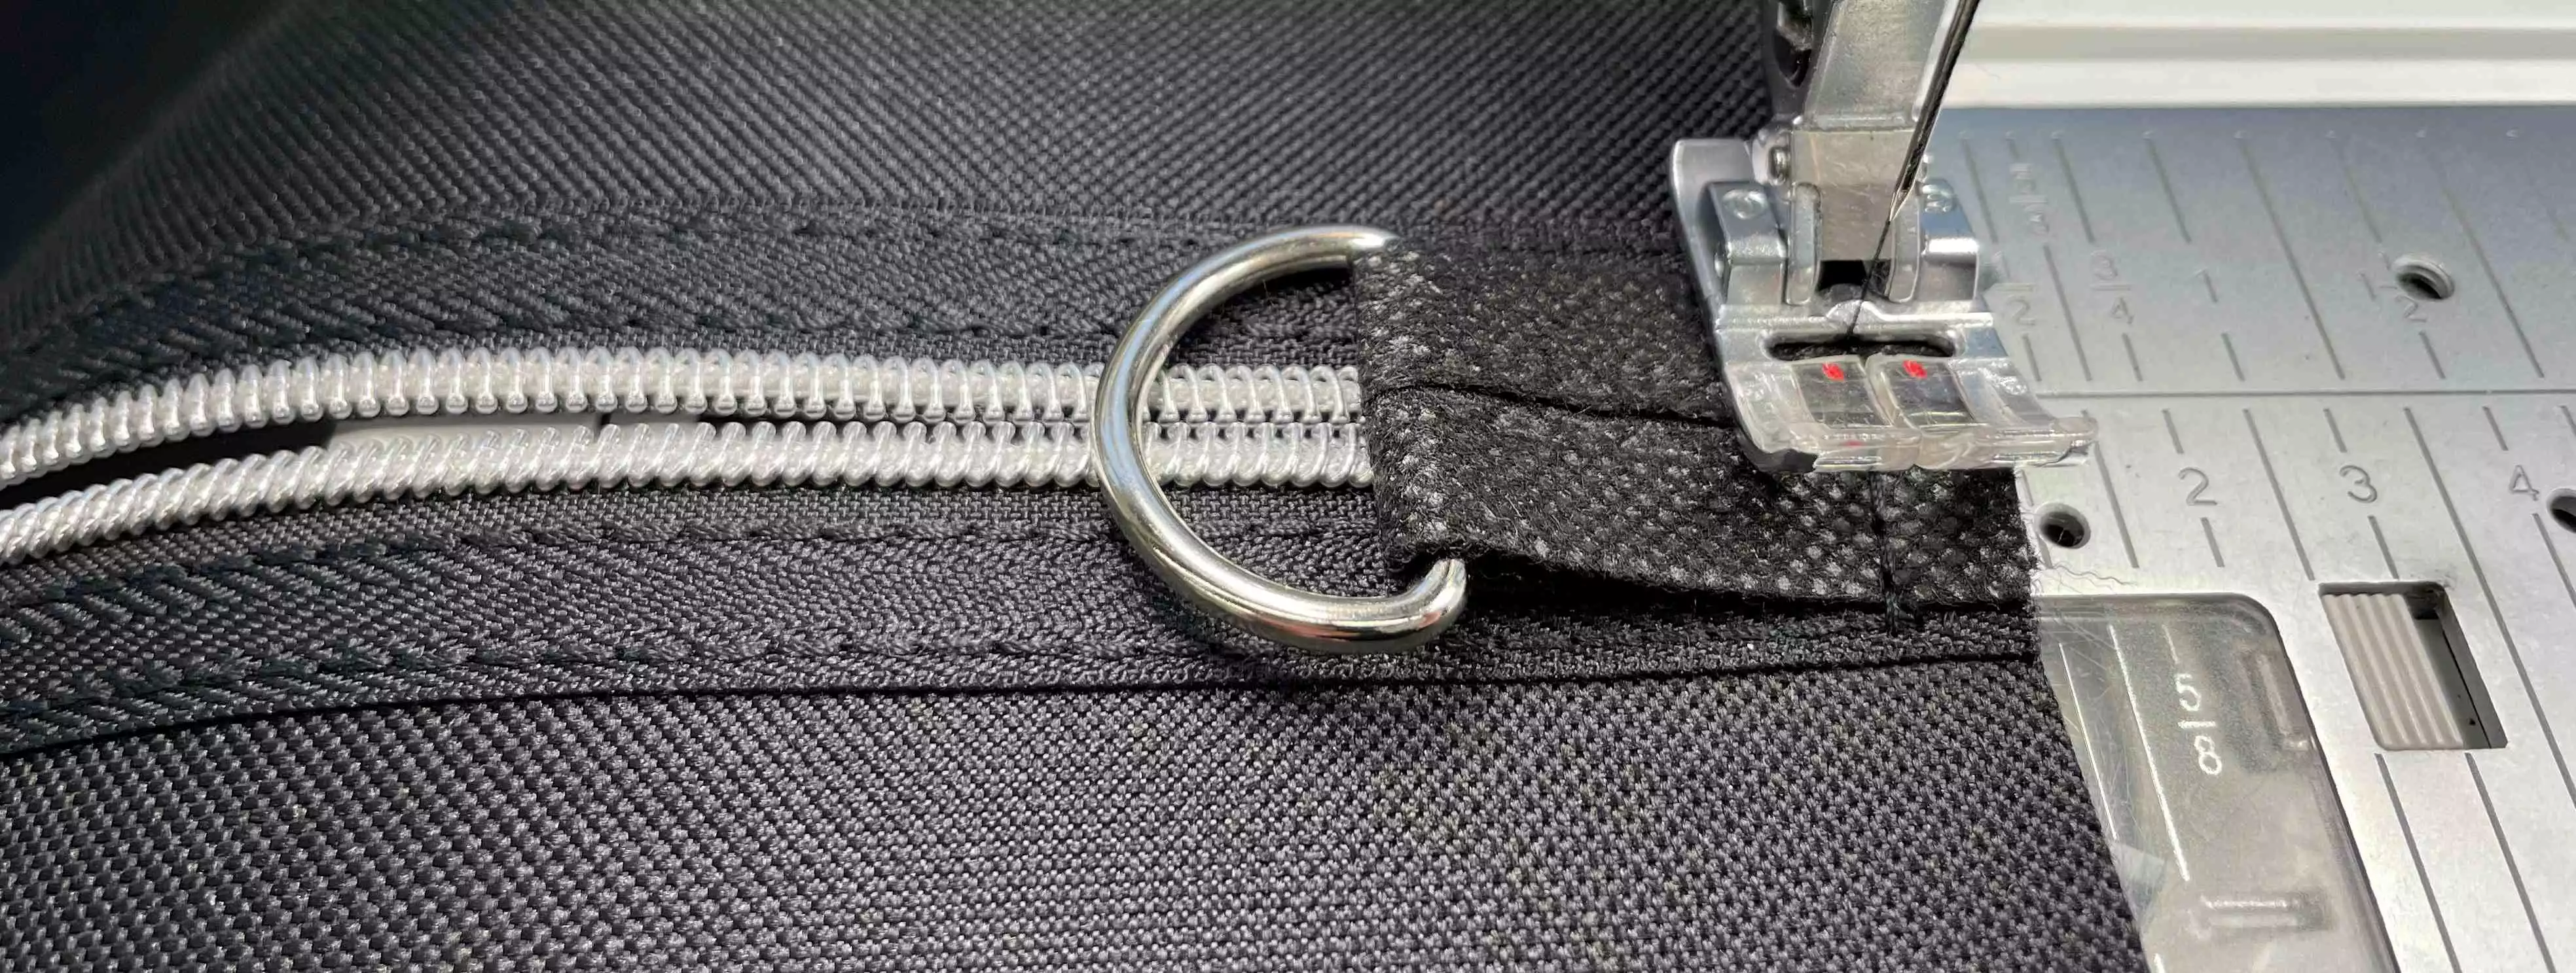
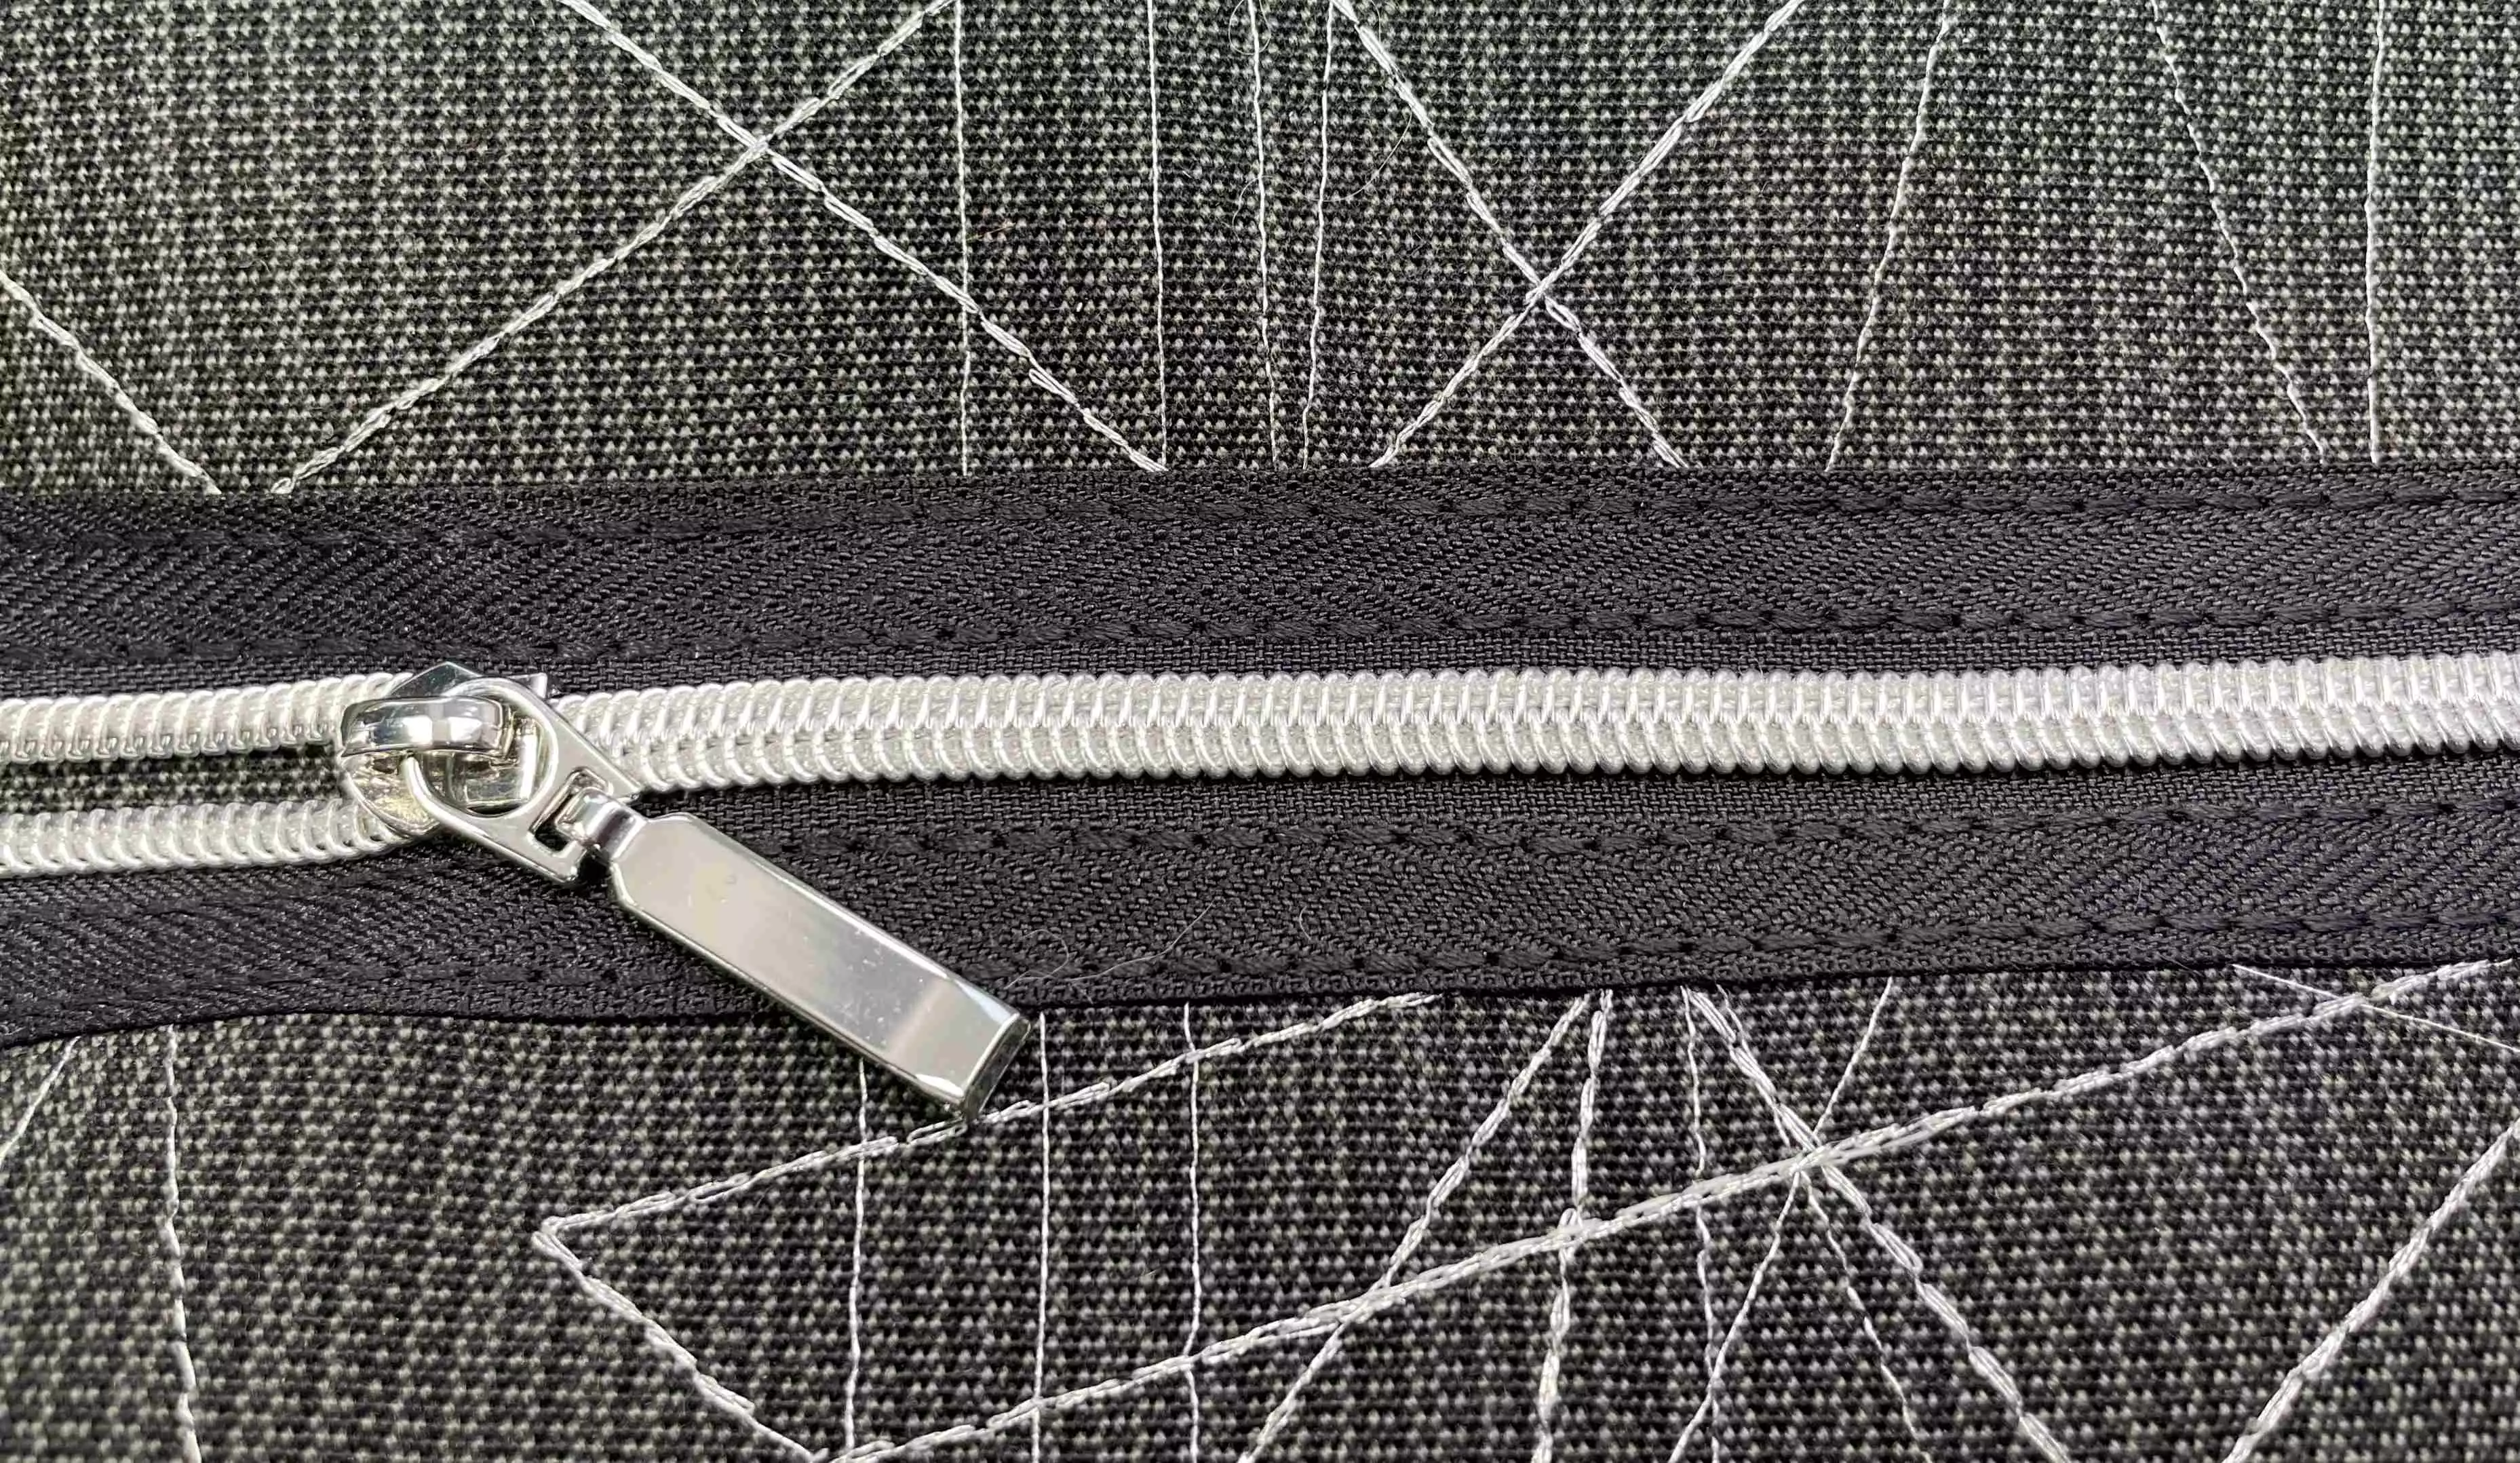
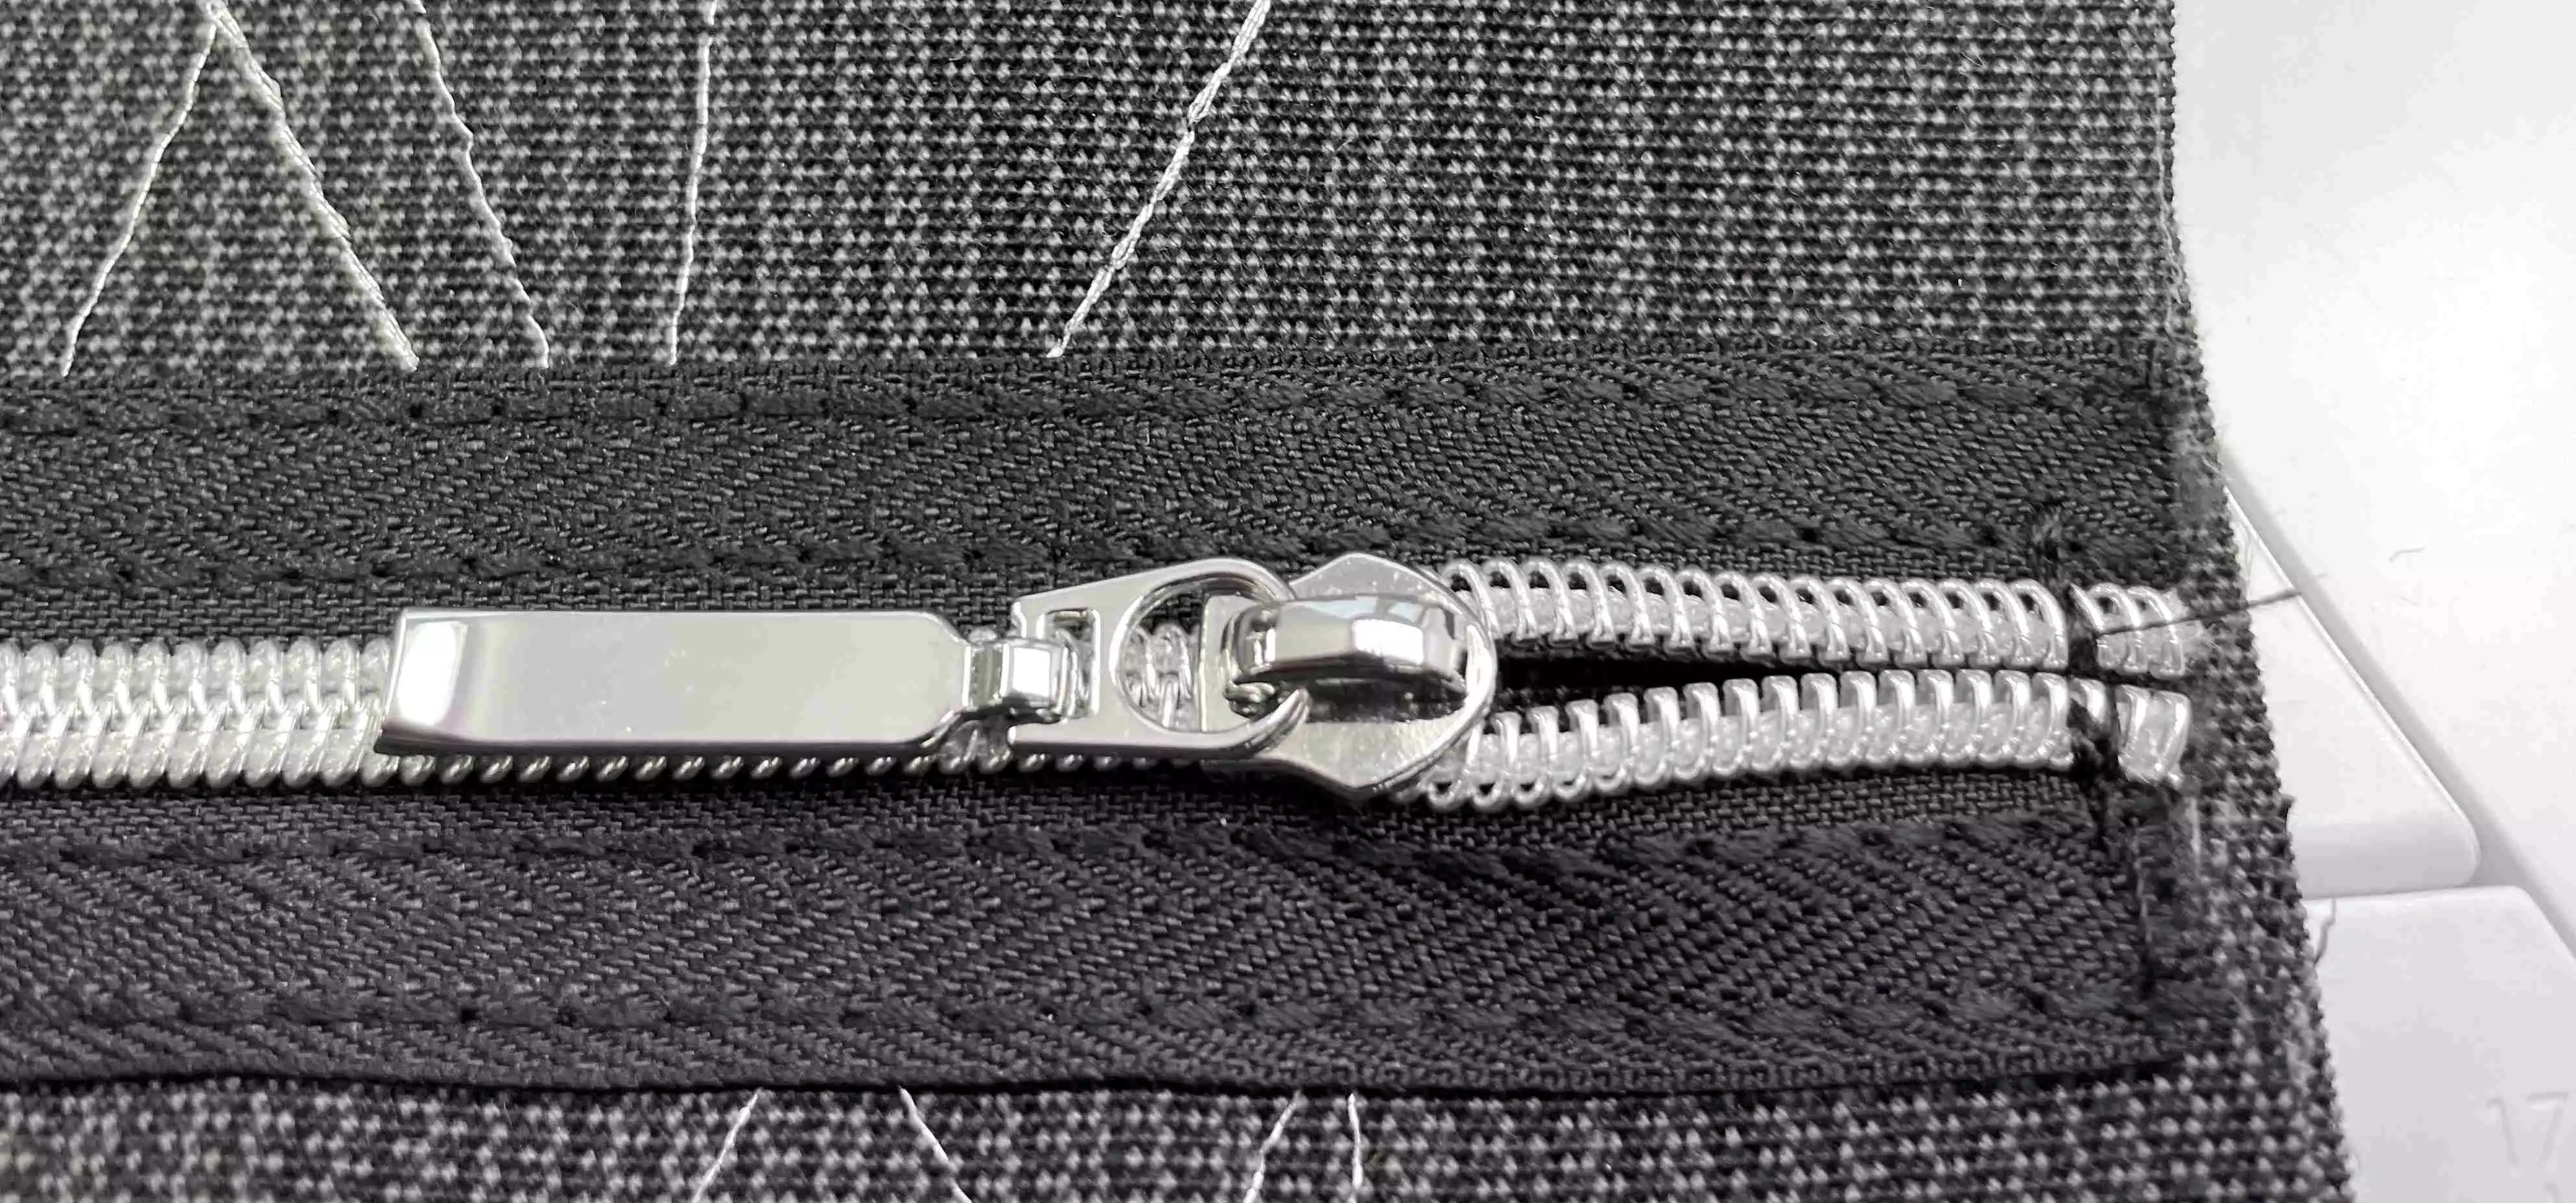
6. Move the zipper pull inside the edge of the fabric and stitch the tabs in place.
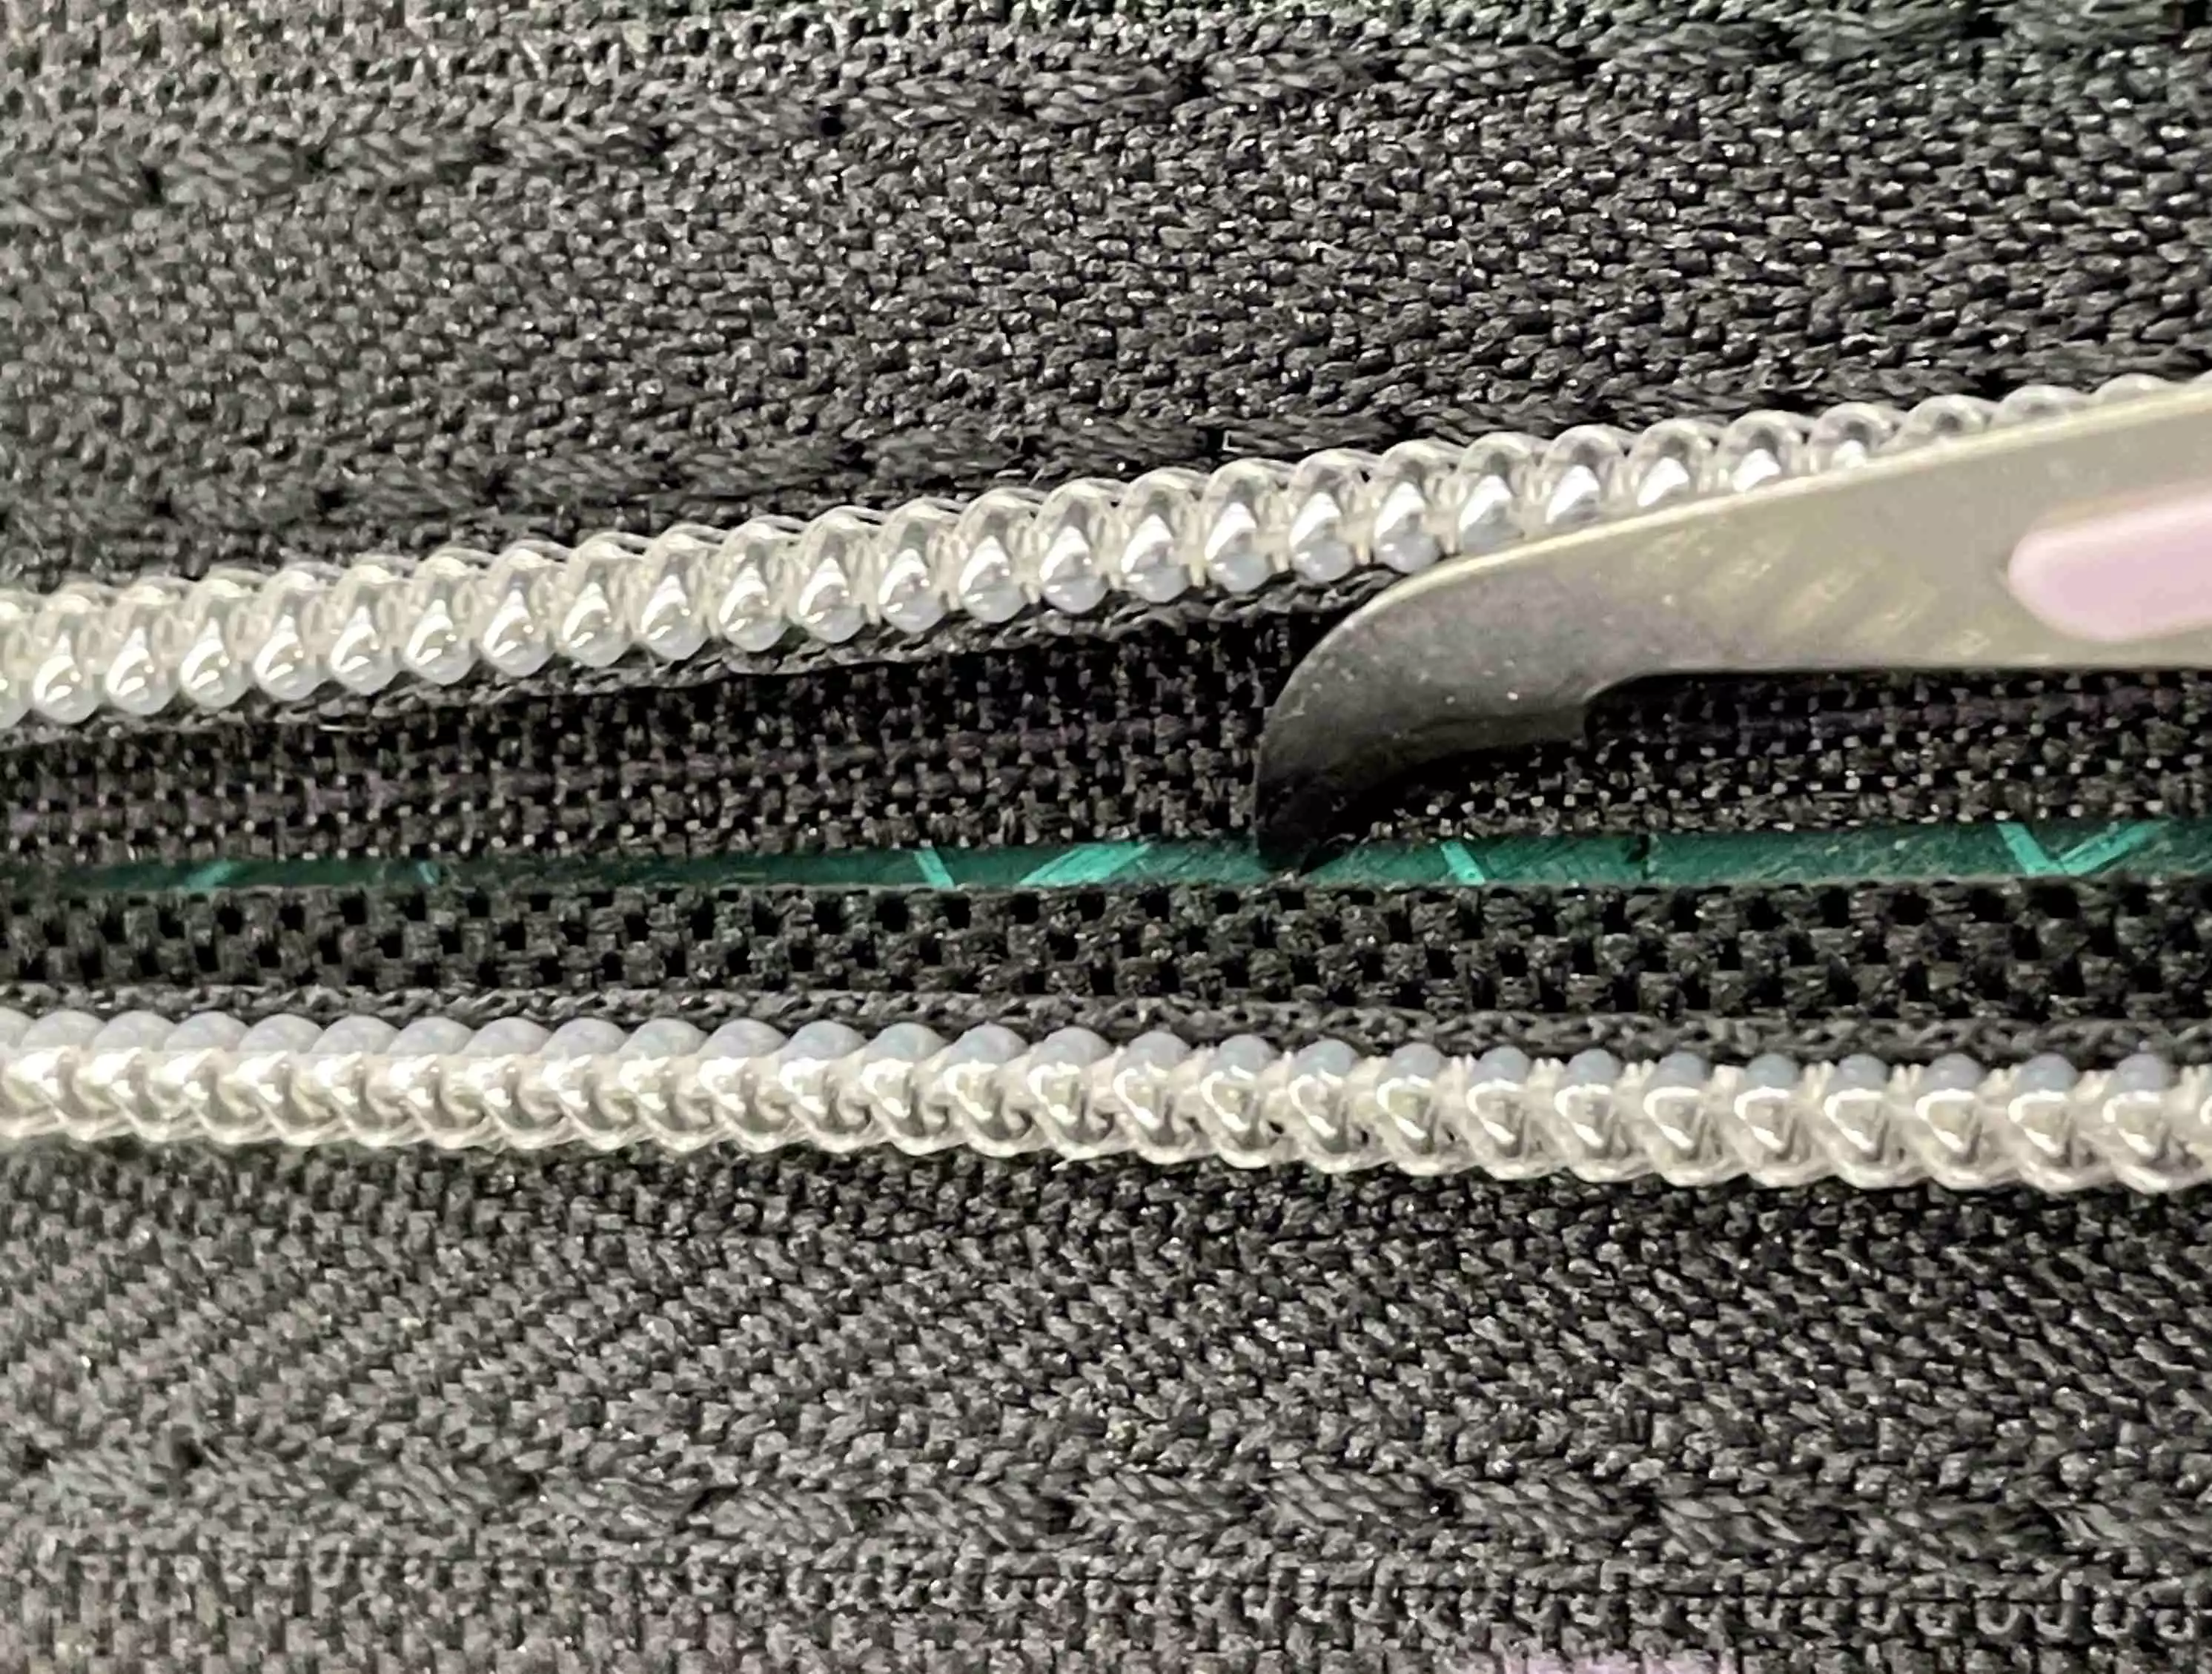
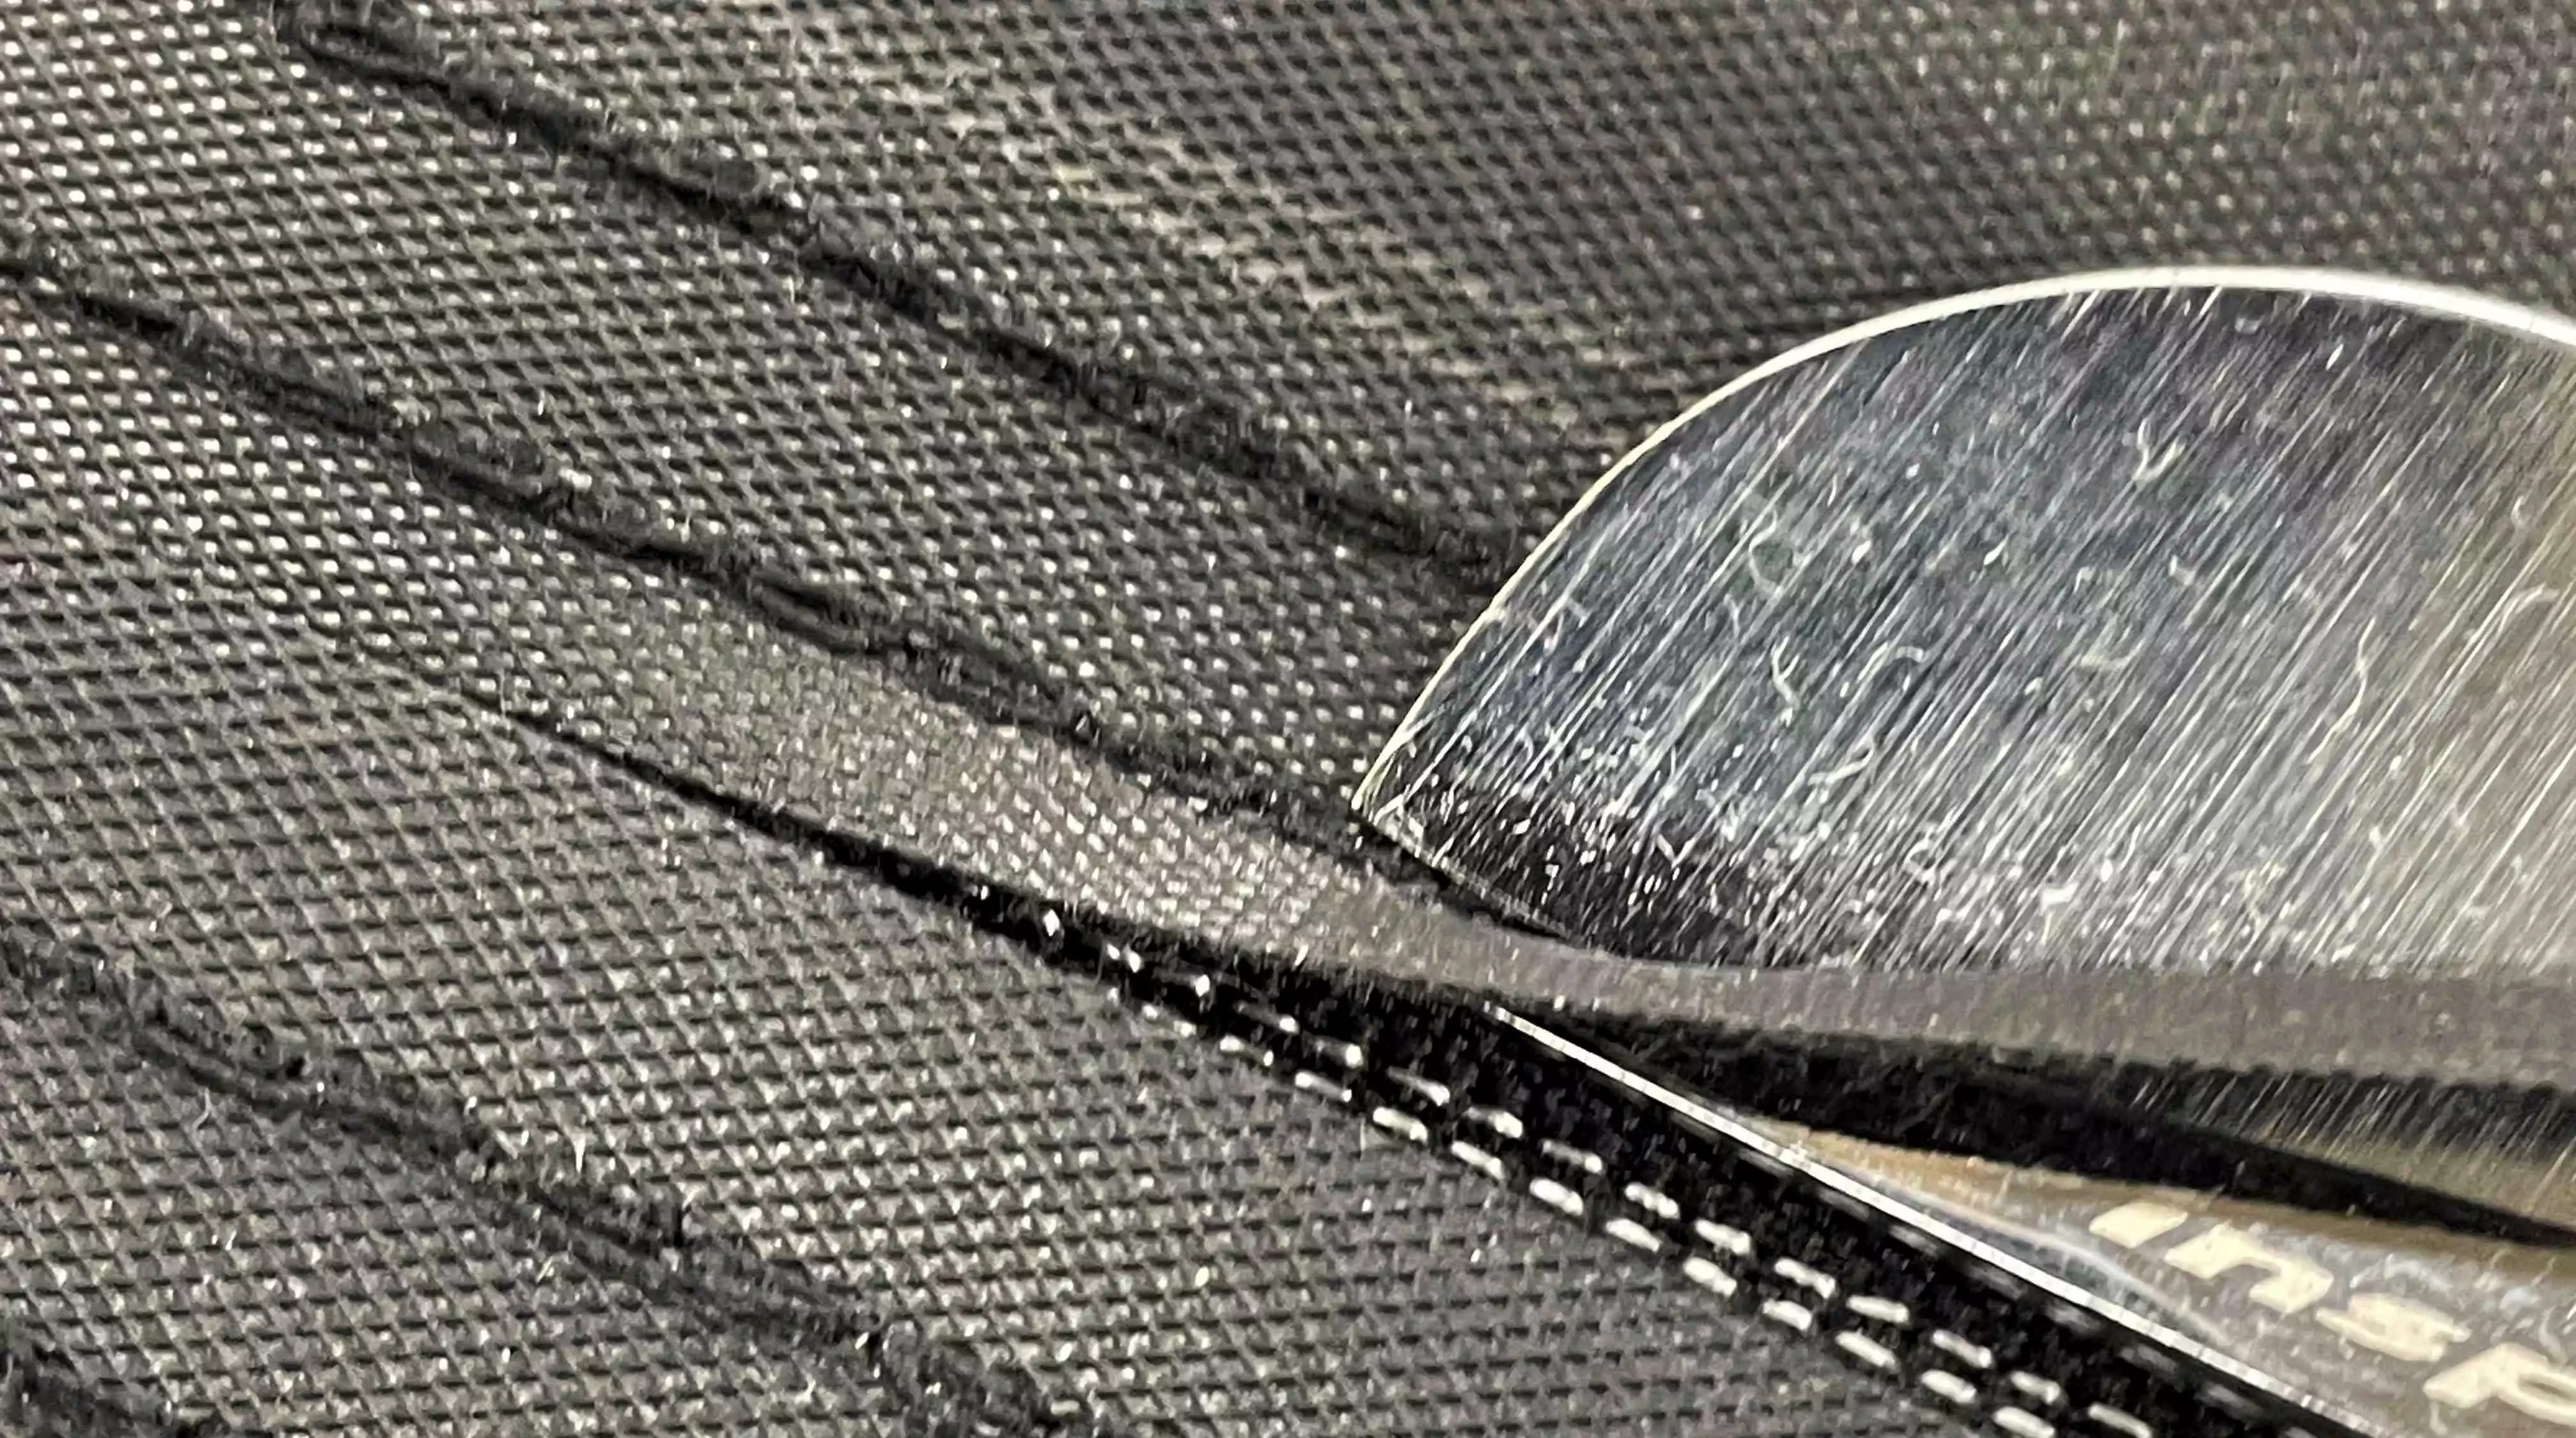
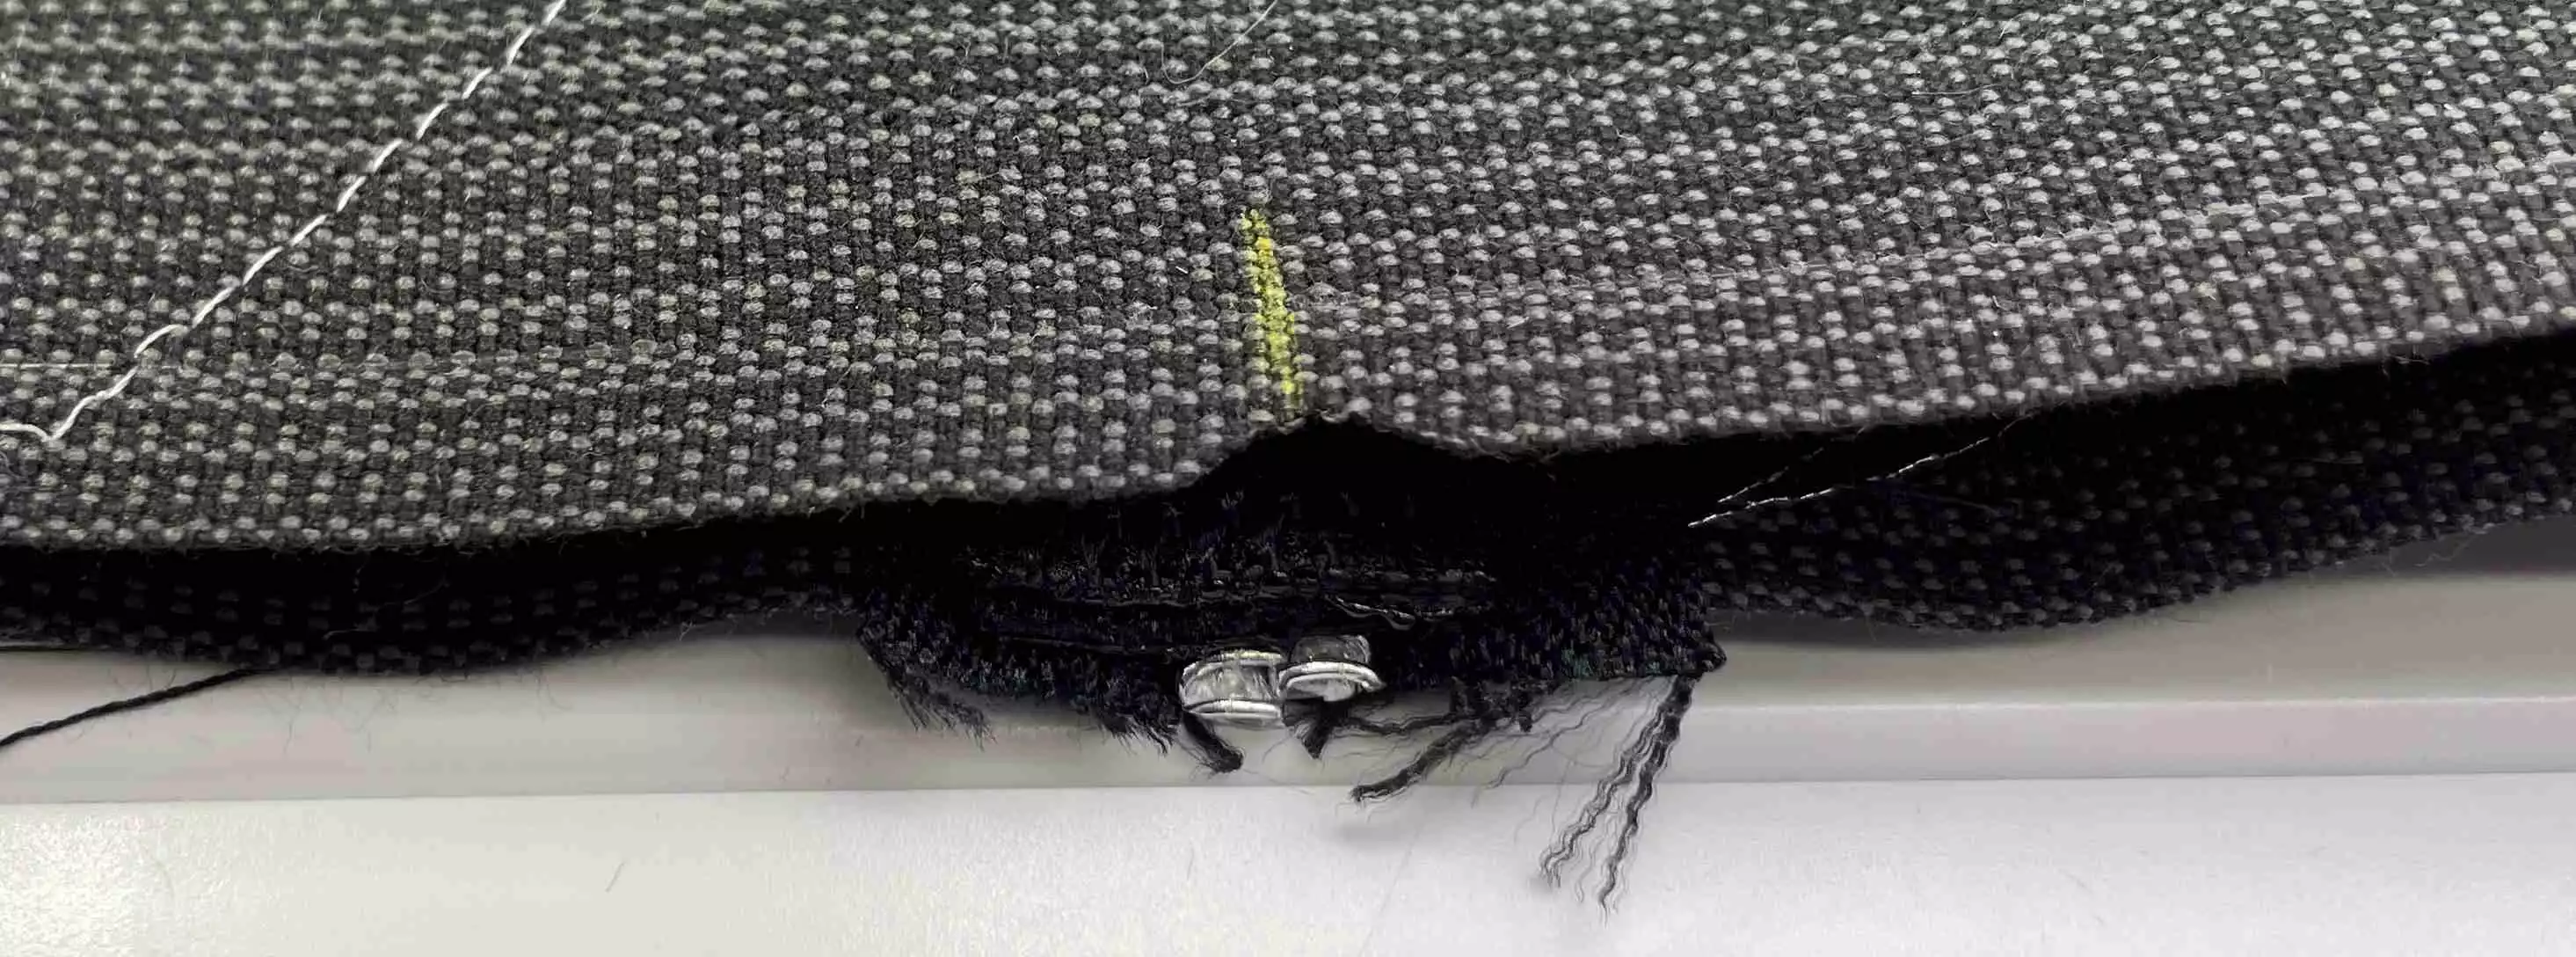
7. Open the zipper fully and cut the opening. You can use a sharp scissor or a scalpel for this. Take care not to damage the zipper teeth.
8. On the wrong side you can cut away excess fabric, but this is optional. If you decide to remove the extra fabric use an applique scissor to avoid cutting the stitching or zipper. Move the zipper pull to the middle of the zipper before next step
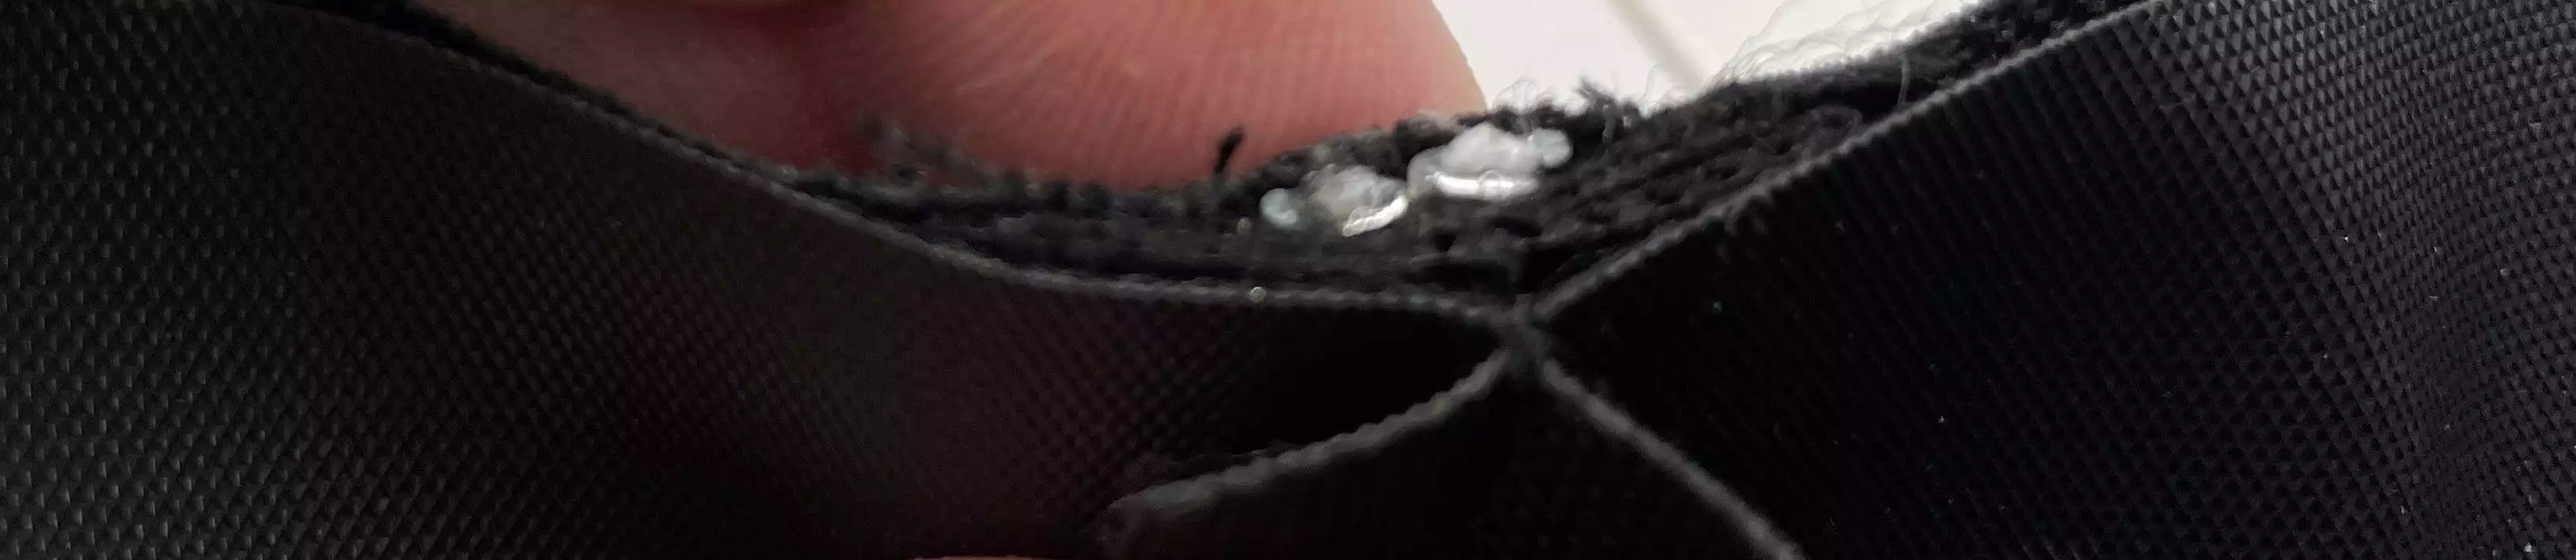
9. Fold the fabric right sides together and sew the bottom edges together using a ⅜” (1cm) seam allowance. Finger press the seam open. You can iron the seam open if your fabric can stand the heat. Use a low setting.
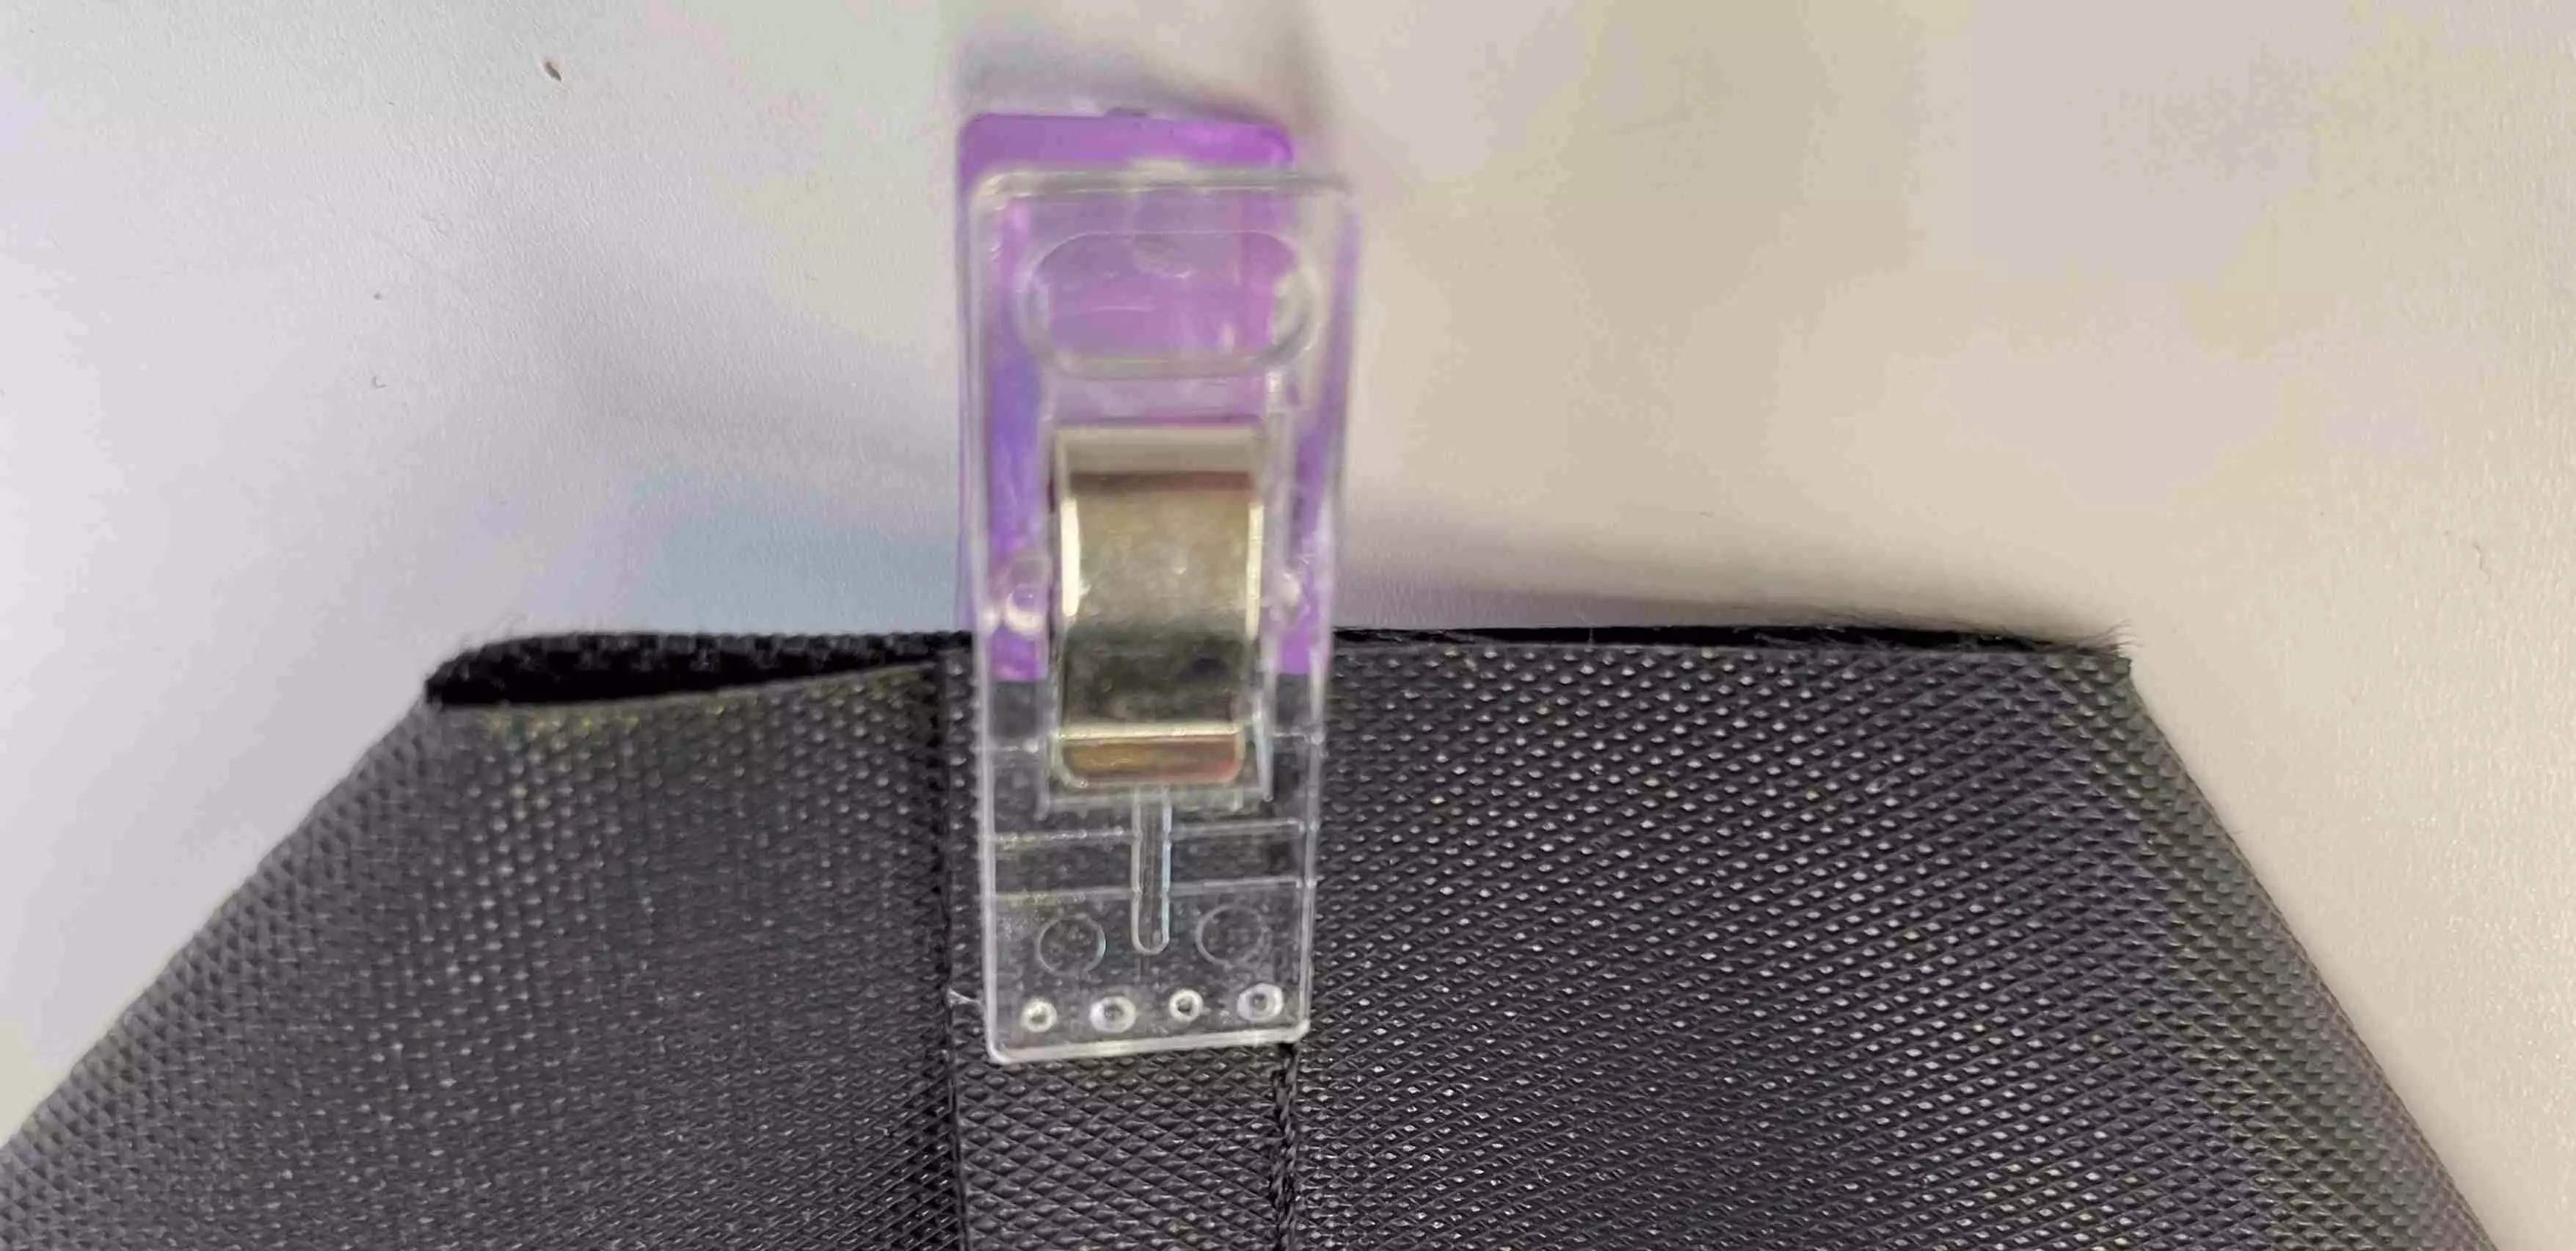
10. Align the seam with the middle of the zipper ends an use clips or pins to hold in place. Sew the sides together with a ⅜” (1cm) seam allowance.
11. Cut out a square 1” (2,5cm) from paper and place it in one of the corners. It should be placed on the fold and on the inside of the seam allowance. Draw a line around the edges. Repeat for all four corners.
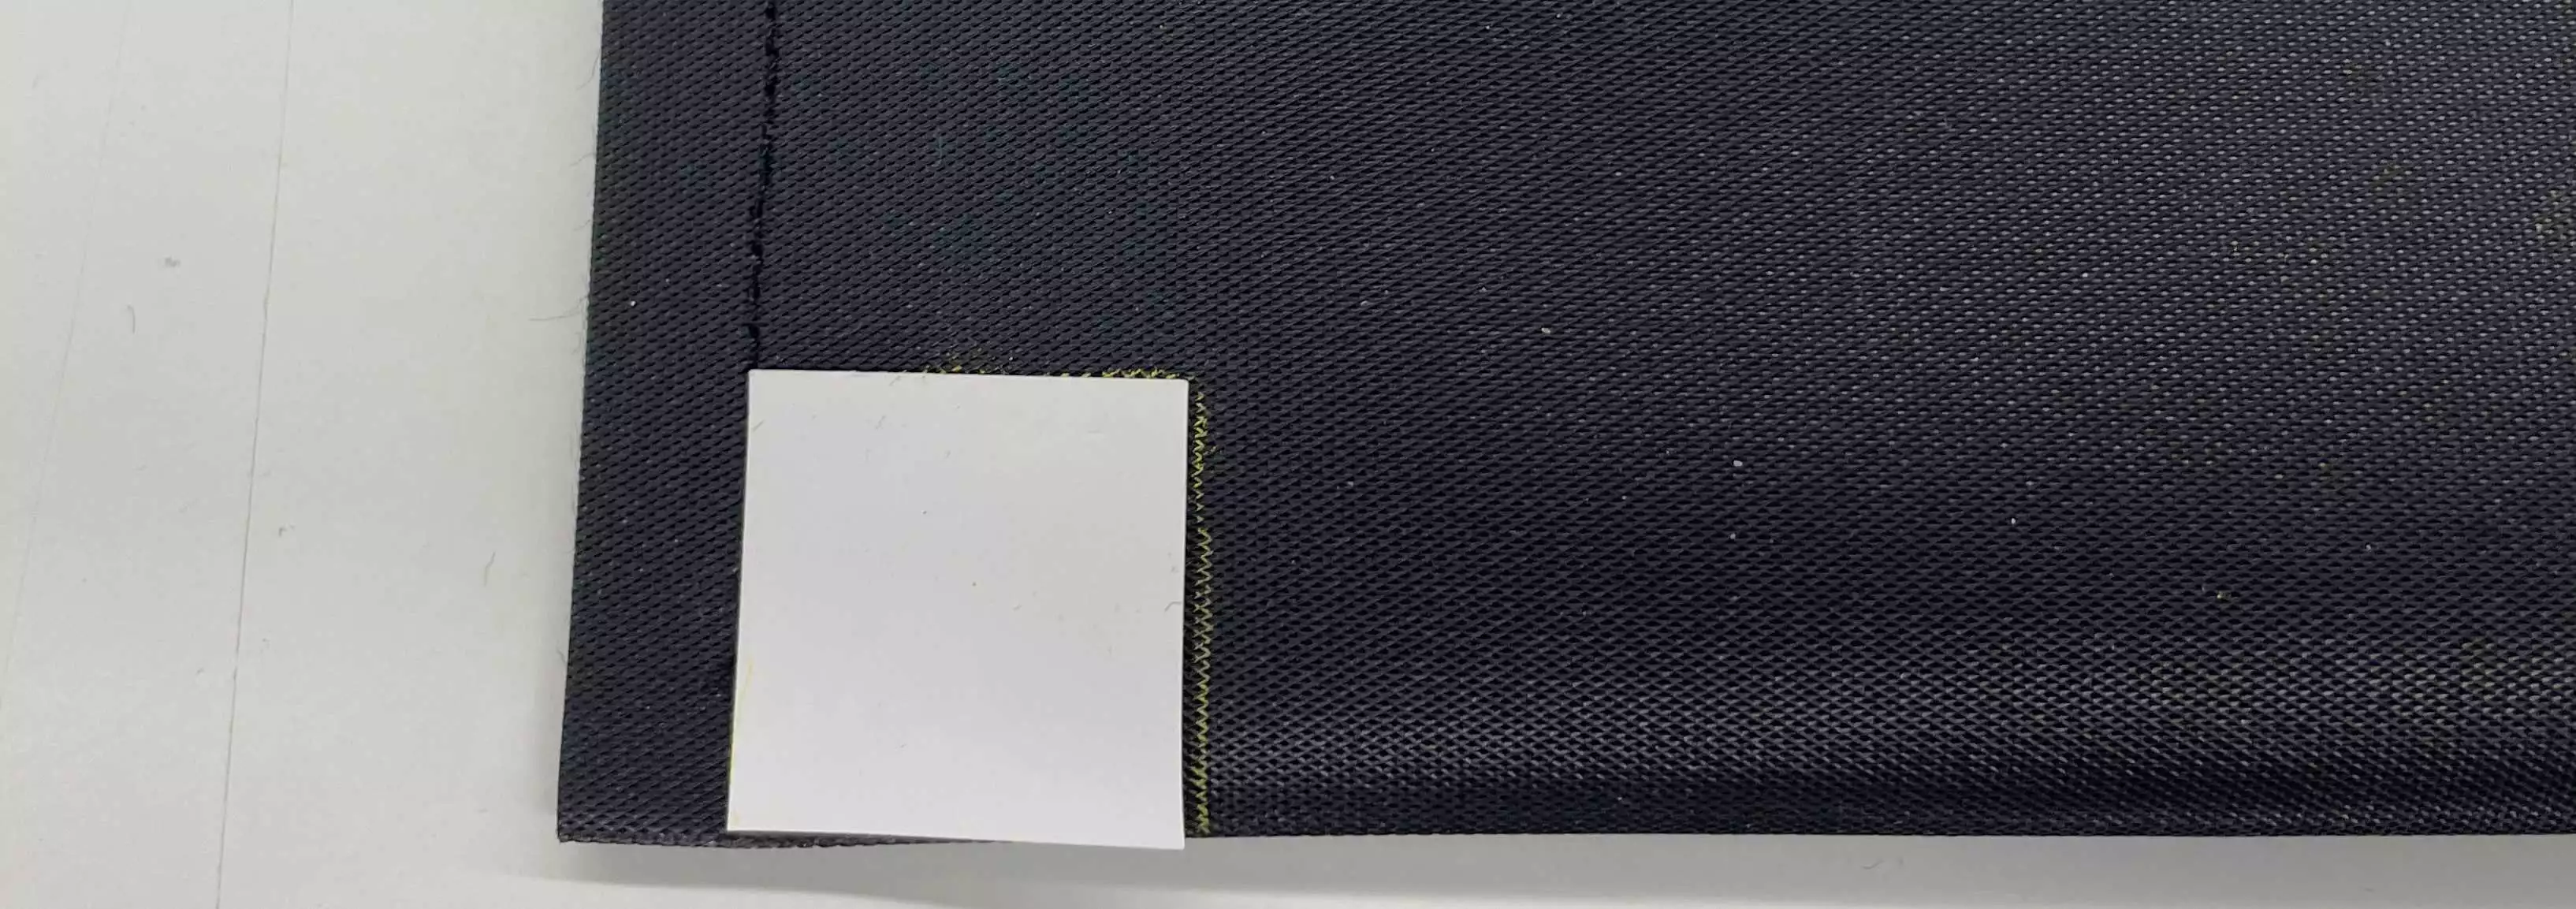 12. Cut out the squares.
13. Fold the cutout edges together to form corners and sew them together with a ⅜”(1cm) seam allowance.
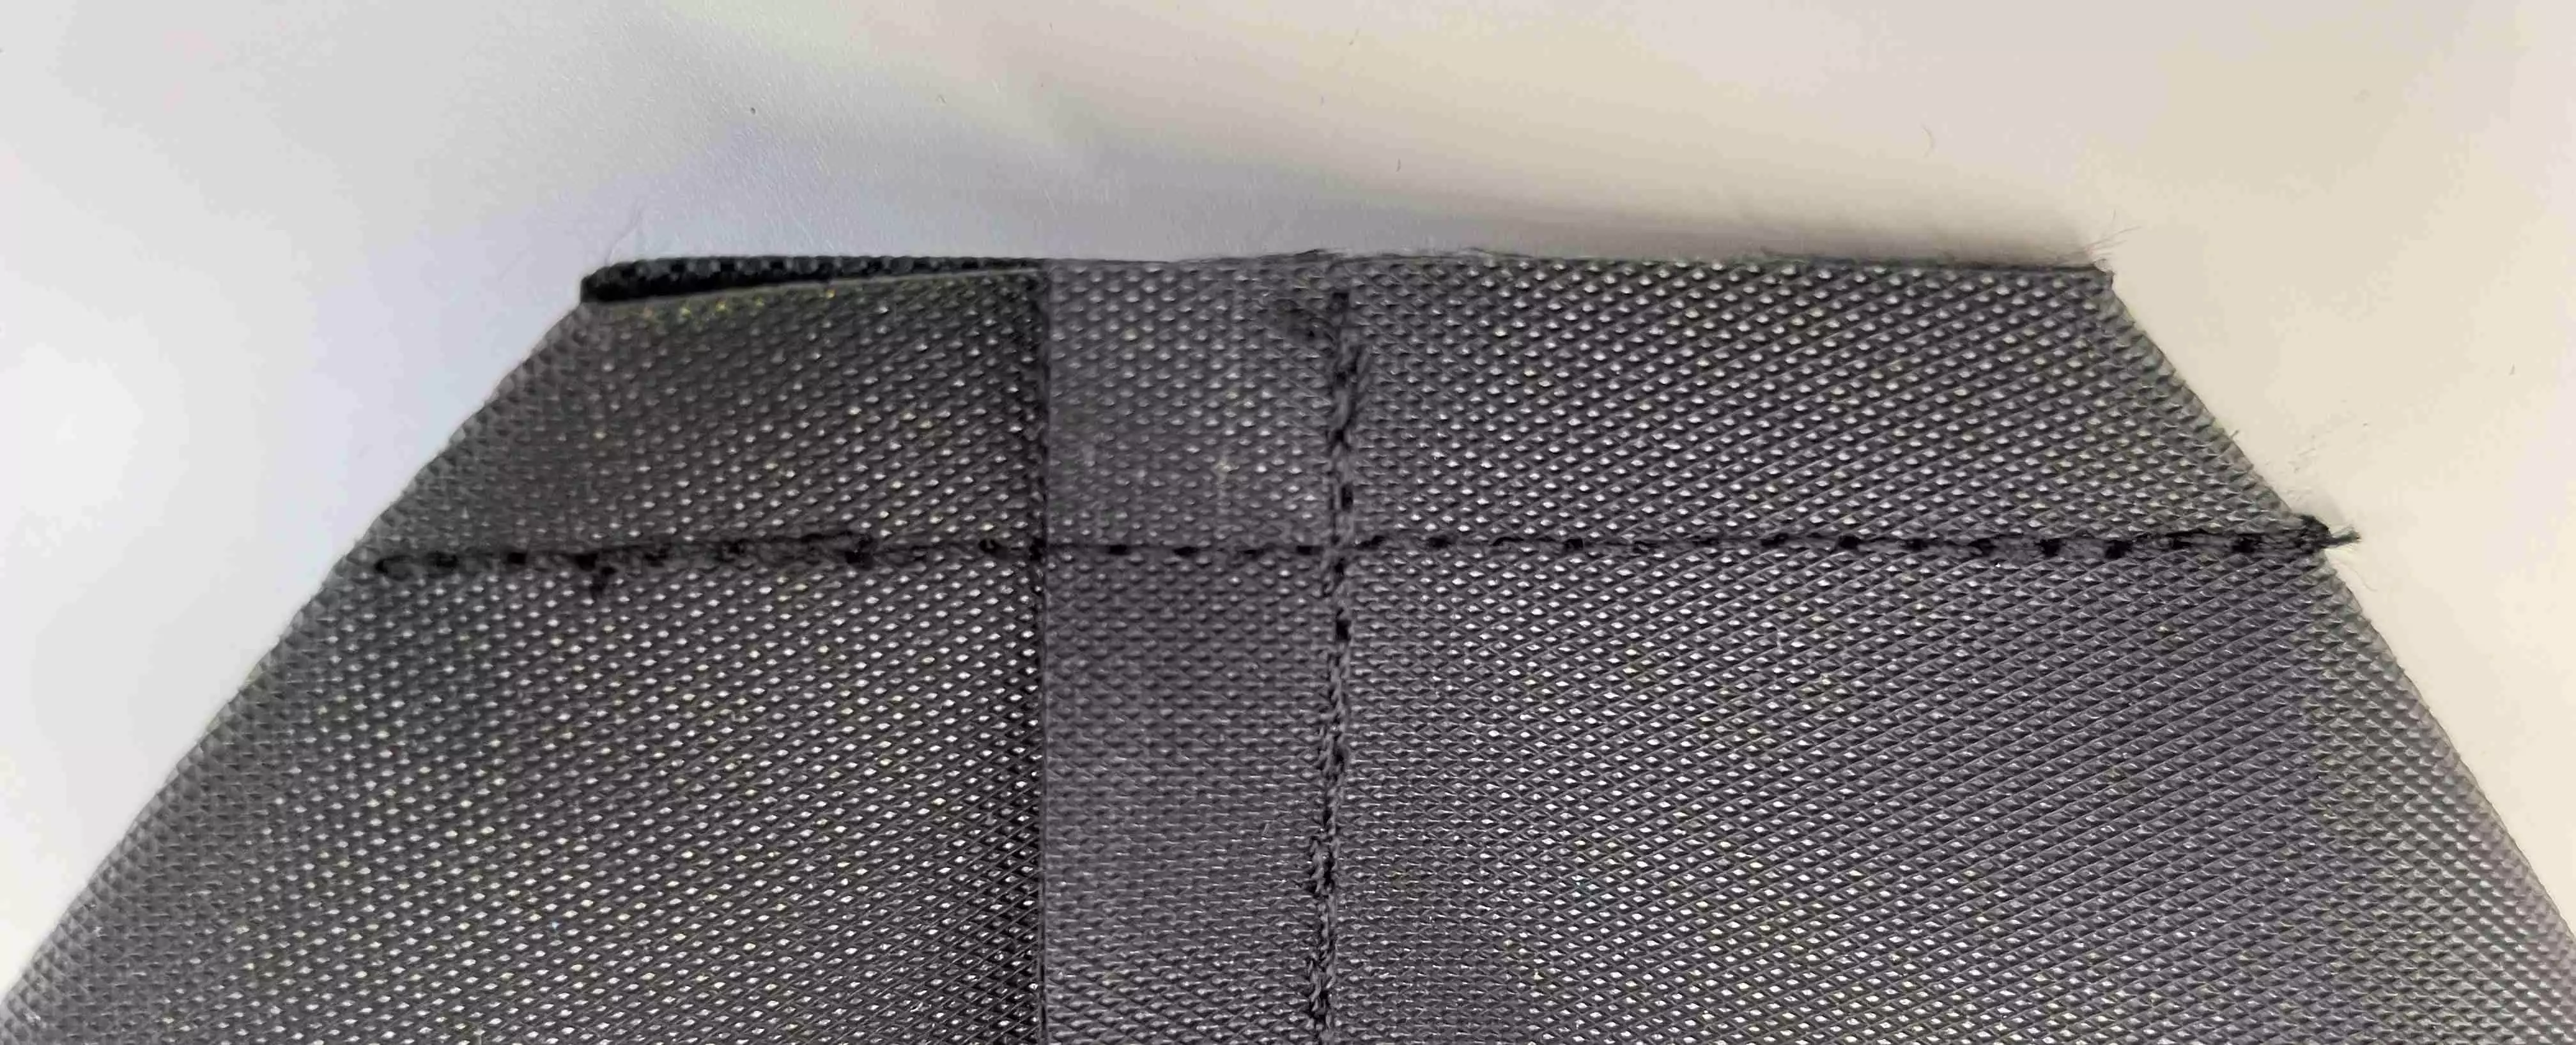
14. Turn the bag right side out and give it a nice square shape.Your cosmetic box is now finished
Version 2
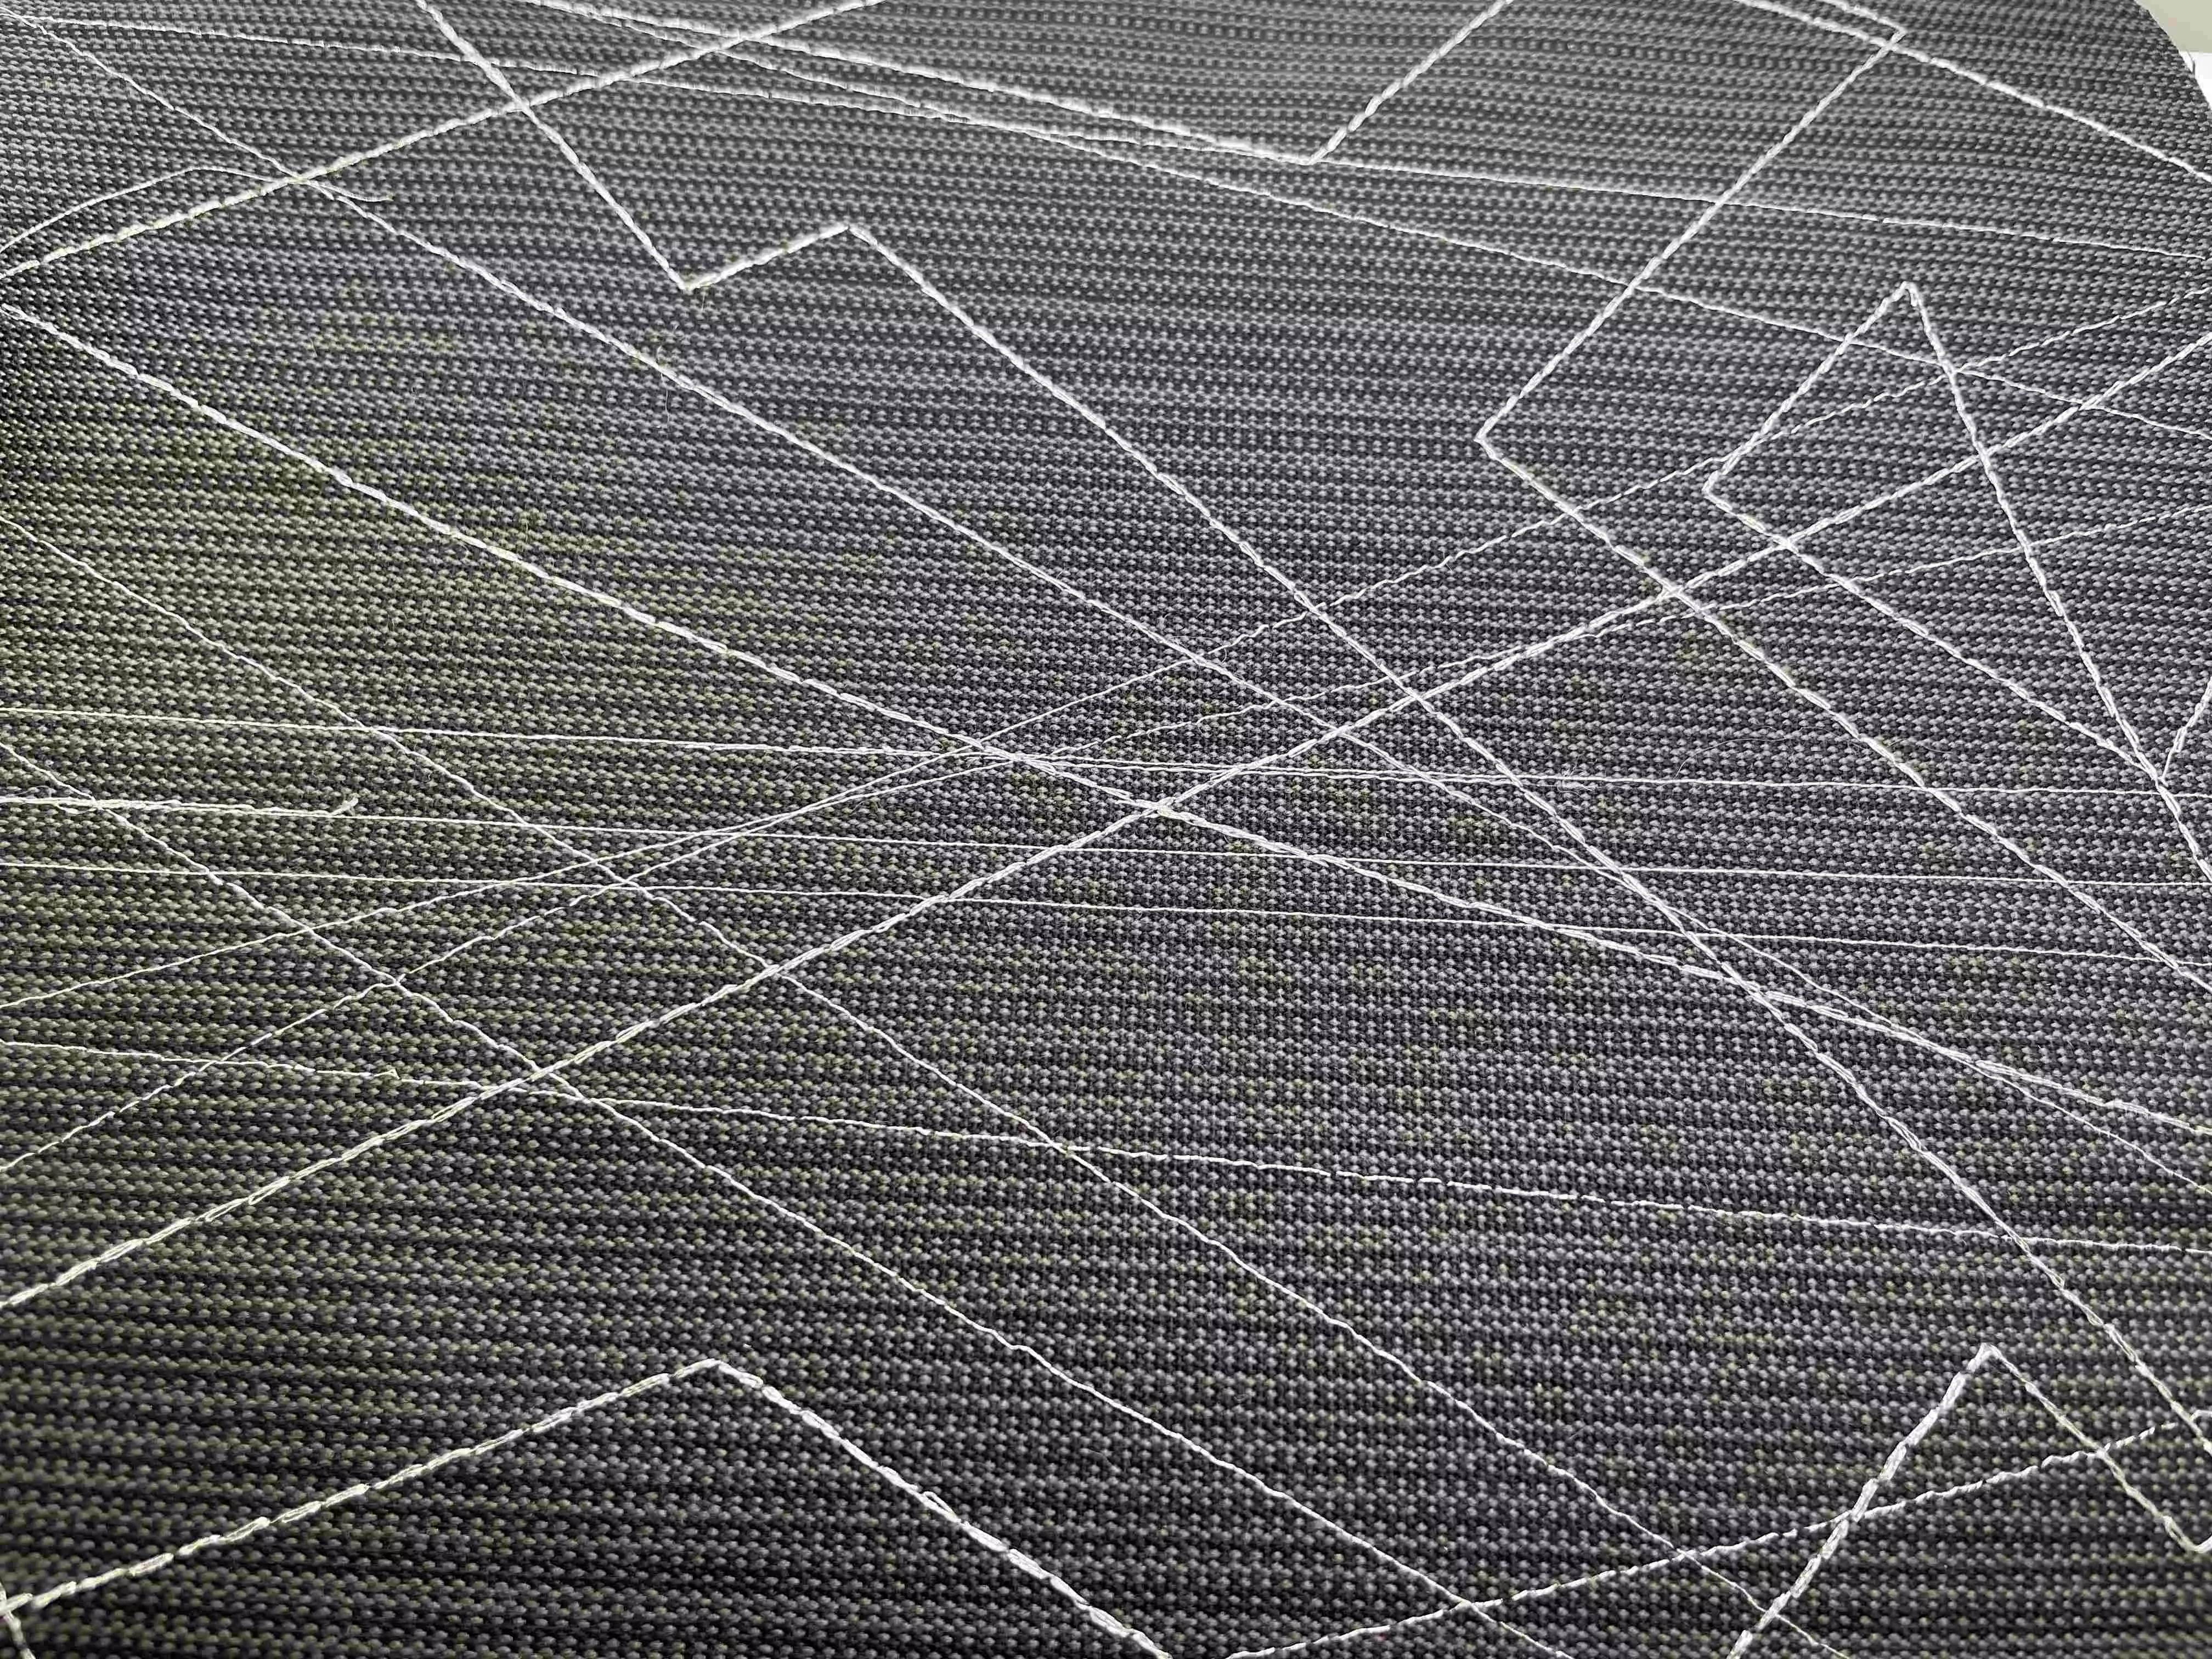
1. Decorate the fabric with straight stitching, triple stitching and/or decorative stitches.
2. Zig-zag around the edges if necessary.
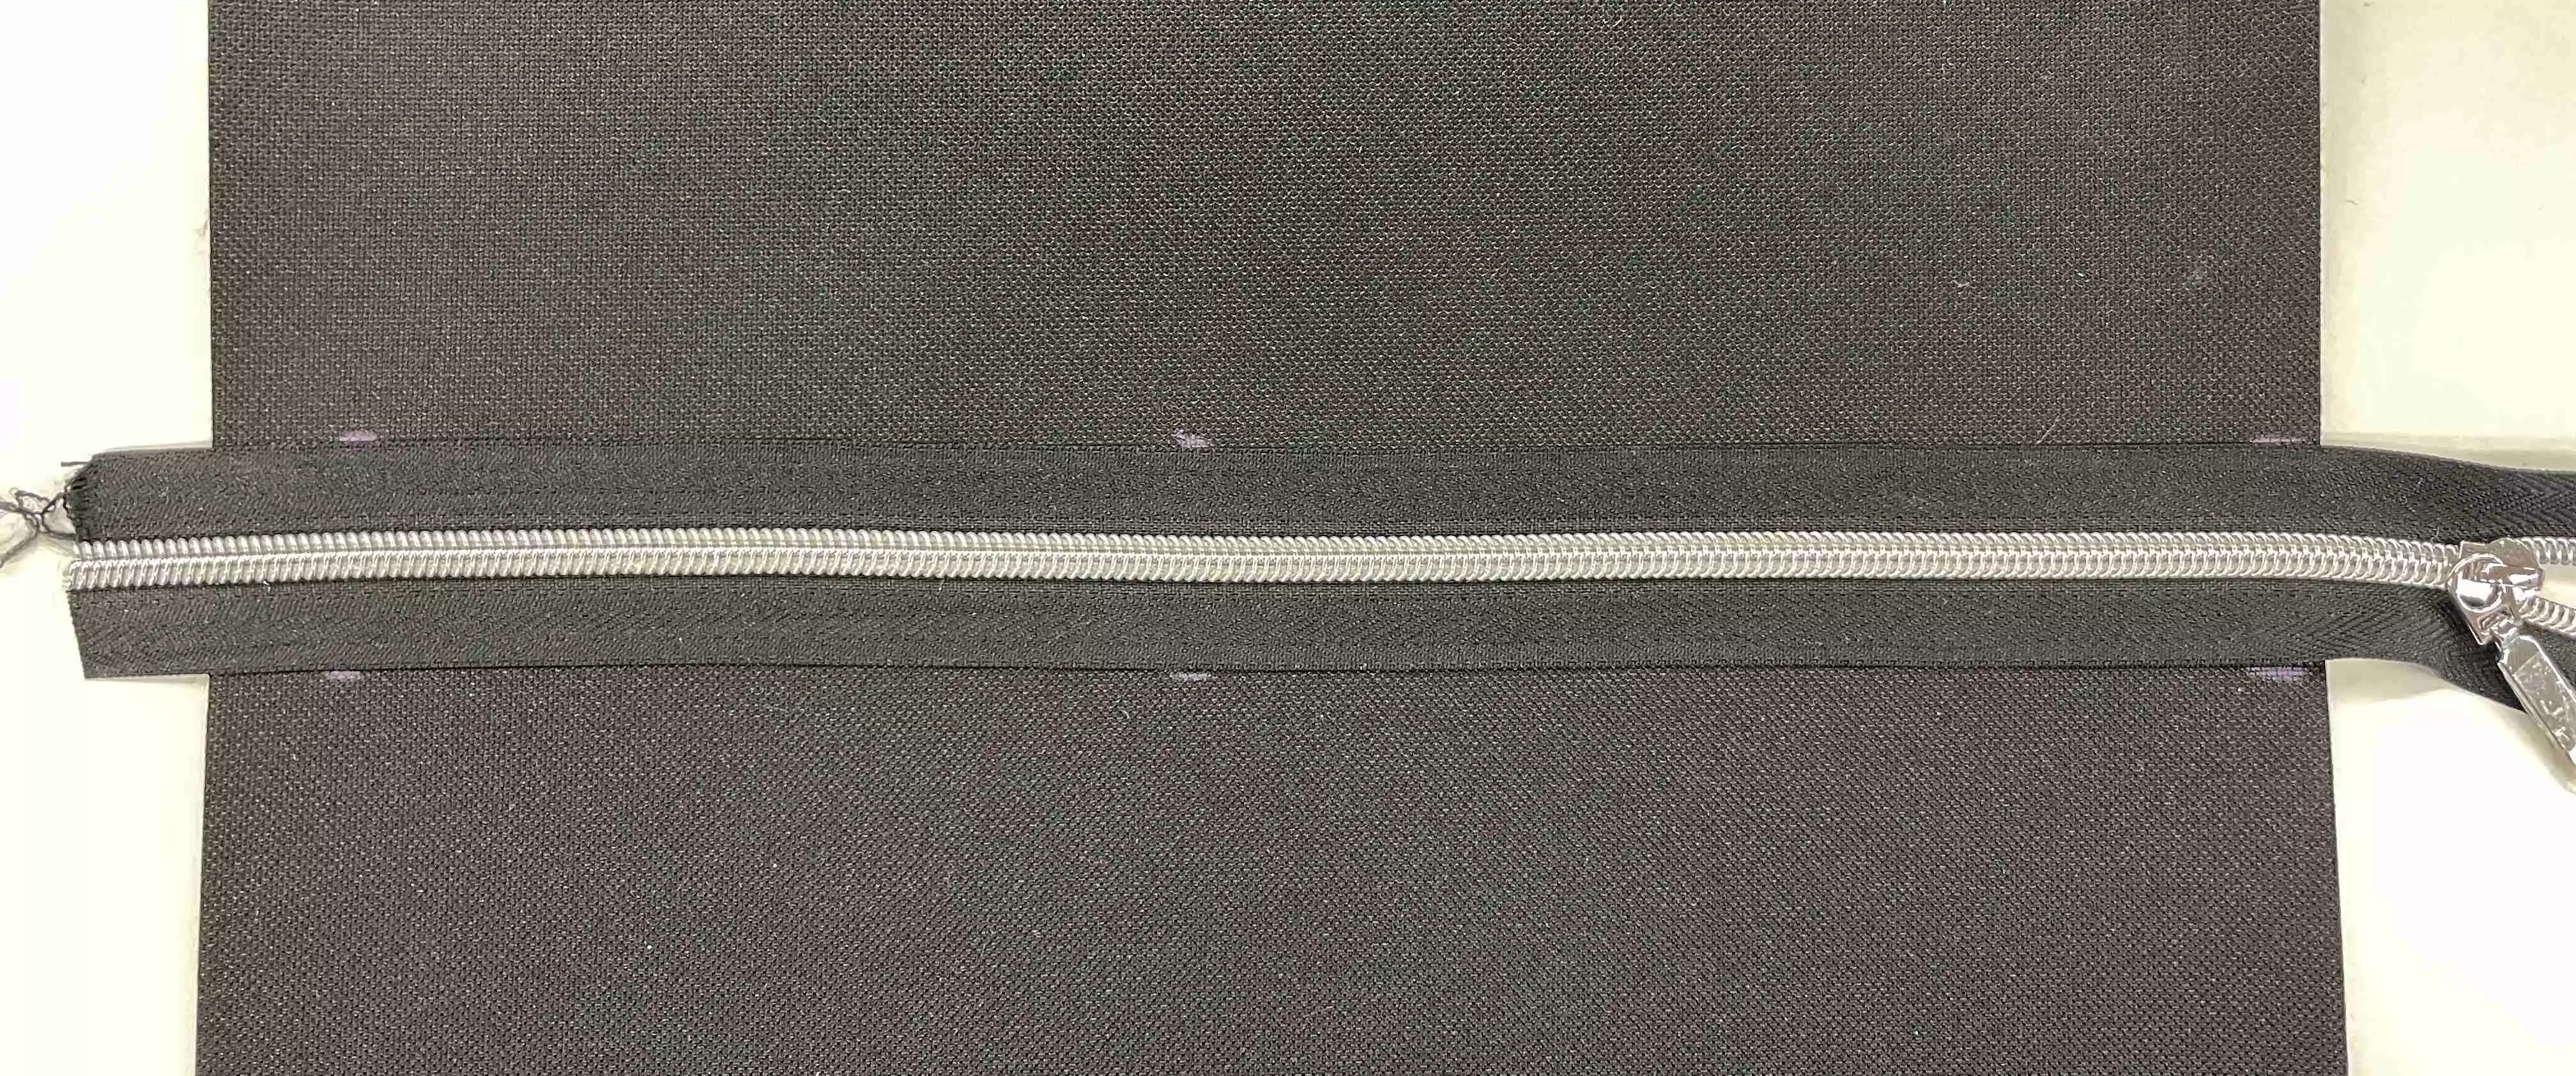
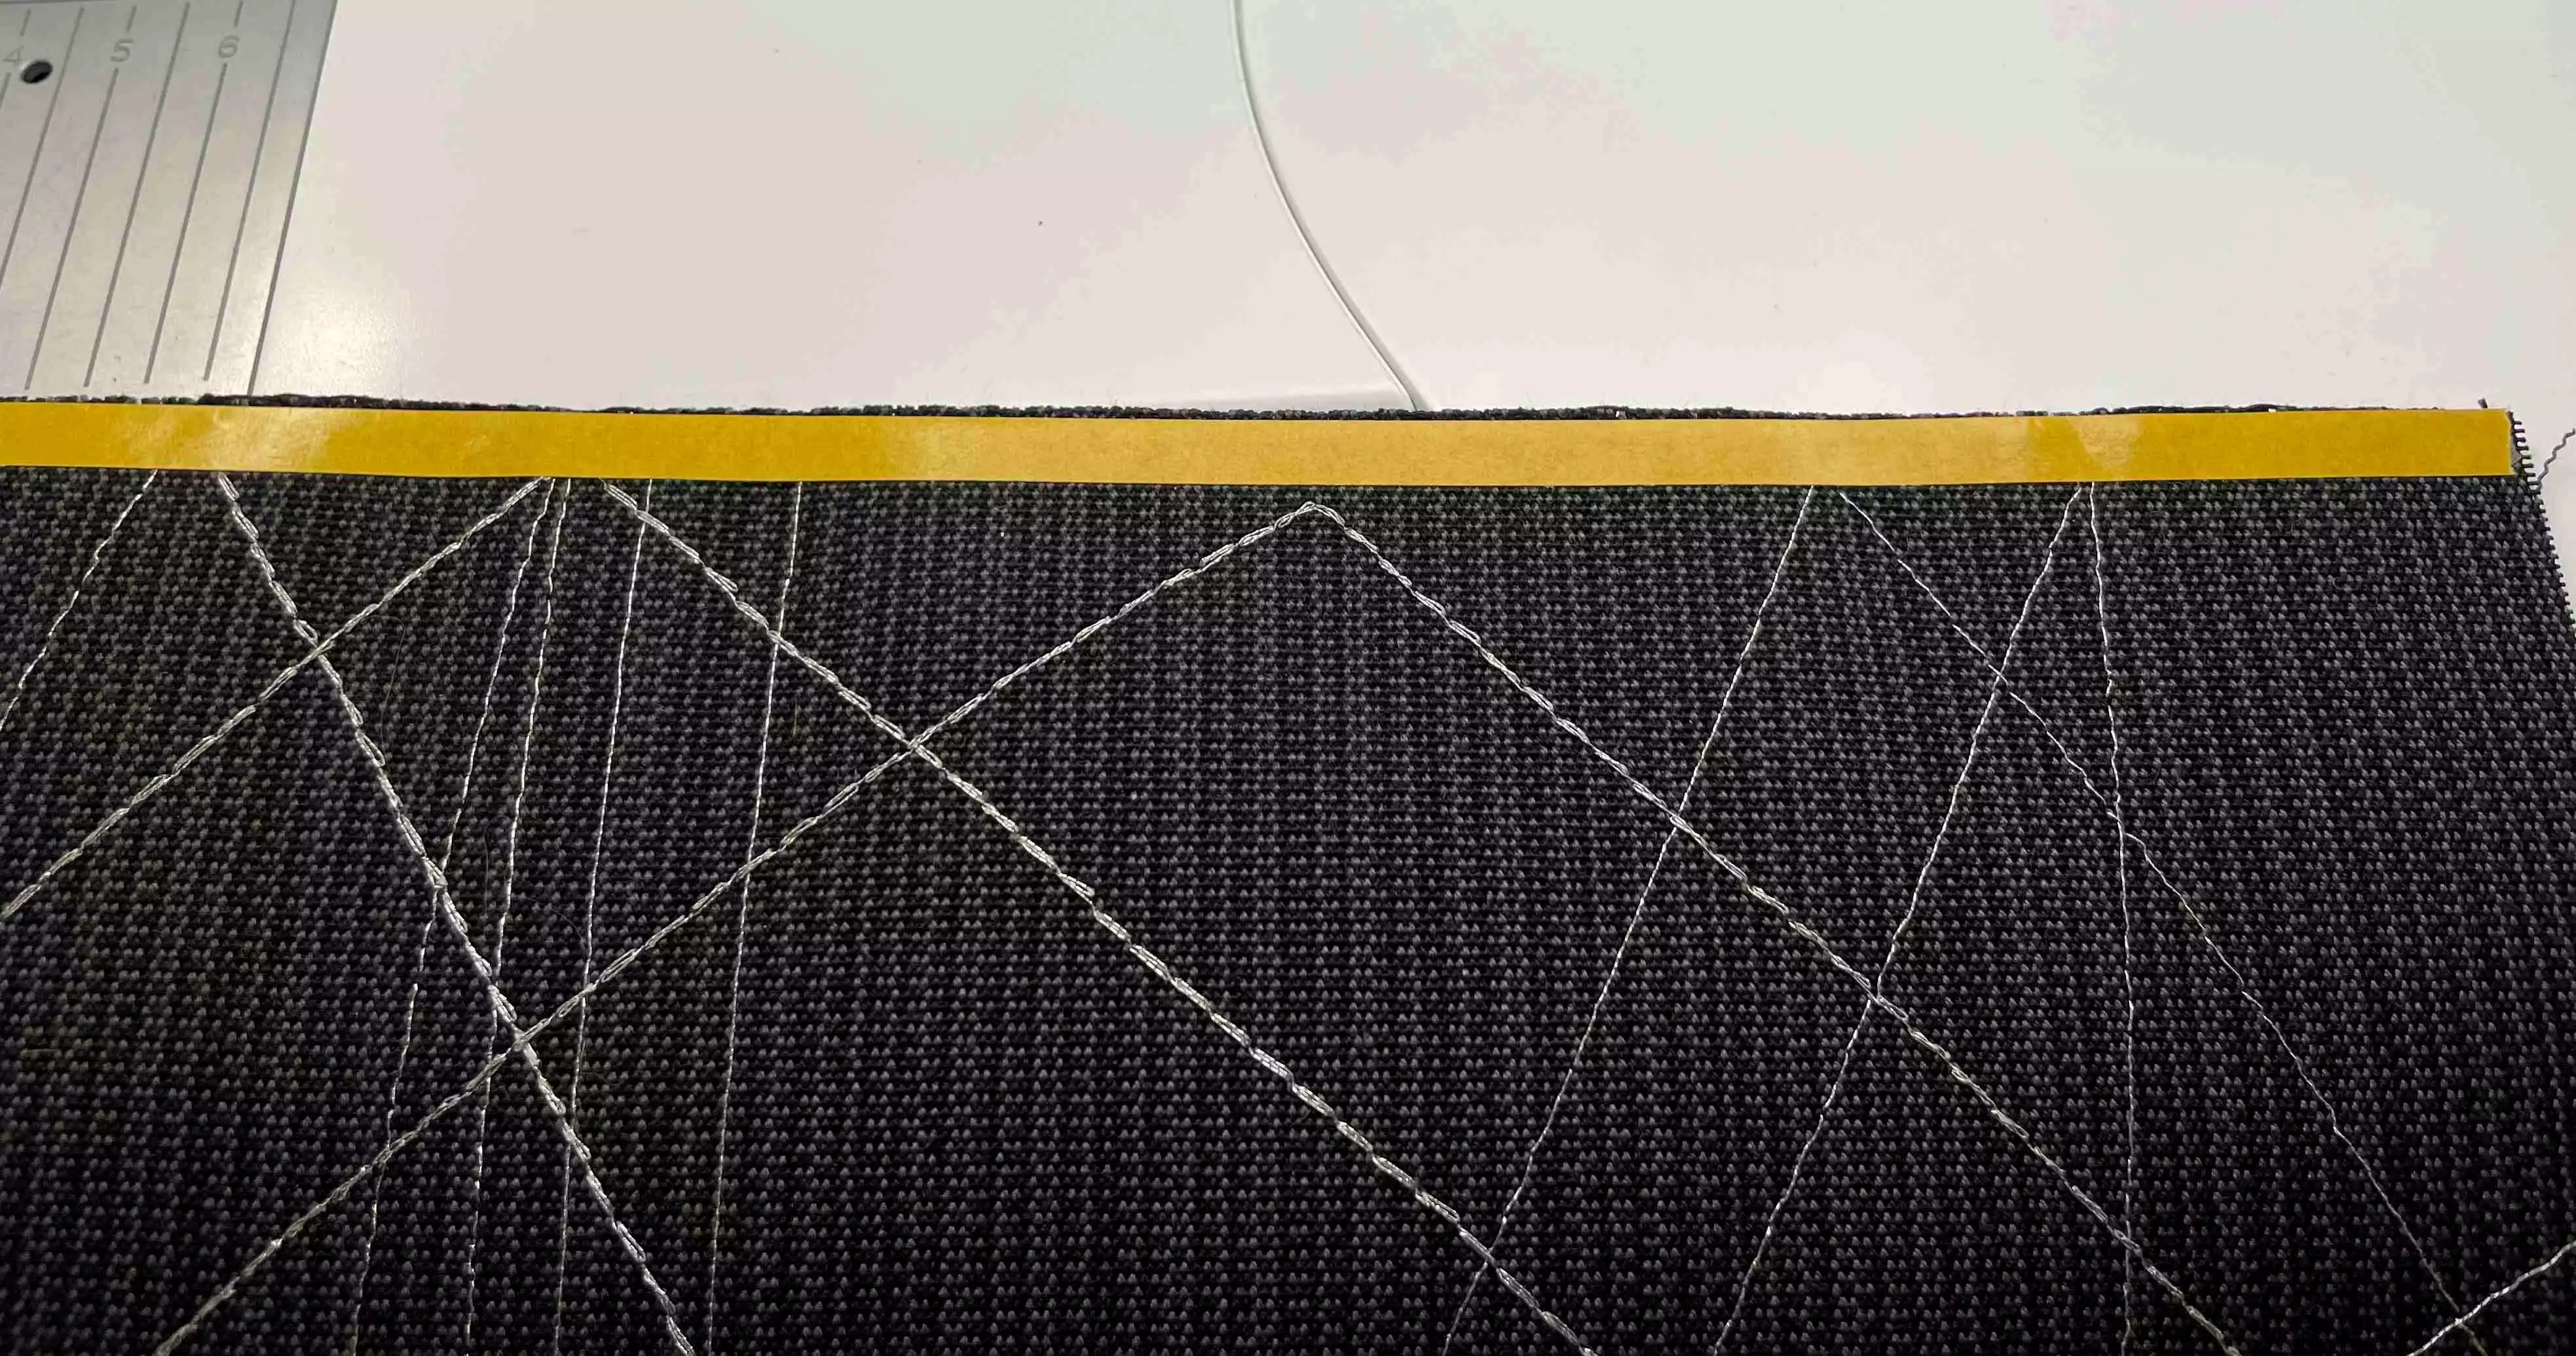
Place double sided tape on the right side edge of the fabric piece at the shorter edges, just inside the edge.
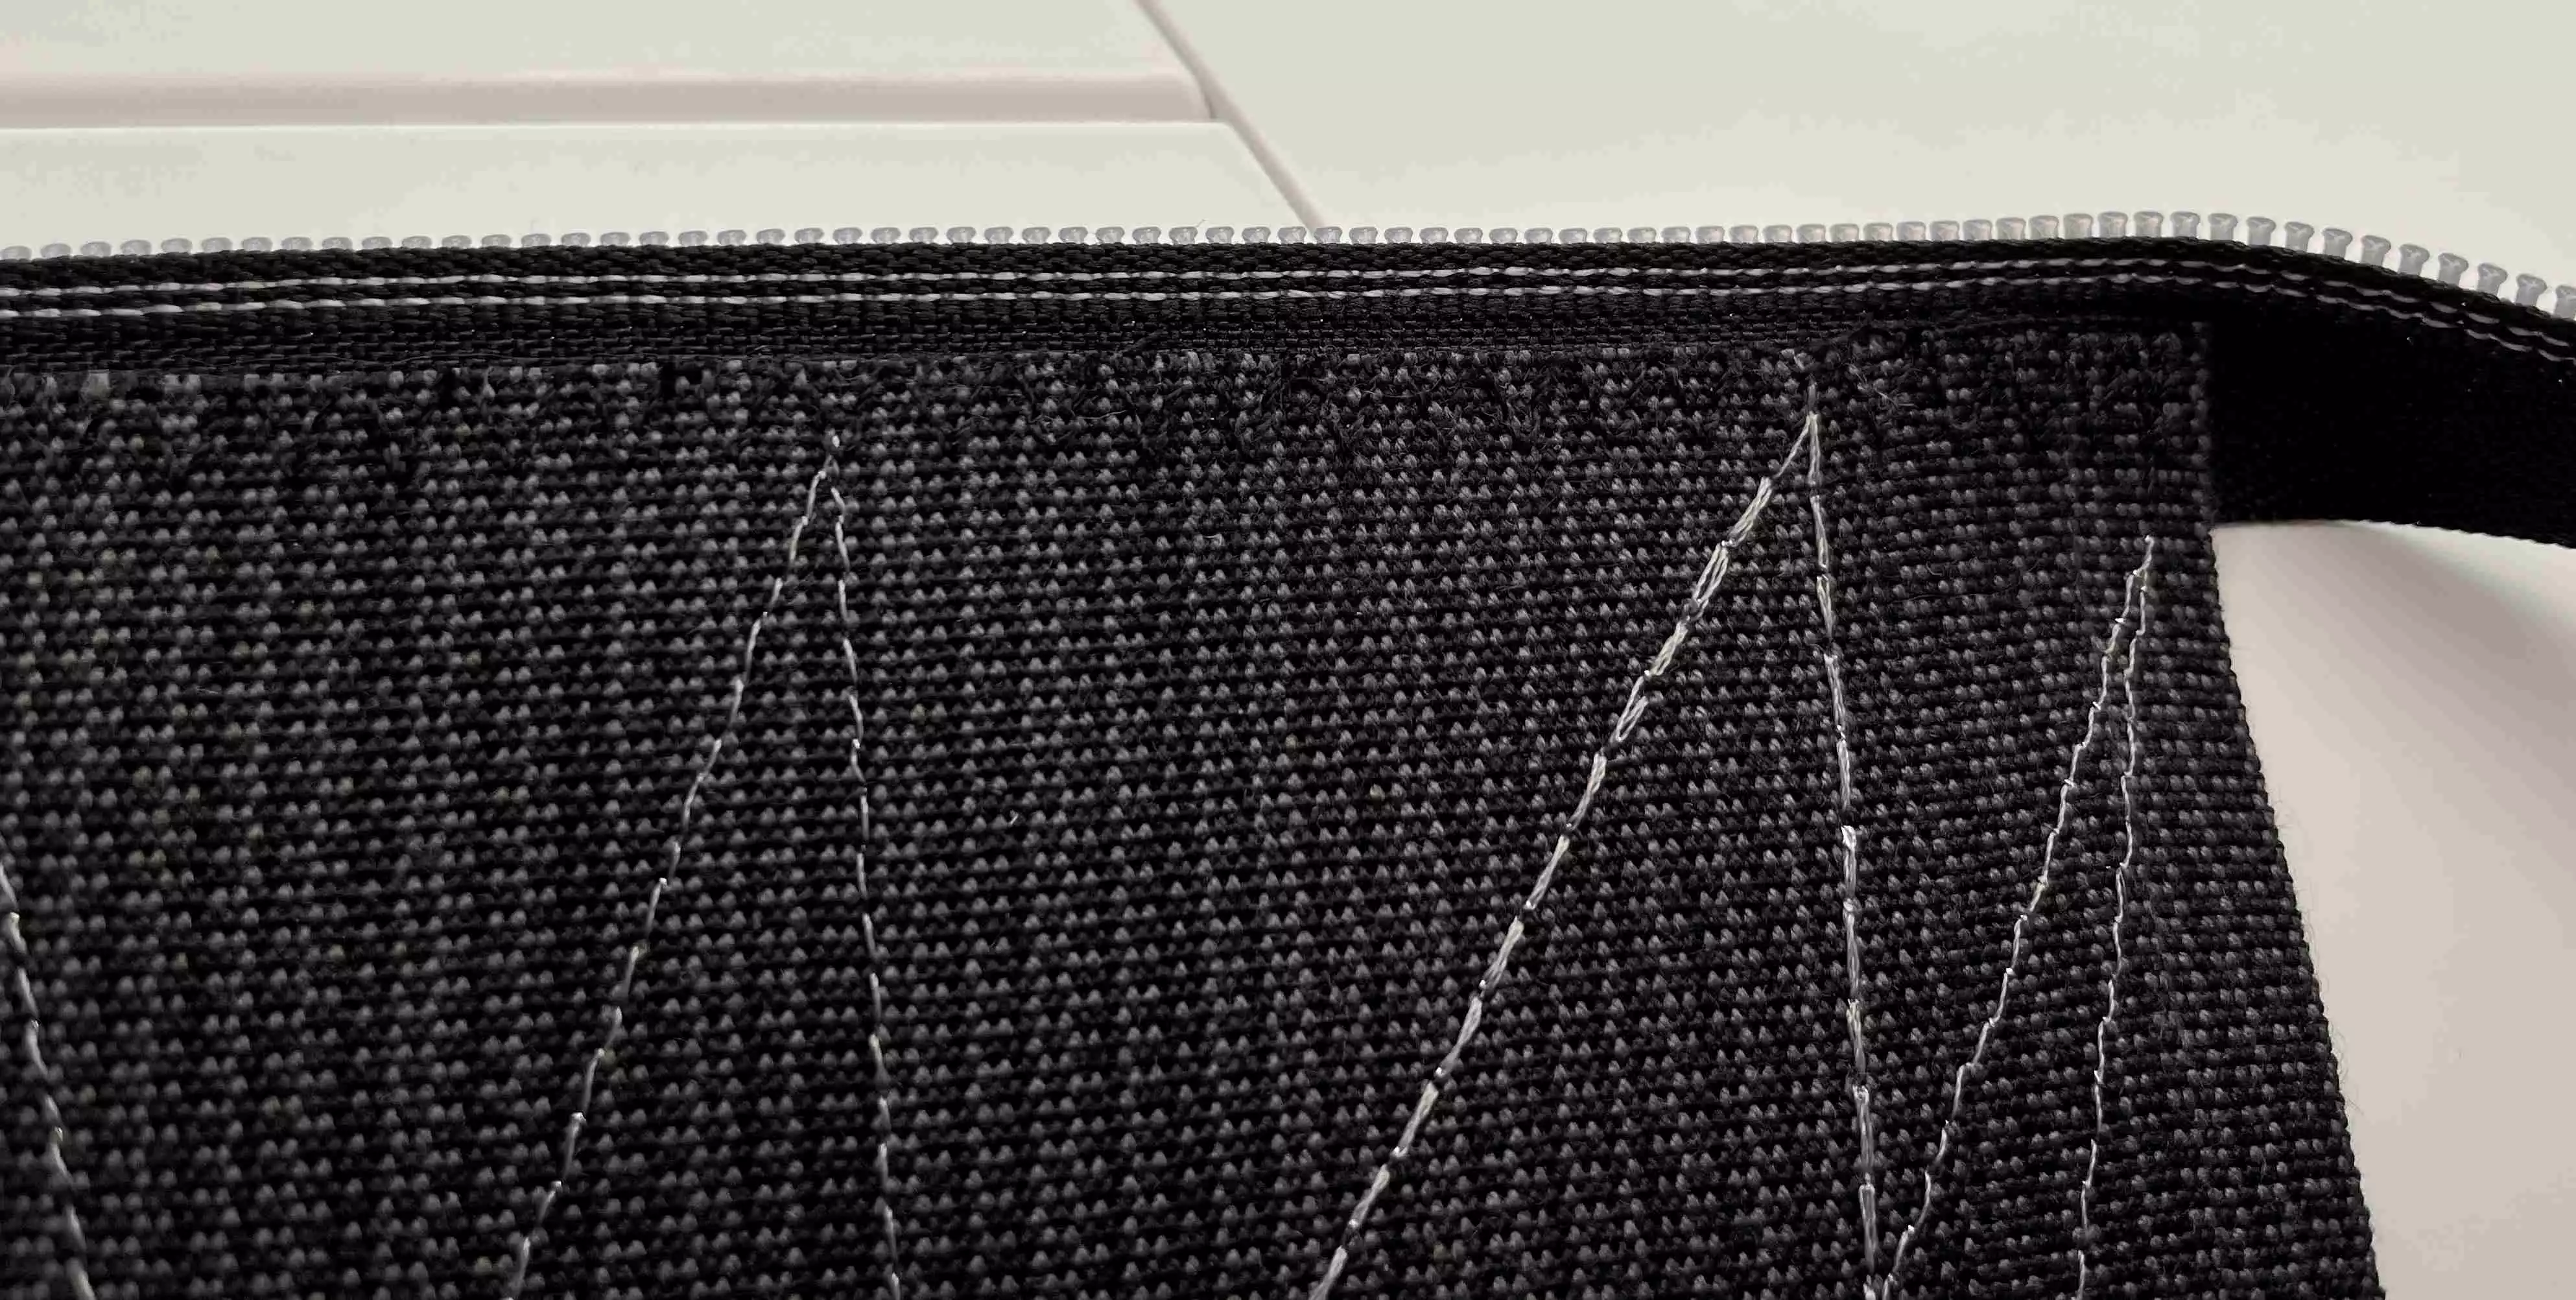
3. Open the zipper, it should be at least 2” (5cm) longer than the edge you just taped.
Remove the paper from the tape and place the zipper on top. Let the zipper teeth extend outside the fabric edge.
Back:
Front:
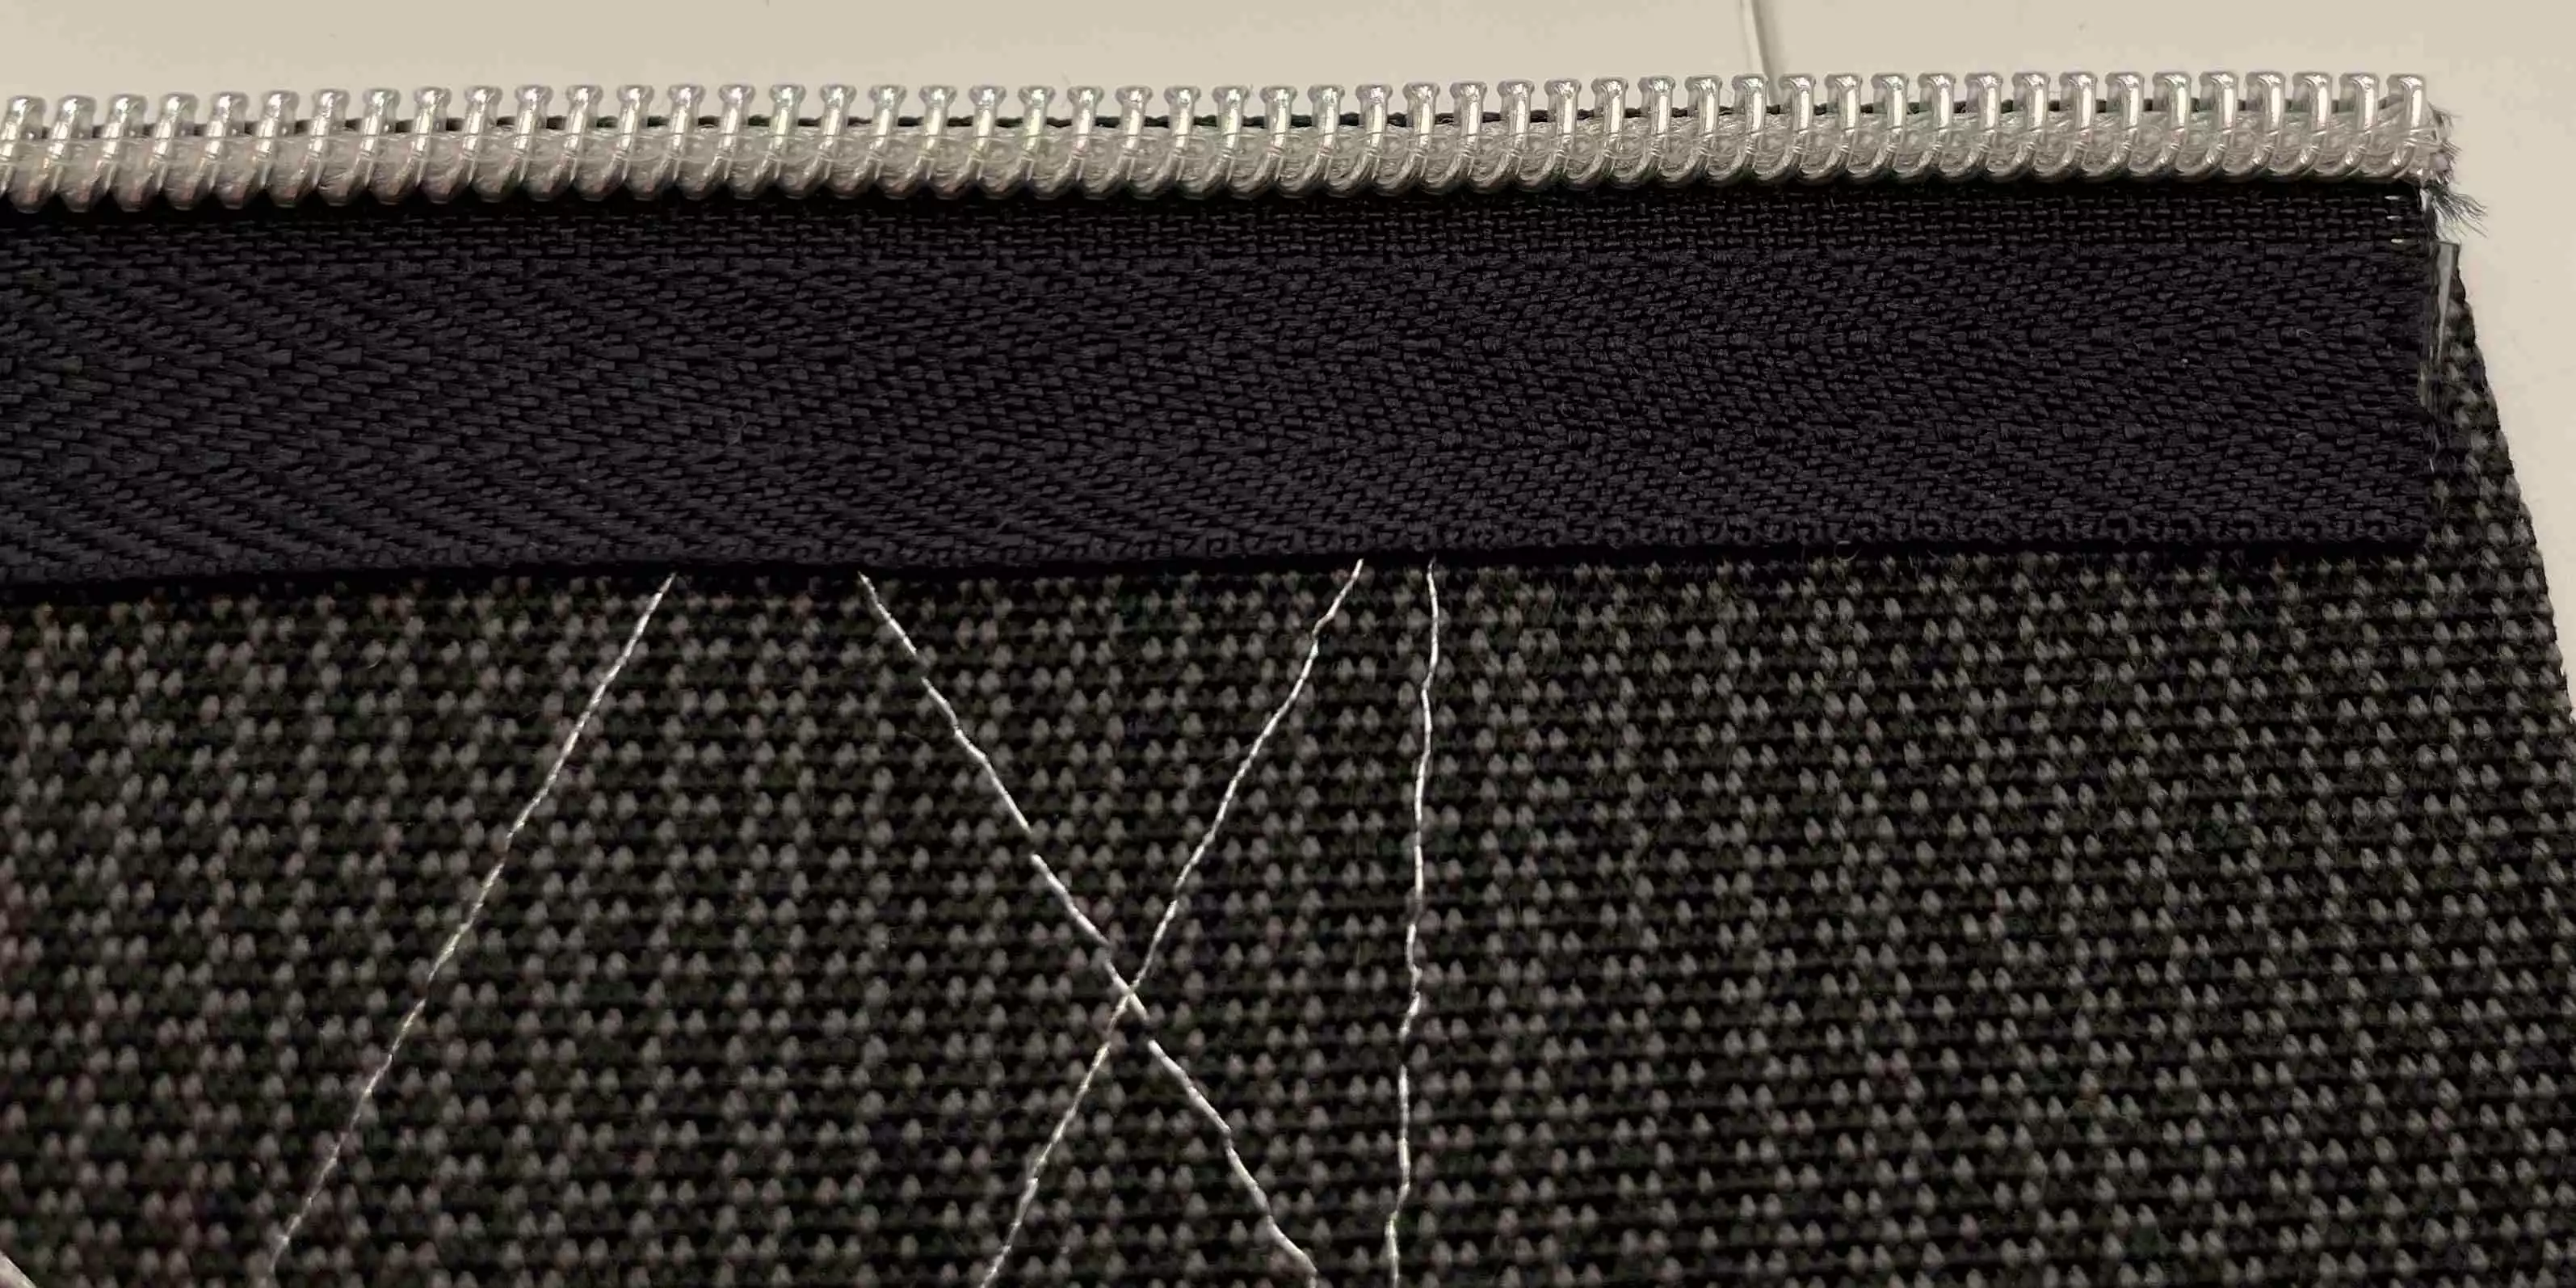
4. Topstitch in place using a straight stitch, triple stitch or use decorative stitching.
5. Close the zipper halfways, bring the open ends together and topstitch both ends to avoid the zipper pull falling off.
 6. Make zipper tabs as described before and stitch them in place.
7. Turn the bag to get the wrong side out. Mark the center of open sides and align the center mark with the zipper ends.
8. Stitch the side seams together using a ⅜” (1cm) seam allowance.
9. Finish the bag in the same way as described in the first instruction.