 United States
Sesame Street Cookie Container

Just the right thing to protect your precious cookies on excursions and picnics. When the cookies are gone just fill it up again, but beware of the cookie monster!
What you need:
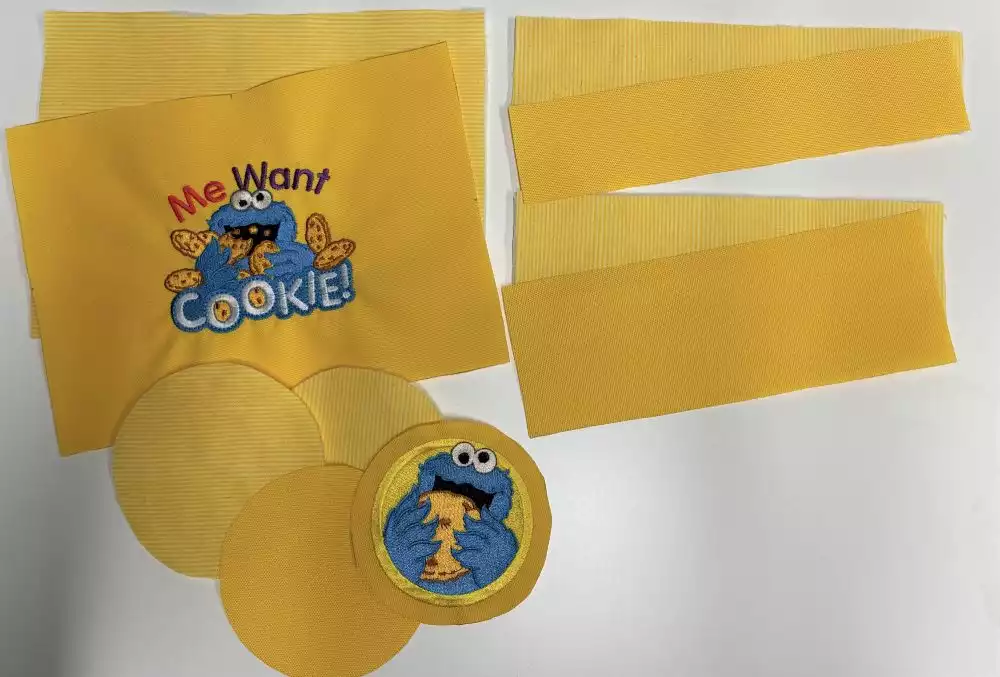
- Synthetic canvas or similar fabric for the outside of the cookie container. 14”x 14” (35x35cm)
- Fabric for the lining 14x14” (35x35cm), plus 1 strip 1/½x 25” (4x65cm)
- Zipper, preferably zipper by the yard, at least 12” ( 30 cm) long
- Thin Fusible batting 14x14” (35x35cm)
- Designs from Sesame Street can be found in mySewnet Library. I Used these two designs. Click on the images to go directly to the designs:


With 30-day Free Trial of mySewnet Embroidery Software you will get to try out the most user-friendly and feature rich digitizing software on the market. It works with all embroidery machine brands and is available for both Windows and Mac.
Preparations
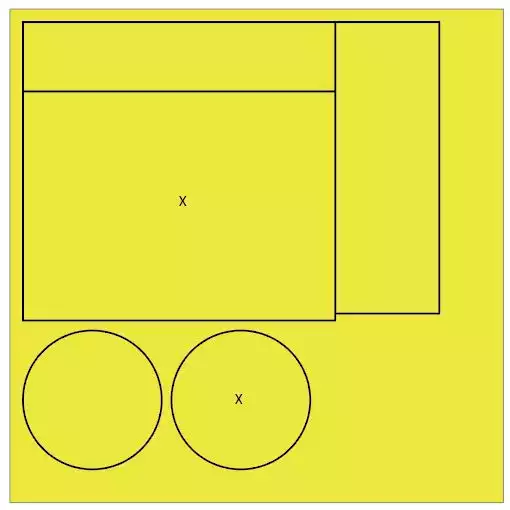
1. Draw all the pieces on the outer fabric and cut them out. ⅜”(1cm) seam allowance is included in the measurements.
- 1 piece h 8 ½”w h 3” ( h 21 x w 7,5cm) small side part (hinge).
- 1 piece w 9” x h 2” (w 22,5 x h 5cm) top edge part.
- 1 piece w 9” x h 6 ½” (w 22,5 x h 16,5 cm) front part, mark the center.
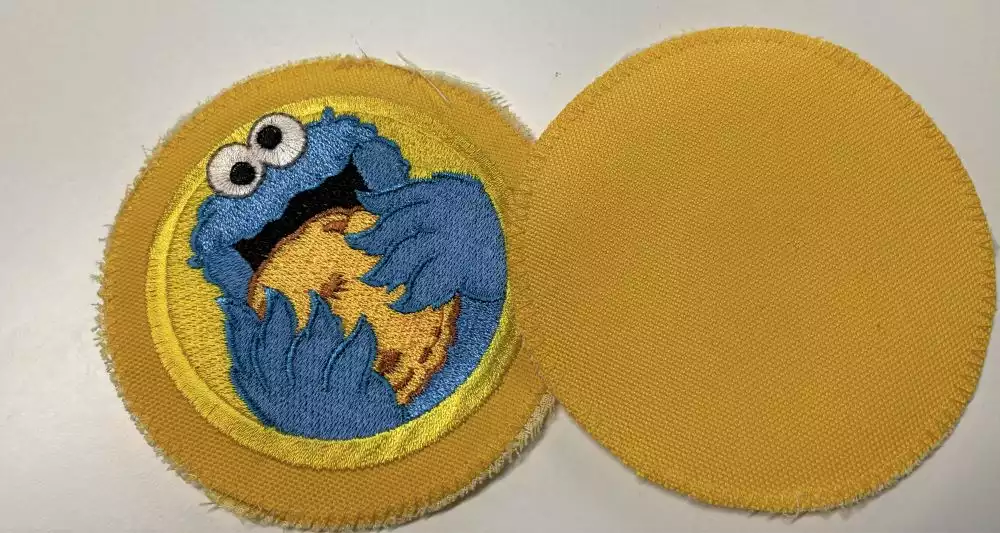
- 2 round pieces Diameter 4” (10cm) top and bottom, mark the center on one of them.
Stitch out the embroideries
2. Hoop stabilizer in the hoop. I used the 100x100mm metal hoop and sticky stabilizer for the small embroidery and the 180x130mm and sticky stabilizer for the large embroidery.
Stitch out the embroideries. The center marks in the round piece and the large piece is the center of the embroideries.

3. Cut out the lining pieces, the same size as the outer fabric pieces.
4. Cut out batting for all pieces, but reduce the size with ¾ “ (2cm) to reduce bulk in the seam allowances.
5. Iron the batting to all lining pieces, take care to leave the seam allowances free.
6. Put the top circle and a lining circle with wrong sides together and zig-zag close to the edge. Repeat with the bottom circle.
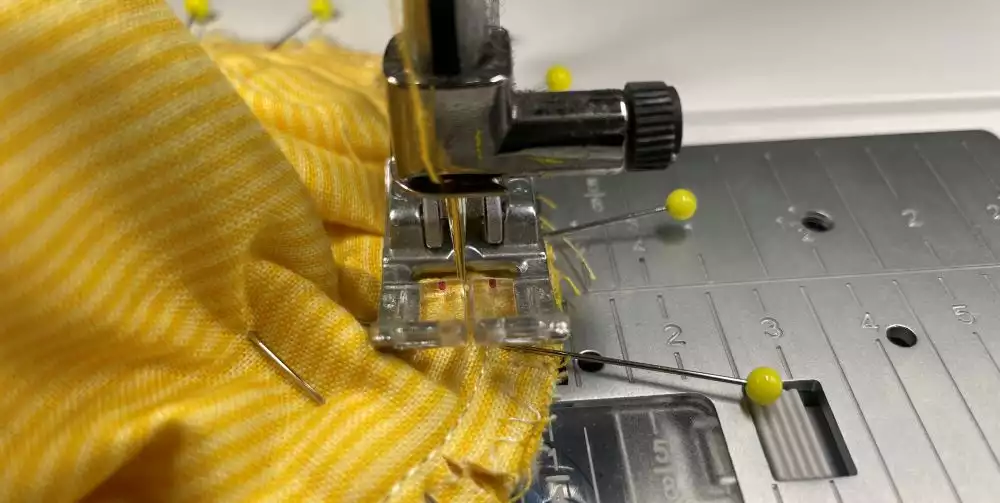
Attach the zipper
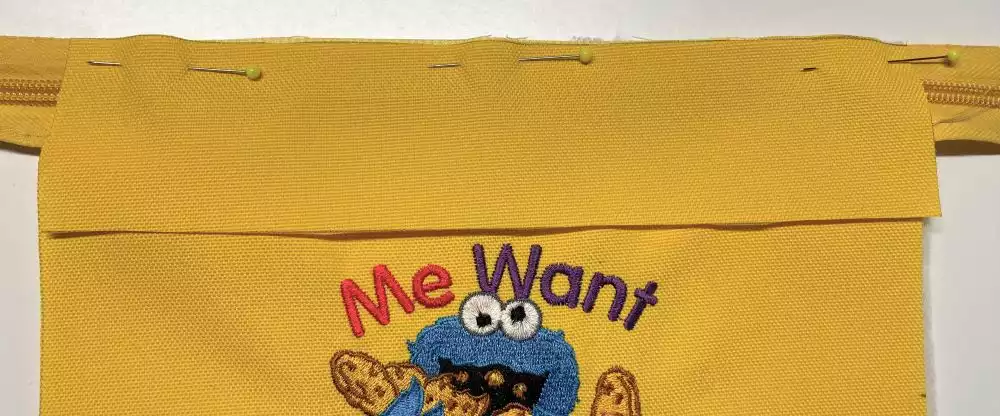
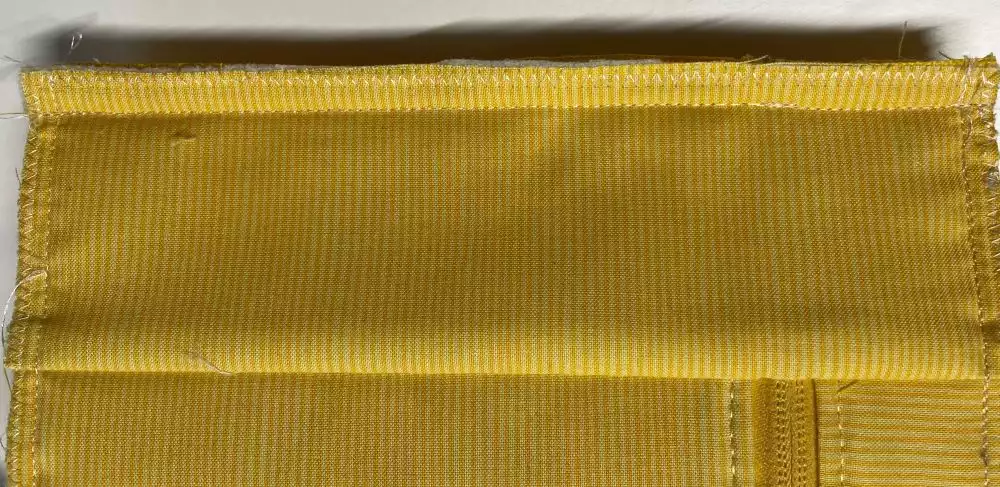
7. Put the zipper on top of the front part with the zipper teeth facing down. Put the front lining on top and stitch together. Open up and topstitch close to the edge.
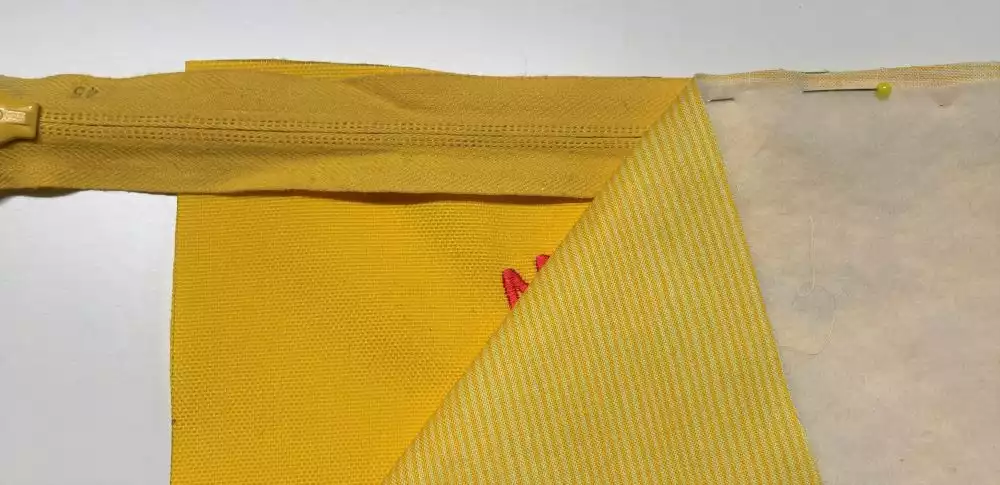
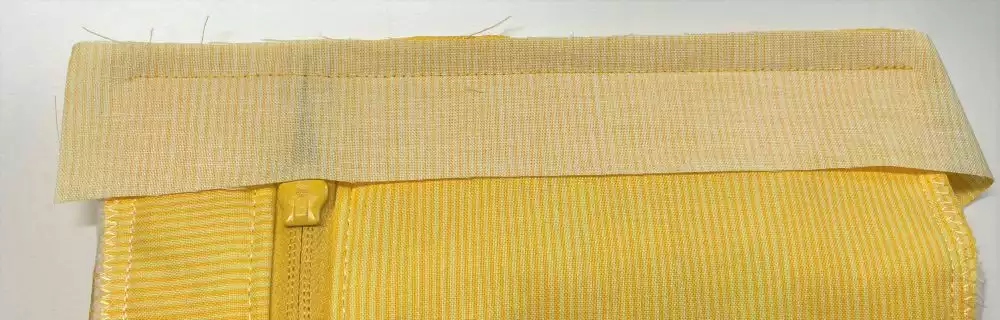
8. Repeat with the top edge piece on the other side of the zipper.
9. Attach the side part of the outer fabric and lining to the front piece with the zipper, and sew them together.
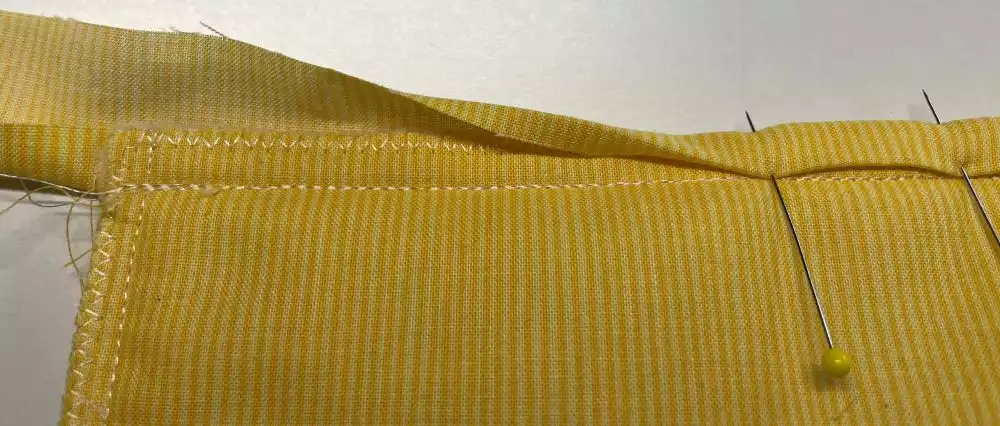
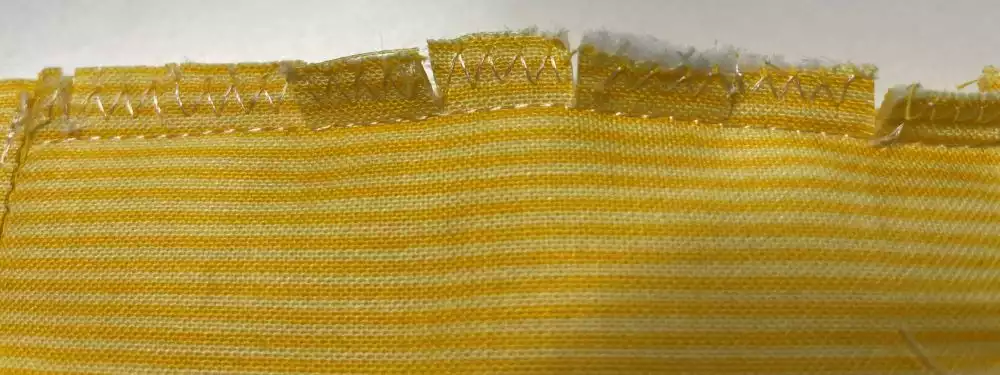
10. Measure the piece, it should be 11”x 8” (28x20cm). Cut off the side part if it is too long and any excess lining fabric. Zig-zag on the edge all around the piece.
11. Staystitch a seam ¼” (6mm) from the top and bottom edges.
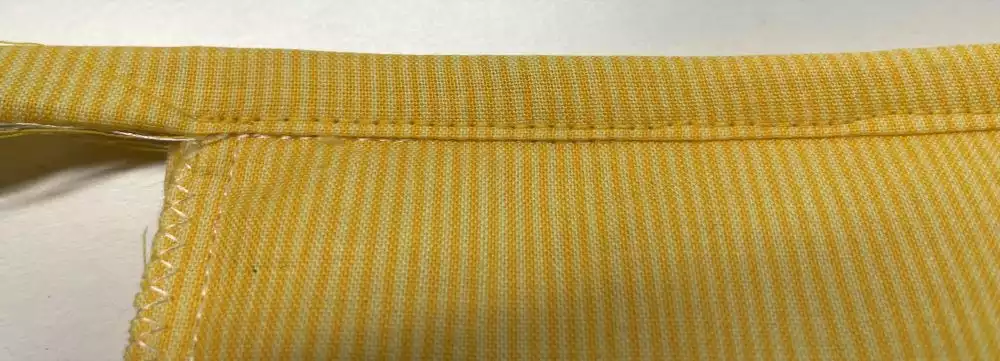
12. Sew the piece together to make a tube.
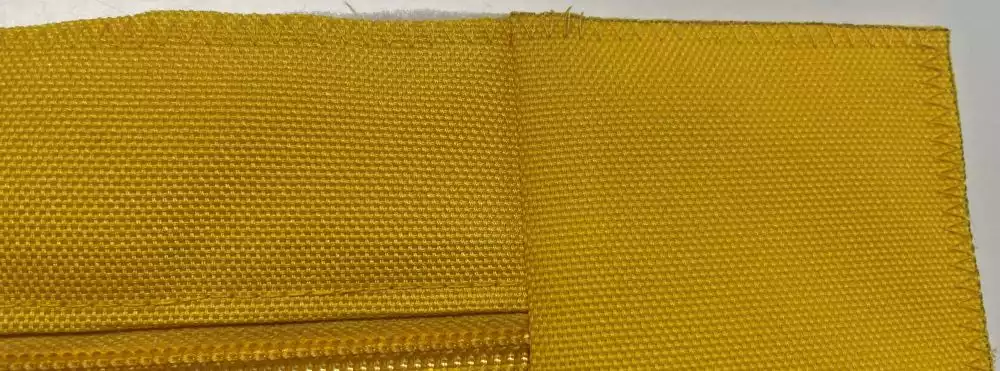
13. Bind the raw edges together: Sew the binding strip, single layer, on the seam allowance. Turn the raw edges of the strip towards the edge and fold it over. Stitch in place to cover all the raw edges.
Adding the lid and the bottom pieces
14. Cut small notches about ½ '' (1,5cm) apart down to the staystitch line on top and bottom edge of the main piece.
15. Pin the lid and the main piece together and sew.
16. Repeat with the bottom circle.
17. Bind the raw edges together as described before.
Your cookie container is now finished!