 United States
Sesame Street Book Cover
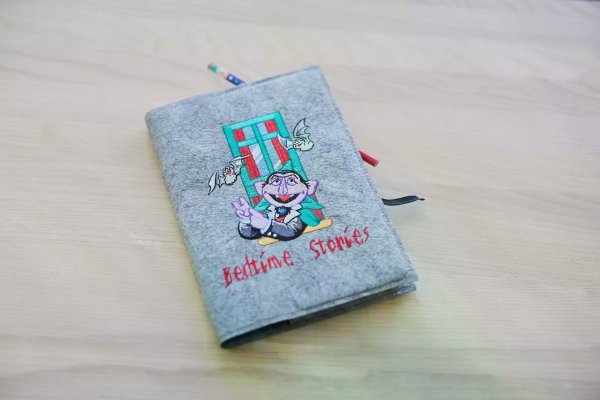
Have you checked out the In-The-Hoop projects in mySewnet embroidery Software? Make this personalized book cover with Sesame Street Embroidery designs!
With 30-day Free Trial of mySewnet Embroidery Software you will get to try out the most user-friendly and feature rich digitizing software on the market. It works with all embroidery machine brands and is available for both Windows and Mac.
What you need:
- mySewnet embroidery software , Gold or Platinum level.
- Fabric for the book cover. Use non fraying material like oilcloth,felt, vinyl or similar.
- Embroidery and sewing thread.
- Embroidery hoop size depending of the book size.
- Sesame Street embroidery designs can be found in mySewnet Library. I used this one: Click on the image to go directly to the design:
Preparations
1. Open mySewnet Embroidery Software go to Create and select Project-In-the-Hoop.
2. A dialog box will open. In Category, select Book Cover; In style select Blank; enter the dimensions of your book and click OK.
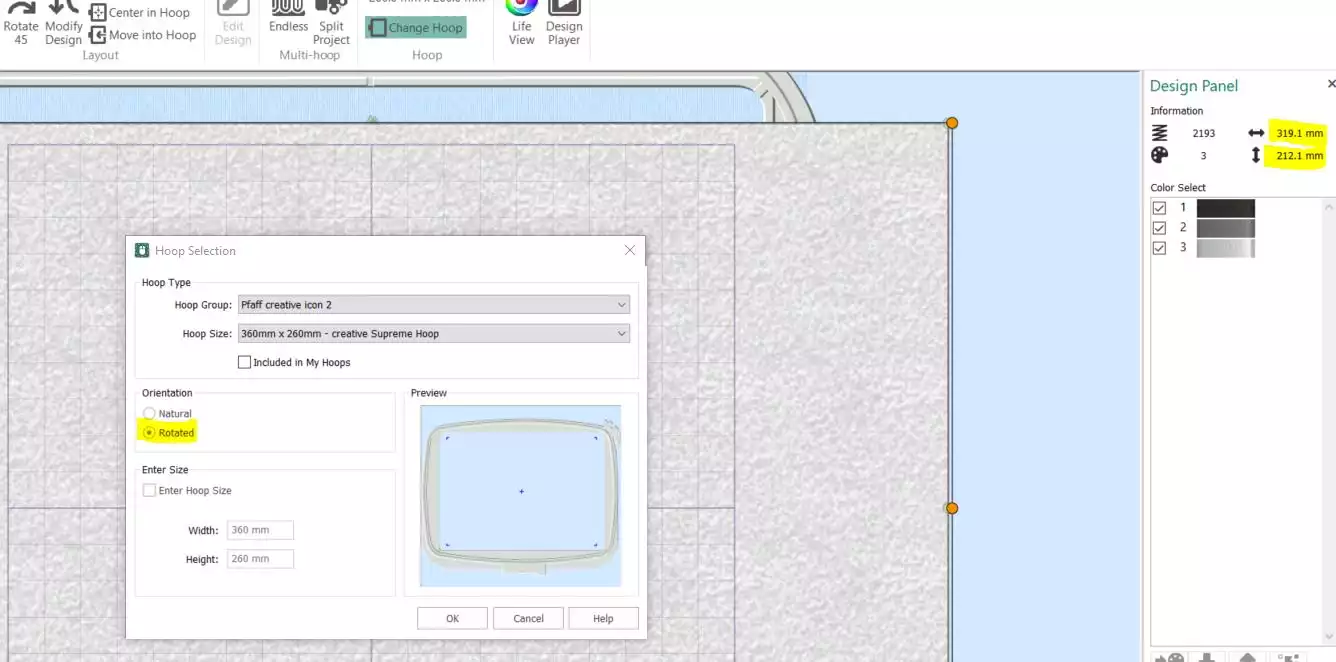
3. The book cover will be loaded into your main screen. Go to the Home tab. In the Design Panel on the right side of the screen you will see the size of the embroidery. Click on Change Hoop and select a hoop that is big enough for the book cover. Under Orientation Select Rotated. Click OK.
4. Click on Ungroup , The orange box in the Filmstrip will turn blue and the embroidery parts will be separated.

5. Now the different steps in the embroidery are separated in the filmstrip. We will insert the embroidery between the two sections in the following steps.
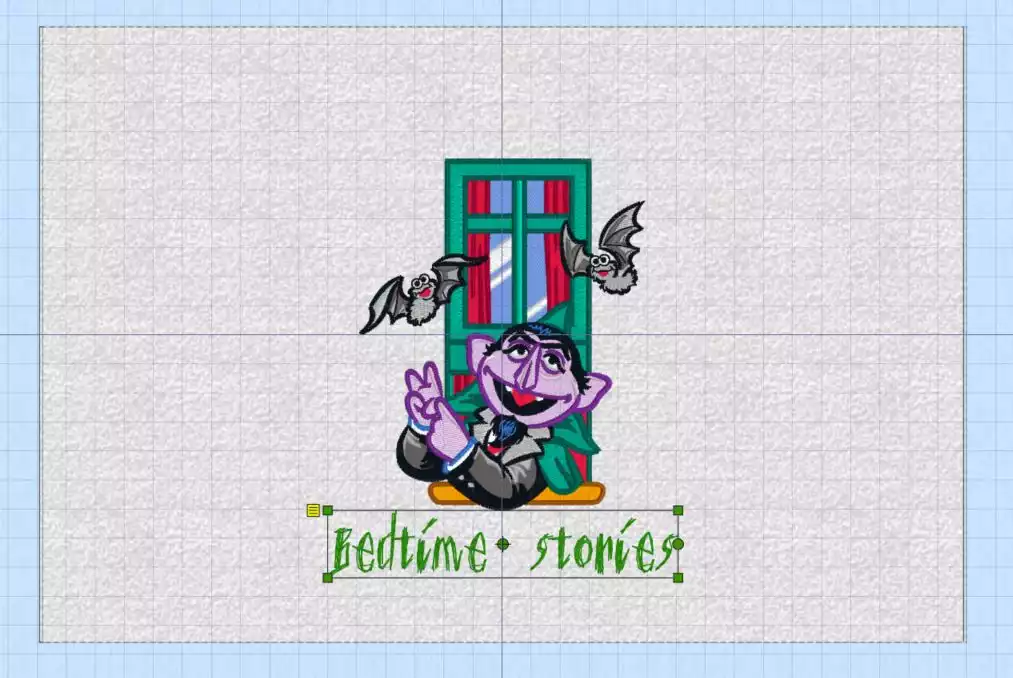
6. Go to File, select insert and locate your embroidery, click on Open or double click on the embroidery design file. The embroidery will appear on the screen in the center.
7. If you want to add text, go to Letter, select a Font (in this case scratches 15mm and type Bedtime stories). Click on Apply.
8. Arrange the embroidery and text. The text should be approx ⅜” (1cm) under the embroidery.
9. Go to Home tab.Hold down the CTRL-key and select the embroidery design and the text. Click on Combine, Combine Selected.
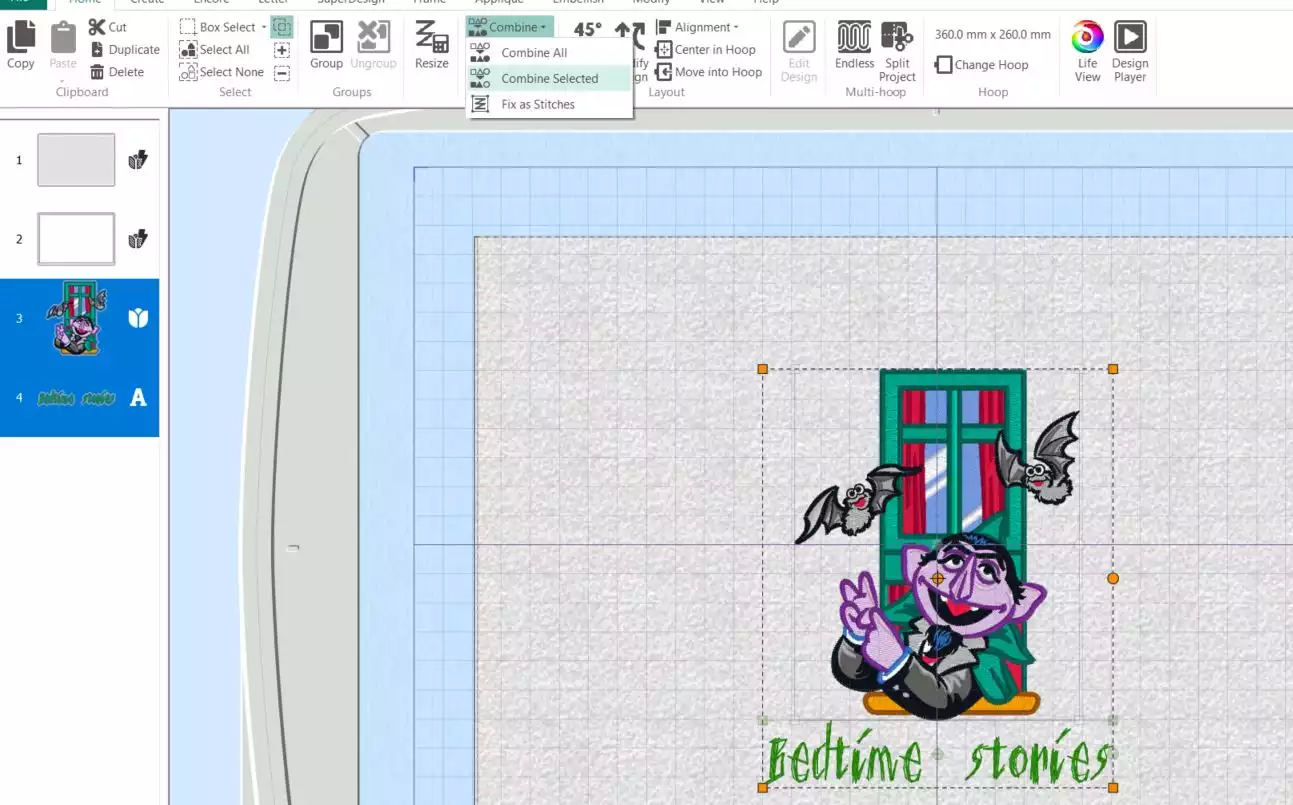
10. Move the combined embroidery file to the right, about ½” (1,5cm) from the edge, see picture below.

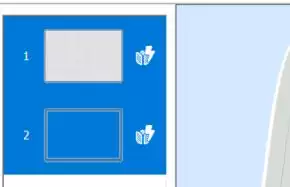
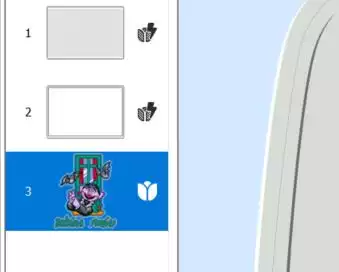
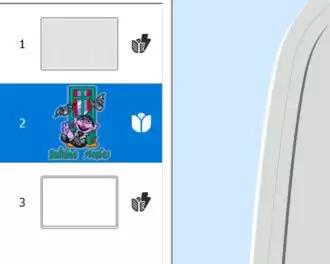
11. Go to the Filmstrip at the left side, click on the triangle pointing up on the bottom of the Filmstrip. Move the embroidery up and place it between the two previous blocks.
12. Go to Combine, combine all to finish the design. Save in vp4 format (to make it easier to make changes later if needed) and then export in your preferred format to your machine or USB-stick. Do not colorsort since this may cause problems with In-The-Hoop designs.
Stitching out the design:
13. Hoop tearaway stabilizer. Stitch out color 1, this will make the placements stitches for the fabric.
14. Use matching thread on top and bobbin since it will be visible when the book cover is completed. Place the fabric, right side up, make sure it extends outside the stitched line on all sides. Stitch out color 2, this will secure the fabric in the hoop.
15. Stitch out the embroidery design and the text. When the text is finished it is time for the final steps of assembling the book:
Final Steps:
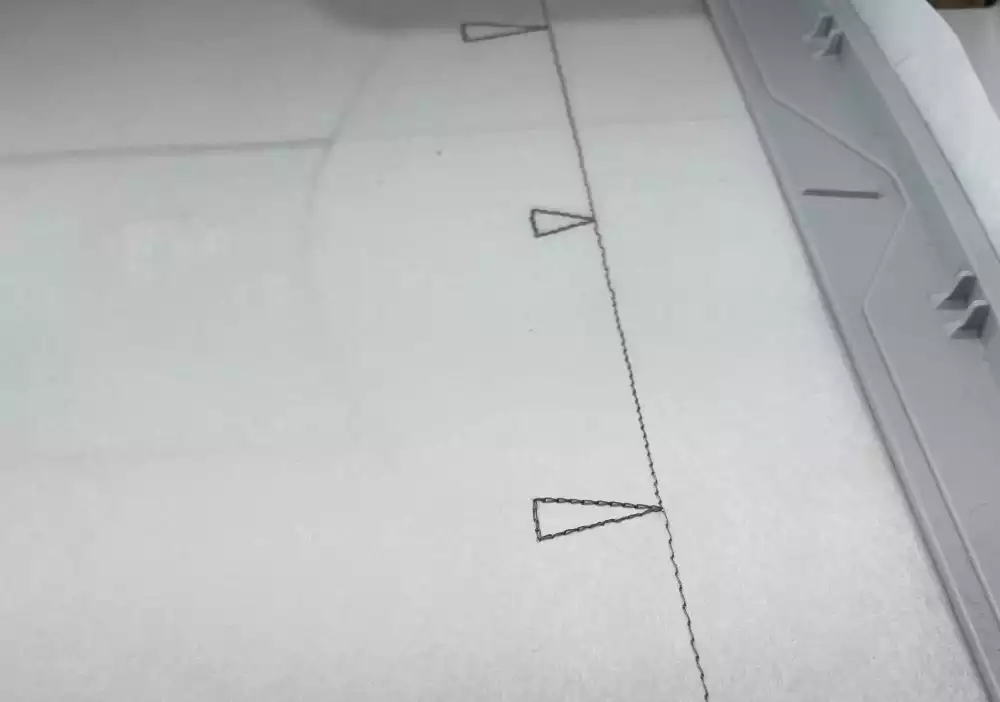
16. Take the hoop out of the machine. Turn it upside down. Draw a line from the side markings out to the edge of the stabilizer.
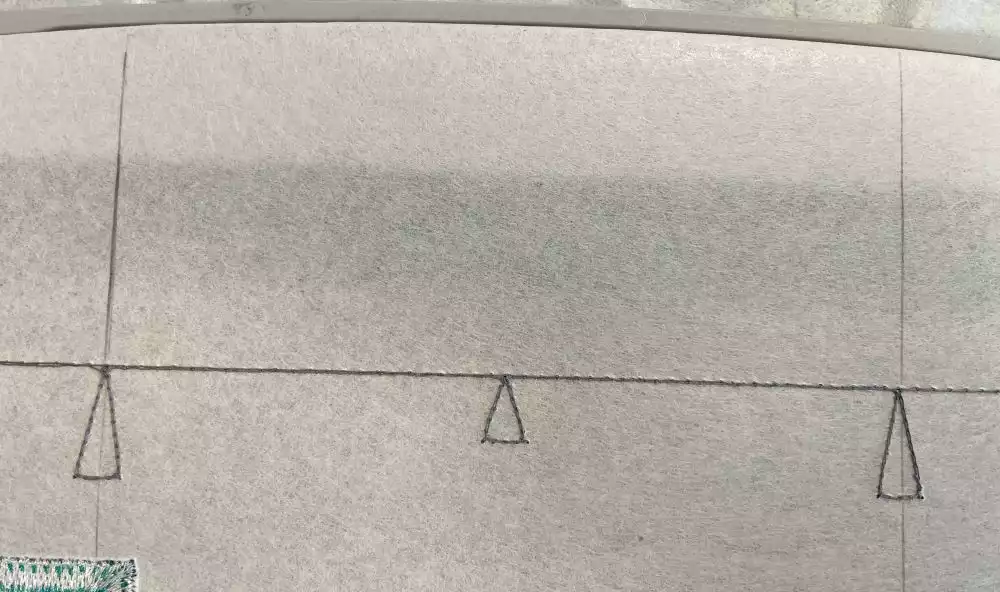
17. Measure the distance between the lines.. Add 2” (5cm) to that measurement. Cut out a piece with that width and the height of the book cover plus 2” (5cm). This is the center piece.
18. Measure from the marking to the edge, add 2” (5cm) to that edge and cut out 2 pieces with that width and the height of the book cover plus 2” (5cm). These are the side pieces.
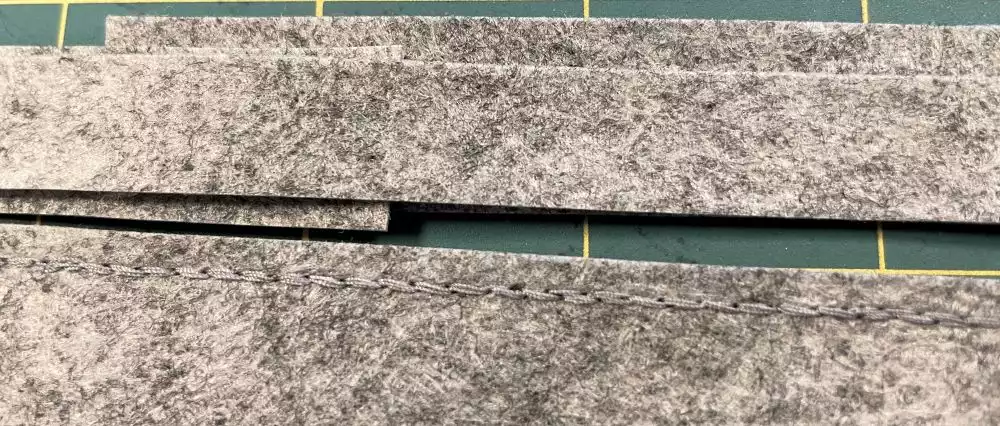
19. Place the center piece on top of the back of the book cover it should extend over the drawn lines and top and bottom of the book cover.
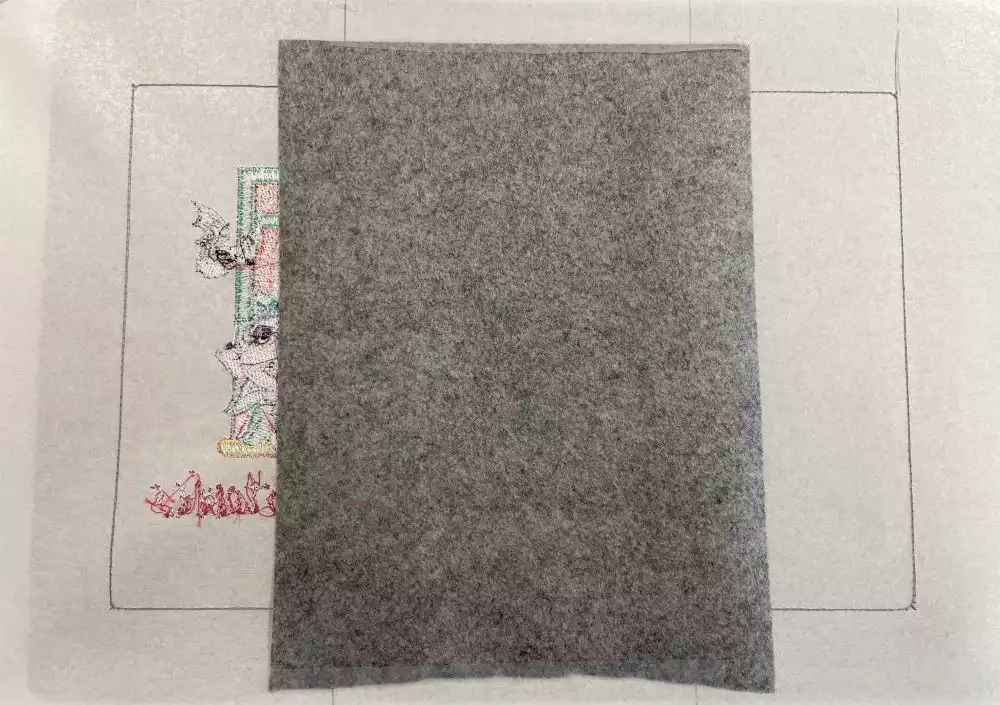
20. Place one of the side pieces on the line and out the side of the book cover, repeat on the other side.
21. Hold in place with masking tape or pin in place, be careful not to pin where the stitching will go.
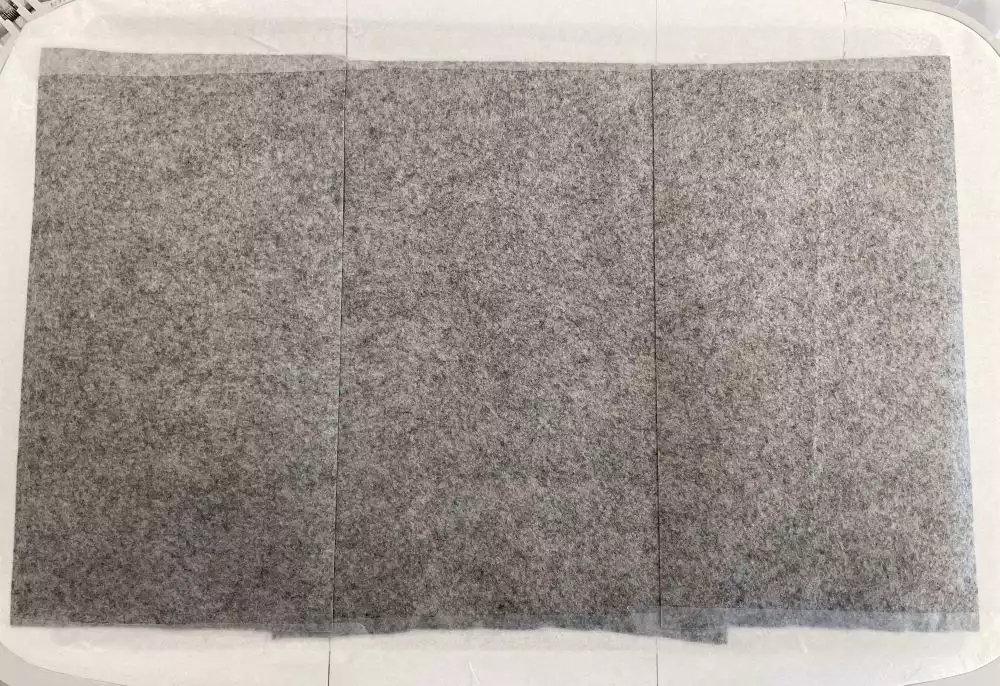
22. Put the hoop back into the machine, make sure all the back pieces are in place.
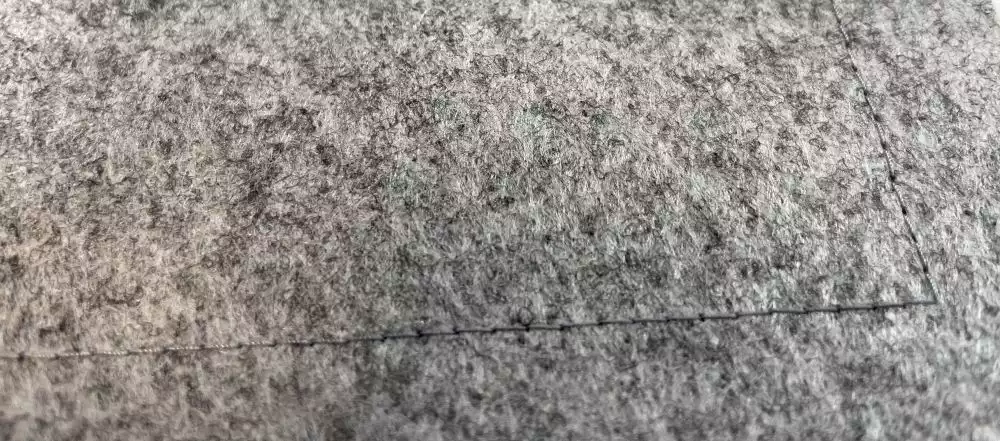
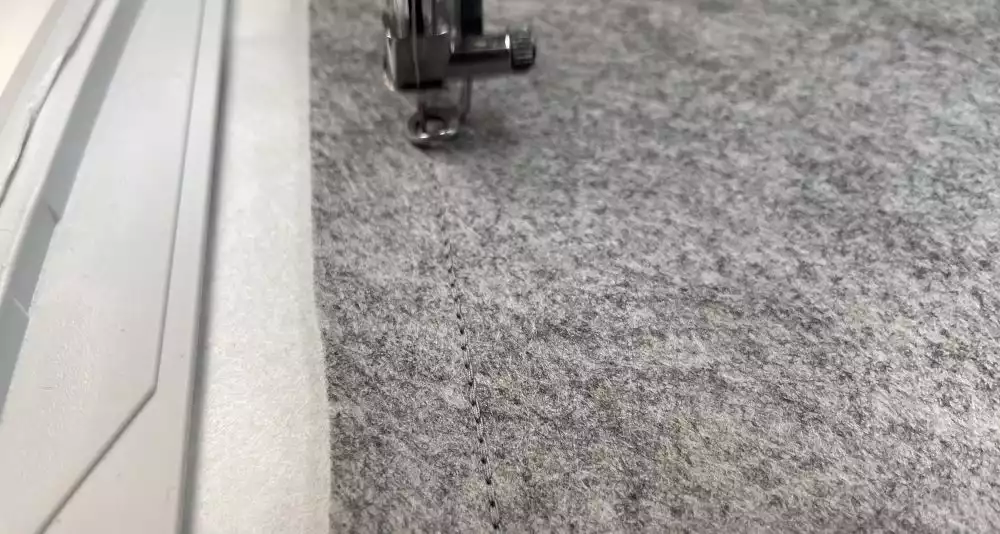
23. Stitch out the last color, this will join all the pieces together. Remember to use coordinating thread on top and bobbin since the stitches will be visible on both sides.
24. Unhoop the book cover, Tear away the stabilizer close to the stitching.
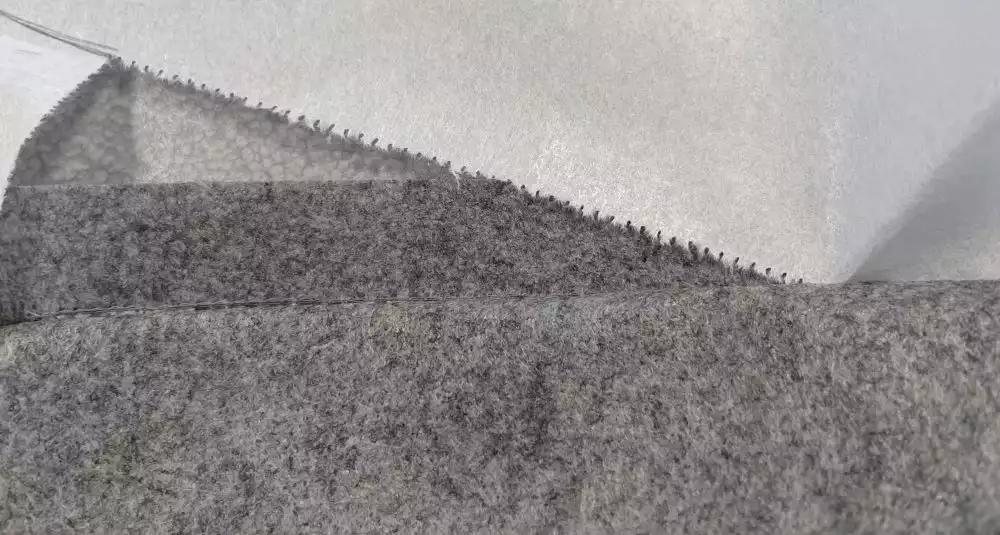
25. Cut away excess fabric, leave about ⅛” (2-3mm) around the edges.
26. Now your book cover is finished.
Slide the cover on to the book and you’re done!