United States
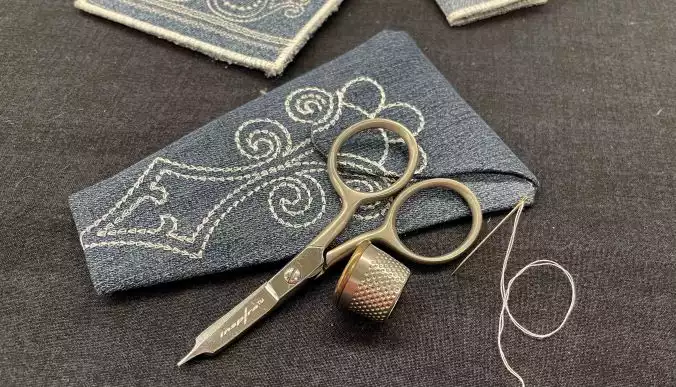
Resized Scissors Cover with In-The-Hoop Embroidery Design
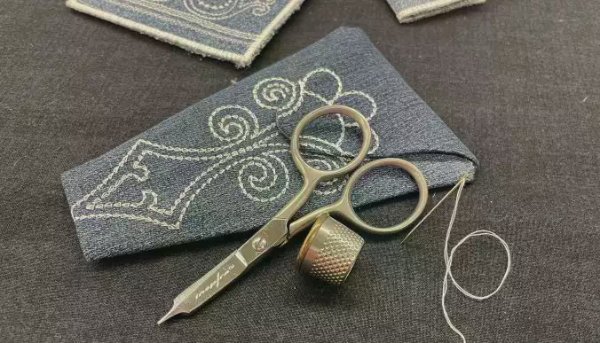
This Scissors cover is part of a set with matching chatelain and needle wallet. The embroidery designs come from embroidery library but with a new twist recycling old jeans!
With 30-day Free Trial of mySewnet Embroidery Software you will get to try out the most user-friendly and feature rich digitizing software on the market. It works with all embroidery machine brands and is available for both Windows and Mac.
What you need:
- Fabric from old jeans, not stretch fabric.
- Tear away stabilizer for the 360x200mm hoop
- Embroidery hoop 360x200 mm
- Embroidery thread.
- MySewnet Embroidery software silver level or higher
- Embroidery designs for the Scissors case and other parts of the set can be found in mySewnet embroidery Library, find them Here
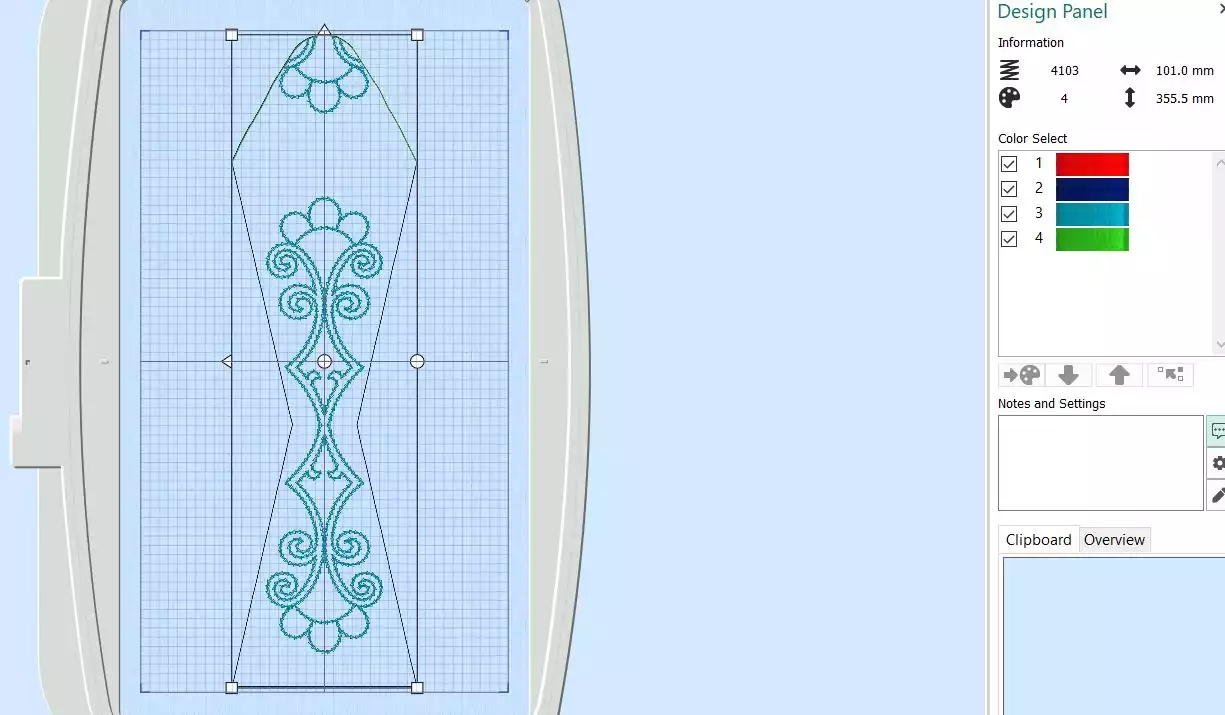
Resize the embroidery file
1. Open your embroidery software select the 360x200mm hoop and Insert the embroidery file.
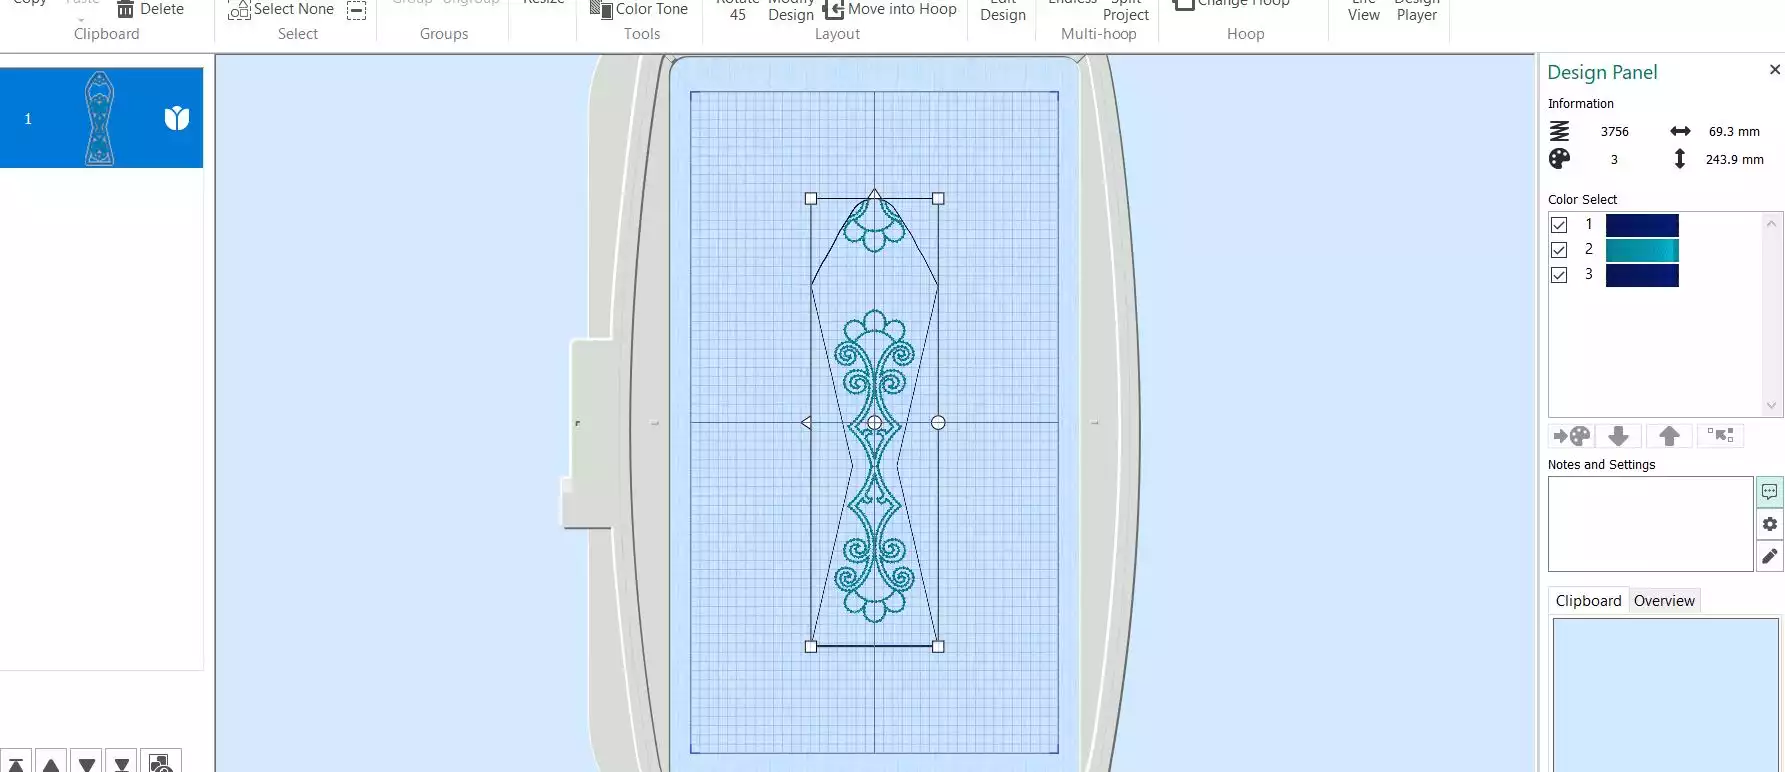
2. Move the file to the left corner at the bottom of the hoop, select Resize. The handles on the design will turn to blue.
3. Click Shift and drag the design in the upper right corner to desired size (as big as possible within the hoop).
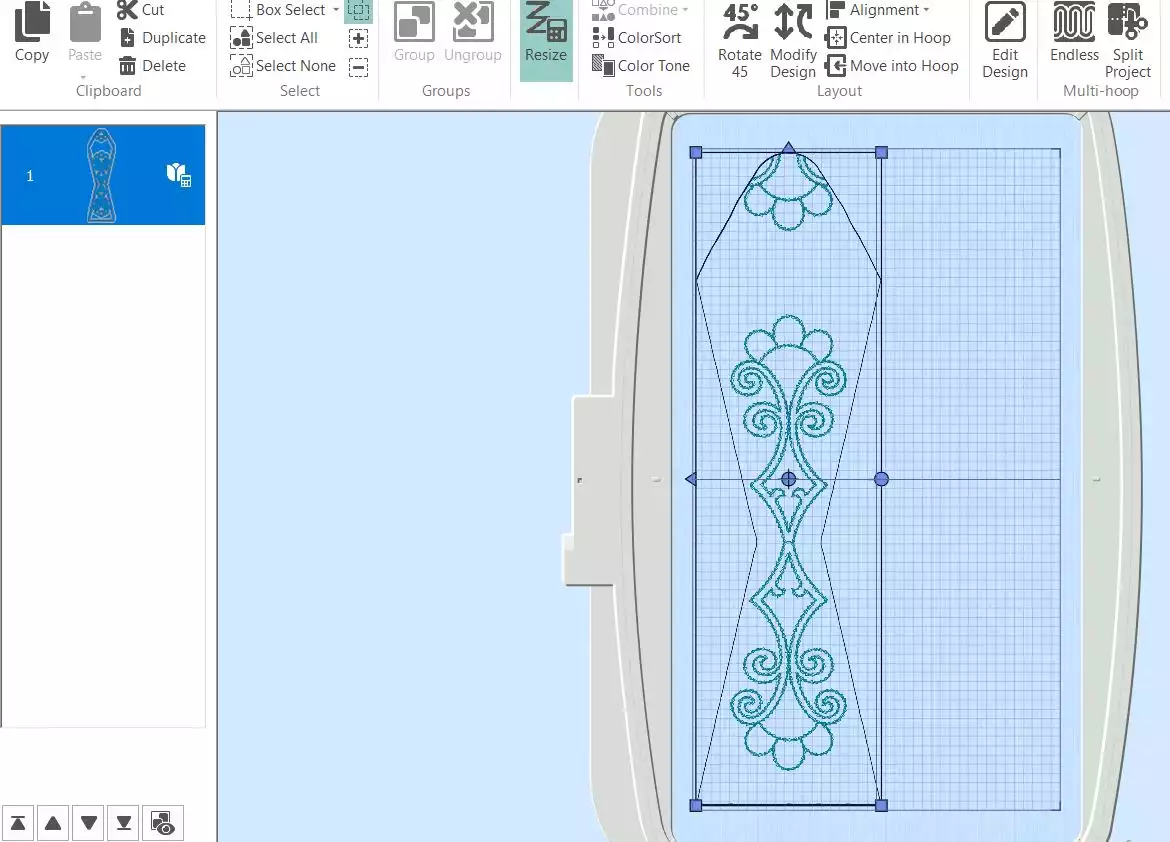
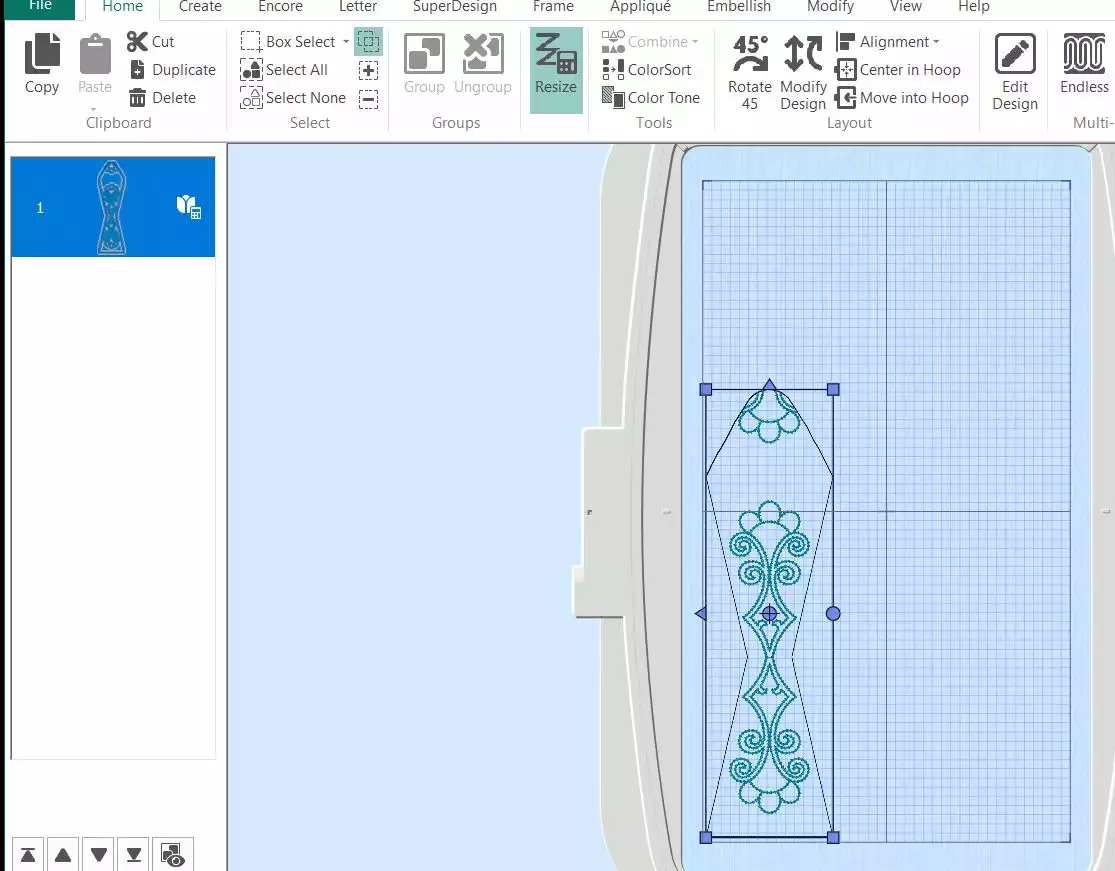
4. Click on Center in Hoop and uncheck Resize, the handles will turn white on the design.
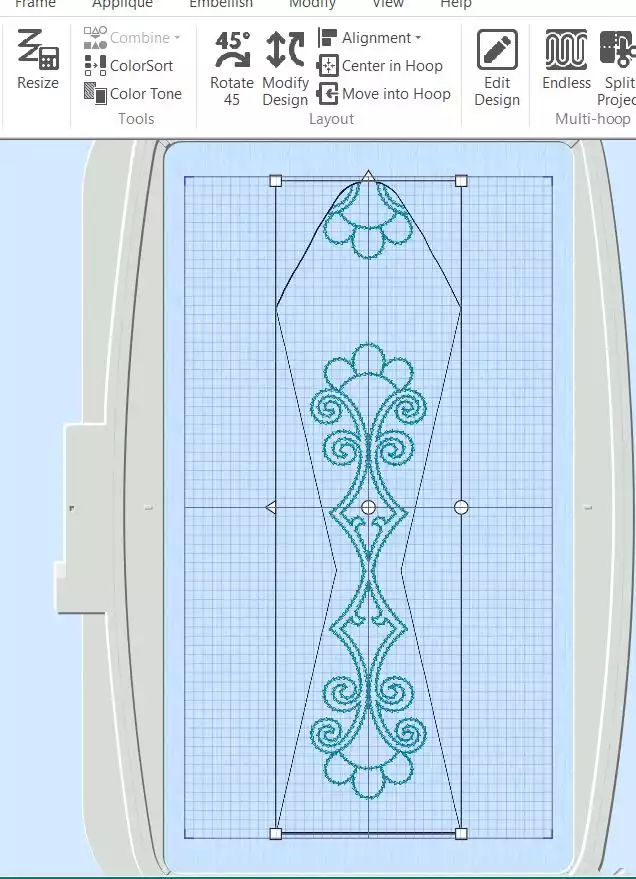
5. Now we need to do some changes to the file, adding placement stitches for the fabric.Go to the Modify tab.
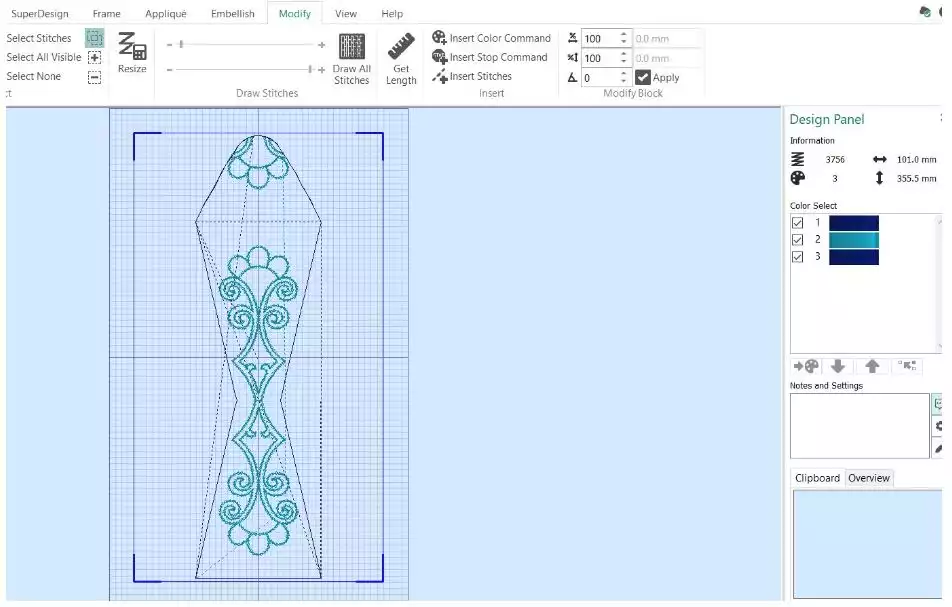
6. Deselect the last two colors, then Select All Visible.
7. Copy the selected area.
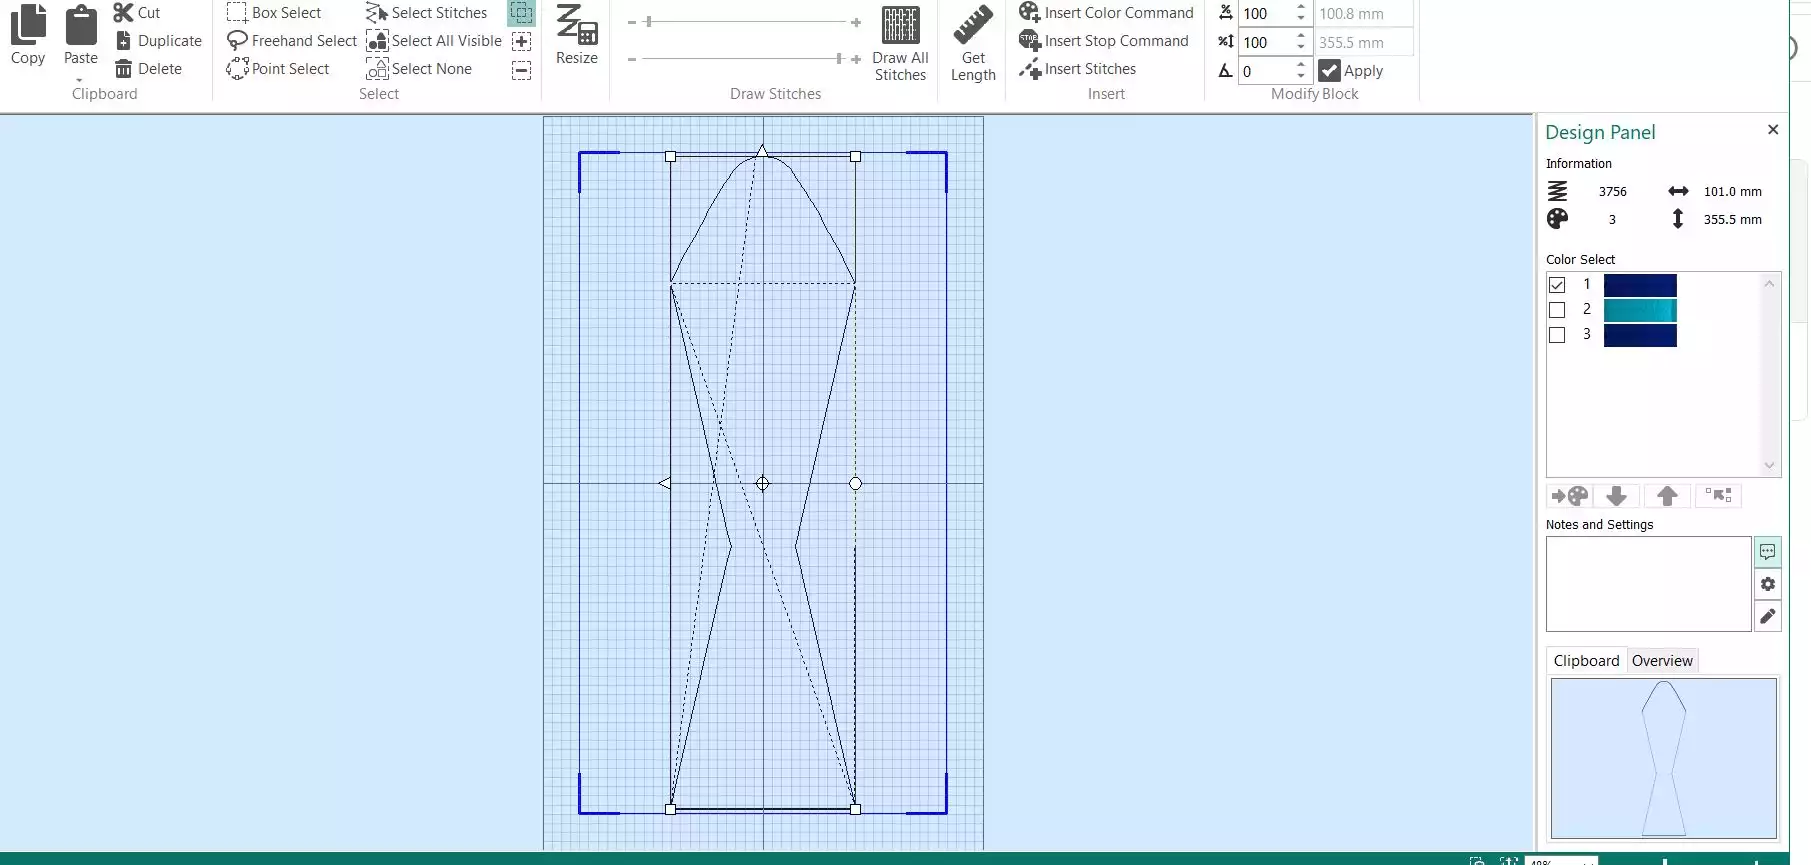
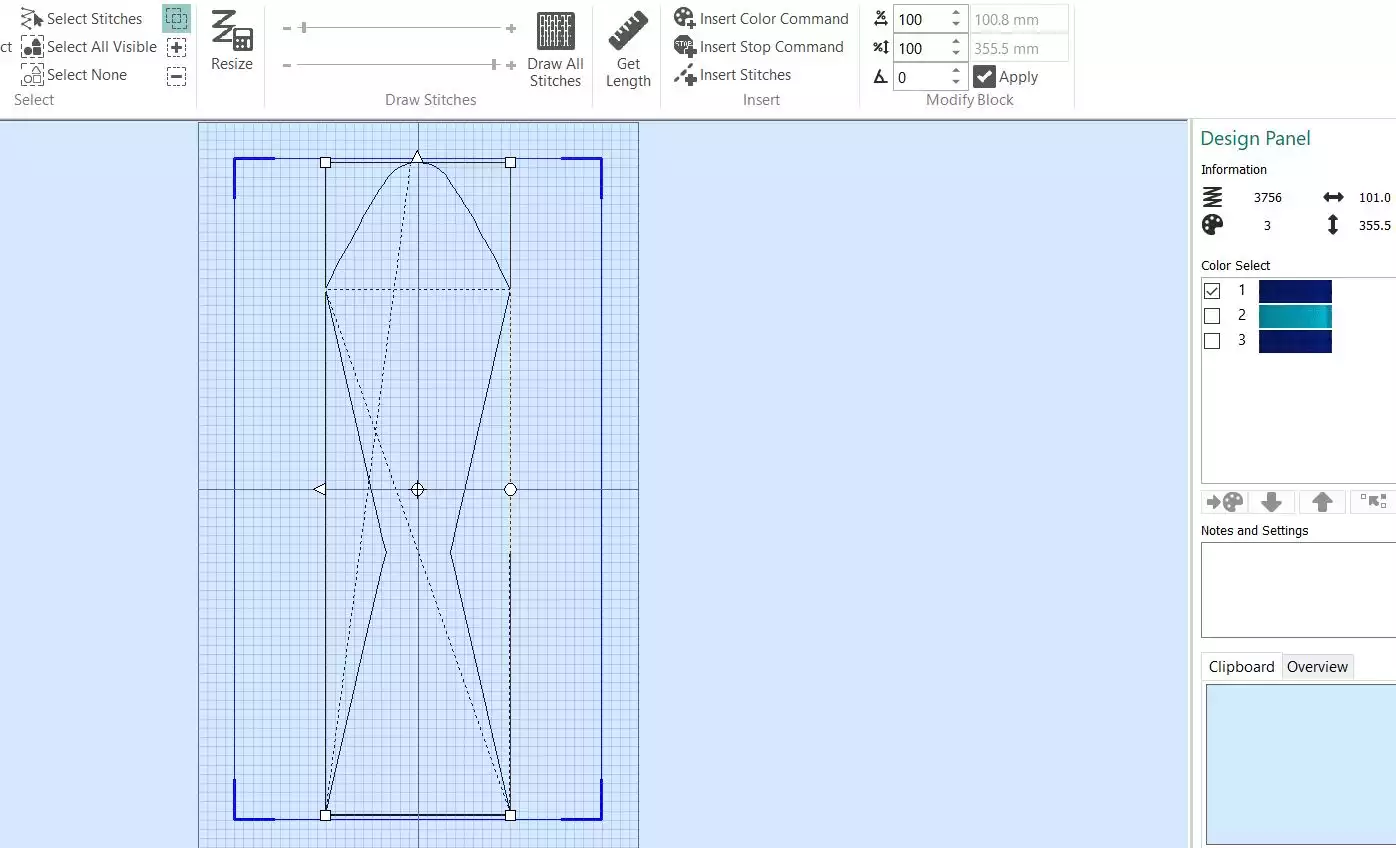
8. Go to Home tab and click on Paste, the new stitches are now placed under the original file in the Film Strip at the left side of the window.
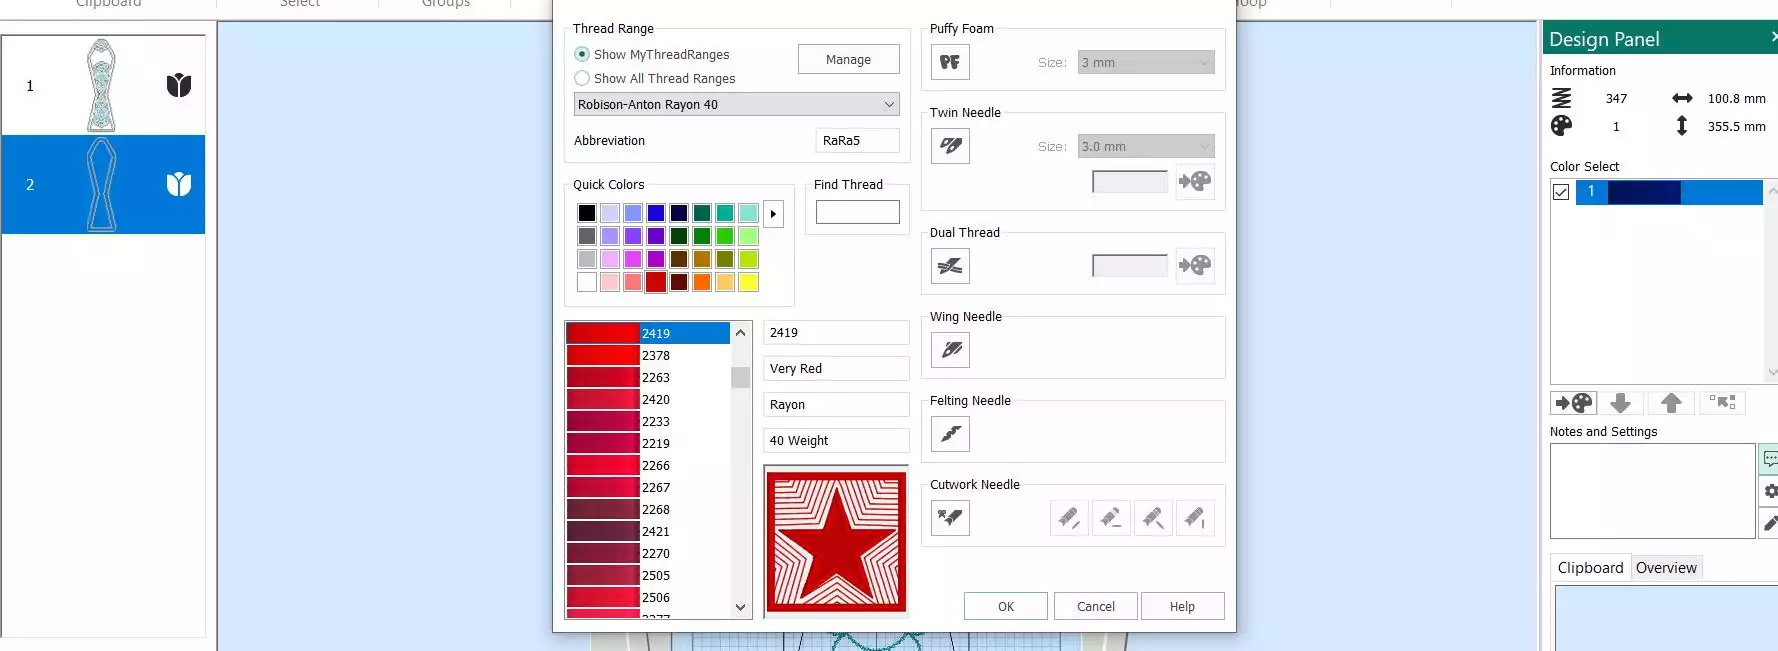
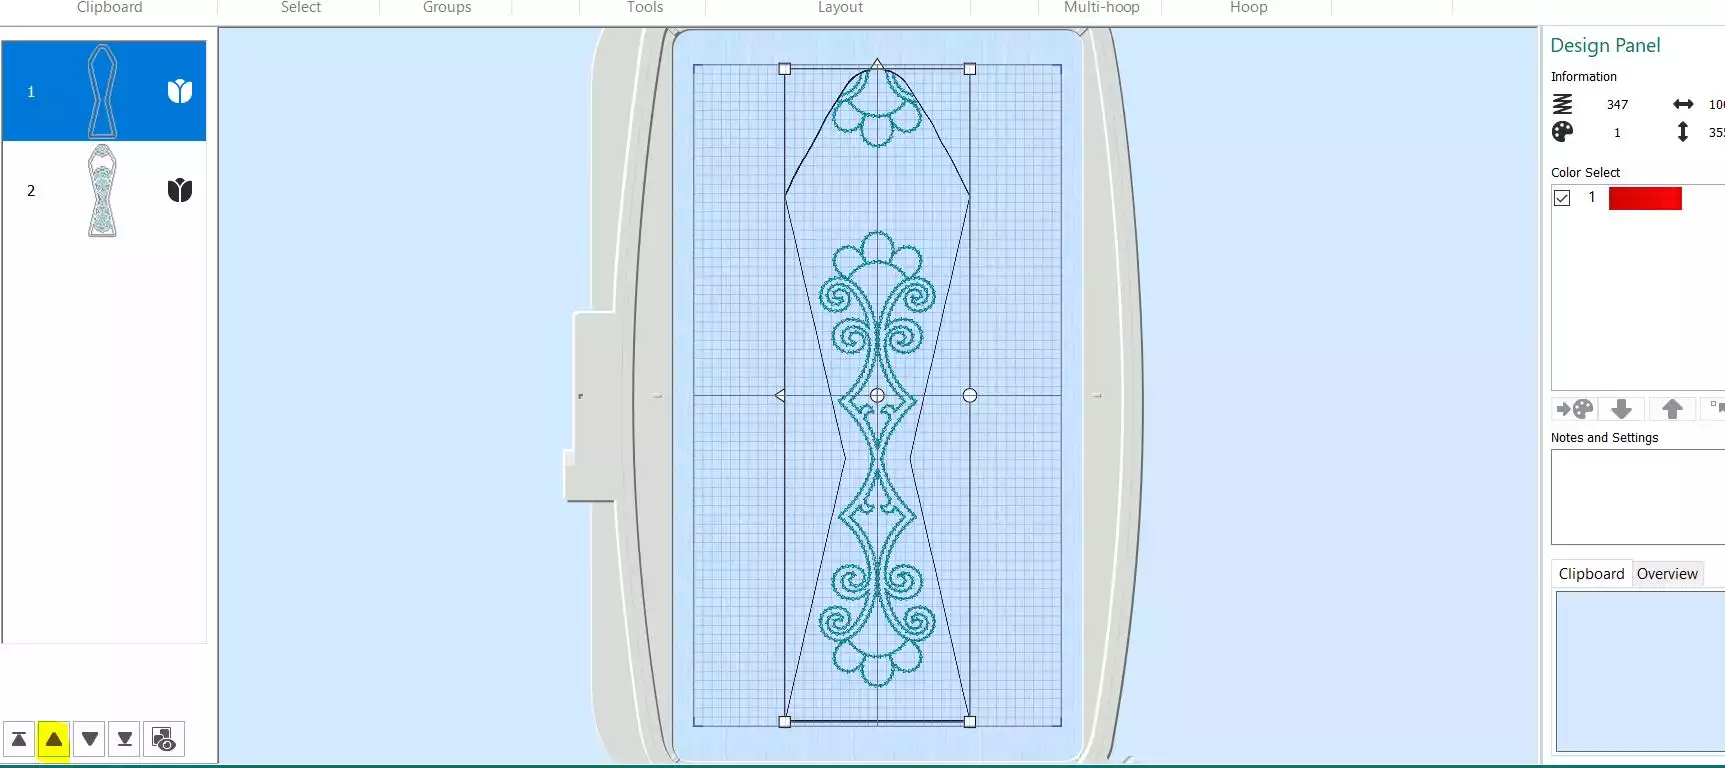
9. Change the color to red, This is to avoid the risk of the colors getting merged in Color Sort later.
10. Move the red color block up, because we want this to be stitched out first.
11. Click on Combine, Combine all.
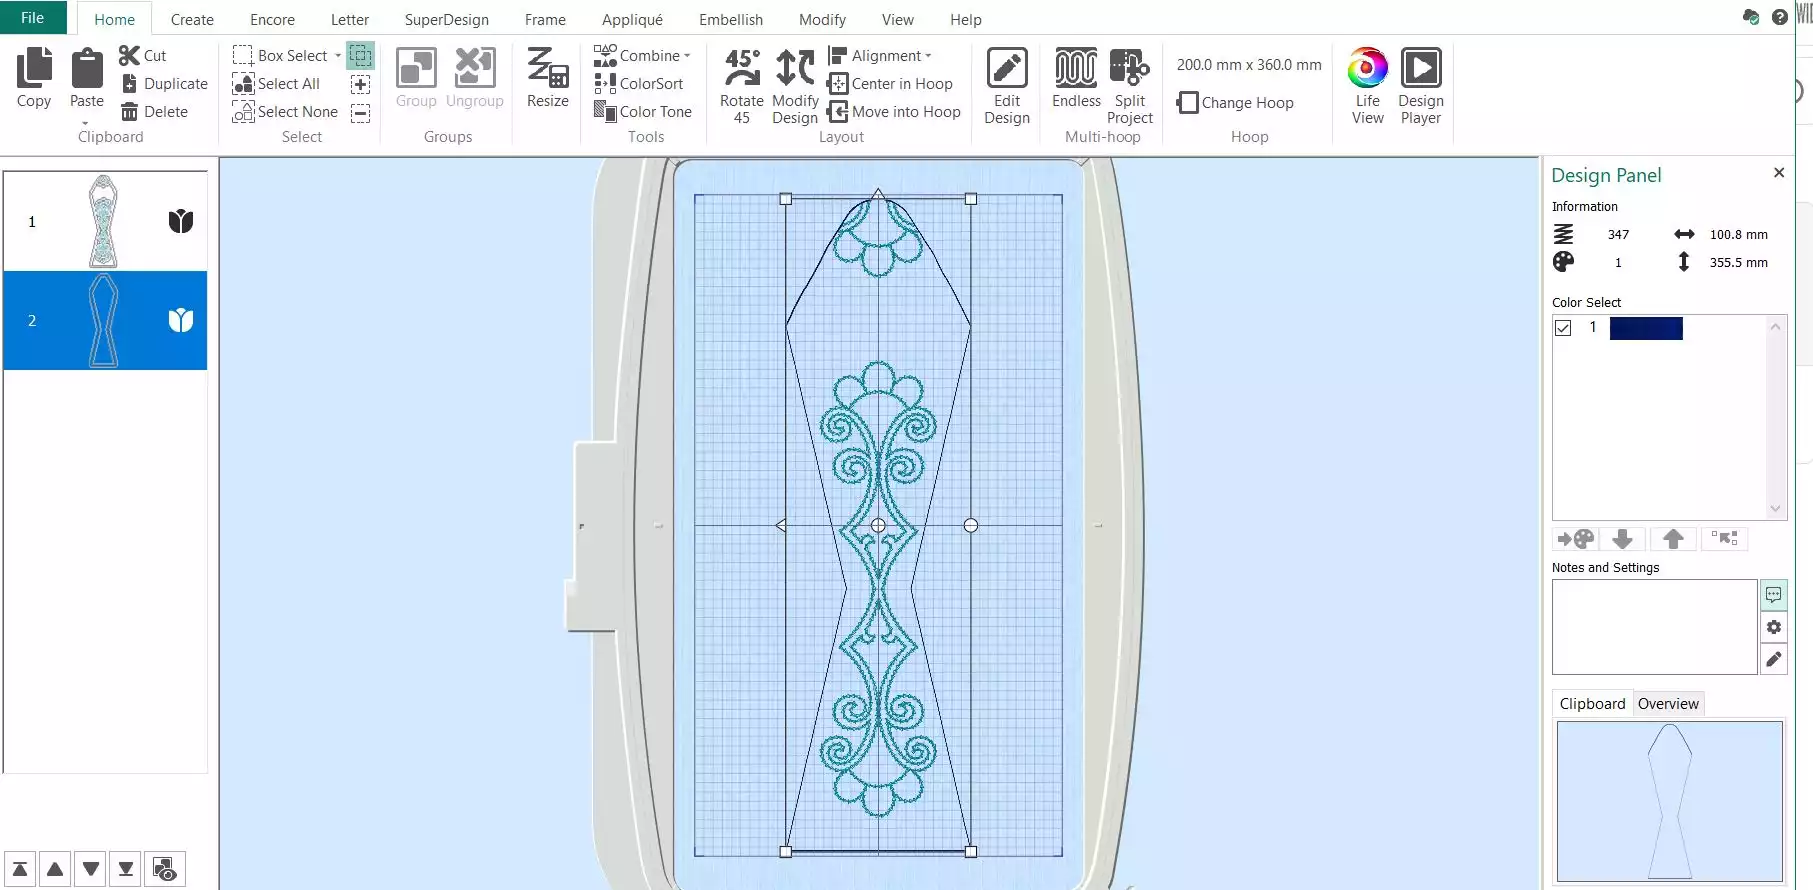
![]()
12. As a final step, change the last color to green, this is also to avoid the risk of merging colors in Color Sort. Now it should look like this:
Stitching out the embroidery
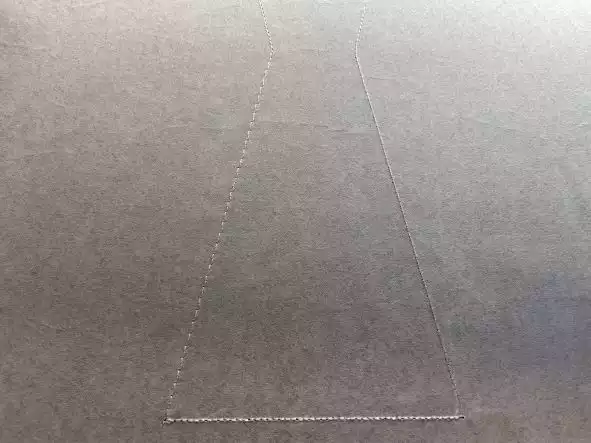
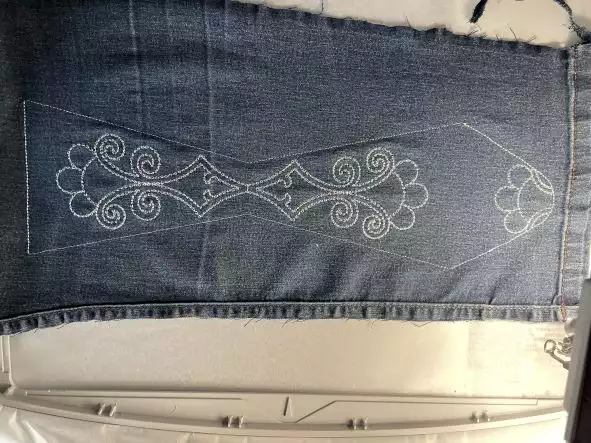
13. Hoop tear-away stabilizer in the 360x200mm hoop and stitch out color 1 (red). This will make a placement line on the tear-away stabilizer
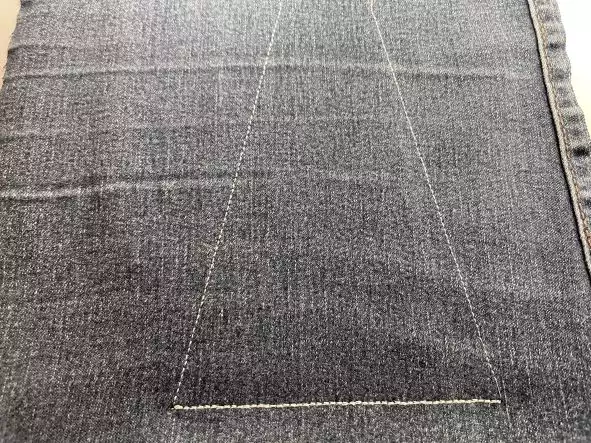
14. Place the fabric right side up, making sure it covers the stitching line all around plus at least ⅜” (1cm) for sewing allowance. Stitch out color 2 (dark blue) This will secure the fabric in the hoop.
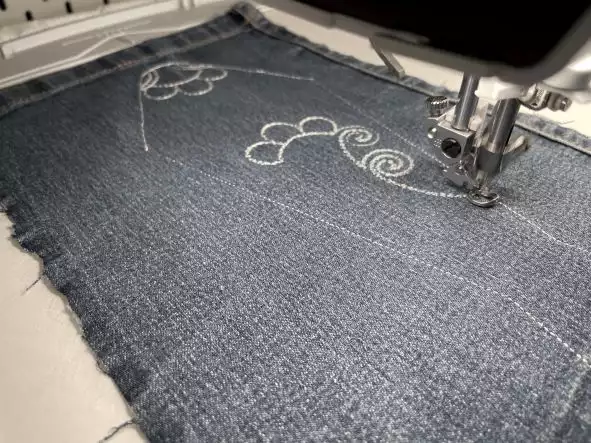
15. Stitch out color three (light blue) This will stitch out the embroidery.
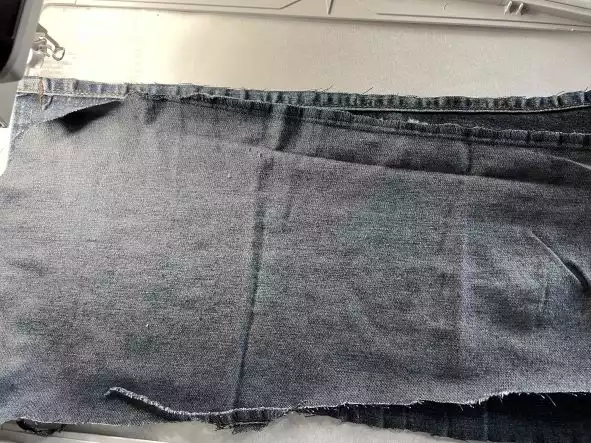
16. Place another layer of fabric, wrong side up on top of the embroidery, making sure it covers the stitching line all around plus at least ⅜” (1cm) for sewing allowance.
17. Stitch out the final color (green) This will partially stitch down the last added fabric piece.
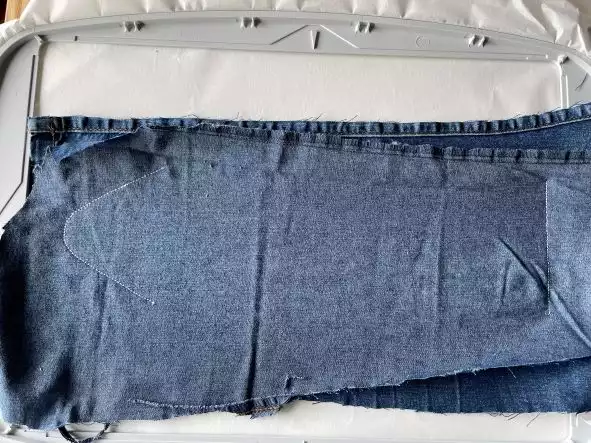
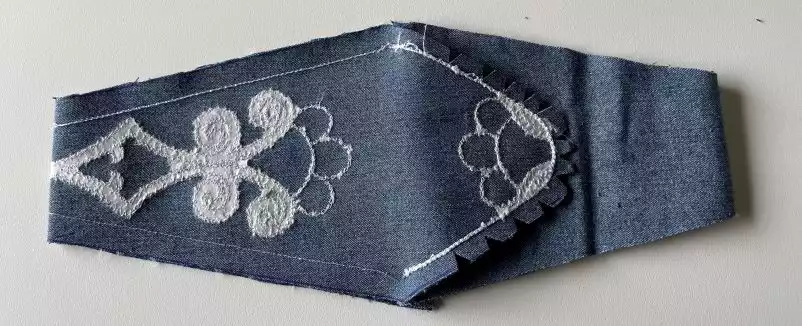
18. Take out the hoop, add 1 cm seam allowance around the edges and cut out. Remove excess stabilizer. Cut notches in the rounded edge of the scissors case.
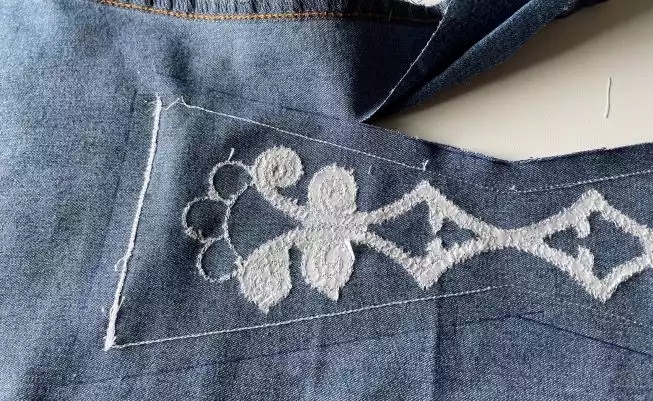

19. Open up the case and match the stitched edge of the lining and outer fabrics together. See picture below for clarity. Pin in place.
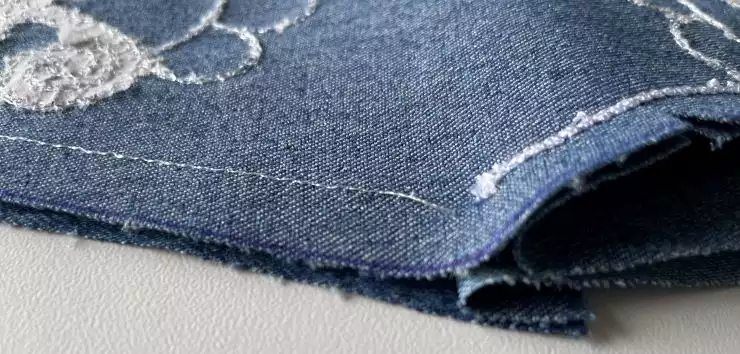
20. Stitch the edges together with ⅜” (1cm) seam allowance, leaving an opening in the lining part (the side without embroideries) for turning.


21. Turn the right side out, close the opening and put the lining inside the case. Press. Your scissors case is now finished!