United States
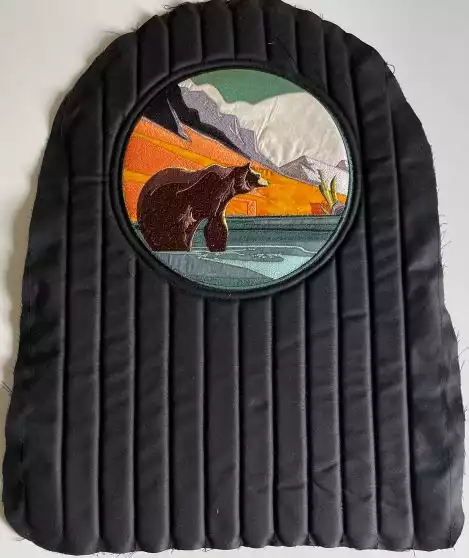
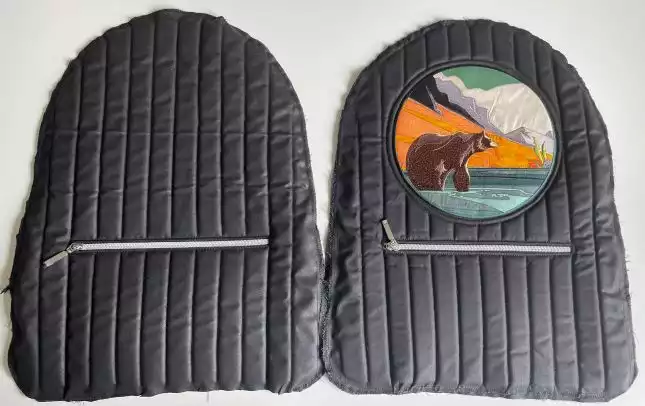
Quilted Backpack with National Parks Embroidery Design
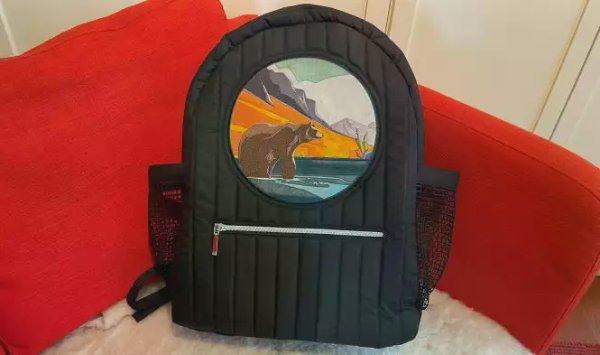
A nice backpack with embroidered applique design and plenty of pockets is a challenge to make, but a nice one! Foam interfacing is used to make it light but sturdy. The quilting is optimized to make the backpack structured. Finished size is 13” x H18” x 4/12” (33x42x12cm)
What you need:
- Embroidery design can be found in mysewnet library: Find it Here
- Embroidery hoop 8”x8” (20x20cm) or larger
- Tear-away stabilizer
- Traditional oil cloth fabric 40”x55” (100x140cm)
- Cotton fabric for lining 27”x55” (70x140cm)
- Flexible foam interfacing, thickness about ¼” (5mm) 28”x36” (70x90cm)
- Spray adhesive
- Zipper on the yard, the heavier type for bags 1 ¼ yard (1,25m)
- 4 zipper pulls
- Mesh fabric for side pockets 9”x17” (23x45cm)
- Webbing for straps 1” (2,5cm) vide, 1 1/2 yard (1,5m)
- 2 adjustable ladder lock buckles for 1” (2,5cm) webbing
- Matching thread
Preparations
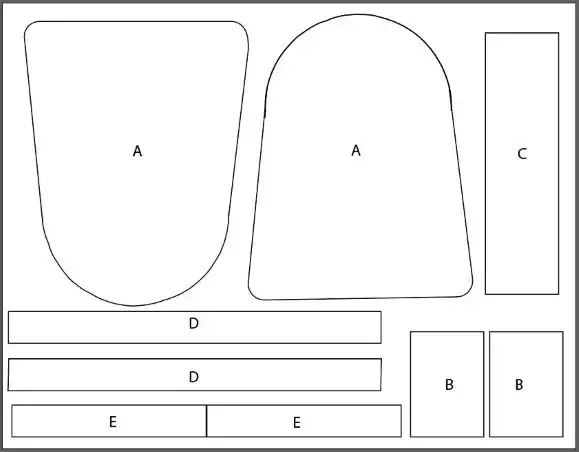
Print out the PDF File: backpack pattern without seam allowance1.pdf and tape it together. Trace or cut out the pattern pieces from the PDF. Seam Allowance is NOT included in the pattern pieces.
From Outside fabric cut:
Cut out the pattern pieces from the PDF. (remember to add seam allowance ½” (1,5 cm) Mark the center point and the horizontal and vertical lines for embroidery placement on the front piece.(In the circle)
You will also need to cut these pieces; Seam allowance is included in the measurements.
- 2 Side panel 5 ½” x 15” (14x 38cm)
- 2 Zipper panel 7”x 28” (18x71cm)
- 2 Bottom panel 5 ½” x 17”(14x43,5cm)
- 2 carrying strap 16”x5” (41x13cm)
From Lining fabric cut:
- 2 front and back pocket lining 7 ½” x 11” (19x28cm)
- 2 inner pockets 5 ½” x 14” (14x36cm)
- 2 Backpack panel lining 16” x 20” (40x 50cm)
From foam interfacing cut
- A: Front and back pieces for the backpack. Cut out without seam allowance
- B: 2 side panels 4 ½” x 6 ½” (11,5x16,5cm)
- C: 1 bottom panel 4 ½” x 16” (11,5x41cm)
- D: 2 zipper panels 2” x 28” (5x71cm)
- E: 2 Carrying straps 2”x 12” (5x30,5cm)
Cutting plan for foam interfacing:
Subcut the webbing:
- 2 pieces 4” (10cm) for buckle strap
- 2 pieces 20” (50 cm) for side straps
- 1 piece 10” (25 cm) for handle strap
Subcut the zipper:
- 2 pcs 10” (25cm)attach one zipper pull on each zipper
- 1 piece 28” (71cm) attach two zipper pulls, one from each end
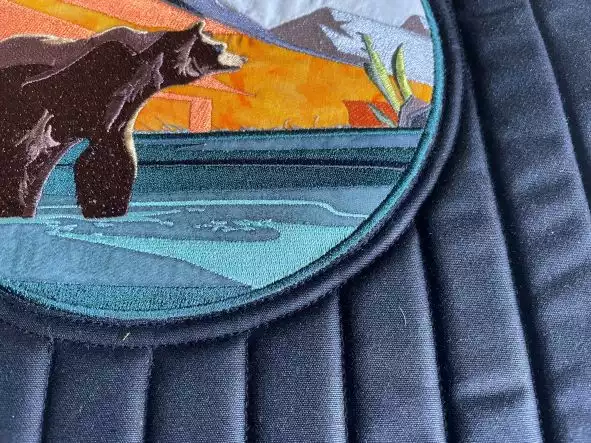
Stitch out the embroidery
1. Attach tearaway stabilizer in the hoop. Place the fabric piece for the backpack front in the hoop matching the center point mark of the embroidery hoop with the center mark on your fabric piece. Be sure to make it straight both horizontally and vertically.
2. Secure the fabric in the hoop with the basting function before stitching out the embroidery.
3. Stitch out the embroidery following the instructions in the embroidery file.
4. Unhoop and tear away excess stabilizer.
Making the backpack front and back parts
5. Spray glue to the back side of the front piece, leaving the seam allowances free and attach the foam interfacing.
6. Stitch close to the edge around the embroidery and another line about ¼” (5mm) away.
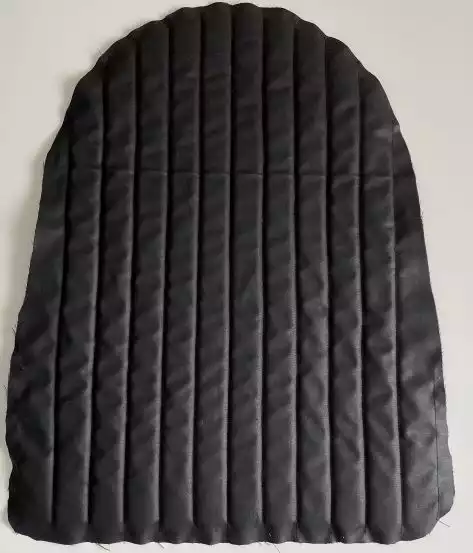
8. Mark the center line horizontally and stitch a line from top to bottom (except the embroidery area.)
9. Stitch quilting lines 1” (2,5cm) apart from the middle and out on both sides.
10. Repeat with the back piece.
Pockets on back and front pieces
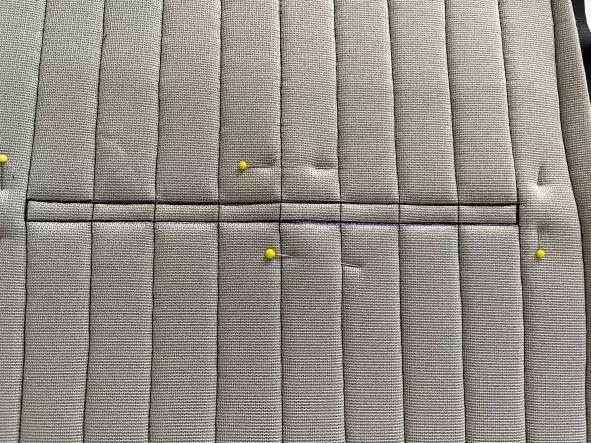
11. On the back piece mark a horizontal line on the foam interfacing as shown on the pattern.
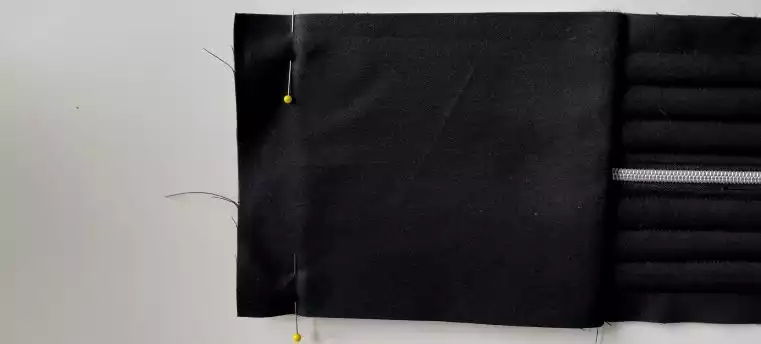
12. Place the pocket lining fabric on the front piece right sides facing. Keep the raw edge even with the bottom edge of the backpack piece.
13. Sew two times around the lines from the wrong side catching the lining piece in the stitching.
14. Cut in the center, between the stitching lines and out in the corners.
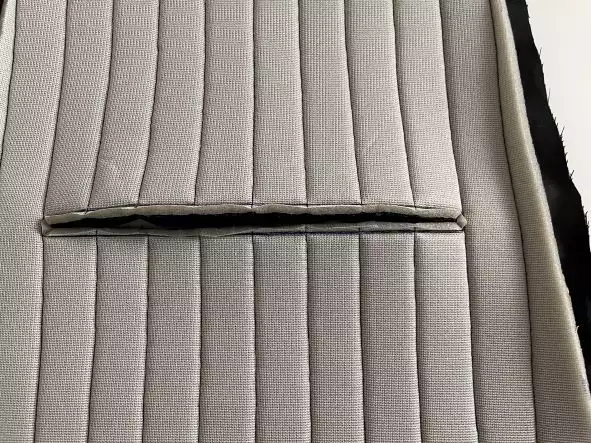
15. Pull the lining fabric to the back through the opening and press.
16. Stitch close to the edges around the opening.
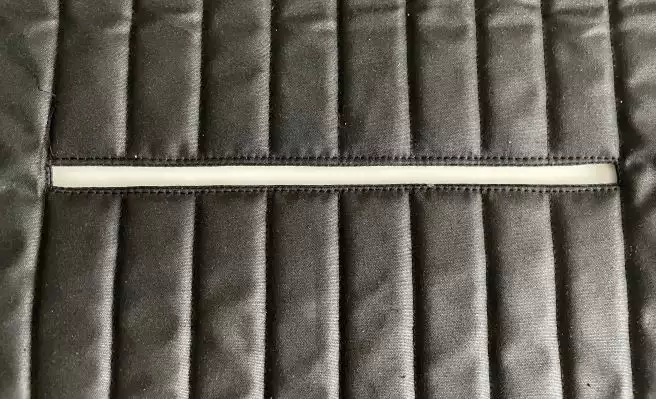
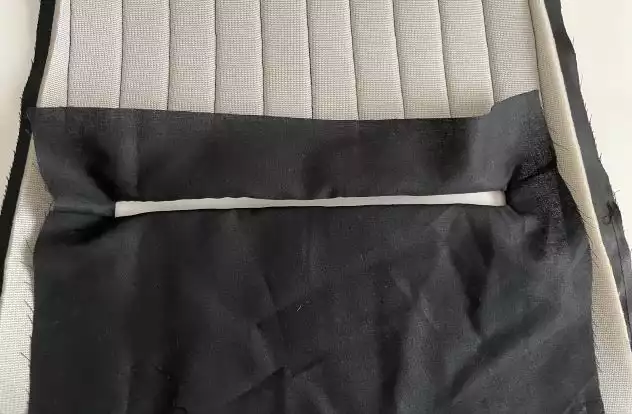
17. Place a zipper with zipper pull under the opening and stitch around the edges again to secure the zipper in place.

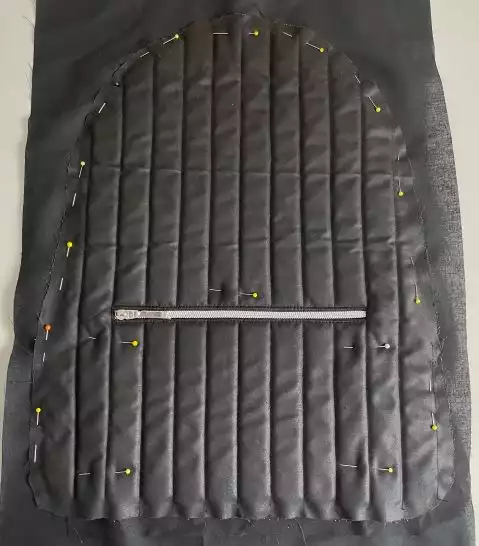
18. Place one of the lining fabric pieces wrong side up on the table and put the backpack front on top of it. Pin in place around the edges and stitch about ¼” (5mm) from the edge. Cut away excess lining fabric.
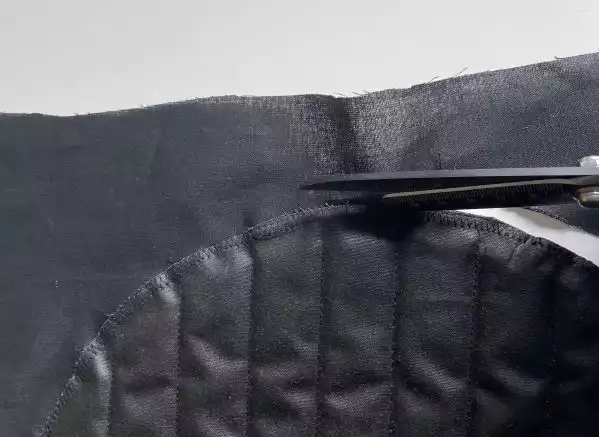
19. Make a stitching line on top and sides of the pocket following the quilted lines to close the pocket sides.
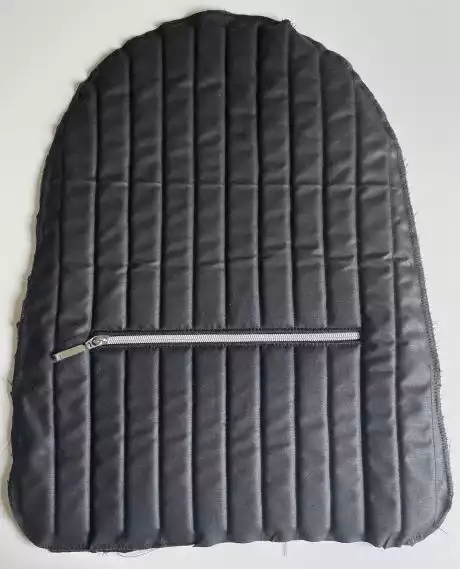
20. Repeat from step 10 with the front piece of the backpack.
Making the side panels
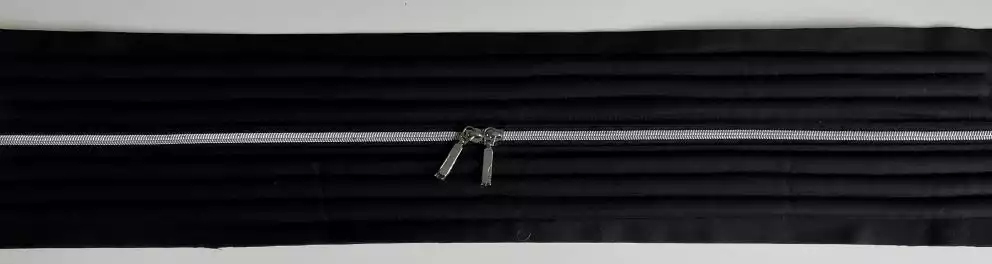
21. Attach two zipper pulls on the zipper for the zipper panel, one from each end.
22. Fold the two zipper panels in the middle long sides together and right sides facing, press.
23. Place the zipper between the layers against the folded edge and stitch ¼” (6mm) from the edge, unfold and press. Do the same with the other side of the zipper.
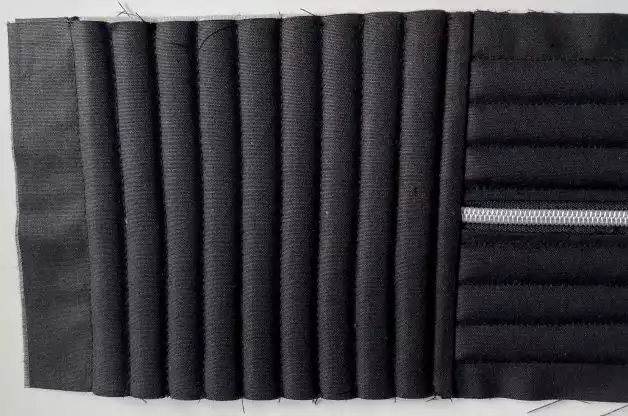
24. Put the foam interfacing between the layers and stitch ½” (1,5 cm) from the raw edge, encasing the interfacing. Stitch close to the fabric edge and then quilt the zipper panels with lines ½” (1,5cm) apart There will be four lines on each side of the zipper. If necessary, adjust the width of the zipper panel to match the side panels.
25. Fold the lower side panel pieces right sides together and press.
26. Put the short edge of the zipper panel in the fold and sew over the folded edge with a ½” (1.5cm) seam allowance. Unfold and press.
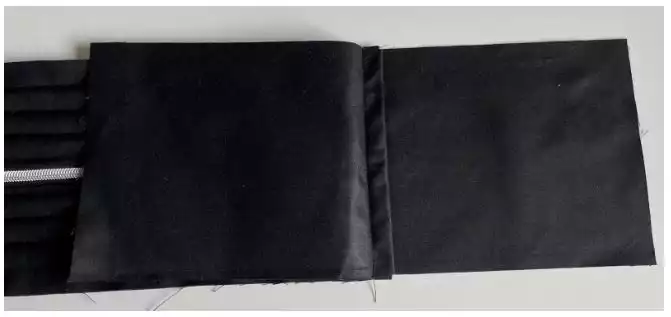
27. Put the foam interfacing between the layers and stitch ½” (1,5 cm) from the raw edge, encasing the interfacing.
28. Stitch ¼” (5mm) from the folded edge and then stitch parallel lines ½” (1,5cm) apart.
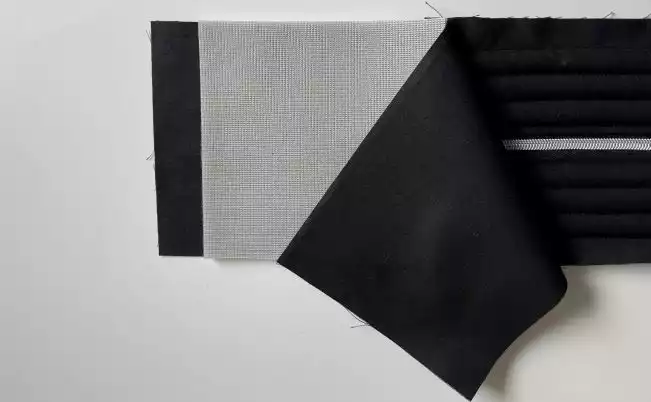
Mesh pockets
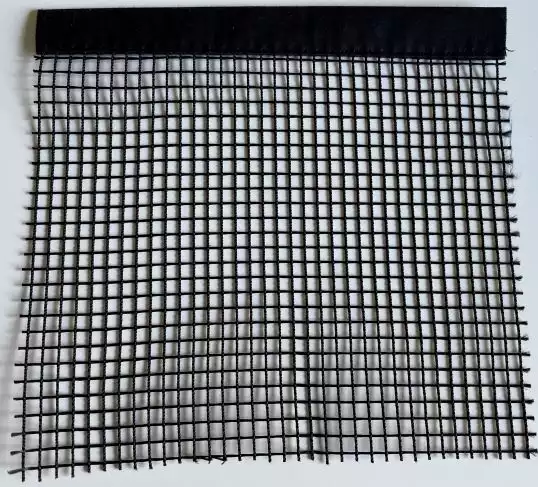
29. Fold the mesh pocket bindings in half lengthwise and press, fold out and turn the long edges to the crease in the middle. Press. Fold the sides towards each other.
30. Put the long edge of the mesh pocket piece in the folded binding piece along the middle crease and stitch close to the edge.
31. Match the mesh pockets against the lower side panel. Make small pleats at the bottom edge as needed. Secure in place using a ¼” (6mm) seam allowance.
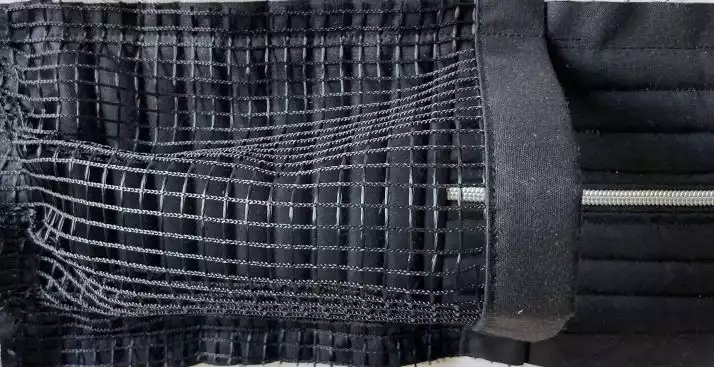
32. Fold the inner pocket pieces in half lengthwise. Pin them in place at the lower edge side panels matching raw edges. Secure in place with a ¼” (6mm) seam allowance.
33. Place the bottom panel fabric right sides facing the end of the side bottom panel. Place the lining bottom panel on the opposite side and sew with a ½” (1,5cm) seam allowance. Turn right sides out.
34. Place the bottom foam interfacing between the layers and secure with a ½” (1,5cm ) seam allowance on the long sides.
Making the strap section
35. Start by preparing the webbing subcut pieces. To prevent the edges from unraveling, singe them lightly with a lighter to melt the edges . Put aside for now.
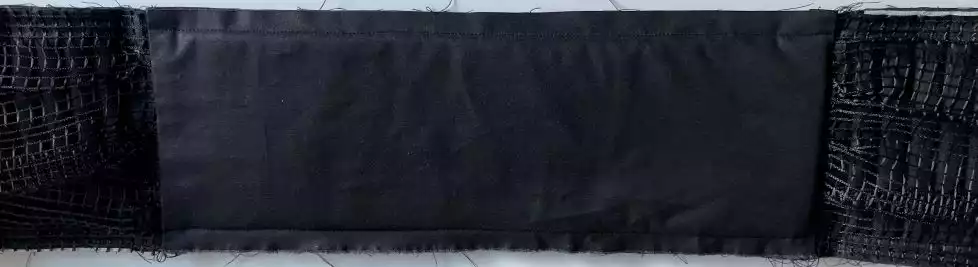
36. Sew the long sides of the fabric strap pieces together using a ½” (1,5cm) seam allowance and press open. Turn and press with the seam line in the middle of the strap.
37. Insert the foam interfacing strap pieces into the strap piece and secure in place 2” (5cm) from the short edges.

38. Stitch about ⅛” (2mm) on each side of the seam line in the center of the strap pieces.
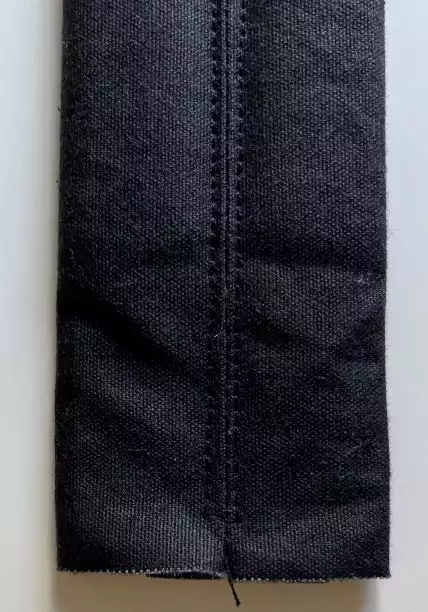
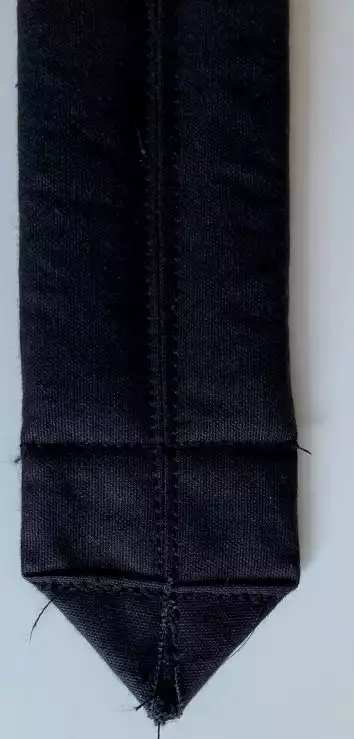
39. Fold the corners on one end of the strap piece to the center line forming an arrow point. Stitch in place across the base of the triangle.
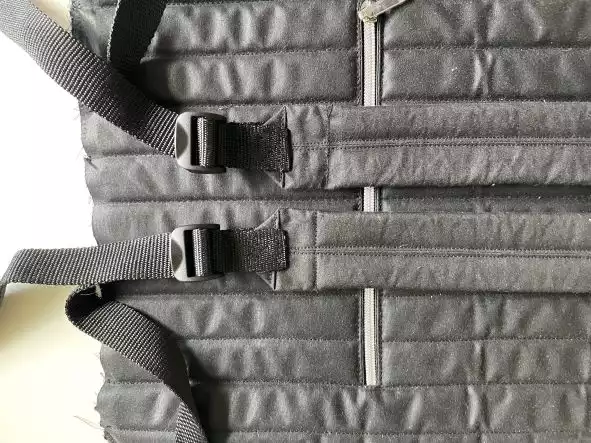
40. Lead the strap end webbing through the end of the ladder lock buckle and fold in half. Place them over the end of the straps with an arrow end and stitch in place.
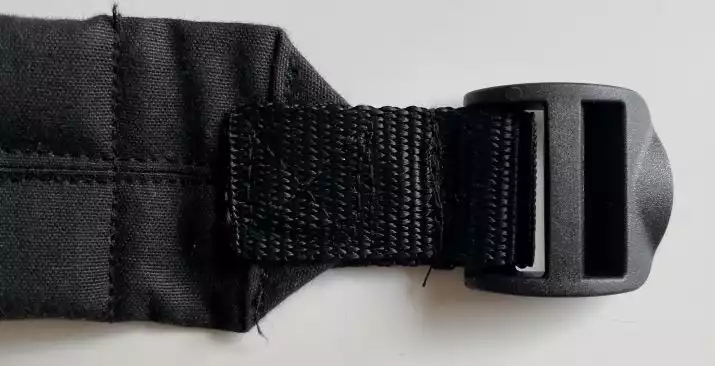
41. Fold all sides on the reinforcement patch piece ½” (1,5cm) to the wrong side. Press.
42. Place the straps ends on the slanted edges of the reinforcement patch 1” (2,5cm) from the outer edge, overlapping ½” (1,5cm). Pin in place with the buckle facing up.like in the picture above. Place the handle on top, each end centered on the strap ends. Pin in place. Turn the reinforcement patch right side up and stitch the straps and handle securely in place.
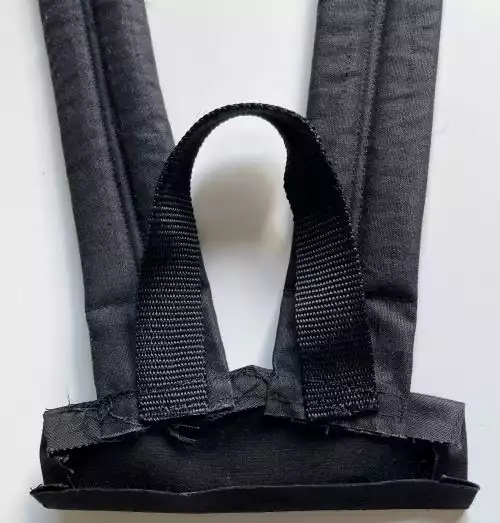
43. Place the reinforcement patch with the straps attached on the back of the backpack centered and 2” (5cm) from top. Stitch in place with two rows of stitching.

44. Pin the the long pieces of webbing 2” (5cm) up from the bottom on each side of the back piece. Secure in place with stitching.
Finishing the backpack
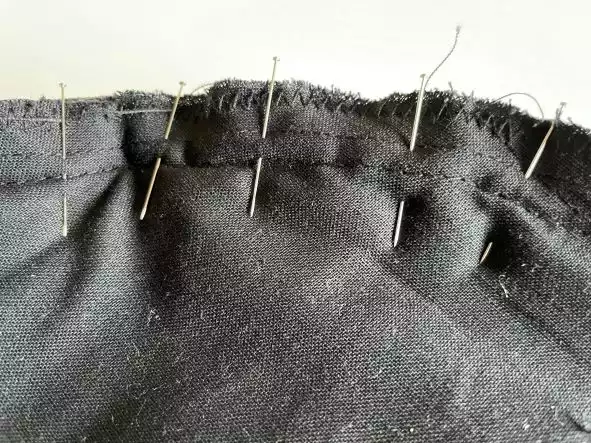
45. Mark the center of the backpack on top and bottom. Do the same with the pieced side panels . Pin in place and sew together with a ½” (1,5cm) seam allowance.
Finishing the edges on the inside
46. Cut away loose thread ends and clean up the seam allowance.
47. Fold the binding strip wrong sides together and sew it to the edges using a ⅝” (1cm) seam allowance. Let the start and finishing ends overlap about 1” (2cm).
48. Turn the folded edge over and stitch in place covering the raw edges.
Your backpack is now finished!