 United States
Pride Double Zip Pouch
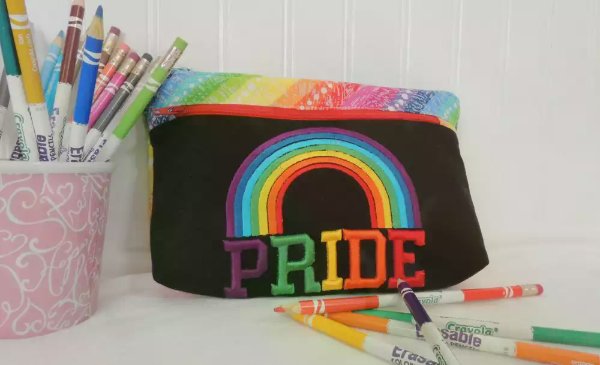
Show off your Pride with this easy and fun to make double zipper pouch. The embroidery is designed to incorporate Puffy Foam in the lettering to it give a 3D effect so it will really stand out.
With 30-day Free Trial of mySewnet Embroidery Software you will get to try out the most user-friendly and feature rich digitizing software on the market. It works with all embroidery machine brands and is available for both Windows and Mac.
What you need:
- 1 Fat Quarter (outside of bag)
- 1 Fat Quarter (lining)
- 1 12” x 12” contrasting fabric for embroidery
- 2- 14” Nylon Zippers
- 12” x 12” Fusible woven interfacing
- Fusible Batting
- Tear Away stabilizer
- Sewing thread in matching color
- 3” x 3” 3mm Embroidery Puffy Foam in each of the following colors:
- Purple
- Green
- Yellow
- Orange
- Red
- Embroidery threads (according to the design stitch out)
- Pride embroidery design (sized for 150 x 150 embroidery hoop) Click on the file below to get the free design PRIDE.vp3

Cutting instructions:
From outside fabric:
1-8” x 11”
2-1” x 4”
1- 2” x 11”
For lining fabric:
2-8”x11”
1-6”x11”
1-7”x11”
From fusible woven interface
1- 12” x 12”
From Fusible Batting
2-8”x11”
Embroidery:
1. Fuse the interfacing to the wrong side of the contrasting fabric for embroidery and hoop the Tear Away stabilizer and the fabric.
2. Stitch out embroidery design according to stitch out order, placing Puffy foam when indicated.
3. Once the embroidery is complete, remove fabric from hoop, and remove tear way stabilizer. Press and cut to 6” x 11” being sure to center the embroidery design. (Tip: if some of the puffy foam is showing through the stitching, steam the puffy foam embroidery with an iron, without touching the embroidery. This will shrink the puffy foam under the stitches) set aside.
Constructing the bag:
4. Fuse the batting to the wrong side of the 8” x 11” of outside fabrics and set aside.
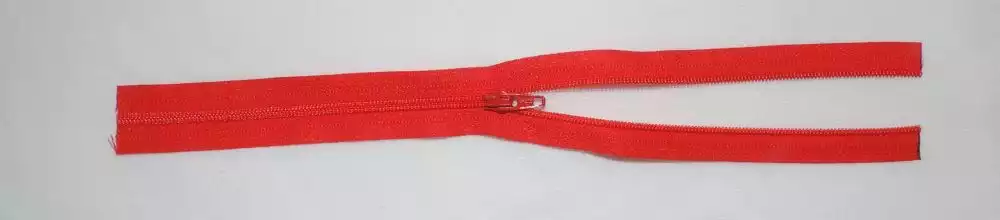
5.Cut the zipper stop off the zippers. Measure 11 inches from the cut and mark with a marker. Pull the zipper to open the zipper, do not pull the zipper pull off the zipper, and cut the zipper on the marked lines. The entire zipper should measure 11”.
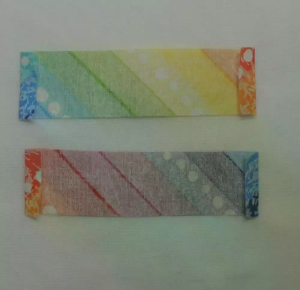
6. Take the two 1” x 4” strips of fabric and fold down the short ends and press. Fold the strip in half, short ends together, and press. This will create the zipper ends.

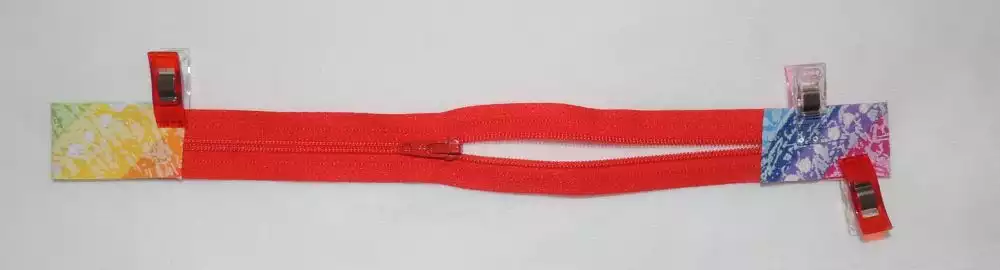
7. Slide both sides of the zipper into the zipper ends, secure with pins or clips and stitch across.
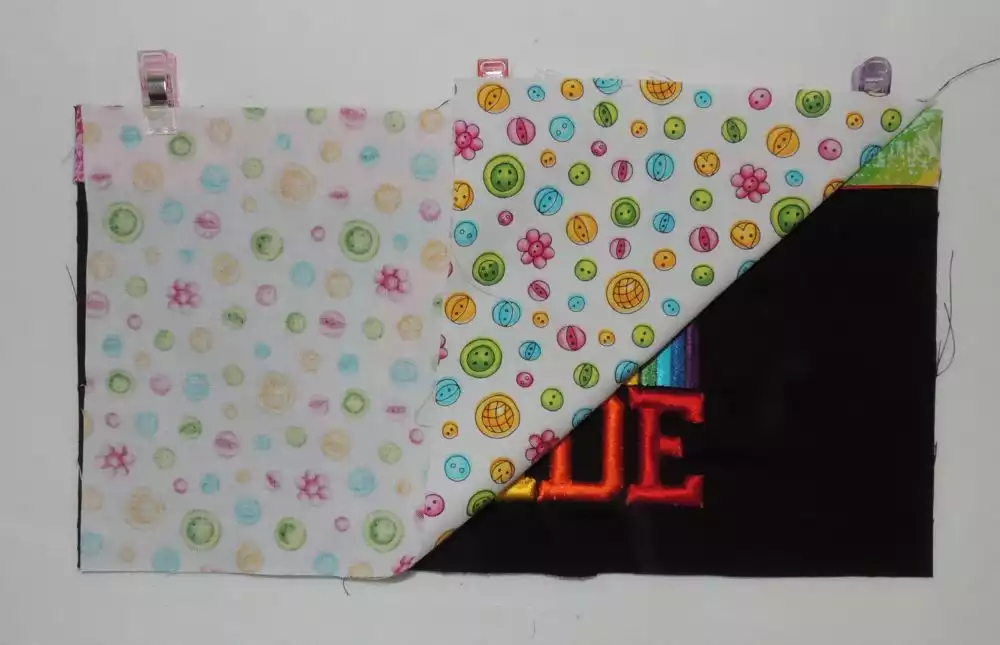
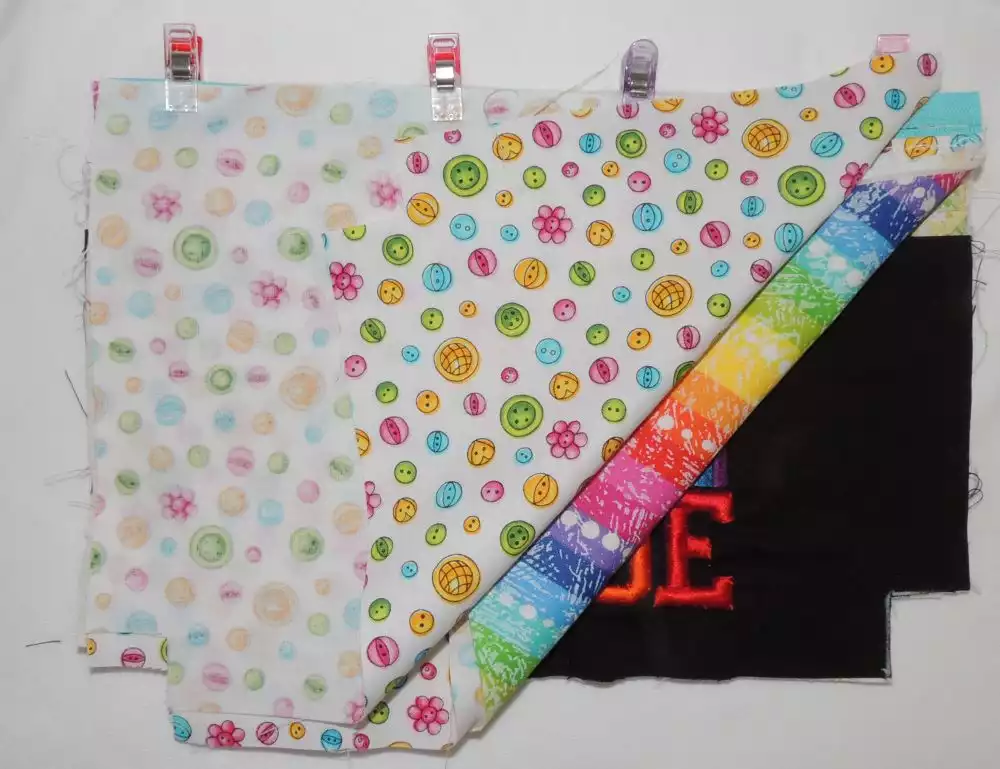
8. Lay the embroidered 6” x 11” fabric right side up, lay the zipper right sides down on top edge of the embroidered fabric, (do not worry if the zipper is a bit longer then the embroidered fabric) lay the 6” x 11” lining right sides down over the zipper creating a sandwich. Stitch across getting as close to the zipper as you can without stitching into the zipper teeth. This will be the front pocket.
9. Turn right side out, press and top stitch.
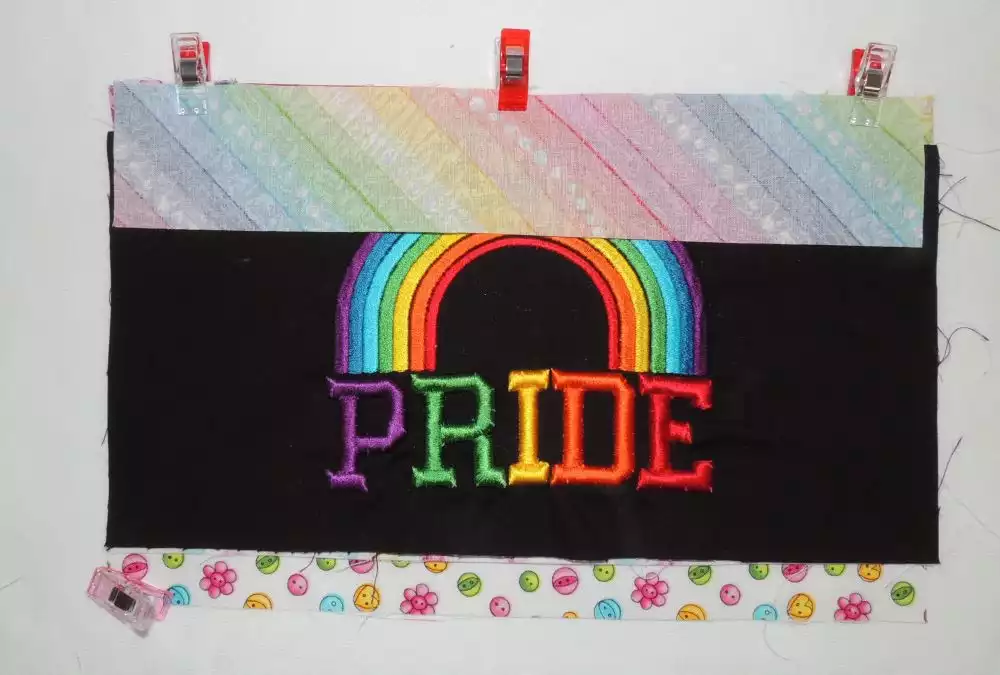
10. Lay the 7” x 11” lining fabric right side up, place the above front pocket right sides up, lining up the raw edges at the top, and place the 2” x 11” fabric right sides down, again creating a “sandwich” being sure all raw edges are matching. Stitch across close to the zipper without stitching in the teeth. Turn the 2” x 11” piece of fabric up, press and top stitch. This will be the front of the pouch.
11. Trim the extra front lining to the same size as the bag front. Fuse batting to the wrong side.
12. Cut out a one inch square from the lower corners of the bag front, bag back and both linings. Set the bag front and one of the linings aside.
13. Lay the outside of bag backing right sides up, place the remaining zipper right sides down with the zipper pull to the right, lay the backing lining right sides down creating a “sandwich” being sure all raw edges are matching. Stitch close to the zipper, without going through the zipper teeth. Turn out right, press and top stitch.

14. Open the zipper about half way.
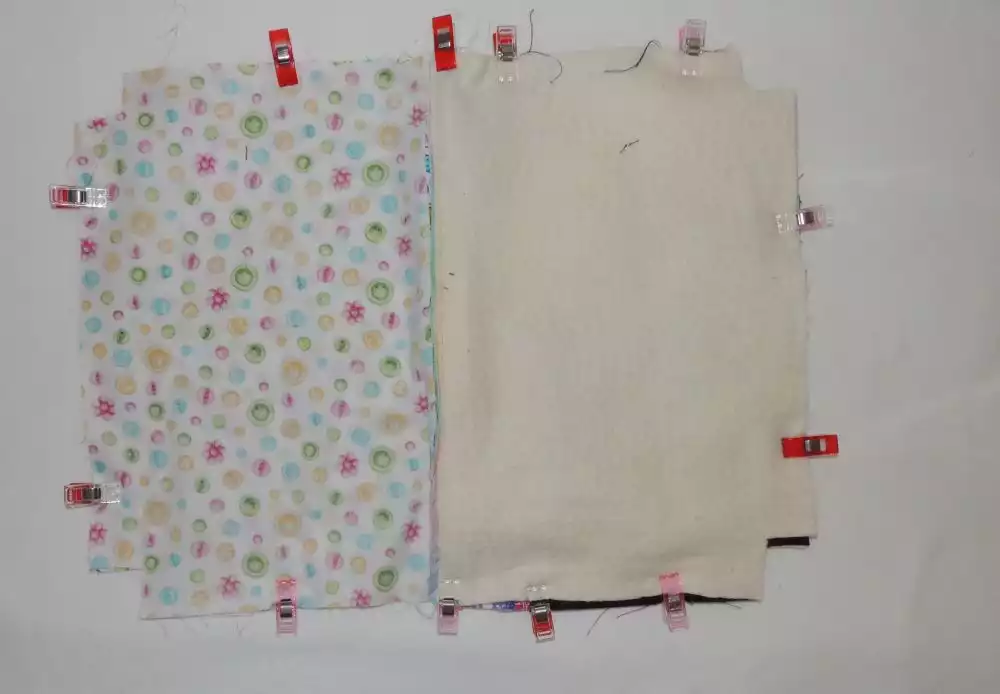
15. Lay the front bag front, right side up, place the bag back, right sides down, place the remaining lining piece, right sides down matching all the raw edges at the top. Pin or clip in place and stitch close to the zipper without stitching into the zipper teeth. Turn out right and top stitch.
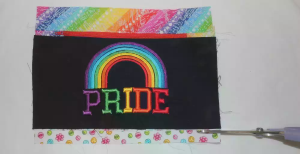
16. Trim the excess zipper even with the sides. Open the zipper half way.
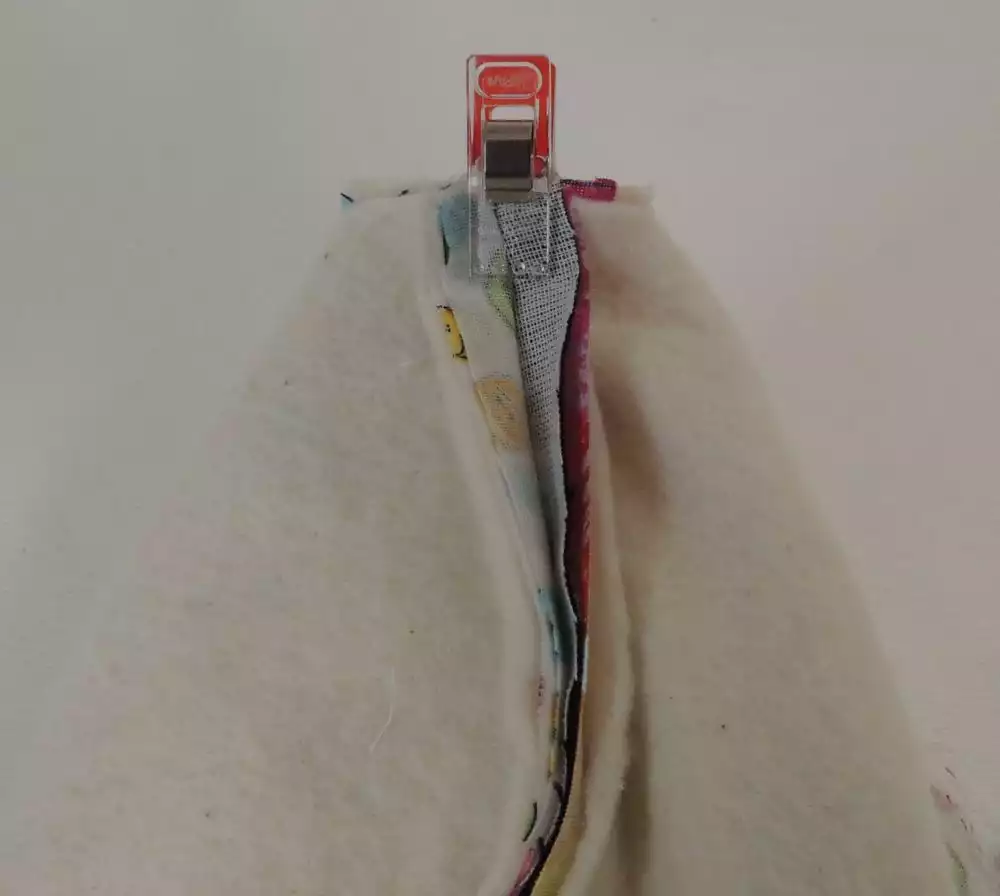
17. Lay the bag out so the linings are right sides together and the out of the bag is right side together. Stitch all the way around leaving a 4” opening in the lining.
18. Sew the four box corners by placing them right sides together and stitch across.
19. Turn the bag right sides out through the opening in the lining. Push out all the corners.
20. Sew the opening of the lining closed and push the lining into the bag.
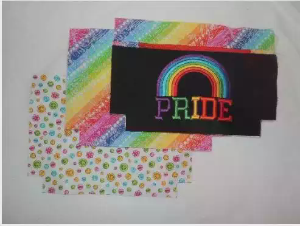
Project complete!