United States
Digitize a Needle Wallet Embroidery Design
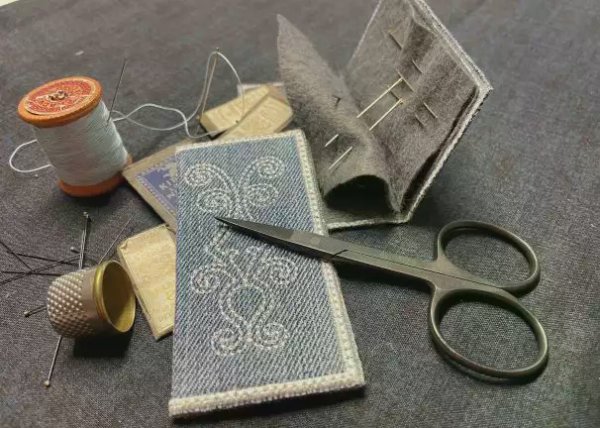
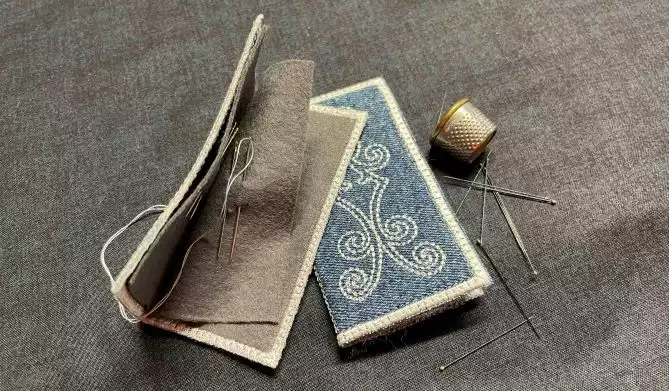
A good place to keep the sewing needles secured is a must for a sewist. Learn how to digitize this old fashioned needle wallet and combine it with embroideries from the Chatelaine project to make a matching set. A monogram would look nice too..
With 30-day Free Trial of mySewnet Embroidery Software you will get to try out the most user-friendly and feature rich digitizing software on the market. It works with all embroidery machine brands and is available for both Windows and Mac.
What you need:
- Small piece of jeans fabric 6x6” (15x15cm)
- Felt 2 pieces 6x6” (15x15cm)
- 180x130mm or 100mmx100mm metal hoop (or other embroidery hoop, the embroidery design is 4x4” (10x10cm)
- Tear away stabilizer
- Embroidery thread.
- mySewnet embroidery software, Platinum version
- Embroidery design element for this project can be found in mySewnet embroidery library. Find it Here:
Embroidery designs for the Chatelain and other matching designs can also be found in mySewnet embroidery Library, find them Here
Collect embroidery design element
If you are using the design element or another embroidery design in the needle wallet continue to step 4.
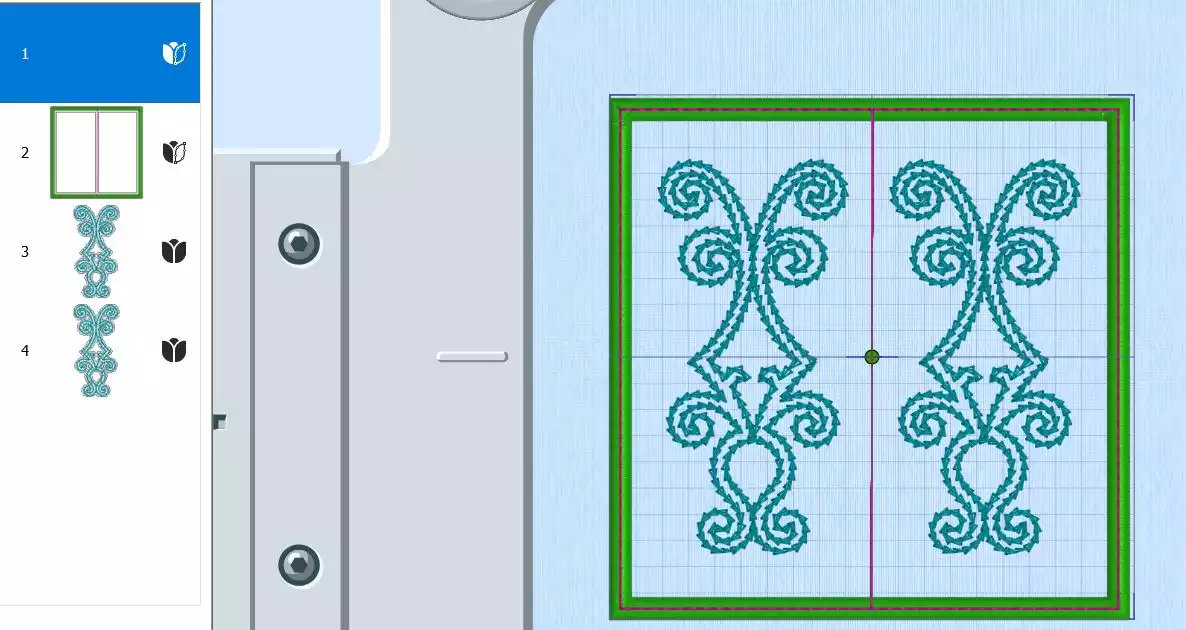
1. Open mySewnet software, select the 180x130mm metal hoop and insert one of the neck strap designs (eg the extension piece)
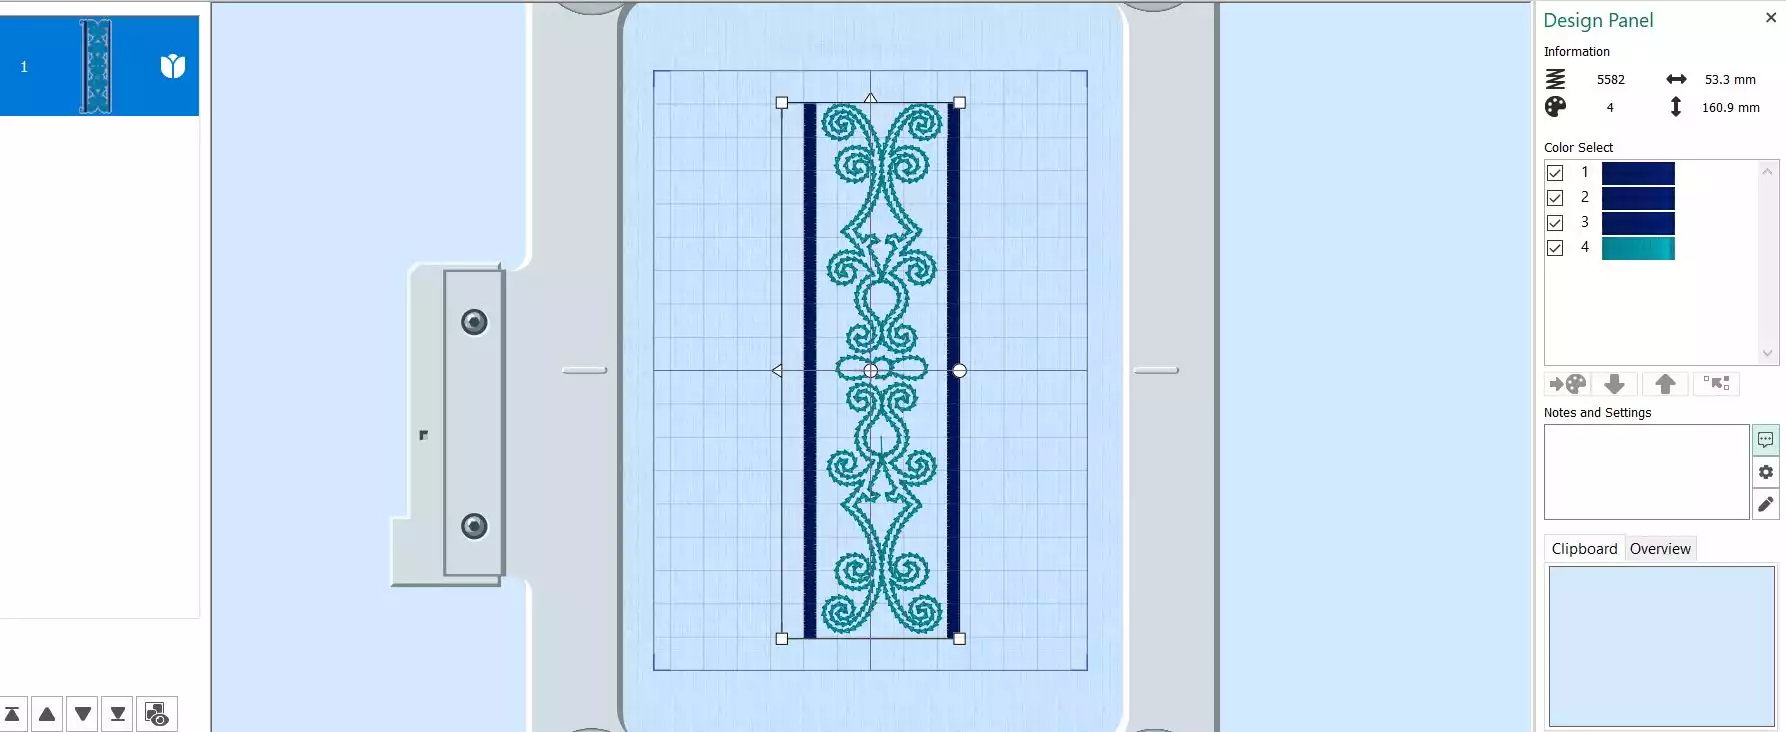
2. Go to Modify, unclick the three first colors, then choose Box Select and make a box around one of the design elements and click on Copy. The selected area will appear in the clipboard in the lower right hand corner.

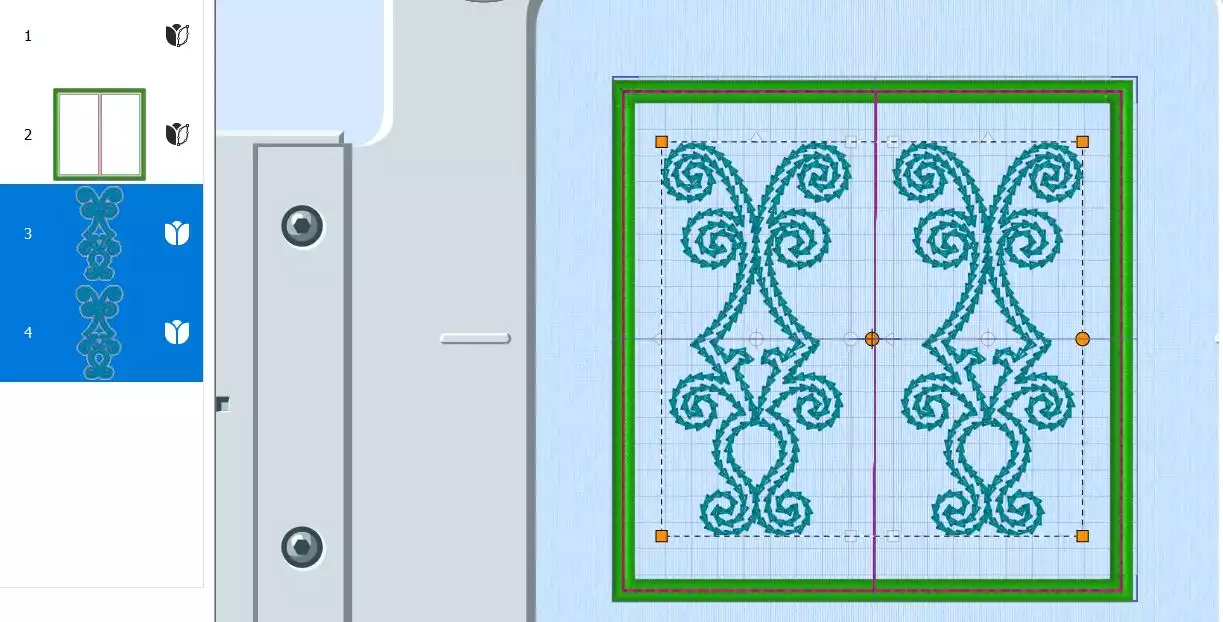
3. Go to File, open a new window and click on Blank Canvas and Paste. Center the embroidery in the hoop and save the embroidery file.

Digitize the needle wallet frame
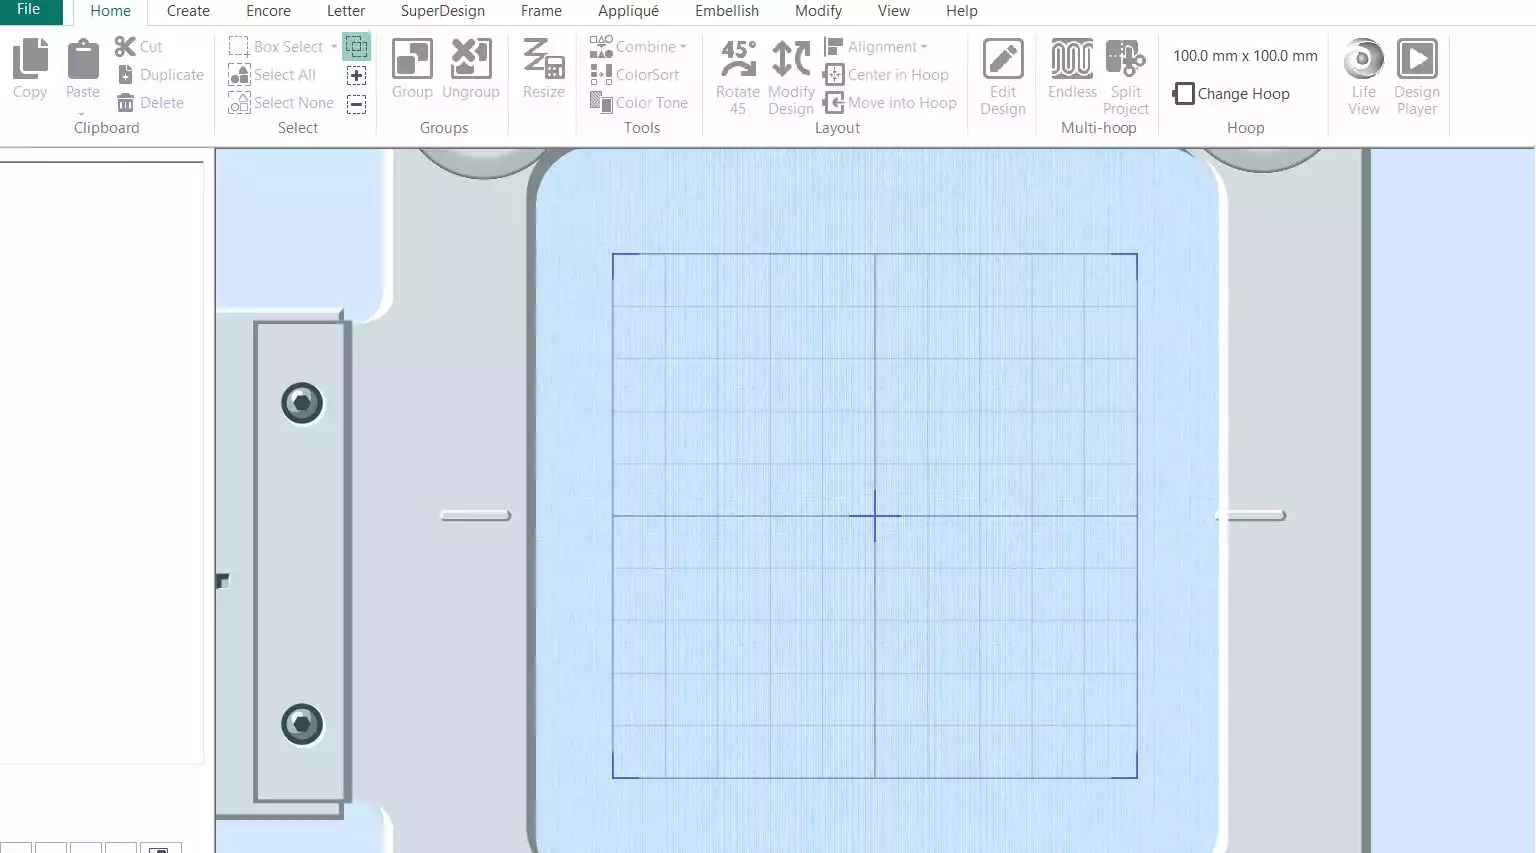
4. Open mySewnet embroidery and choose Blank Canvas, then Change Hoop and select 100mmx100mm metal hoop (or other hoop at the same size or larger.)
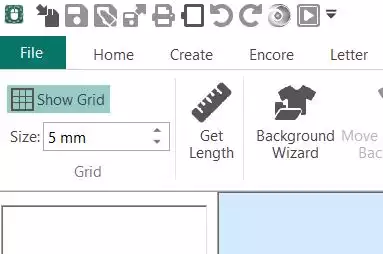
5. Go to View and change the grid size to 5mm.
6. Now go to Create and click the Digitizing icon. The digitizing module will open in a new window.
Choose Start a New Design with no Picture, click Next and then Finish.
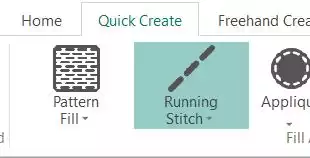
Go to Quick Create, Change Pattern Fill to No Fill, and Satin Line to Running Stitch.
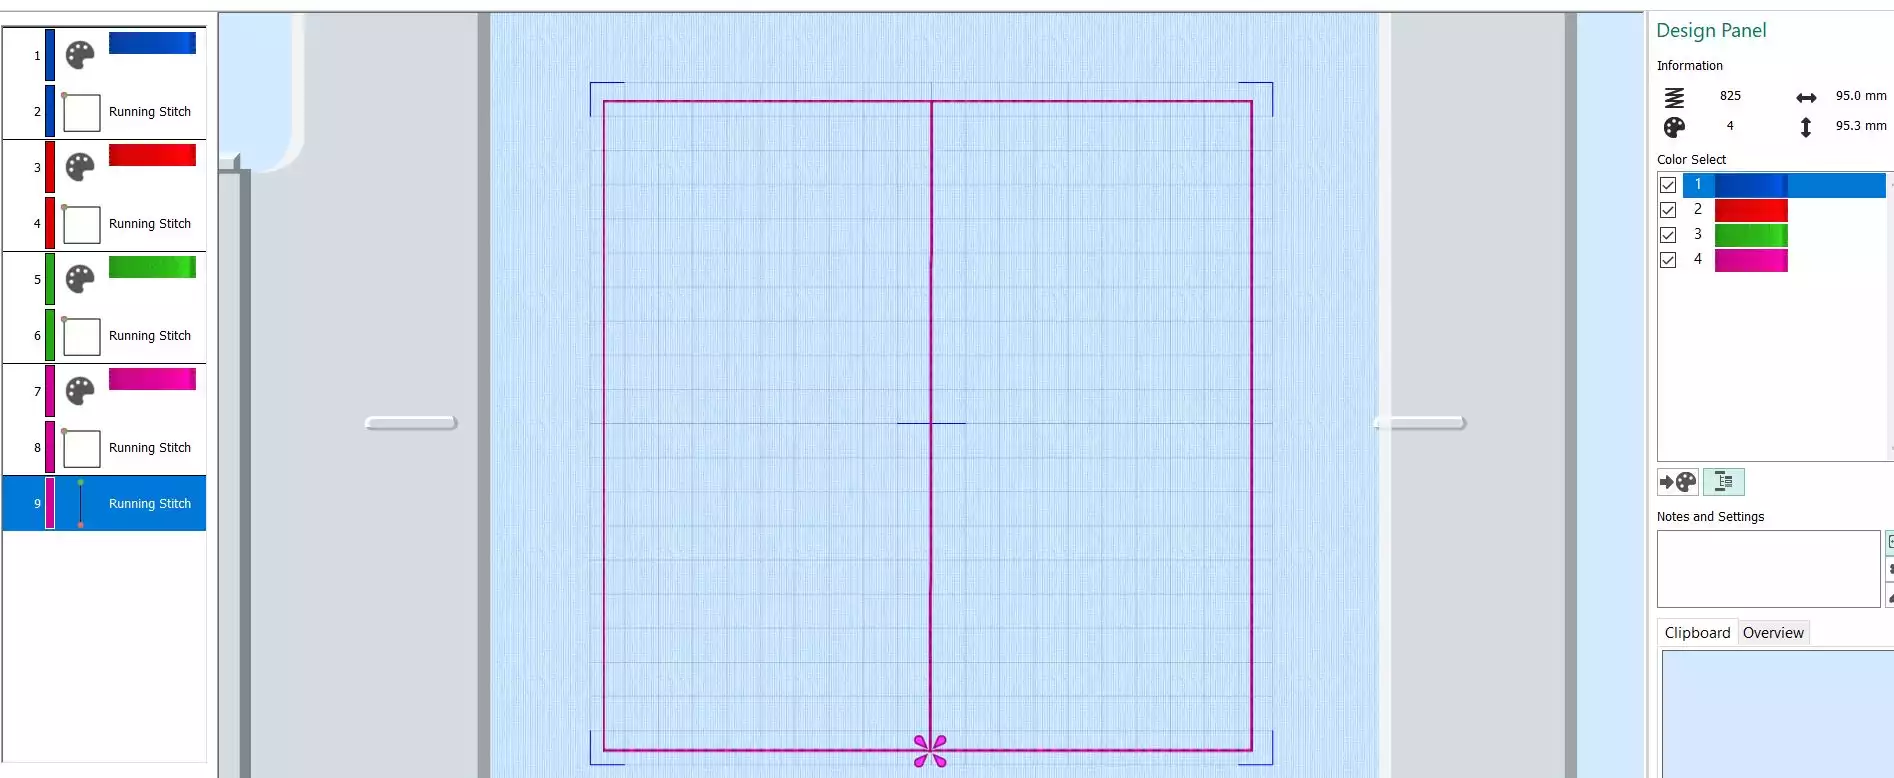
7. Go to Shape, select Shape 3 (square) then click on the Shape icon. A square with blue handles will appear on the screen.
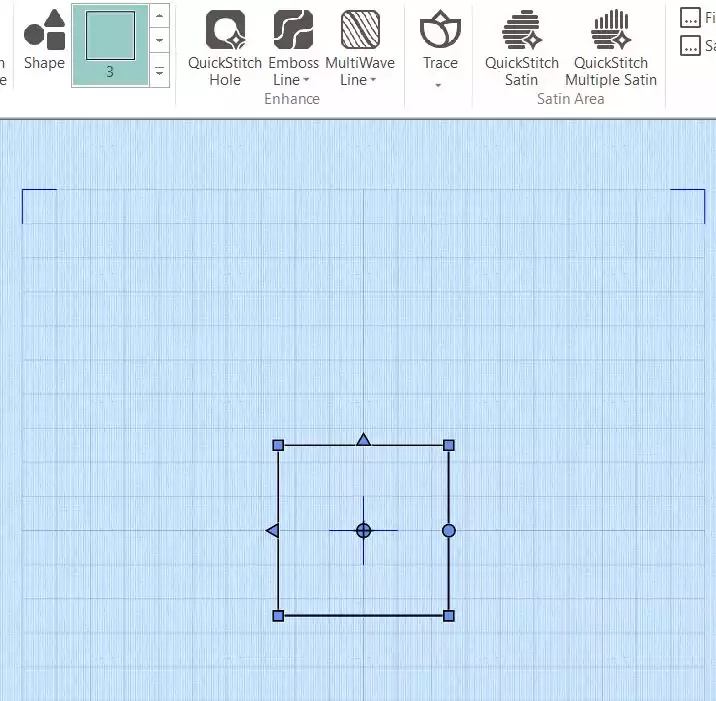
8. Hold down Shift key and drag the corners of the square , finished size should be 95x95mm, make sure it is centered in the hoop.
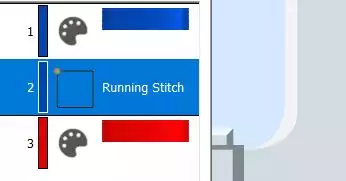
9. Click on Color Change, select a red color, then click OK

10. Right click on the running stitch outline in the filmstrip on the left side of the window, select Copy, then Right click on the red color and select Paste
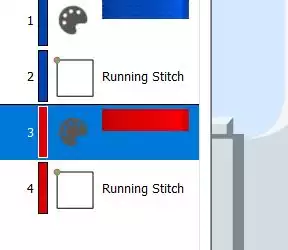
11. Right Click on the red running stitch square and select Copy, then on Color Change, select a green color. Right click and then Paste.
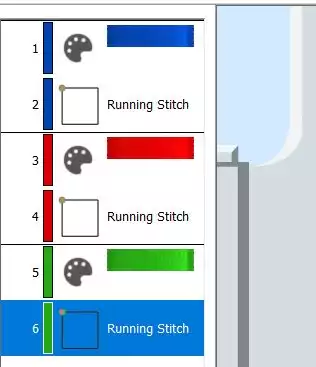
12. Right Click on the green running stitch square and select Copy, then on Color Change, select a pink color. Right click and then Paste. you will now have four squares on top of each other.
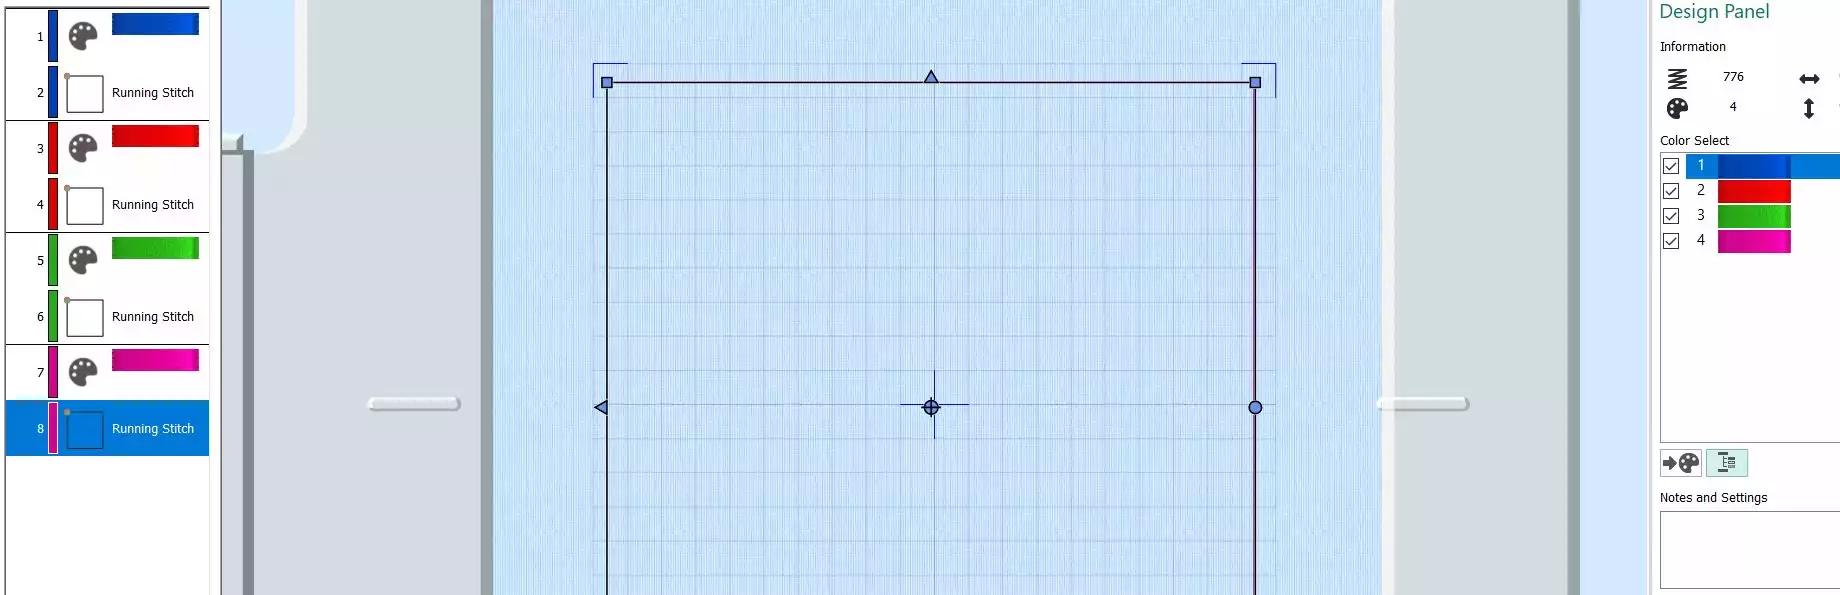
13. Click on Point Create., then select Create Area or Line. Place a point in the middle of the top line and down to the middle of the bottom line. Right click, when finished.
14. Now we will change some of the squares from running stitch to other stitch types: Right click on the green running stitch, click on Properties. Change the Running Stitch to Satin Line, click ok. The green color will now be a satin stitch instead.
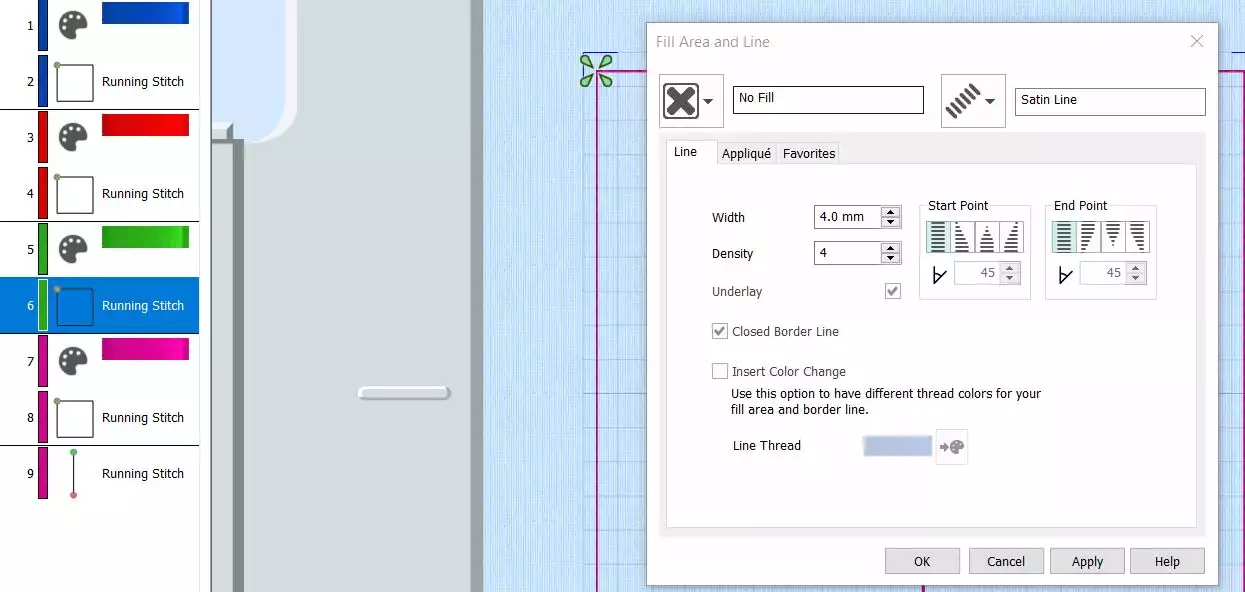
15. Right click on the pink square, select Properties and change the Running Stitch to Triple Stitch, change Stitch Length to 2,5mm click OK, repeat with the pink single line.
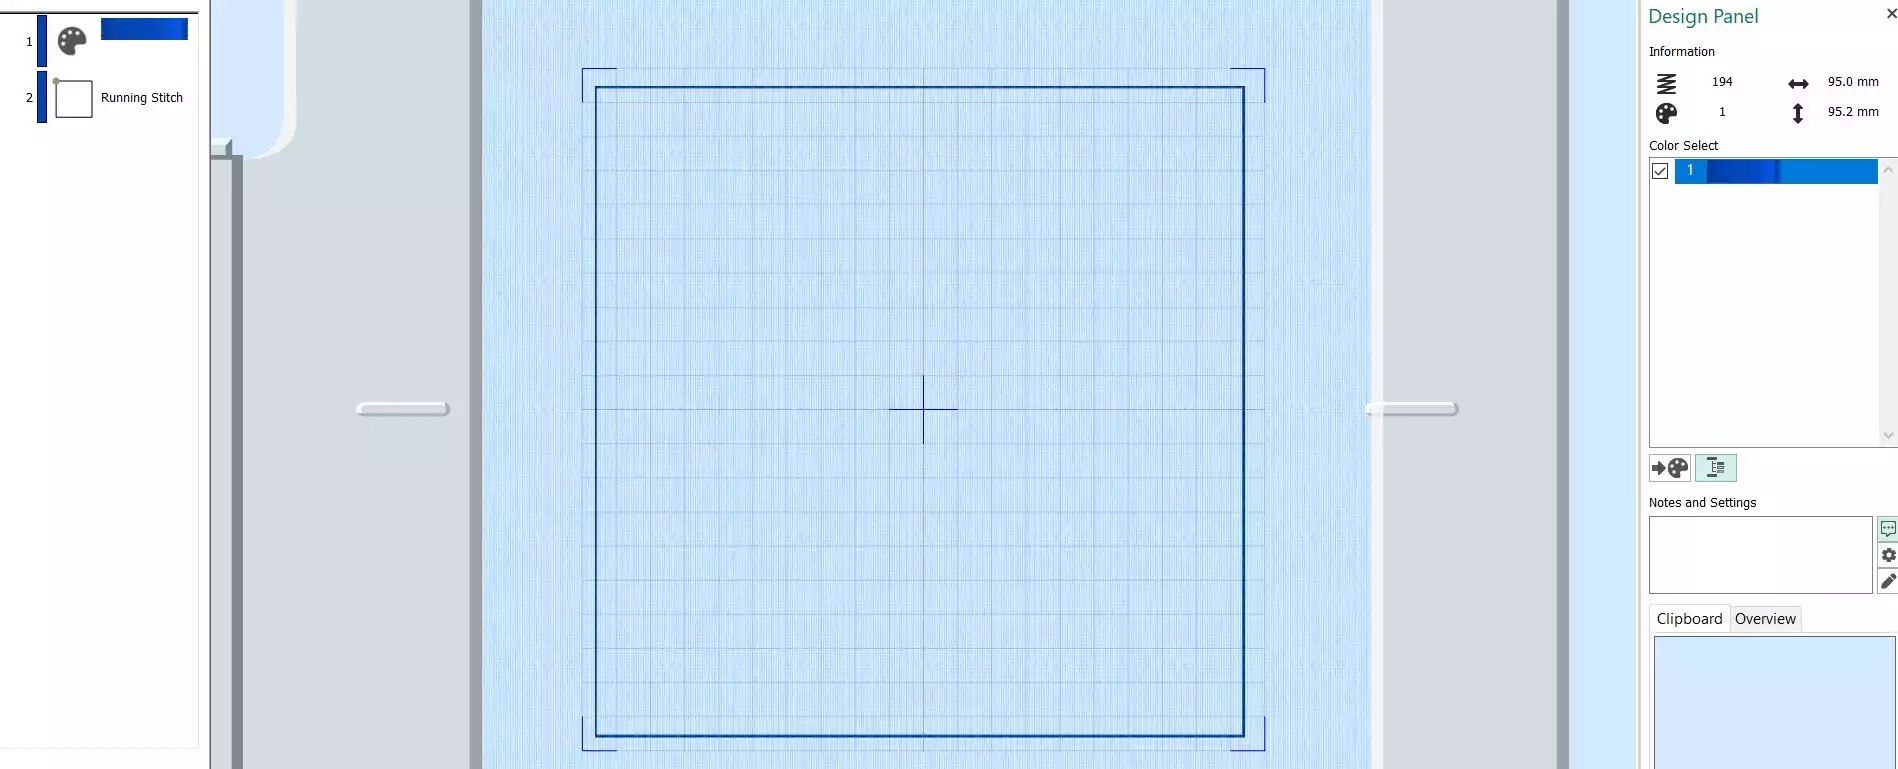
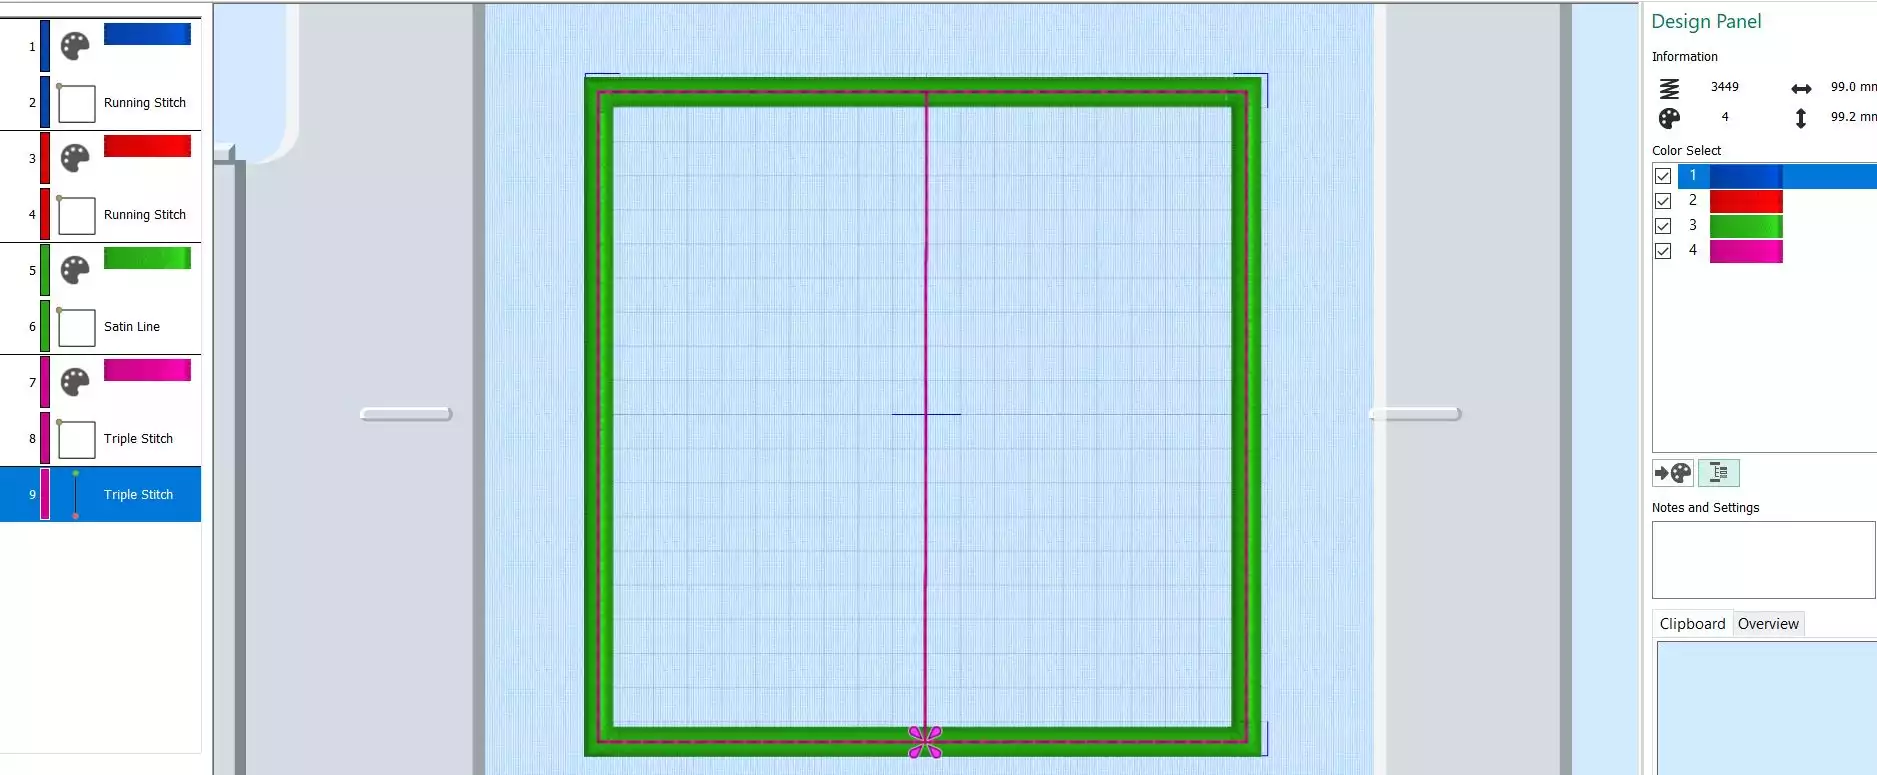
Your finished embroidery design will now look like this:
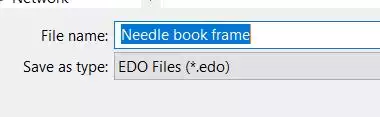
16. Save the file as an .edo file, this will make it easier to change and use the file for other purposes later
Your needle book frame is now finished, let's put it all together!
Inserting embroidery designs in the frame
17. Close Digitizing, your frame will now move to the Embroidery program window. Click on the Home tab.
Click on File Insert and select the embroidery design element we made earlier or another design, perhaps a Monogram? Move it into one of the rectangles, click on Duplicate and place the other design in the empty rectangle. Now it should look like this:
18. Hold down shift and click on both designs in the film strip. An orange frame will appear around them in the embroidery area.
19. Click on Combine, Combine Selected. The frame will change to white.

20. Now move the inner embroidery files up with the arrow on the bottom of the filmstrip. It should be on top of the Film strip. In this way they will be stitched out first.

21. As a final step we will put all the files together, Go to Combine, select Combine All and then Colorsort.
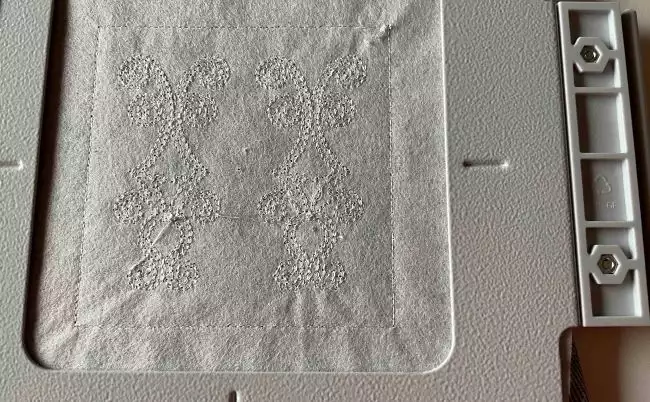
The file should now look like this:
22. Save the embroidery file and then Export it in your preferred format.
Stitching out the Needle wallet.
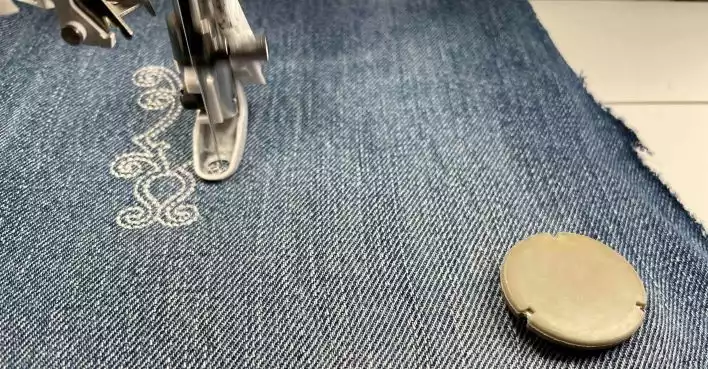
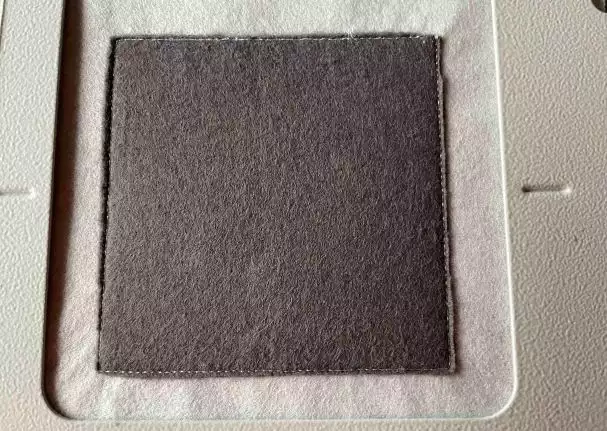
23. Hoop tearaway stabilizer and jeans fabric in the 100mmx100mm metal hoop. Stitch out color 1, the embroidery for the needle wallet outside.
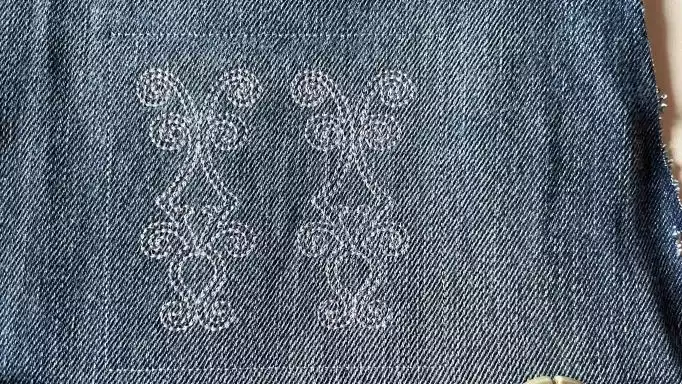
24. Stitch color 2, (blue)this will be the placement stitch for the flannel.
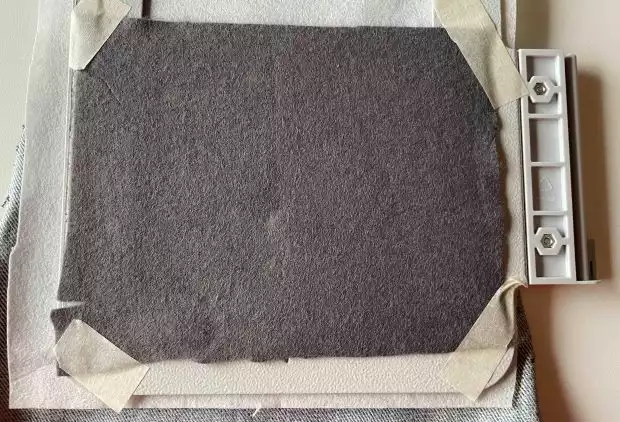
25. Take the hoop out, turn it upside down and attach the flannel piece to the backside, covering the placement stitch line at all sides. Put some masking tape in the corners to secure it in the hoop
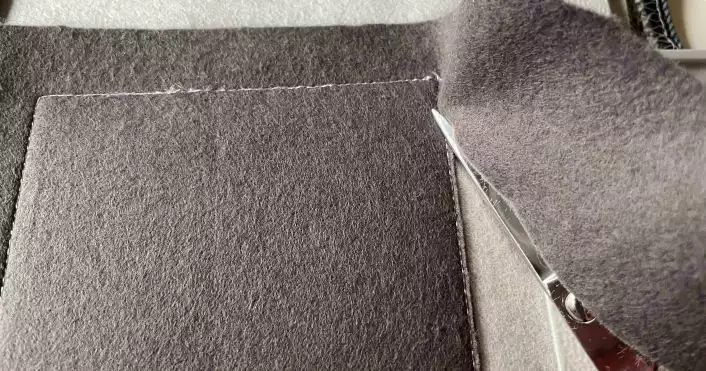
26. Stitch color three (red) This will secure the flannel in place, take the hoop out, turn upside down, remove the masking tape and cut the flannel close to the stitching line, Insert the hoop again.
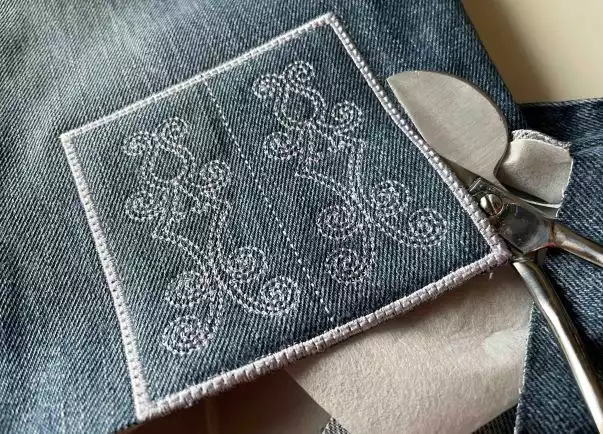
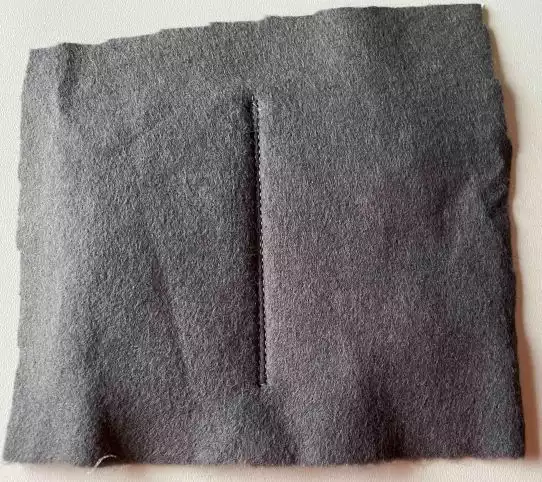
27. Stitch out the rest of the embroidery.(green and pink) Use the same thread in both needle thread and bobbin thread, since both sides will be visible
28. Unhoop, remove the stabilizer and cut close to the satin stitches, be careful not to cut the stitches.
Optional:
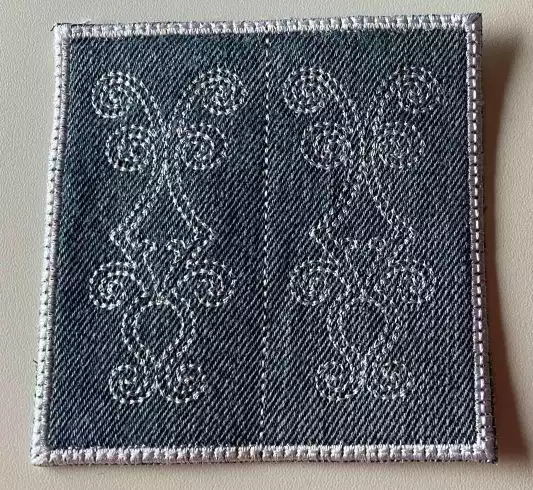
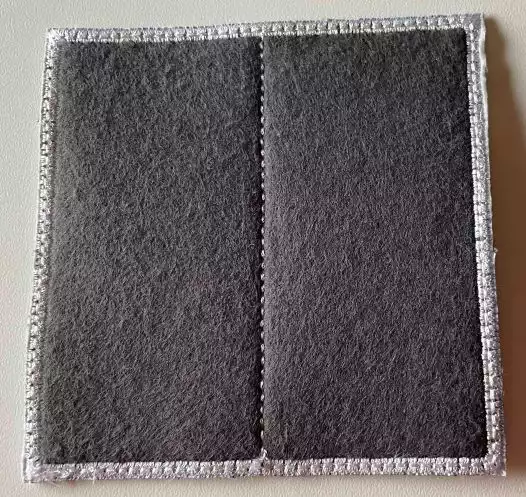
29. Place a piece of flannel on the inside of the needle wallet. Make sure it is bigger than the wallet on all sides. Turn right side up and stitch a line on both sides just next to the triple stitched middle line. On the inside it will look like this:

30. Cut close to the edge of the needle wallet. Your needle wallet is now finished!