 United States
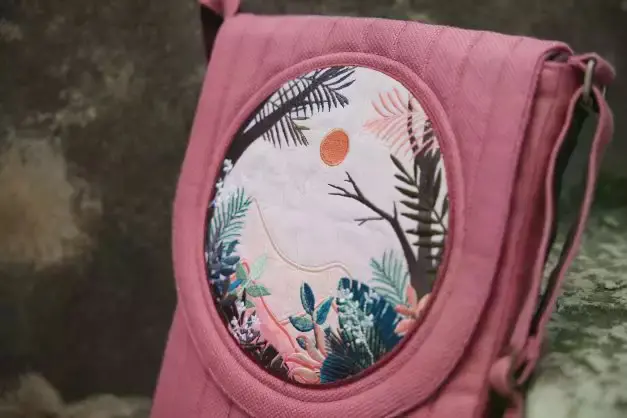
Messenger Bag with National Parks Embroidery
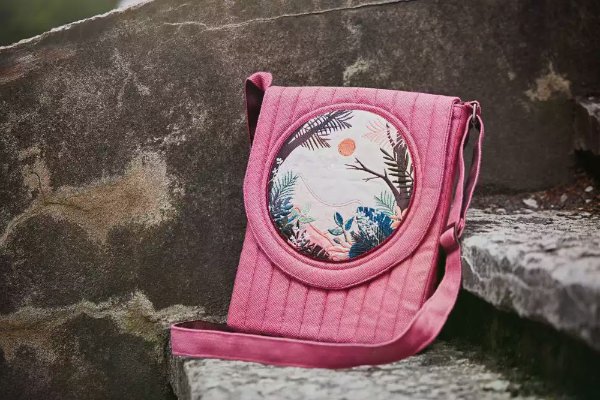
Maybe a new favorite? This messenger bag is fun and not too hard to make. The quilting adds support and protection for the items inside There are several different applique to choose from in the National Parks Embroidery Collection in mySewnet library
What you need:
- The embroidery design can be found in mySewnet library. Find it Here
- Embroidery hoop 8”x8” (20x20cm) or larger
- Tearaway stabilizer
- Sturdy fabric e.g Canvas or upholstery fabric 16”x55” (40x140cm)
- Cotton fabric for lining and backing for strap16”x55” (35x140cm)
- Flexible foam interfacing , thickness about ¼” (5mm) 16x38” (35x100cm
- Spray glue
- Matching thread
- 1 Rectangular buckle ring 1” (2,5cm) opening
- 1 Tri glide slide with 1” (2,5 cm) opening
Preparations
Print out the PDF: messenger bag pattern on print grid.pdf file and tape it together.Trace or cut out the pattern pieces from the PDF and add seam allowance ½” (1,5 cm)
From Outside fabric cut:
- Pattern pieces for flap and bag body, mark the center point and the horizontal and vertical lines for embroidery placement on the front flap piece.(In the circle)
- 1 Adjustable strap 2” x 55” (5x140 cm)
From Lining fabric cut:
- 1 piece for bag body.
- 1Adjustable strap lining 2” x 55” (5x140 cm)
From foam interfacing cut
- 1 from the Pattern piece for the flap without seam allowance
- 1 bag main piece without seam allowance
Stitch out the embroidery
1. Attach tearaway stabilizer in the hoop. Place the fabric piece for the flap front in the hoop matching the center point mark of the embroidery hoop with the mark on your fabric piece. Be sure to make it straight both horizontally and vertically.
2. Secure the fabric in the hoop with the basting function before stitching out the embroidery.
3. Stitch out the embroidery following the instructions in the embroidery file.
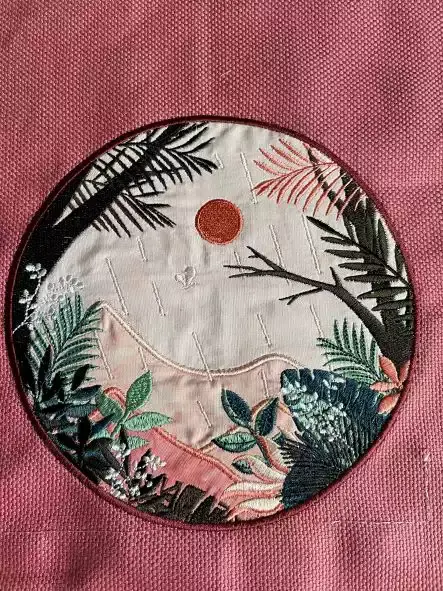
4. Unhoop and tear away excess stabilizer
Making the flap
5. Sew together the two flap pieces right side together. Along the curved side.Clip into seam allowance and turn right side out.
6. Insert the foam piece between the layers. Stitch ½” (1,5cm) from the raw edge to secure the foam interfacing in place.
7. Stitch close to the edge around the embroidery and another line about ¼” (5mm) away.
8. Stitch close to the round edge of the flap
9. Make 2 quilting lines quilting ½” (1,25 cm) apart on the top of the flap ( see picture below
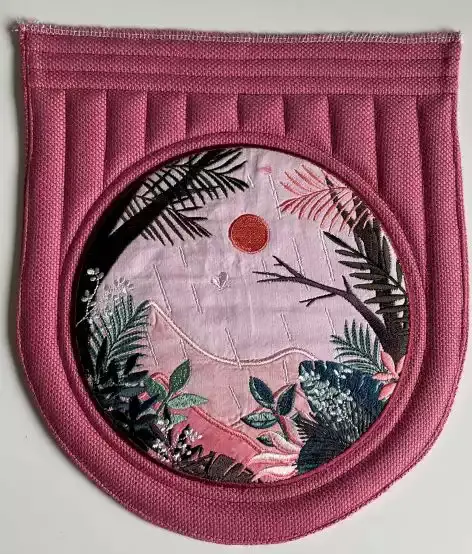
10. Quilt lines 1” (2,5cm) apart from the middle and out between the top and embroidery see picture above.
Making the bag and lining pieces
11. Spray glue the wrong side of the body bag piece and attach the foam interfacing keeping the seam allowances free.
12. Stitch parallel lines 1” (2,5cm) apart from the middle and out.see pattern piece for line placement
Fold the piece lengthwise and mark the center. Stitch a line ½” (1,25cm) on each side of the middle to form a fold line for bag bottom.
13. Fold the bag right sides together again and sew the sides with a ½” (1,5cm) seam allowance.
14. Fold the bottom corners and sew across the corner ½” (1,25cm) from the top of the fold.
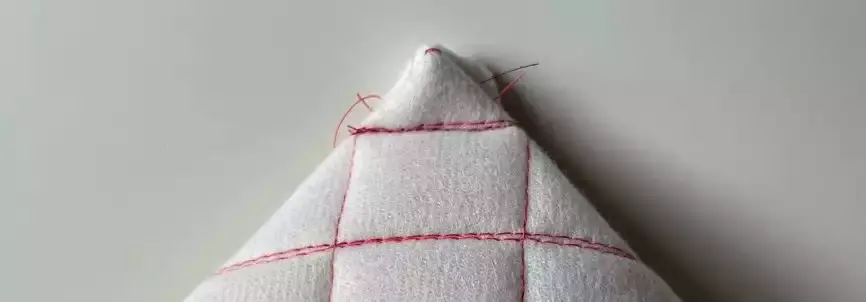
15. Turn the bag right side out.
16. Fold the lining right sides together and sew together. Leave a 4” (10cm) opening in one side for turning.
17. Fold the bottom corners and sew across the corner ½” (1,25cm) from the top of the fold.
Making and attaching the strap
18. Fold the fabric for the strap lengthwise and press, fold out again and bring the edges towards the middle. Press.
19. Repeat with the lining strap piece.
20. Lay the fabric and lining strap pieces on top of each wrong sides facing and stitch them together along the long edges
21. Cut off 3” (7,5cm) from the strap. Fold it around the edge of the rectangle buckle and secure in place with a stitching close to the buckle edge. A zipper foot is a good choice for this step.
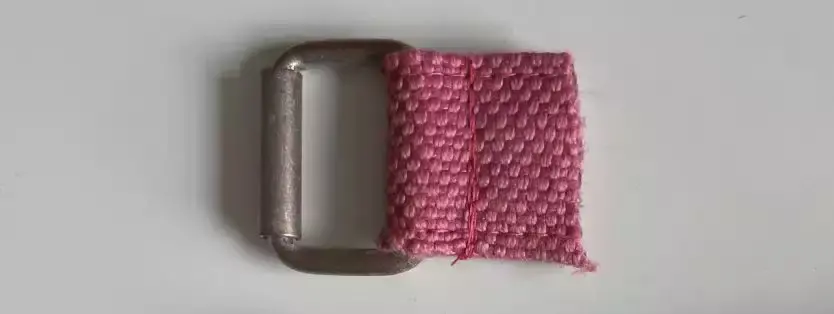
22. Place one end of the strap around the center of the tri-glide slide. fold the raw edge about ⅝” (1cm) and stitch in place, close to the slide using the zipper foot.
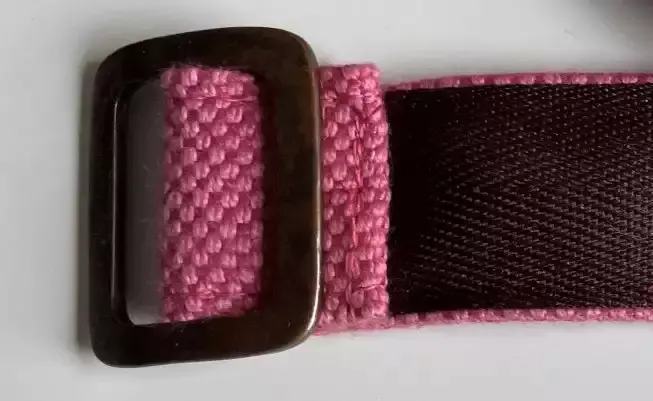
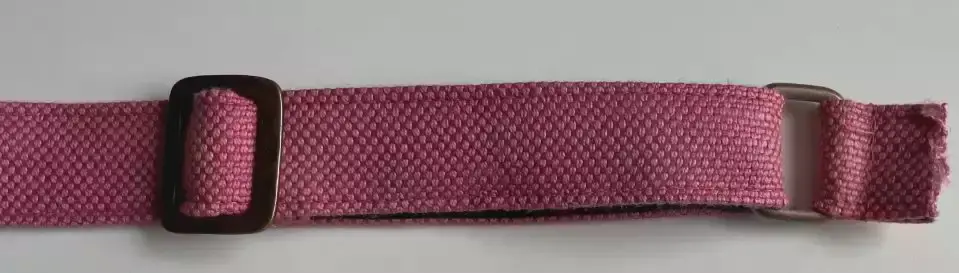
23. Bring the end of the strap thru the rectangle buckle and back thru the tri glide. This makes the strap adjustable.
24. Pin the straps end in place centered over the side seam of the bag body. On the opposite side, pin the rectangle buckle. Secure with stitching 1 cm from the raw edges.
Finishing steps
25. Attach the flap between the strap ends on the back of the bag body. Stitch in place ⅝” (1cm) from the edge.
26. Put the lining and bag together with right sides facing and sew along the edge with a ½” (1,5cm) seam allowance.
27. Turn the right side out and stitch the opening closed.
28. Press.
Your messenger bag is now finished!