 United States
Garden Tool Holder
A garden tool belt is such a great gift to a garden enthusiast. This sturdy holder has pockets for everything and can be worn with your own belt!. Two pockets can be worn at the same time, one on each hip!
What you need:
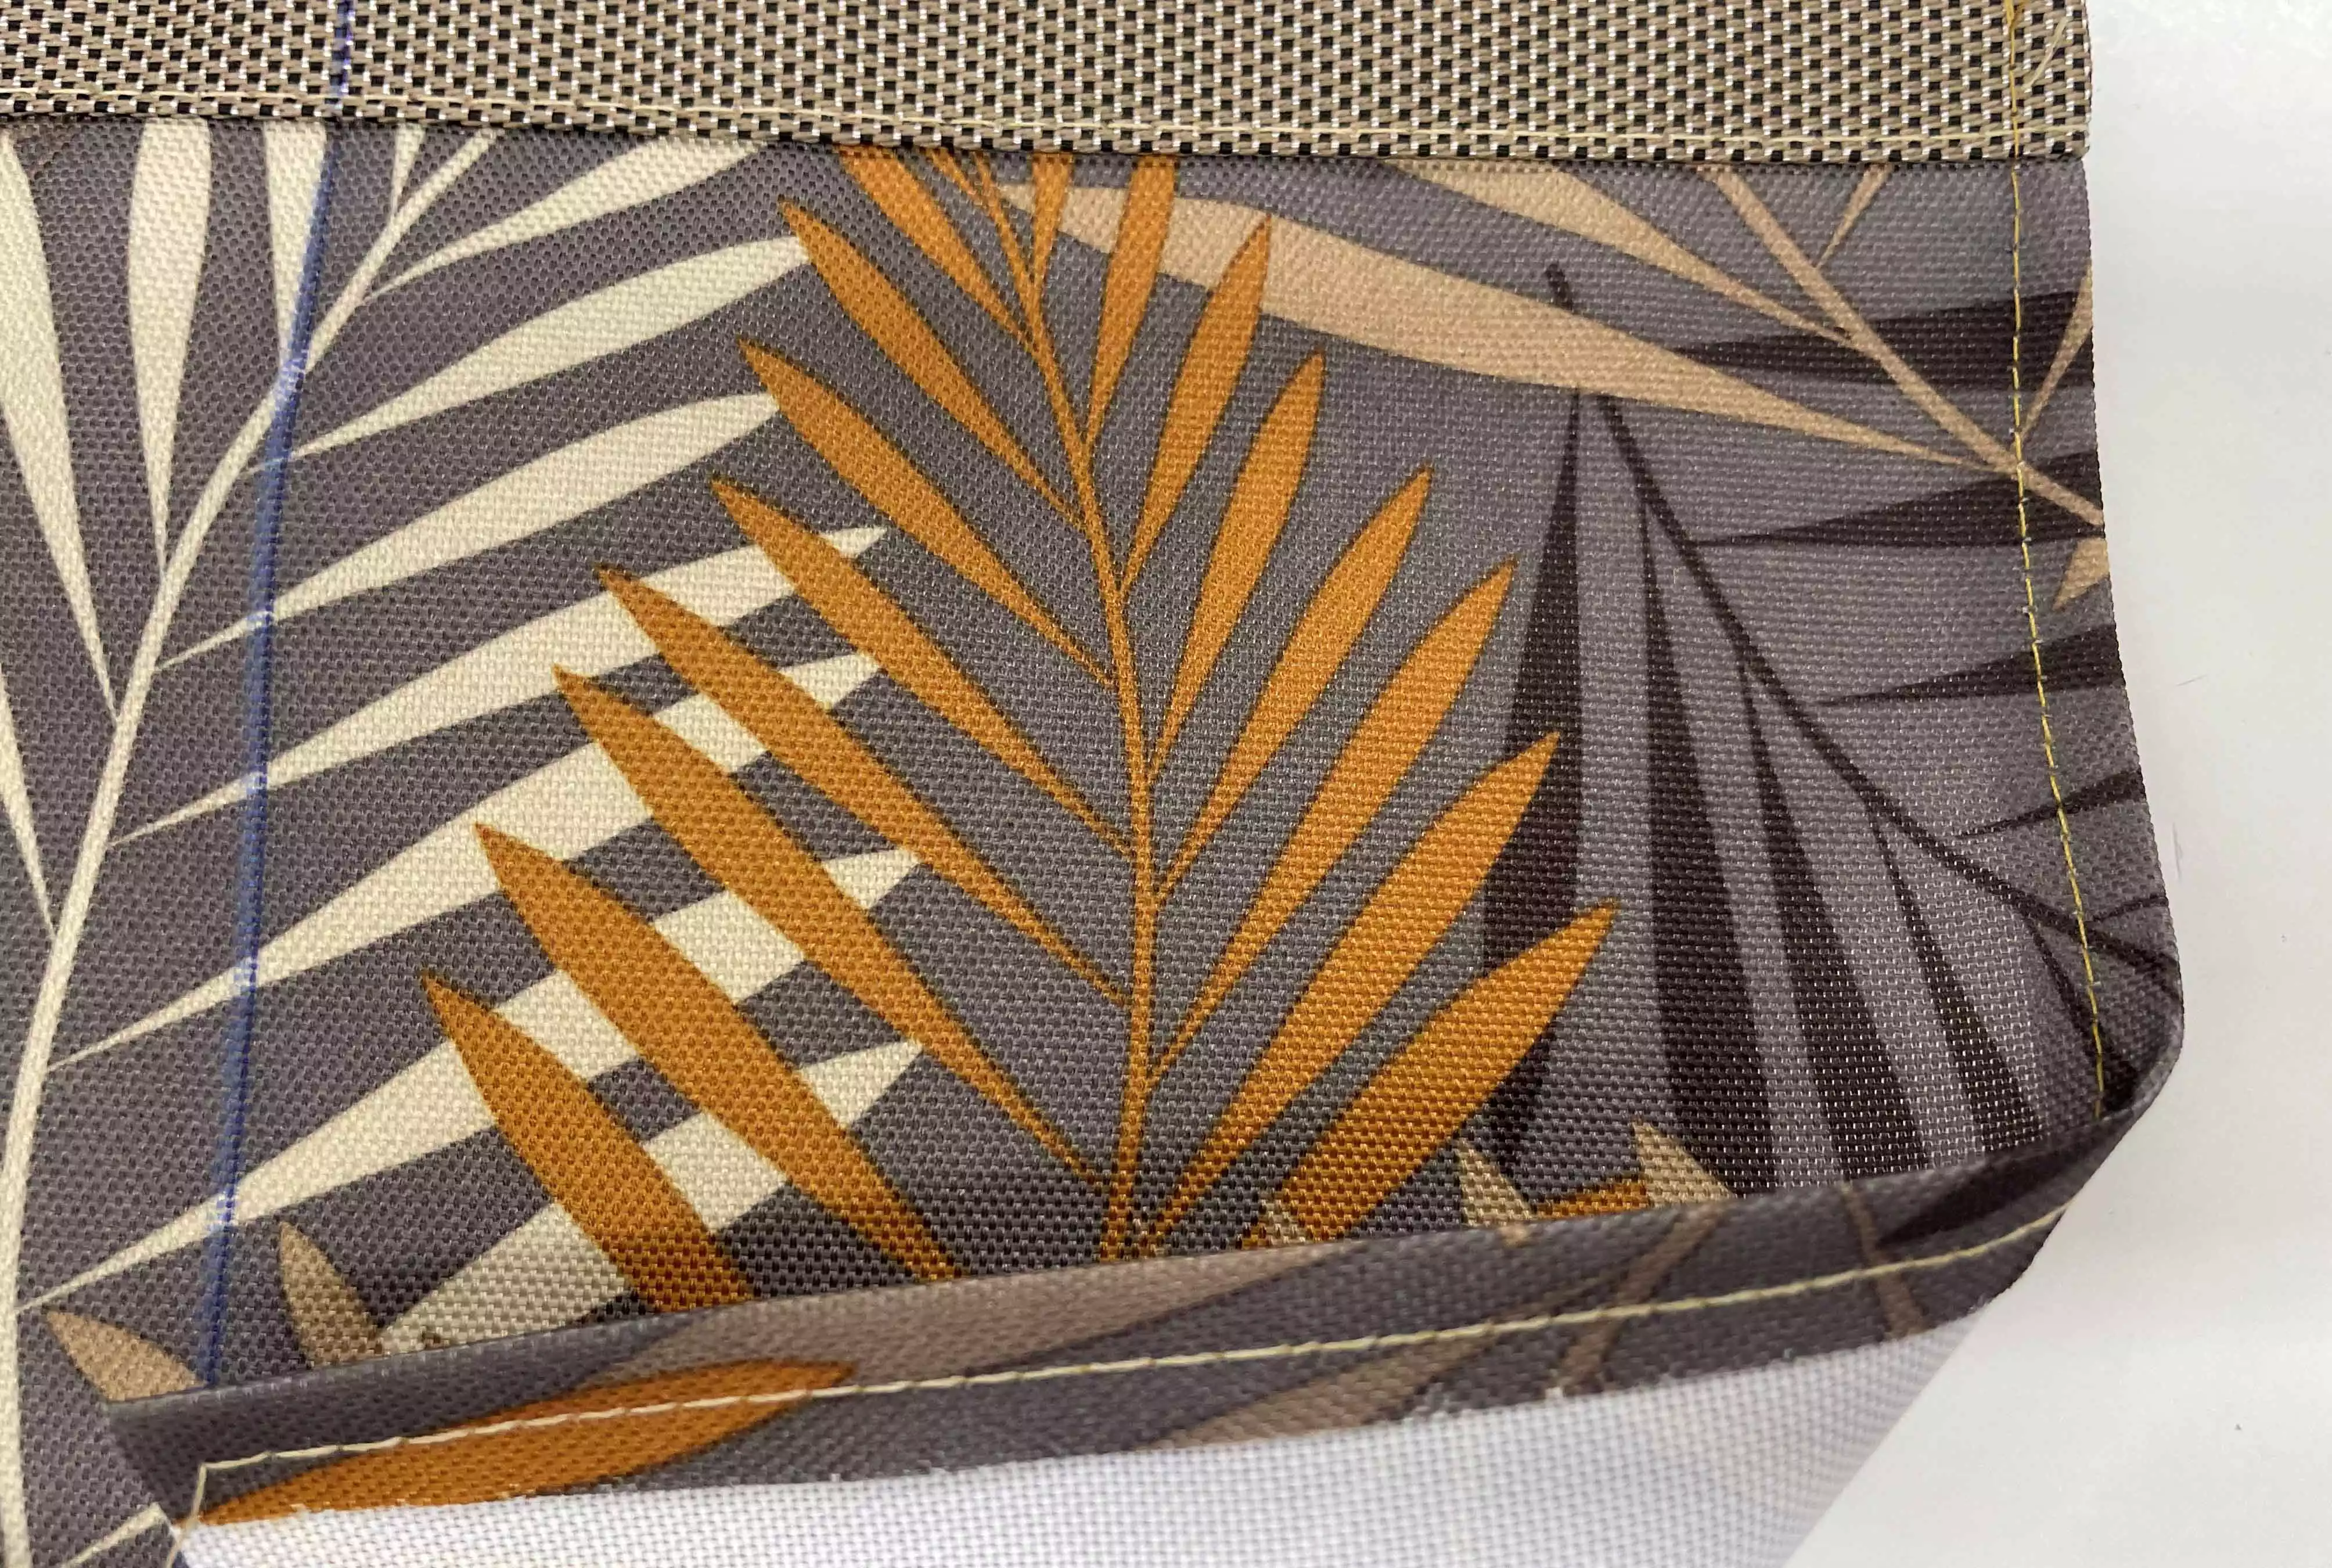
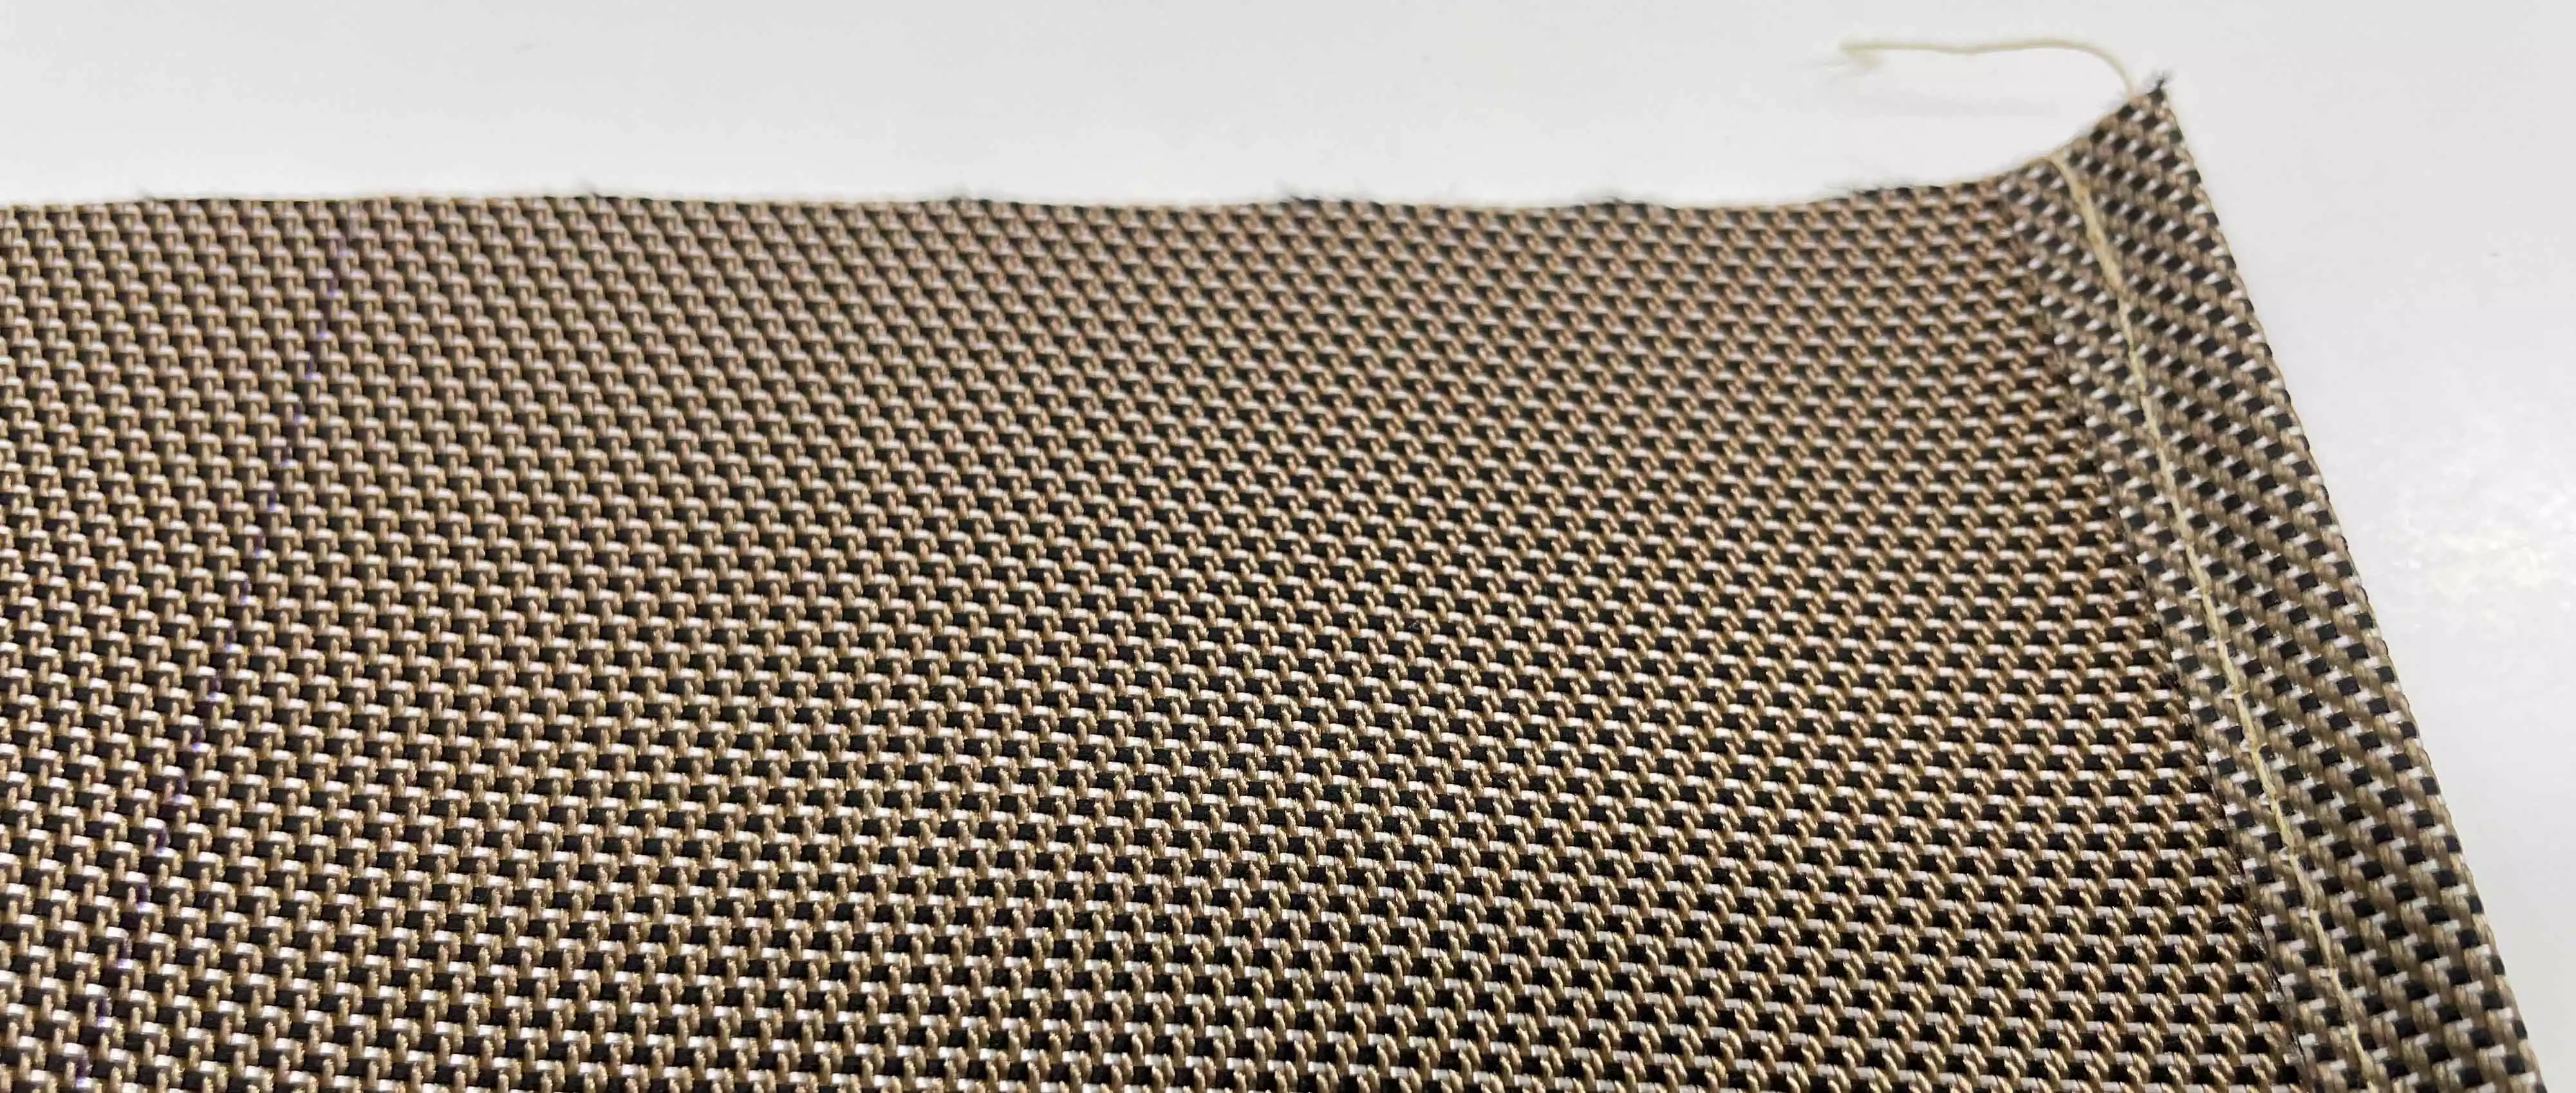
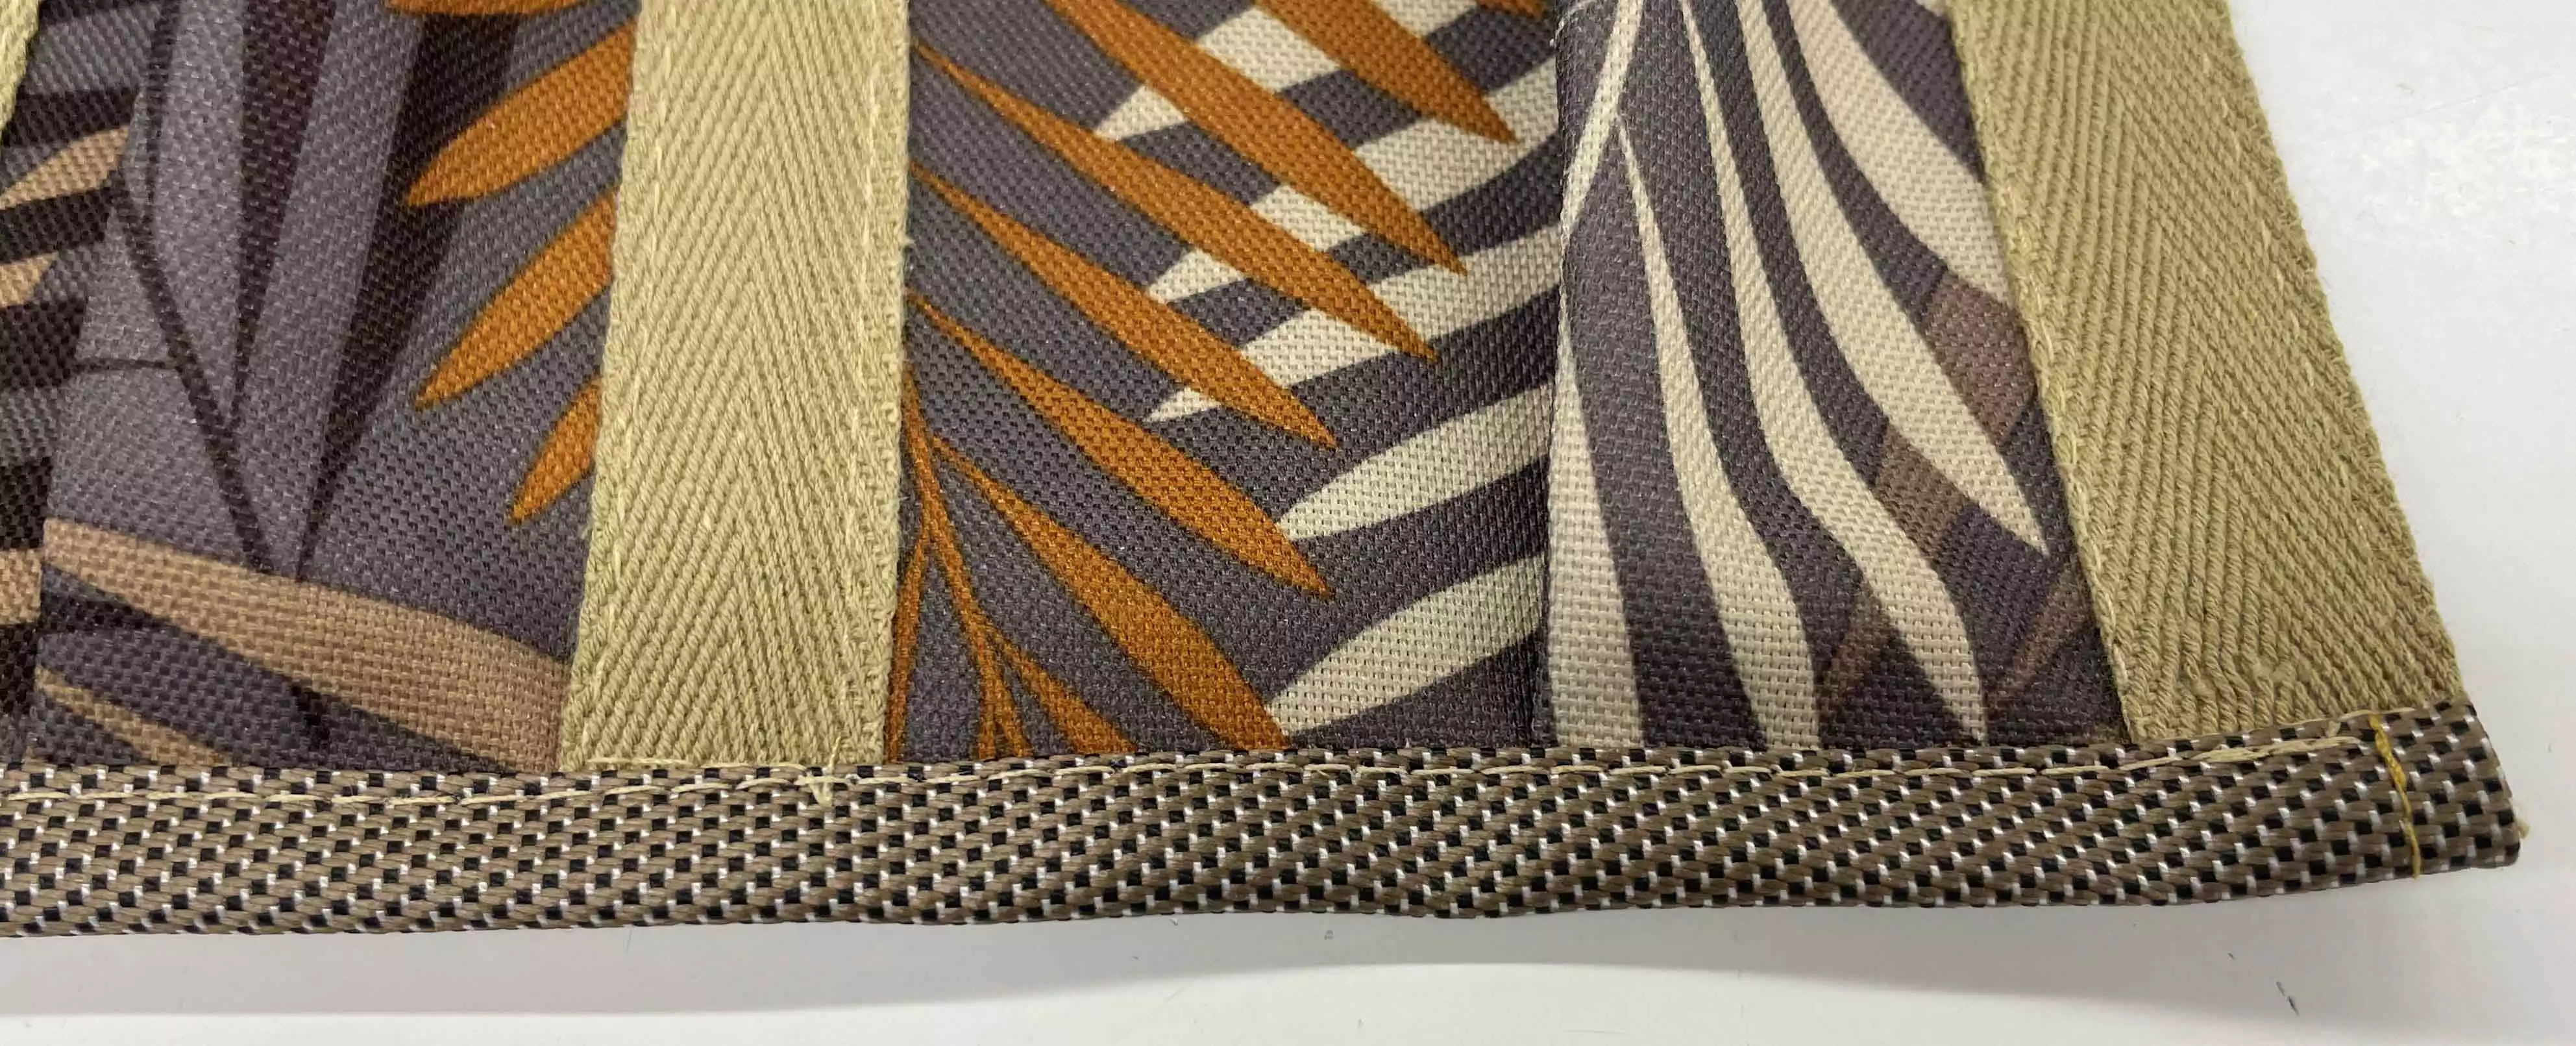
I used synthetic Canvas and Cordura fabric for this project. It is strong and easy to wipe off. If you prefer you can use ordinary canvas or upholstery fabric.
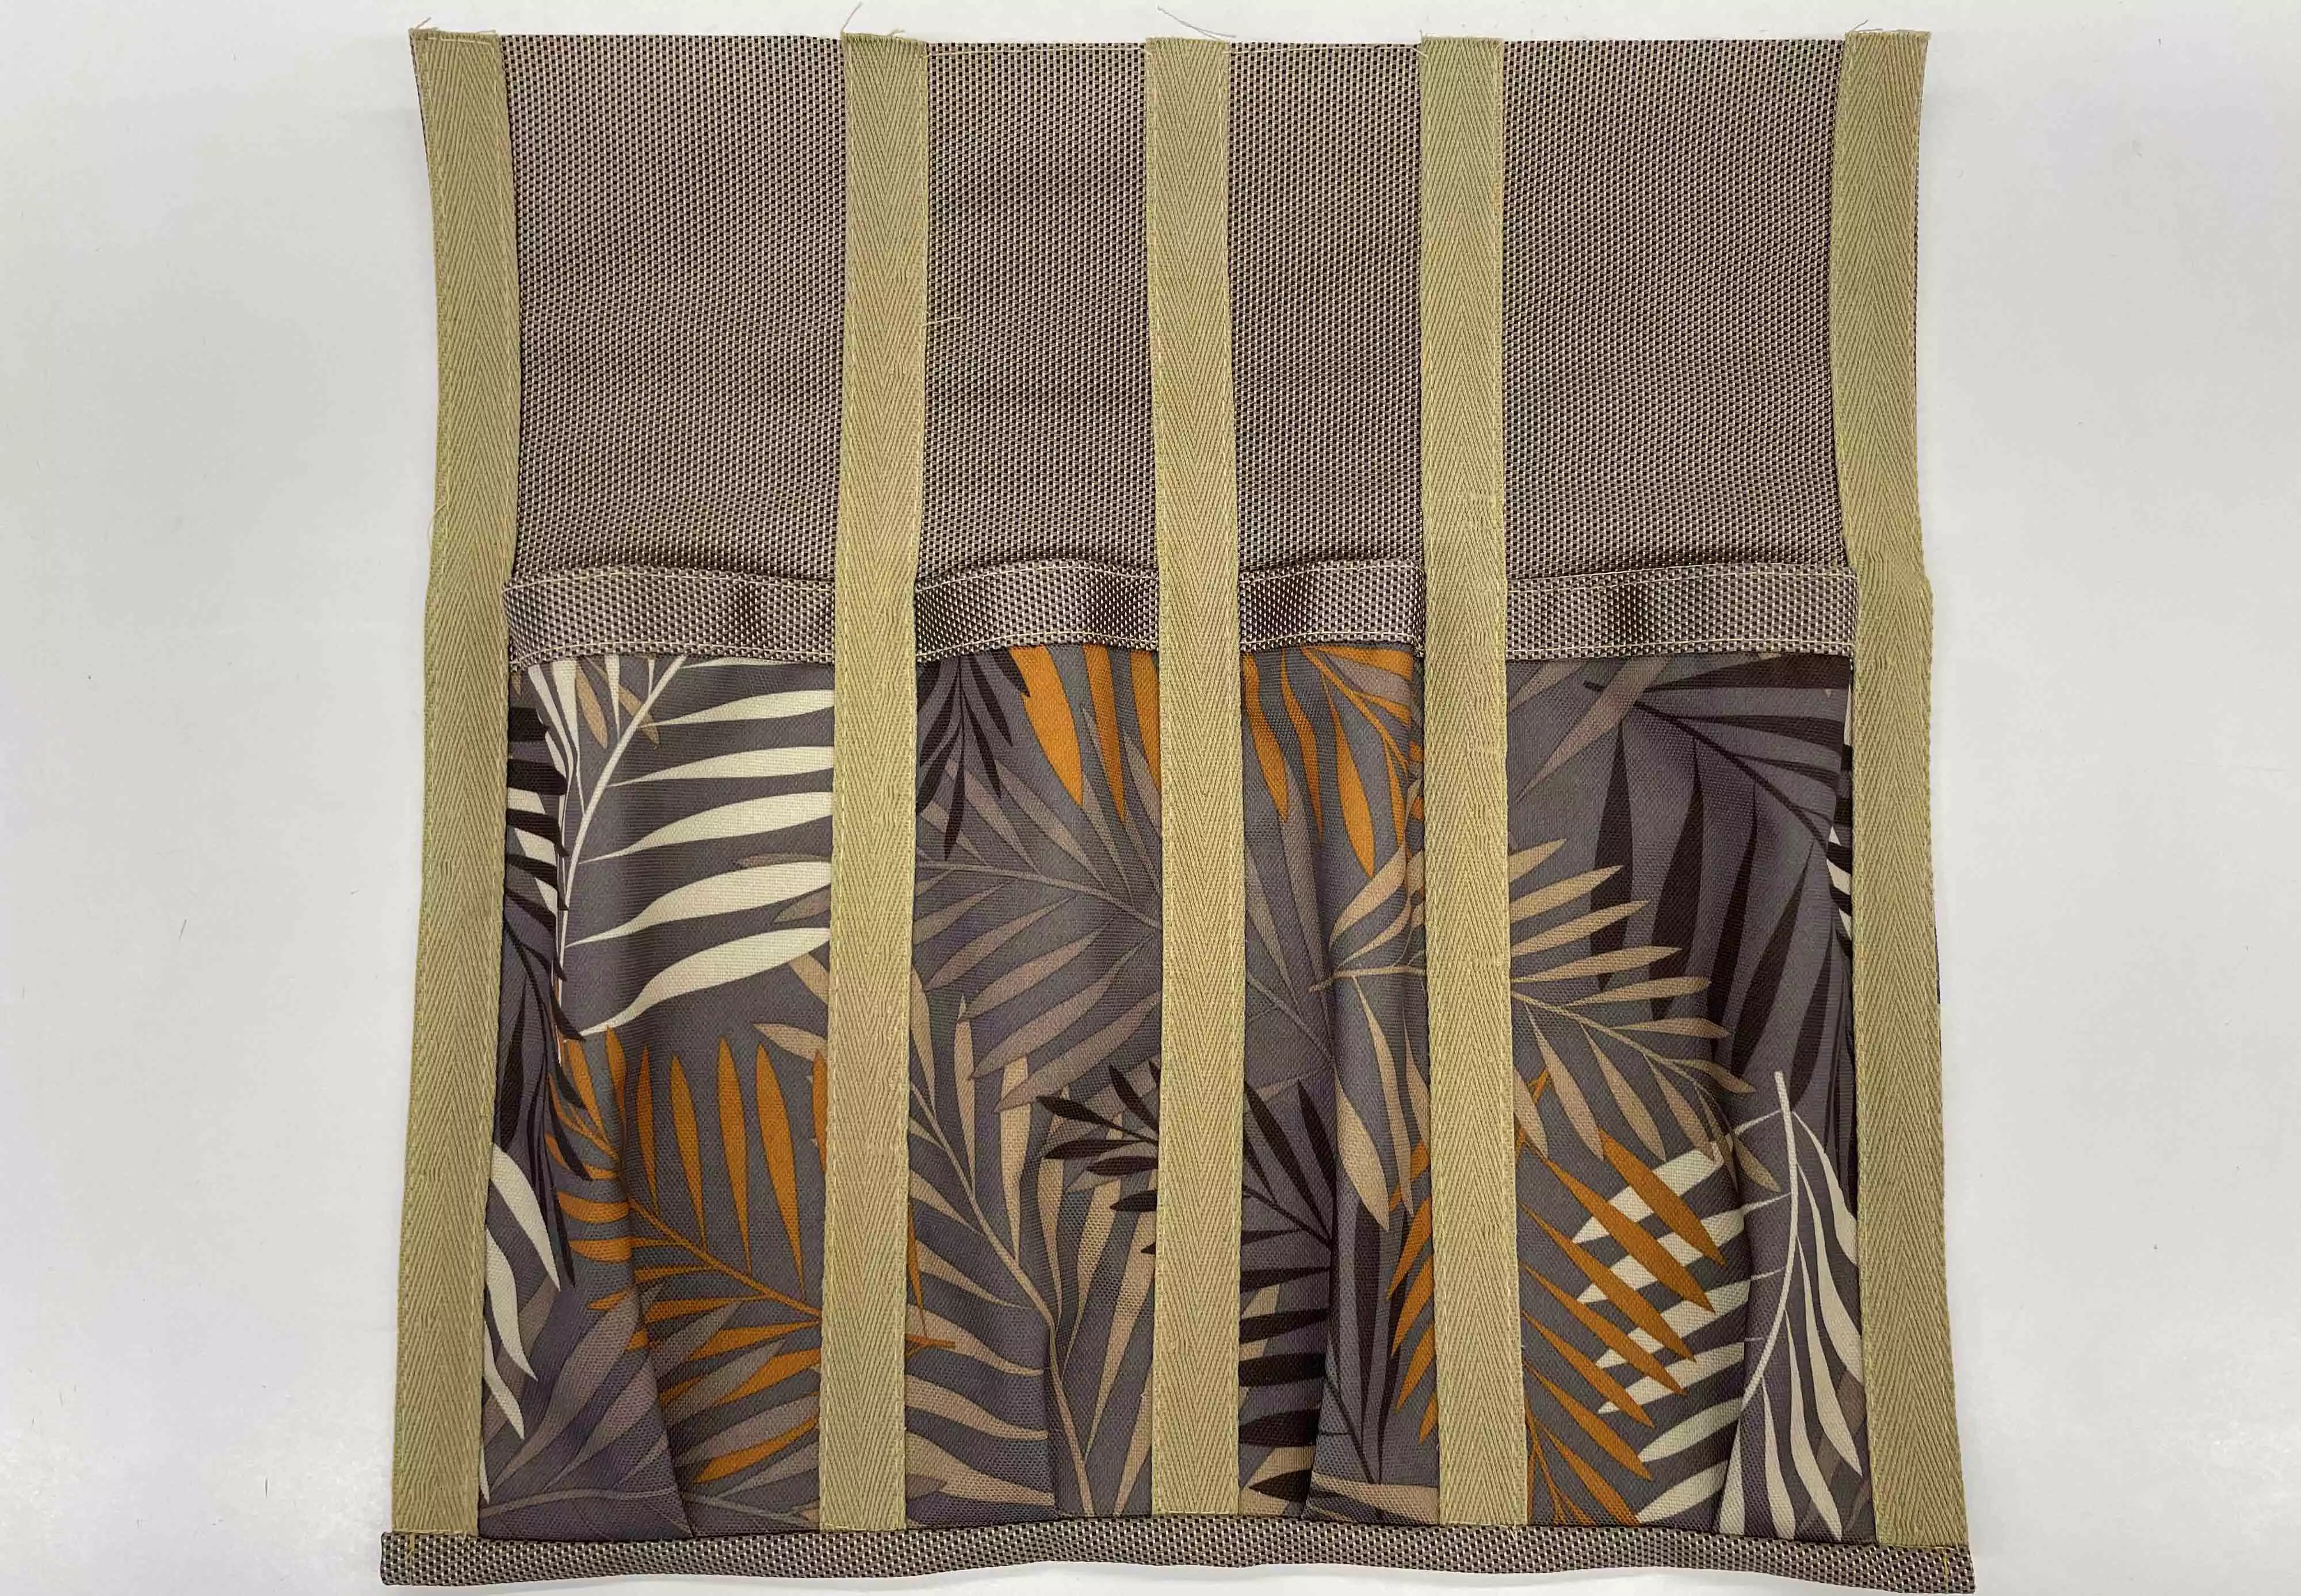
The materials below is for two garden tool holders, one to be worn on each side, see image above.
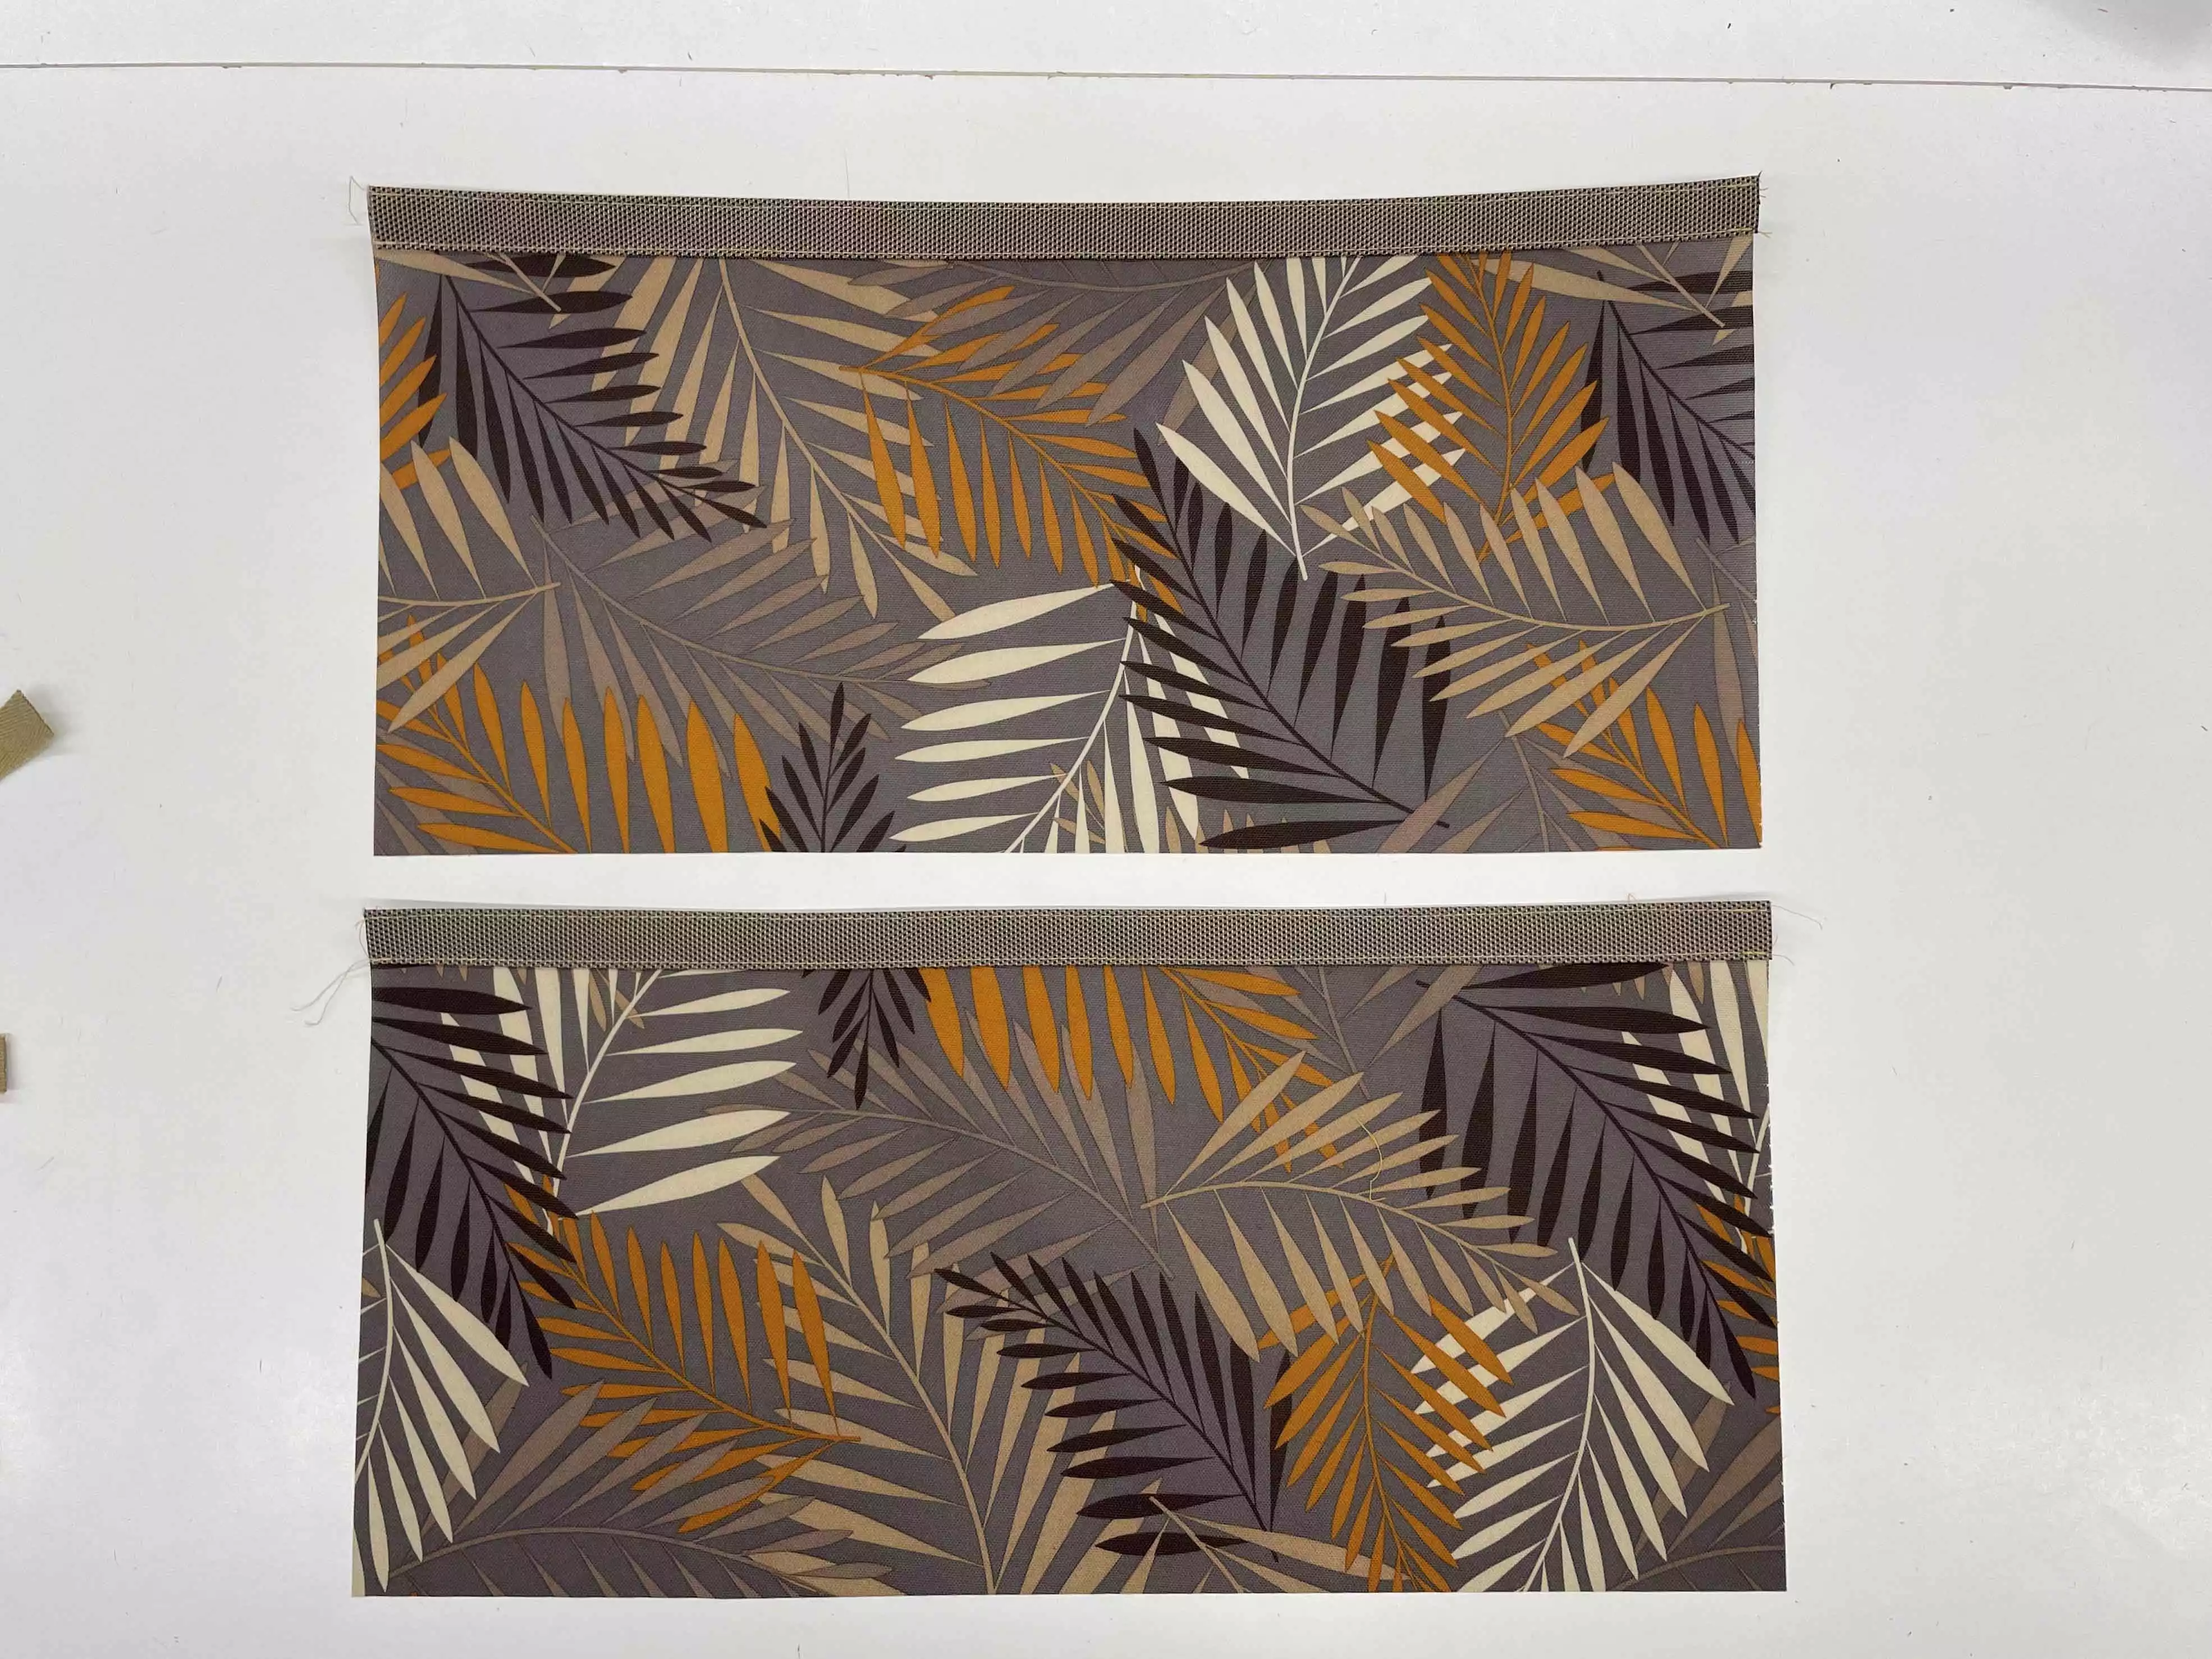
From solid colored synthetic canvas cut:
2 pieces 16x16” (40x40cm) for the background.
2 pieces for binding the pocket edges 20” x 2 ½” (50x6cm
2 pieces for belt tunnel 16”x5”(40x12 cm)
From printed synthetic canvas cut
2 pieces 20x”x10” (50x25cm)
Other material:
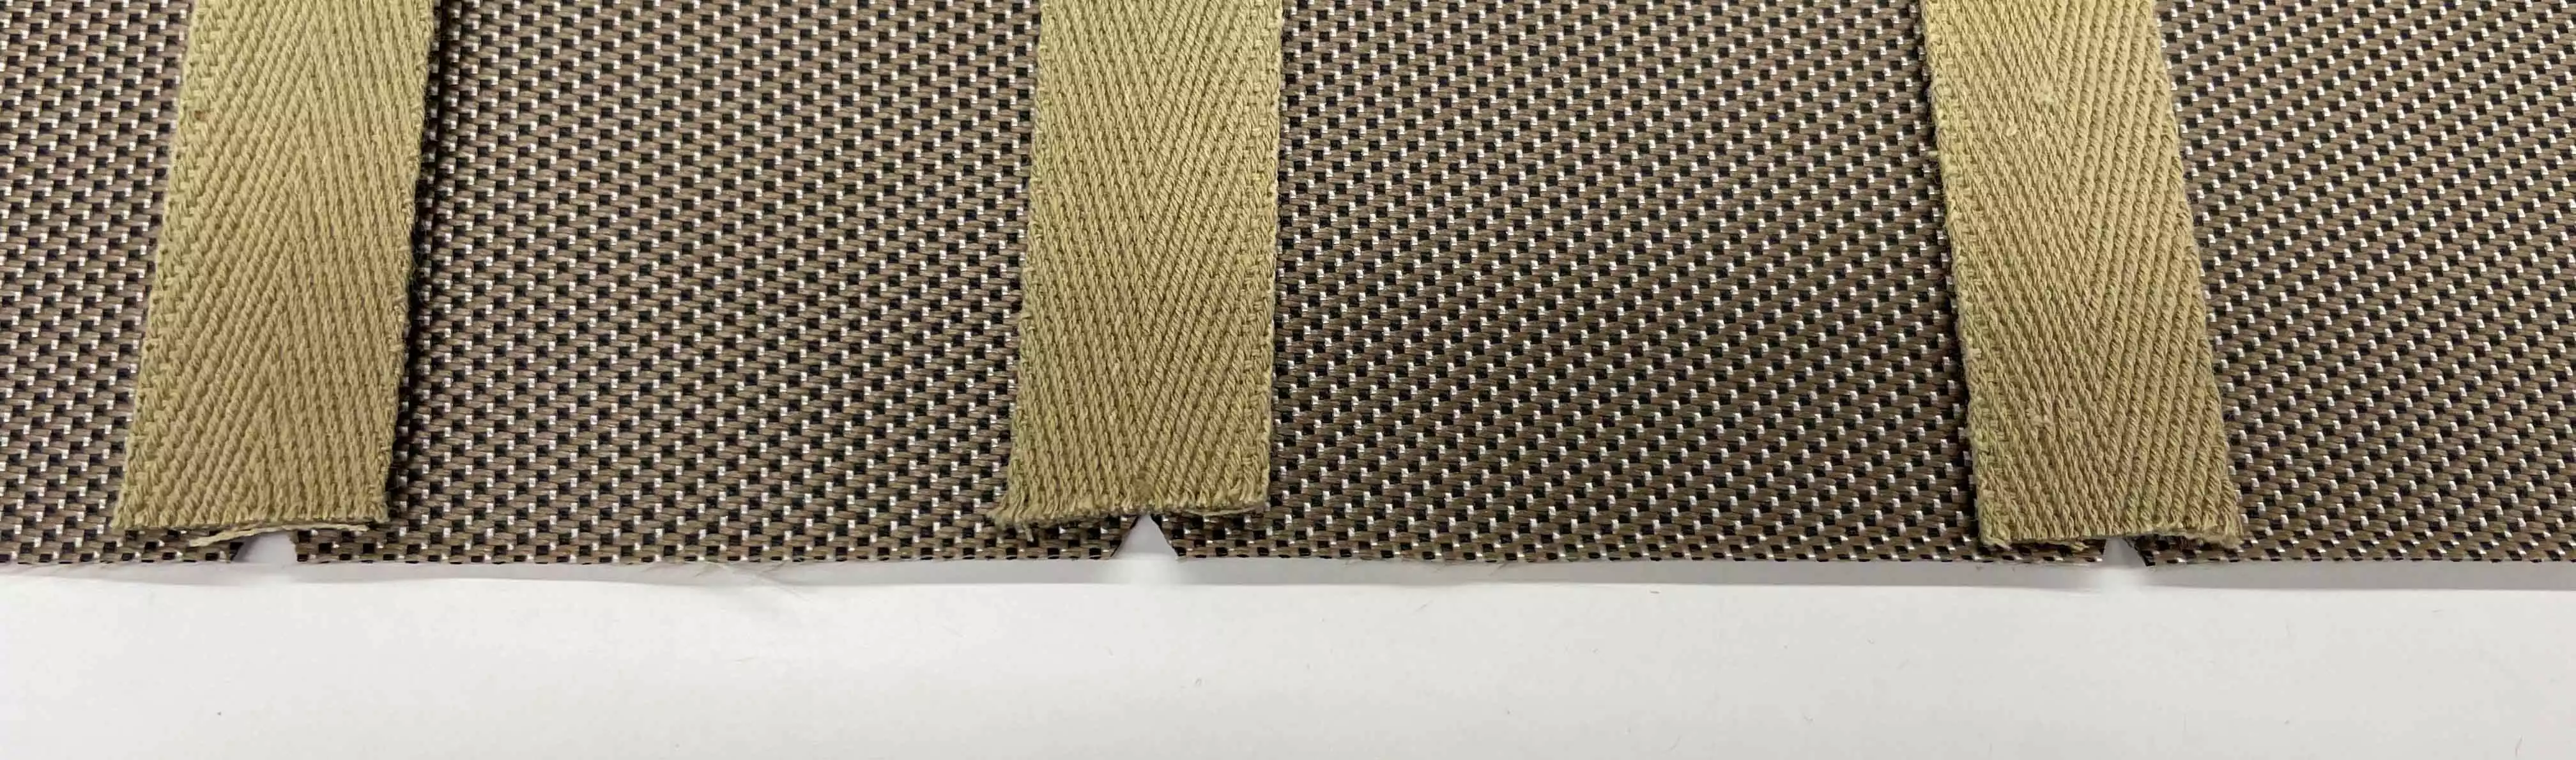
4 ½ Yard 1” (2,5cm) wide herringbone twill tape or similar. Subcut into 10 pieces 16” (40cm) long and 1 piece 6” (15cm) long
18” (45cm) ½” (15mm) herringbone twill tape or similar. Subcut into1 piece 12” (30cm) and 2pieces 3” (8cm)
Heavy duty sewing thread.
Size 90 denim needle
Preparing:
1. Fold the 6x50cm strip lengthwise wrong sides together. Pin it in place on the wrong side of the pocket piece with raw edges even at the top and sew together with a ⅜” (1cm) seam allowance.
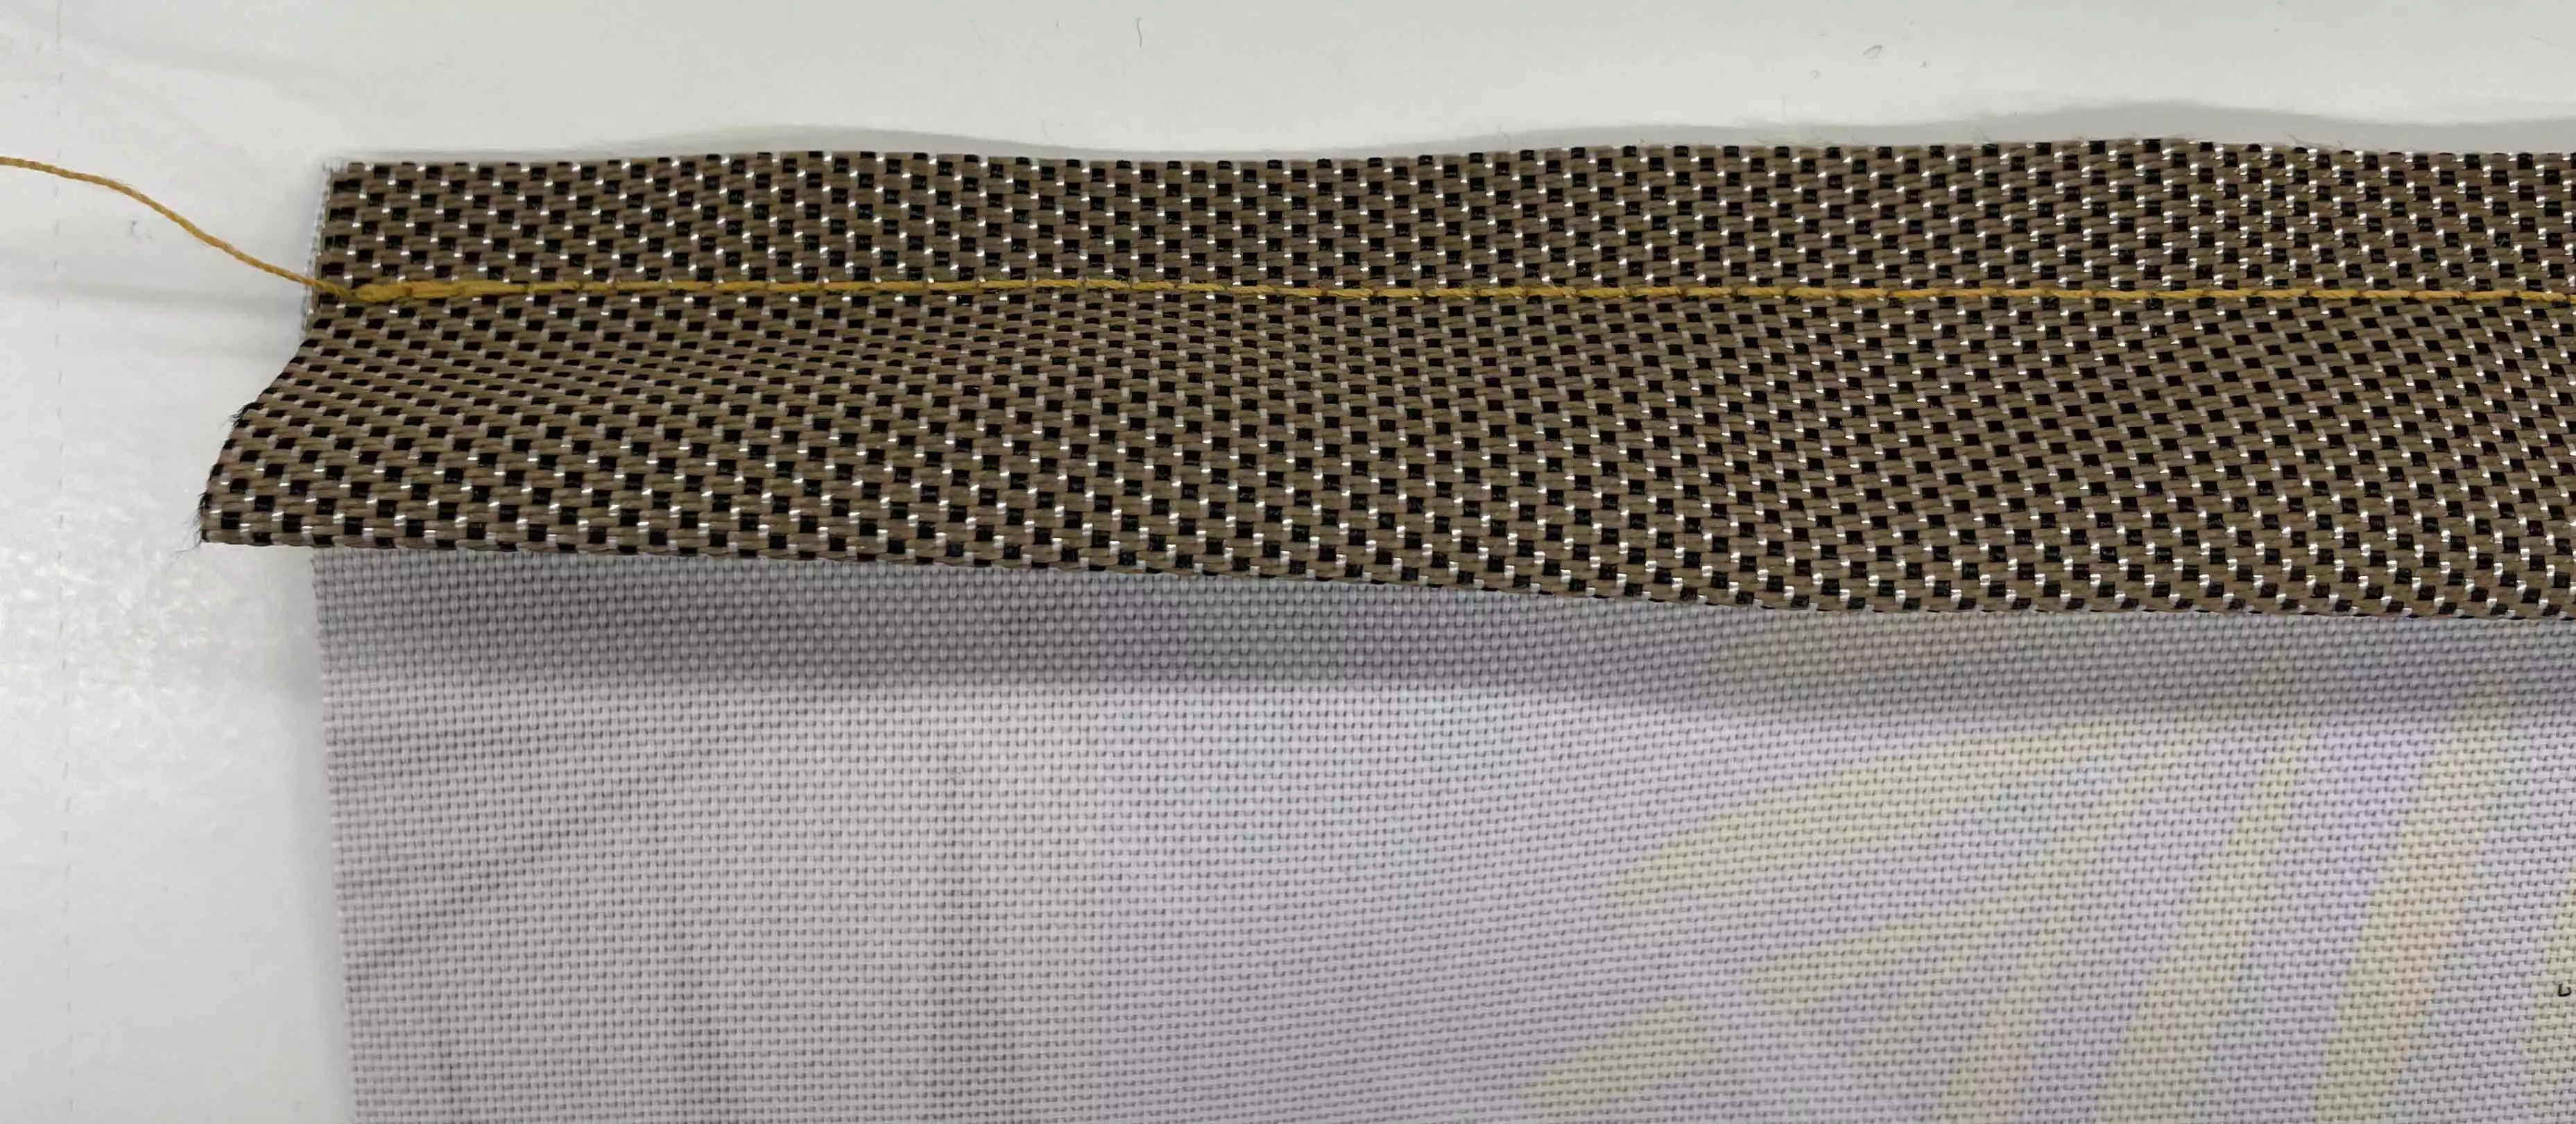
2. Fold it over to the front with the seam at the top edge and stitch in place along the folded edge and close to top. Repeat with the other pocket piece.
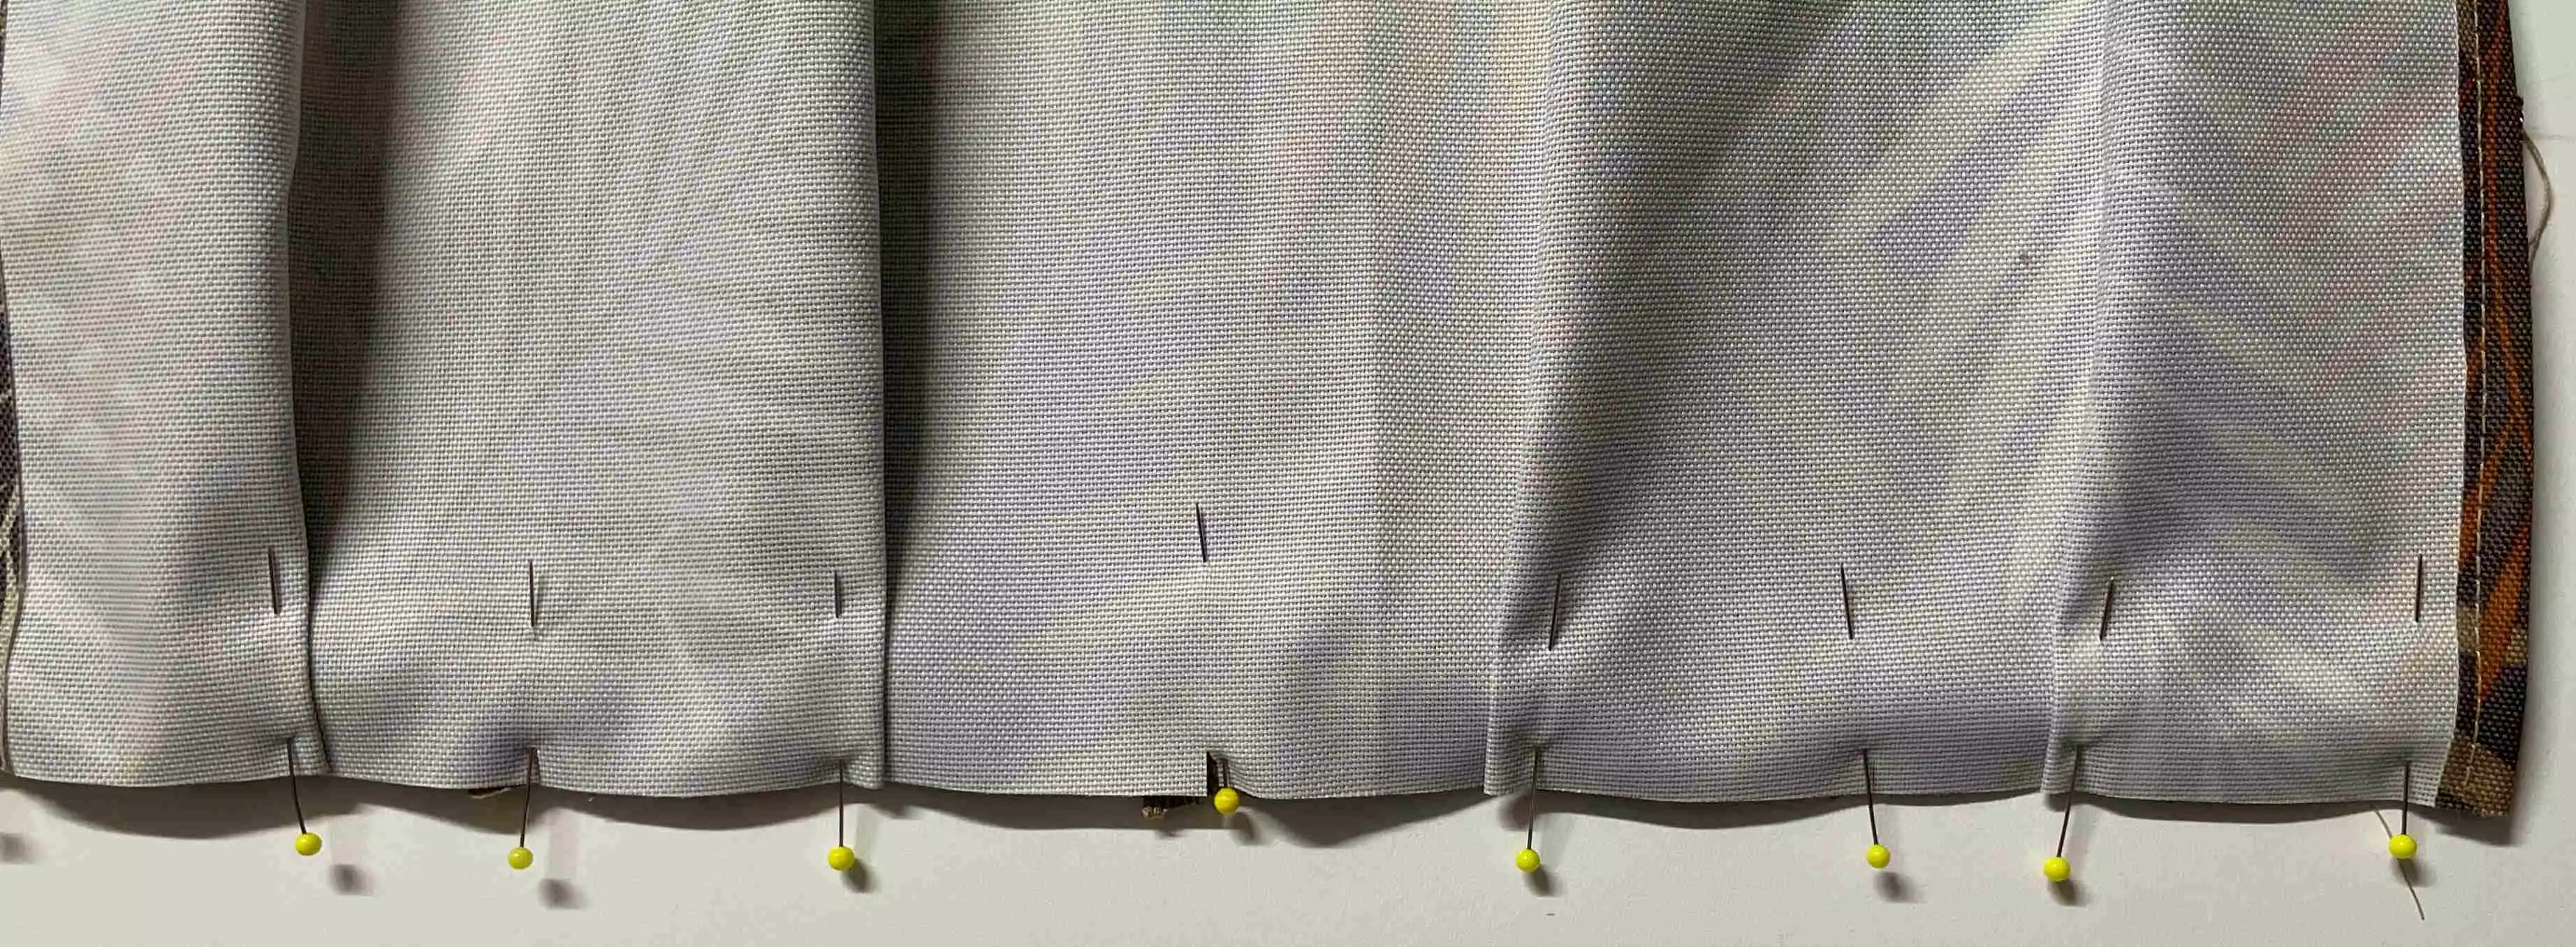
3. On the right side of the two pocket pieces make one line 6” (15cm) in from each side and one line in the middle. Cut small notches maximum ¼” (6mm) deep to mark the lines at the bottom edge.
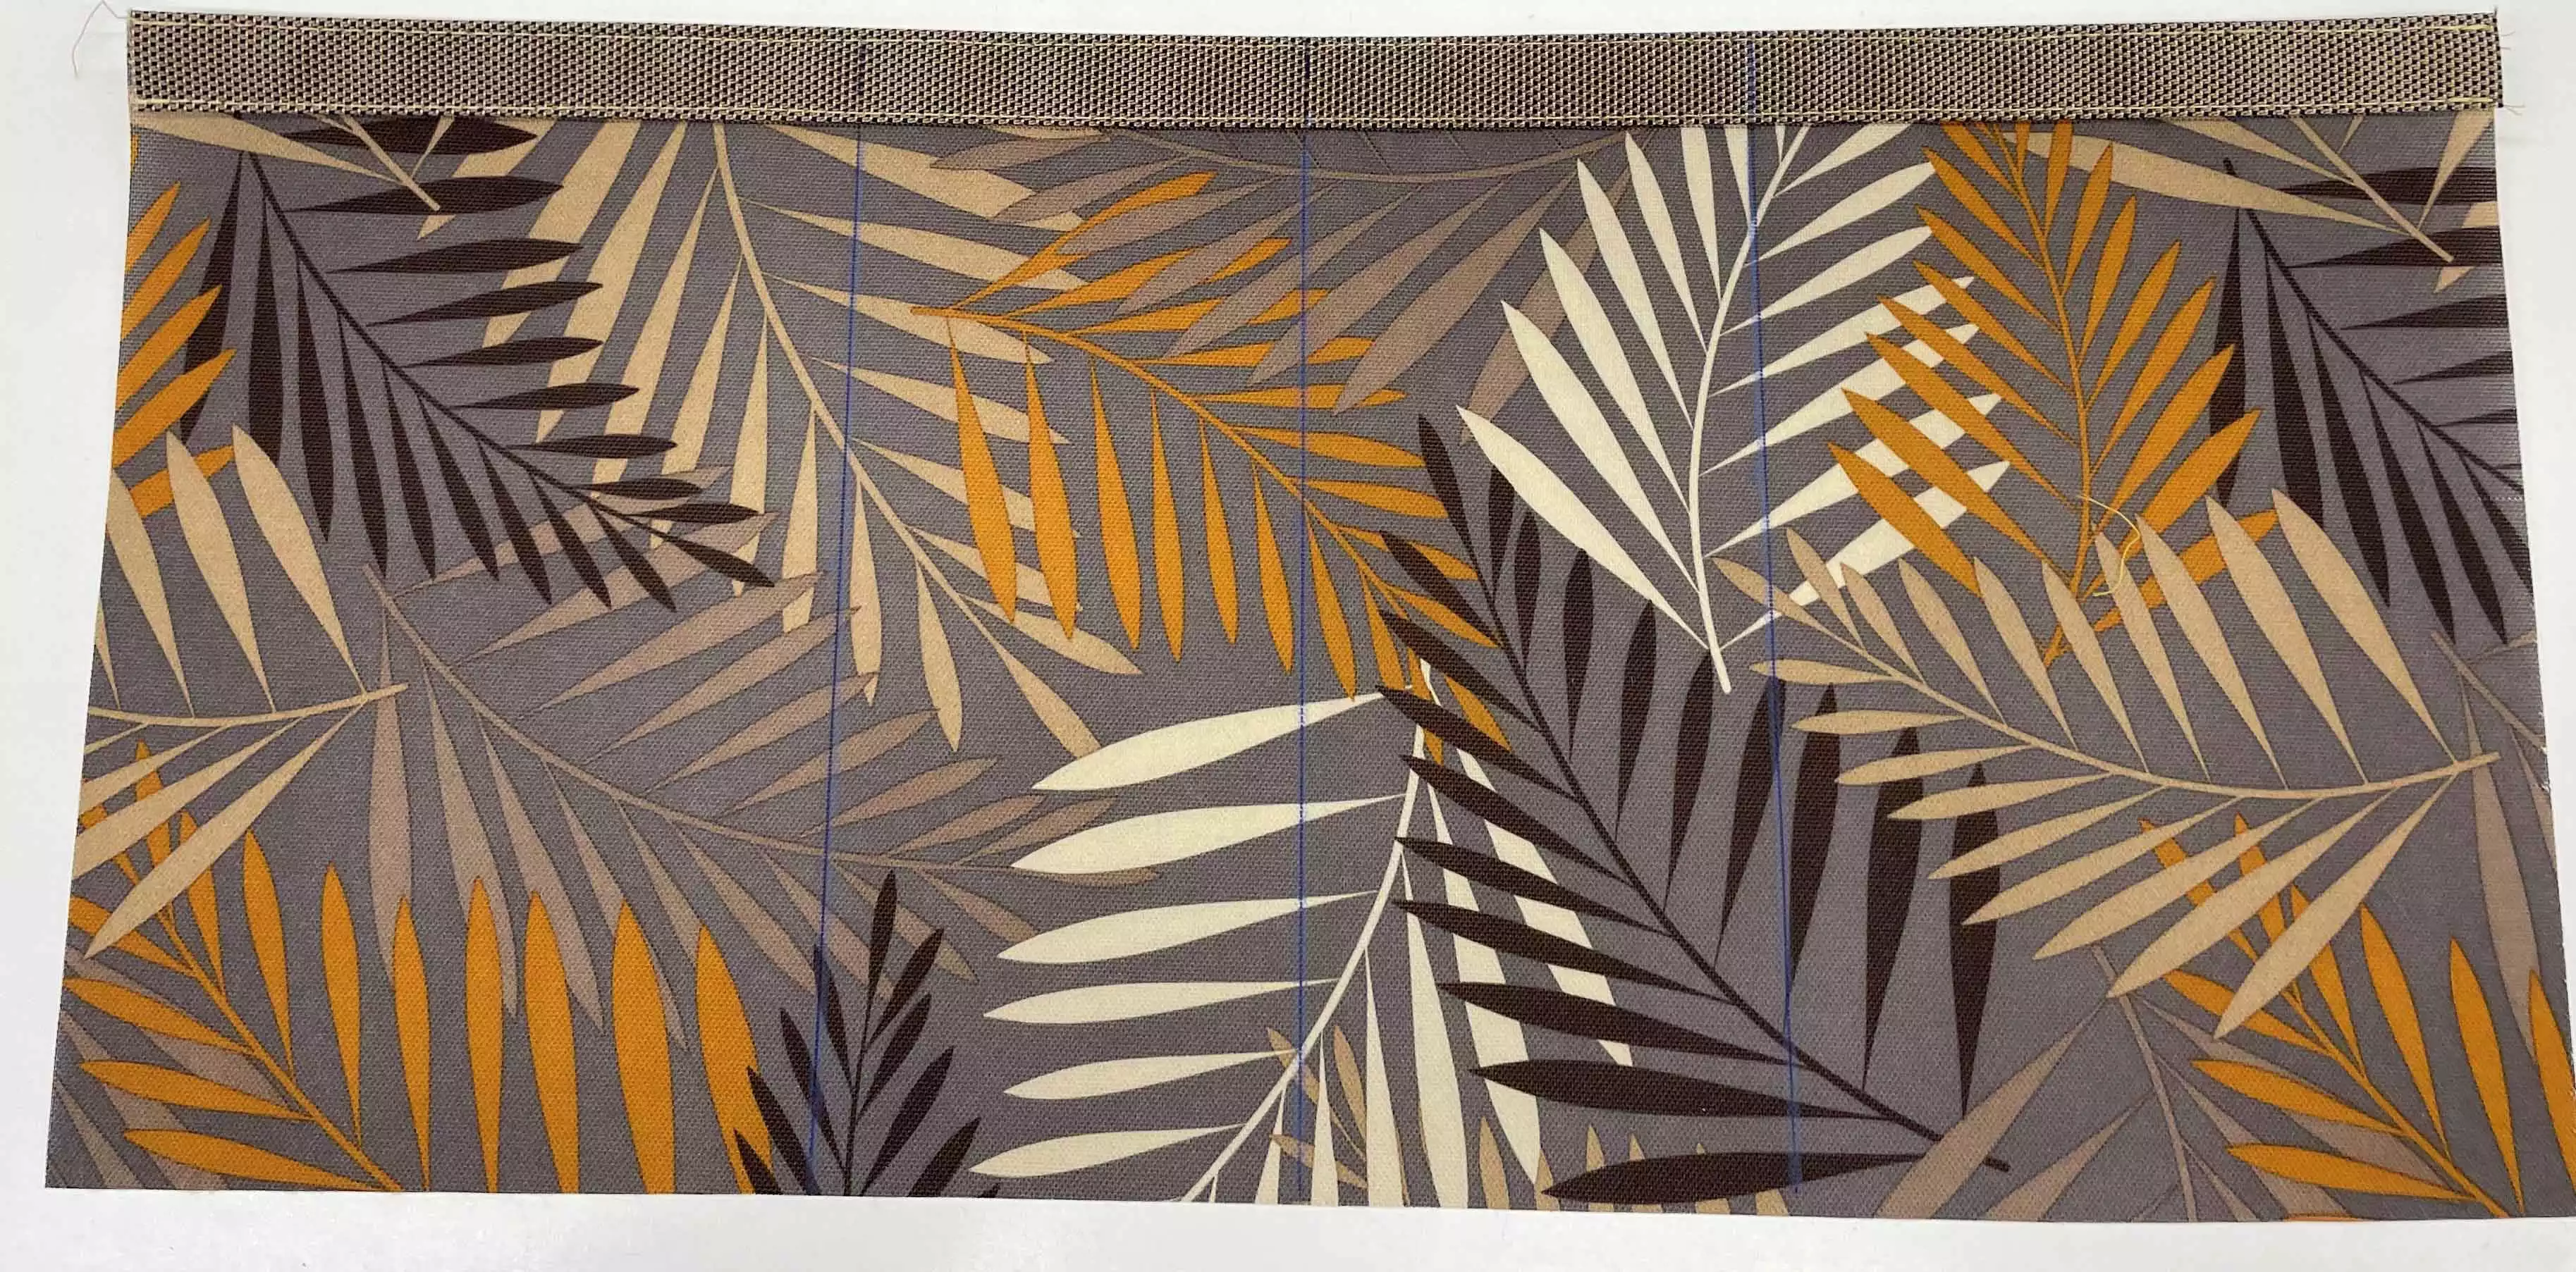
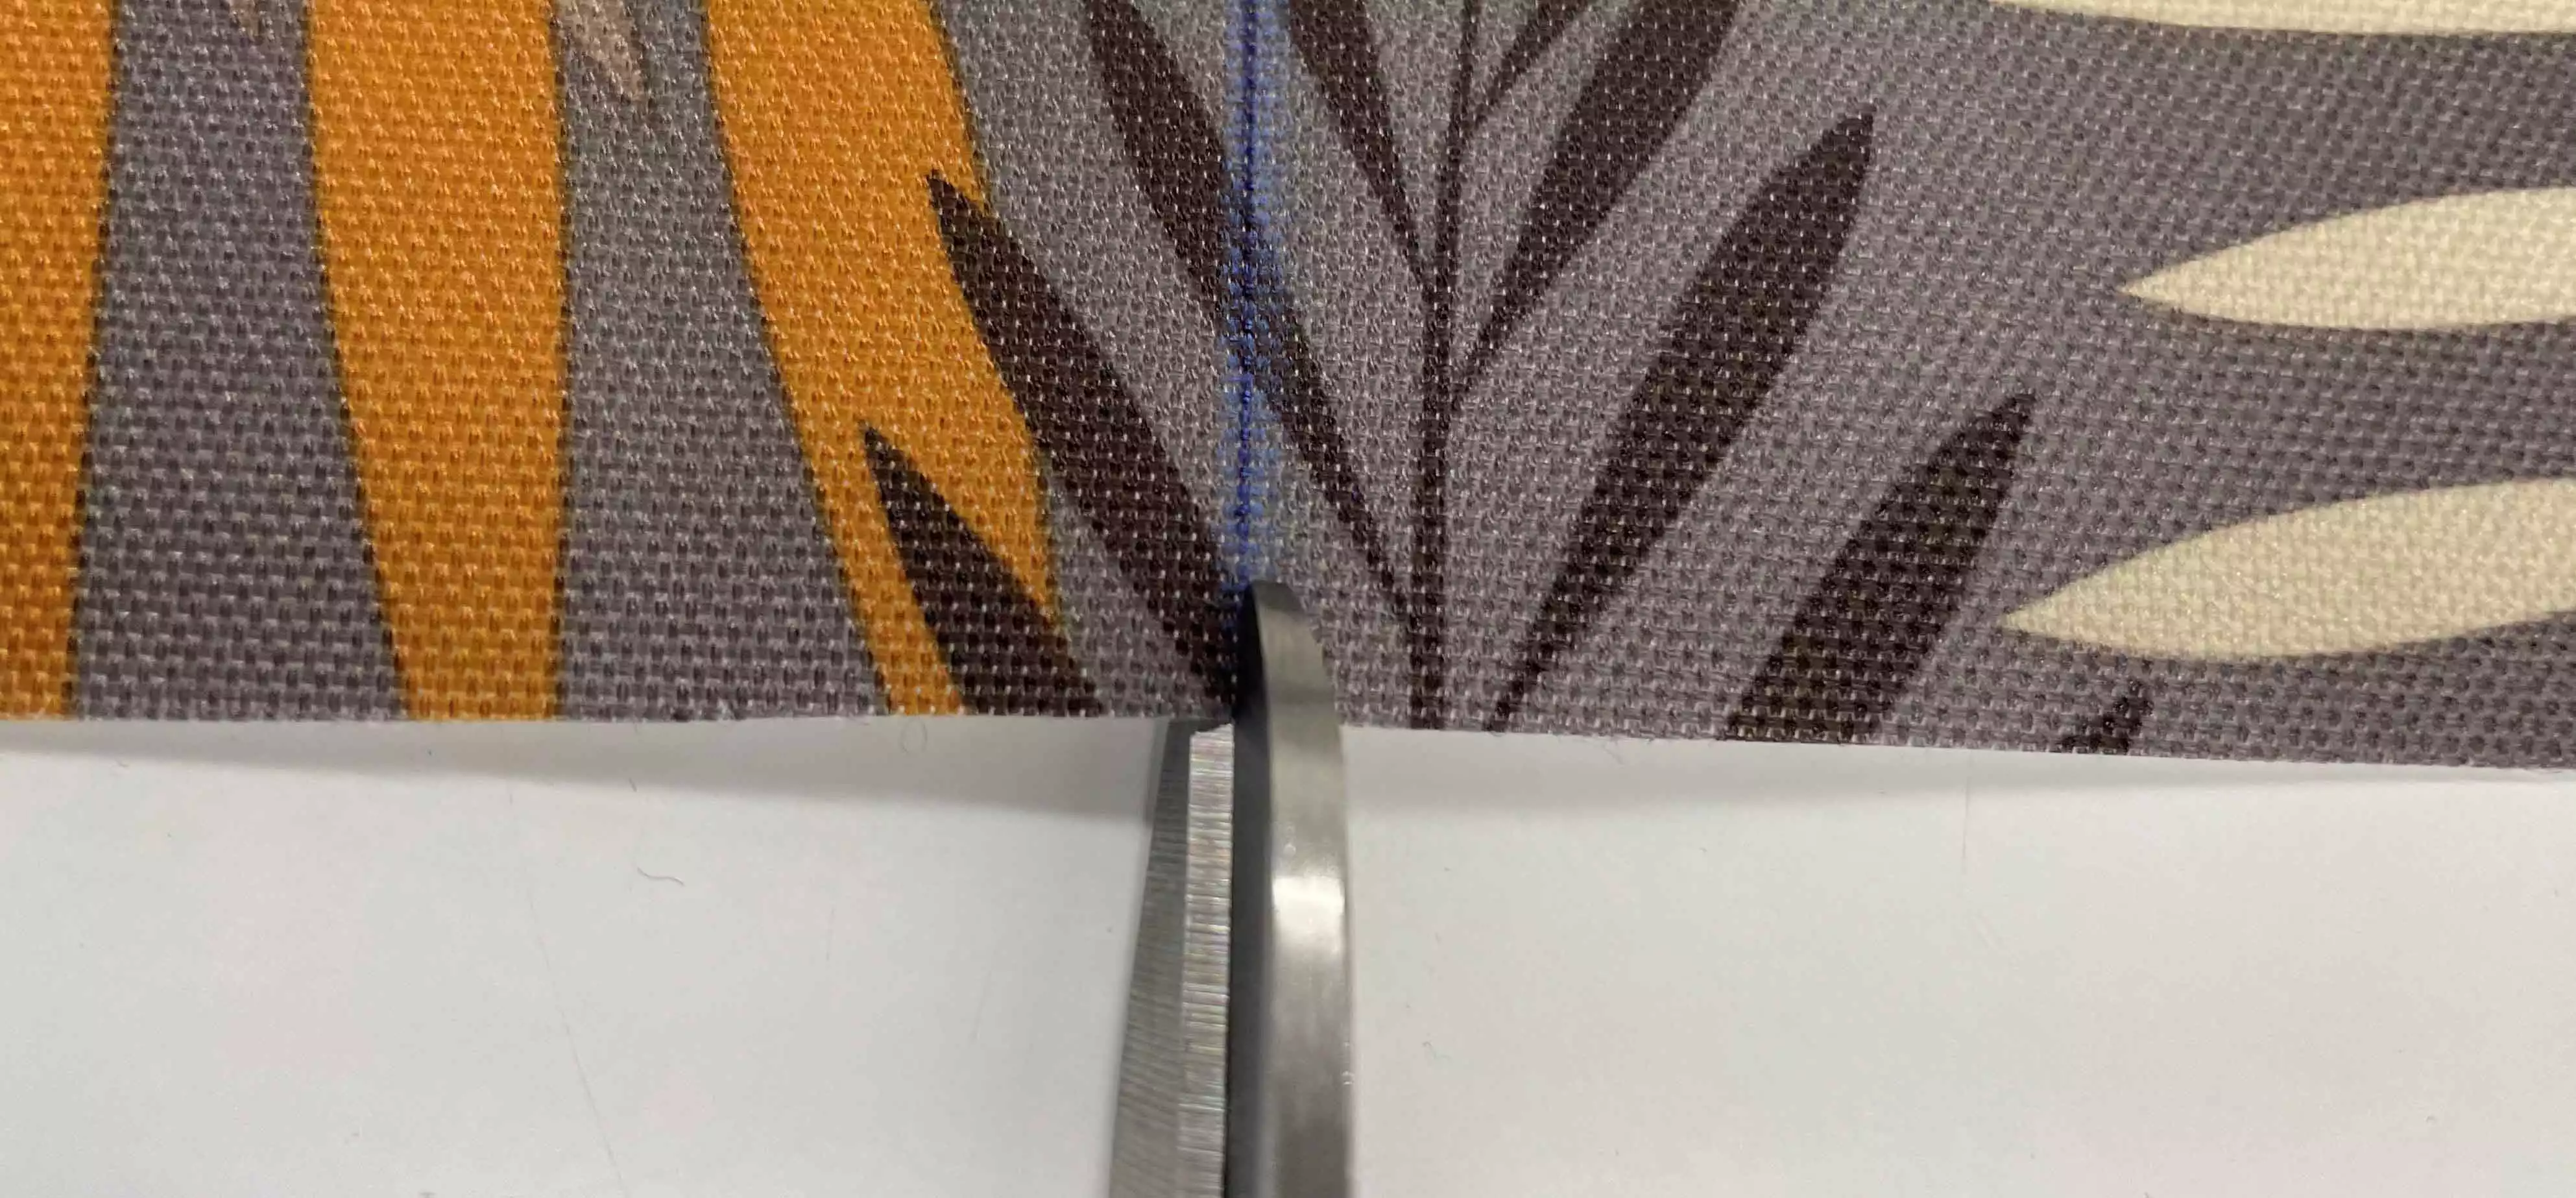
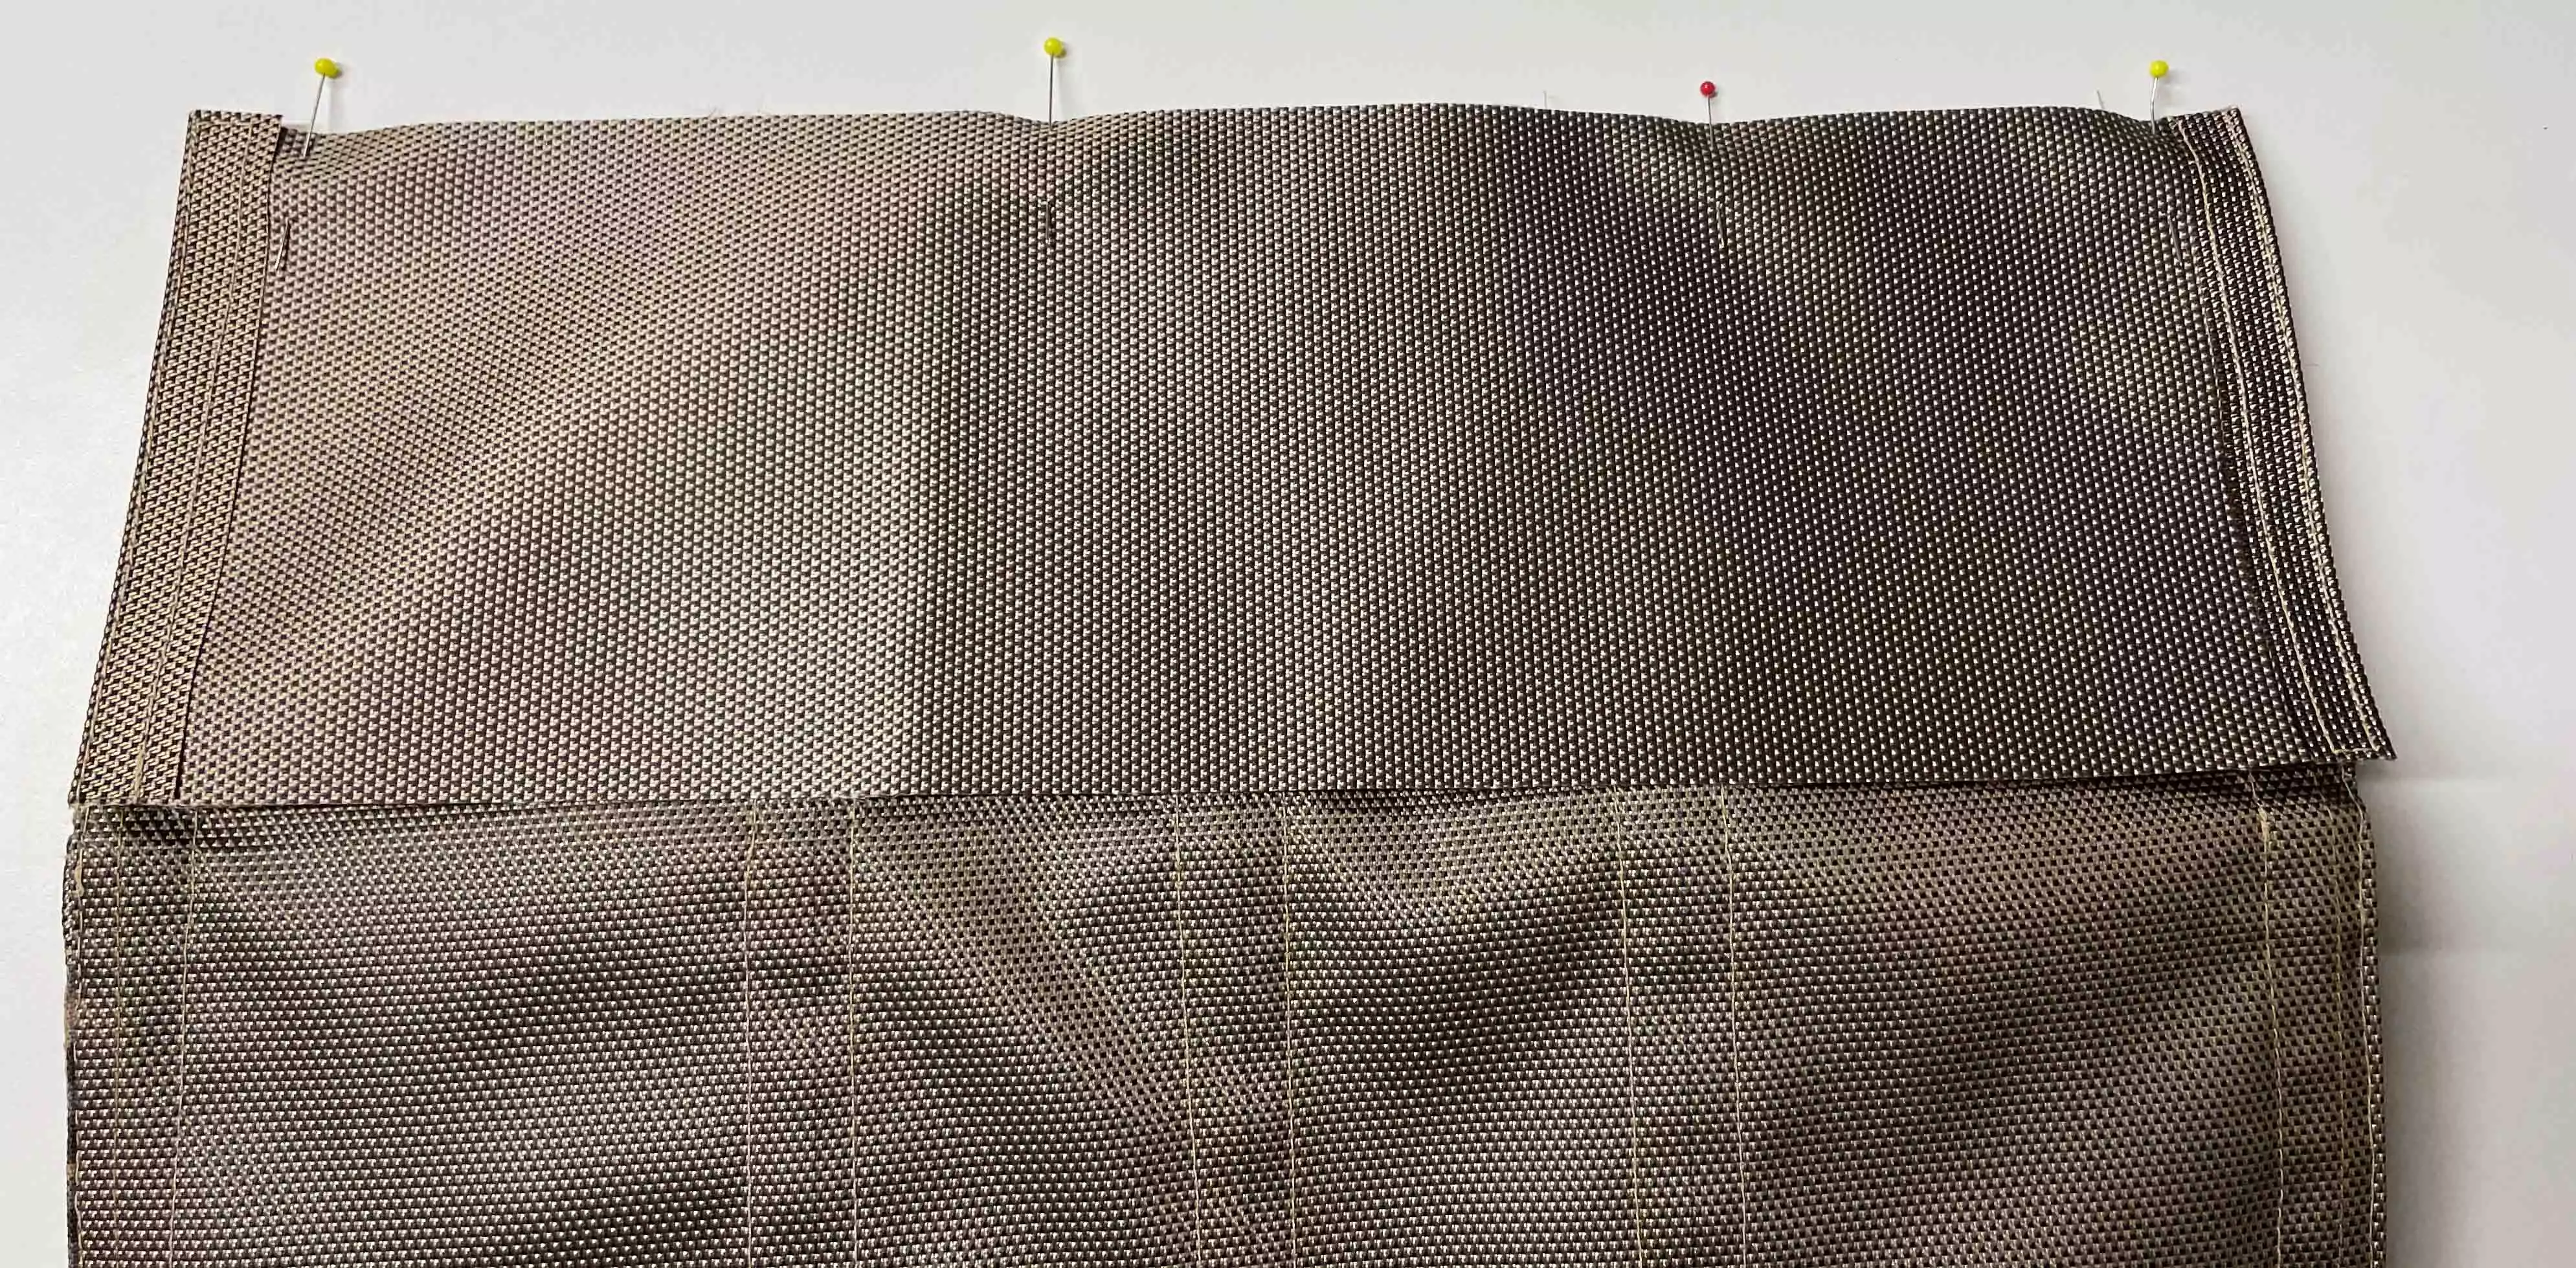
4. On the right side of the background fabric pieces make one line 5” (12cm) in from each side and one line in the middle. Cut small notches maximum ¼” 6mm) deep on the lower edge to mark the lines.
5. Fold ⅜” (1cm) in on the short sides of the pocket pieces to the wrong side and machine baste in place ¼” (6mm) from the edge. Repeat with the short sides on the background pieces, but in this case fold the sides to the right side of the fabric.
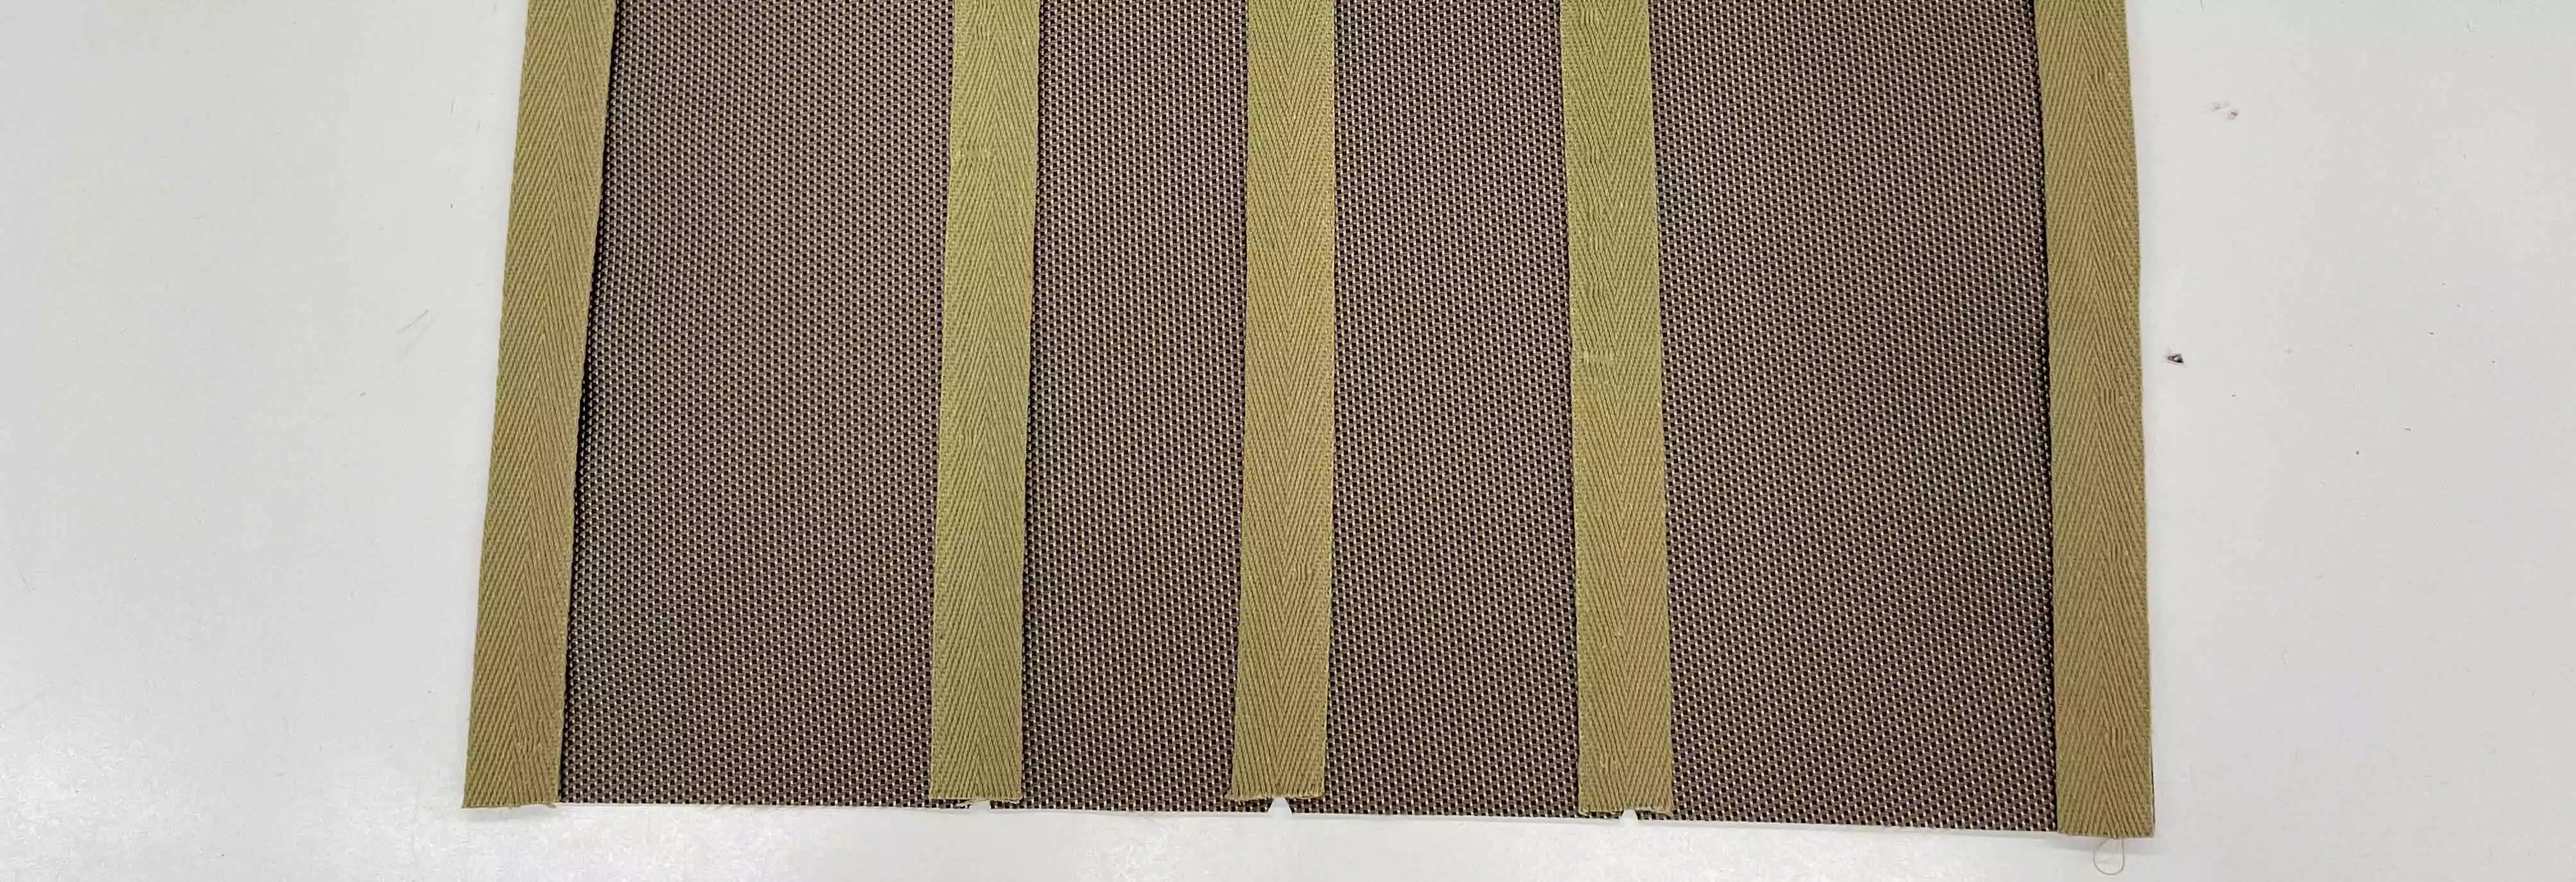
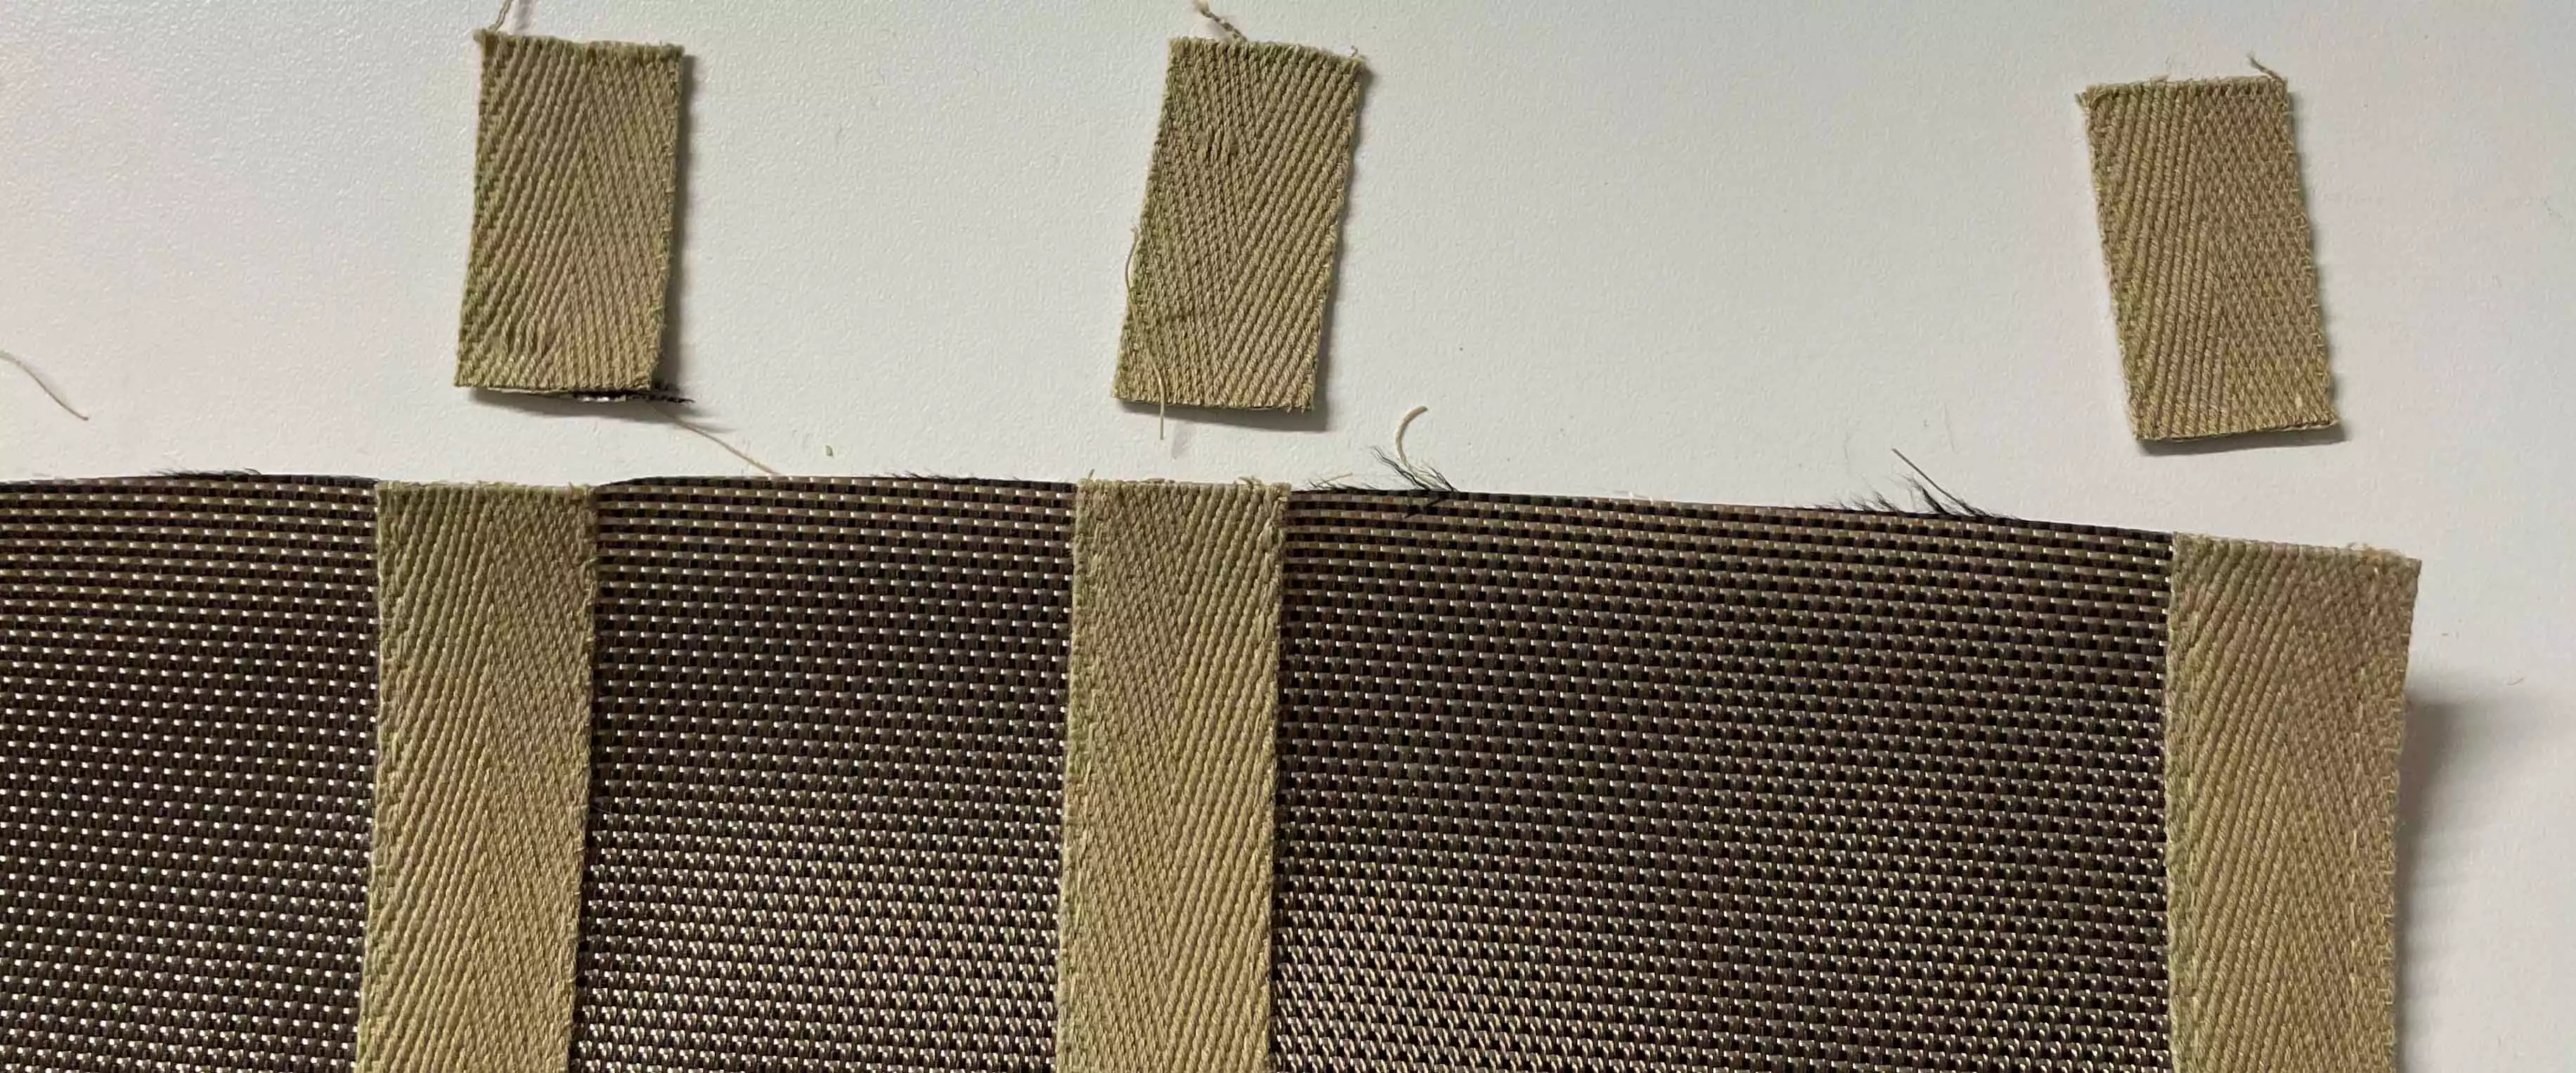
6. Put the background piece with the wrong side up on the table. Place one of the herringbone twill tape pieces centered on each notch and one on each side at the edge.
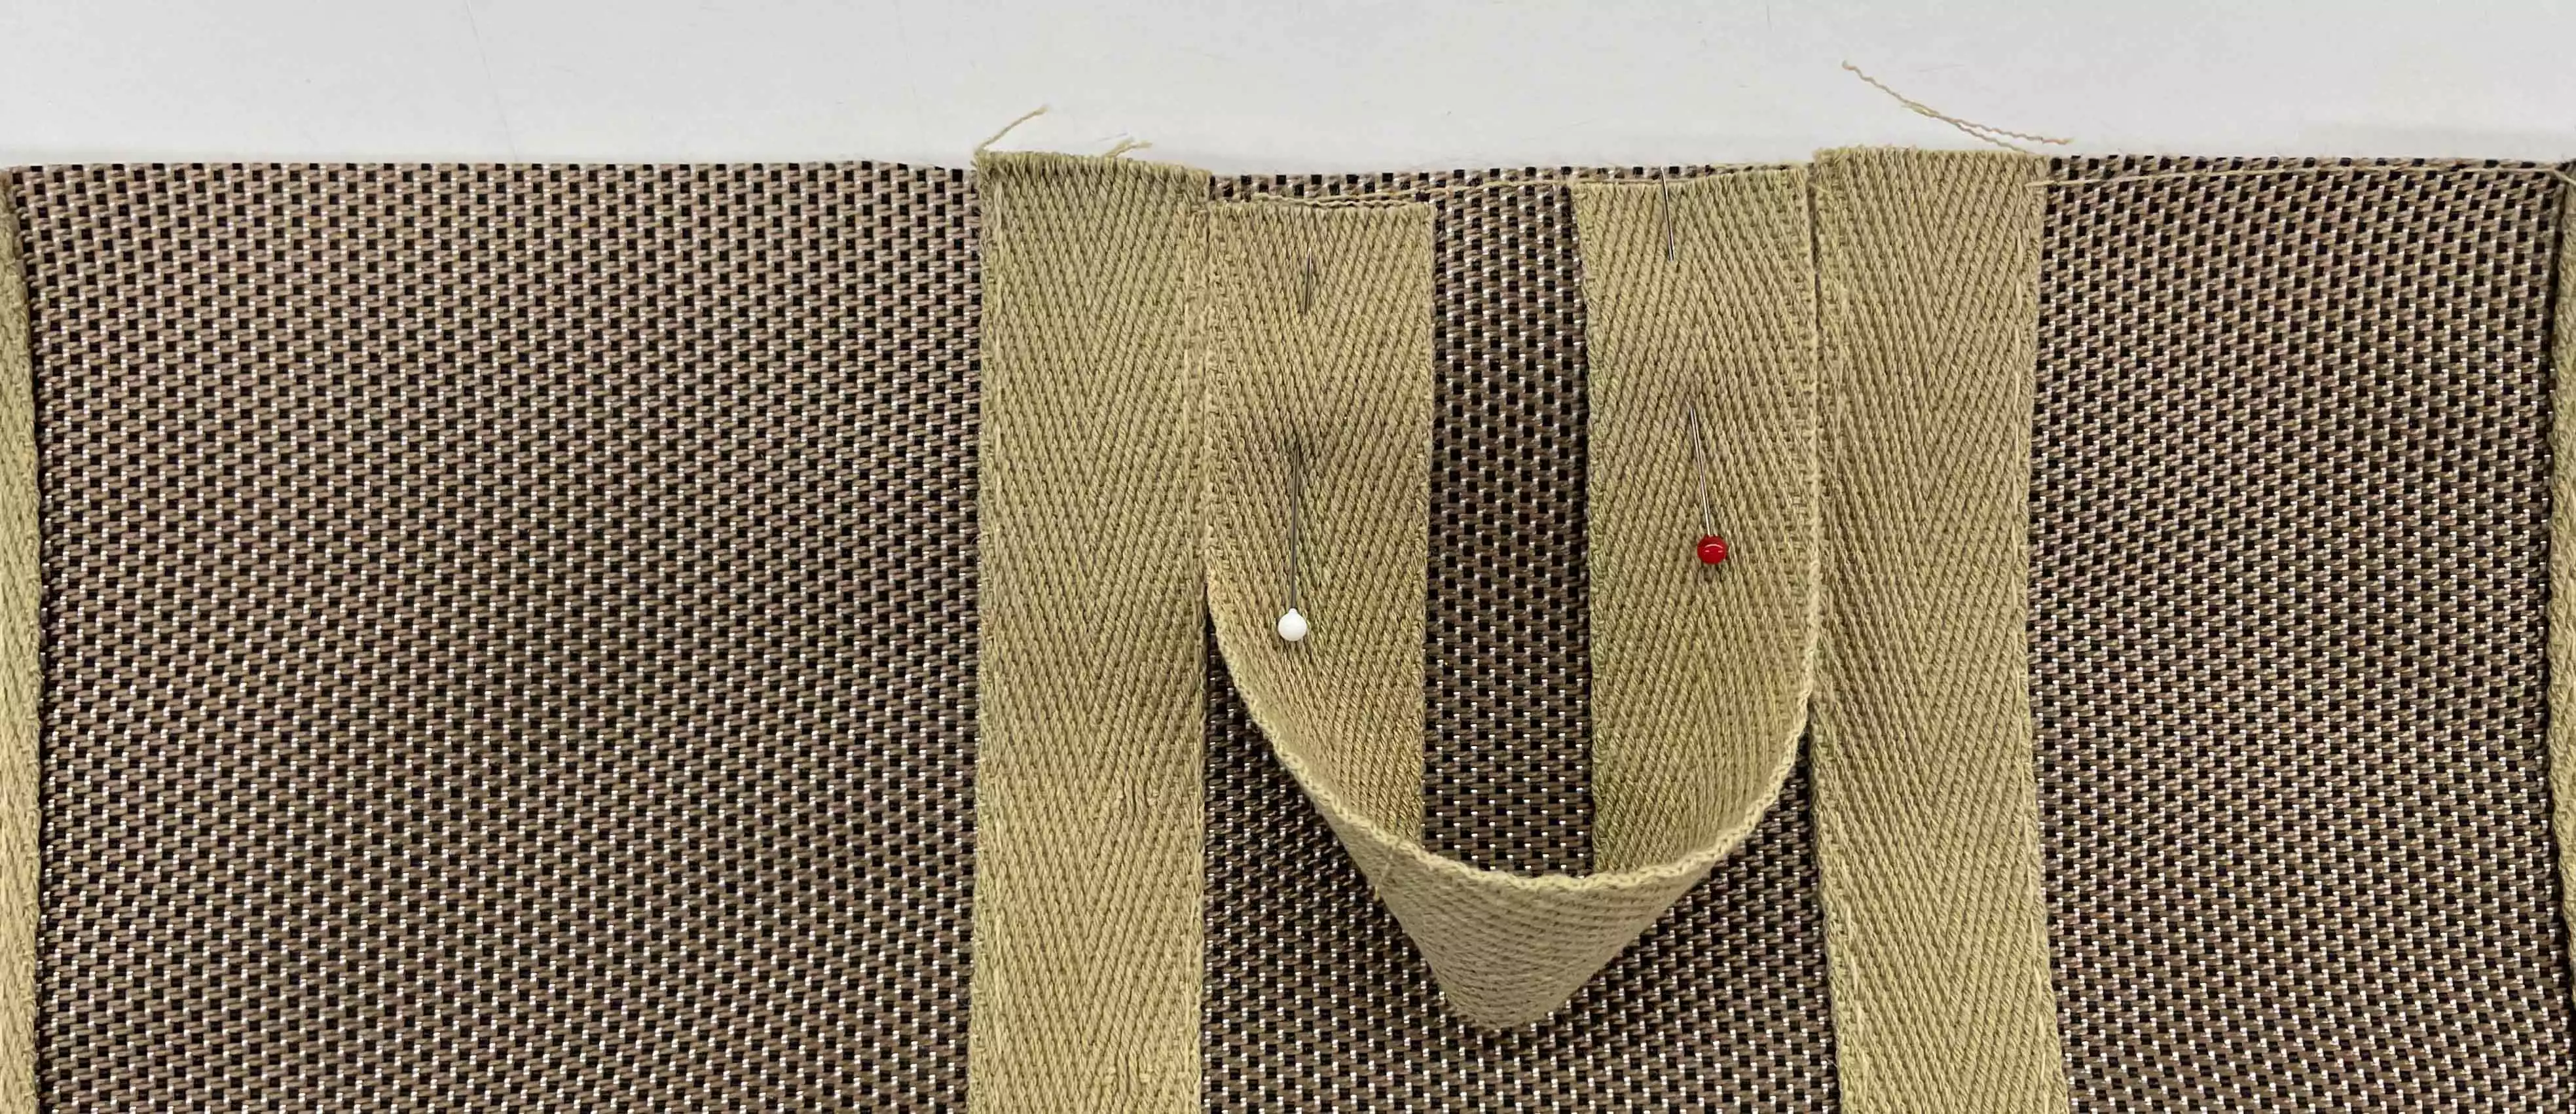
7. Pin the pocket piece, also wrong side up at the bottom matching the notches on the background piece notches . Make folds where necessary between the lines to take care of the extra fabric . sew together with a ⅜” (1cm) seam allowance.
8. Place the piece on the table with the right side of the background piece up.
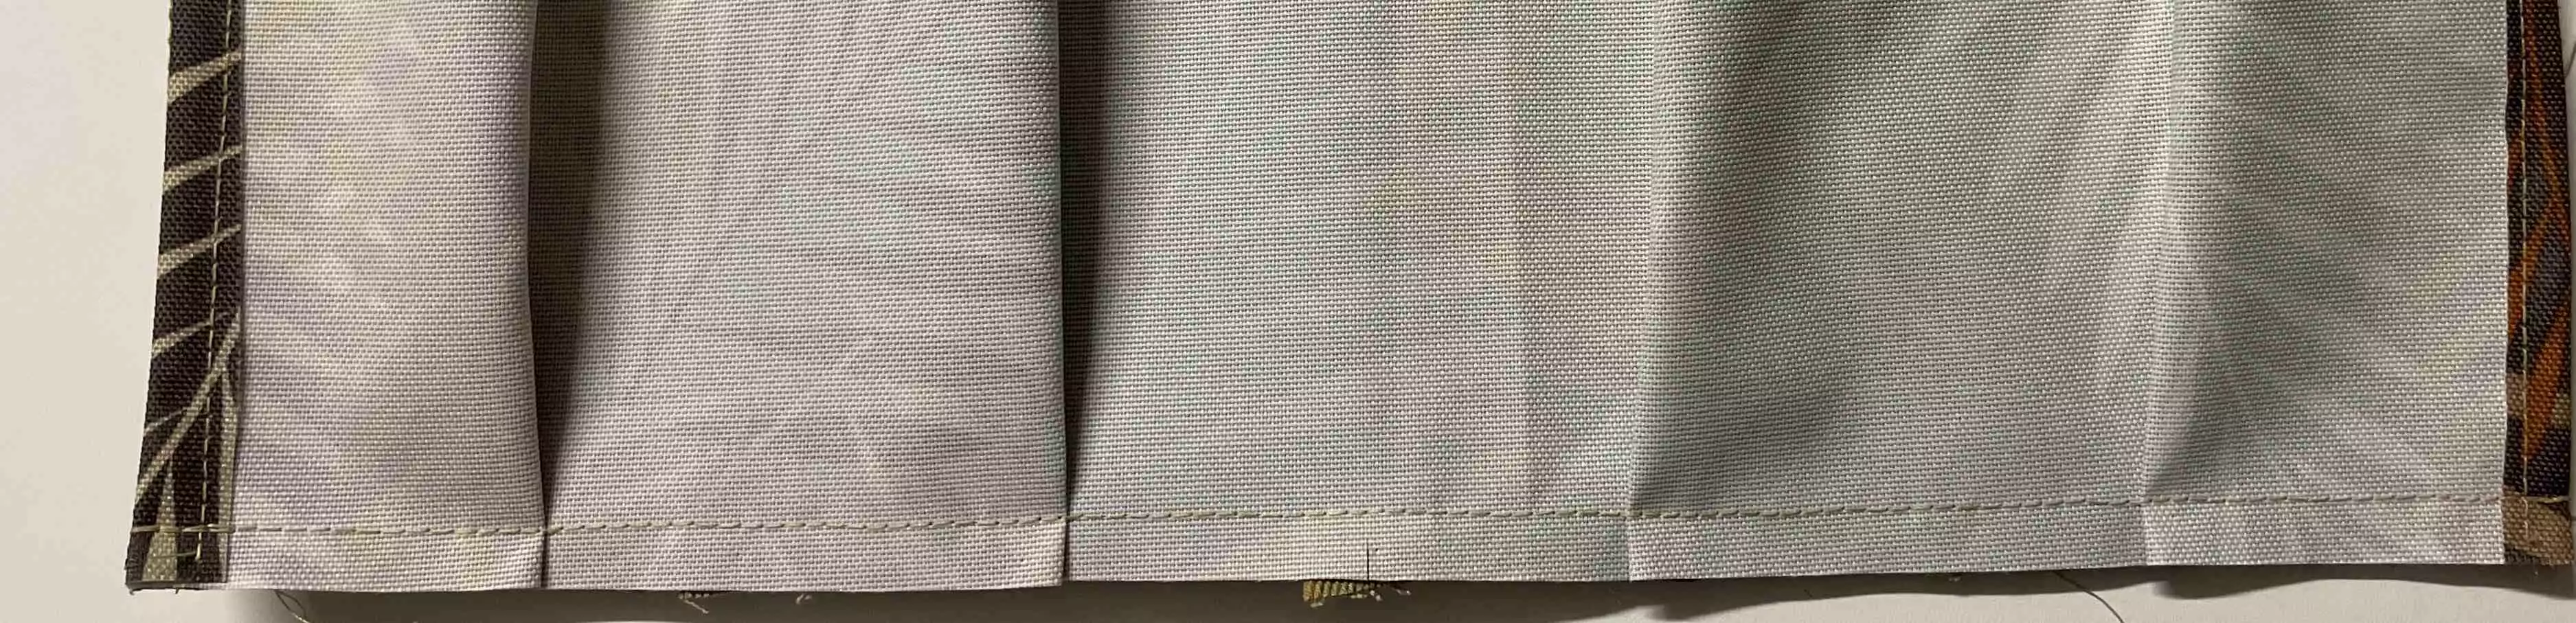
9. Fold the pocket piece to the front and let the background piece fold over the seam allowances at the bottom.
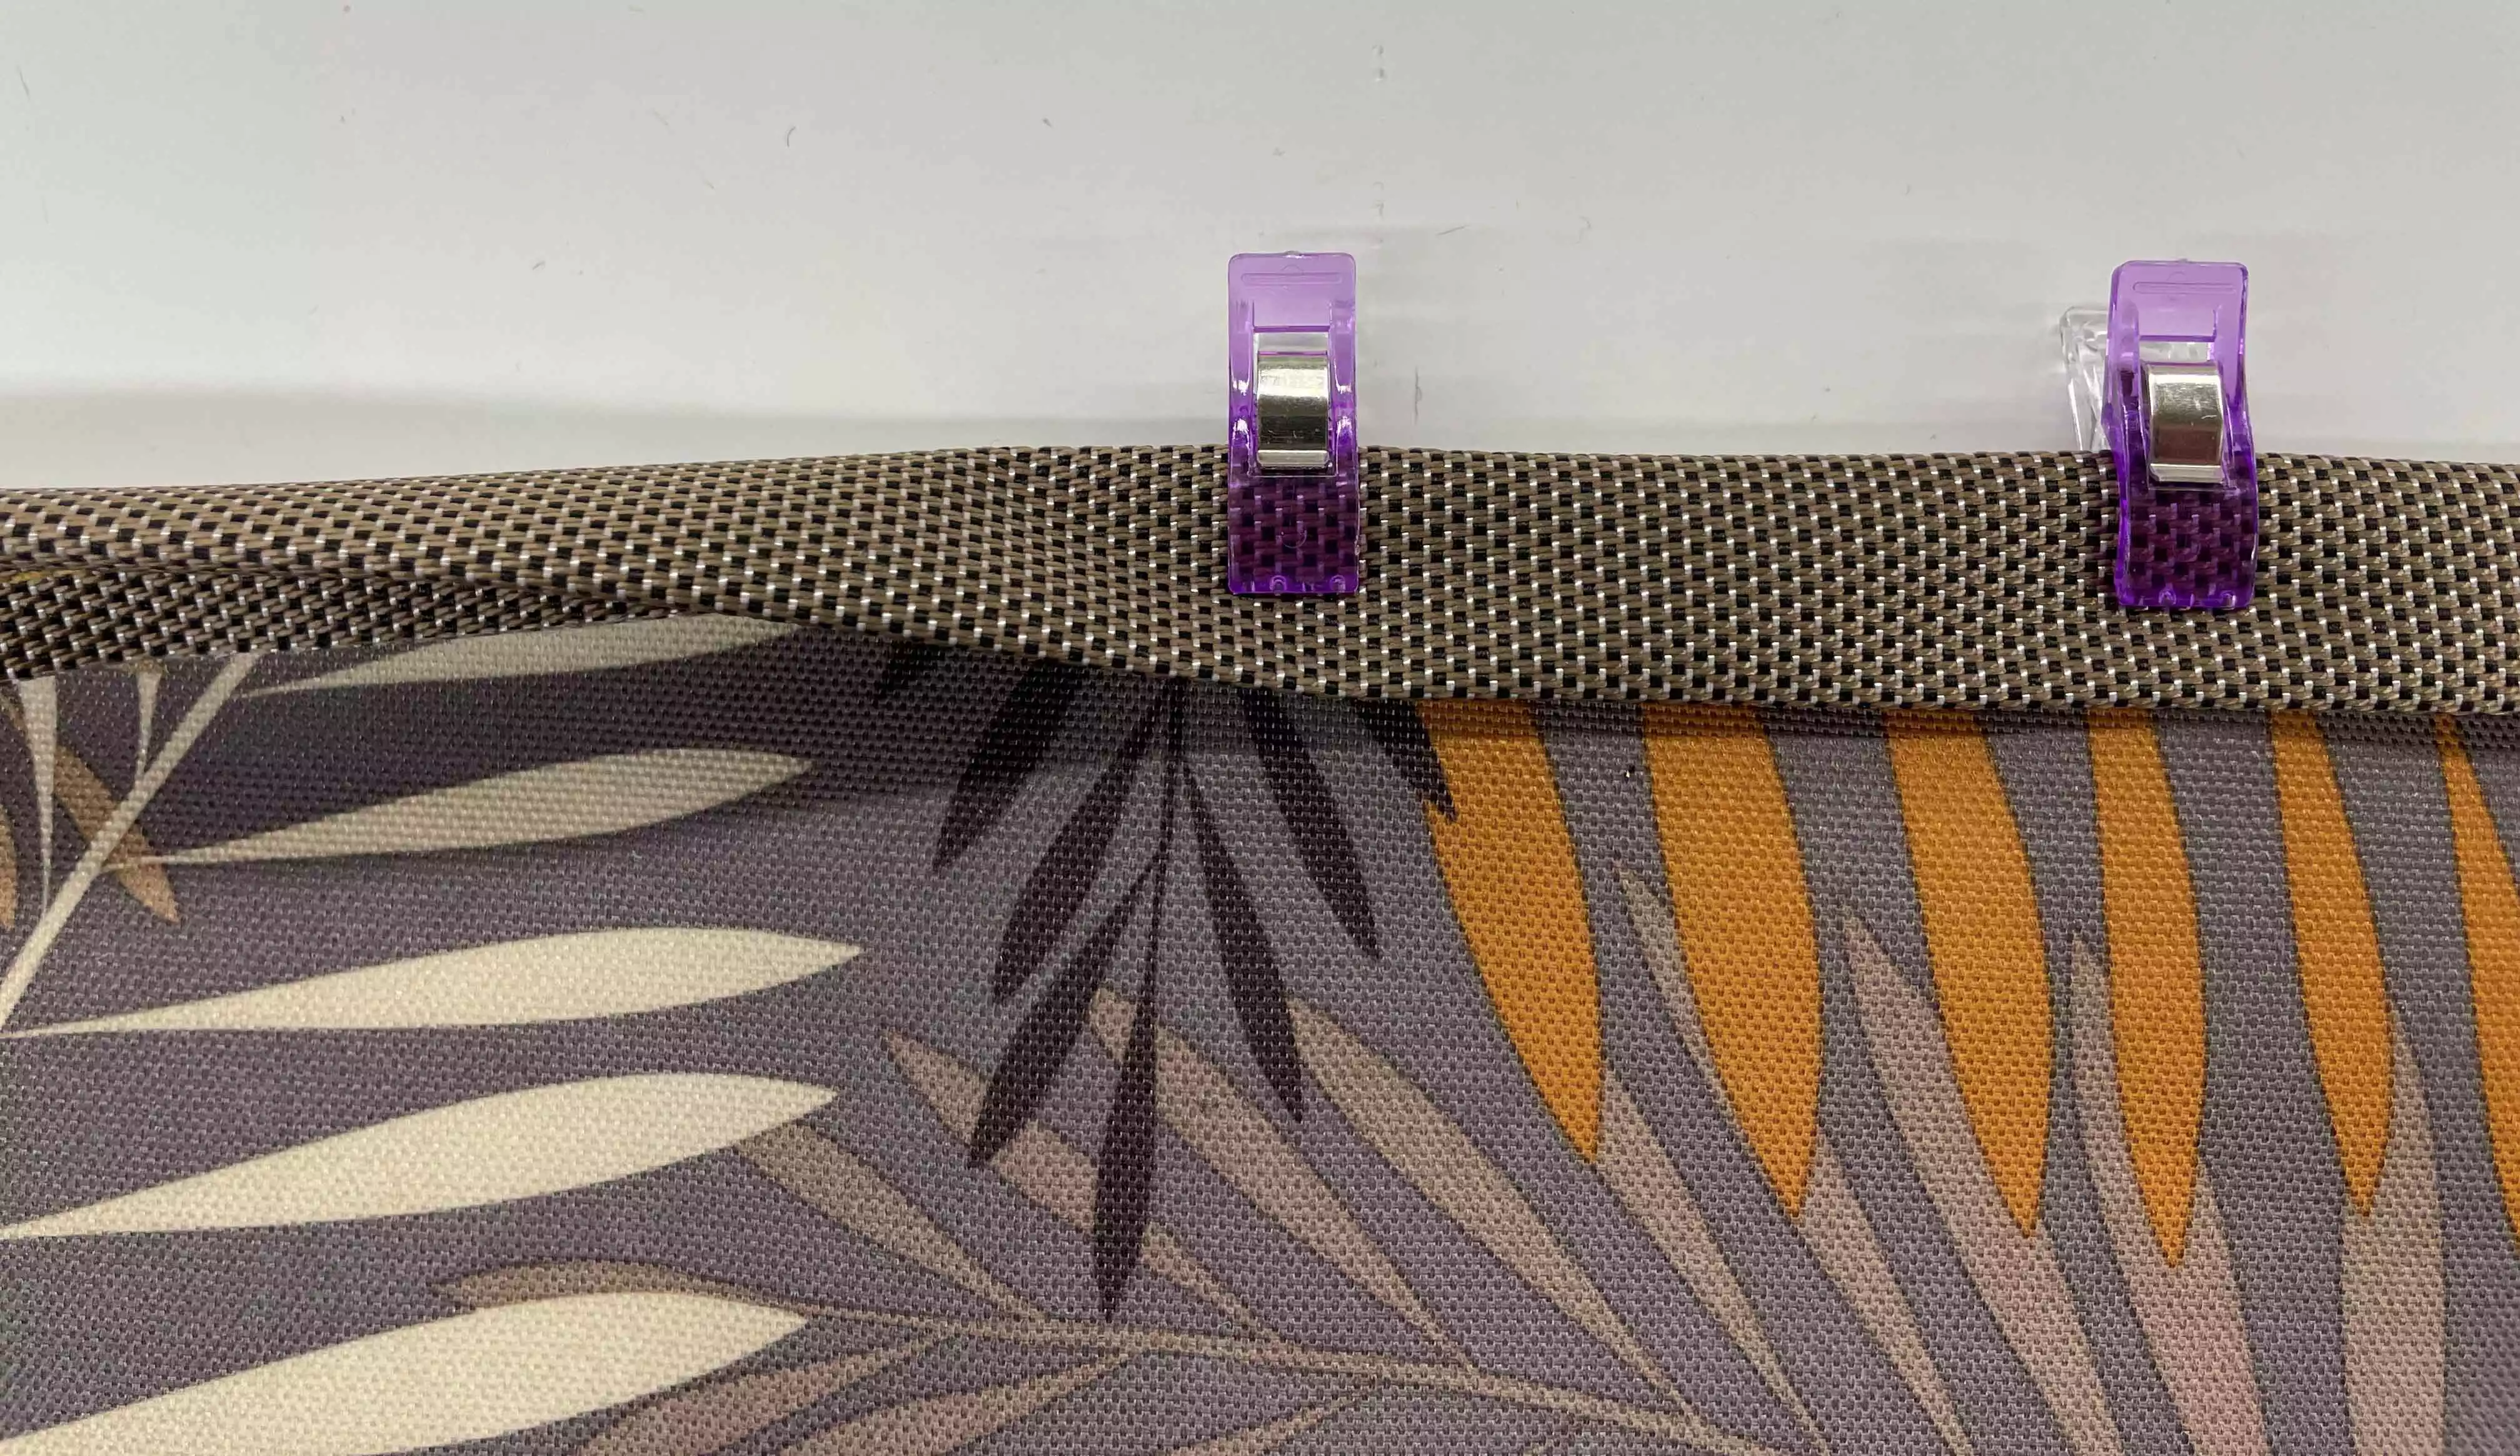
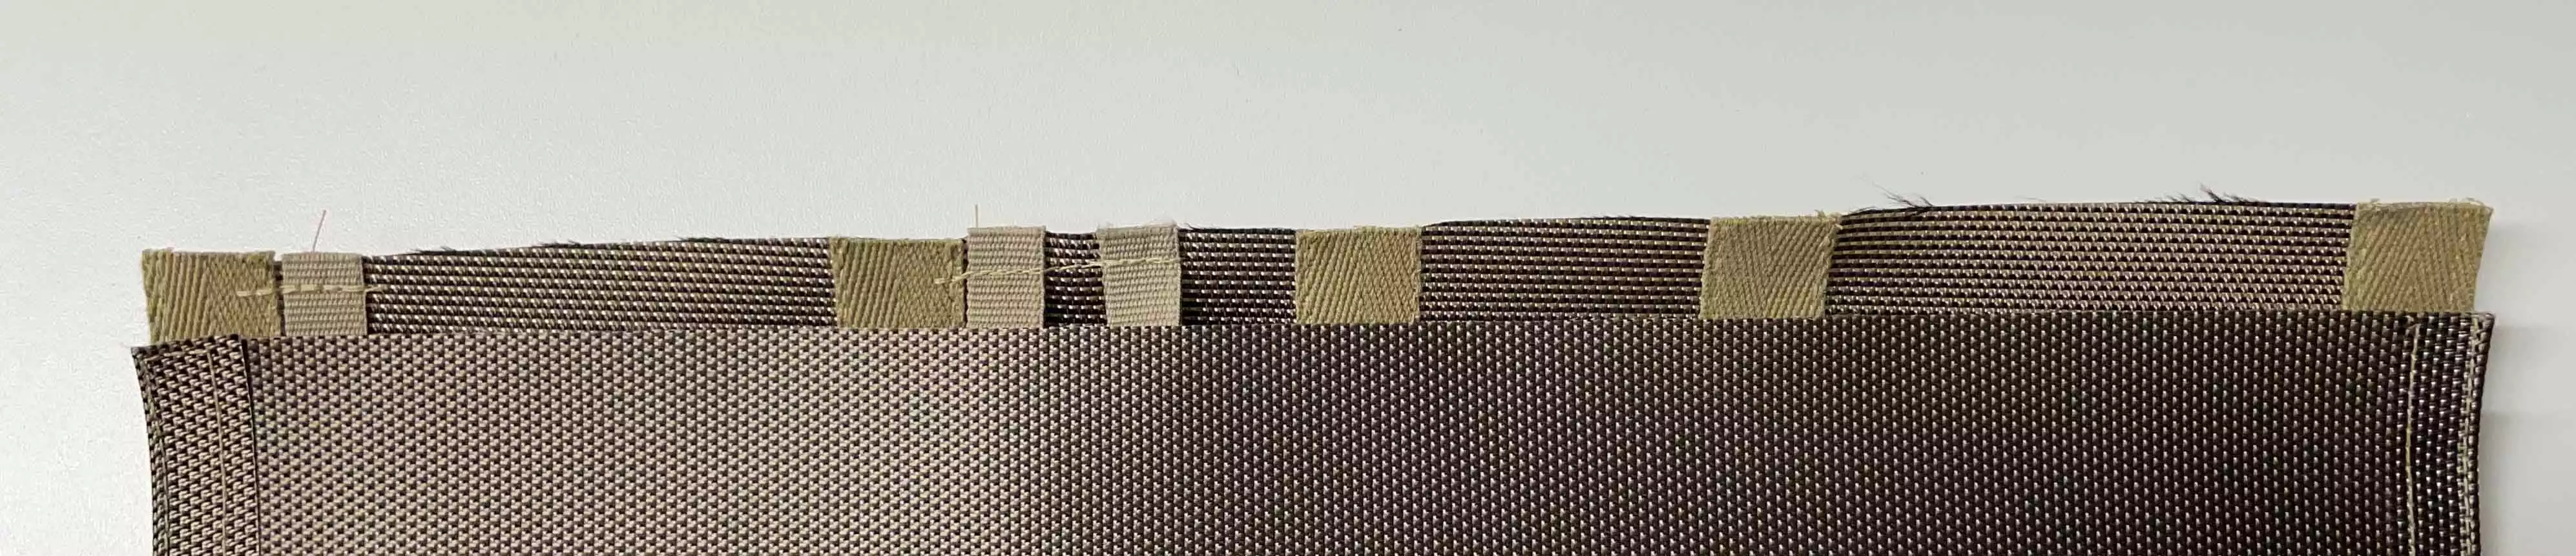
10. Align the lines on pocket piece and background piece and baste in place. Fold the twill tape up and place it on top of the lines and sides. Pin in place and topstitch on both sides of the twill tape, close to the edge.
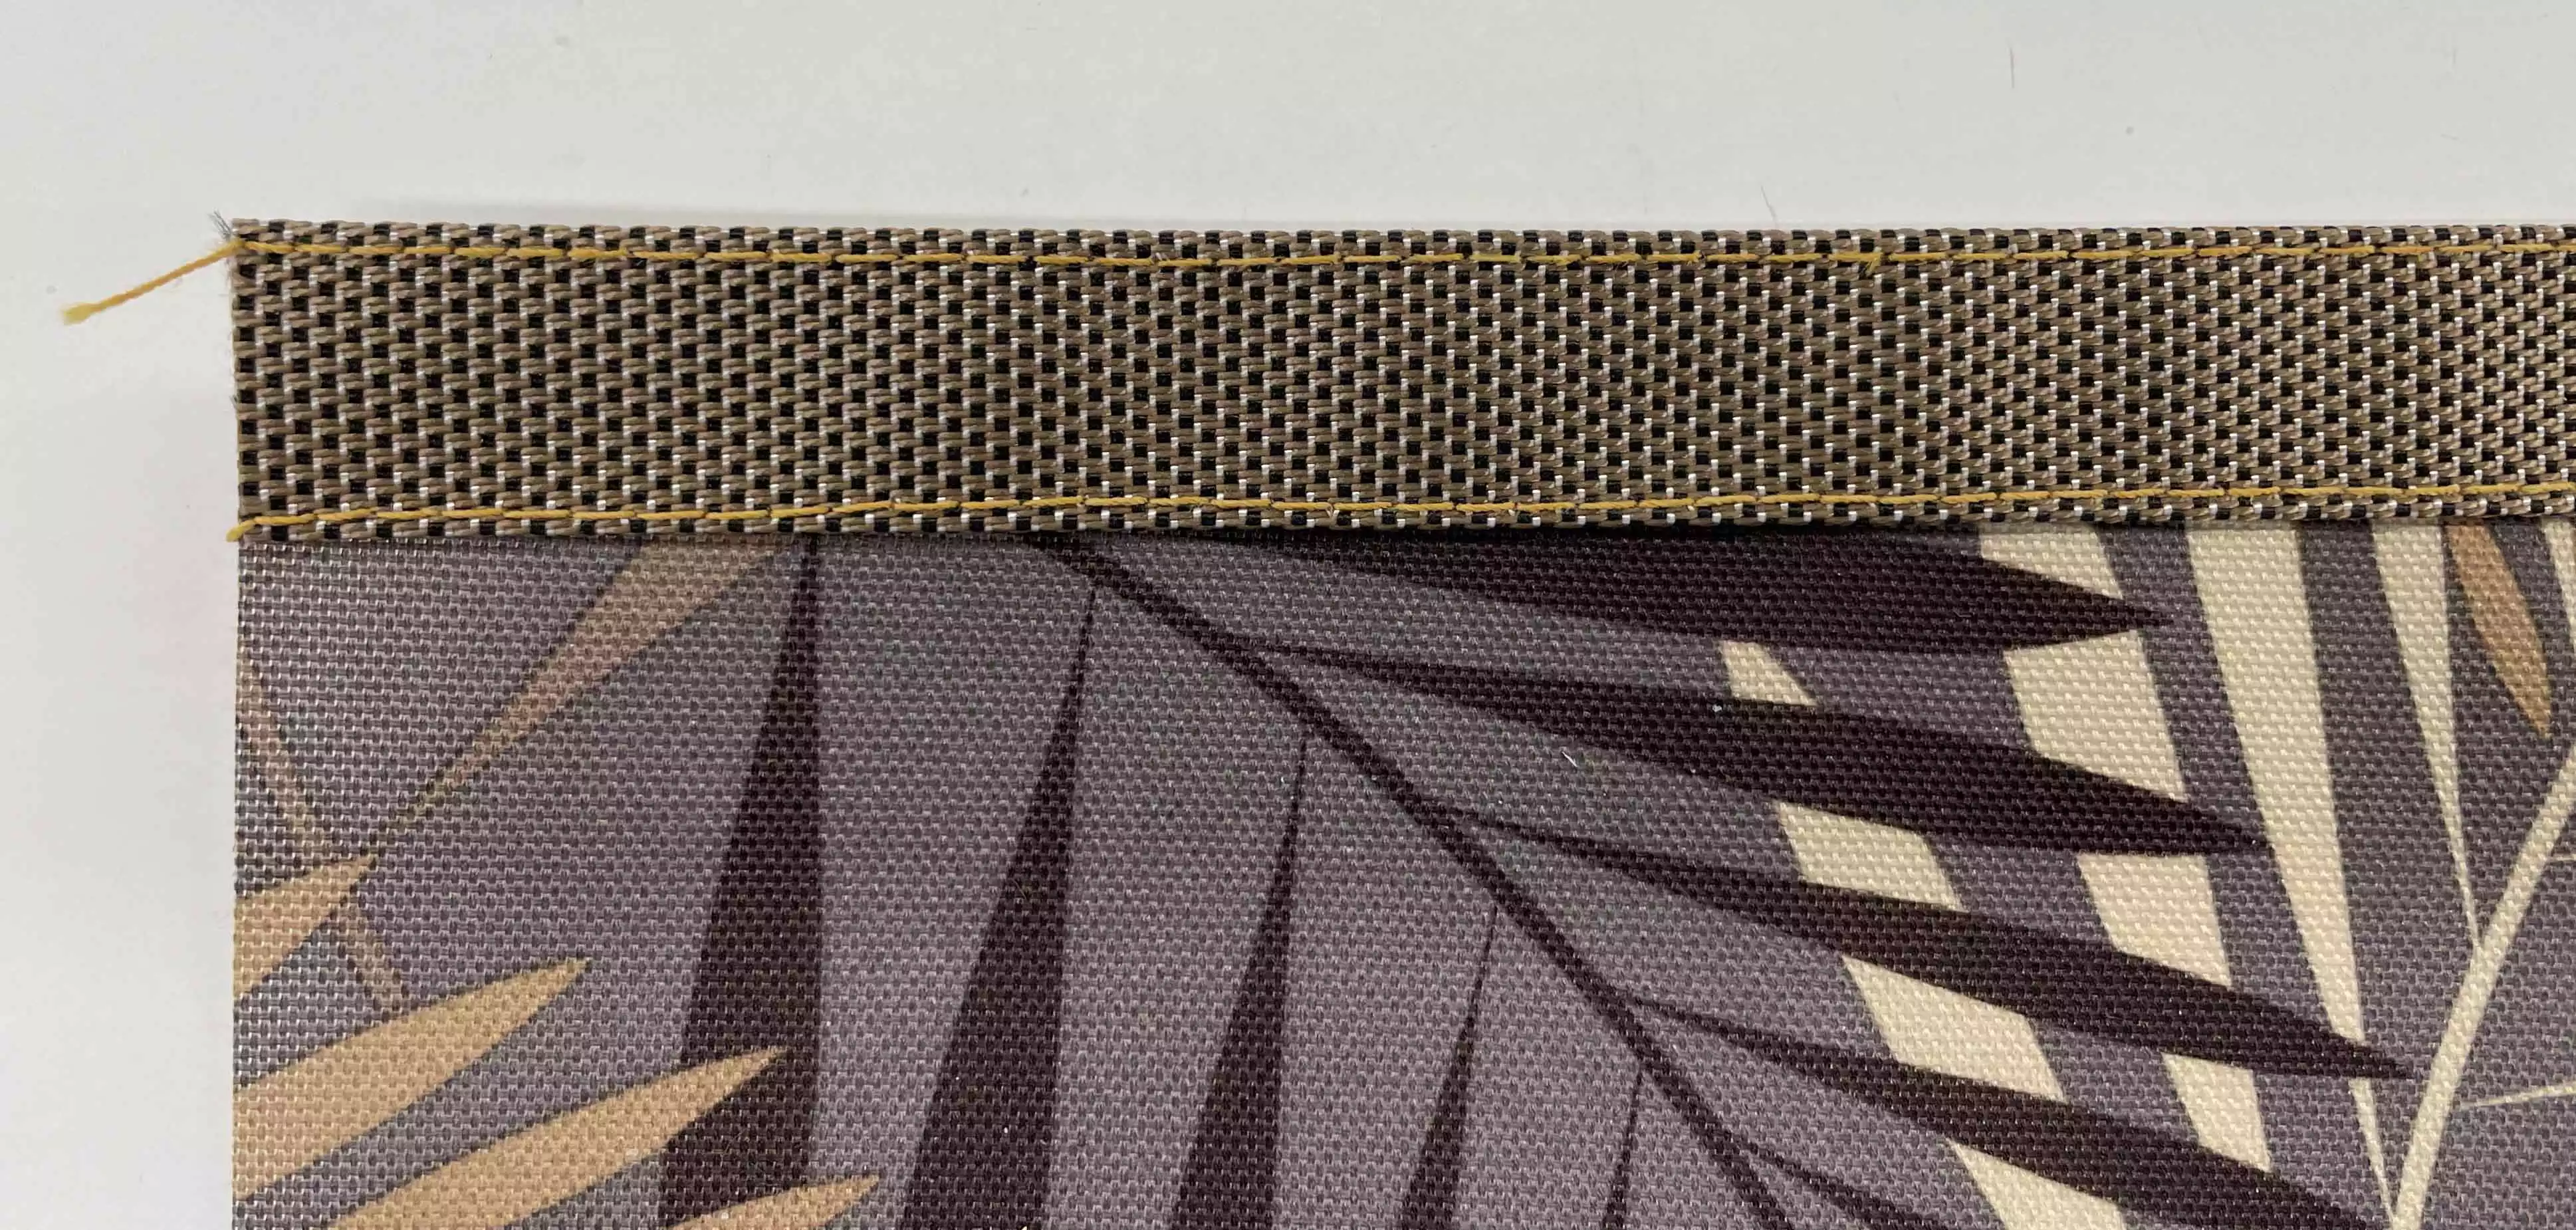
11. Cut off excess twill tape at the top
12. Topstitch ⅜” (1cm) from the lover edge
Making the holders and attaching the belt tunnel:
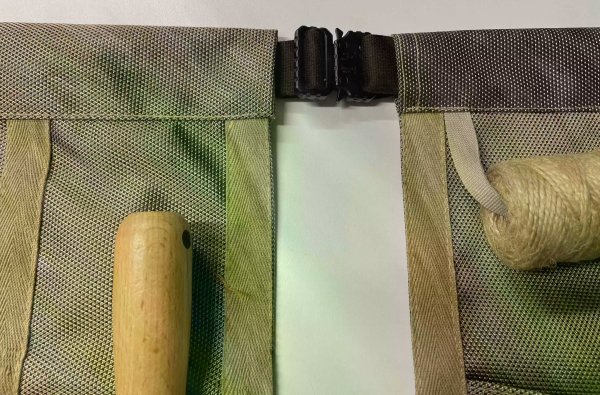
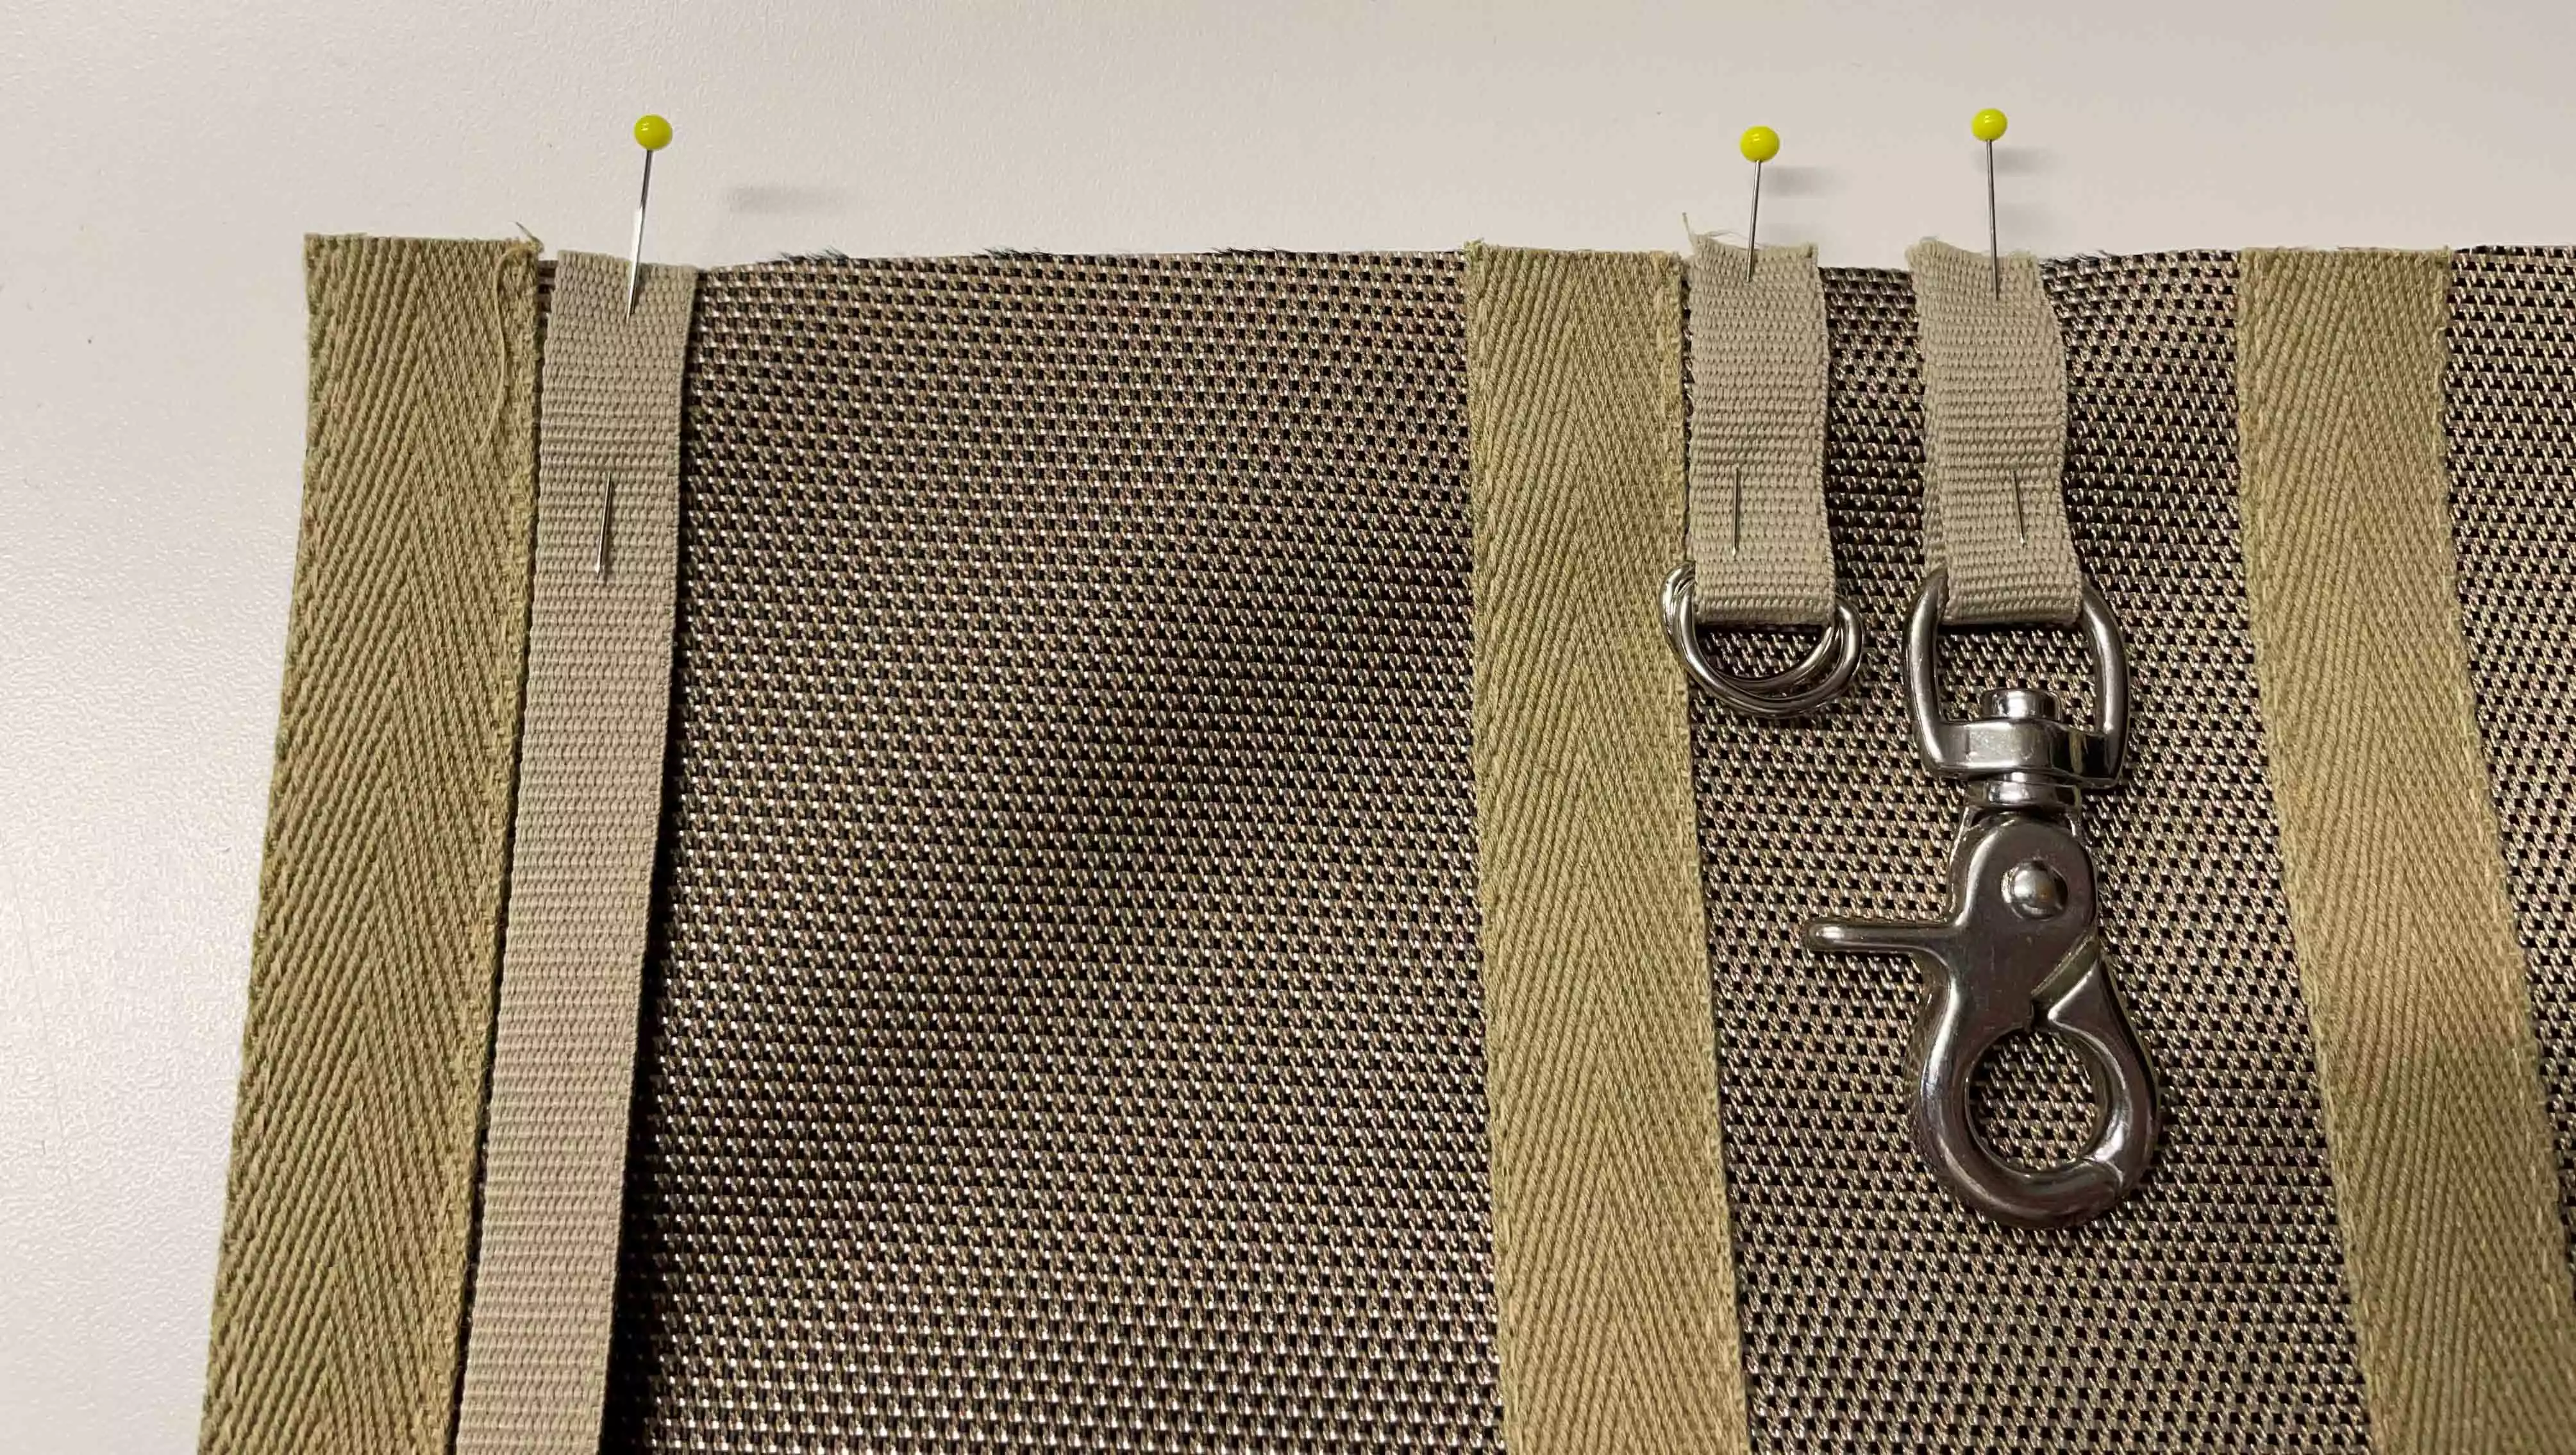
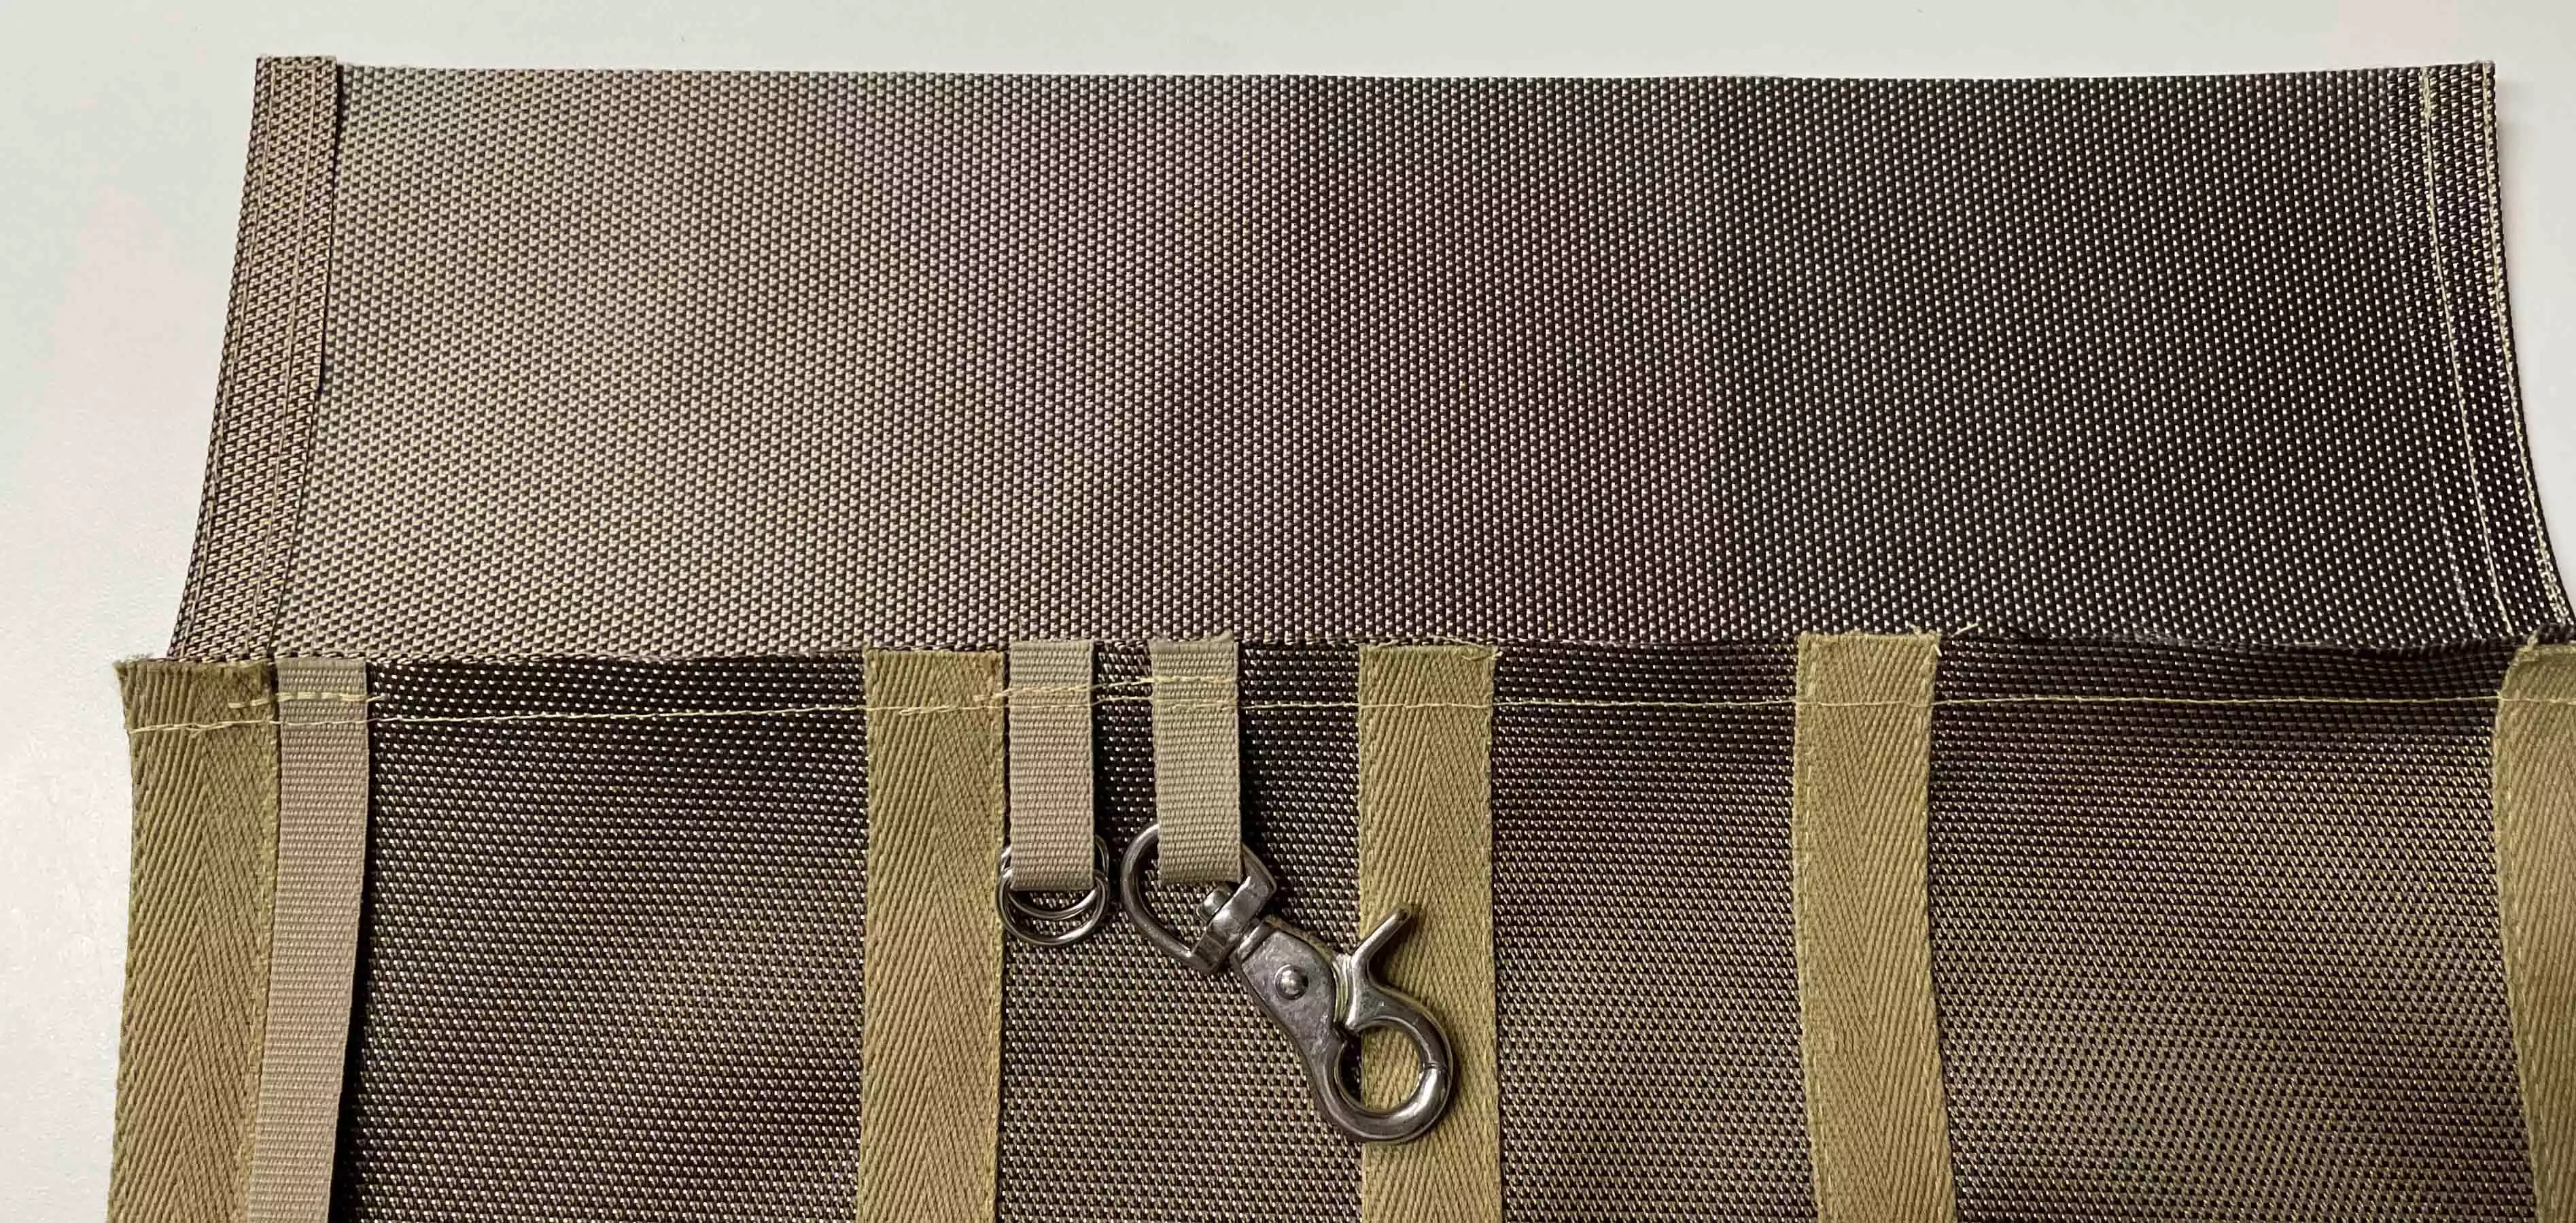
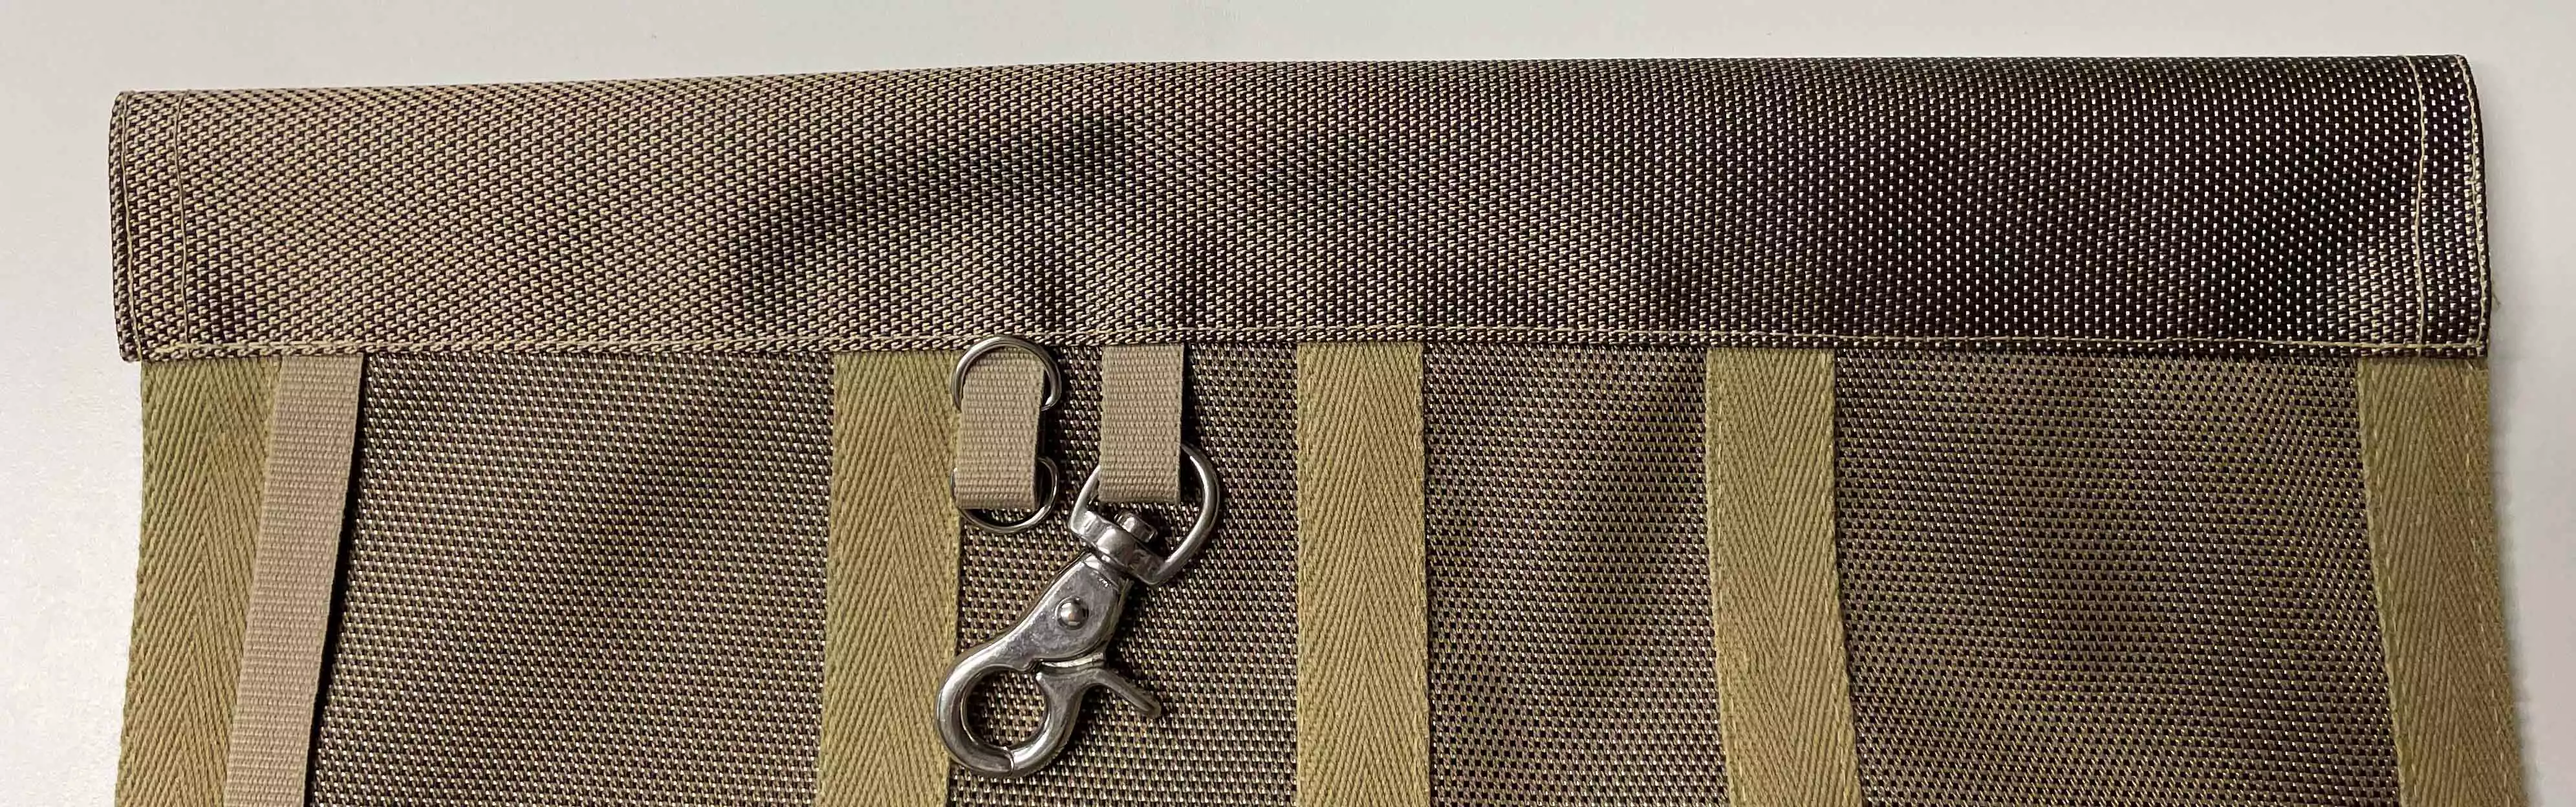
13. Make the holder for the binding thread spool: Cut off 3” (8cm) of the 15mm twill tape. Attach two 15mm D-rings and fold the tape around them. Pin in place.See image below for guidance ( you can put it on either pocket piece). Cut off 12” (30cm) of the 15mm twill tape and pin it in place close to the edge, see below. Together with the D-rings this will be the holder for a spool of garden twine.

14. Scissors holder: Cut off 3” (8cm) from the 15mm twill tape and attach the swivel hook. Pin in place beside the D-rings.
15. Tool holder: Cut 6” (15cm) from the 1” (2,5cm) wide twill tape. Place it where you want, with the short ends on the op edge, about 3” (7cm) apart. You can add more tool holders if you wish.
Making the belt tunnel
16. Fold the short edges in on the belt tunnelstrip, make sure it has the same finished length as the pocket piece, make a topstitch ¼” (6mm) from the turned edges to secure them.
17. Place the tunnel strip right side to the wrong side of the pocket piece pin in place and sew with a ⅜” (1cm) seam allowance.
18. Fold the seam allowance on the top of the tunnel strip ⅜” (1cm) to the wrong side.
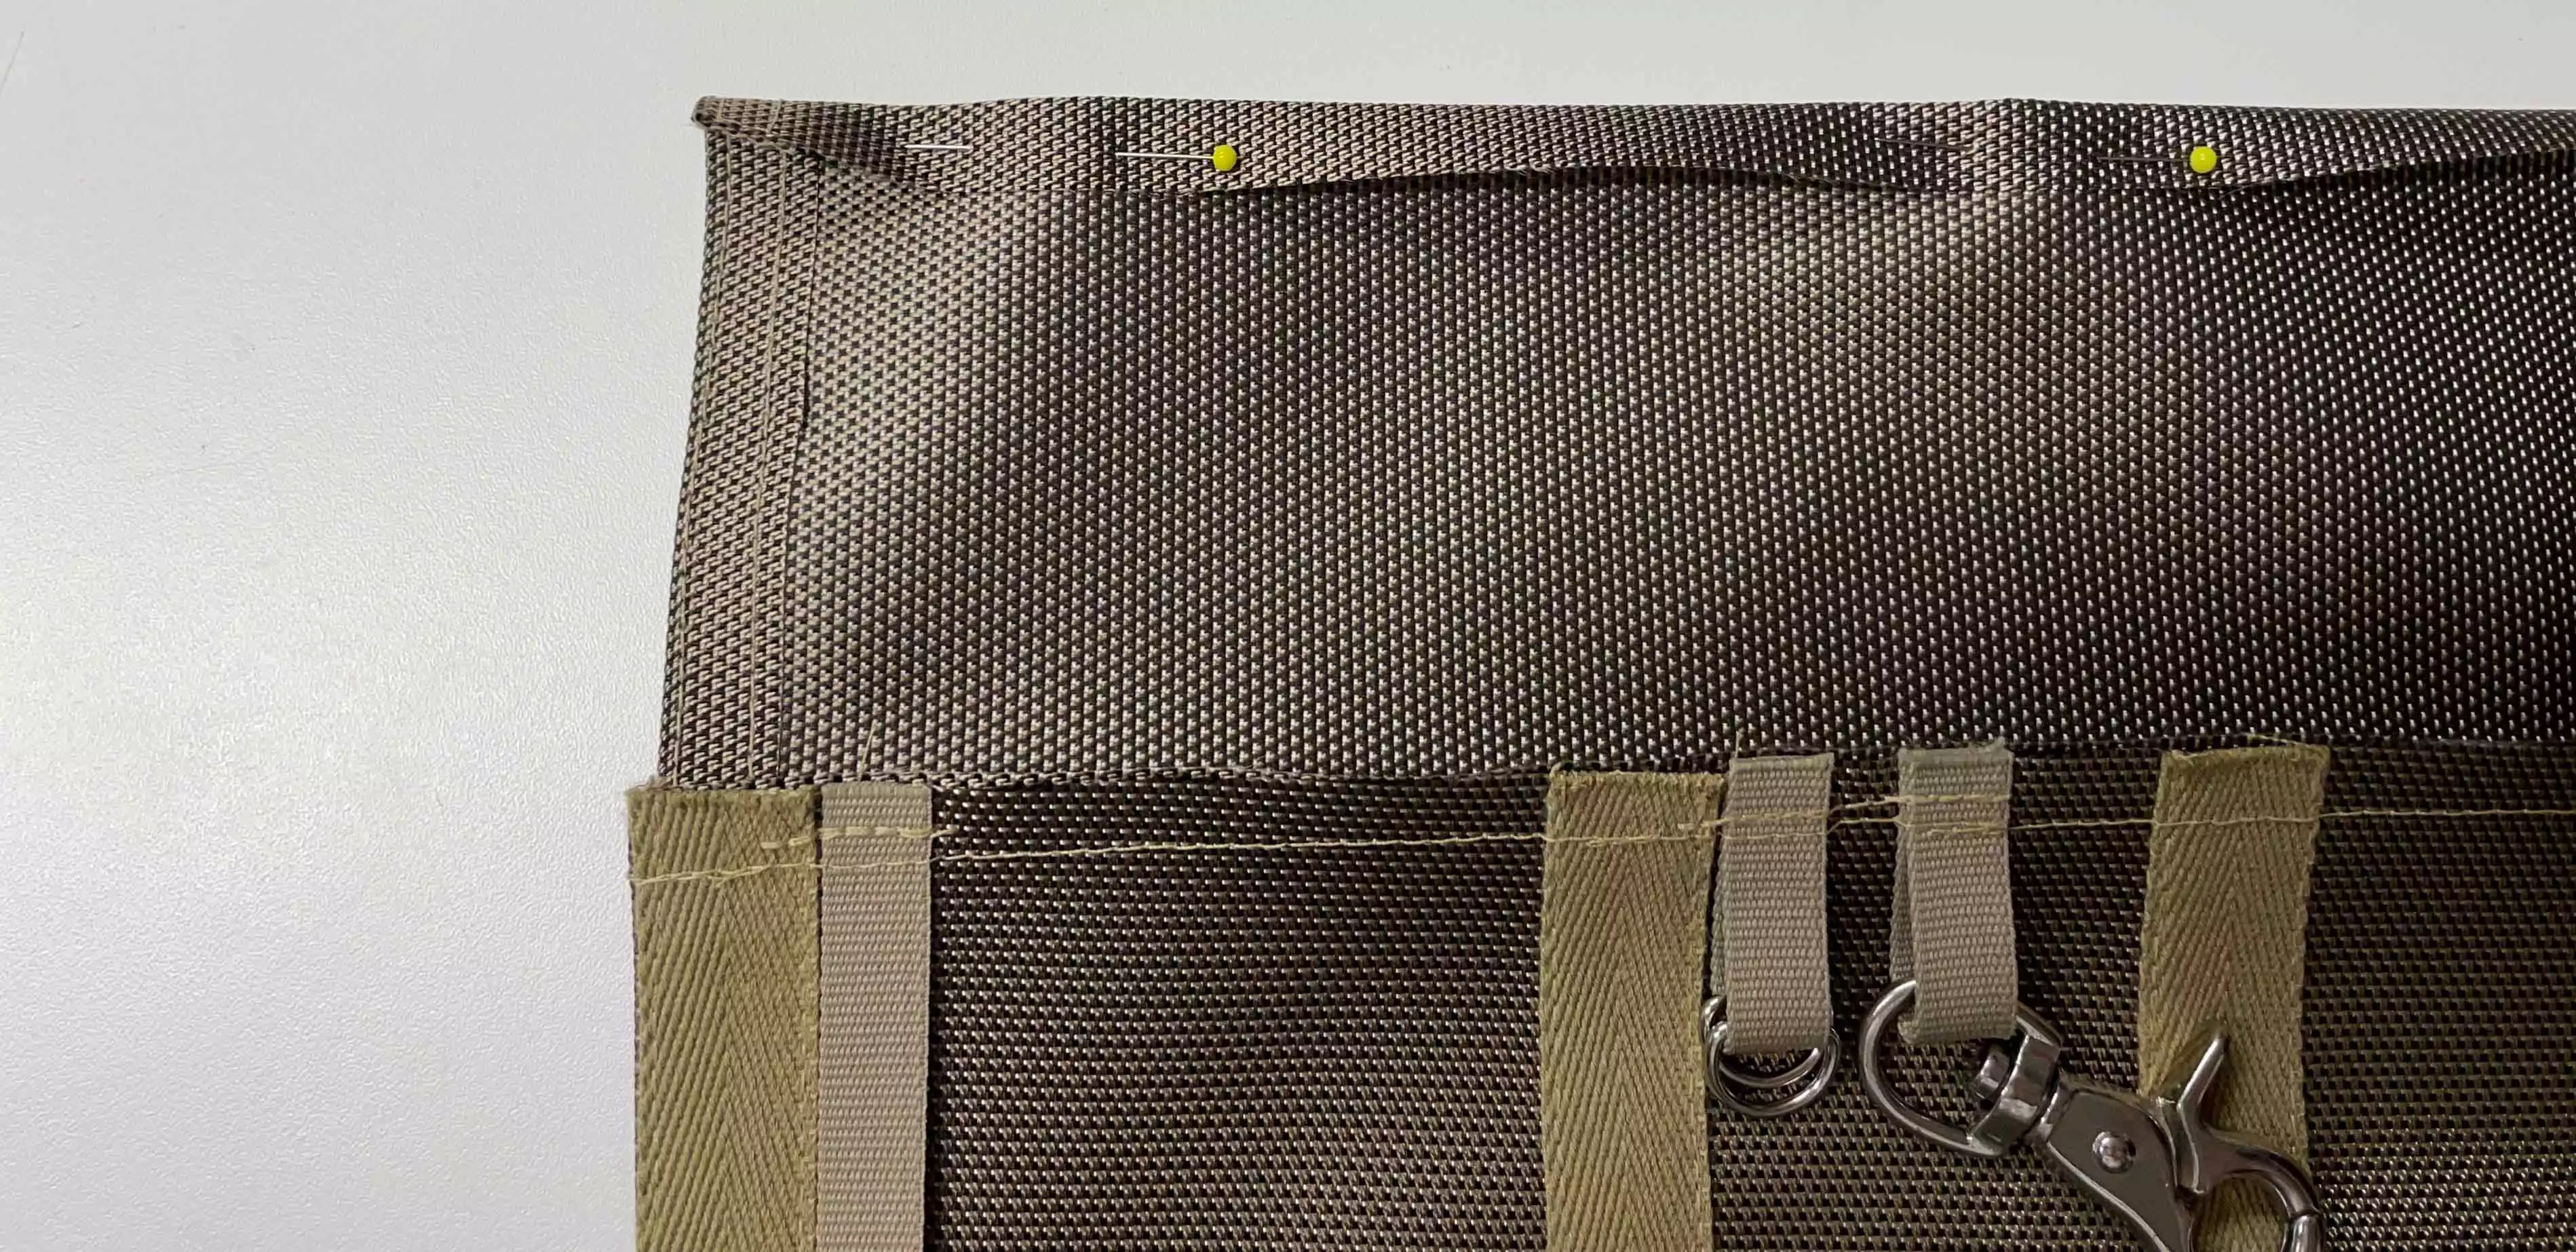
19. Pin in place on top of the pocket piece.
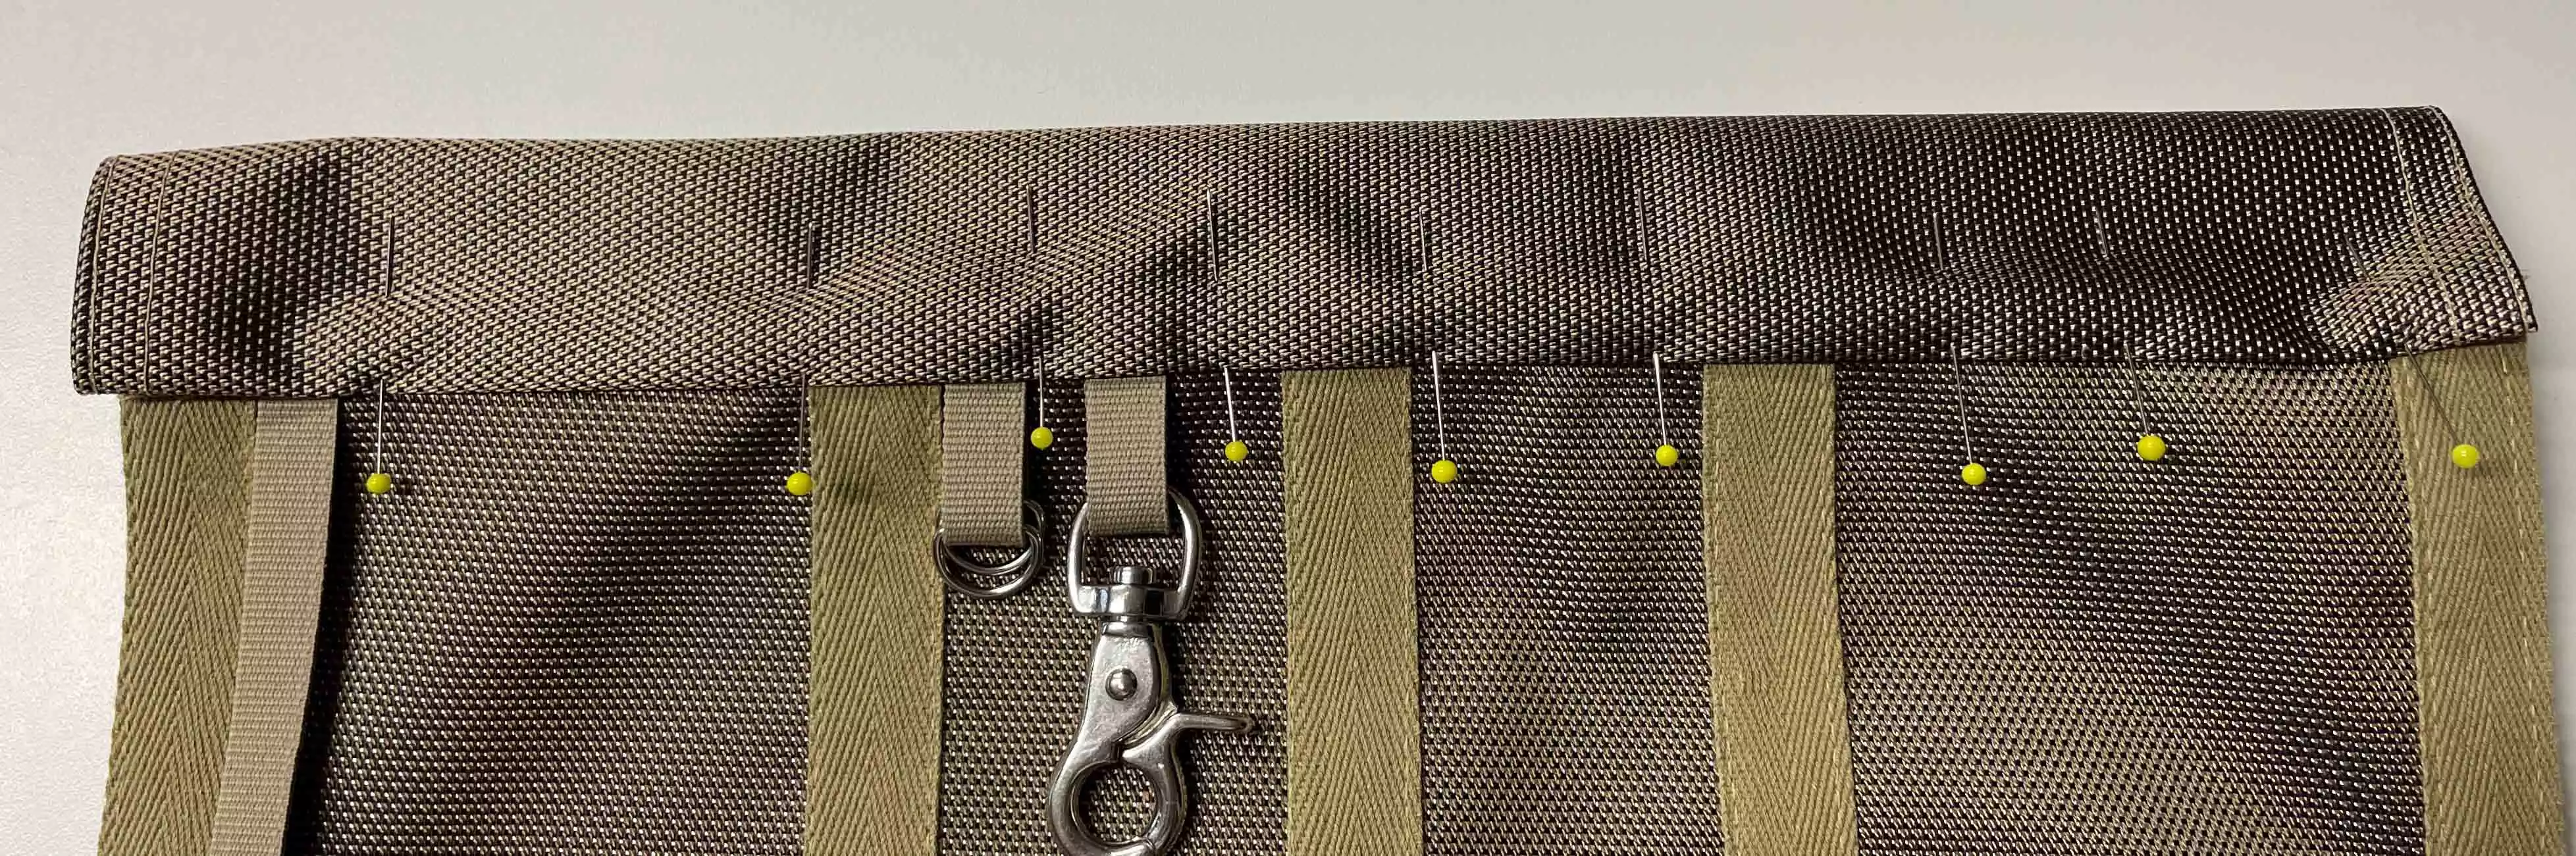
20. Topstitch in place close to the folded edge.
21. Repeat with the other pocket piece.
Your garden tool holders are now finished!
Make one for your sewing tools as well!