United States
Father's Day Tie
Sew a classic style tie for your dad or grandpa. Embellish it and make it unique with your own choice of decorative stitches. Pfaff’s floating stitches or the 3.4 stitches fit nicely for decoration of ties.
What you need:
- Fabric 60x80 cm / 24”x32”
- Soft and flexible fusible stabilizer
- Tear-Away stabilizer for sewing the embellishment stitches
- Threads in matching color for sewing
- Sewing machine
- Presser feet that fits your selected stitches
- Threads in matching color for embellishing
- Dissapearing marker or pen
Pattern
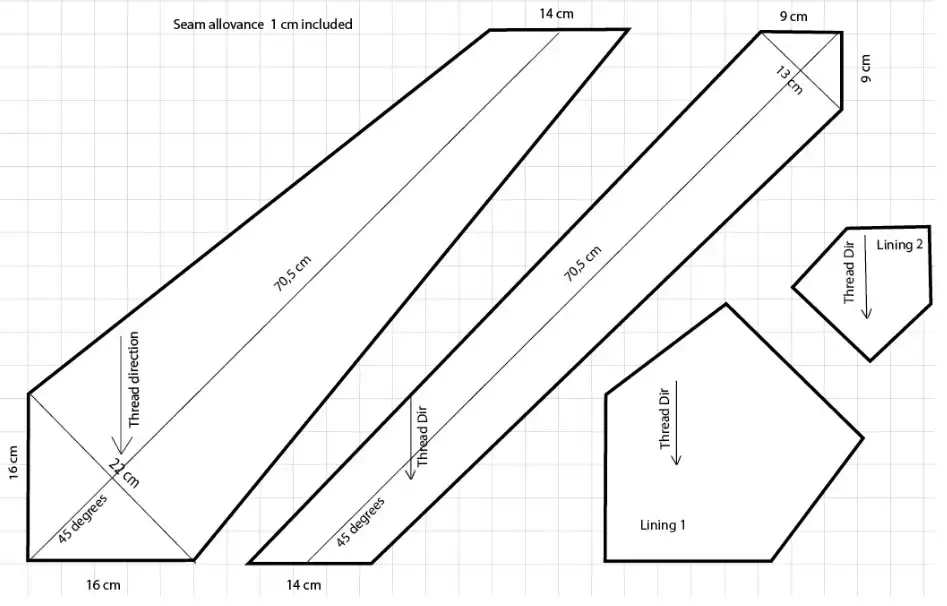
You can easily draw this pattern according to the measurements above. It gives you a moderate size of tie not too wide or too narrow.
Also can use this layout to cut the pieces. Cut in one layer fabric , you need only one piece of each part. Approx. 10 mm seam allowance included.
Cutting and preparations:
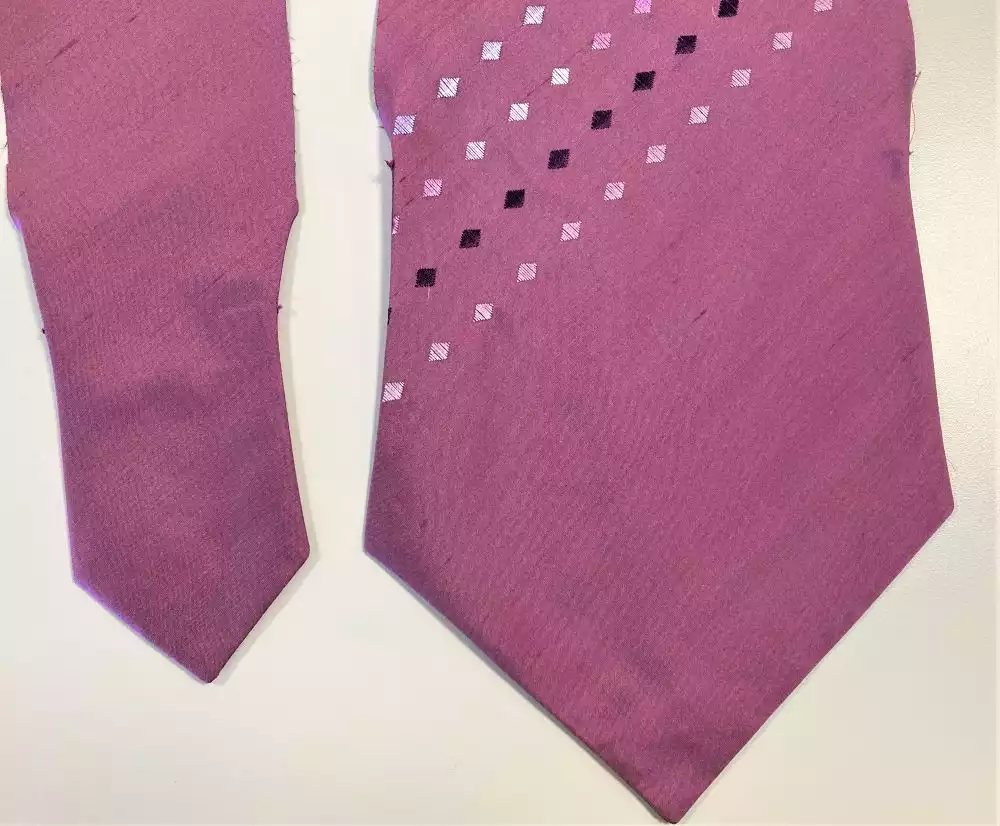
Cut out all pieces of the tie from your fabric (you need only one layer of each)
Cut pieces of equal size from the soft fusible stabilizer for the two longer pieces.
Iron the stabilizer to the fabric pieces, make sure that the stabilizer sticks to the fabric everywhere.
Embellishing
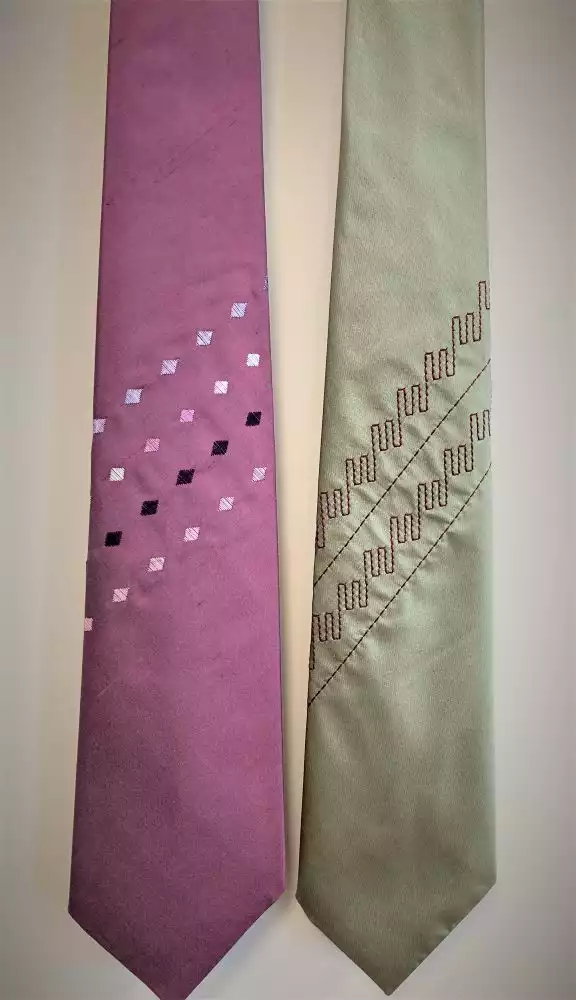
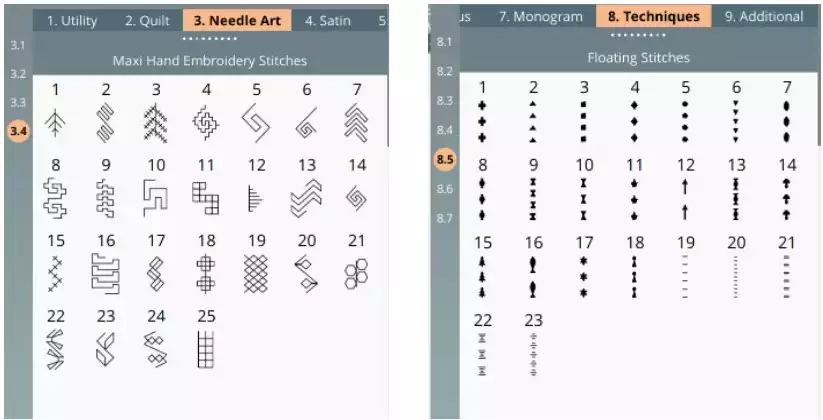
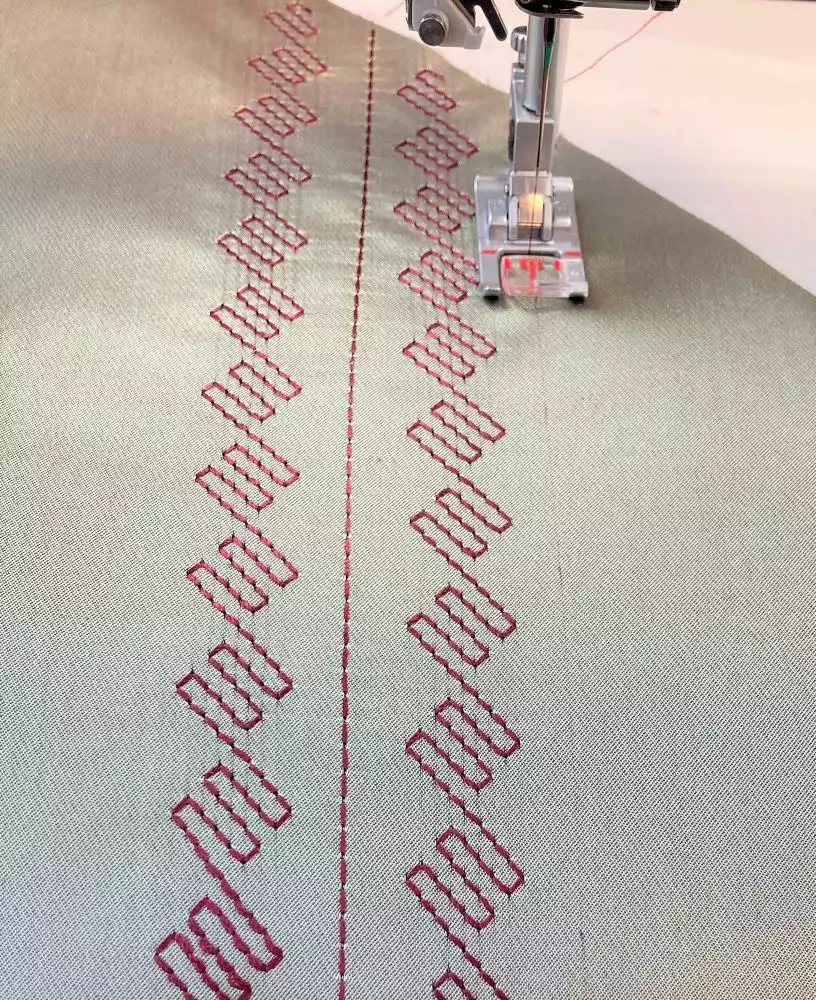
Use beautiful stitches to embellish your tie. In these two samples the stitches are used from “creative Icon 2” from menu 3.4 “Maxi Hand Embroidery Stitches” (green tie), and menu 8.5 “Floating Stitches” (lilac tie). A beautiful Reinforced Straight stitch is always nice to too.
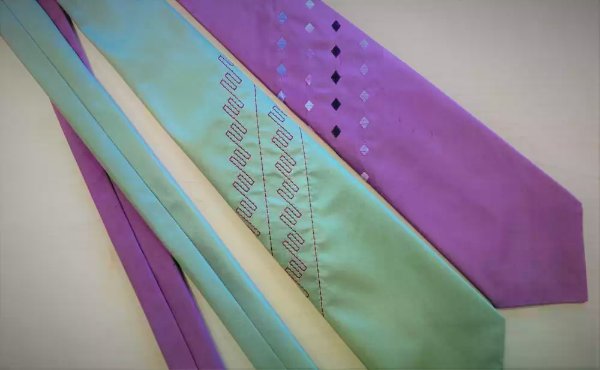
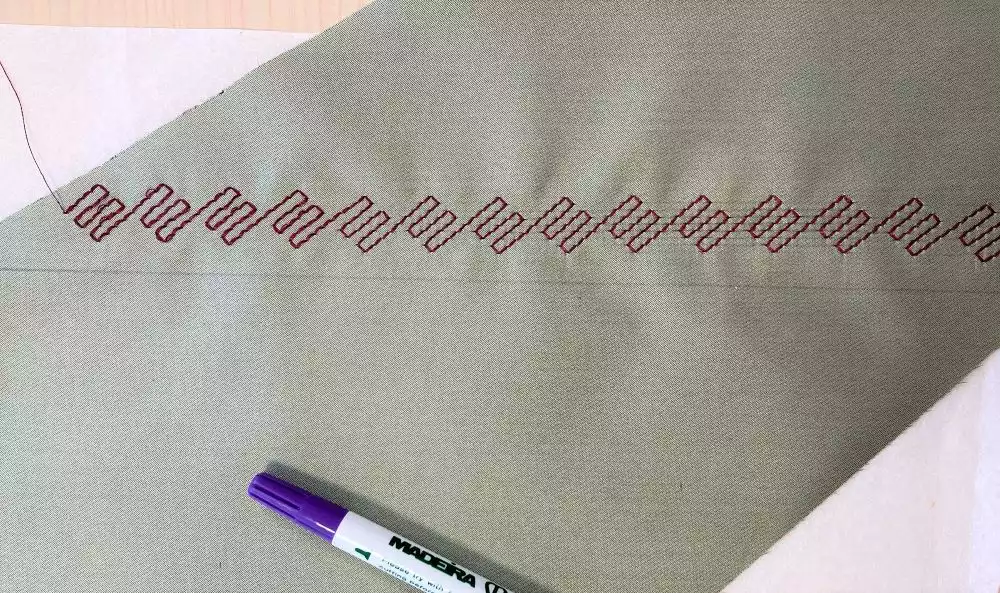
Green tie
Mark the place and the direction for your embellishment with a dissapearing marker or pen. Follow the thread direction in your fabric, so the embellishment will end up nicely in 45 degrees angle.
Use tear away stabilizer underneath the fabric when sewing the stitches.
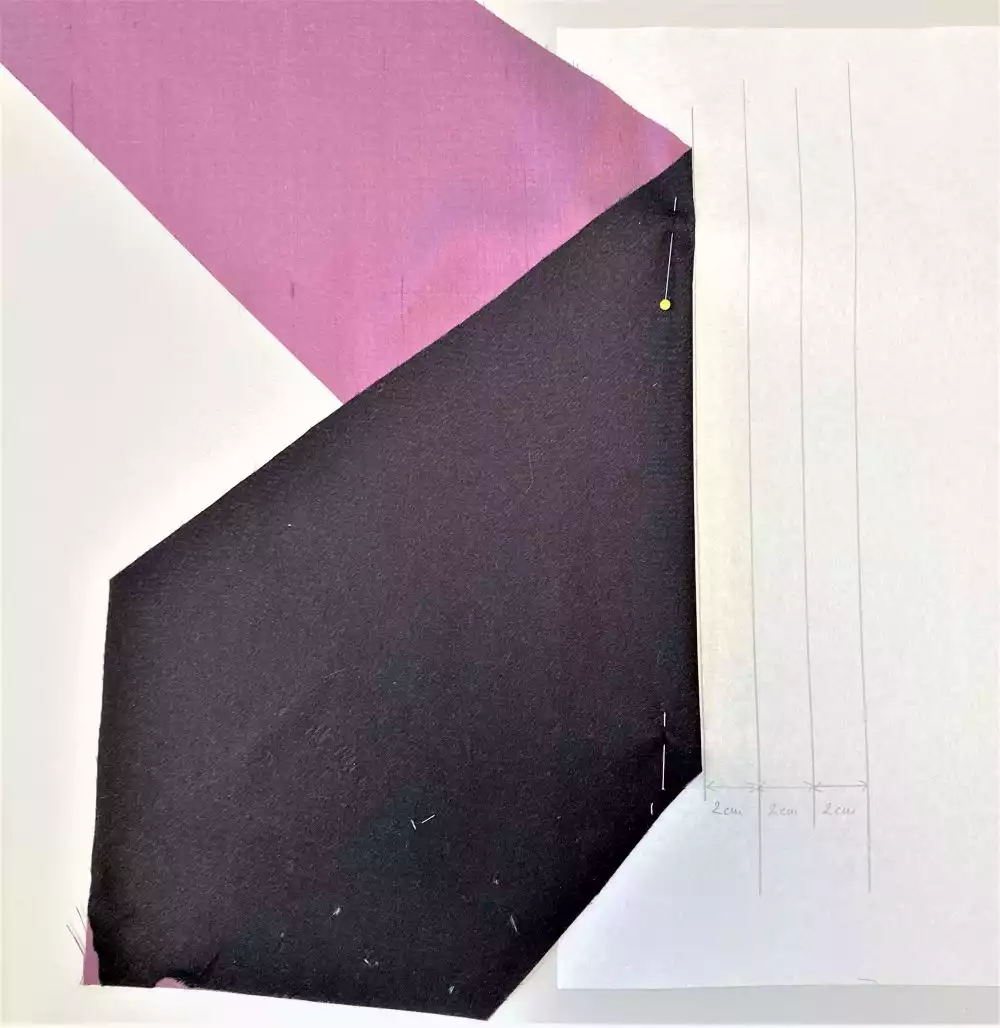
Purple tie
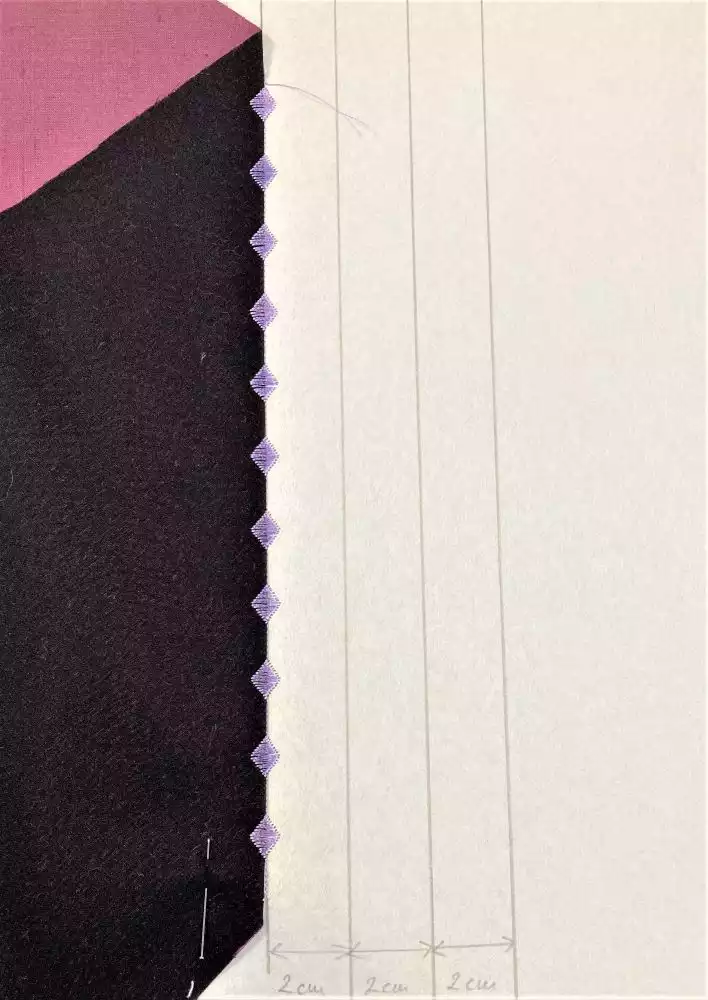
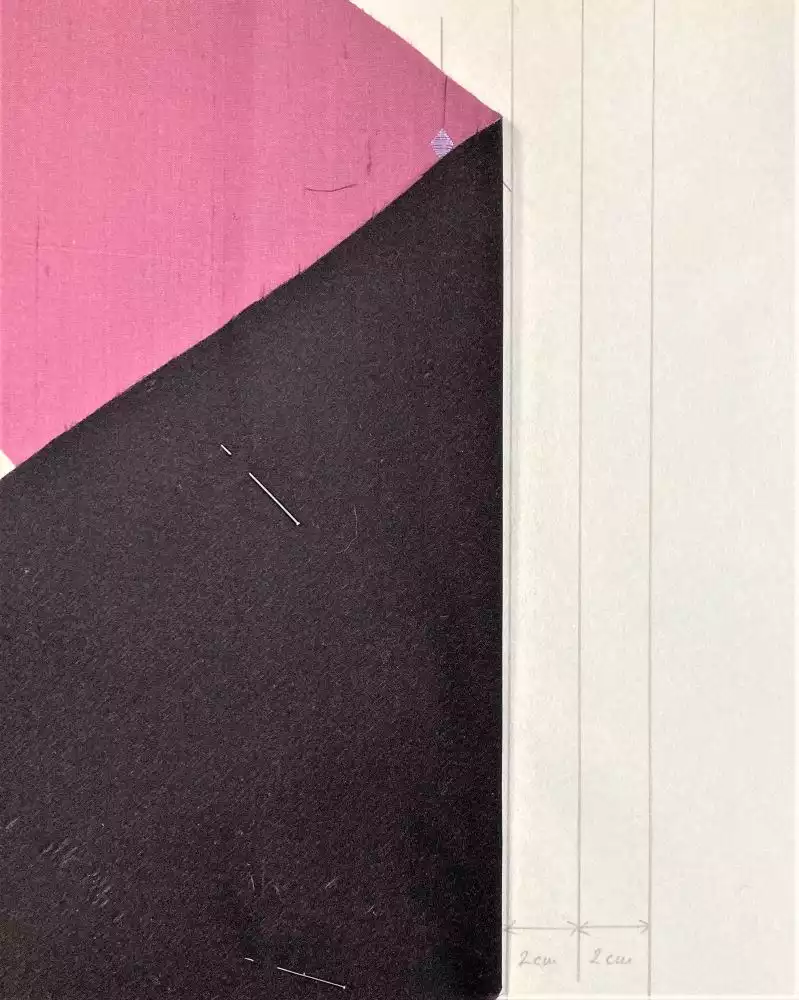
Prepare a stabilizer by drawing four parallel lines (or as many you desire) with a desired distance between ( approx 2 cm or 1”). Fold the piece of tie along the fabric thread direction, and at the place there you want to place the first row of your embelishment.
Place the folded edge along the first line on the stabilizer.
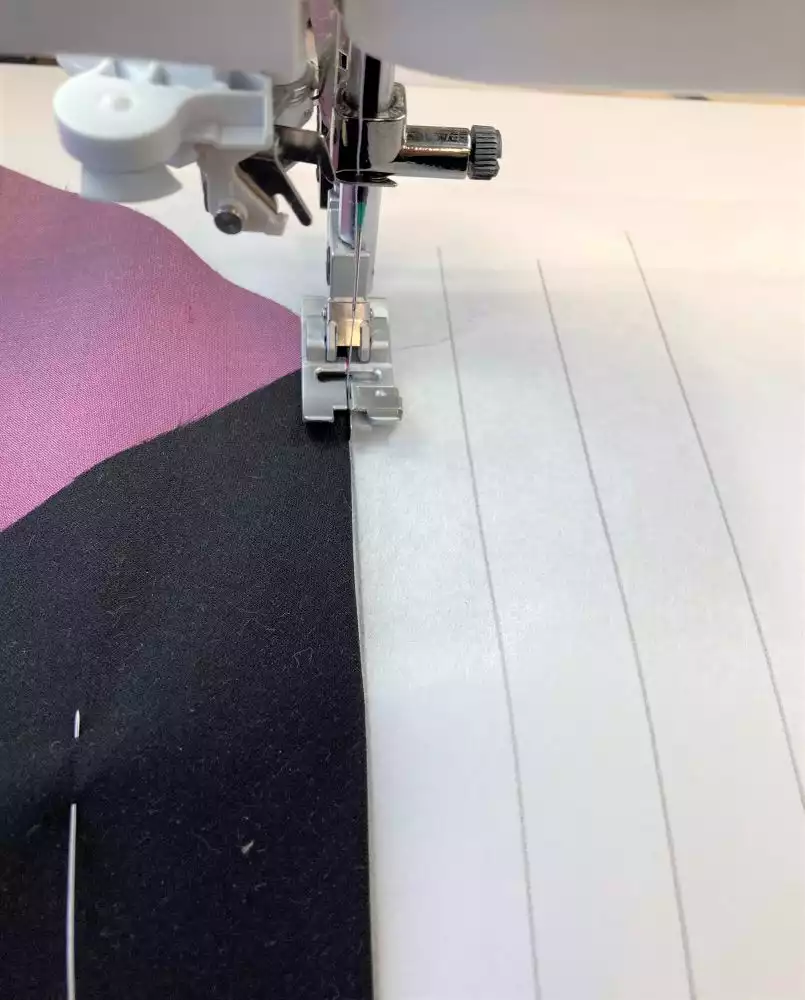
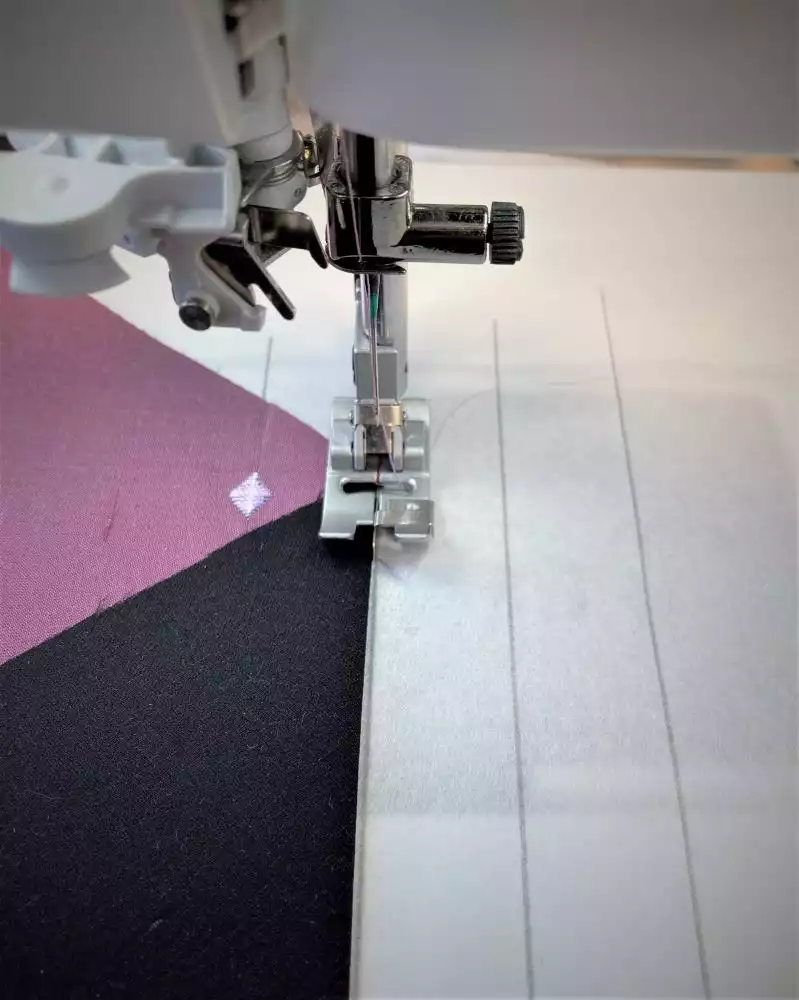
Snap on the Bi-Level Guide Foot, align the center guide to the folded edge of the fabric and sew your selected stitch.
Fold out and stretch the fabric and iron the seam nice and flat.
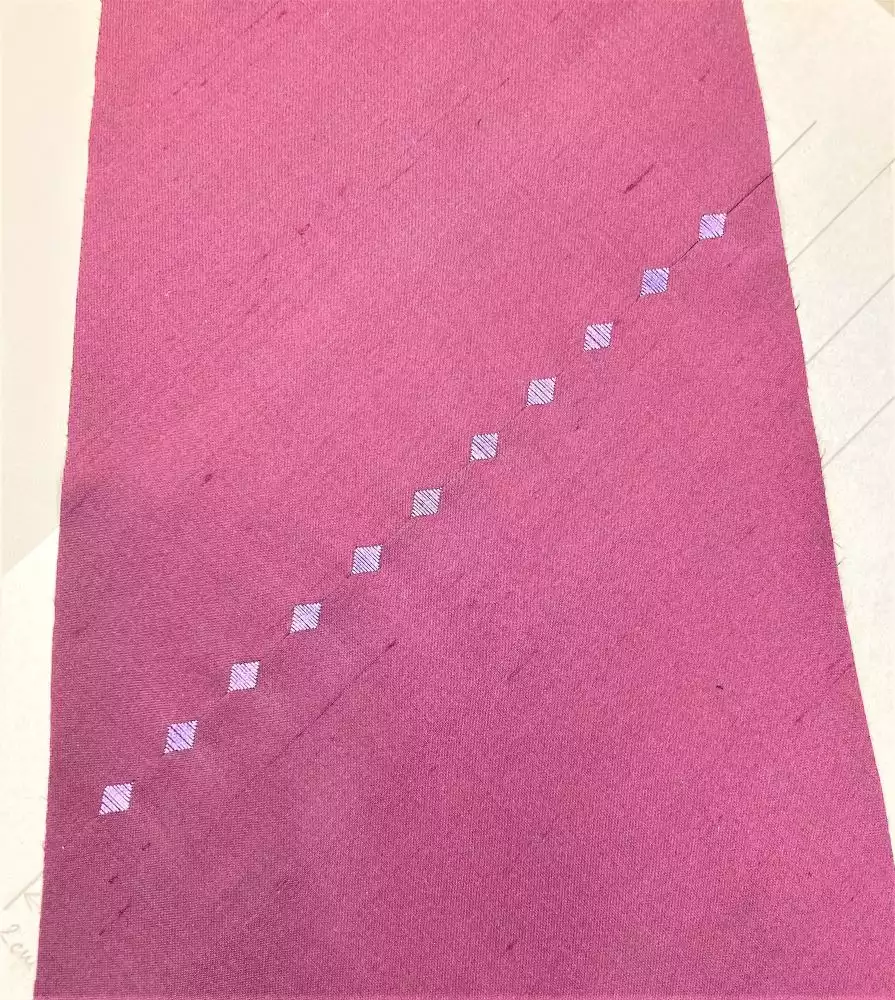
Continue with the next row, align the folded edge to the second line, and sew your selected stitch. ( 8 - 9 -10)
Fold out and iron. Continue like this until you reach the desired amount of stitched lines.
Construction
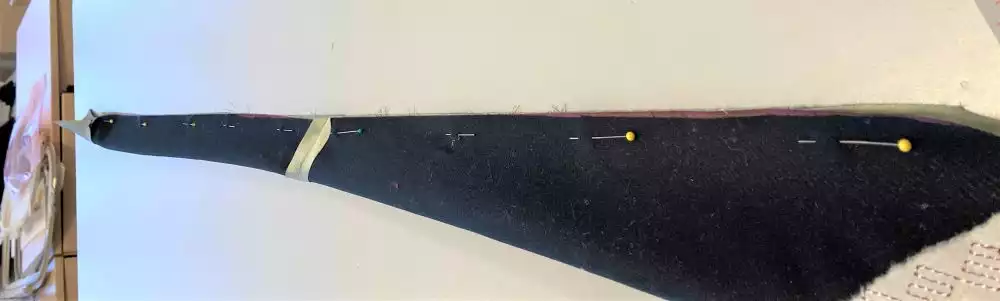
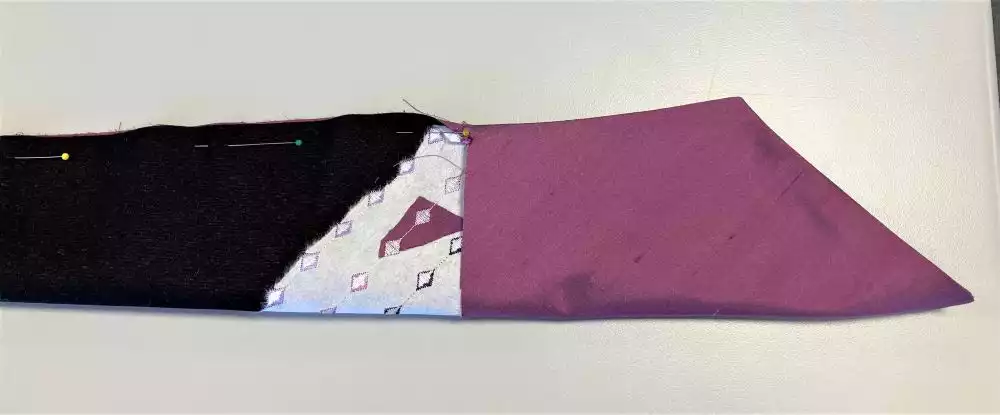
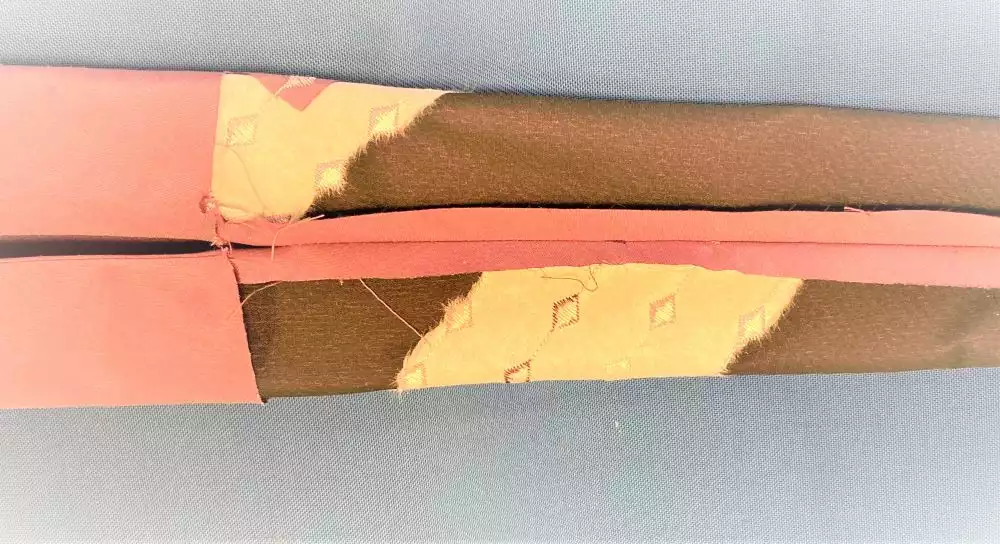
Sew together the two long pieces to one long tie.
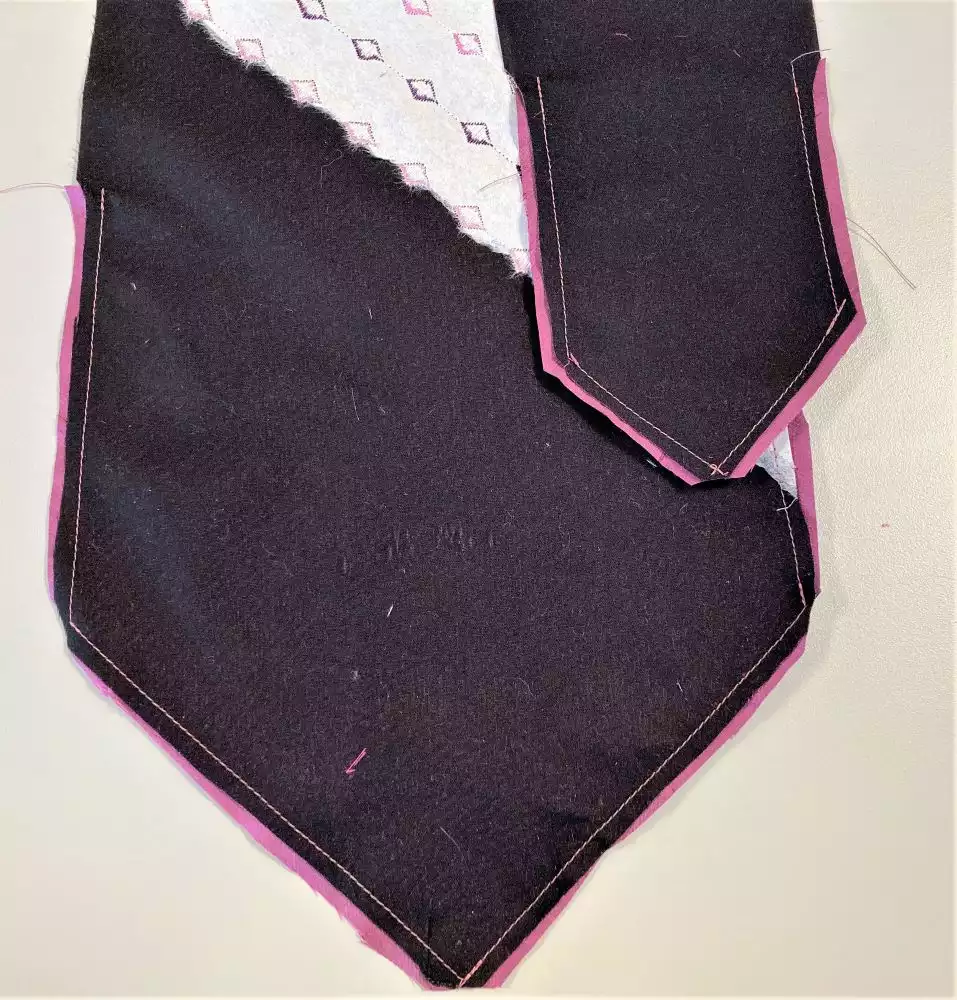
Sew the lining onto the pointy ends, cut excess seam allowance, turn out and iron.
Sew together the tie along the long side, right sides together, to form a “tube”.
The seam should start and end at the end of linings.
Steam carefully the seam allowance apart. Do not press the iron, just keep it hovering above the fabric.
Turn it out, and iron it carefully in the same way as before. Keep the iron hovering above the tie and steam. Avoid pressing sharp edges into the tie.