United States
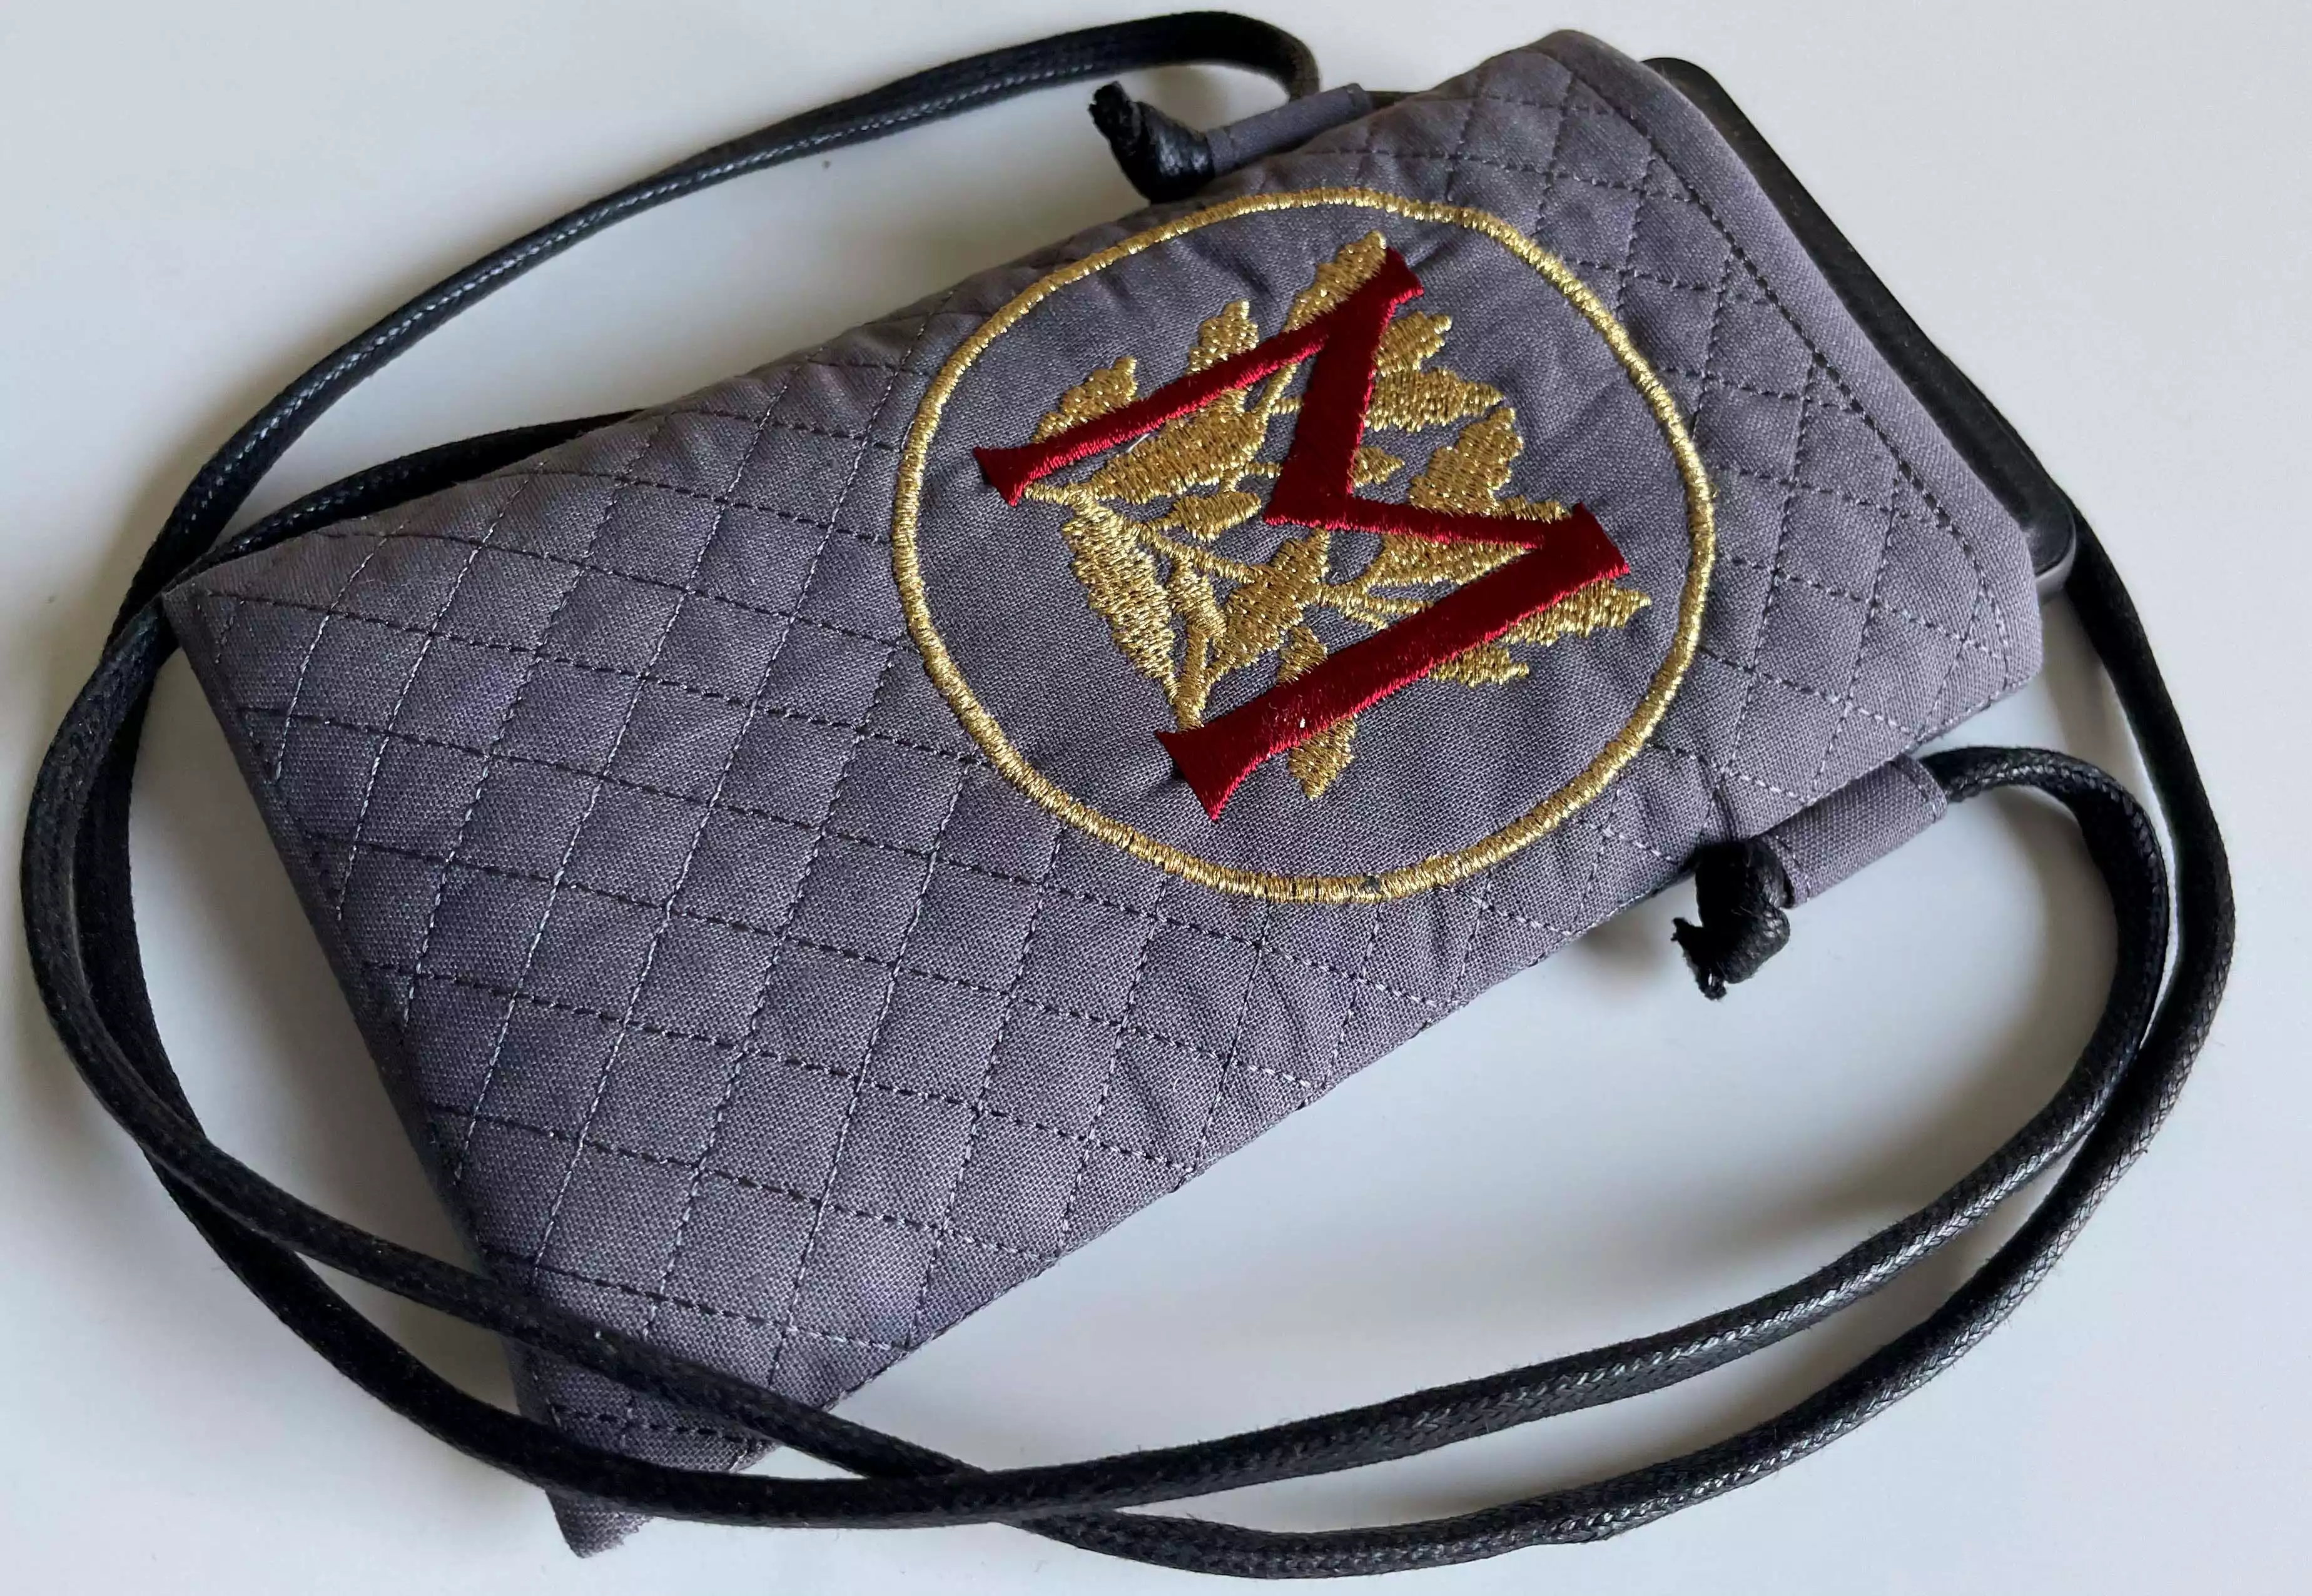
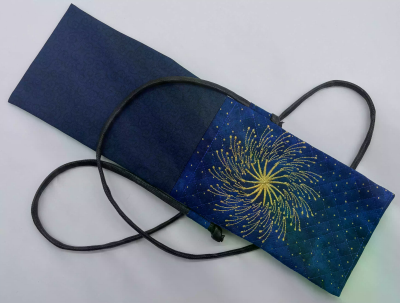
Embroidered Mobile Pouch with Monogram
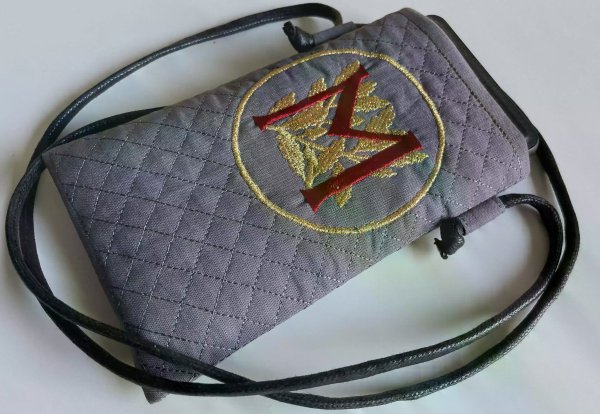
Why don't you try to make a mobile pouch? It is easy and fun to make. You add the monogram in mySewnet embroidery software and then make the embroidery in the hoop The rest is easy, just follow the steps in the instruction. Make some for your friends too! Finished size 4"x 6" (10x16cm)
With 30-day Free Trial of mySewnet Embroidery Software you will get to try out the most user-friendly and feature rich digitizing software on the market. It works with all embroidery machine brands and is available for both Windows and Mac.
What you need:
- Fabric for the outside of the pouch 6"x 16" (15 x 40cm) and 1½"x 6" (4 x 15 cm) (for the strap holders)
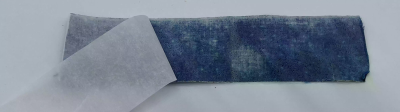
- Thin polyester batting 6"x 16" (15 x 40 cm)
- Fabric for the lining 6"x 16" (15 x 40 cm)
- Fusible web e.g. Vliesofix 1½"x 6" (4 x 15cm)
- Tear-away stabilizer
- Zipper foot
- Embroidery hoop minimum 200mm x 360mm
- Cord for neck strapapprox 47" (120 cm.)
- Embroidery design can be found in mySewnet library Find it here!
Prepare the embroidery file
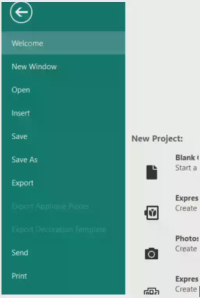
1. Open the embroidery design in mySewnet embroidery software
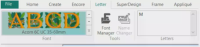
2. Go to the letter tab
3. Choose the Font Acorn 6C UC 35-60 mm

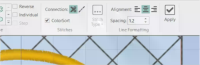
4. Type the text or letter you want in the box
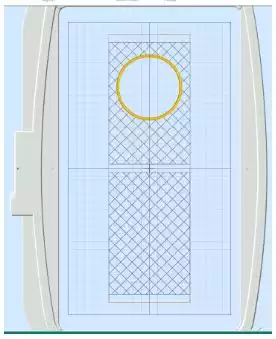
5. Set the size to 50. The opening in the circle is about 75mm
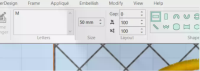
6. Click on Apply
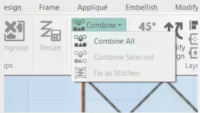
7. Go to the home tab
8. Click on combine and combine all
9. Now we need to do some color changes. You can make this in any color you want but if you want it to be like the sample follow the next steps
10. Go to color 4 and change it to the color you want for the quilting
11. Color 5 is the satin ring around the letter. Change it to the same color as the quilting
12. Change color 6 to 10 to gold
13. Color 11 is the letter, change it to red
14. Go to color sort and click on it. This will reduce the color changes to a minimum, from eleven changes to six

15. Go to file, choose save as and save the embroidery. Remember to change the name of the file.
16. Now you can send the embroidery design to mySewnet cloud or directly to your machine. You can also store it on a USB-stick
Stitch out the embroidery design
Note:the following instructions are showing another mobile pouch, but the steps are identical.
17. Load the embroidery design into the machine.
18. Attach the tearaway stabilizer in the hoop
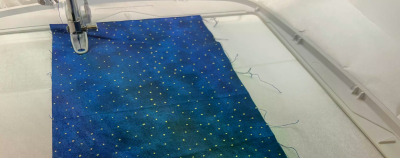
19. Stitch out color 1. This will show you where to place the batting. place the batting in the hoop, make sure it covers the stitch line on all sides.
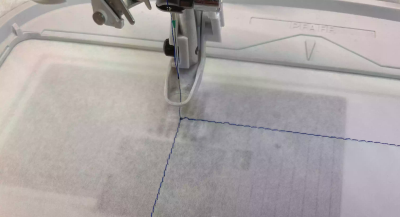
20. Stitch color 2, this will secure the batting in the hoop
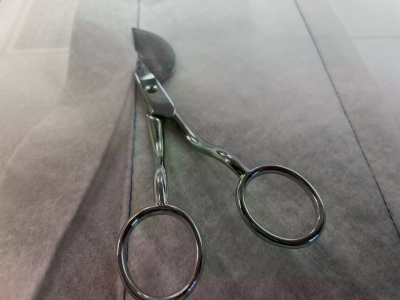
21. Cut the batting close to the stitching line.
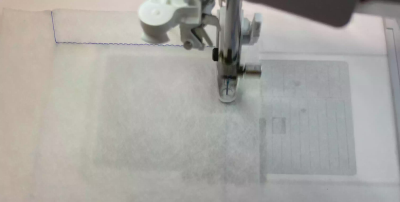
22. Place the fabric on top, right side up and sew color 3. This will secure the fabric in the hoop.
23. Change to the thread you want for the quilting and stitch out color 4.

24. Stitch color 5,this is the round satin frame, make this in gold thread.
25. Stitch out the monogram embroidery design on the pouch.
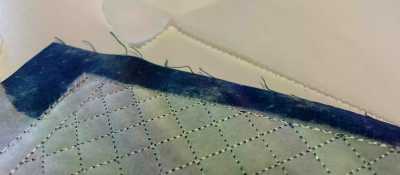
26. Take out the hoop from the machine and unhoop your poch.
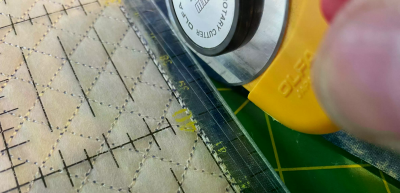
27. Remove the tearaway stabilizer around the edges. Press and then cut out with a ⅜” (1cm) seam allowance
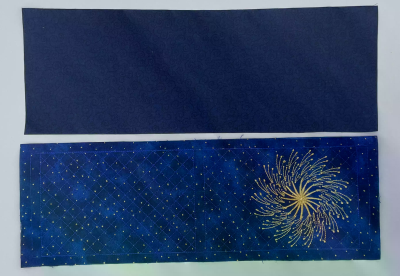
28. Cut the lining fabric, using the pouch as a guide.
Strap holders
29. Start by pressing the fusible web on the fabric for the strap holders. Tear away the paper and fold the long sides to the middle. Press again to fuse the layers together
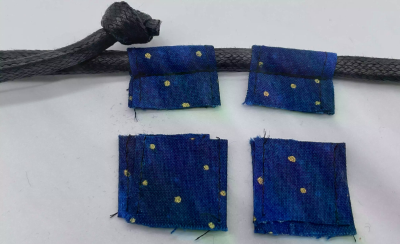
30. Sew a straight stitch close to the folded edges on both sides. Cut in half. You now have two straps 7,5 x 2 cm
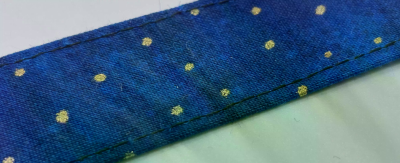
31. Fold them over the neck strap cord and stitch close to the strap. Be careful not to catch the cord in the seam! Cut off the excess leaving ⅜” (1cm) seam allowance at the strap ends. Make a knot at each of the cord´s ends preventing it from gliding out of the holders
32. Place the strap holders on the pouch about 3cm down from the top of the front. Make sure that the placement of the strap holders are at the same level on both sides. see picture for placement.
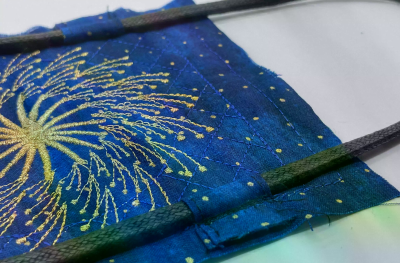
33. Attach the zipper foot.Secure the strap holders to the pouch by a straight stitch close to the previous stitching
Attach the lining
34. Put the embroidered pouch piece on top of the lining right sides together. Sew them together along the short sides using a straight stitch. Sew just inside the embroidered edge seam. (The seam is done with black thread in the picture below)
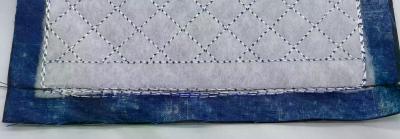
35. Open up and fold the pouch and the lining matching the seams you just made. The seam allowances should be folded towards the lining.
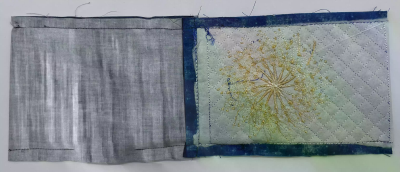
36. Sew the long sides together using a straight stitch. Try to sew on top of the edge seams of the embroidery. Remember to leave an opening for turning in the lining. Be careful not to catch the cord in the seams. If you find it easier you can use the zipper foot for this, especially when you stitch near the strap holders
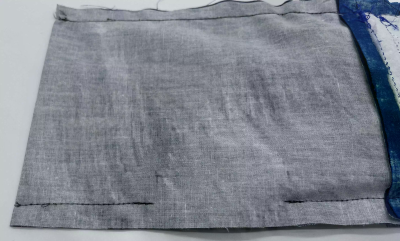
37. Turn the pouch inside out and take extra care to get the corners turned all the way.
38. Stitch over the opening you turned through by hand or machine.Put the lining into the pouch and press
Your mobile pouch is now finished!