United States
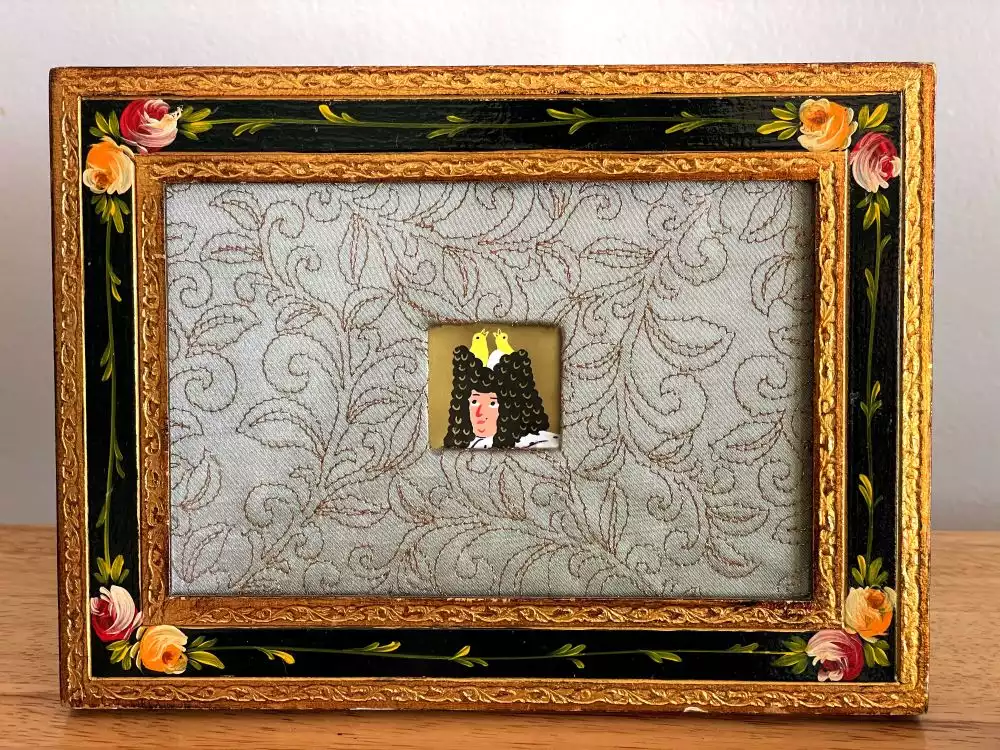
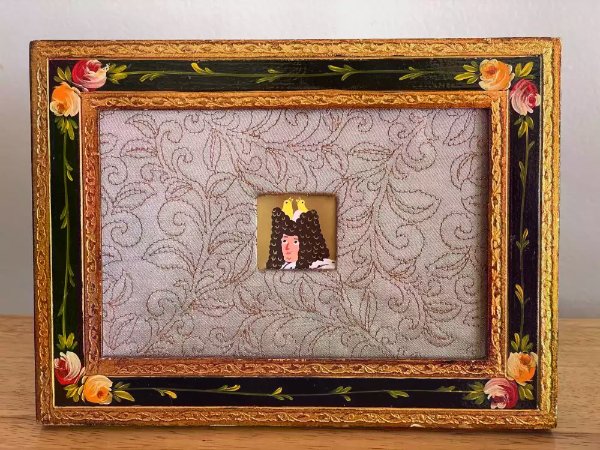
Custom Quilted Embroidery Photo Mat
This is the perfect project for a quick gift or to enhance your own home decor! Get a custom framed look with an elegant mat you can make any size or shape which is great for oddly shaped art or tickets.
What you need:
- Plain woven fabric
- Embroidery thread
- Bobbin thread
- Stabilizer appropriate for your fabric (I used a tear away)
- Picture frame
- Flat cardboard at least the same size as the frame
- Glue or double sided tape
- Crafting knife
- Pencil
- Fabric marking tool
- Anti-Fraying Glue
Stitching the Design
1. Choose a quilting design, this is usually a single or triple stitch line art design. You can search “quilting” in mySewnet Library to easily find some or you can find the design I used from the mySewnet Library below
Quilt Leaf Stippling
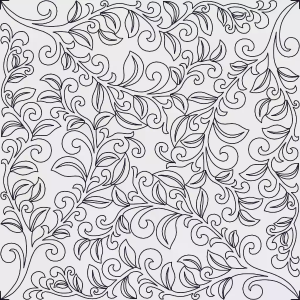
Depending on the design and the art you are trying to frame, you may need multiple hoopings or to load multiple of the same design in a larger hoop to get the size you need.
2. Hoop your fabric and stabilizer.
Note: Make sure the fabric is larger than the frame you will be using.
3. Thread the top of your machine with embroidery thread and the bottom with bobbin thread.
Tip: Metallic threads can be subtle and stunning for this project, just make sure you put a thread net around the spool and you are using an embroidery needle.
4. Stitchout your design and then unhoop your fabric when you are done.
Creating the Opening of the Mat
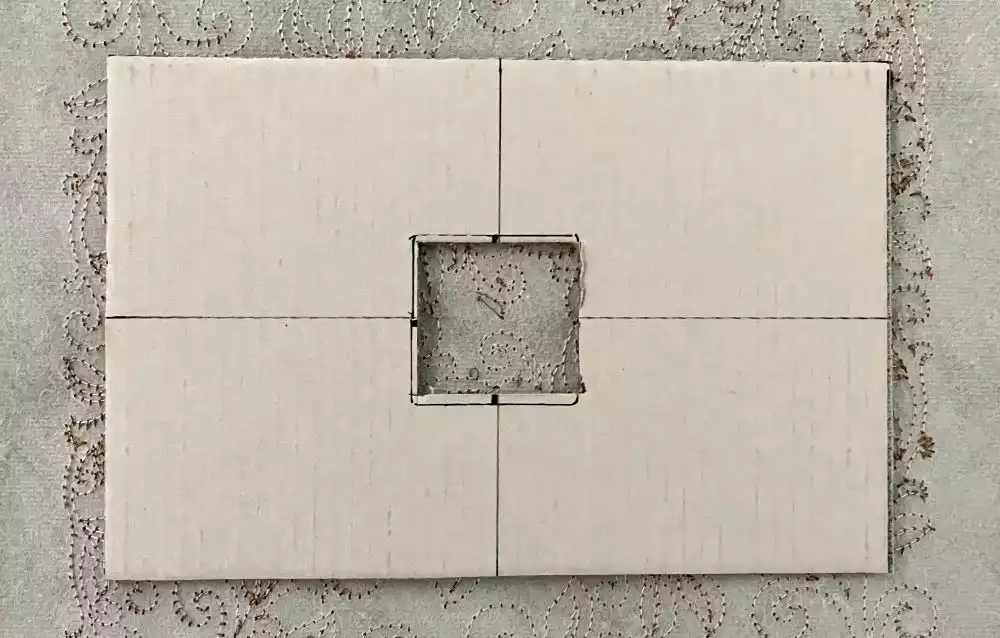
5. Remove the glass from your frame and trace it on a flat piece of cardboard.

6. Mark the center of your area if you want the opening centered on the mat.
7. Take your art and trace it on the cardboard with your pencil.
8. Using your crafting knife, cut along the outside of the outer edge line. Check to see if it fits in your frame and trim down accordingly if needed.
Tip: If you have a cutting mat for rotary cutting, use this under your cardboard when cutting to protect your surfaces.
9. Using your crafting knife, cut approximately ⅛” (3mm) inside your traced art line.You can always cut more off to fit more of your art.
Tip: Use a straight edge ruler to keep a straight line.
10. Place your art over the stitched fabric to find where you want the art placed.
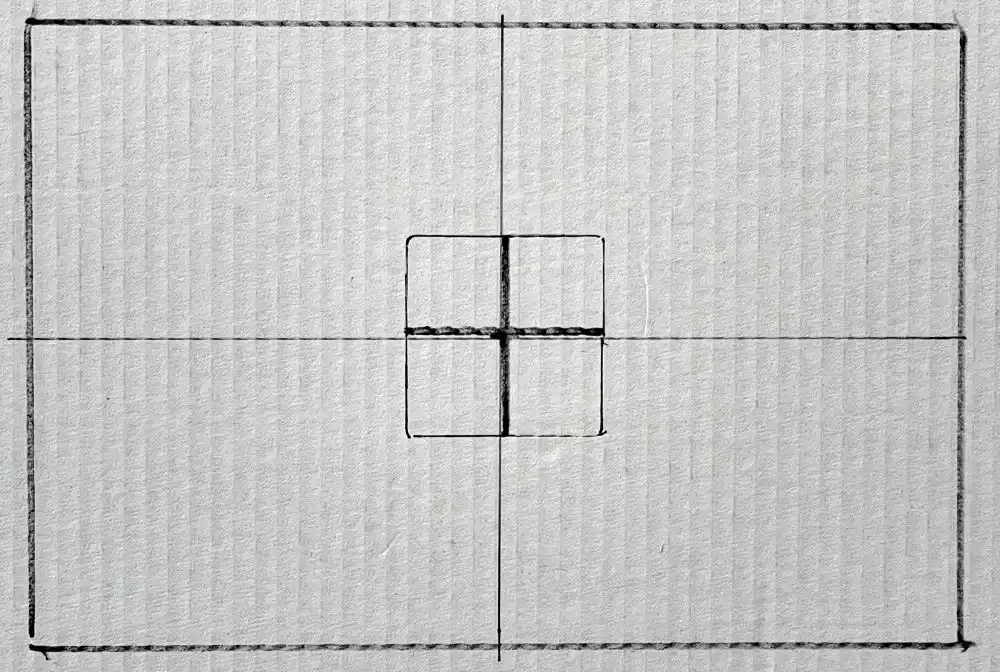
11. When you like the placement, trace your cardboard on the back of your fabric with your fabric marking tool where the opening should be and then place the cardboard to the side.
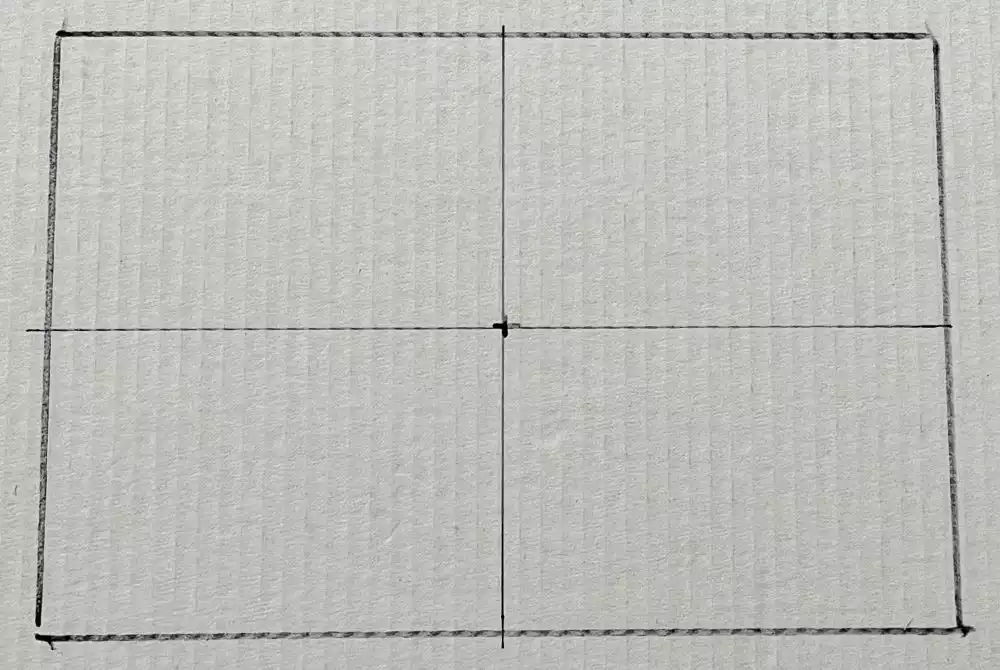
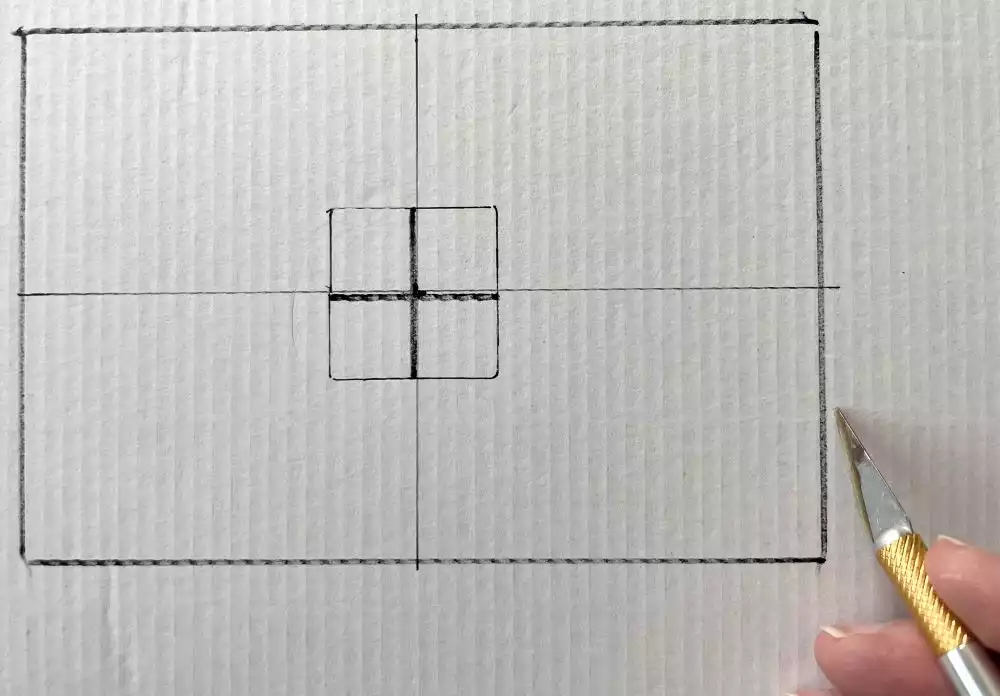
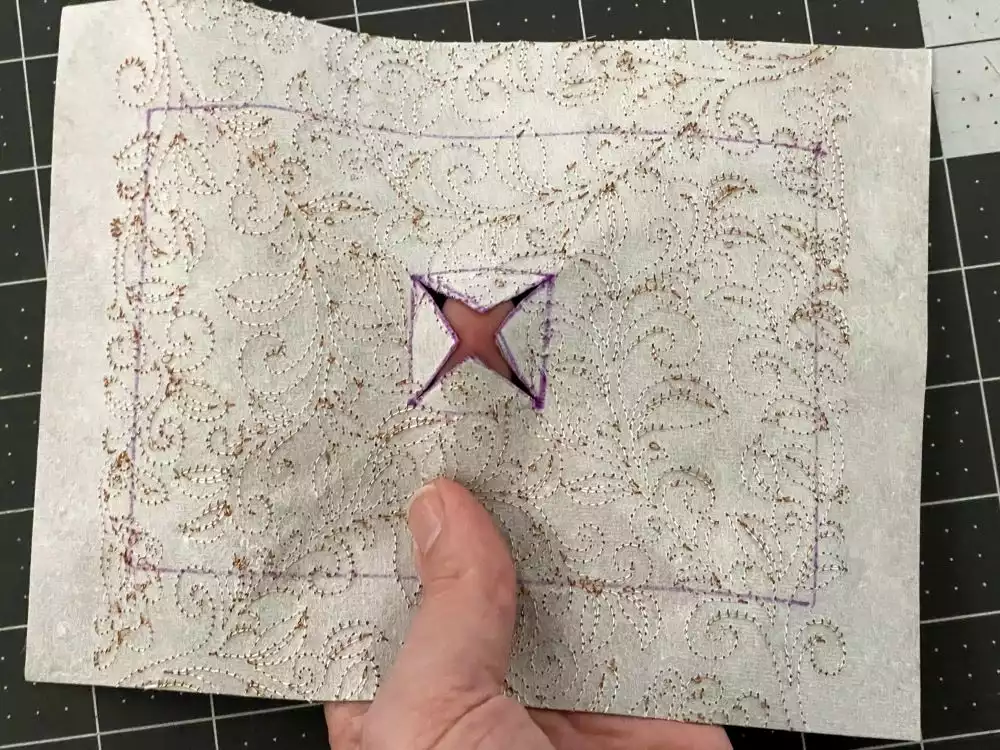
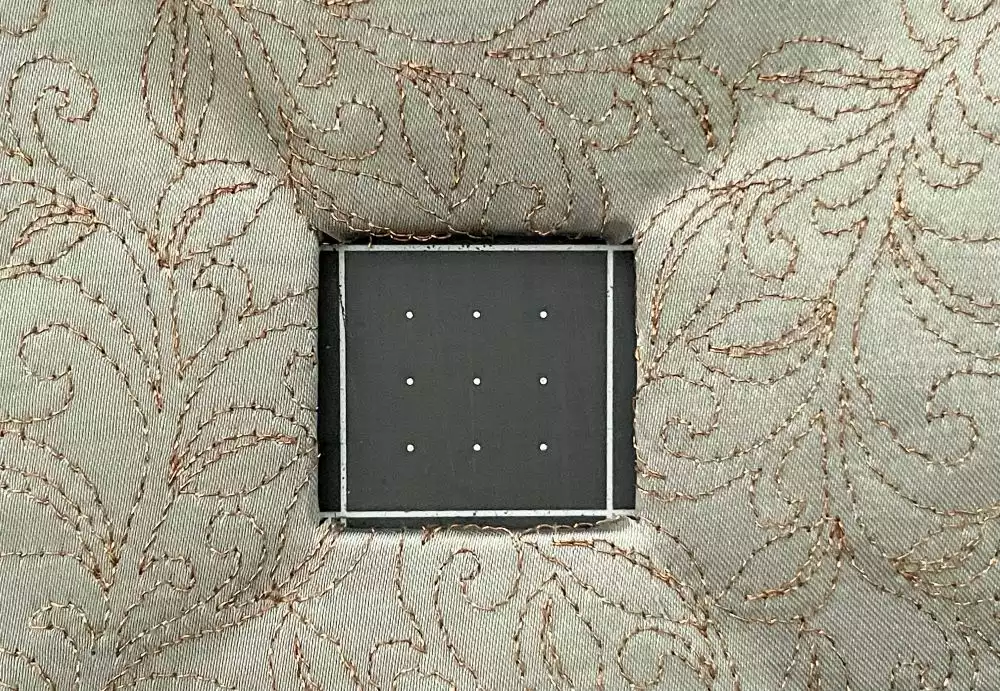
12. Now we are going to draw straight lines from the center of that inner traced shape to the edges of the shape.like the X in the square below.
Tip: If you have a square or rectangle go to each corner from the center. If you have a circle or oval, try to space your lines apart evenly and the more lines you do, the smoother it will be around the shape.
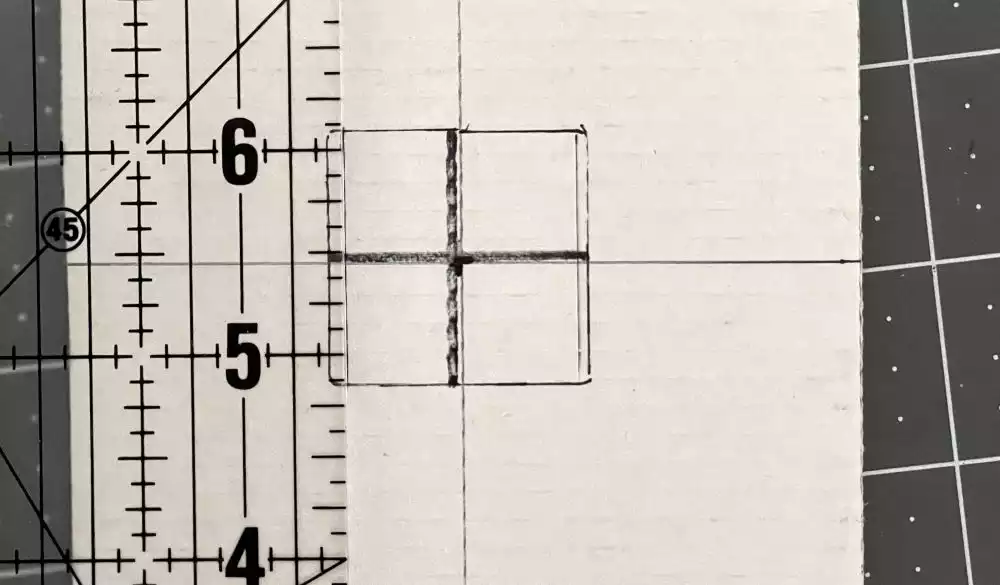
13. Carefully cut the lines, making sure you do not cross the outer line.
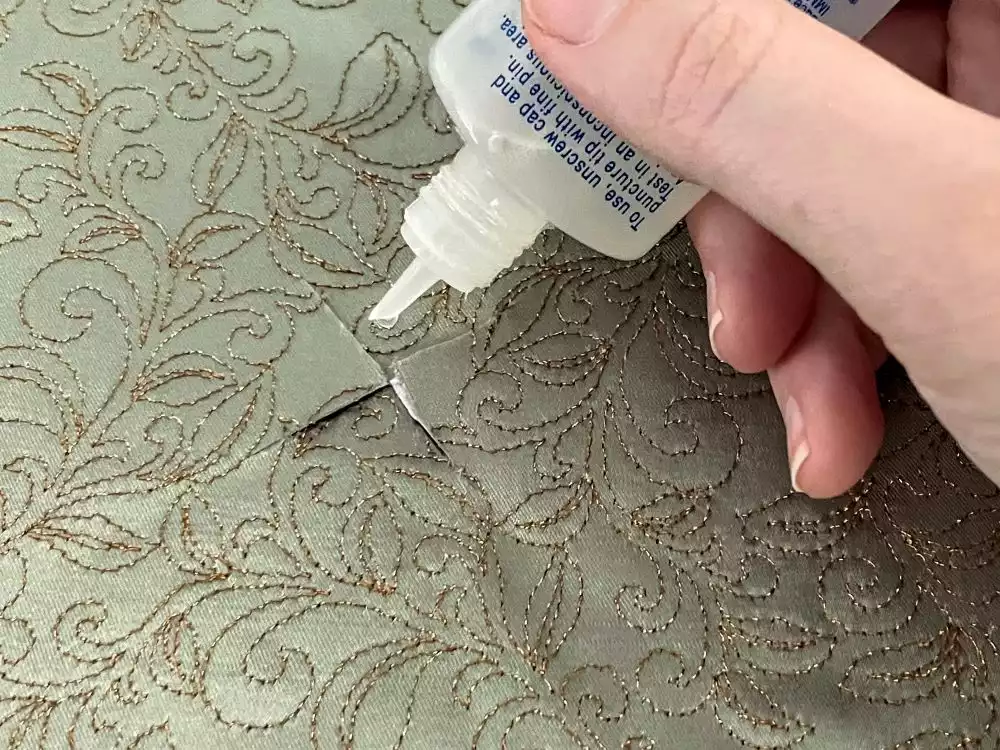
14. Run your anti-fraying glue along the edges of these cut lines.
Assembling the Mat and Frame
15. Place your cardboard ofer the back of the fabric aligning the openings.
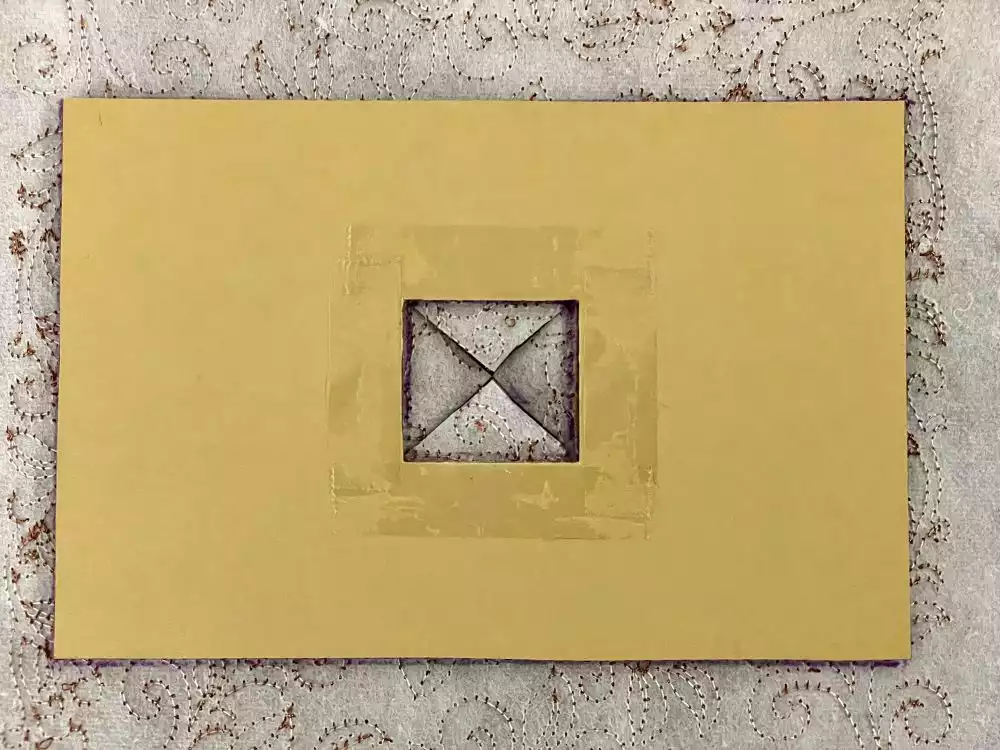
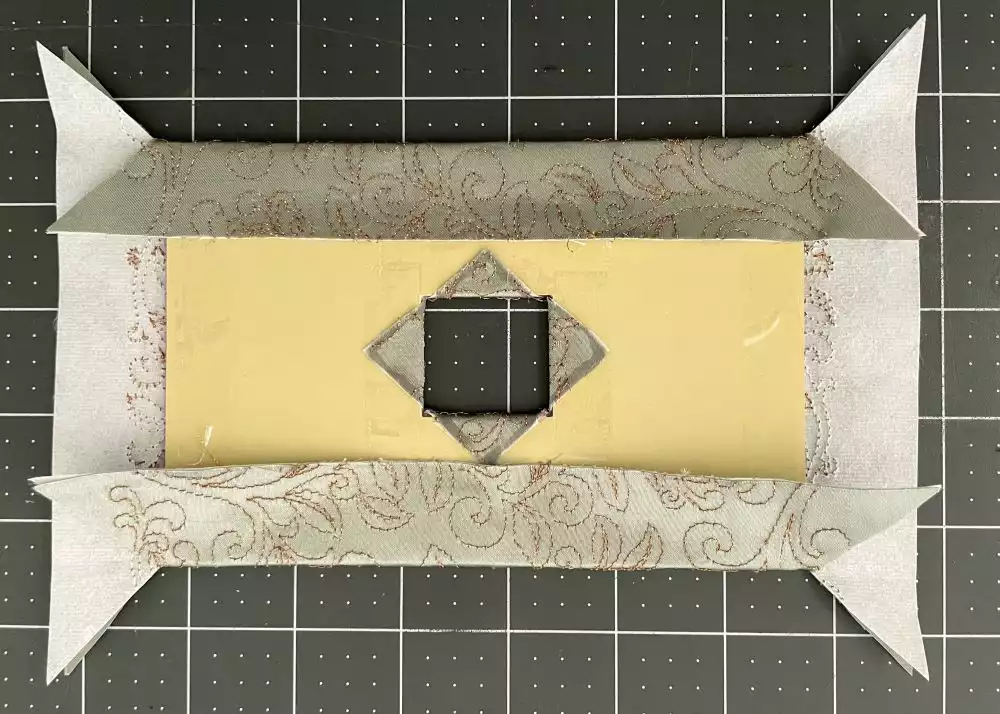
16. Fold the fabric opening pieces to the back and secure with glue or double sided tape.
Note: If using glue make sure it’s not hot glue or a glue that expands because many frames don’t have room for added bulk.
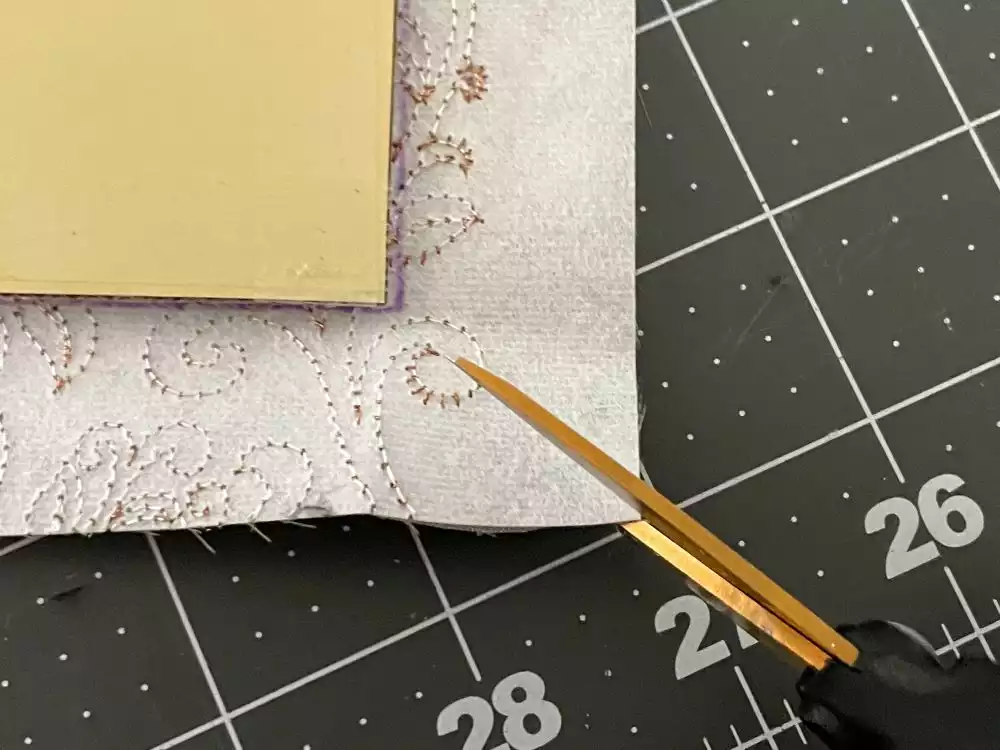
17. Clip the outside corners for the fabric hanging off.
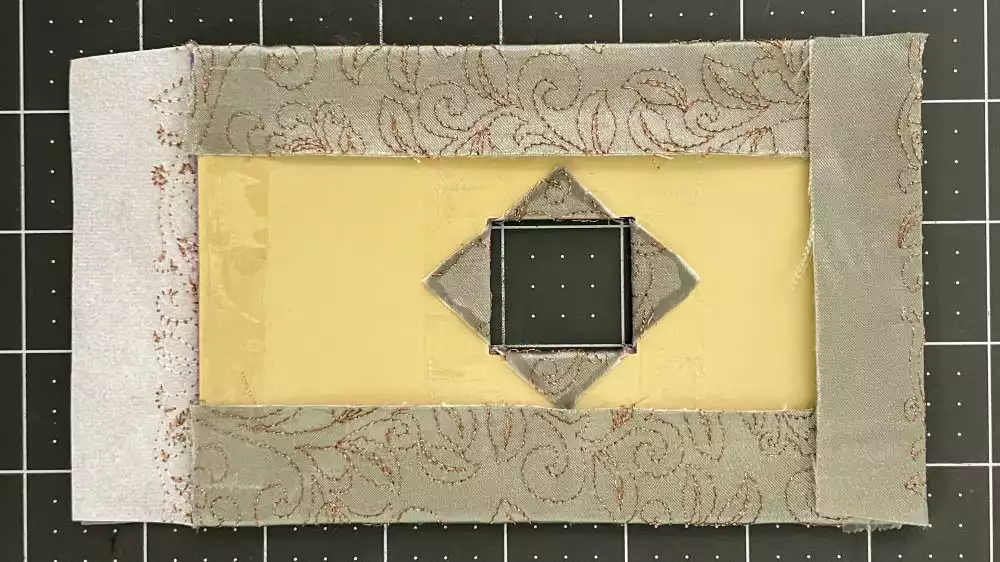
18. Then gently pull your fabric taut and secure the long outer edge pieces with glue or double sided tape.
19. Trim the corners flush with the edge of the cardboard and then fold the short edges down and secure with glue or double sided tape.
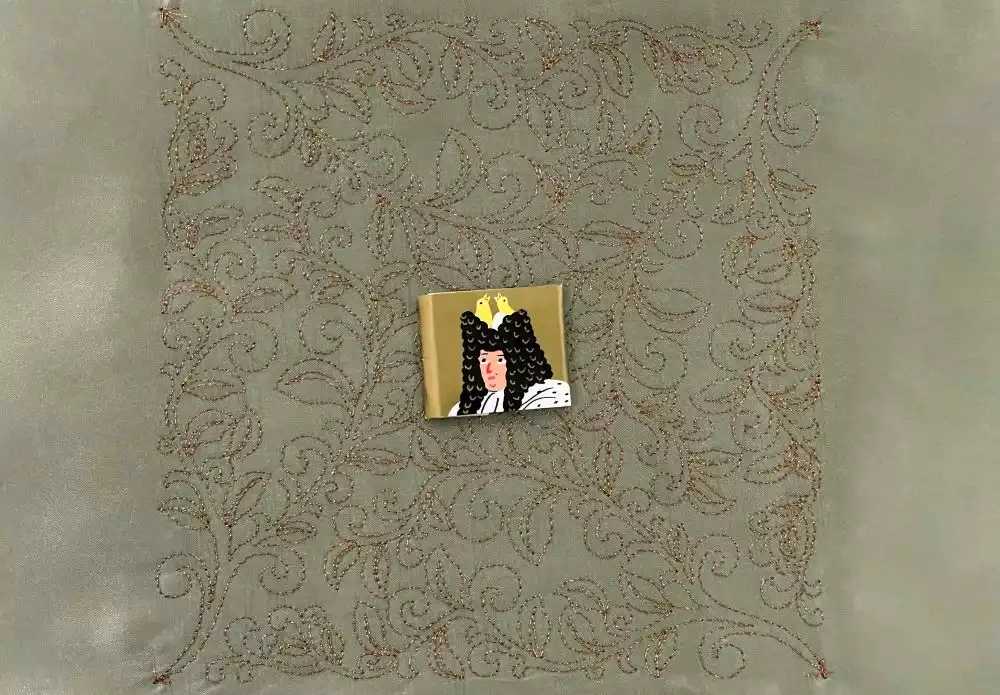
20. Place the glass, mat, and art in your frame and admire your custom creation!