United States
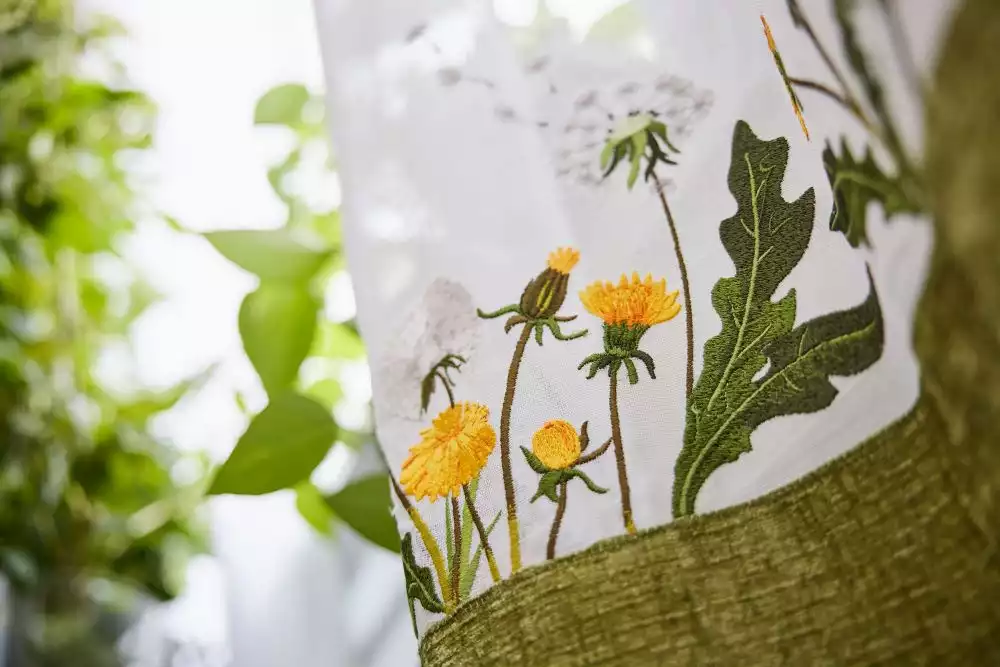
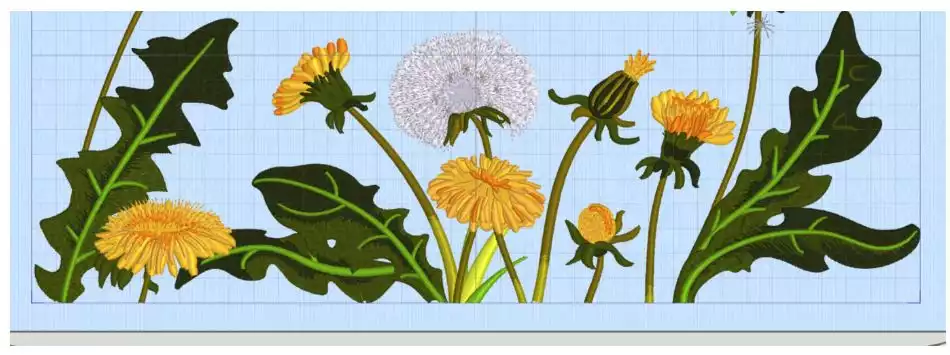
Curtain With Combined Dandelion Embroidery Designs

The dandelion curtain is made out of individual embroidery designs from the Dandelion Embroidery Collection combined in the embroidery software. Follow the instructions to make your own dandelion garden!
With 30-day Free Trial of mySewnet Embroidery Software you will get to try out the most user-friendly and feature rich digitizing software on the market. It works with all embroidery machine brands and is available for both Windows and Mac.
What you need:
- mySewnet Embroidery Software, Gold or Platinum level
- The Dandelion Embroidery designs is available as a Collection.
- Embroidery hoop 360x200mm or larger
- Tea-raway stabilizer
- A pair of ready made linen curtains
- Green velvet or linen fabric, size depending on your curtains width and embroidery placement
- Embroidery thread
- Matching sewing
Preparations
1. Open the embroidery software, choose a Blank Canvas and the hoop you want, select Rotated Orientation.
Go to File, click Insert, and add the embroidery files. Just place them on the work area, we will arrange them in the next step.
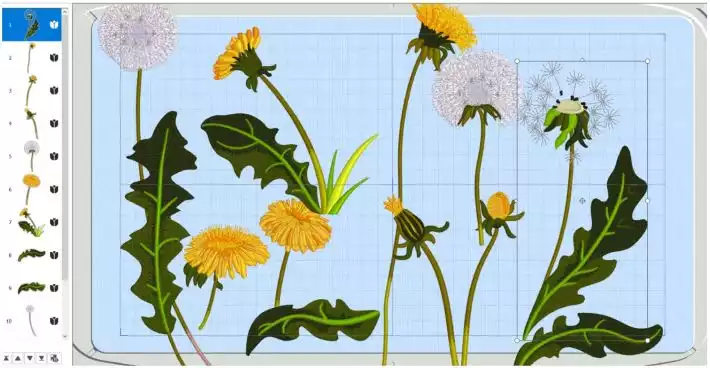
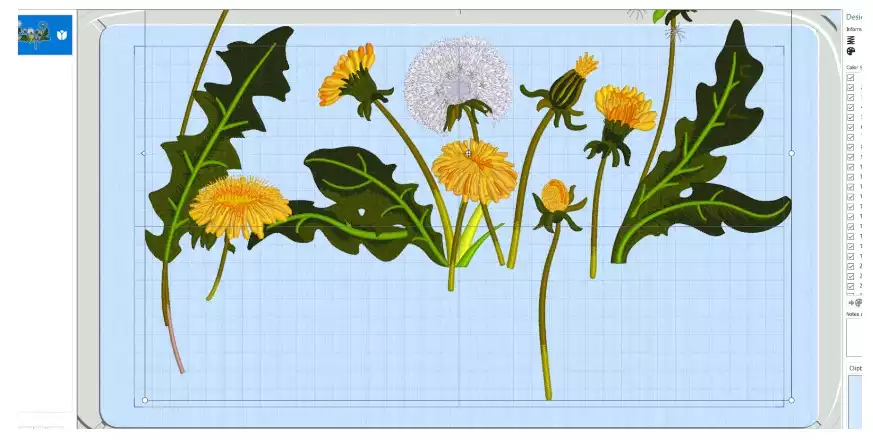
2. Start arranging the embroidery combination. You can flip and rotate the different parts as desired and move them up and down in the filmstrip to make the different objects stand in front or in the back
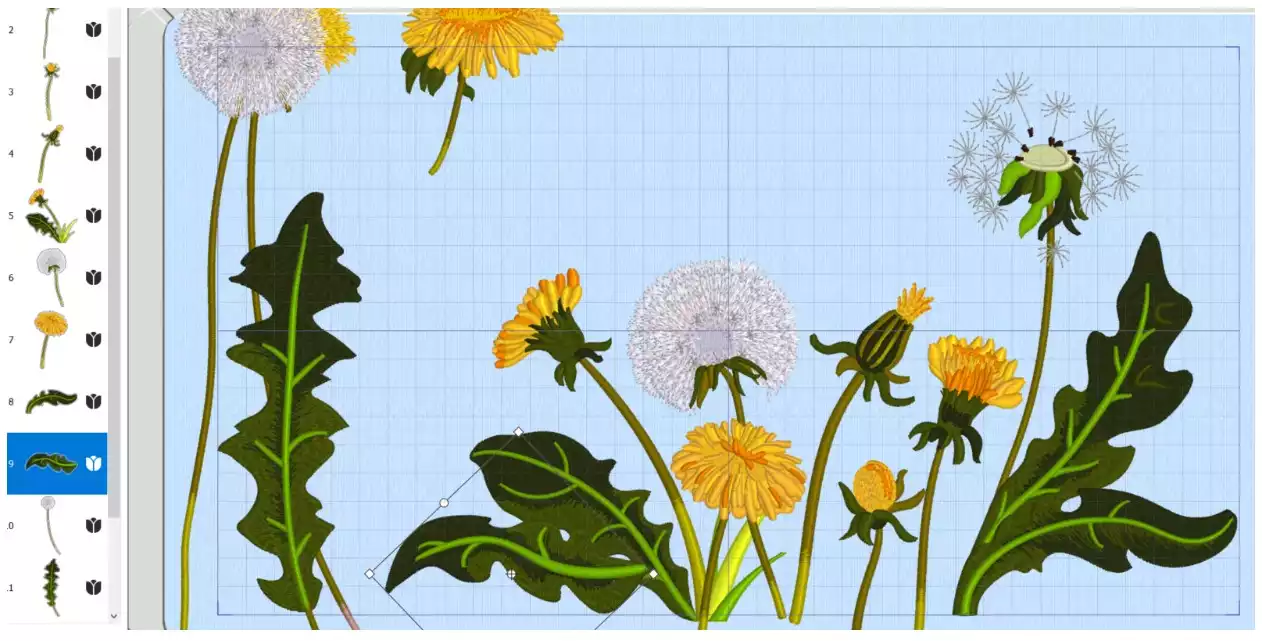
3. Think of the bottom line of the embroidery area as the ground, do not worry about stems going below the line, we will fix that later!
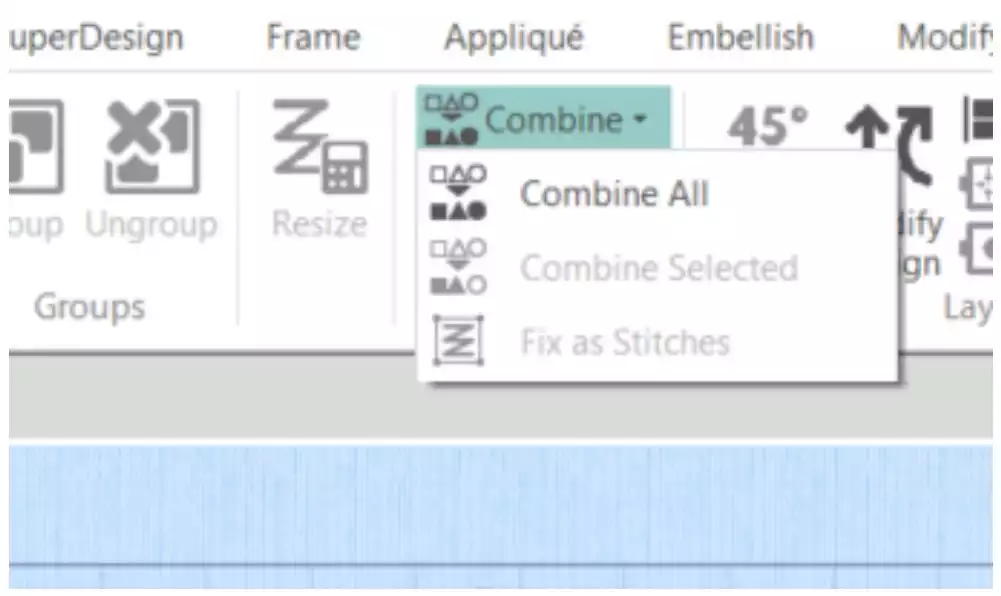
4. When you are pleased with the result it is time to combine the embroidery. Go to Combine, Combine All
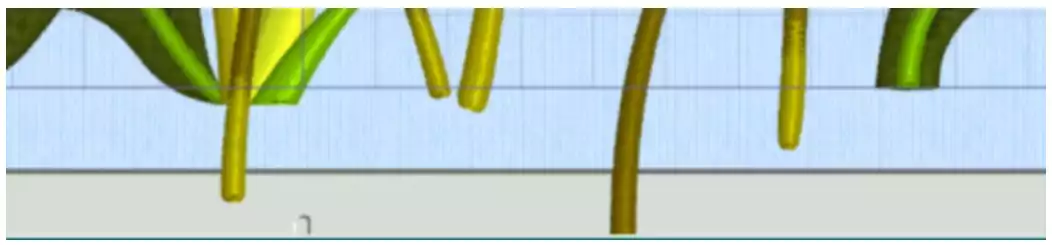
5. To remove the stems at the bottom, move the combined embroidery up and align it with one horizontal line in the background grid.
6. Go to Modify Tab, choose Box Select and draw a box around the part you want to remove.
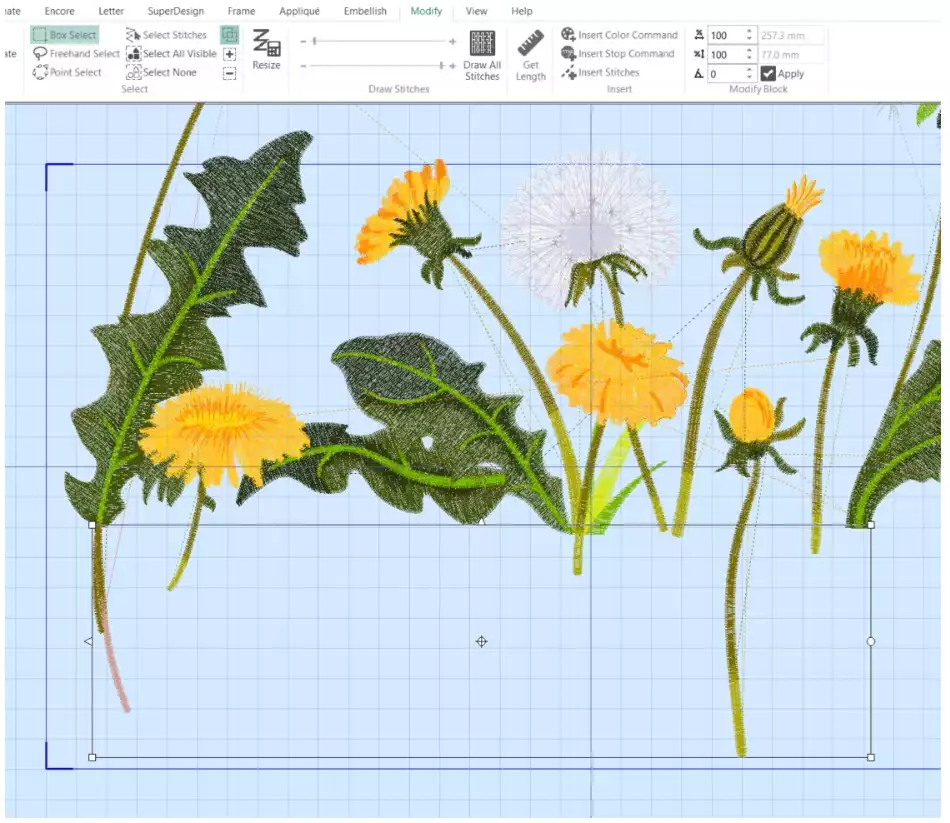
7. Click on Delete when the box has white corners., the result will look like this:
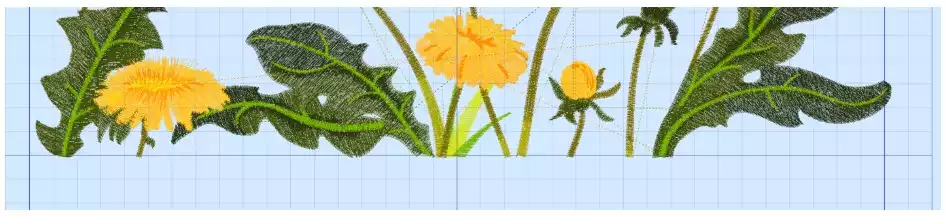
8. Go to Home tab and move the embroidery to the bottom line of the embroidery area
Optional:
Follow the steps below If you want to “break out” some seeds from the dandelion.
9. Go to the Modify tab again, choose the area with the seeds (right side in the embroidery) and enlarge it.
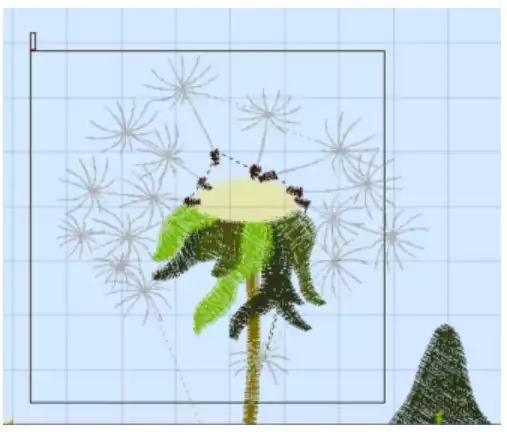
10. Chose the Point Select Tool and make points around the object, right click when you are done
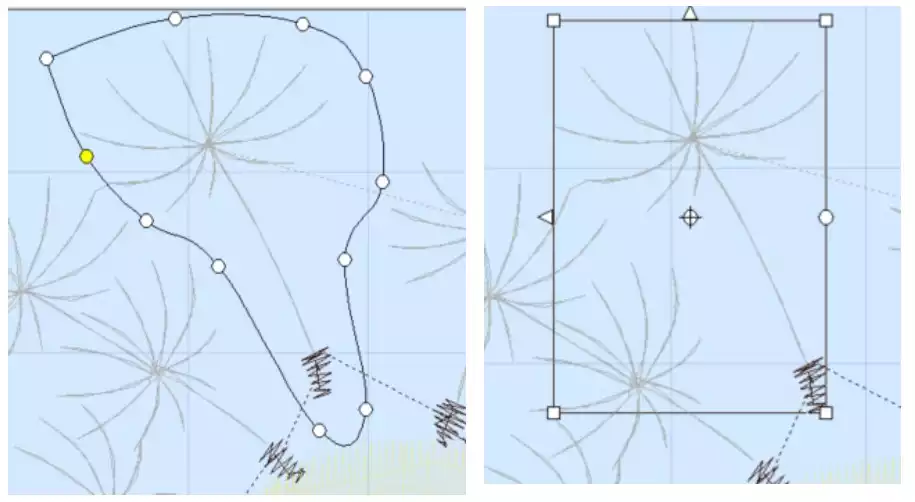
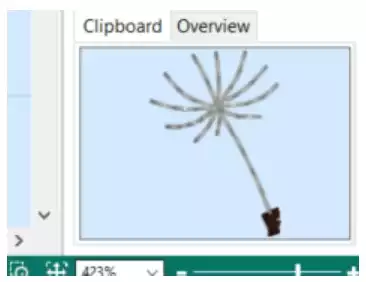
11. Click on Copy, the seed will show in the Clipboard window. Go to Home tab. Click on Paste and arrange the seeds where you want them, then go to Combine, Combine All.

Make at least one more embroidery combination, to get variation in the curtain border.
Follow the steps below to see what the layout will look like:
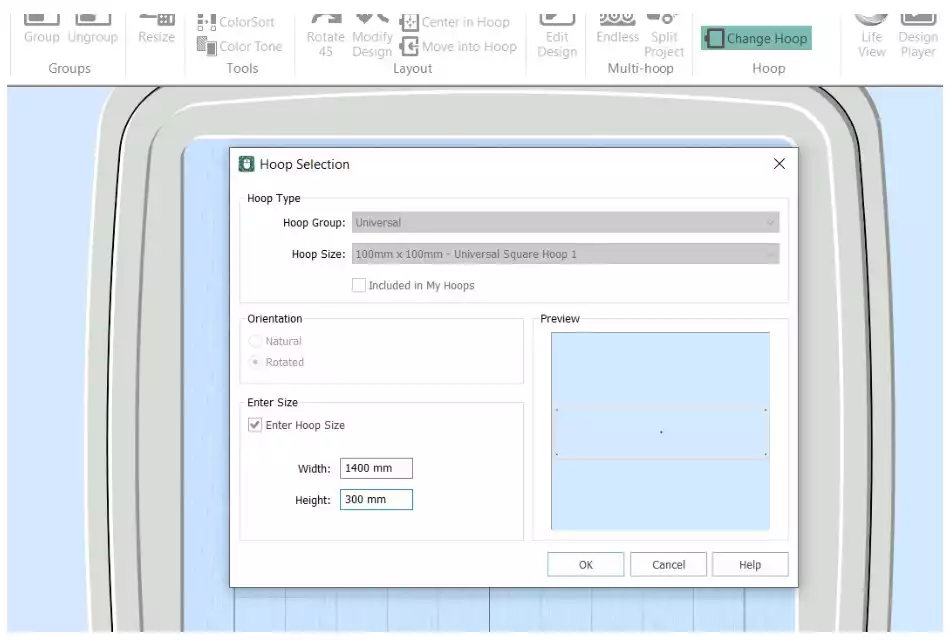
12. Open a New Window, go to Change Hoop, check the Enter Size box and type in the width of your curtain. Set the Height to 12” (30cm). Click ok.
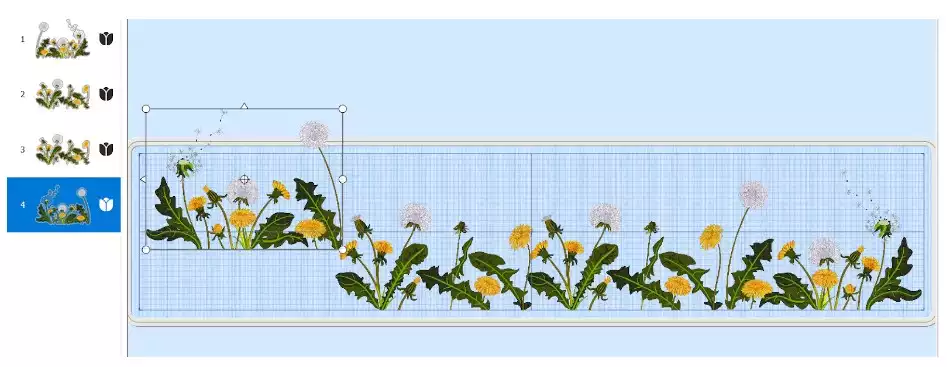
13, Insert the embroidery combinations into a pleasing combination. You can flip some combinations to get more variation
14. Print out the layout. Select File, Print. Tape together the pages to get a layout pattern for easy placement on the curtain
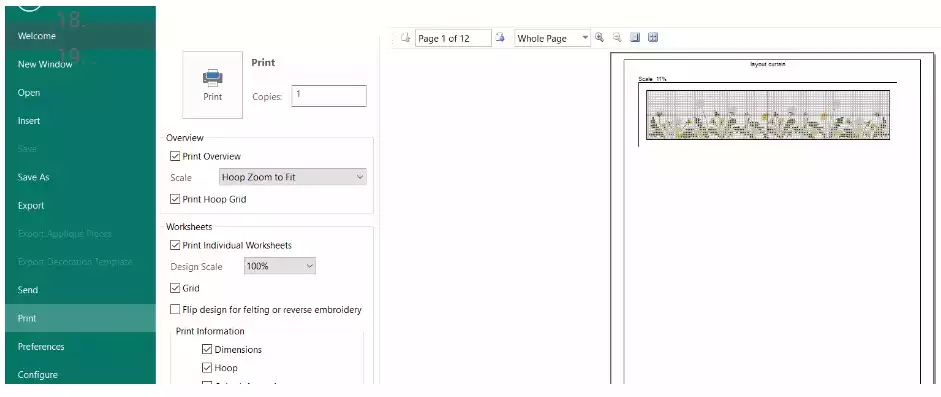
.
Stitch out the embroidery
15. Mark the center of the curtain lengthwise. Then mark a horizontal line where you want the embroidery base line. To determine this measure from the top of the curtain and down to where you want to place the embroidery.
16. Hoop the linen with a stabilizer matching the horizontal line.
17. Stitch out the embroideries with the base along the horizontal line.
Finishing steps.
18. Decide the size of the velvet piece, remember to add hem allowance at the sides and bottom . Finish the sides to the same width as the curtain.
19. Place the velvet top edge along the baseline of the embroidery and pin in place. Stitch in place with a zig-zag stitch or three-step-zig zag. Do not fold the raw edge before stitching, this will add an unnecessary bulk. Cut away the remaining curtain fabric from the back and hem the velvet at the bottom.
Try our embroidery digitizing software free for 30 days!