 United States
Circular Attachment Template Project
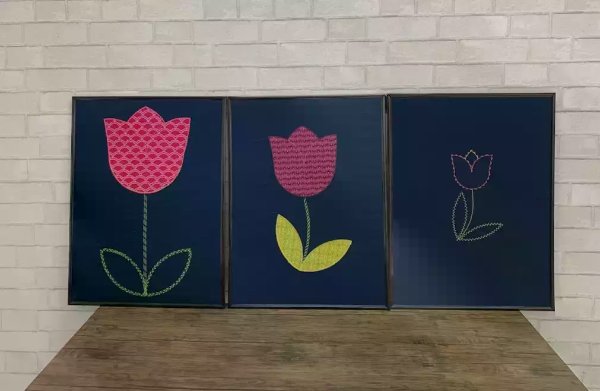
Using the new Circular Attachment Templates, you can create beautiful, unique framed fabric works of art. Your creativity can run wild as you can do as many flowers as you want in a number of different ways, using a combination of applique, decorative stitches and threads to create works of art as unique as you!
What you need:
- Sewing Machine
- Circular Attachment
- Circular Attachment Templates
- Stabilizer - Tear-a-way and Stick N Fuse
- Fabric - for background and applique
- Thread
- Open toe applique foot
- Rotary cutter/scissors, ruler, and mat
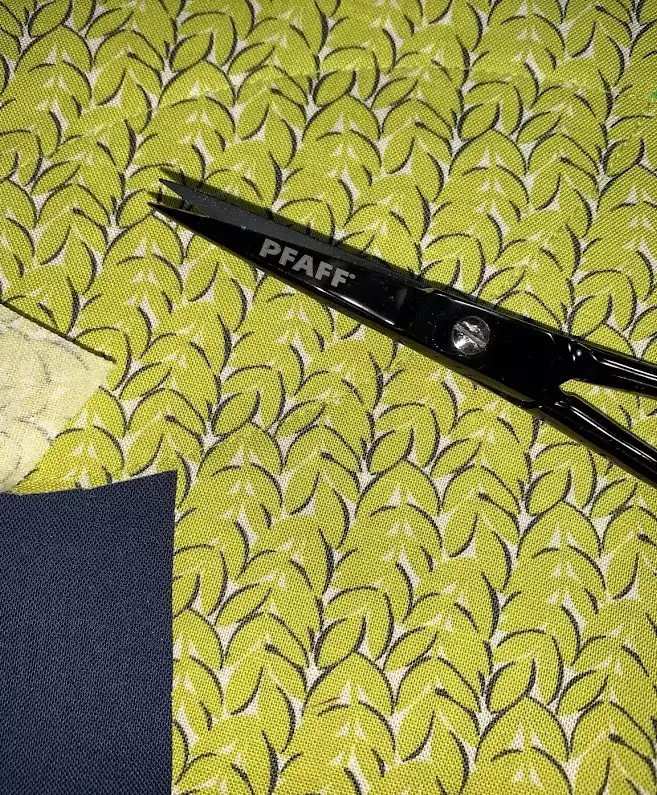
- Applique Scissors
- Extension or Quilters table
- Frame
- Iron
- Fabric marking pen
Prepping Fabric and Setting Up Machine
Cut background fabric to desired size based on frames, these frames are 20x16
If doing applique, cut fabric for applique larger than size of flower or leaves you will be creating
For each background fabric find and mark the center to have as a reference point
Attach extension table and circular attachment to the sewing machine
It is best to test the decorative stitches you are wanting to use before completing your project as some stitches work better than others and can become distorted when making the curves of the flower or leaves
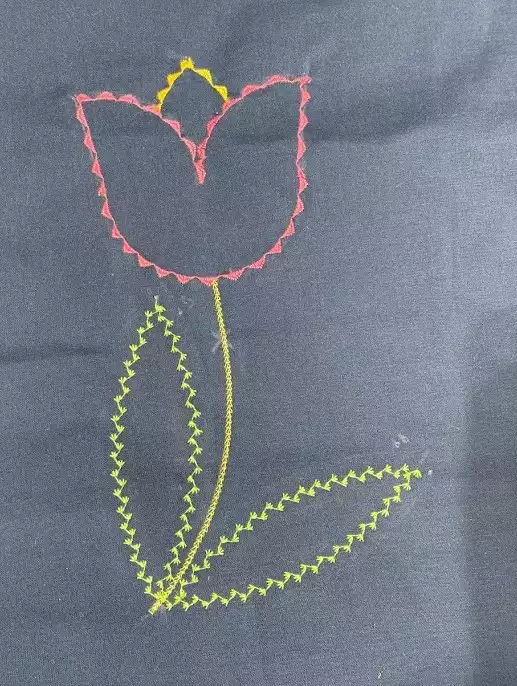
Stitched Flower
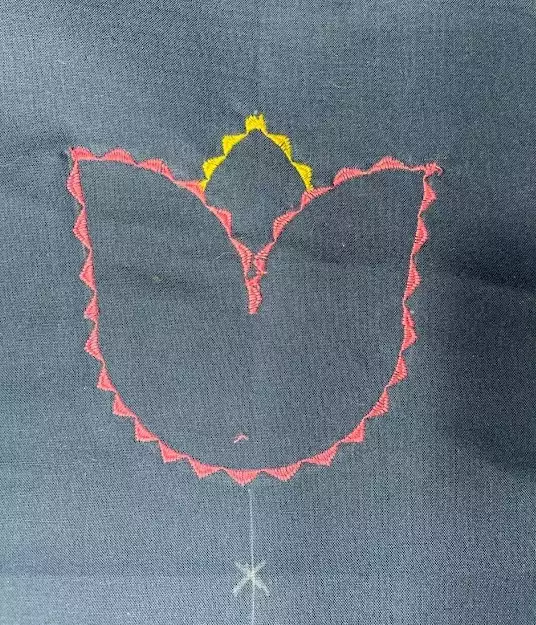
Determine which size flower you would like to make and using the fabric marking pen and tulip template, mark the appropriate size and label the marks accordingly
Place Tear-a-way stabilizer under fabric
Stitch tulip following template marks
For the stem, I traced the outer edge of the circular template to create a curved stem
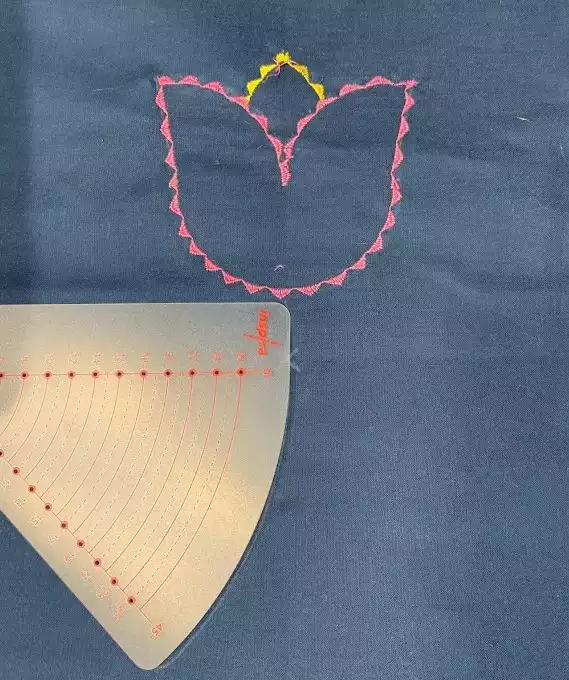
Stitch the stem using desired stitch
Then take the leaf template and mark your fabric with your desired leaf size using the stem as the center of the leaves.
Stitch leaves following template marks
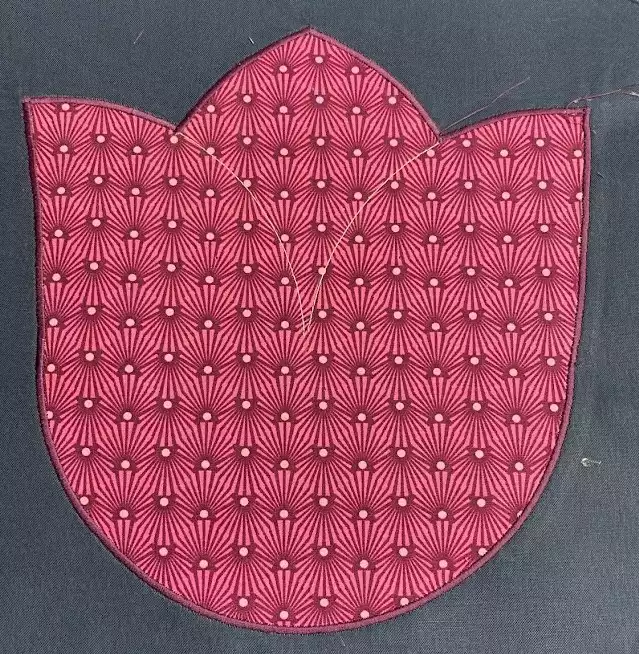
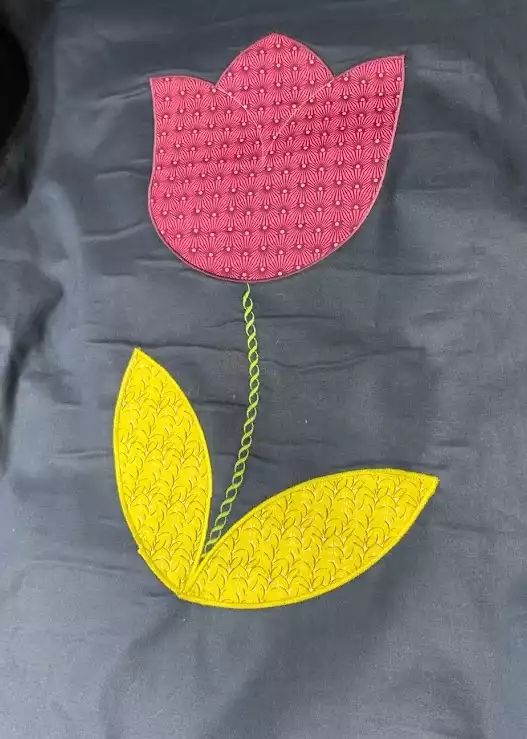
Applique Flower
To create the applique tulip, take the fabric for the flower and use iron on stabilizer to attach it to the main fabric so that it stays in place while you stitch. Just a quick press will do as some of the fabric will be cut away and removed
Use the template and mark applique fabric
First do a straight stitch following the template marks to create the outline

Cut away excess fabric and stabilizer following the stitching, cutting as close to the stitching as possible
Now use a stain stitch and stitch around the tulip following the same template marks as you did for the straight line
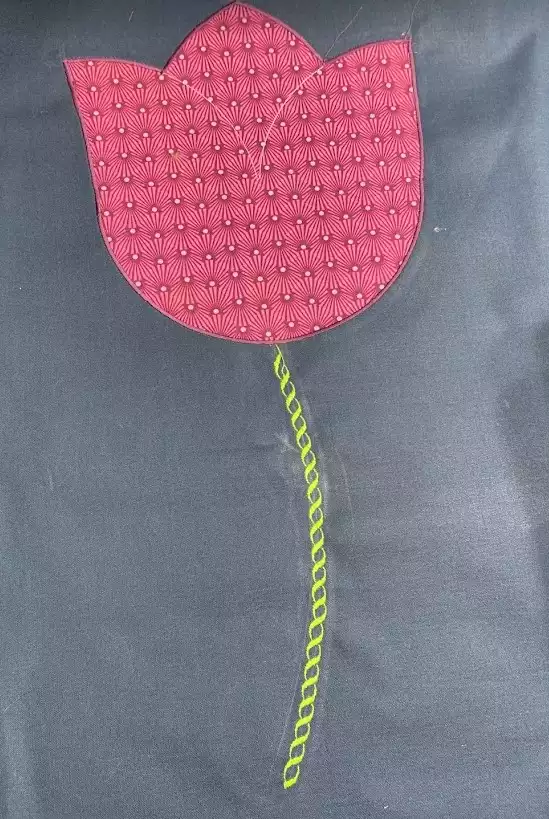
For the stem, you can draw either a curved or straight line
Select decorative stitch and follow drawn line
For applique leaves, take the fabric for the leaves and use iron on stabilizer to attach it to the main fabric so that it stays in place while you stitch. Just a quick press will do as some of the fabric will be cut away and removed
Use the template and mark applique fabric
First do a straight stitch following the template marks to create the outline
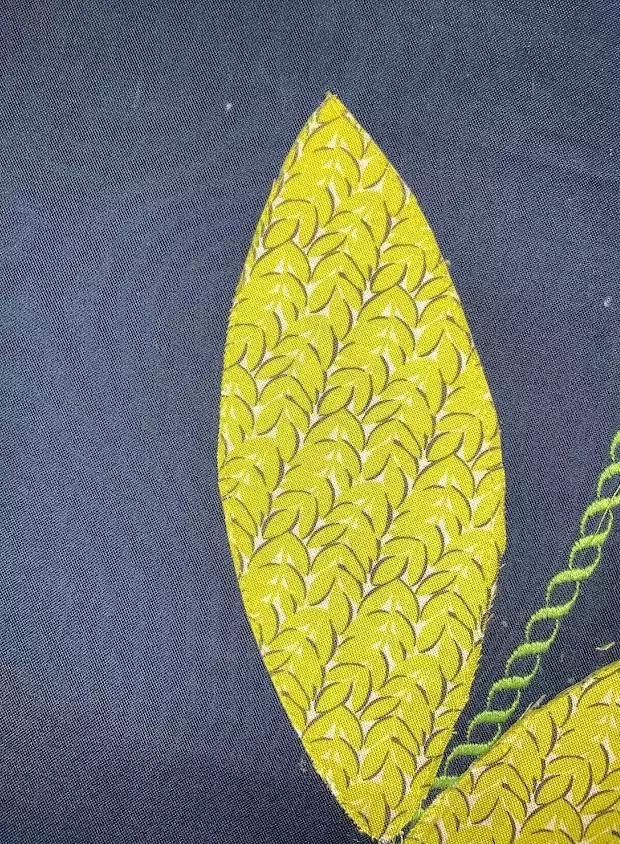
Cut away excess fabric and stabilizer following the stitching, cutting as close to the stitching as possible
Now use a stain stitch and stitch around the leaves following the same template marks as you did for the straight line
Now you can create as many flowers as you would like! Have fun!