United States
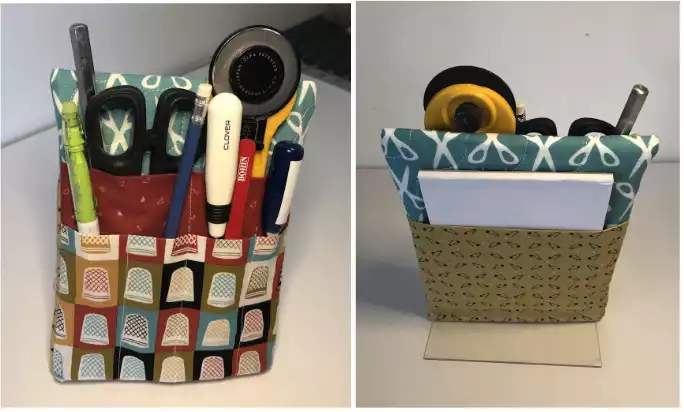
Quilting Tool Caddy
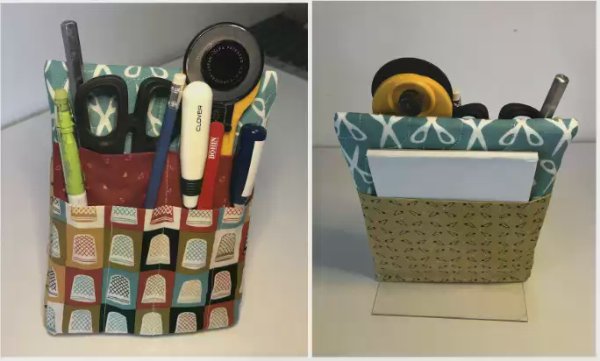
This great tool caddy is perfect to keep by your sewing machine or your ironing board. Quick and easy to make
What you need:
- Quilter's 1/4" Piecing Foot
- Free Motion Foot
- Fusible batting
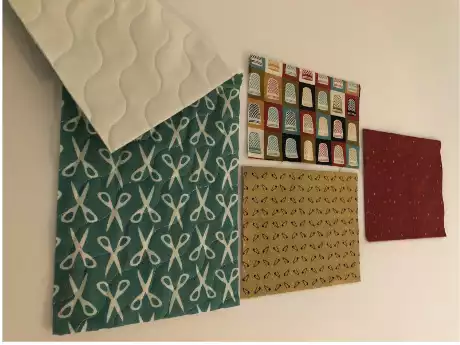
- 4 different fabric plus backing fabric for the quilted main fabric
- 5x7 acrylic freestanding photo frame
- Thread in matching color
- Iron and ironing board
- Fabric marker or chalk
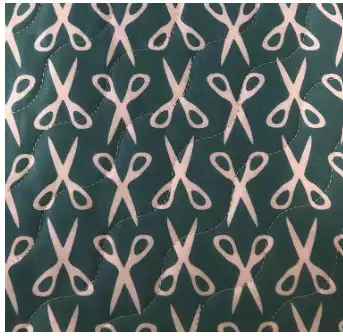
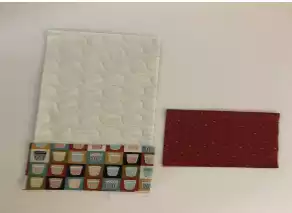
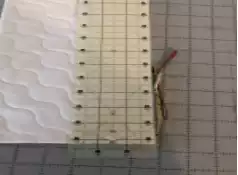
Quilt your Main Fabric:
Sandwich together - I quilt a larger piece and trim to size
Main Fabric: 10” x 18”
Fusible batting: 10” x 18”
Plain backing: 10 x 18”
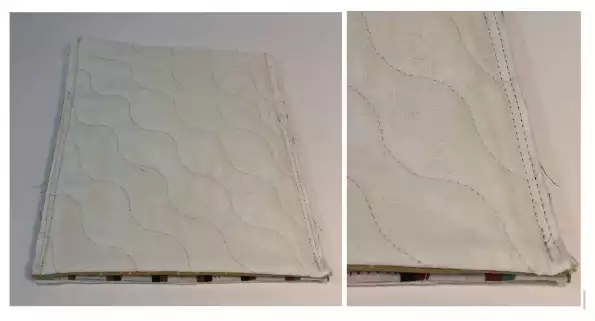
(I chose the serpentine stitch, but you can choose the grid word, stippling)
Cut Fabric as Follows:
- Main fabric (part that slips over frame): 6” x 15” (I found that quilting the fabric gives it a bit more of a nicer base sleeve)
- Big Front Pocket: 6 ½ “ x 11"
- Little Front Pocket: 6 ½ “ x 8 ¼ “
- Back Pocket:6 ½ “ x 10”
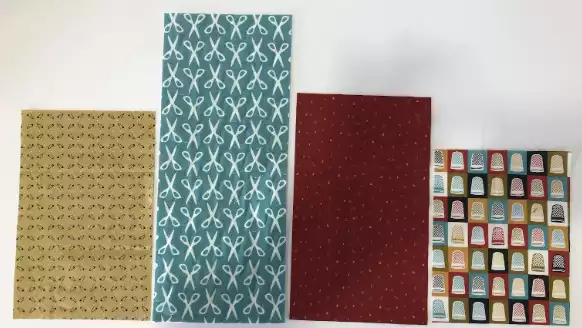
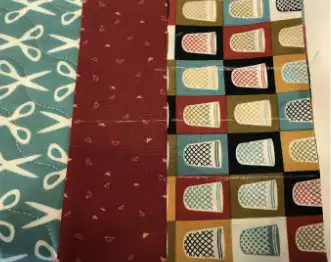
*Fabric laid out: Back Pocket, Main Fabric, Big Front Pocket, Little Front Pocket
Putting It all together:
1. Take all 3 pocket pieces, fold them in half and press them. They should now be:
- Large Front Pocket: 6 ½” x 5 ½”
- Small Front pocket: 6 ½” x 4 1?8”
- Back Pocket: 6 ½” x 5”
- Main fabric has been quilted and cut down to correct size of 6” x 15”
2. Now we are going to add the front pockets to the main fabric. If you have a definite side of your main fabric or pockets you want to show when done, pay attention to how you lay this out.
- Lay main fabric down on table - Right Side Down
- Lay small pocket down on end of main fabric matching raw edges at bottom - with just a small amount of pocket fabric hanging over on each side (yes this right) - Right side down
Lay large pocket down on top of small pocket, matching raw edges at bottom (once again a small amount of pocket fabric hanging over on each side) - Right side down - Sew a ¼” seam across bottom edge
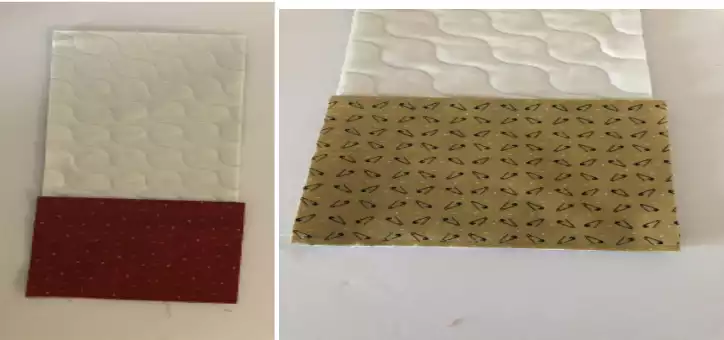
3. Repeat on other end of main piece for back pocket, both pieces - Right Side Down
4. Now flip the pockets around to the front side of the main fabric and press well with an iron. Press well and do this on both ends.
5. Mark your lines where you are going to sew to make sections in the pockets. I marked one in the center through both pockets and one 1 ½” from the centerline on either side. Take the front pockets off the main fabric and sew on the 2 side lines, ending at the top of the small pocket fabric you are not sewing through the main fabric, do not sew on the centerline at this time.
6. Place the pockets back onto the front of main fabric, now sew on the centerline through the small pocket, large pocket and main fabric.
7. Flip the entire piece over so the back side of the main fabric is face up. Trim the excess pocket fabric.
8. Sew a ⅛” width seam to secure the pocket in place
9. Now fold the whole piece in half right sides together, matching up the 2 finished edges at the bottom of the pockets and sew a ¼” seam on both sides
10.Turn right side out and slide over a 5 x 7 acrylic photo frame
You're Done