 United States
Heart Wreath for Valentine

Show your affection to someone you love with this project!
Finished size 34”x 34”(85x85.cm)
What you need:
- White fabric for the front
- White fabric for the back
- Four squares for the hanging sleeve corners same fabric as the back
- Thin fusible batting
- Red fabric, small pieces for the hearts in various materials., this is a great way to use up all those remnants in your treasure chest. I used only solids or batiks to avoid the white edge from printed fabric.
- Red fabric for the binding.
- Black fabric for the letters, preferably a non fraying fabric such as fake suede or similar.
- Fusible web for the hearts
- Coordinating thread
- Spray glue or pins
- Valentine Heart Wreath Pattern.pdf
Making the hearts
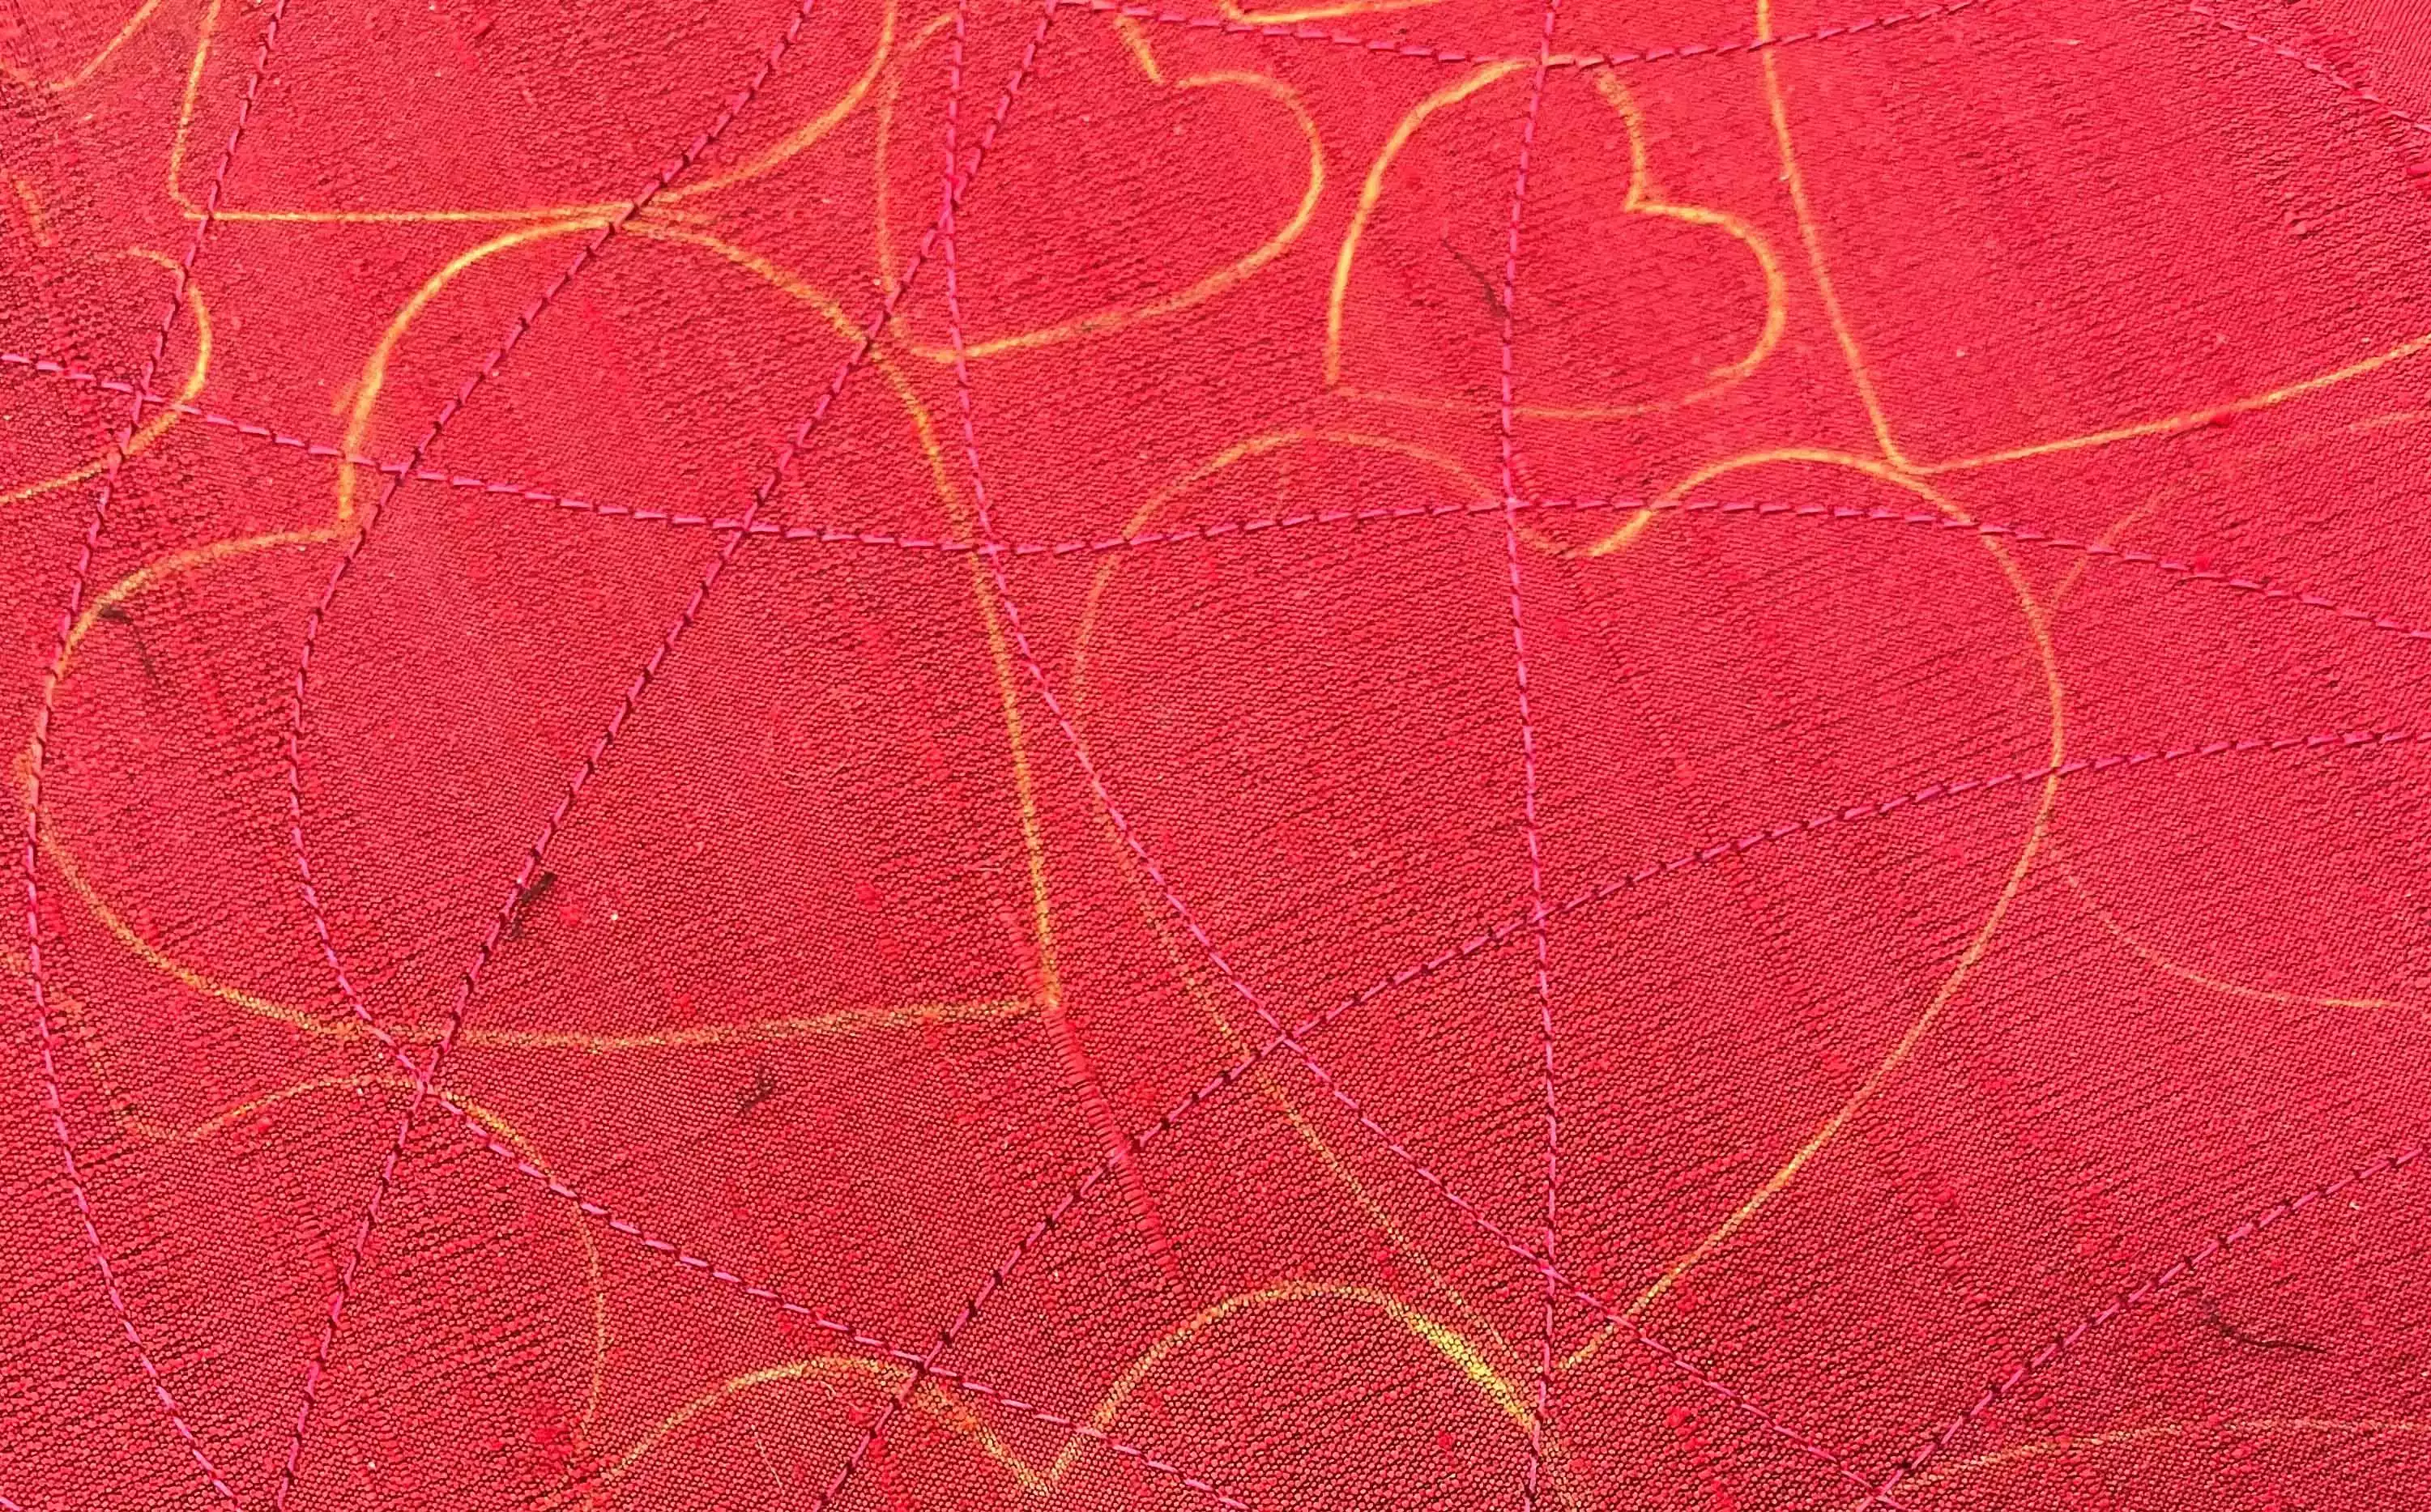
1. Fuse two layers of fabric together, wrong sides facing. You can use small fabric pieces for this in many materials such as cotton, linen, silk, wool, synthetics, You can also use stretch fabric if combined with a non stretch fabric as the other fabric in the fused pair. I used letter sized pieces of fabric to get a good variation. Both sides of the fused fabric combination can be used. Remember to only use batiks or solid colored fabric, because if you use printed fabric you can get a white edge on the hearts
2. Sew a random pattern of straight stitching lines on the fused fabric. You can also use different decorative stitches.
3. Draw the hearts in different sizes onto the fused and stitched fabric. You need about 20 hearts of each size. You can always make some extra hearts later if need to fill out any gaps in the design.
4. Sew in the drawn lines with a shorter straight stitch.
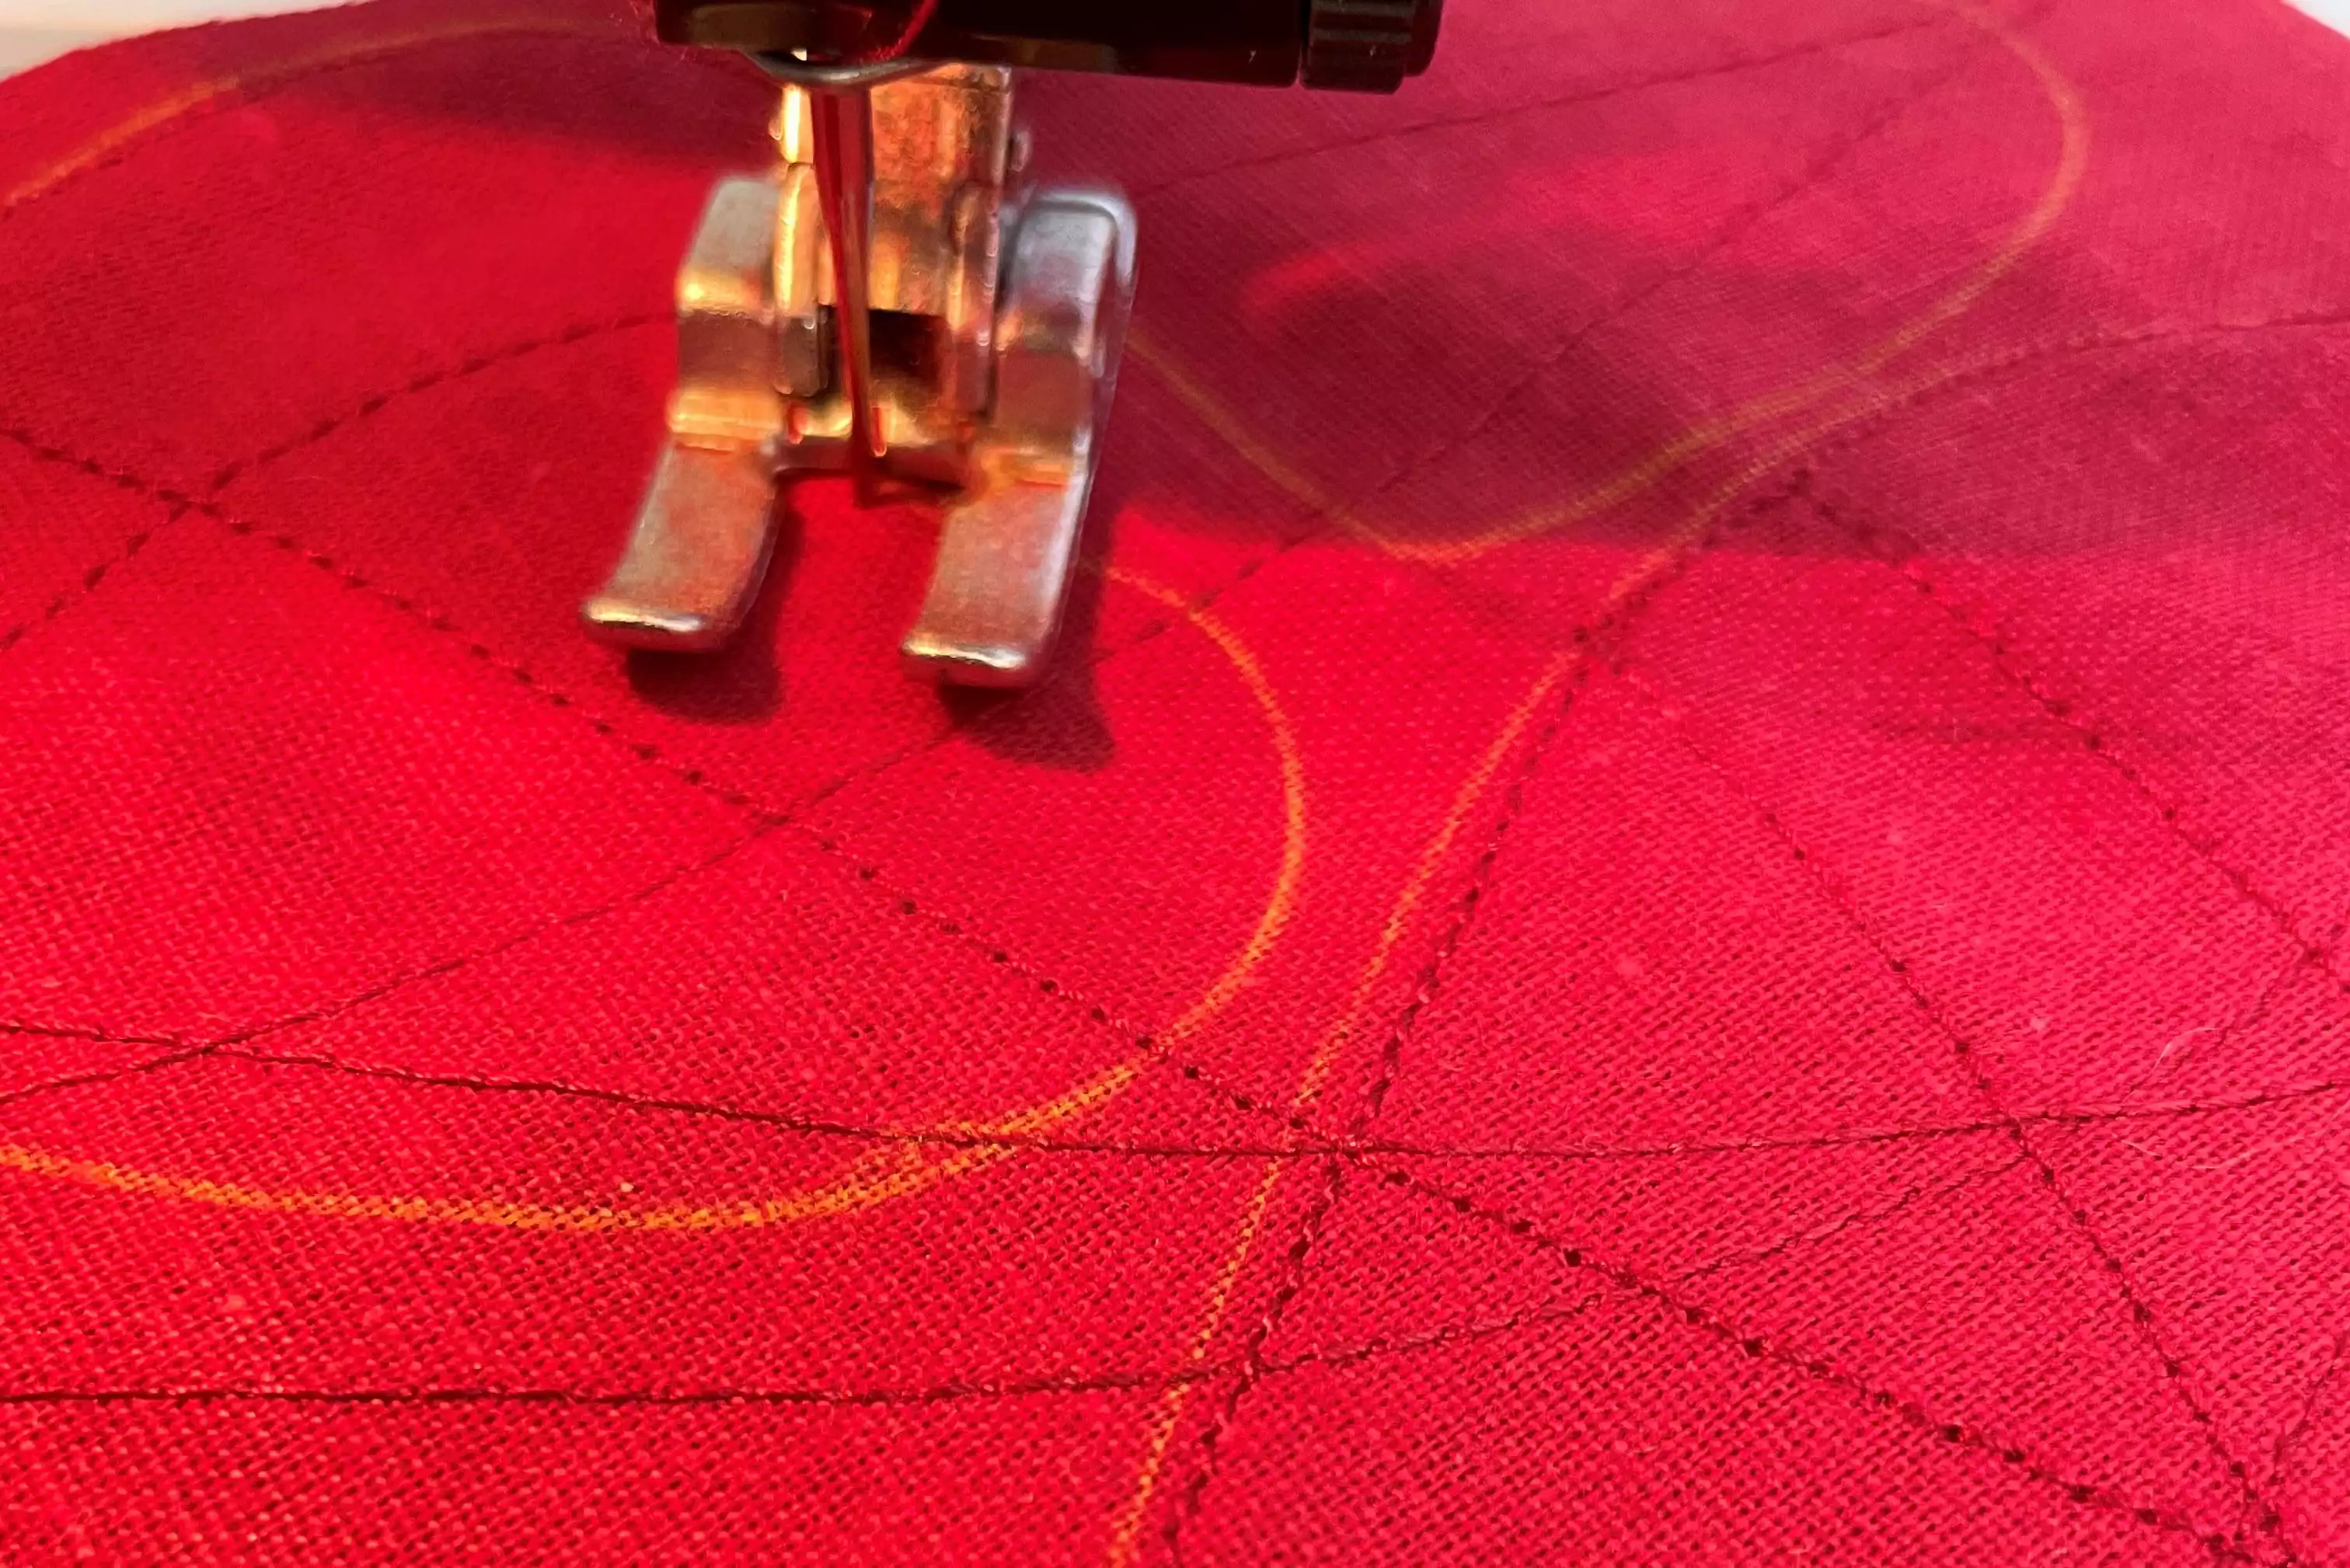
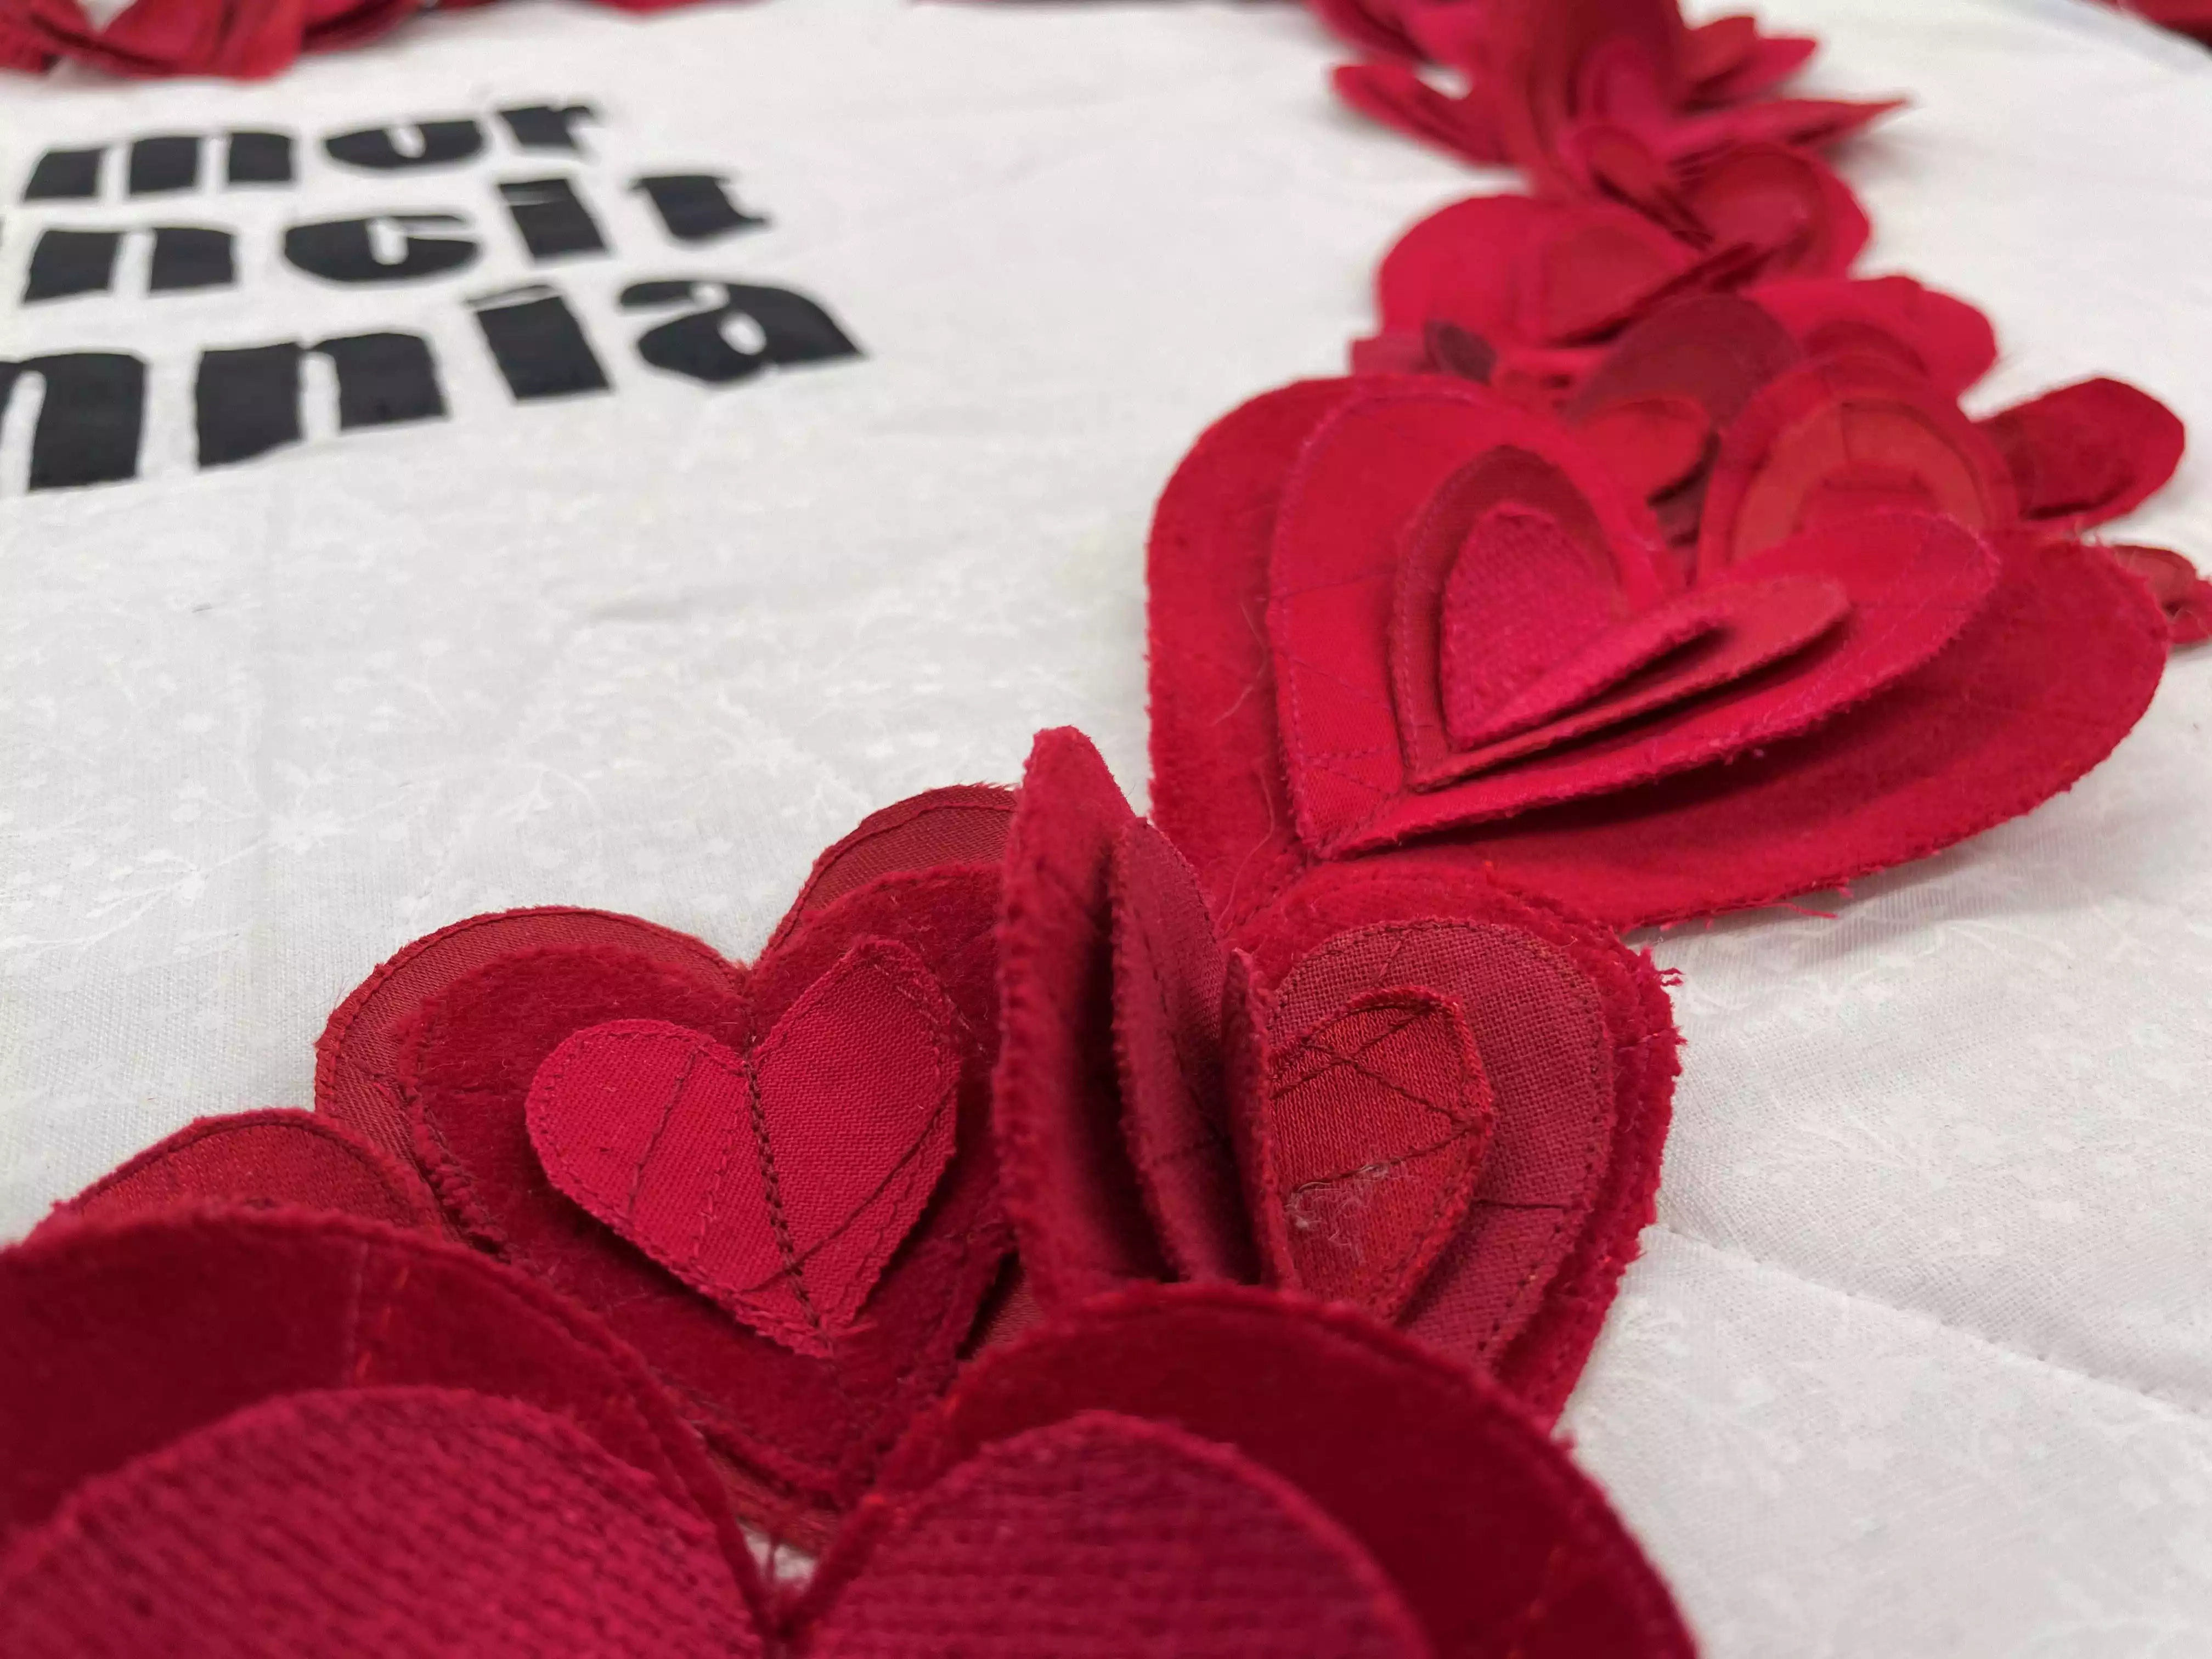
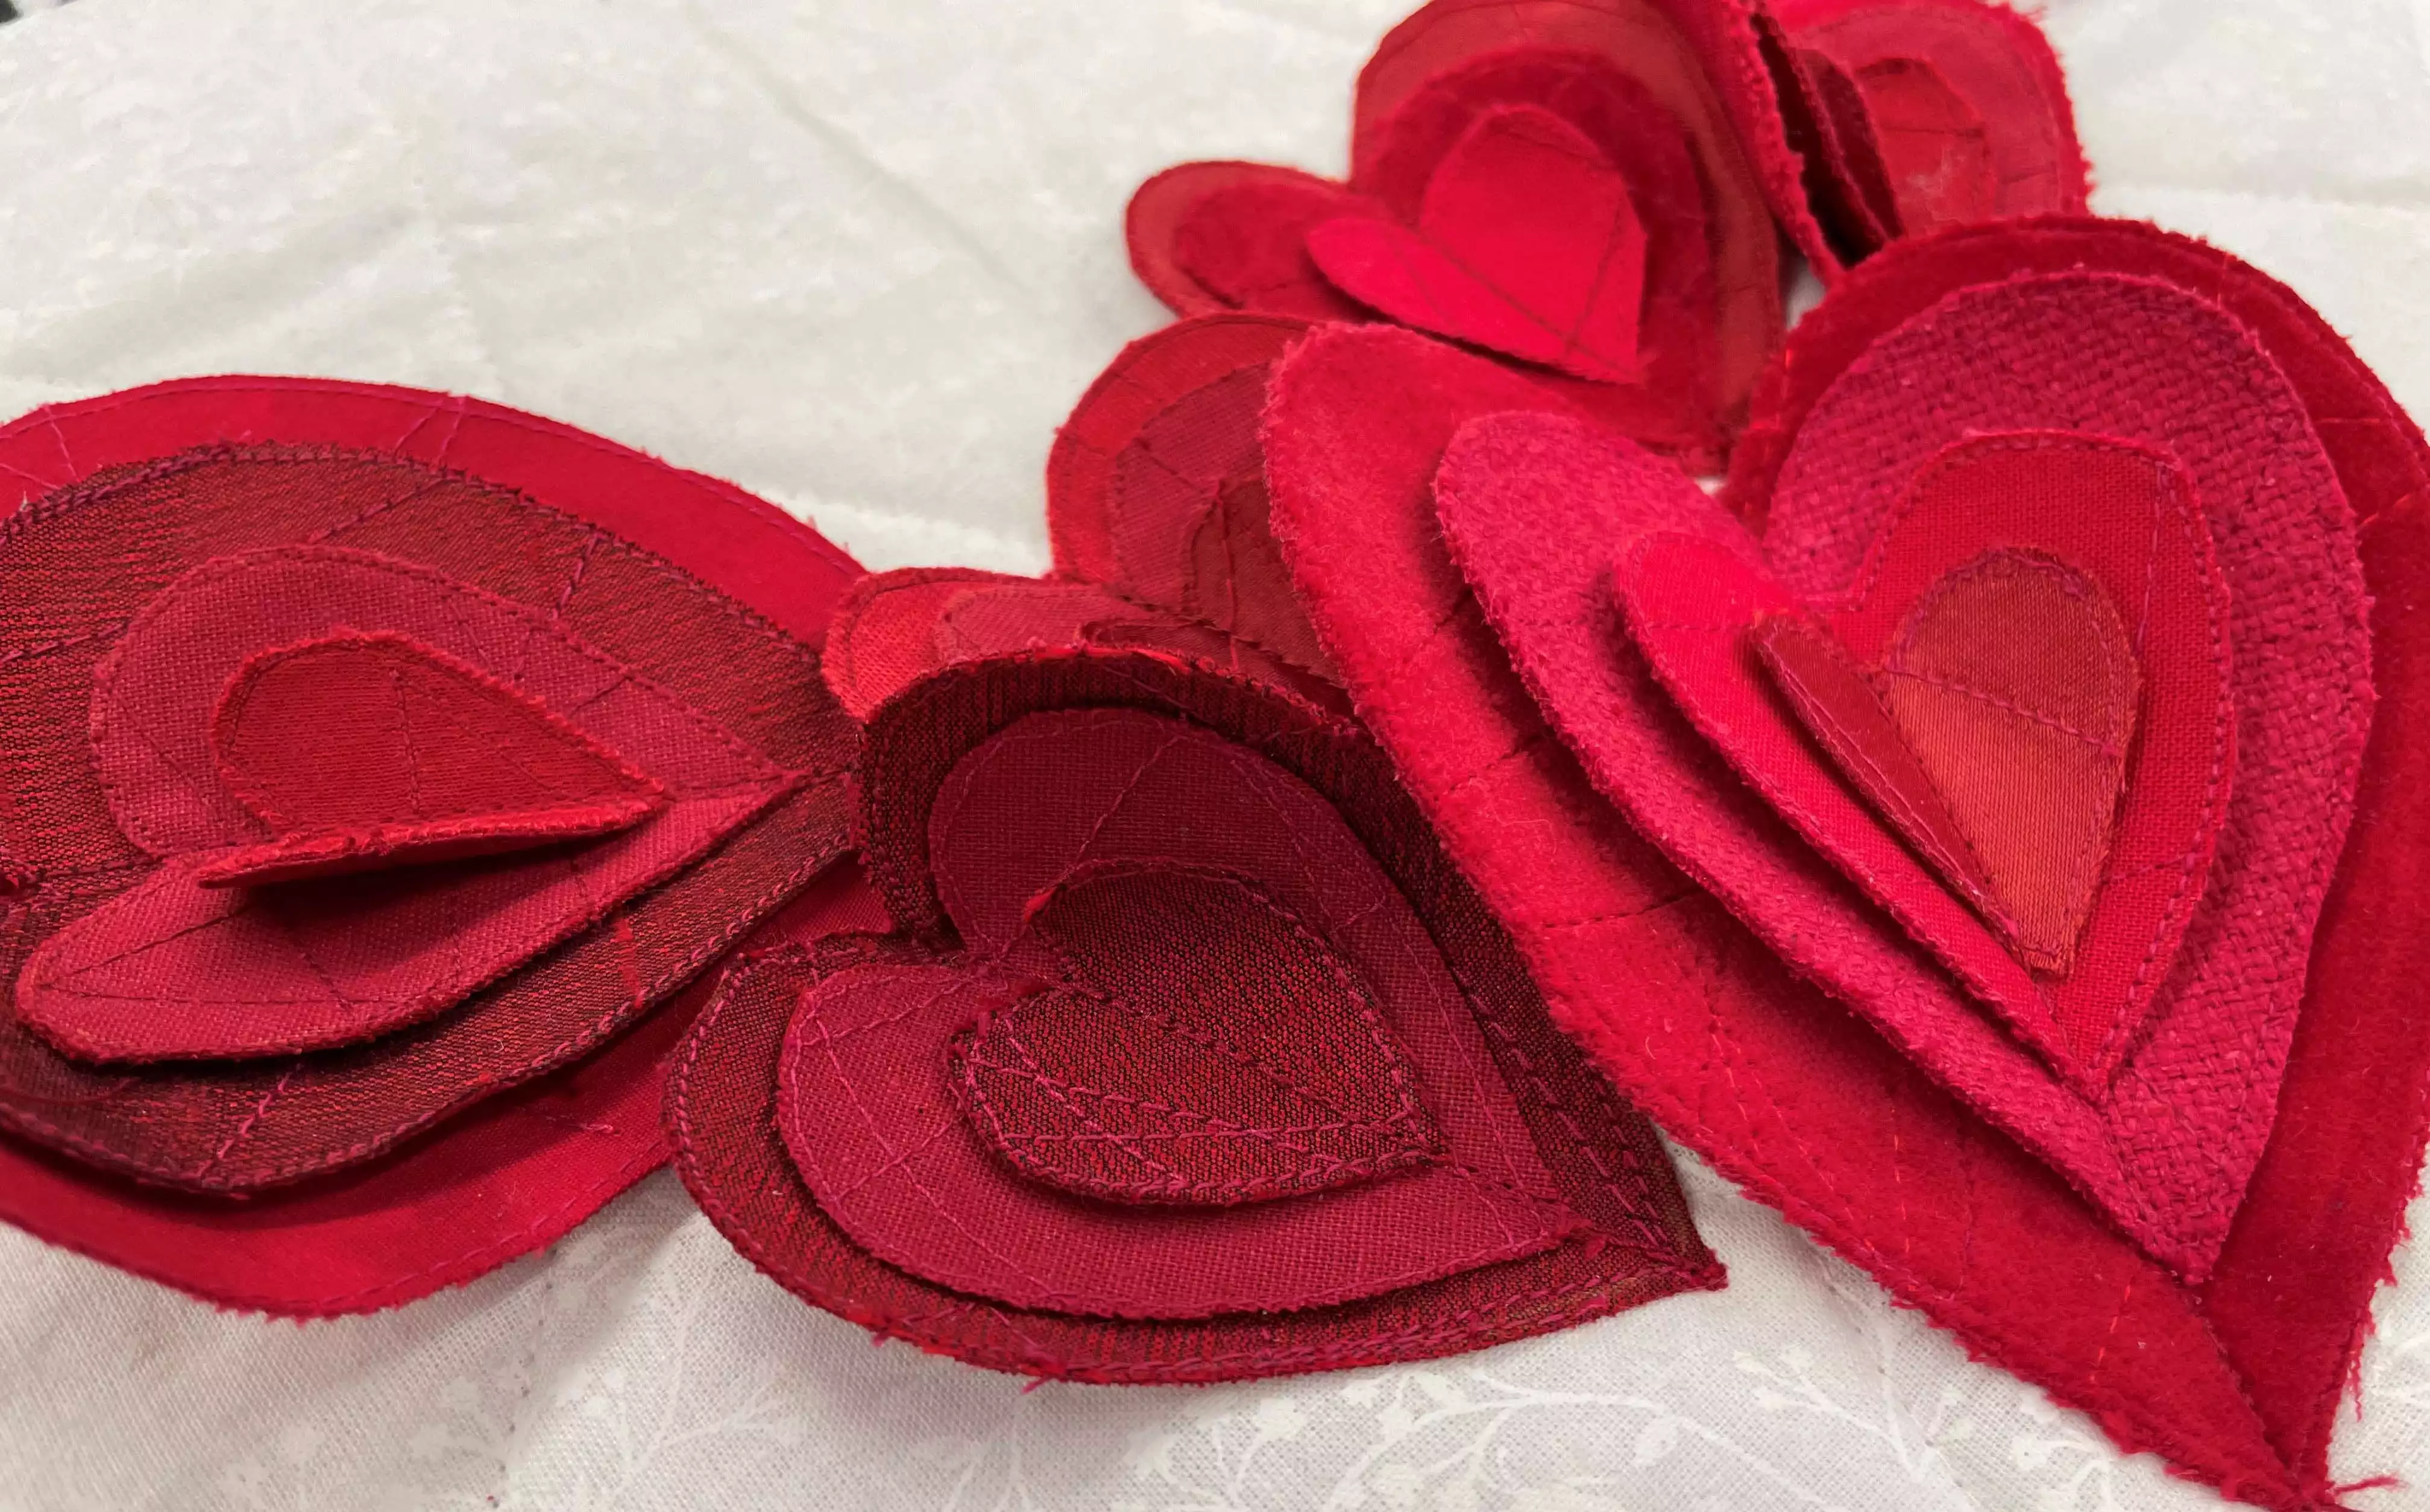
5. Cut out the hearts close to the stitching and lay them on top of each other, four layers (A,C,D,E) of different sizes to make the large heart and three (B,D,E) for the smaller heart.
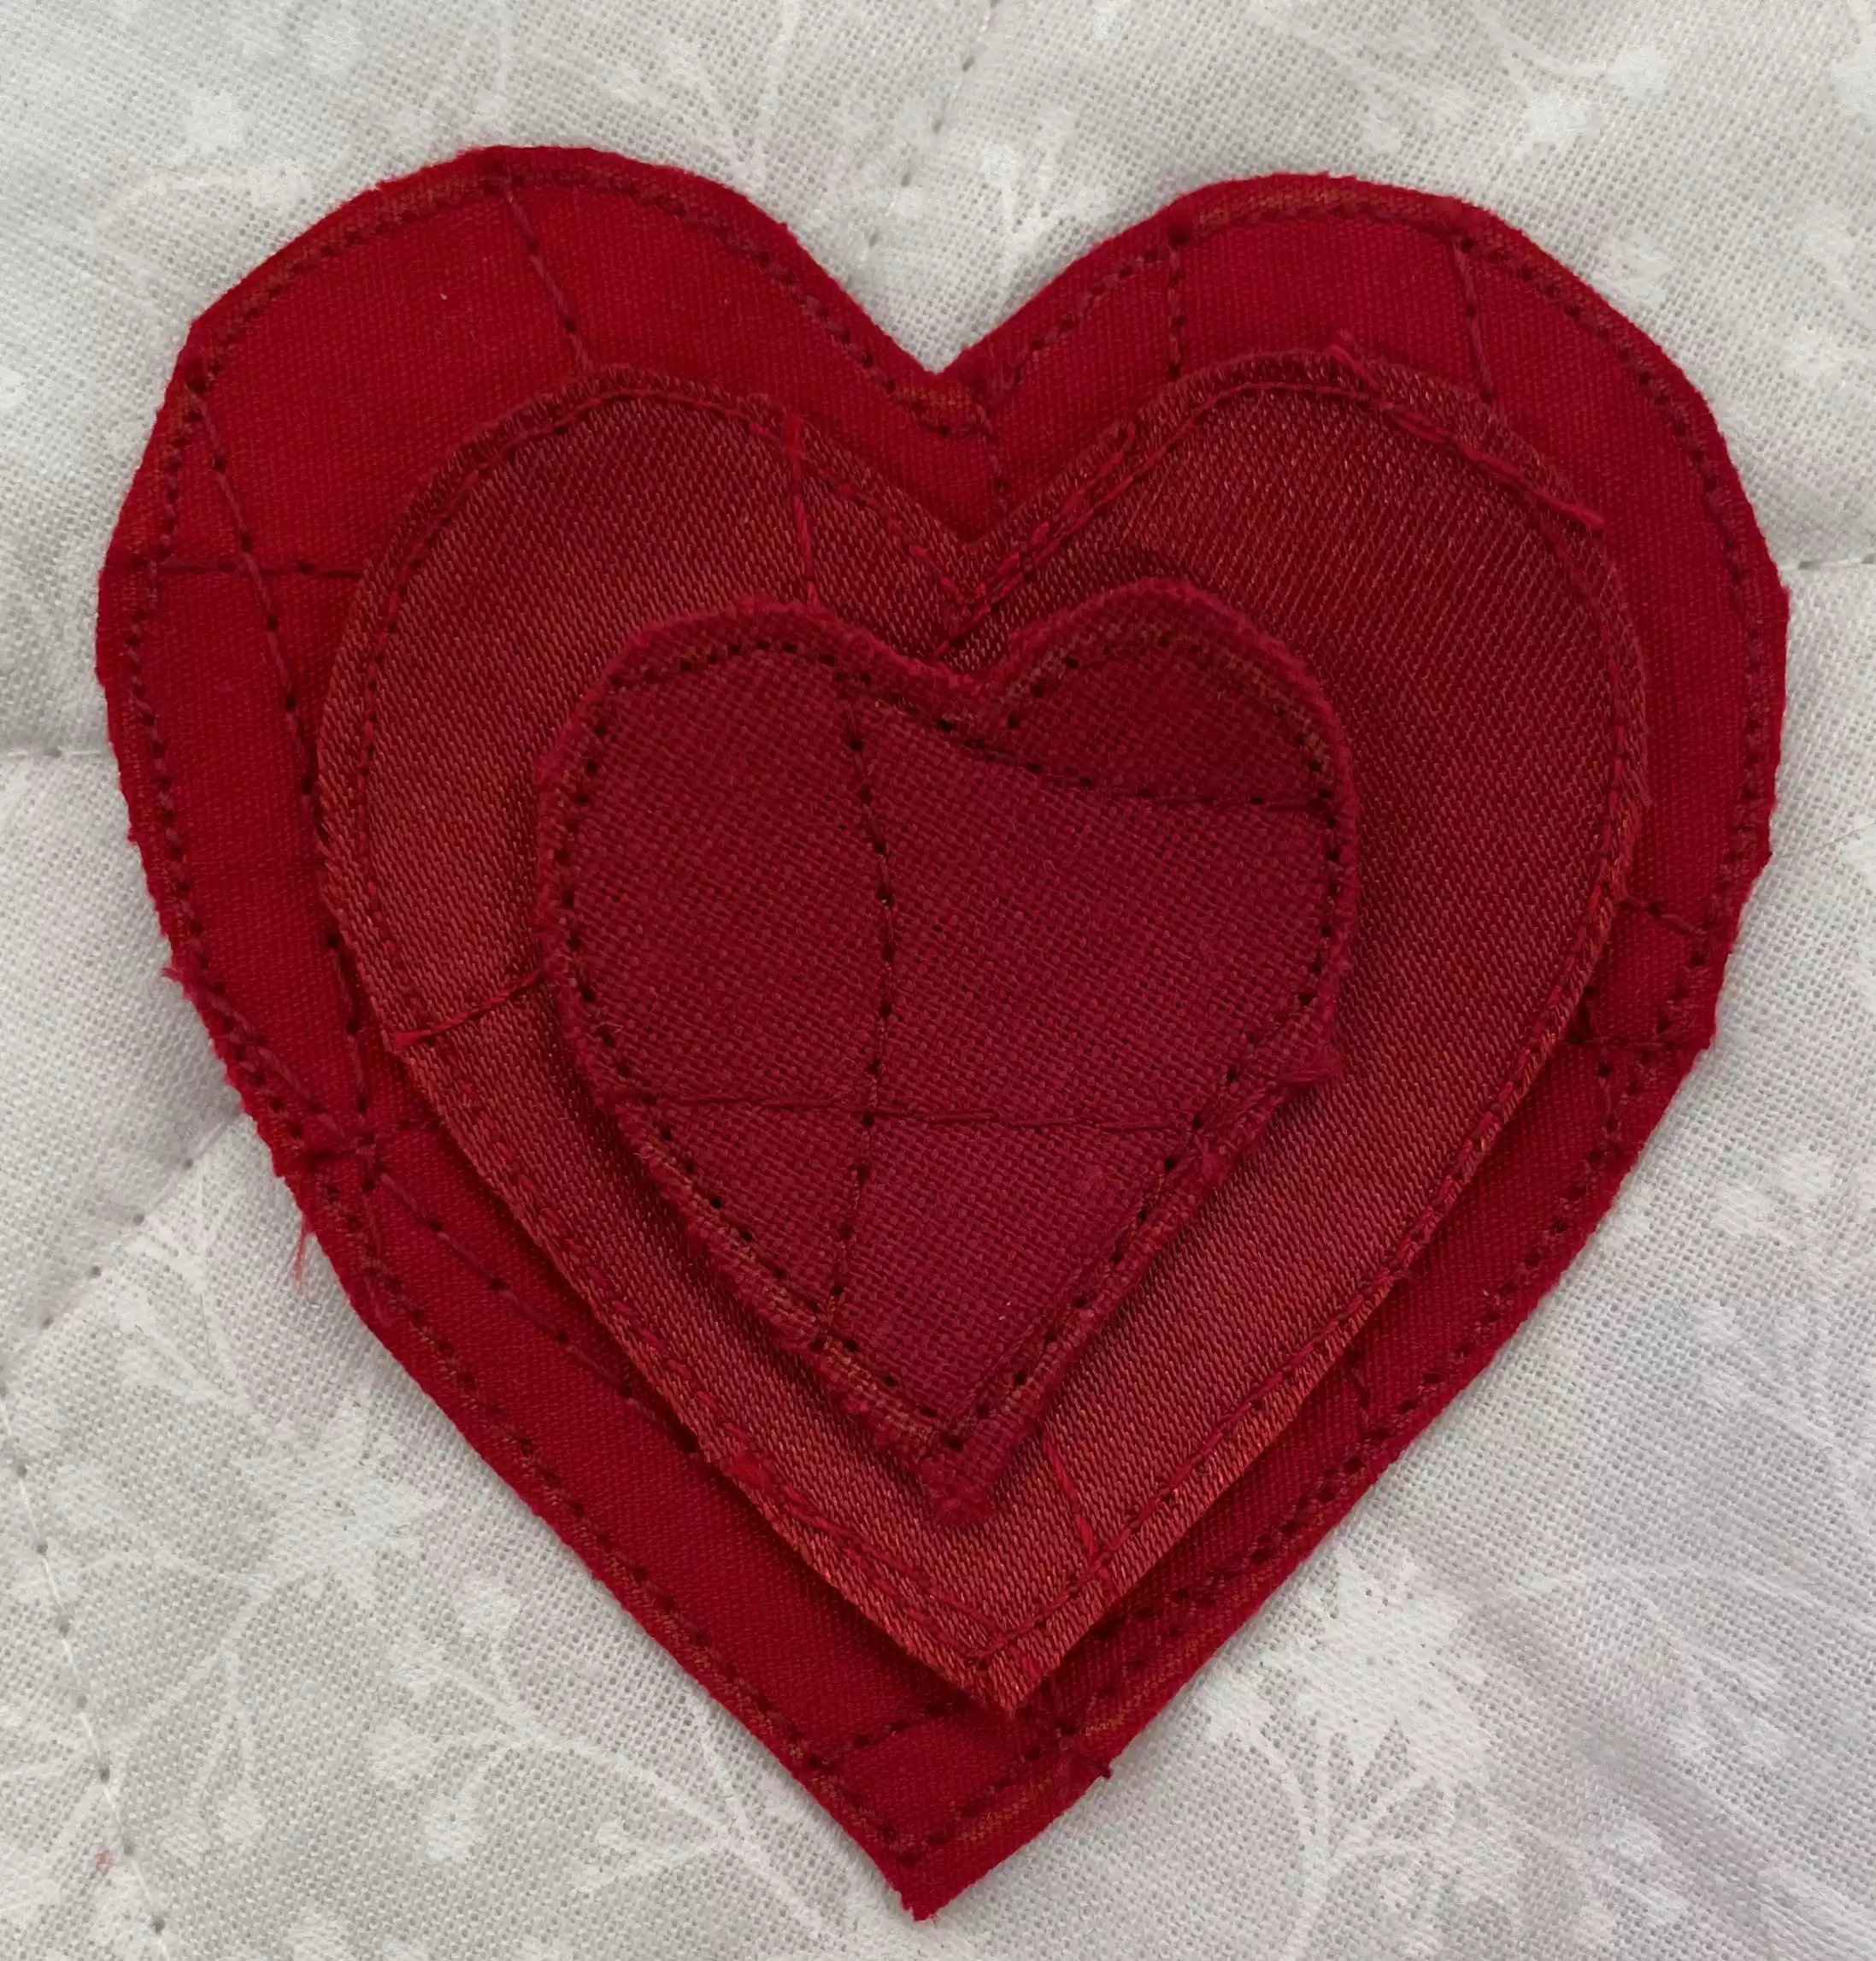
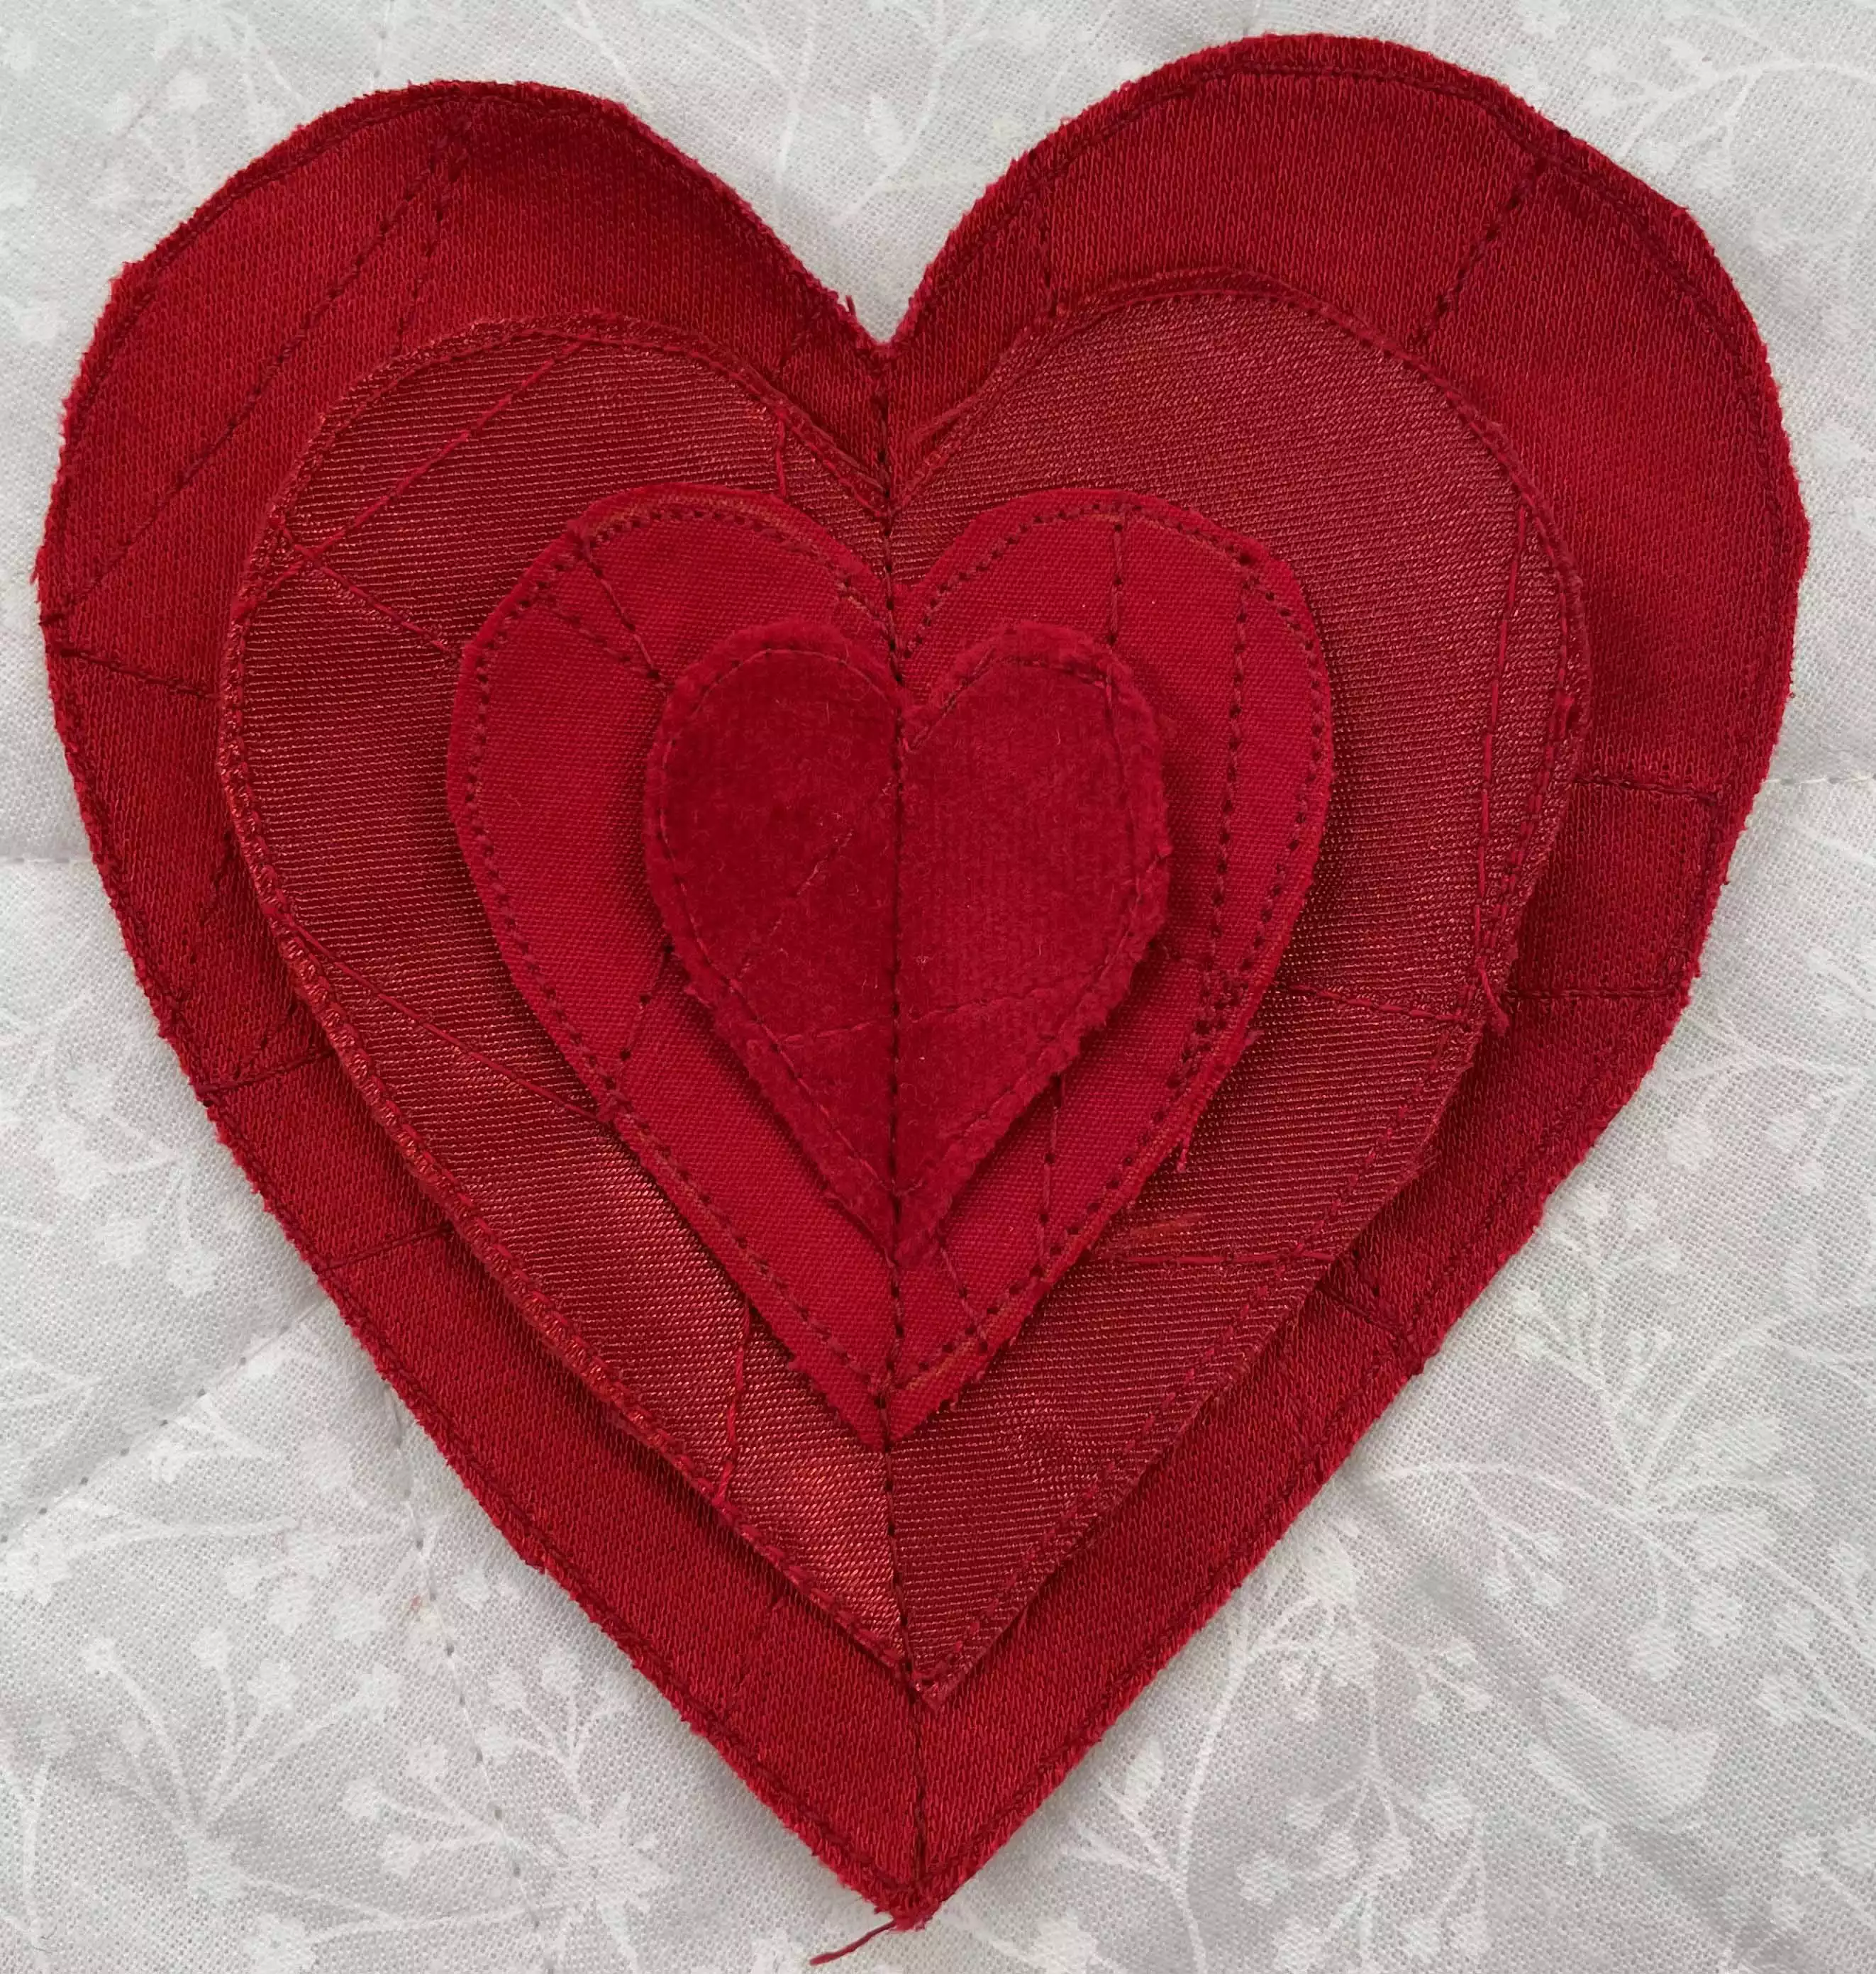
6. Stitch a line in the middle of the layered hearts see picture above on the left side. Set aside for now
Making the lettering
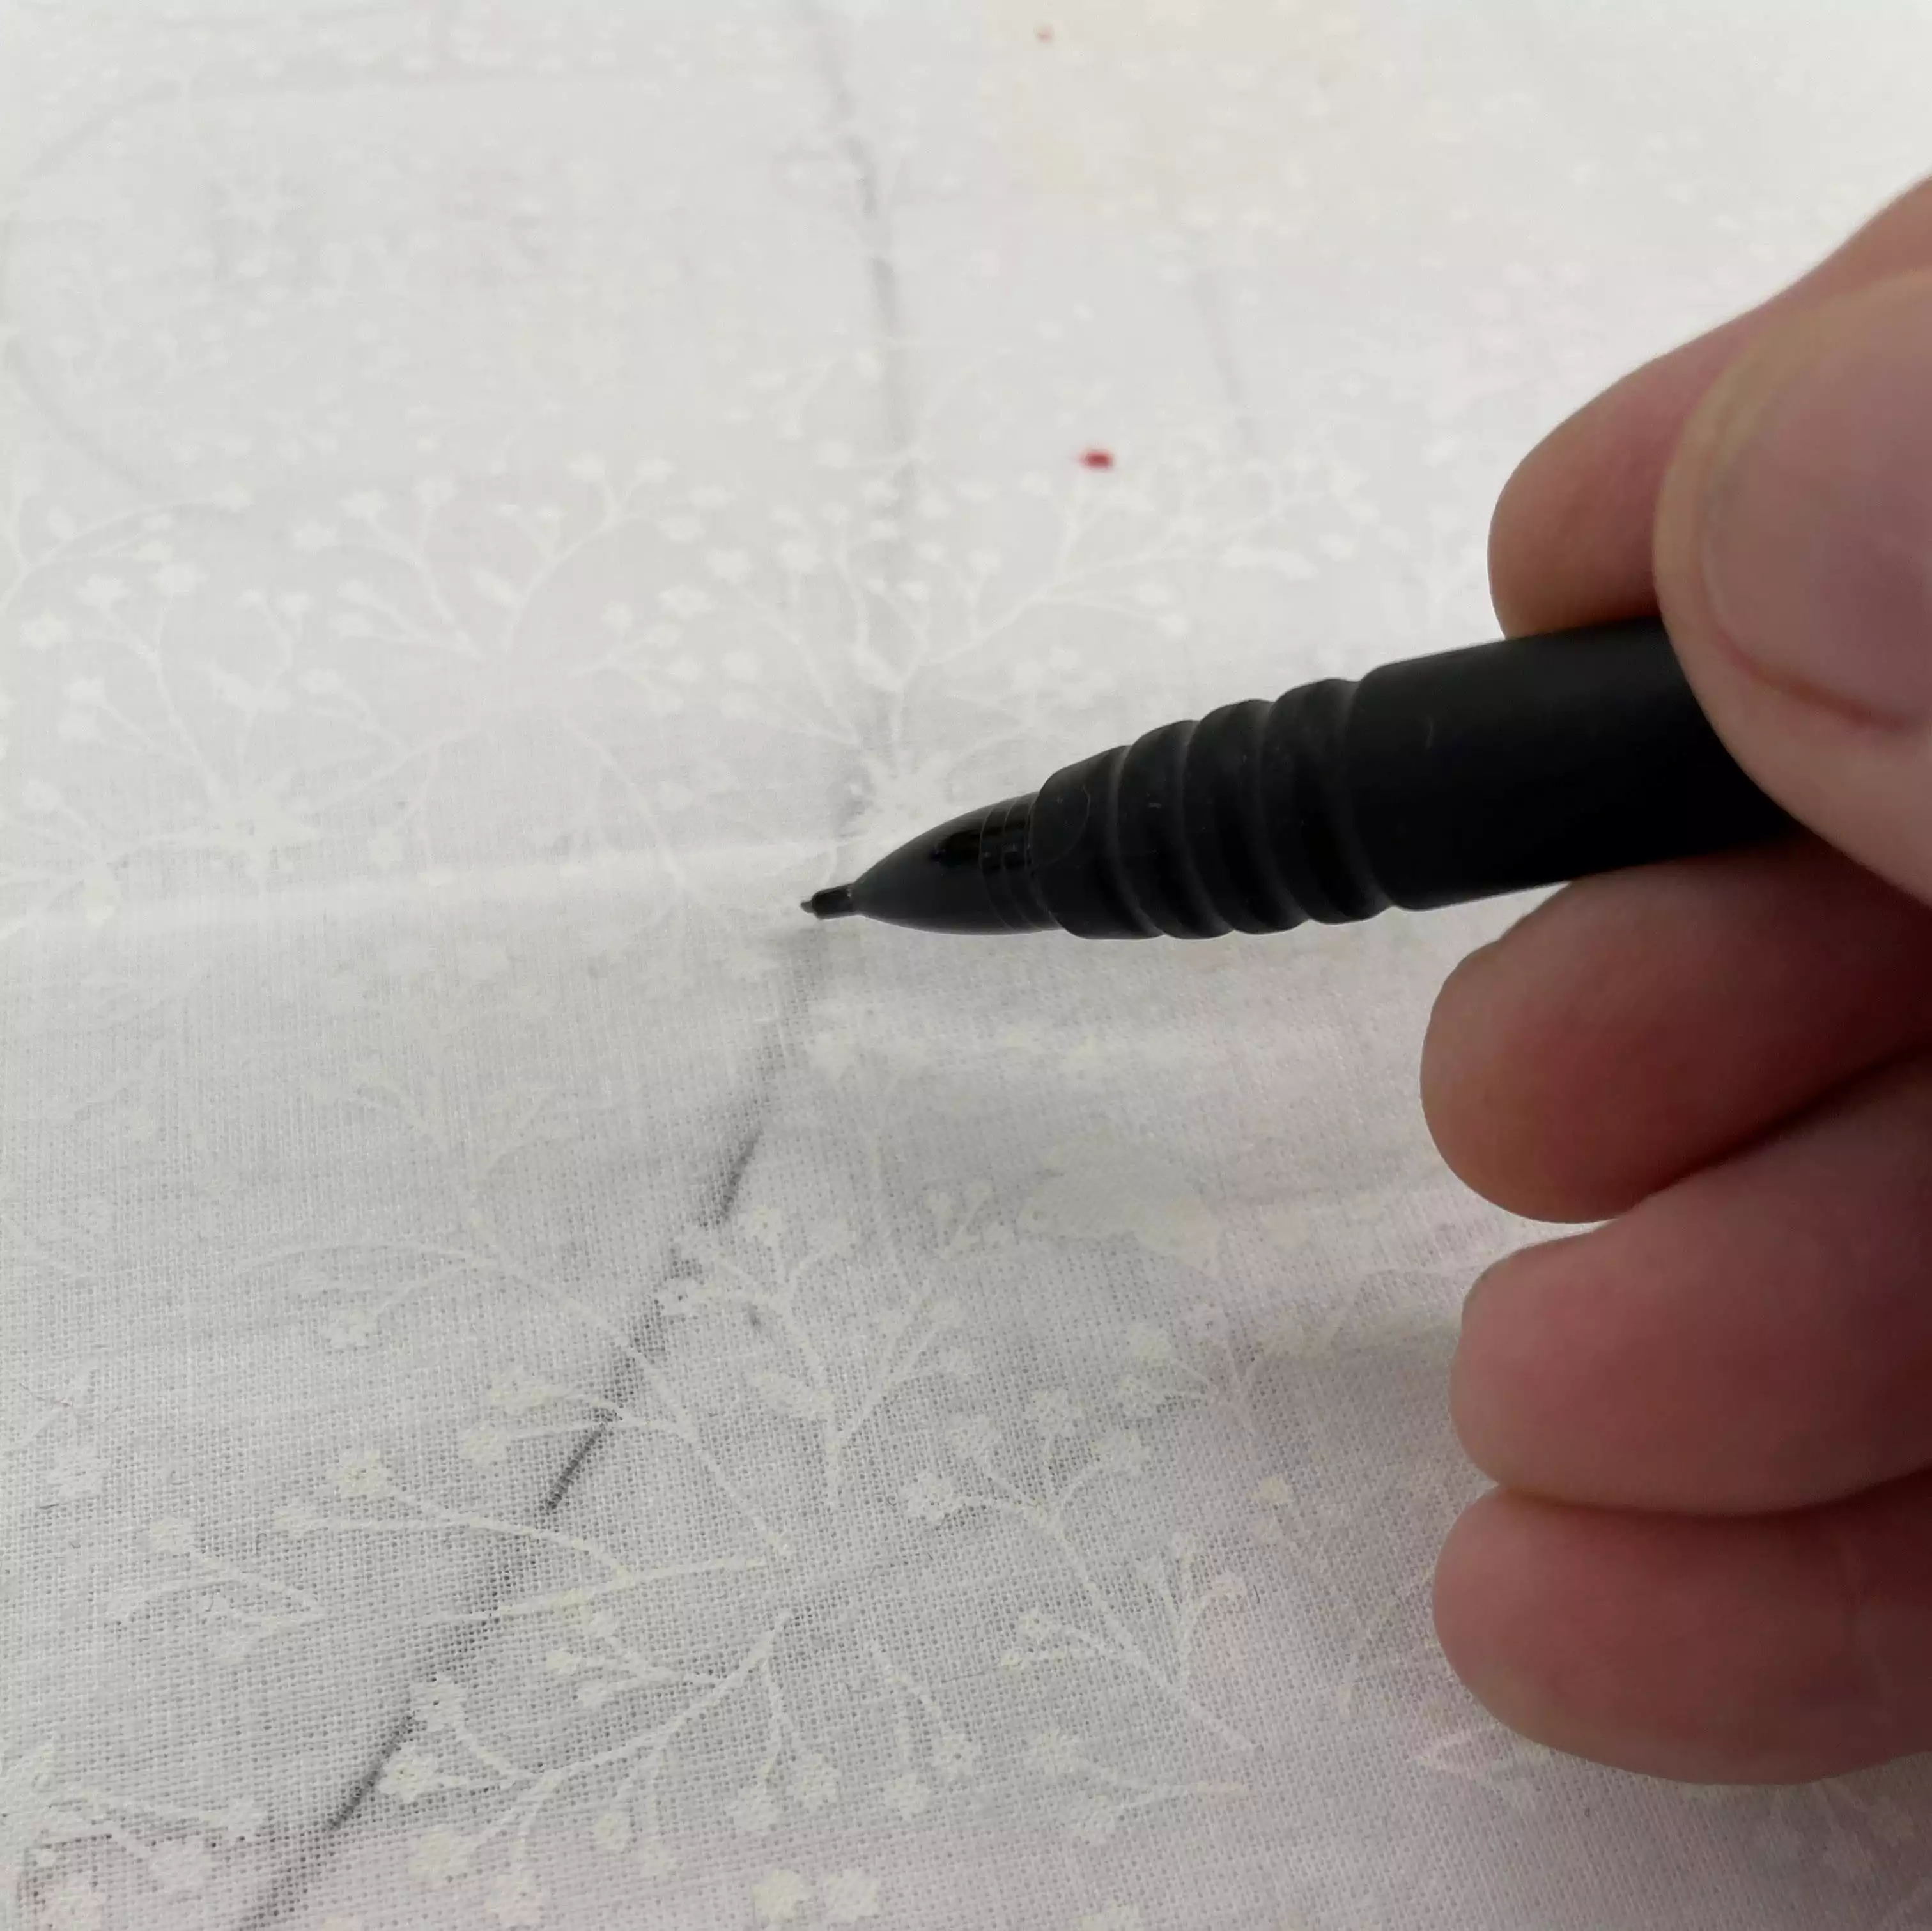
7. Draw the letters on the paper side of the fusible web and fuse them to the wrong side of the fabric.
8. Cut the letters out and fuse them to the white fabric for the front.Use the printed pattern as a guide for placement. Also draw the outlines of the heart wreath for easier placement later in the process
9. Stitch close to the edges of the letters.
Preparing the background
10. Fuse the batting to the quilt backing fabric.
11. Place the front fabric with the lettering on top of it and pin or spray baste in place.
12. Quilt in a random order like you did on the heart fabric earlier, avoid stitching over the lettering in the middle.

Putting it all together
13. Pin the hearts in place, let them overlap each other to get a fuller appearance. The layout on the printed pattern is only a suggestion, just follow the outline you made earlier.

14. Stitch the hearts in place with a straight stitch in the middle, on top of the previous stitching.
15. Square the quilt up and make the size 34”x34” “ (85x85cm)
Binding the edges and finishing the quilt
See separate instructions for binding the quilt and how to make the hanging sleeve corners. Find it in the How-To section: Binding the Edges with Mitered Corners Single Layer and the instructions for Hanging Sleeve Corners.
© mySewnet Studio