 United States
Replace a Zipper in a Jacket
Save money and give your jacket a longer life. It is not as complicated as you might think. This tutorial will guide you step-by-step.
What you need:
- A jacket in need of a new zipper
- Replacement zipper in the same length as the previous one
- Matching and contrasting sewing thread
Preparing the jacket
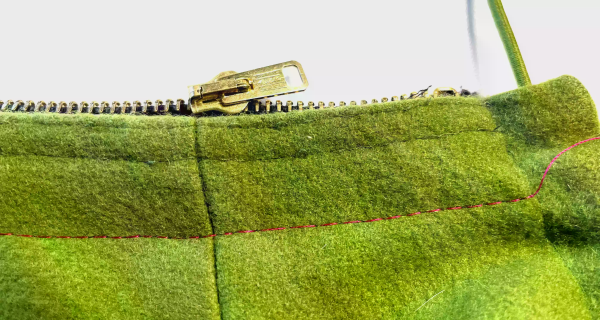
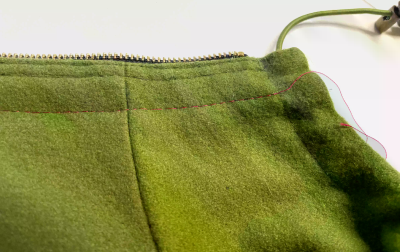
1. The first thing to do is to stabilize the layers. This will make the rest of the work so much easier. Thread your machine with contrasting thread on top and bobbin.
2. Set the machine to straight stitch and change to the longest stitches possible. This makes it easier to remove the basting stitches later. Topstitch through all layers about 1” (2,5cm) from the edge.
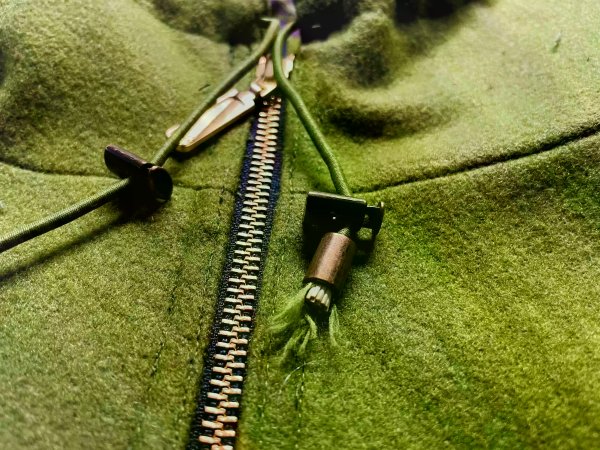
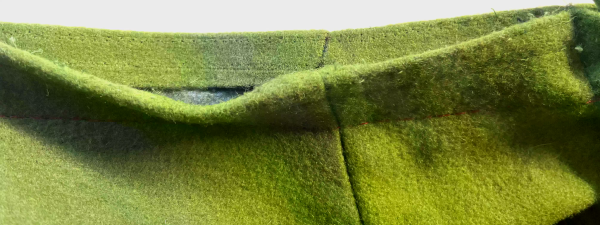
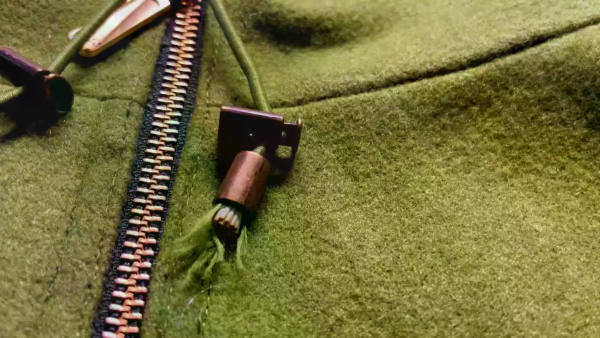
3. Remove the old zipper, be careful not to cut into the fabric.
4. Remove all small pieces of thread from the old seam.
Preparing the zipper
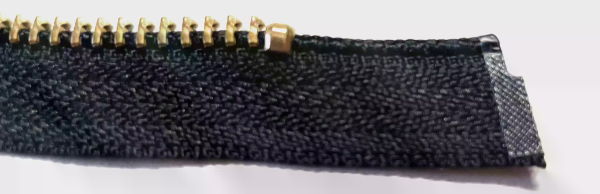
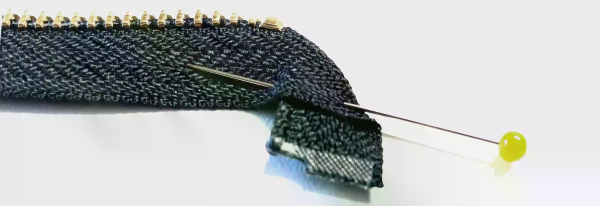
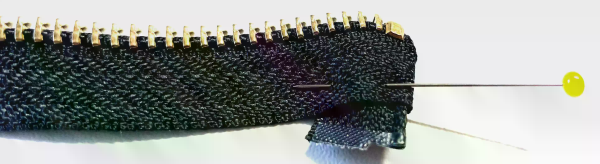
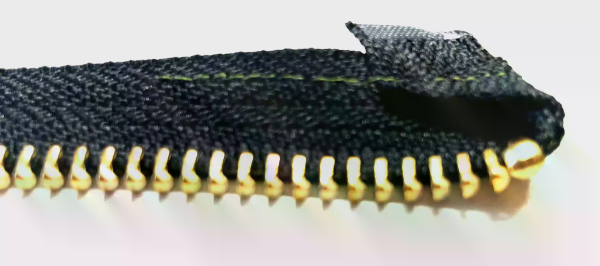
5. Fold the top edge of the zipper at a 45 degree angle down to the start of the zipper teeth., then fold the end to the back. This makes the zipper easier to align to the top of the jacket. See pictures below for clarity.
Finishing steps
6. Pin the zipper in place.
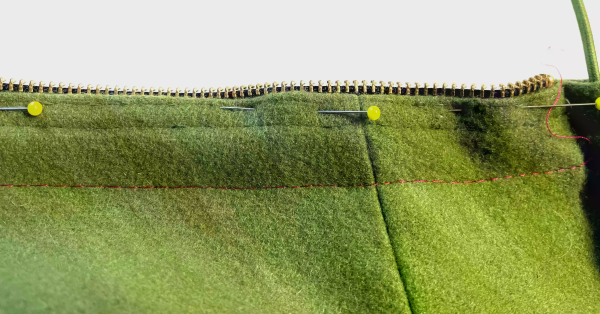
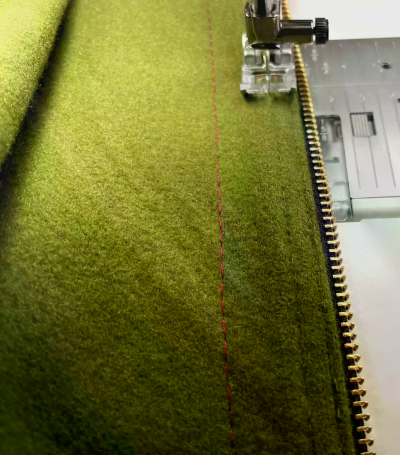
7. Stitch on top of the markings from the old seams. Use a straight stitch and a stitch length about 3mm. Use matching thread on top and bobbin. Secure the stitches at the start and end of the seam.
8. Test the zipper to see that is moves easily and don´t get stuck when closing the zipper
9. Remove the basting stitches and press.
Now you have given your garment a new life, enjoy!