 United States
Create an Encore Design in mySewnet Embroidery Software
As part of mySewnet Silver, Gold and Platinum Levels of mySewnet Embroidery Software, you will find the Encore feature. Here is an instruction on how to create an elaborate flower from one of the designs from mySewnet Library.
With 30-day Free Trial of mySewnet Embroidery Software you will get to try out the most user-friendly and feature rich digitizing software on the market. It works with all embroidery machine brands and is available for both Windows and Mac.
What you need:
- mySewnet Embroidery Software
- Embroidery Design from Library - Click on images below
How to create it:
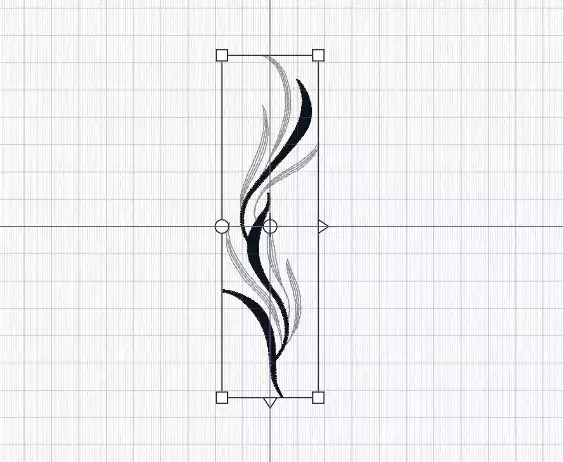
Open mySewnet Embroidery Software and choose Blank Canvas.
In the hoop Selection Pop-up choose the 360x260 hoop, ChooseRotated orientation.
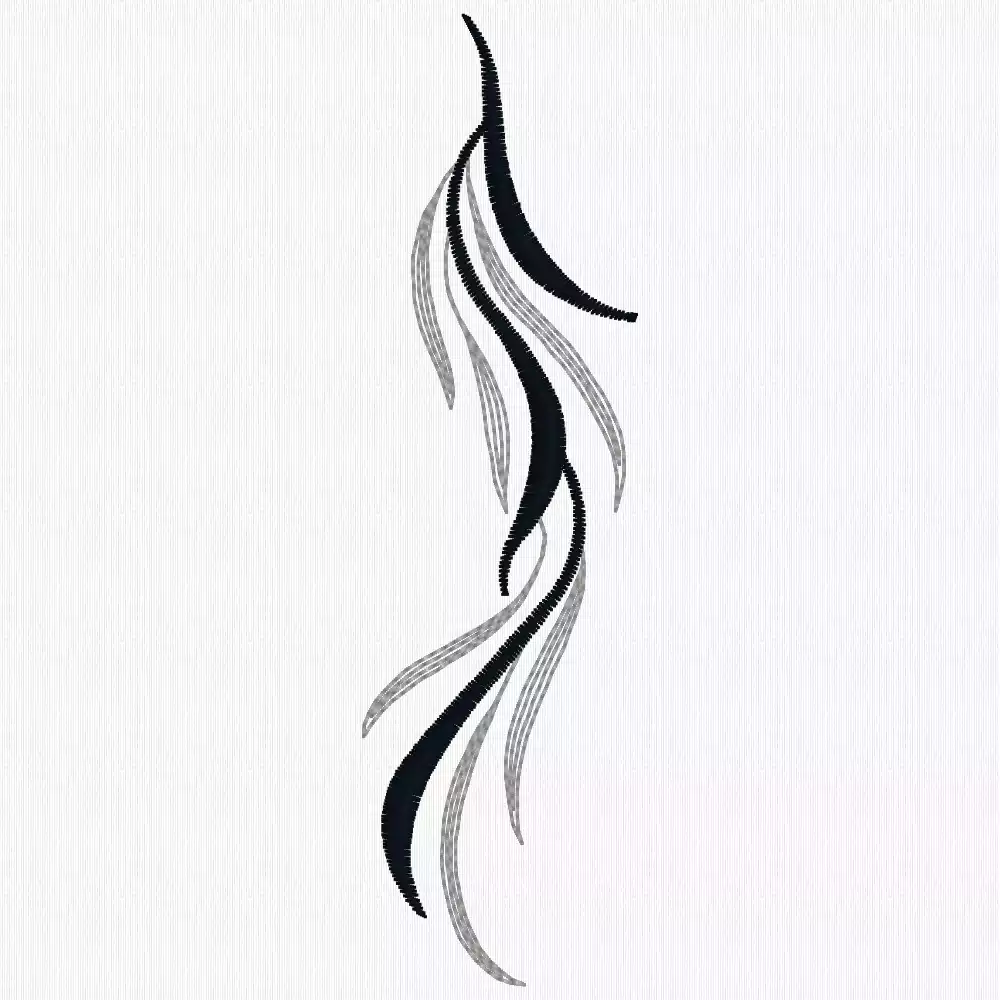
Click File and Open. Find design XXX (large version) design and open it.
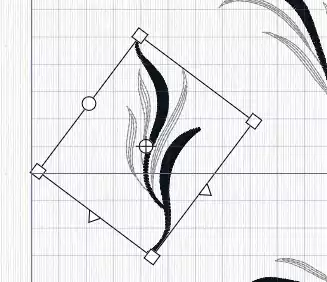
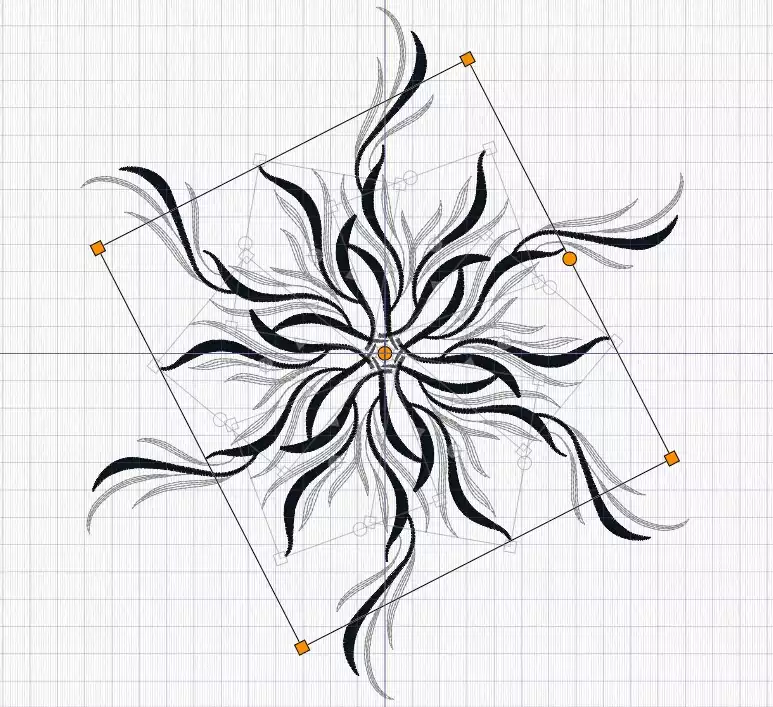
Rotate the design to look like the image below.
The rotation of your design determines the design of the Encore.
Click on the Encore Tab. Choose Encore in a circle, Standard.

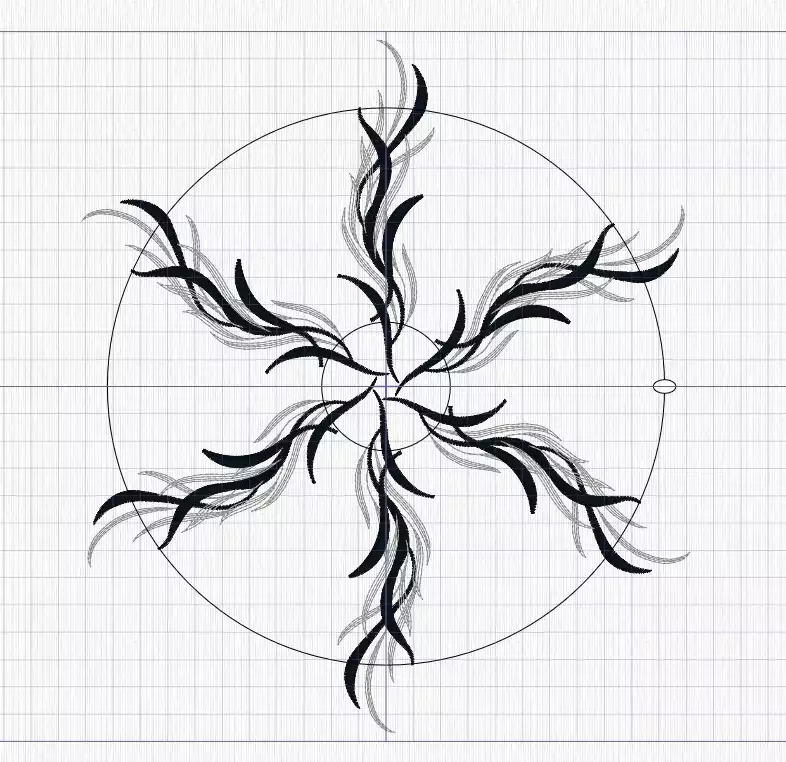
Set 6 repeats and click Preview

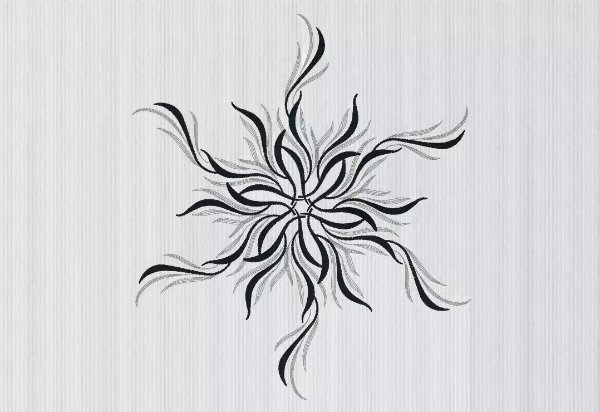
The Encore design with 6 repeats appears in the hoop and is too large to fit.
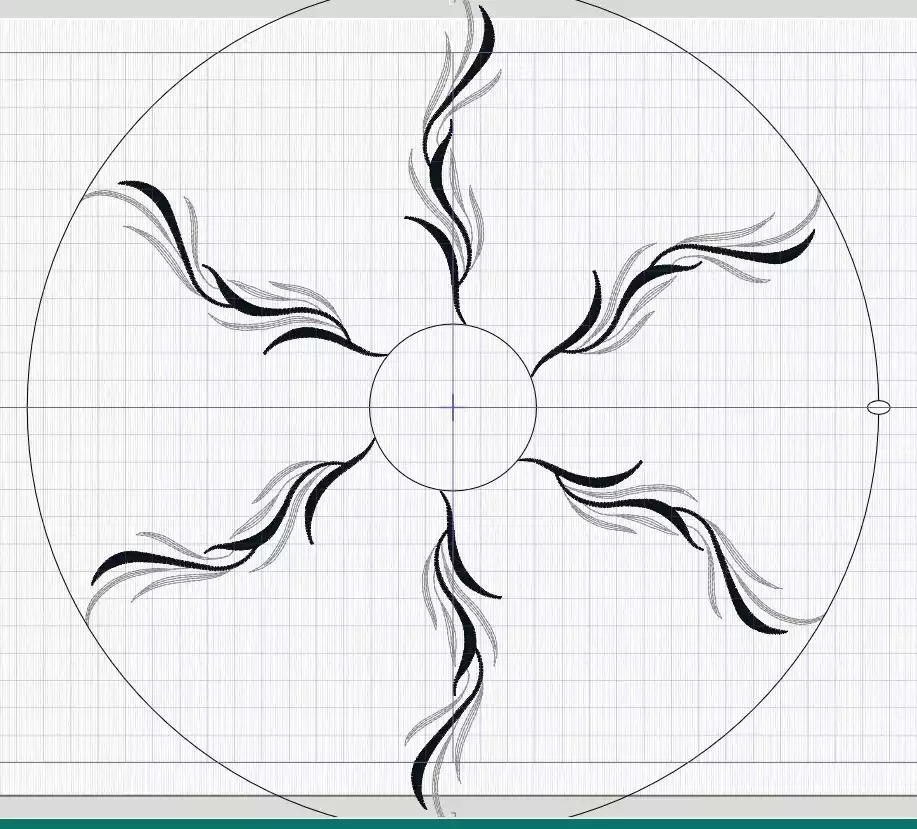
Click inside the circle to drag the design elements closer together and change the size to fit the hoop.

When you are happy with the result. Click Apply
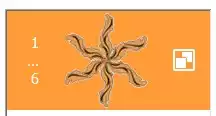
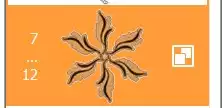
The Design appears in the Filmstrip as a Group with element 1 to 6.
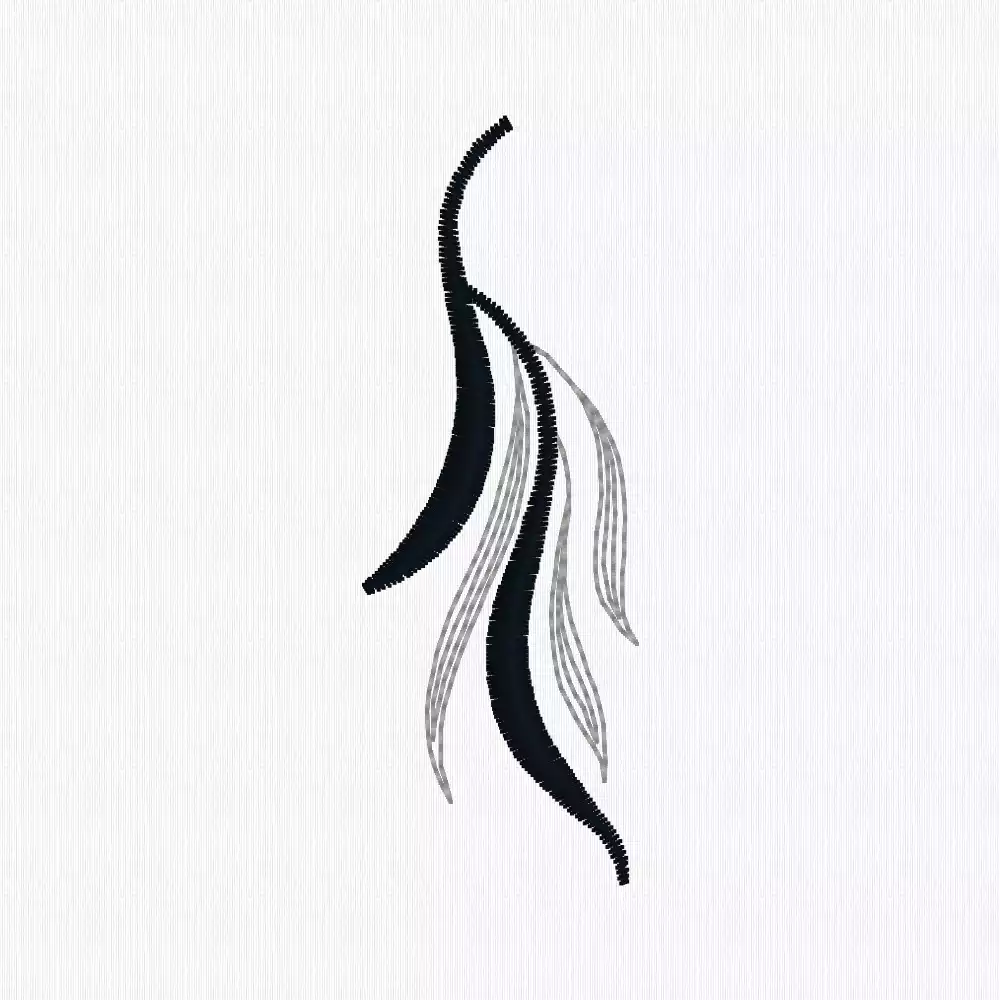
Click File and Open. Find design XXX (small version) design and open it.
Rotate the design to look like the image below.
Choose the same Encore settings as before; Encore in a circle, Standard.
Set 6 repeats and click Preview
The Encore design with 6 repeats appears in the hoop on top of the large one in the center of the hoop.
Click inside the circle to drag the design elements closer together and change the size to fit the hoop.
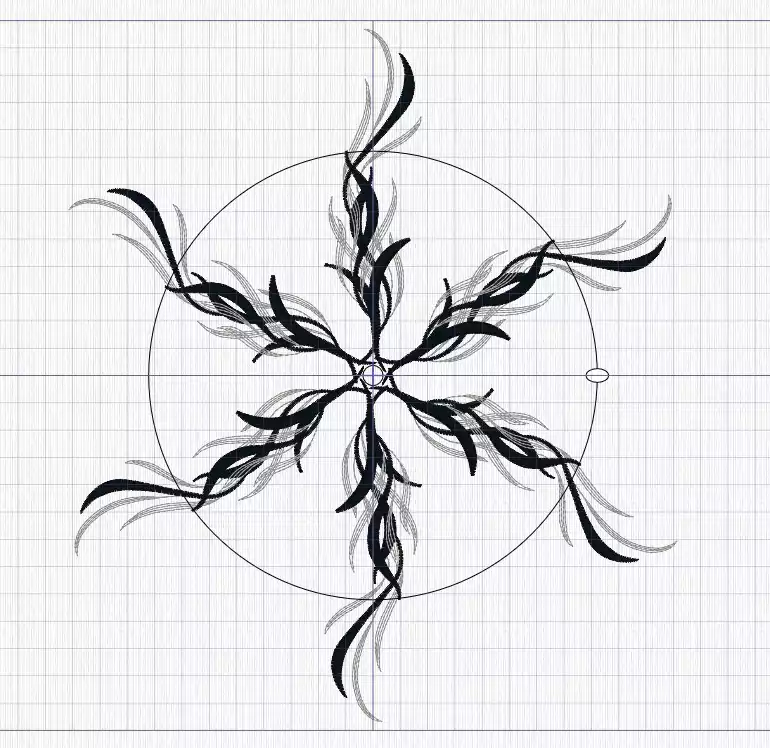
When you are happy with the result. Click Apply
The Design appears in the Filmstrip as another Group, with Elements 7 to 12.
Use the Rotate handle to change the design and position it nicely with the large flower.
Go to the Home Tab.
Hold down Shift or Ctrl and click on the two Groups in the Filmstrip. Ehen both are selected, click Combine/Combine All and ColorSort.
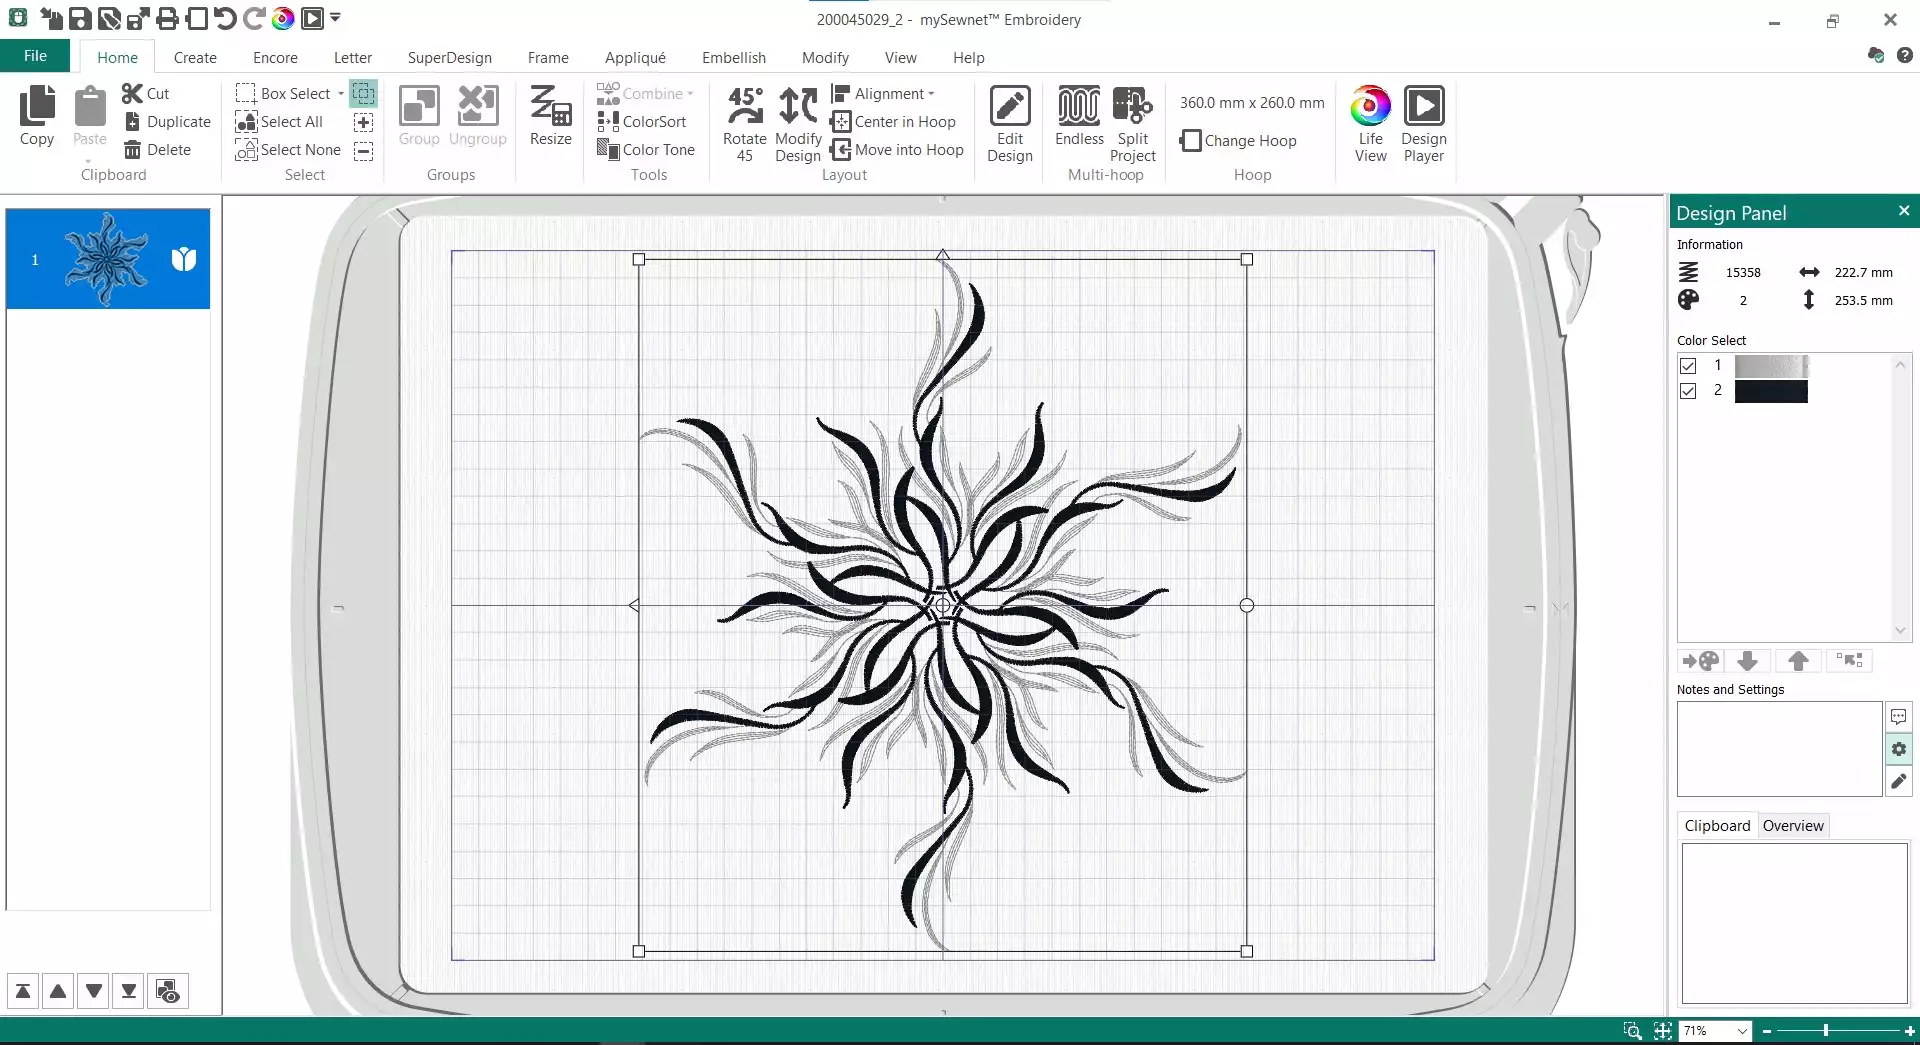
All elements of the design are combined and appears as a design in the Filmstrip. In the Design Panel, the number of colors has been reduced to 2 since none of the Color Blocks are overlapping.
The Encore Embroidery Design is ready to be stitched out. Either send it directly to your mySewnet enable machine in the mySewnet Send Options in the top right corner, or Export to the file format you need.