 United States
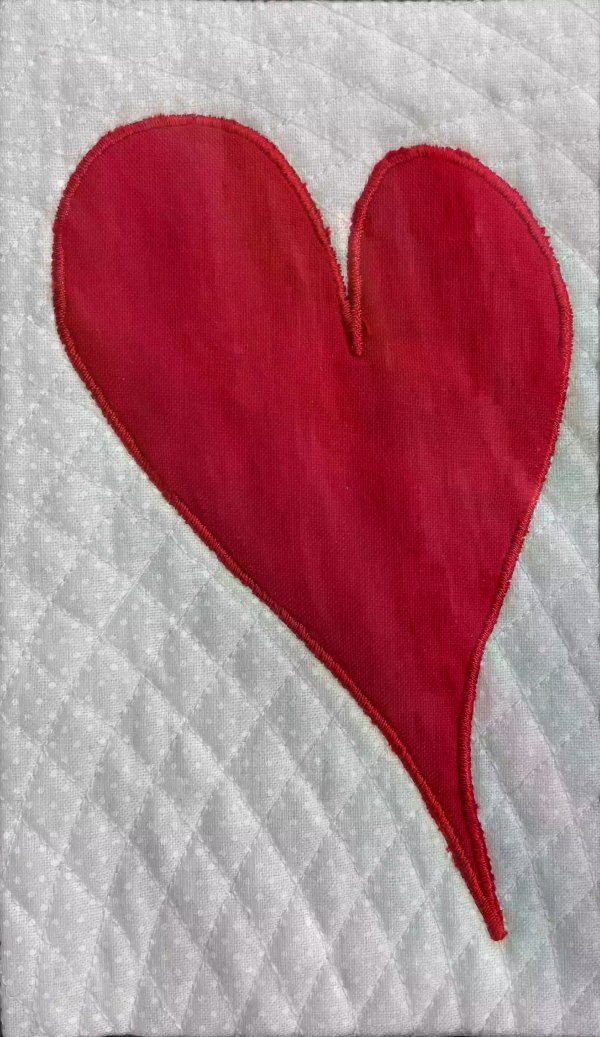
Quilted Block with Applique created in the Embroidery Digitizing Software
Learn how to make applique embroidery designs with quilted background. It is easy to change the applique embroidery design and the quilted background , just follow the instructions below!
With 30-day Free Trial of mySewnet Embroidery Software you will get to try out the most user-friendly and feature rich digitizing software on the market. It works with all embroidery machine brands and is available for both Windows and Mac.
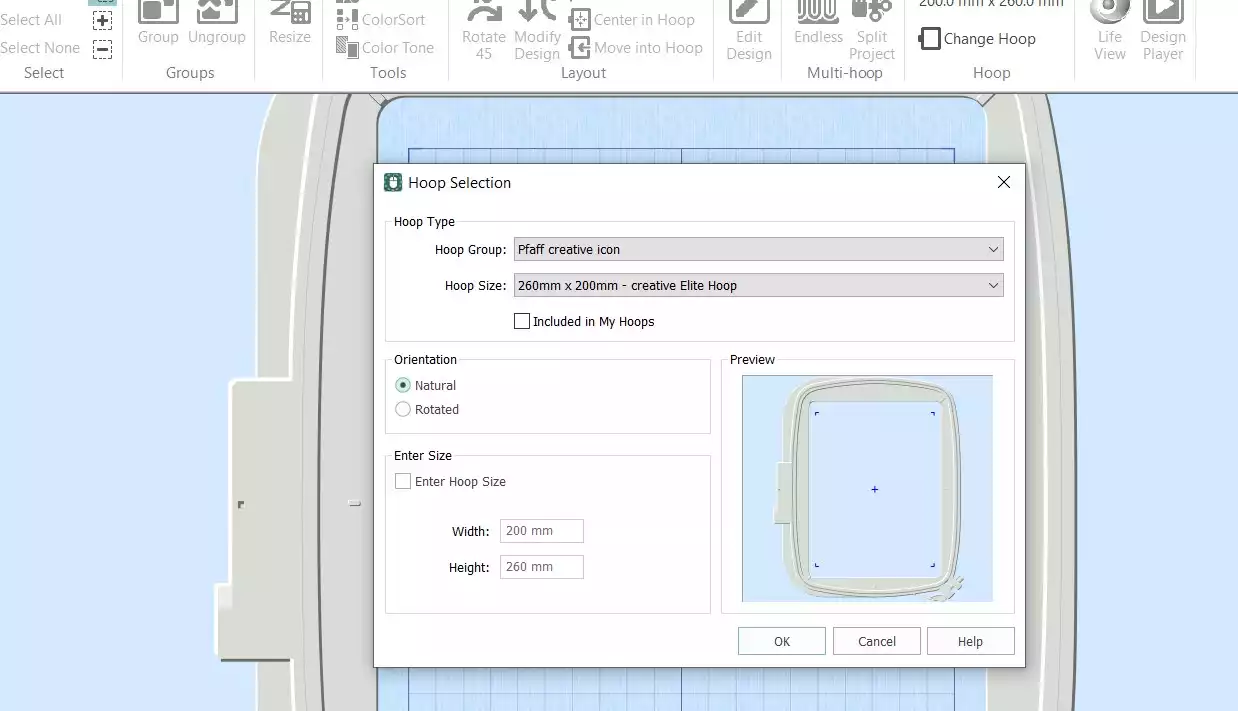
1. Open mySewnet software, choose Blank Canvas and Hoop Size 260x200mm.
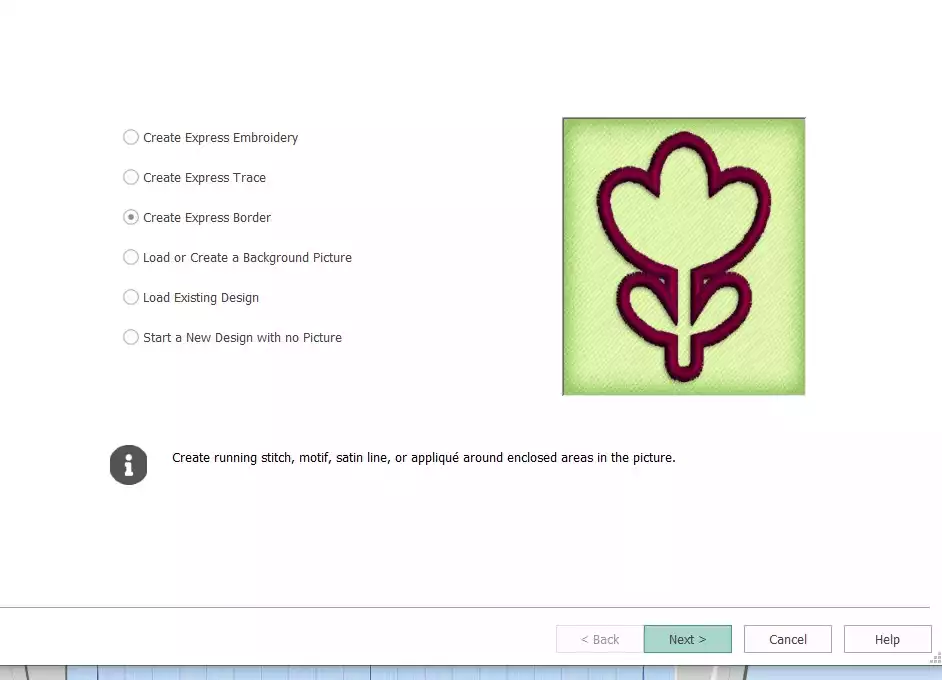
2. Go to Create and choose Digitizing. In the dialog box choose Create Express Border, click Next.
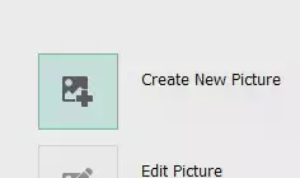
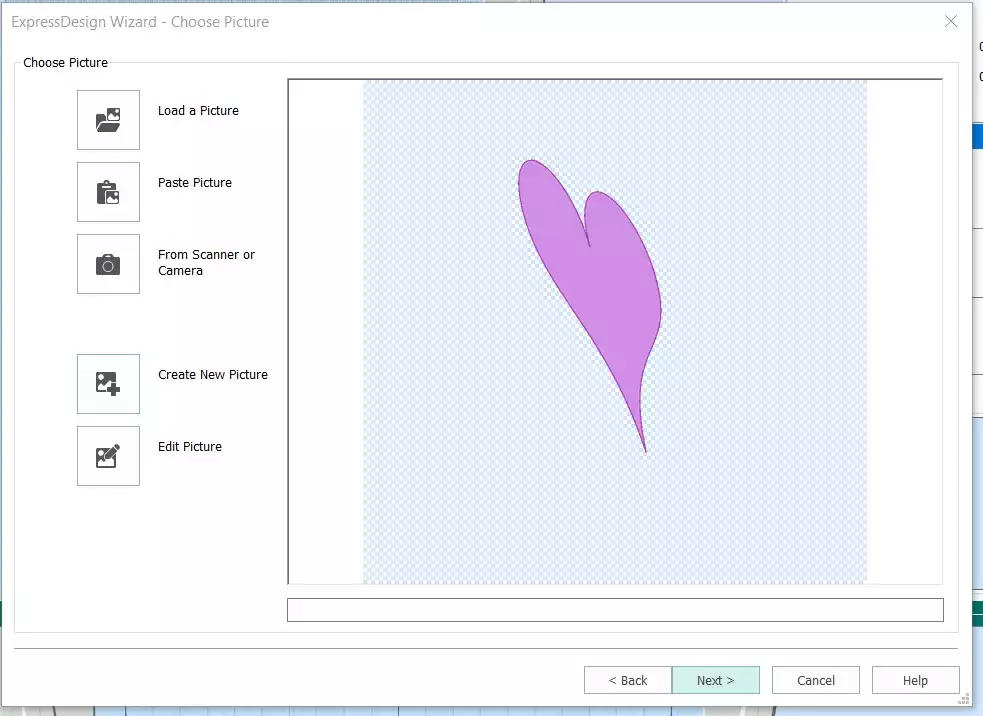
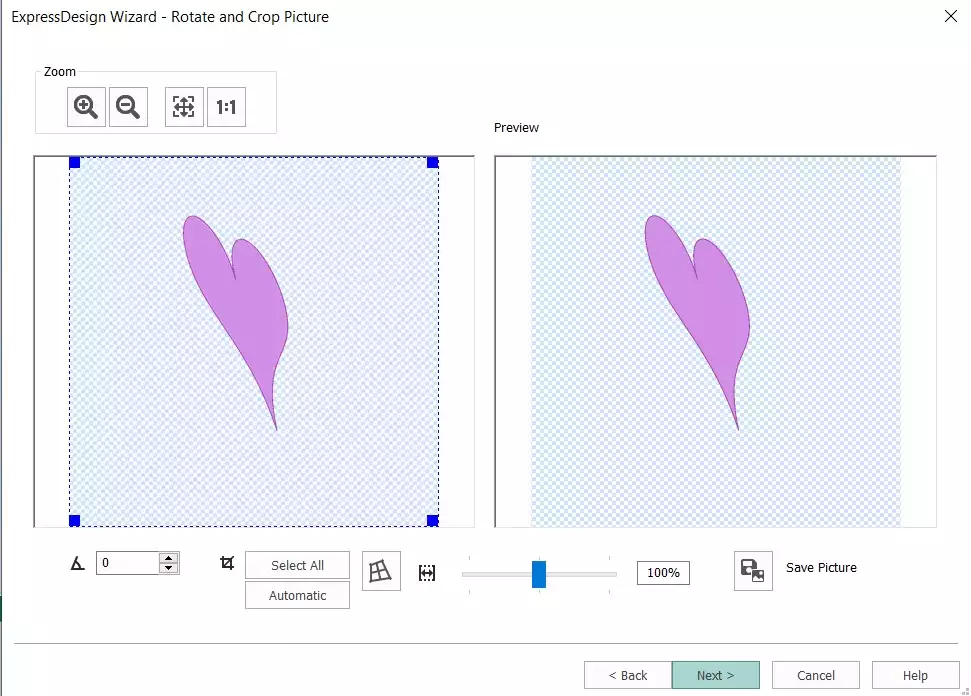
3. Click on Create New Picture, mySewnet Draw & Paint opens
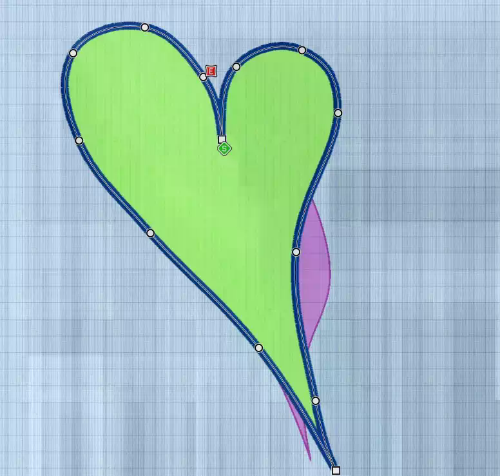
4. Click on Insert and choose the heart with an irregular shape (73) click on Insert Shape
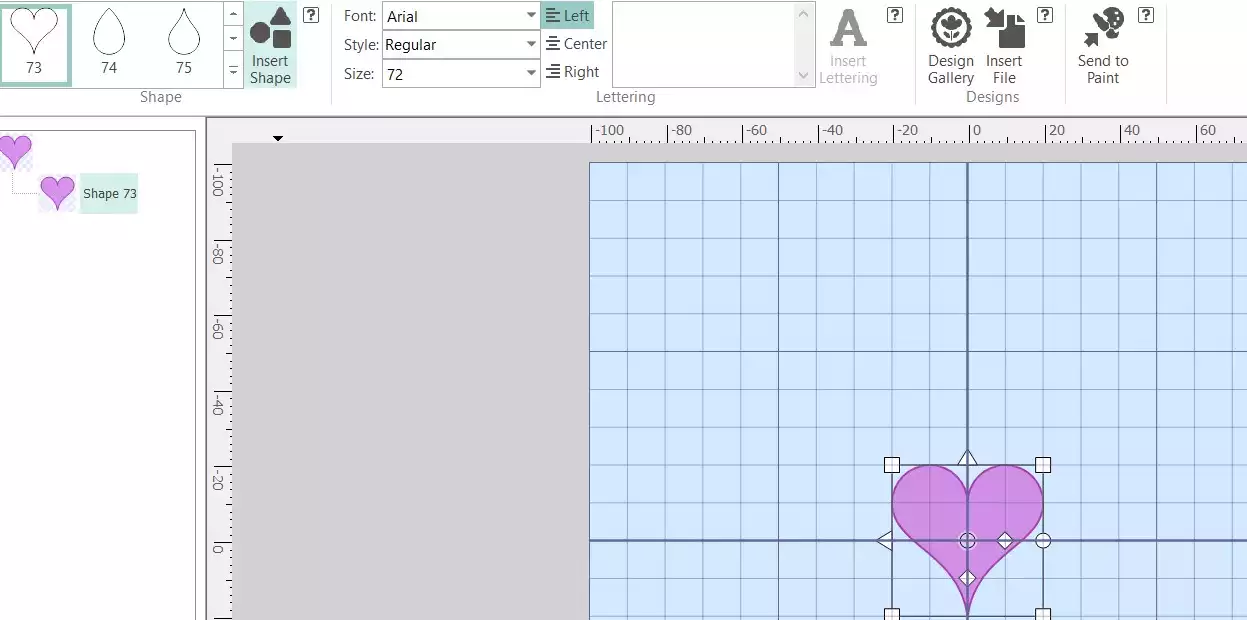
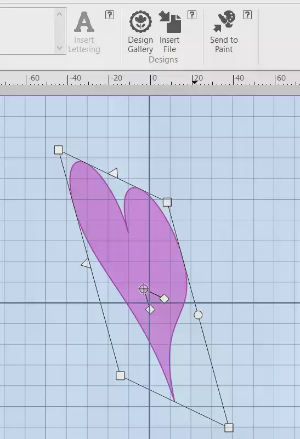
5. Drag and distort the shape as desired using the handles.

6. When you, close the paint window on the X in the top right corner. You will now be back in the express design wizard. Click Next
7. Click Next again.
8. And Next…

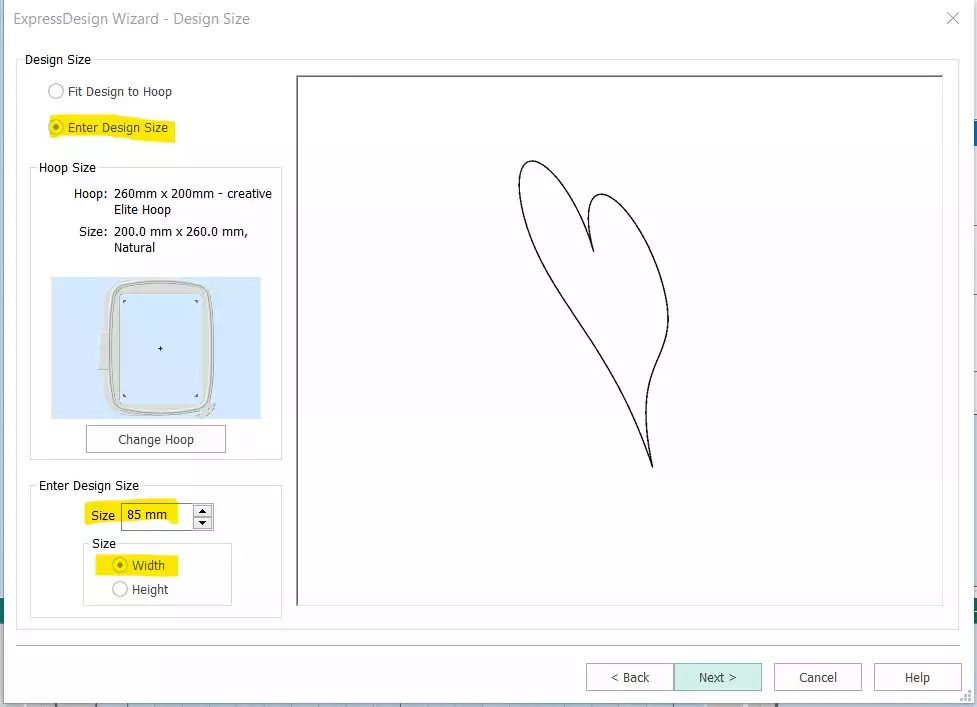
9. In this step choose Enter Design Size and set the width to 85mm, click Next
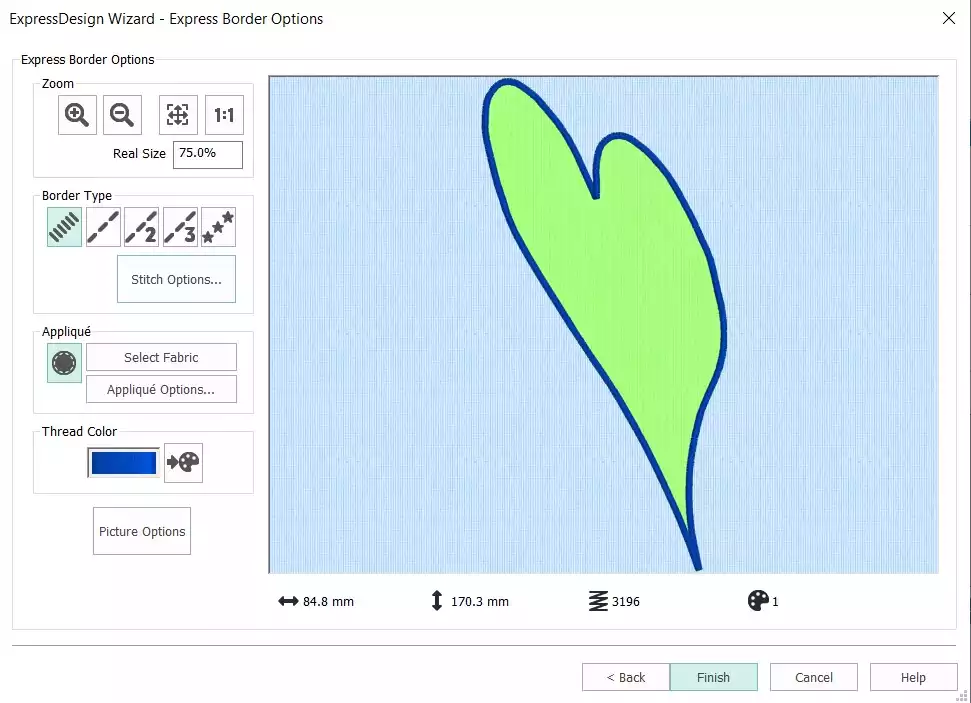
10. Click on Finish
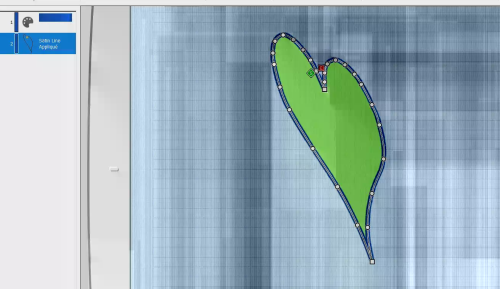
11. Click on the stitches in the film strip, the points of the stitching will be visible. You can move the points if you like to change the outline. You can also delete or add points if necessary. (deleting points can make it easier to get the desired shape, especially rounded shapes). If you change the shape, the original image could be visible underneath. This will not be shown in the finished embroidery. The finished size should be approximately (135x 85mm).Close the digitizing module.
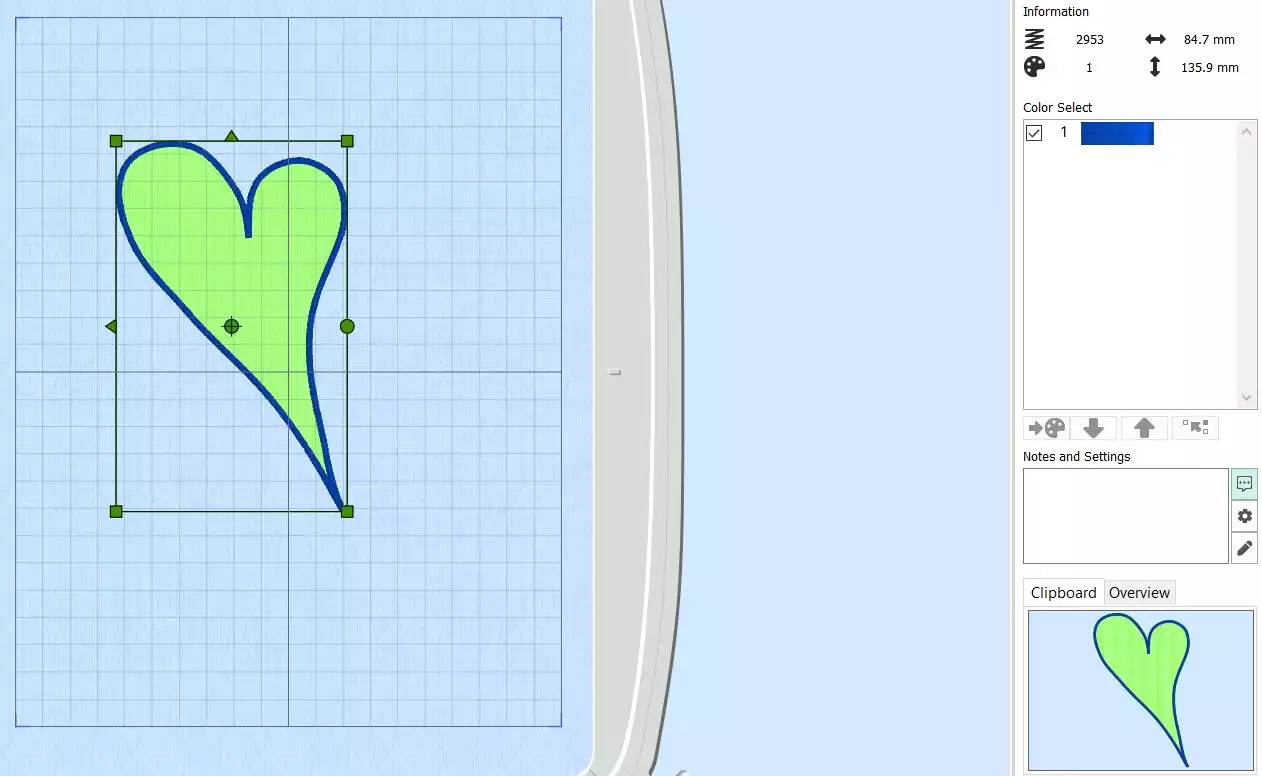
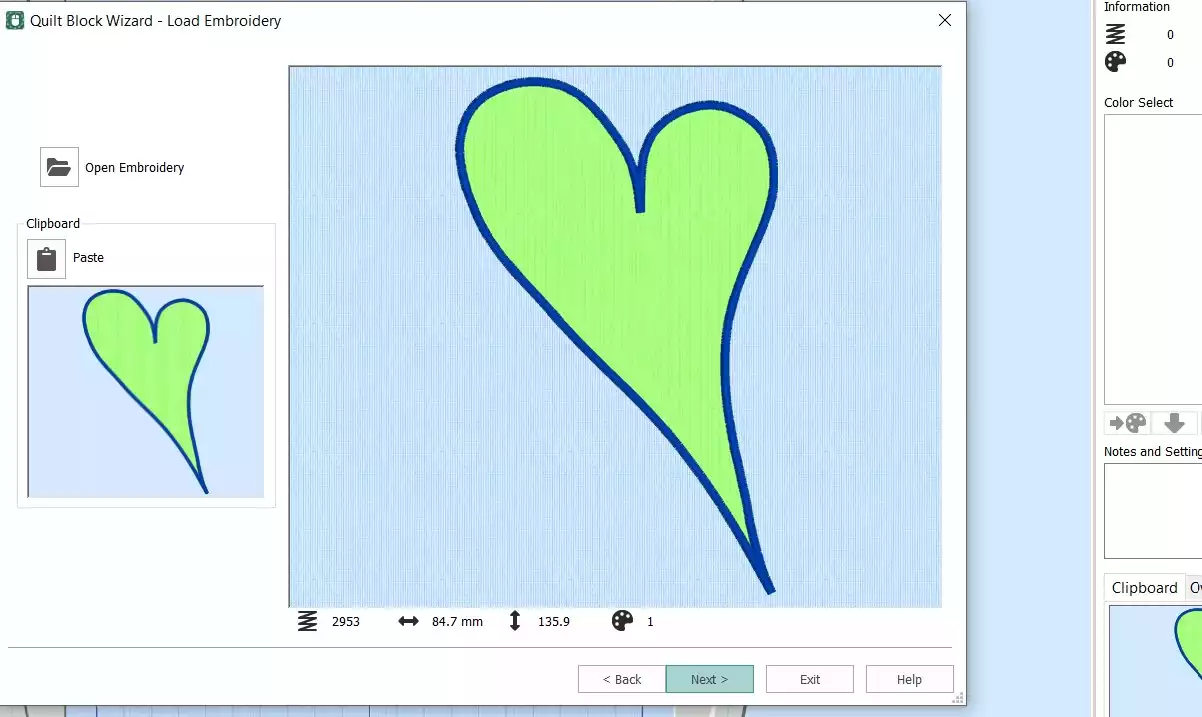
12. The heart applique will now show up in the embroidery program. Go to Home tab and click on copy. The applique will now show up in the Clipboard at the right corner.
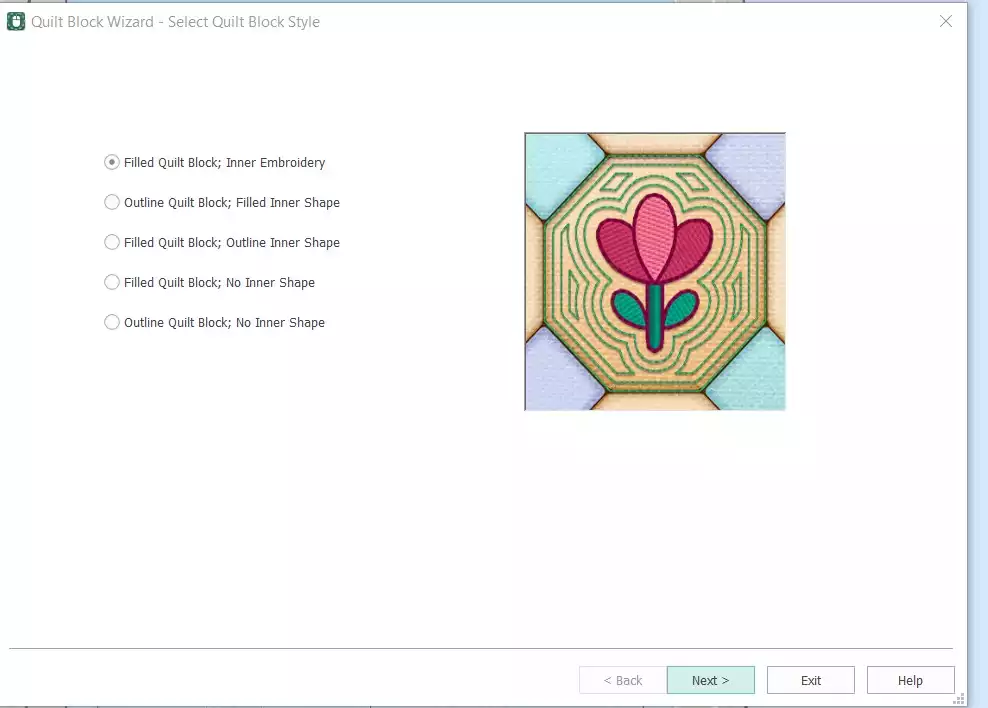
13. Next step is to add the background quilting. We will use the Quilt Block Wizard for this: Go to Create tab, click on the Quilt Block. A dialog box will appear. Choose Filled Quilt Block, No Inner Embroidery, click next
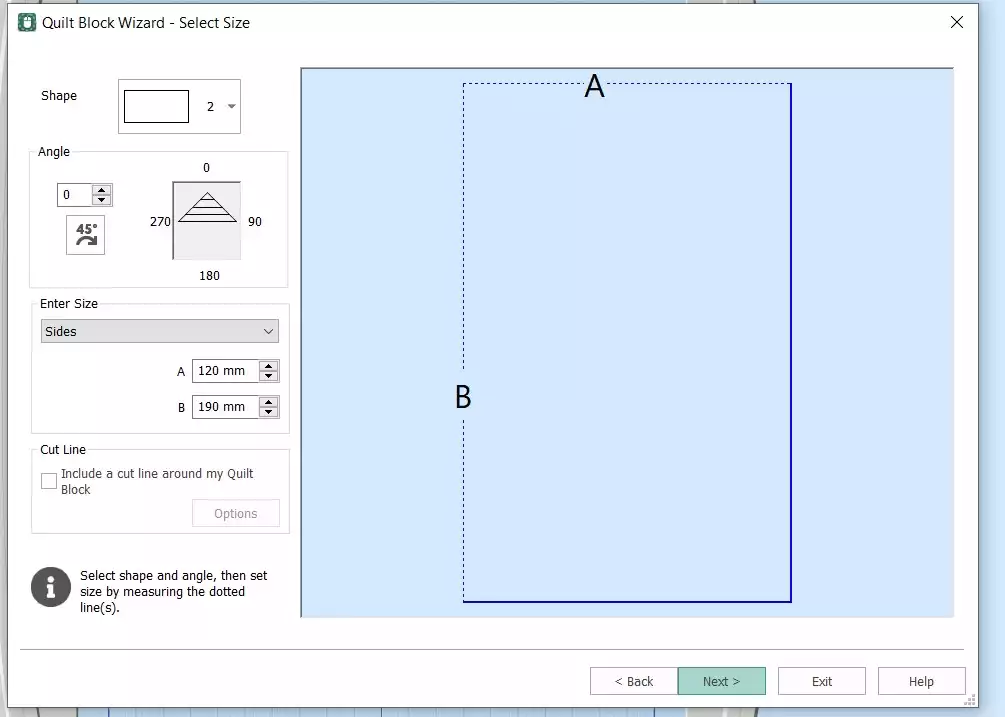
14. Choose Shape 2 (rectangle) set A-side to 120mm and B-side to 190mm, click Next
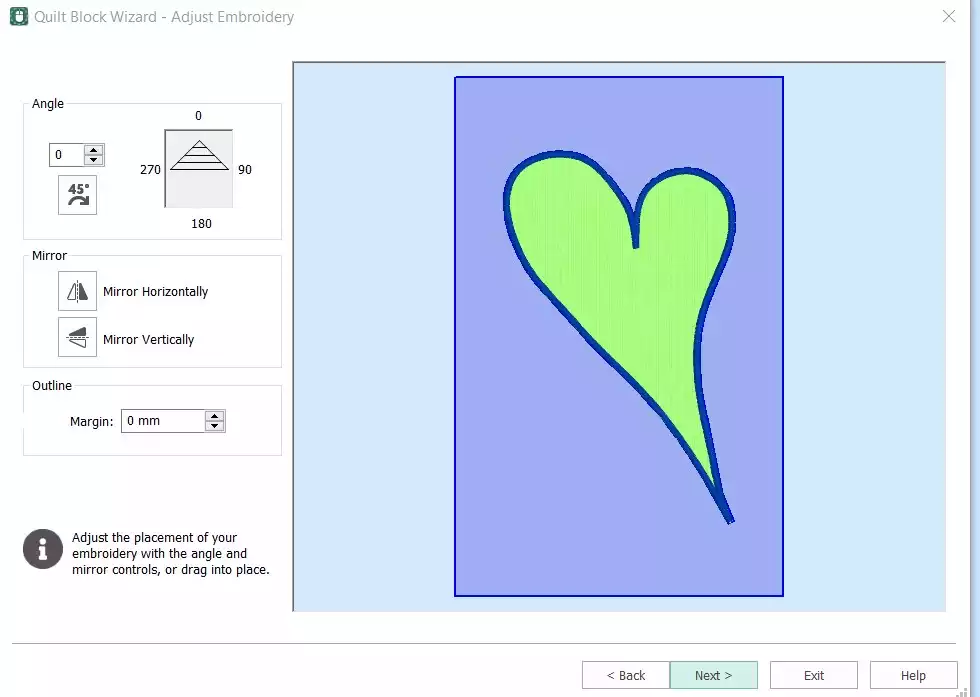
15. Click on Paste, click next
16. Set the Margin to 0 mm, click next
17. Select the Curved Crosshatch Fill
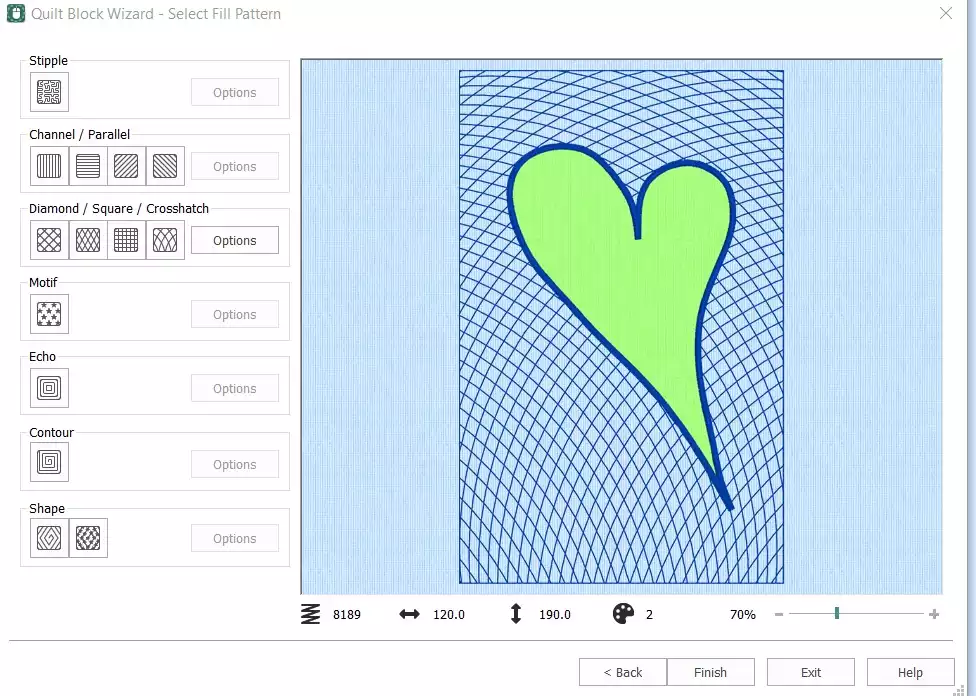
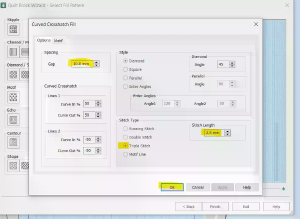
18. Click on options. In the dialog box set the Gap to 10mm, the stitch length to 2,5 mm and click the triple stitch option. Click Ok and then finish

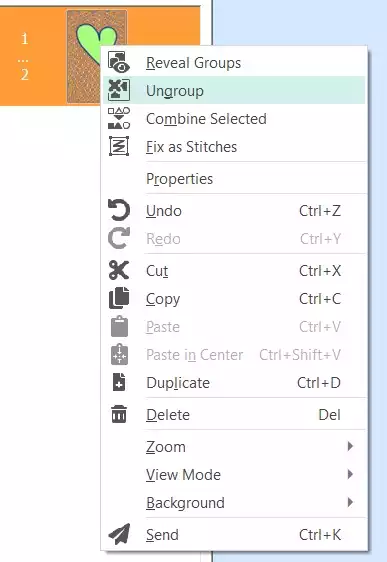
19. The quilt block is now completed, but we have to do some finishing steps, Right Click on the first picture in the film strip, the heart. Choose delete. Now Right Click on the quilt embroidery in the film strip, choose Ungroup. The embroidery will be separated with the applique first and then the quilting.
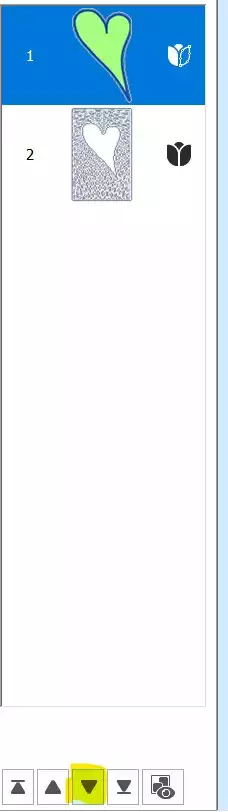
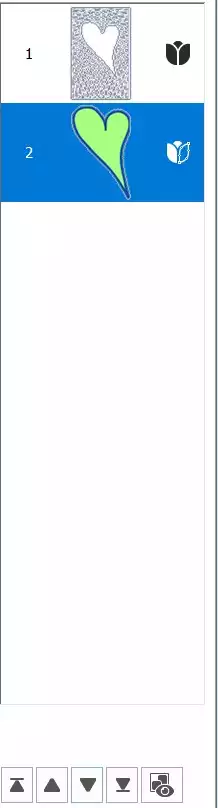
20. We want the the background quilting to be stitched out first so we have to change the order: Click on the applique in the filmstrip, then click on the arrow pointing down to move it
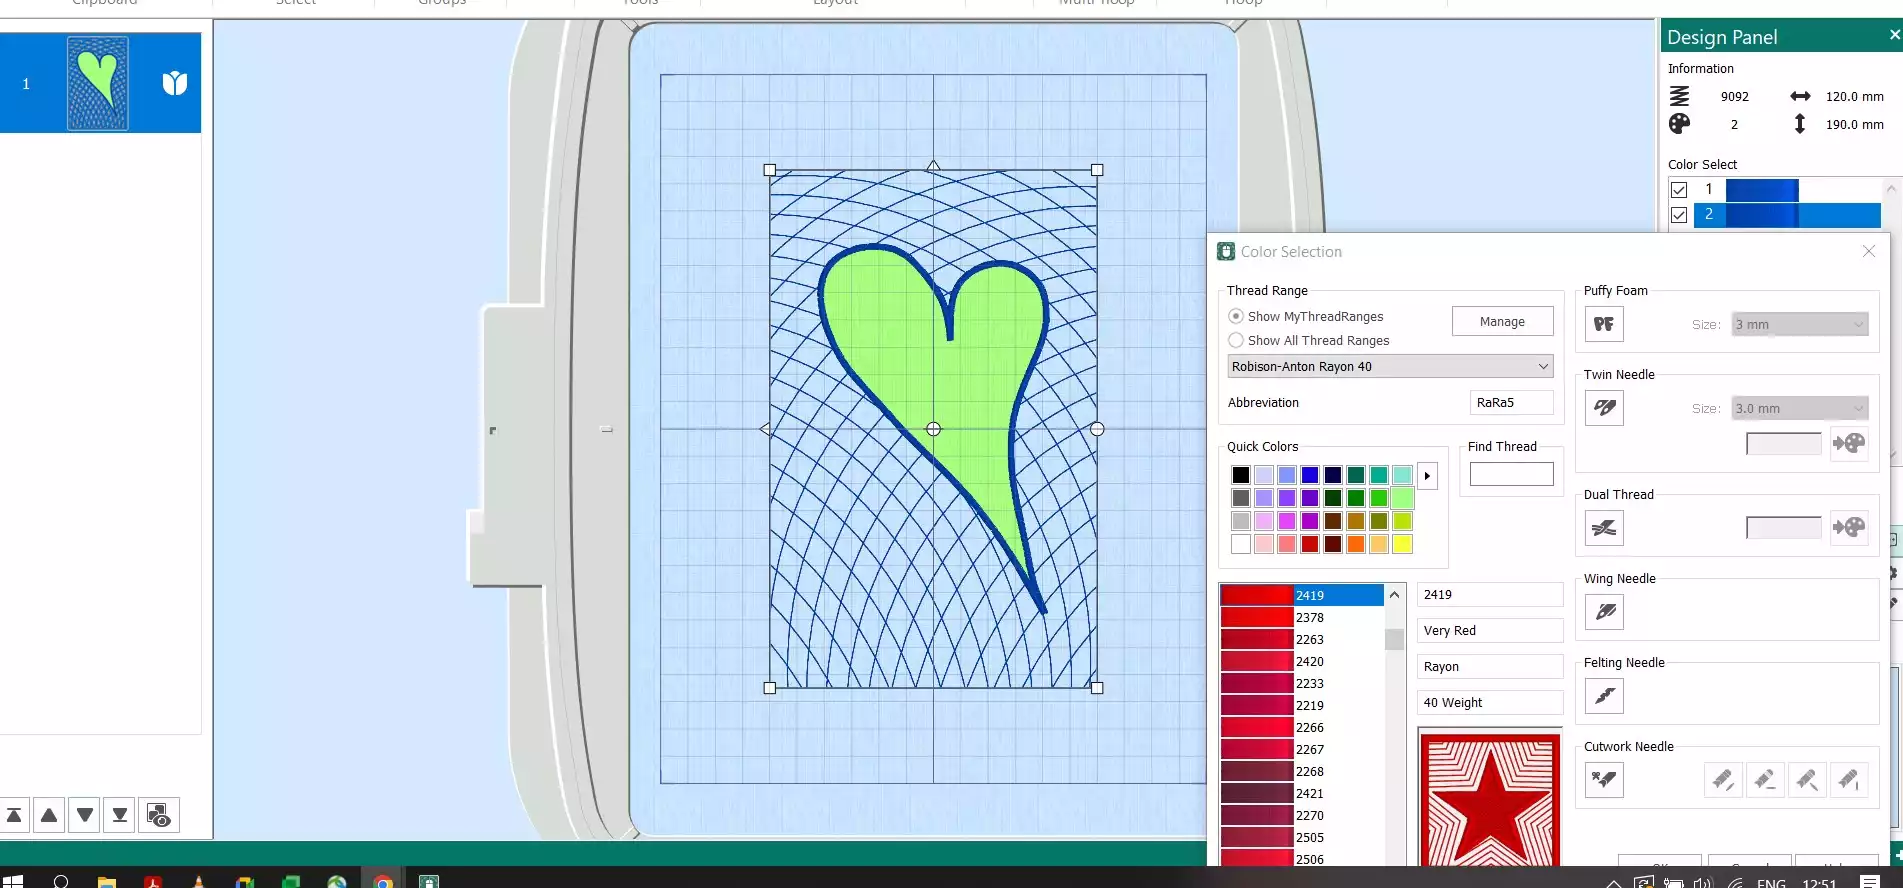
21. Go toHome tab, click on Combine and choose Combine All. click on the second color and change it. This will prevent the colors to be merged together if you use color sort later.
22. Save the embroidery file and export it to your preferred file format eg .vp3