 United States
SuperDesign Transformations in mySewnet Digitizing

Shown above, Food and Drink 1, Design 2 – Coffee, original (on upper left) from SuperDesigns. Transformed in Digitizing (on lower right) by adding appliqué to the cup body, handle, and saucer, and creating ‘steam’ with a Motif Wave Fill.
With 30-day Free Trial of mySewnet Embroidery Software you will get to try out the most user-friendly and feature rich digitizing software on the market. It works with all embroidery machine brands and is available for both Windows and Mac.
Did you know that Digitizing , part of the mySewnet Embroidery Platinum software package, offers tools to insert system SuperDesign elements? Giving your SuperDesigns a make-over is so easy using the Digitizing tools. Then, just save as .edo files or export as a final machine-ready format for embroidery? Let’s do some trail blazing with SuperDesigns!
Super Designs are normally found in the mySewnet Embroidery module/application within the mySewnet Silver, Gold, or Platinum packages. SuperDesigns are pre-digitized elements in grouped themes. SuperDesigns are ‘super’ because you can size them larger or smaller, or adjust individual properties, while retaining their original stitch quality. (Their select boxes have green corner handles to indicate they are not yet fixed as stitches, or finalized for the embroidery machine).
Although SuperDesigns are quite flexible within the Embroidery module/application, don’t you sometimes wish you could change up the way an appliqué SuperDesign is sewn? Or, perhaps you’d like to add different stitch styles or overlays than those available in the SuperDesign options?
Let’s explore the process of inserting a SuperDesign into the Digitizing module/application, and then check out a few project ideas for you to whip up something new.
TIP: You can open Digitizing directly from the desktop program folder in Windows, or from Launchpad in Mac!
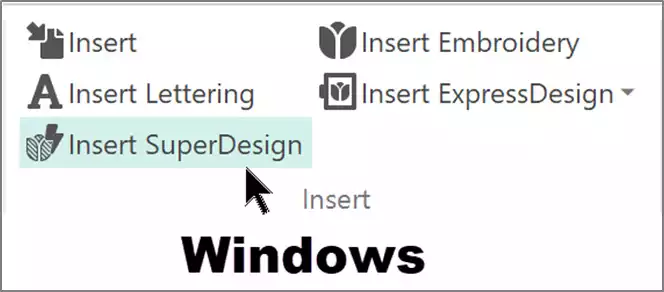
Insert SuperDesign is found in the Home tab, Insert tools in Windows, or in the Edit tab, Insert menu in Mac.
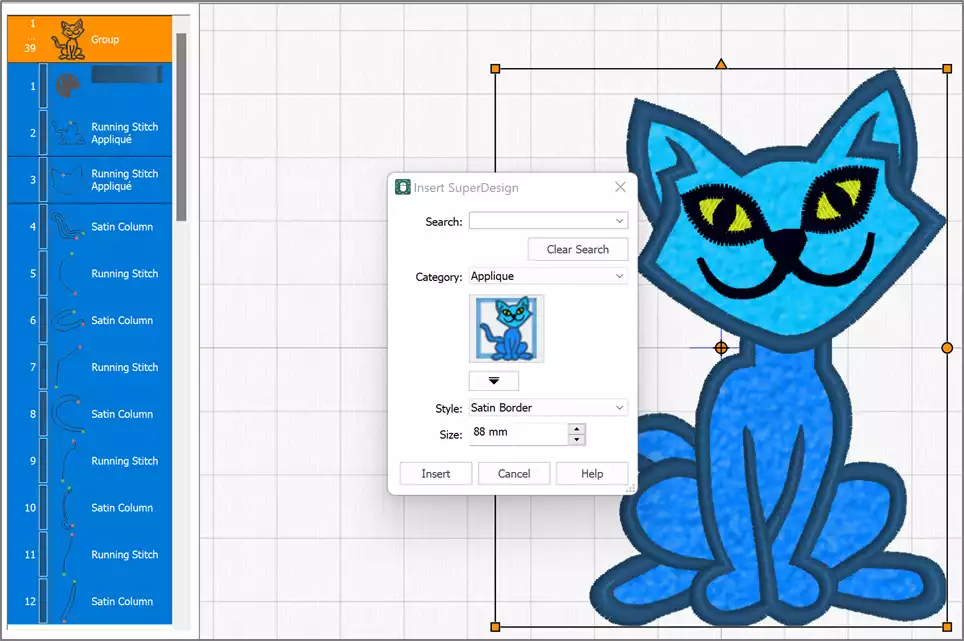
Simply select a Category, then open or scroll the Gallery view to find the SuperDesign you want to use.
Select a Style if multiple styles are offered.
Pre-set the Size to your perfect specifications.
Click Insert in Windows, or Apply in Mac.
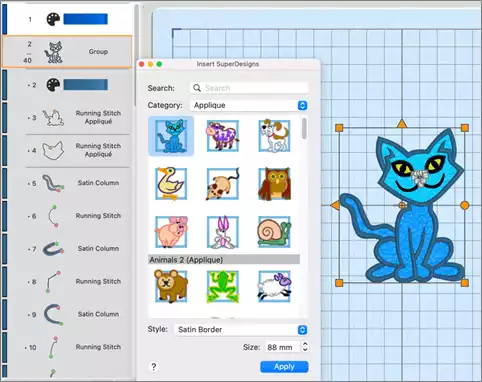
Shown below, Windows view, and then Mac view. SuperDesign Category: Appliqué. Design Set: Animals 1. Design: 1 – Cat (Satin Border).
Use Cancel (in Windows), or close the Insert SuperDesigns box.
Your SuperDesign now has the .edo-file working format used in Digitizing, and you are ready to change it up as desired!
Your SuperDesign appears initially in a Group in the Filmstrip to hold it together, so don’t forget to right click over the Group frame and select Ungroup, to give yourself access to all the elements of the design.
Not sure how to Ungroup? Visit the Help tab to browse the help topics in your internet browser!
Change it Up!
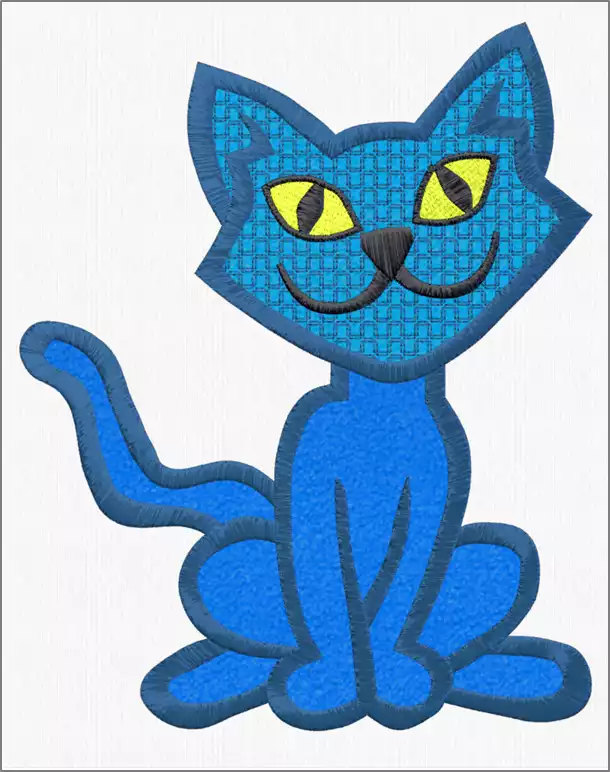
Have a little fun with the stitch objects in this Appliqué embroidery SuperDesign!
Select one of the appliqué objects in the Filmstrip frames (here, we chose the appliqué for the cat’s face), and then Break Apart (Edit tab in Windows, or Object menu, Break Apart in Mac).
Copy and Paste the last Running Stitch line from the appliqué steps (the tack-down stitch) from the appliqué, so you can add an overlay of decorative Motif Fill stitches on top of the appliqué fabric.
(Use Copy/Paste so the new object will stitch right after the copied Filmstrip frame, and be aligned exactly over the original object you copied.)
Right click over the new object’s Filmstrip frame, select Properties from the pop-up menu, and convert it to a Fill Type with no outline.
Play with some of the open Fills, like Motif Fill, with a Universal Motif Group, Category Hand Stitches 1, and Stitch Pattern 23.
Shown below, before and after changes.

And a Little Bit More!
Have you thought of changing the appliqué areas in one of the Appliqué SuperDesigns to all pattern fills, so you can alternate appliqué blocks with embroidered blocks? It’s so easy! Just right click over the appliqué object in the Filmstrip, select Properties, and the Appliqué tab. Change Appliqué to None. Adjust the Fill to one of the specialty fills, with No Line in the outline setting.
Give your projects a new and striking visual impact with contrasting textures and colors. Restyling SuperDesigns with mySewnet™ Digitizing from the Platinum package is so creative and simple! Why not give it a whirl today?
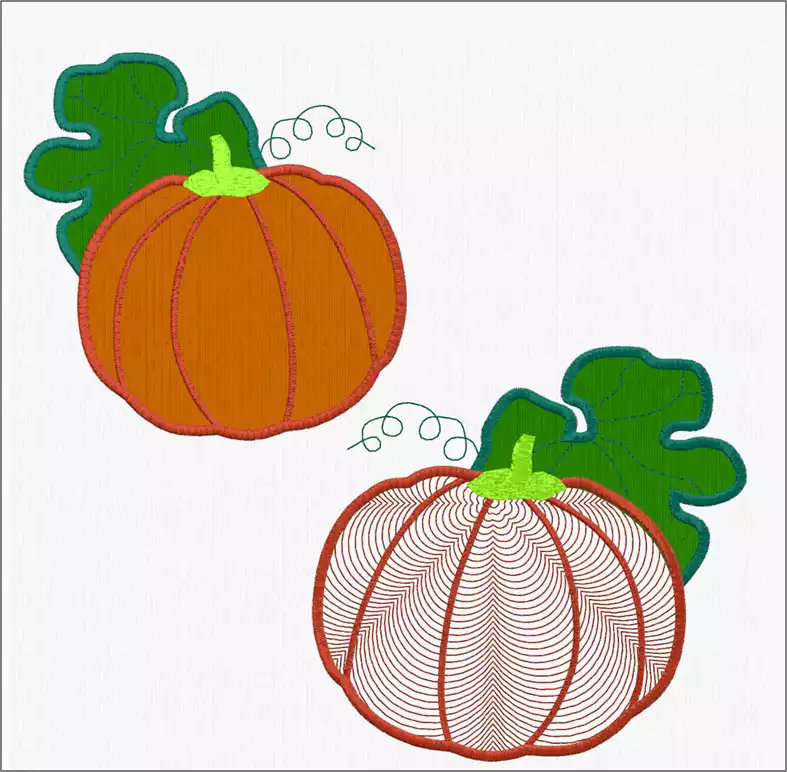
Shown below, Appliqué Food 2 – Design 7 (Pumpkin). Original SuperDesign on upper left, edited on lower right. Pumpkin appliqué piece changed to No Appliqué. Fill type changed to Shape Fill, Shape 50, Density 20. Fill Pattern Origin moved near the top of the object.
Have a fabulous day from the software team at mySewnet Embroidery Software !