United States
How-To Make a Zippered Pillow Case
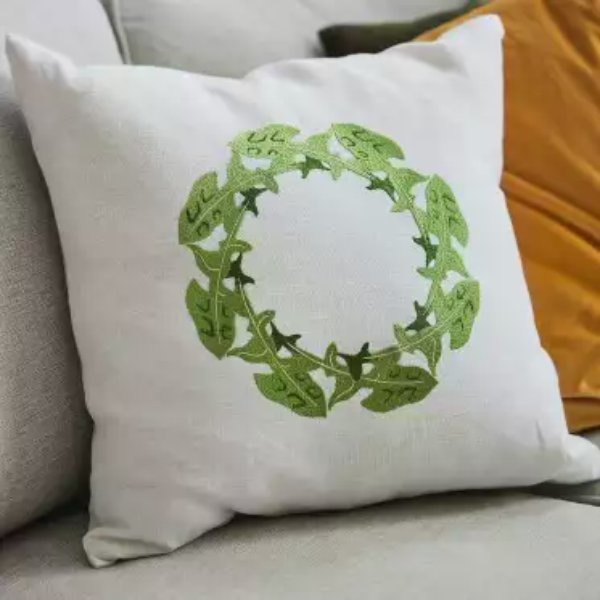
A simple pillowcase instruction is all you need to make wonderful home decor that can change a room completely.
What you need:
For the Pillow front and back you need 2 squares 20½” x 20½” (52x52cm) If you already have made a pillow front you only need fabric for the back.
One strip 20½” x 2” ( 52x5cm) for lower edge of pillow back
1 zipper 18” (45cm) not metal
Making the pillowcase
Sew the large and small back pieces together with a ⅜” (1cm) seam allowance. Stop sewing 1 ½” (4cm) in from each side, leaving an opening for the zipper. Press the seam open and press the seam allowances in the opening in the same manner.
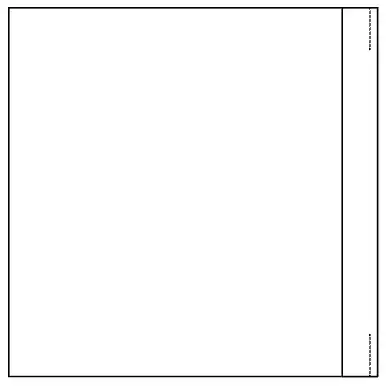

Turn right side up, place the zipper under the opening and stitch in place. Use the zipper foot for this.
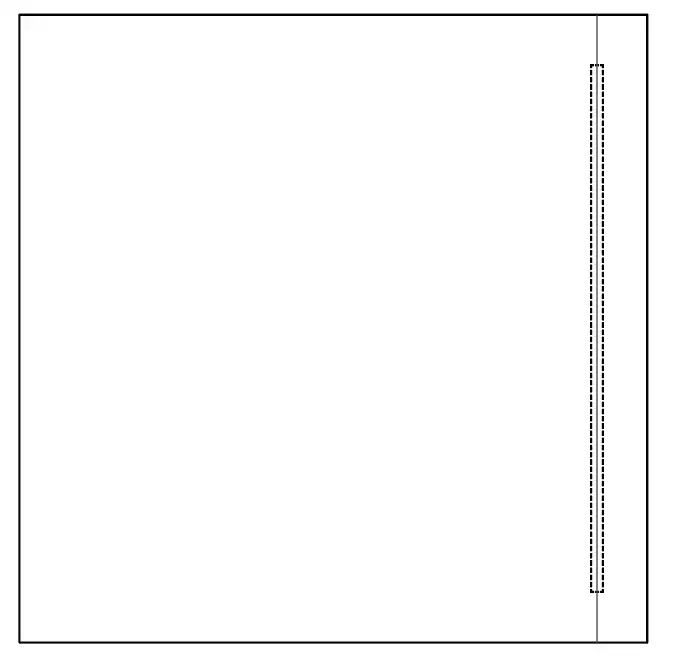
Measure the back, and cut it to the same size as the front piece.
Open the zipper halfways.This is important because it is through this opening you will turn the pillow case right side out after sewing it together.
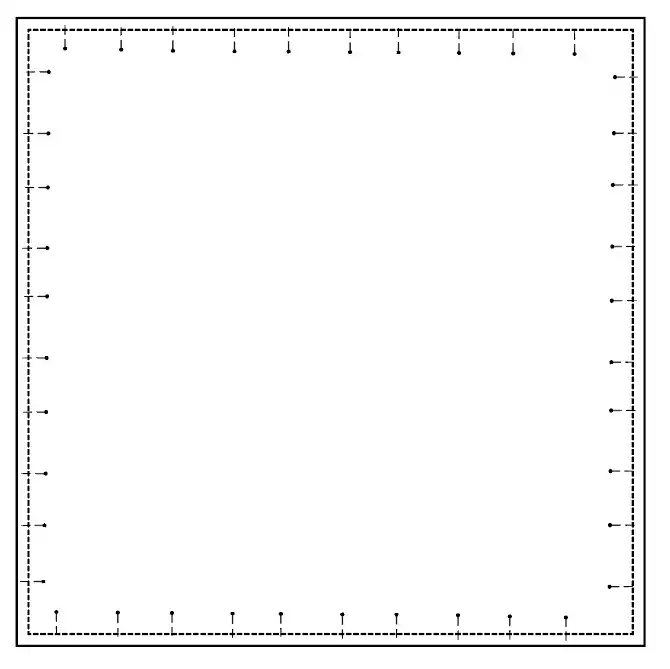
Pin the front and back right sides together, then sew around the edges using a ⅜” (1cm) seam allowance. Turn right side out and press.