 United States
Waistcoat Apron
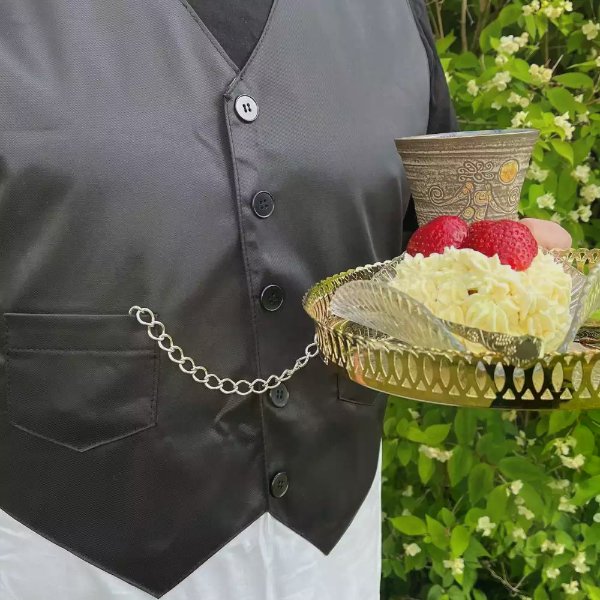
The idea for this apron is originally from a sewing ideas booklet published in the fifties for Husqvarna automatic, a real classic sewing machine my mother once owned and loved.

I have updated it with a new PDF.pattern and instructions. Reuse an old bed sheet, add some black fabric and voilá! You have an waistcoat apron!
What you need:
- An old white bed sheet or white cotton fabric.
- Black fabric, I used a black Beaver Nylon, A fabric normally used for workwear.
- Five black buttons diameter ¾” (2cm)
- 2 yards (2 meter) 1”(2,5cm) wide ribbon for ties
- PDF pattern: waistcoat apron.pdf
Preparations
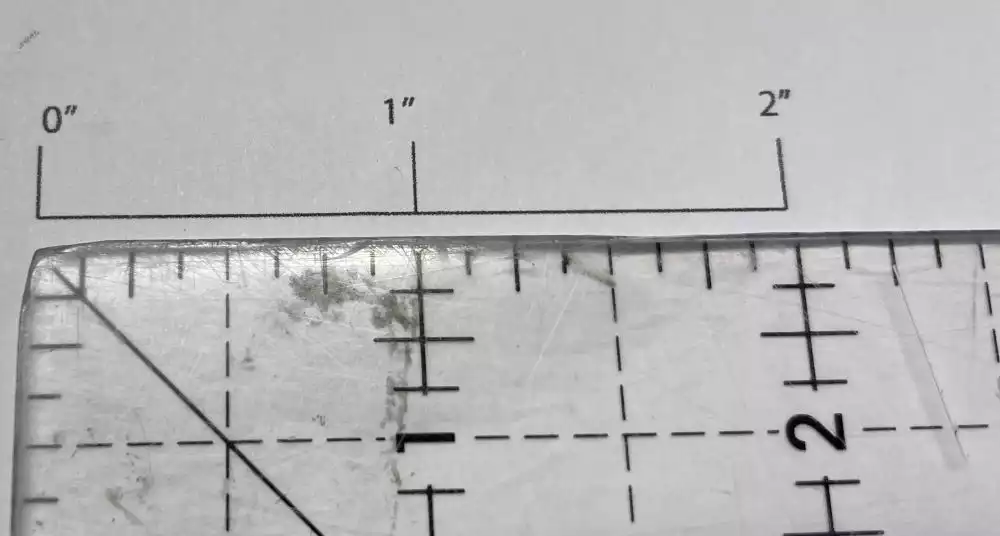
1. Print out the pattern and tape the pages together. Measure the control line to make sure it is printed in the correct size, 100%.
2. Make a copy of the Waistcoat part for the black fabric and also the outline of the whole pattern for the bedsheet/white fabric on pattern paper.

3. Pin the pattern pieces to the fabric. Add ⅝ (1,5 cm) seam allowance to the pattern pieces and add 2 ½” (6,5cm) at the lower edge of the apron, unless you use an old sheet. In that case, just align the edge of the hem to the lower edge since the hem is already made!
Sewing it together
4. First of all make the hem at the lower edge if not already finished.
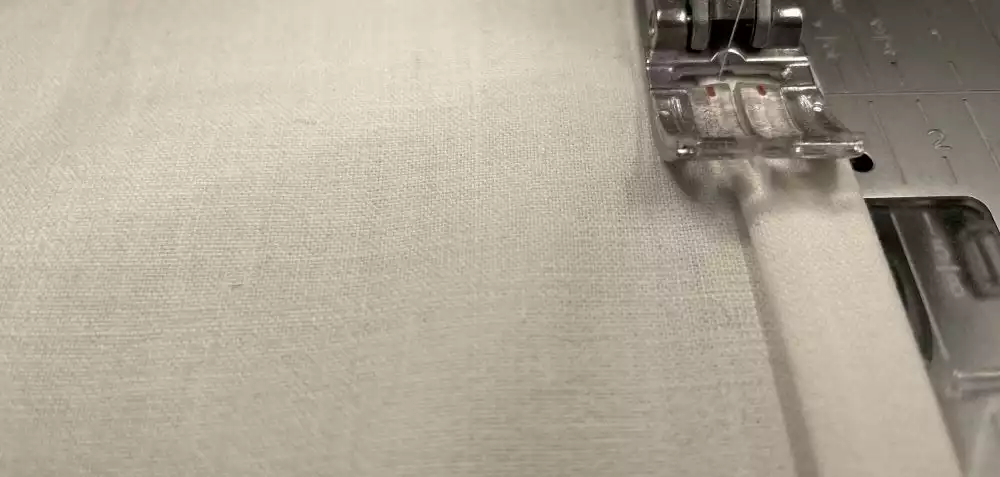
5. Hem the sides by turning 1 cm of the long edges to the wrong side two times and topstitch.
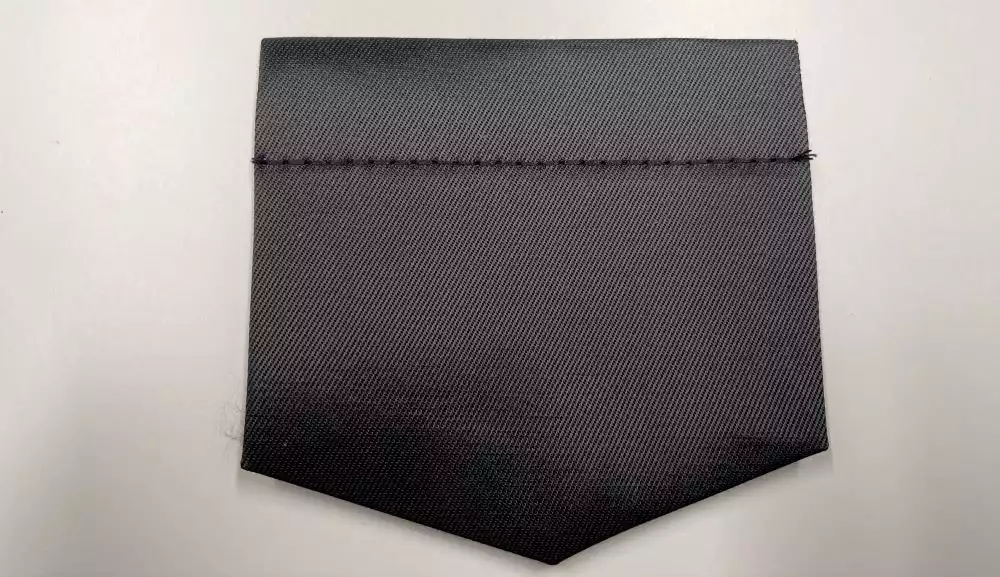
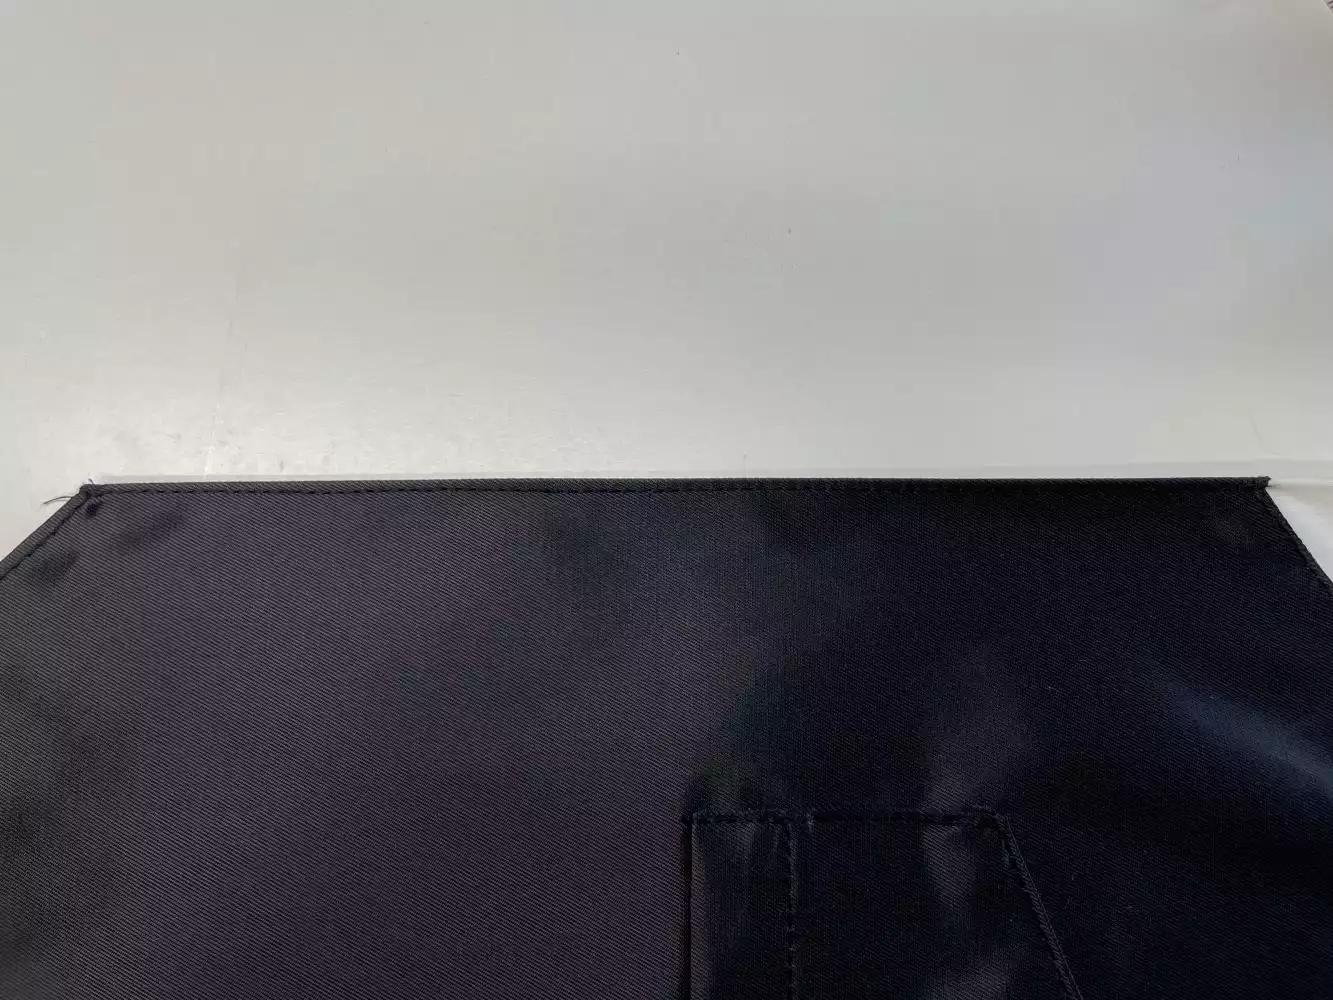
6.Cut out two pockets from the black fabric. Also cut a piece of thin cardboard (without seam allowances) as a template for pressing.

7. Put the cardboard pieceon the wrong side of the pocket piece and pres the seam allowances to the wrong side. On the top fold the seam allowance in to the wrong side and then press the pocket interfacing to the top of the cardboard piece. repeat with the other pocket.
8. Topstitch the pockets folded interfacing down with a triple stitch.
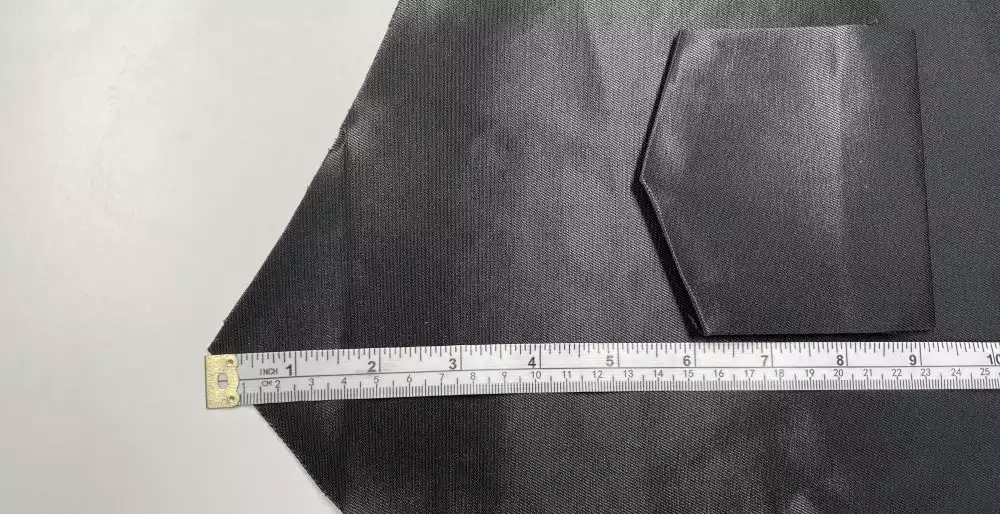
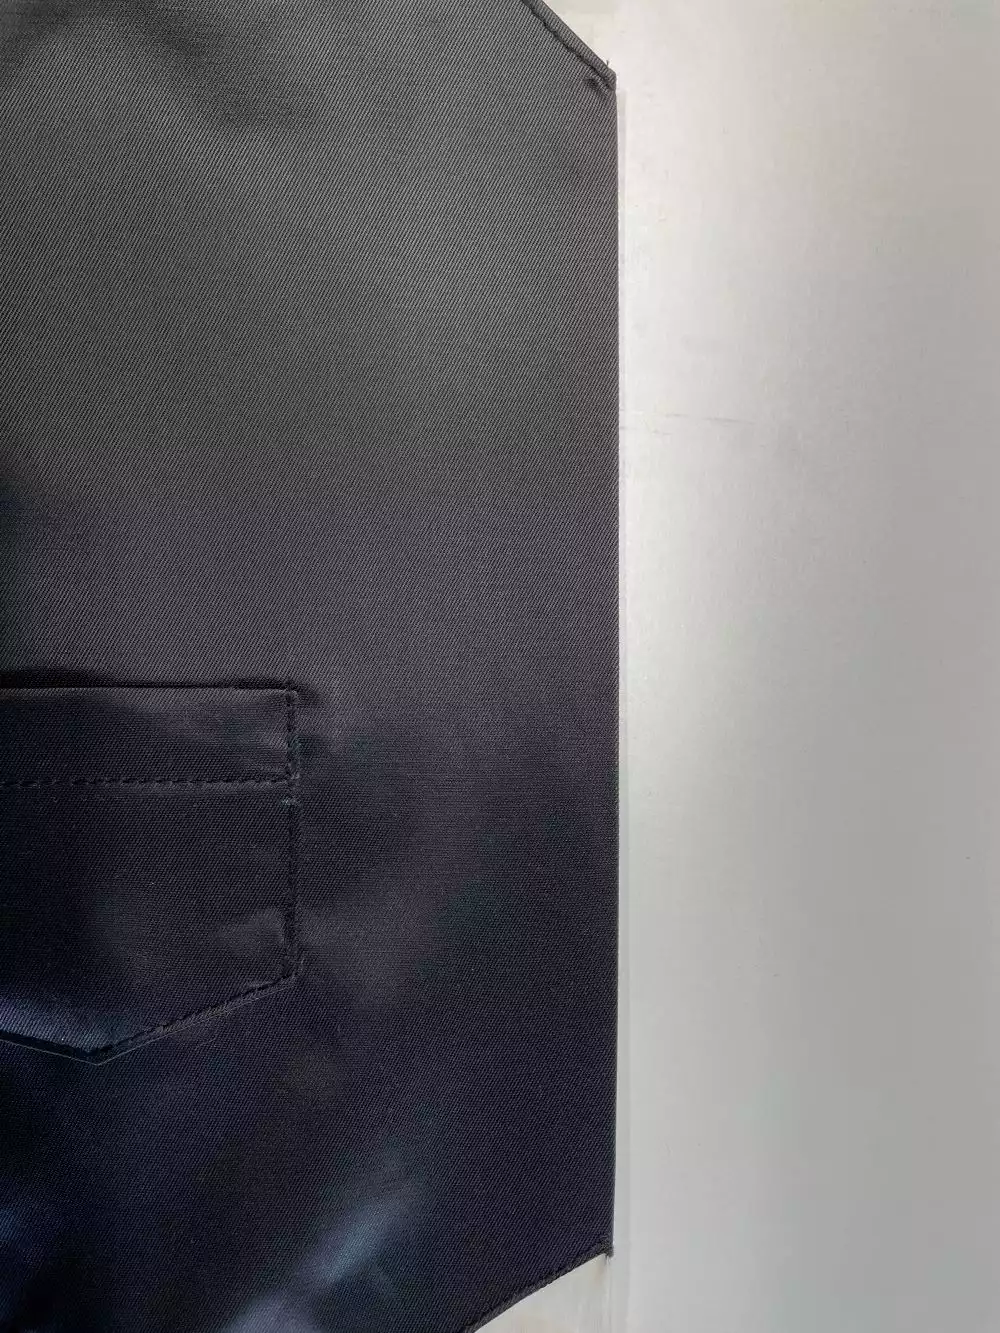
9. Place the pockets on the waistcoat fabric piece 6" (15cm) up from the lower edge, see image below. Pin in place and topstitch with a triple stitch.
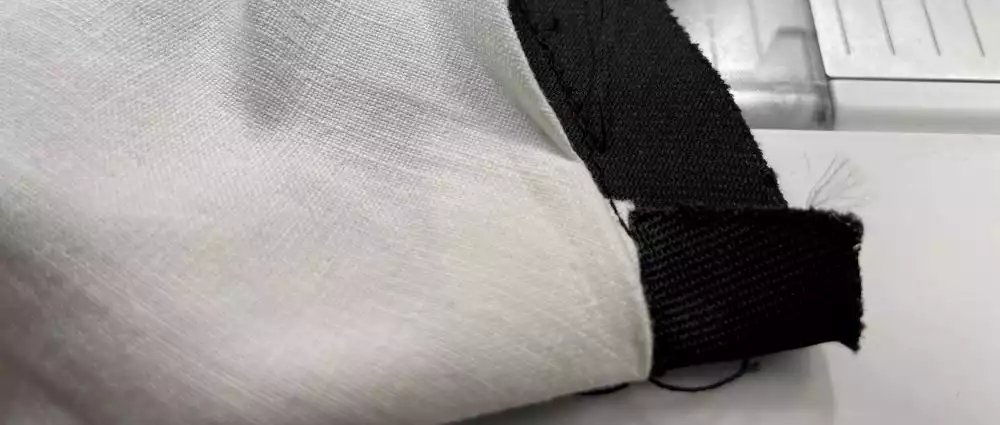
10. Pin the black fabric piece with the right side to the wrong side of the apron fabric piece.
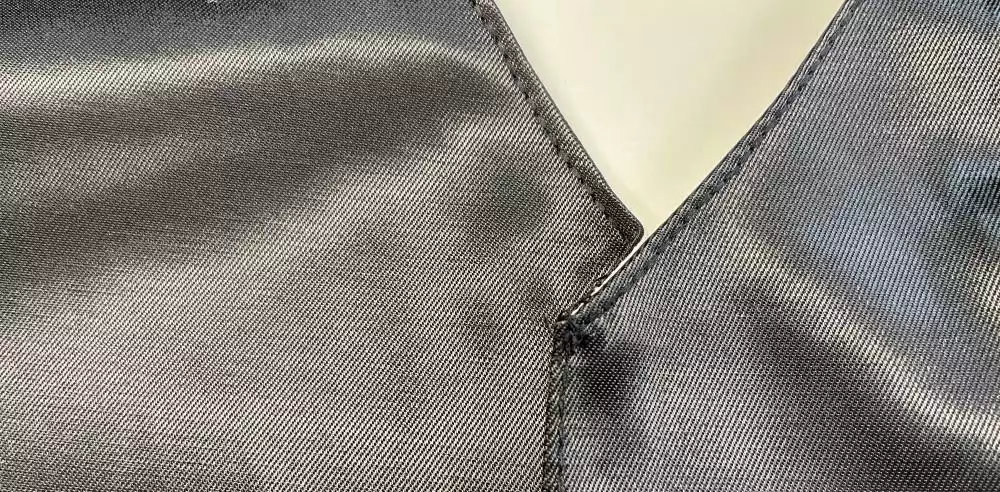
11. Turn ⅝” (1,5cm) down of the white apron fabric at the neck.
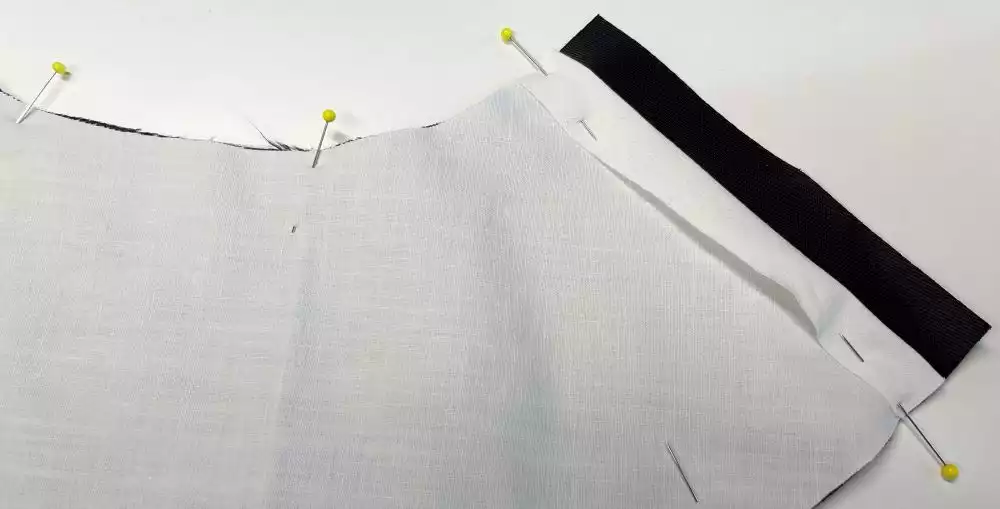
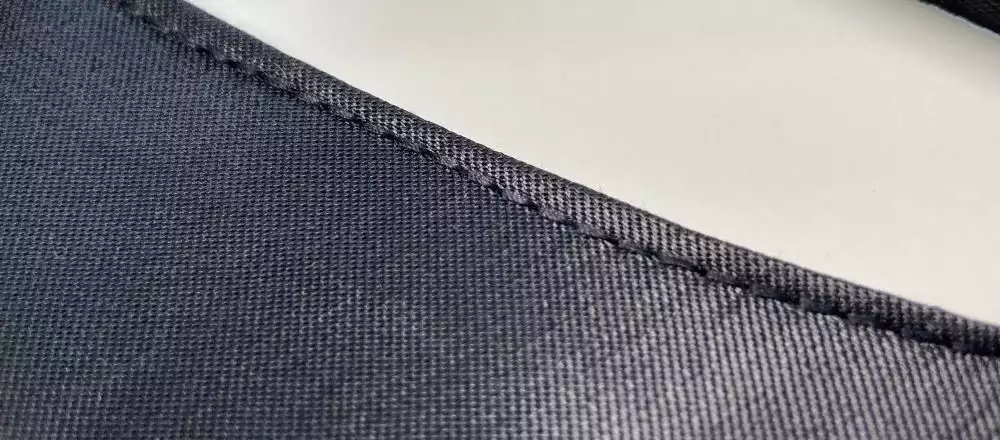
12. Sew the armhole edges together and the neckline with a ⅝” (1,5 cm) seam allowance.
13. Cut notches to the seam at the curved edges. Turn right side out.
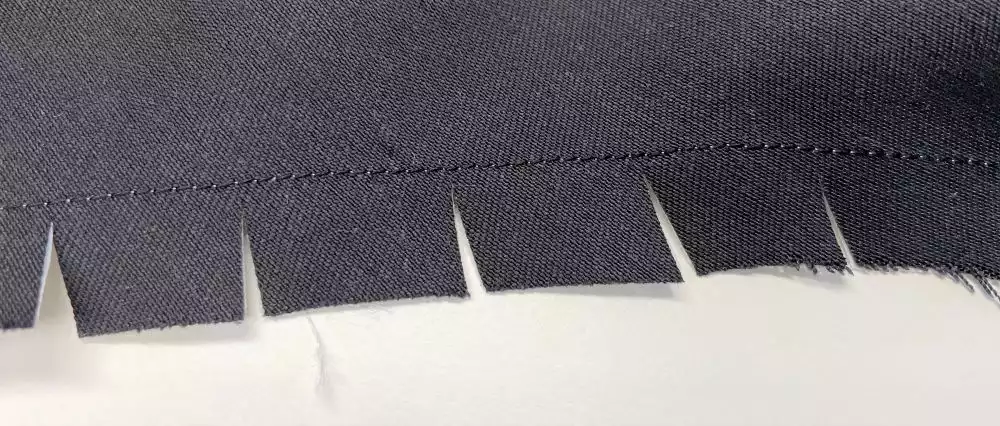
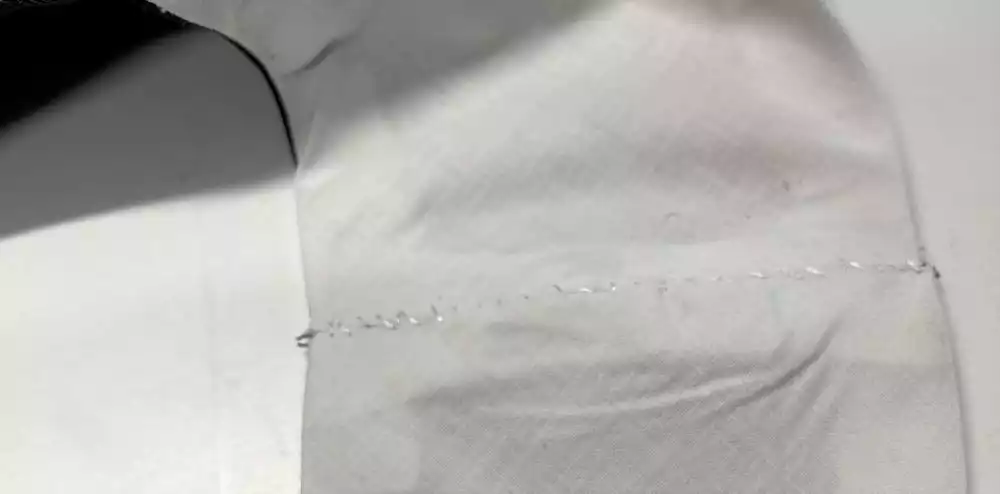
14. Staystitch the lower edge of the Wastcoat part, ⅝” (1,5cm) from the lower edge. Fold the edge to the wrong side along the stitching line. Clip to the seam at the middle to be able to turn the edge there.
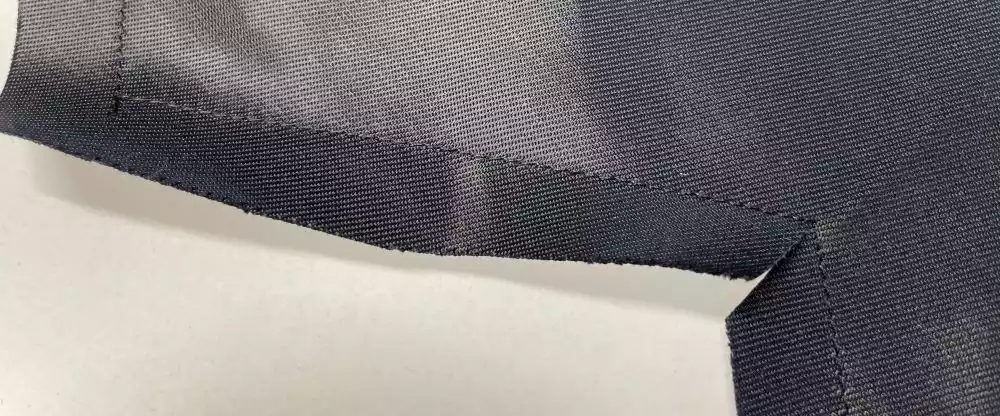
15. Pin the lower edge of the waistcoat on top of the apron fabric at the turned edge. Turn the sides to the wrong side and put the ties between the layers.Topstitch all around the edges with a triple stitch.

16. Pin the raw edges of the black fabric together in the back and sew them together.
17. Stitch the opening closed by hand at the back
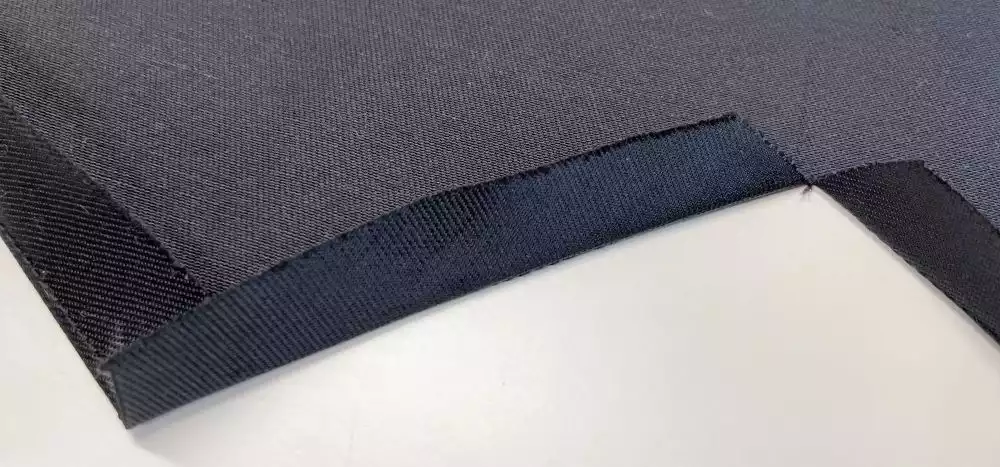
18. Fold the apron together, wrong side together, topstitch along the front edge with a triple stitch.
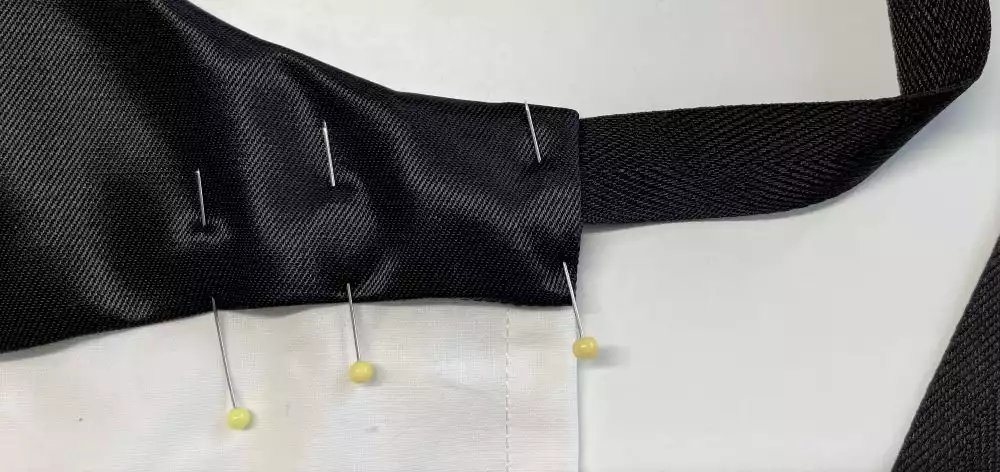
19. Make a 1” (2,5cm) fold at the top and down to the end of the waistcoat piece. The fold should be smaller from the top down to the end, like a dart. . See image on step 16 for guidance.
20. Add buttons to the front about ½” (1.5cm) from the edge.
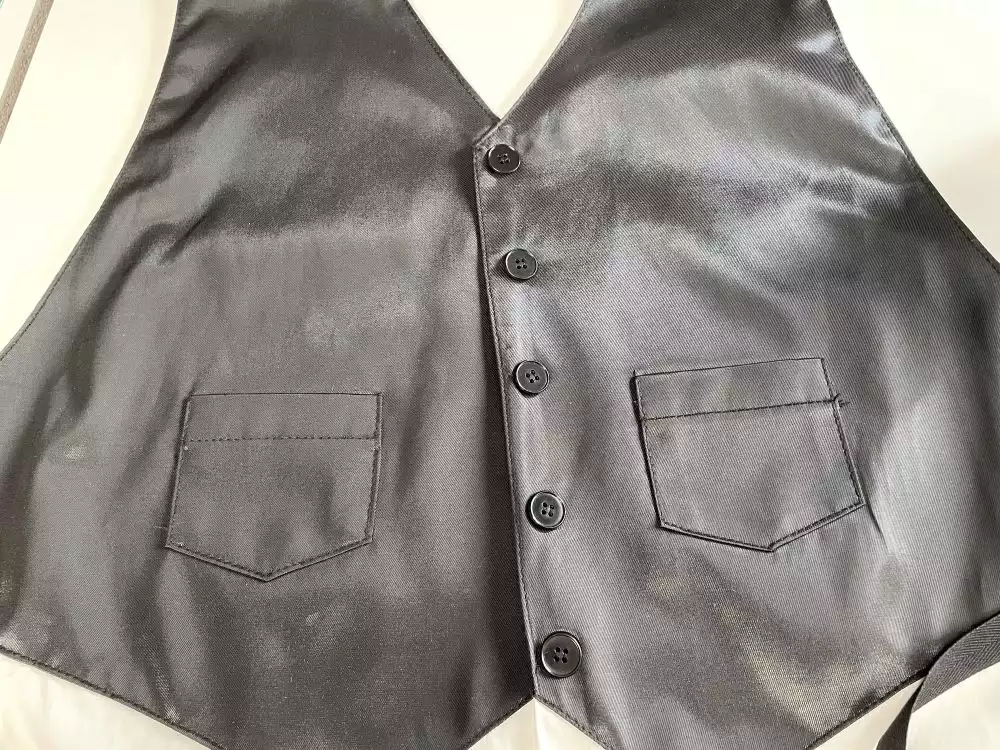
21. . Your Waistcoat apron is now finished!