 United States
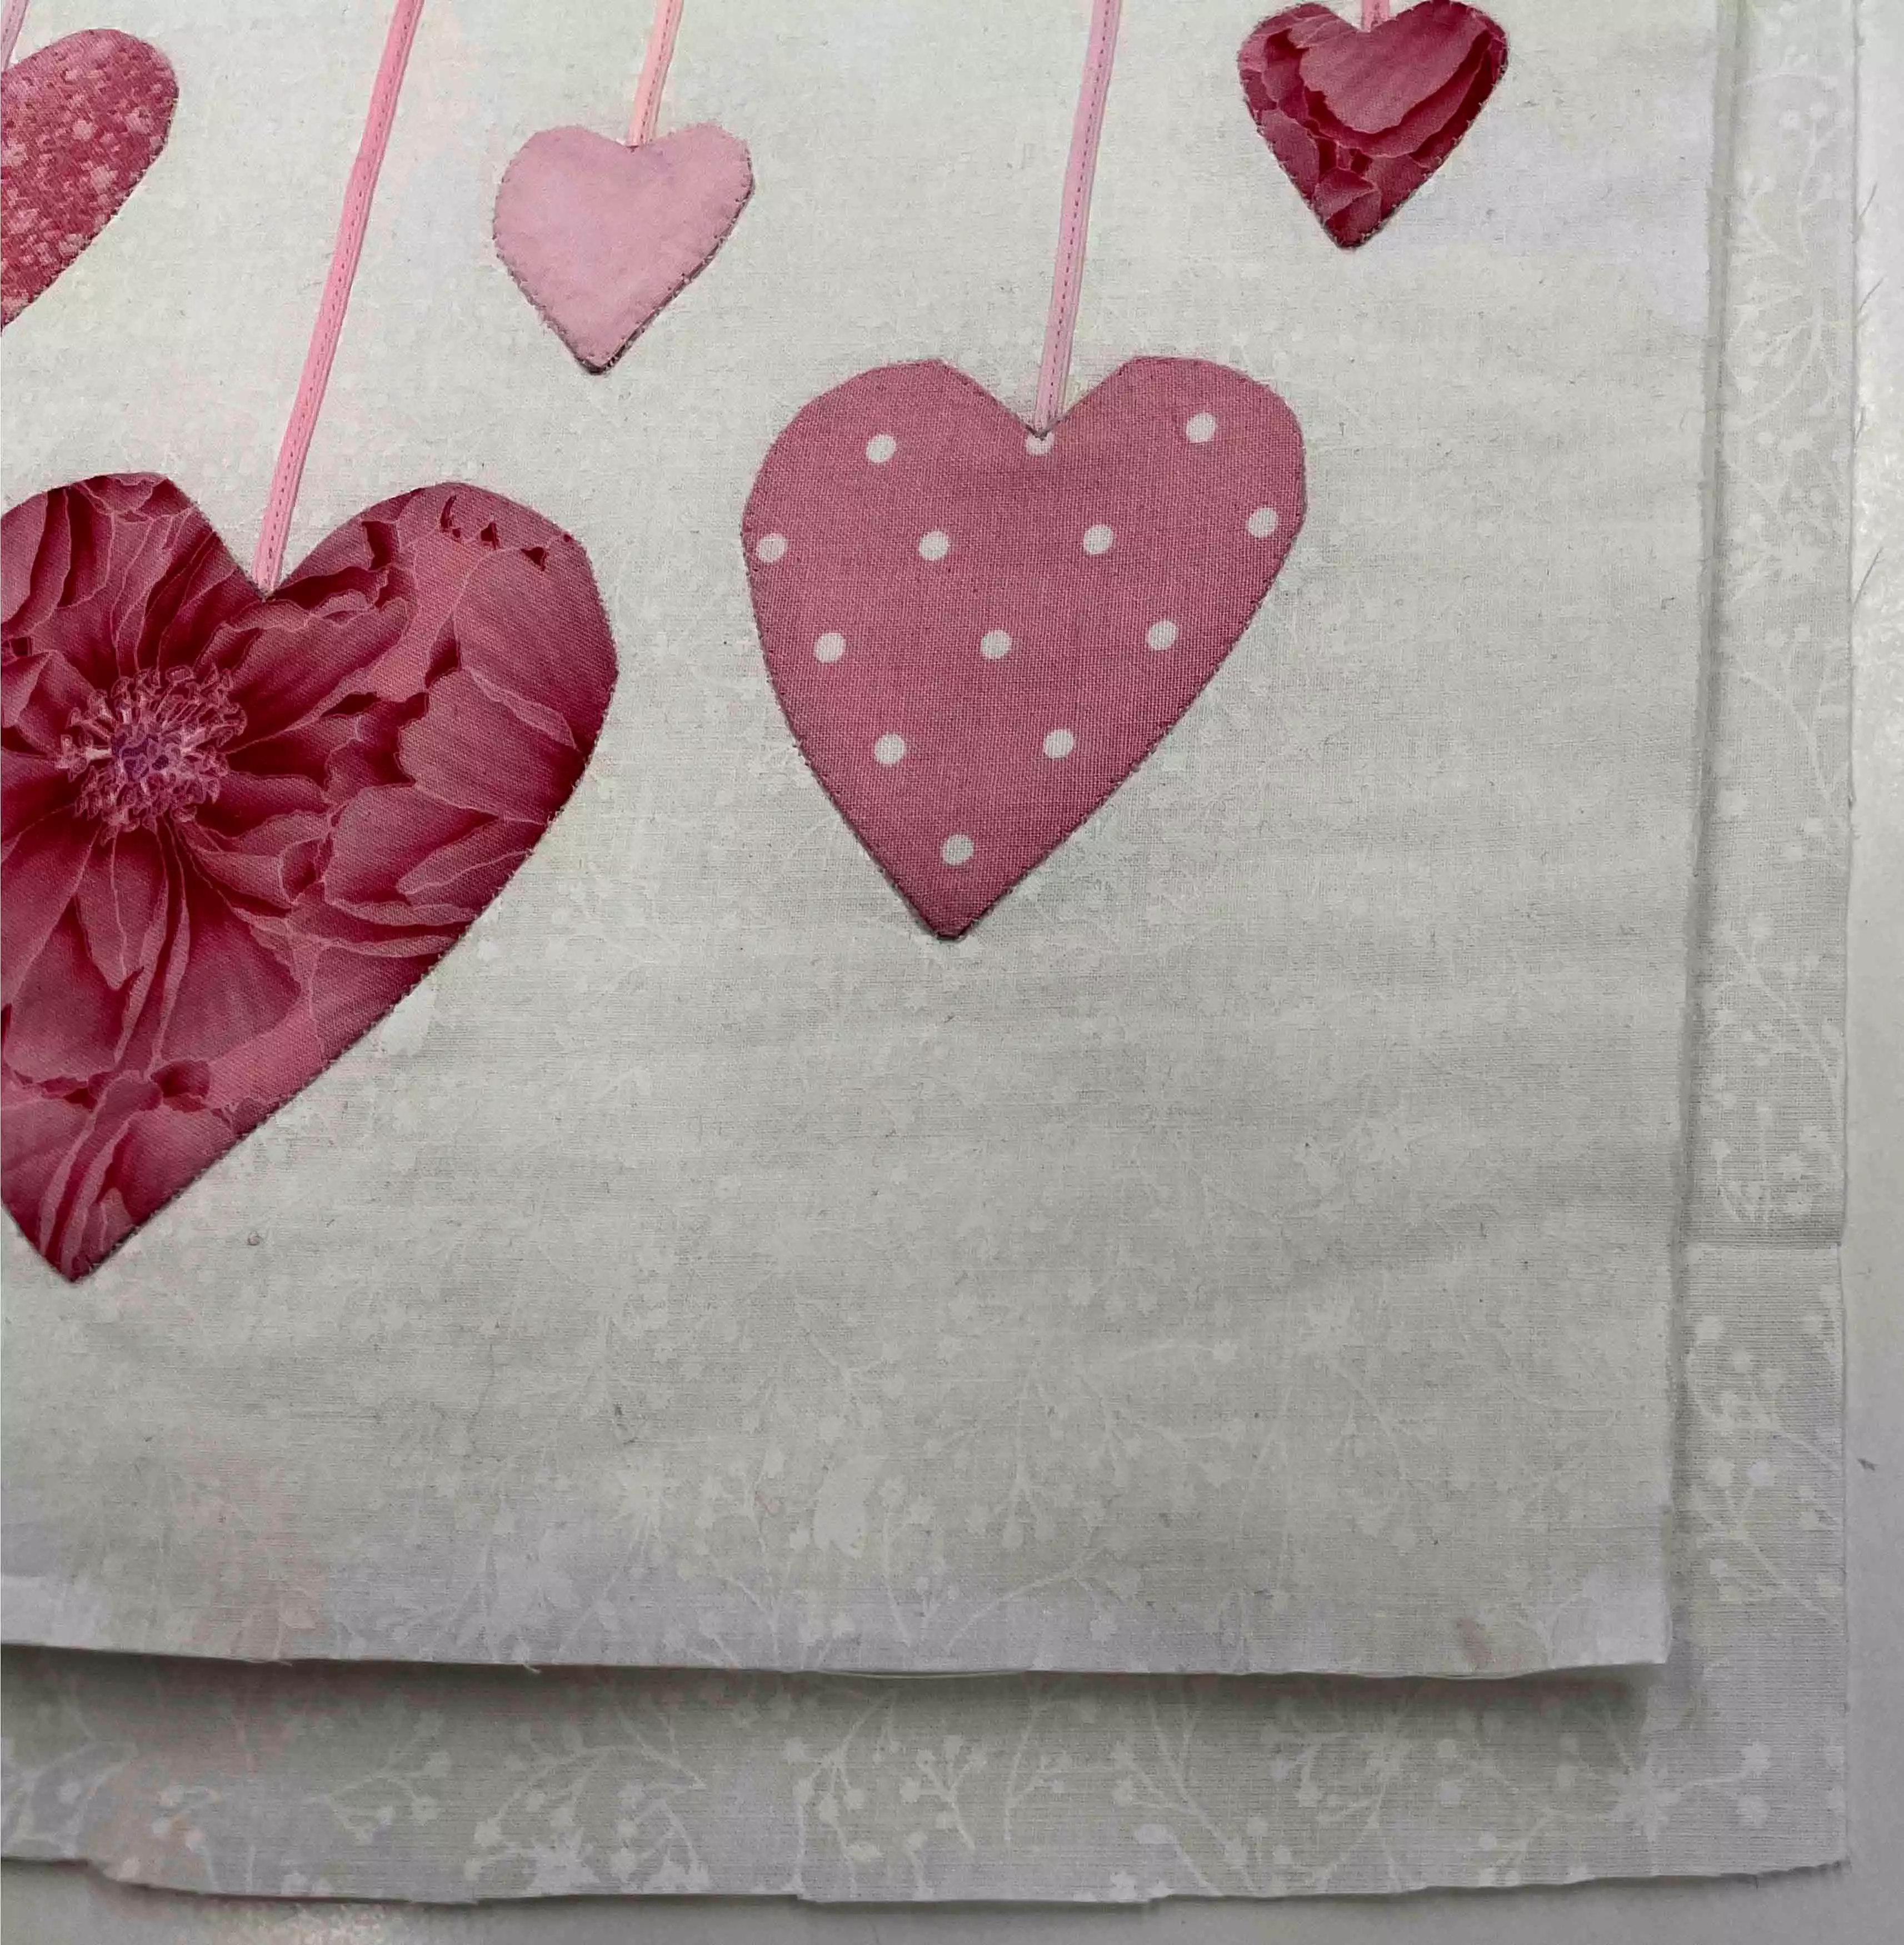
Valentine Table Runner

A table runner with hearts is a perfect gift for a dear friend. The technique used is Baltimore machine applique.
What you need:
- White fabric for the tablerunner
- Small pieces of pink fabric for the hearts
- Satin ribbon in different pink colors to match the hearts, about… (cm) of each
- Fabric for backing
- 3 strips of pink fabric for the binding
- Matching thread
- Invisible thread for the applique
- Thin fusible non-woven interfacing
- Valentine-Tablerunner-Templates.pdf
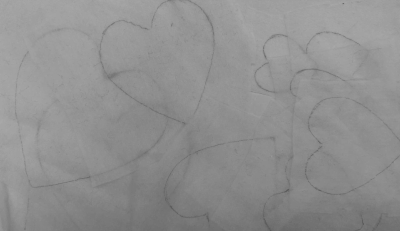
Making the hearts
1. Print out the pattern and tape it together. Trace the heart shapes on the matte side of the interfacing (the side without glue on it) cut out, leaving about ½” (1,5cm) seam allowance.
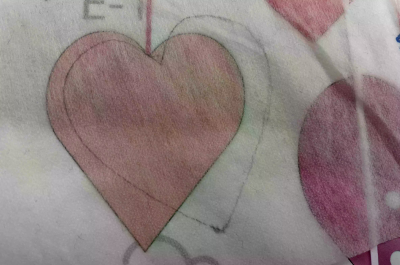
2. Place the interfacing on the right side of the applique fabric with glue side down. Pin in place and stitch in the traced line of the heart shapes. Use short stitches about 1,5-2mm. Let the stitching overlap about ½” (1,5cm)
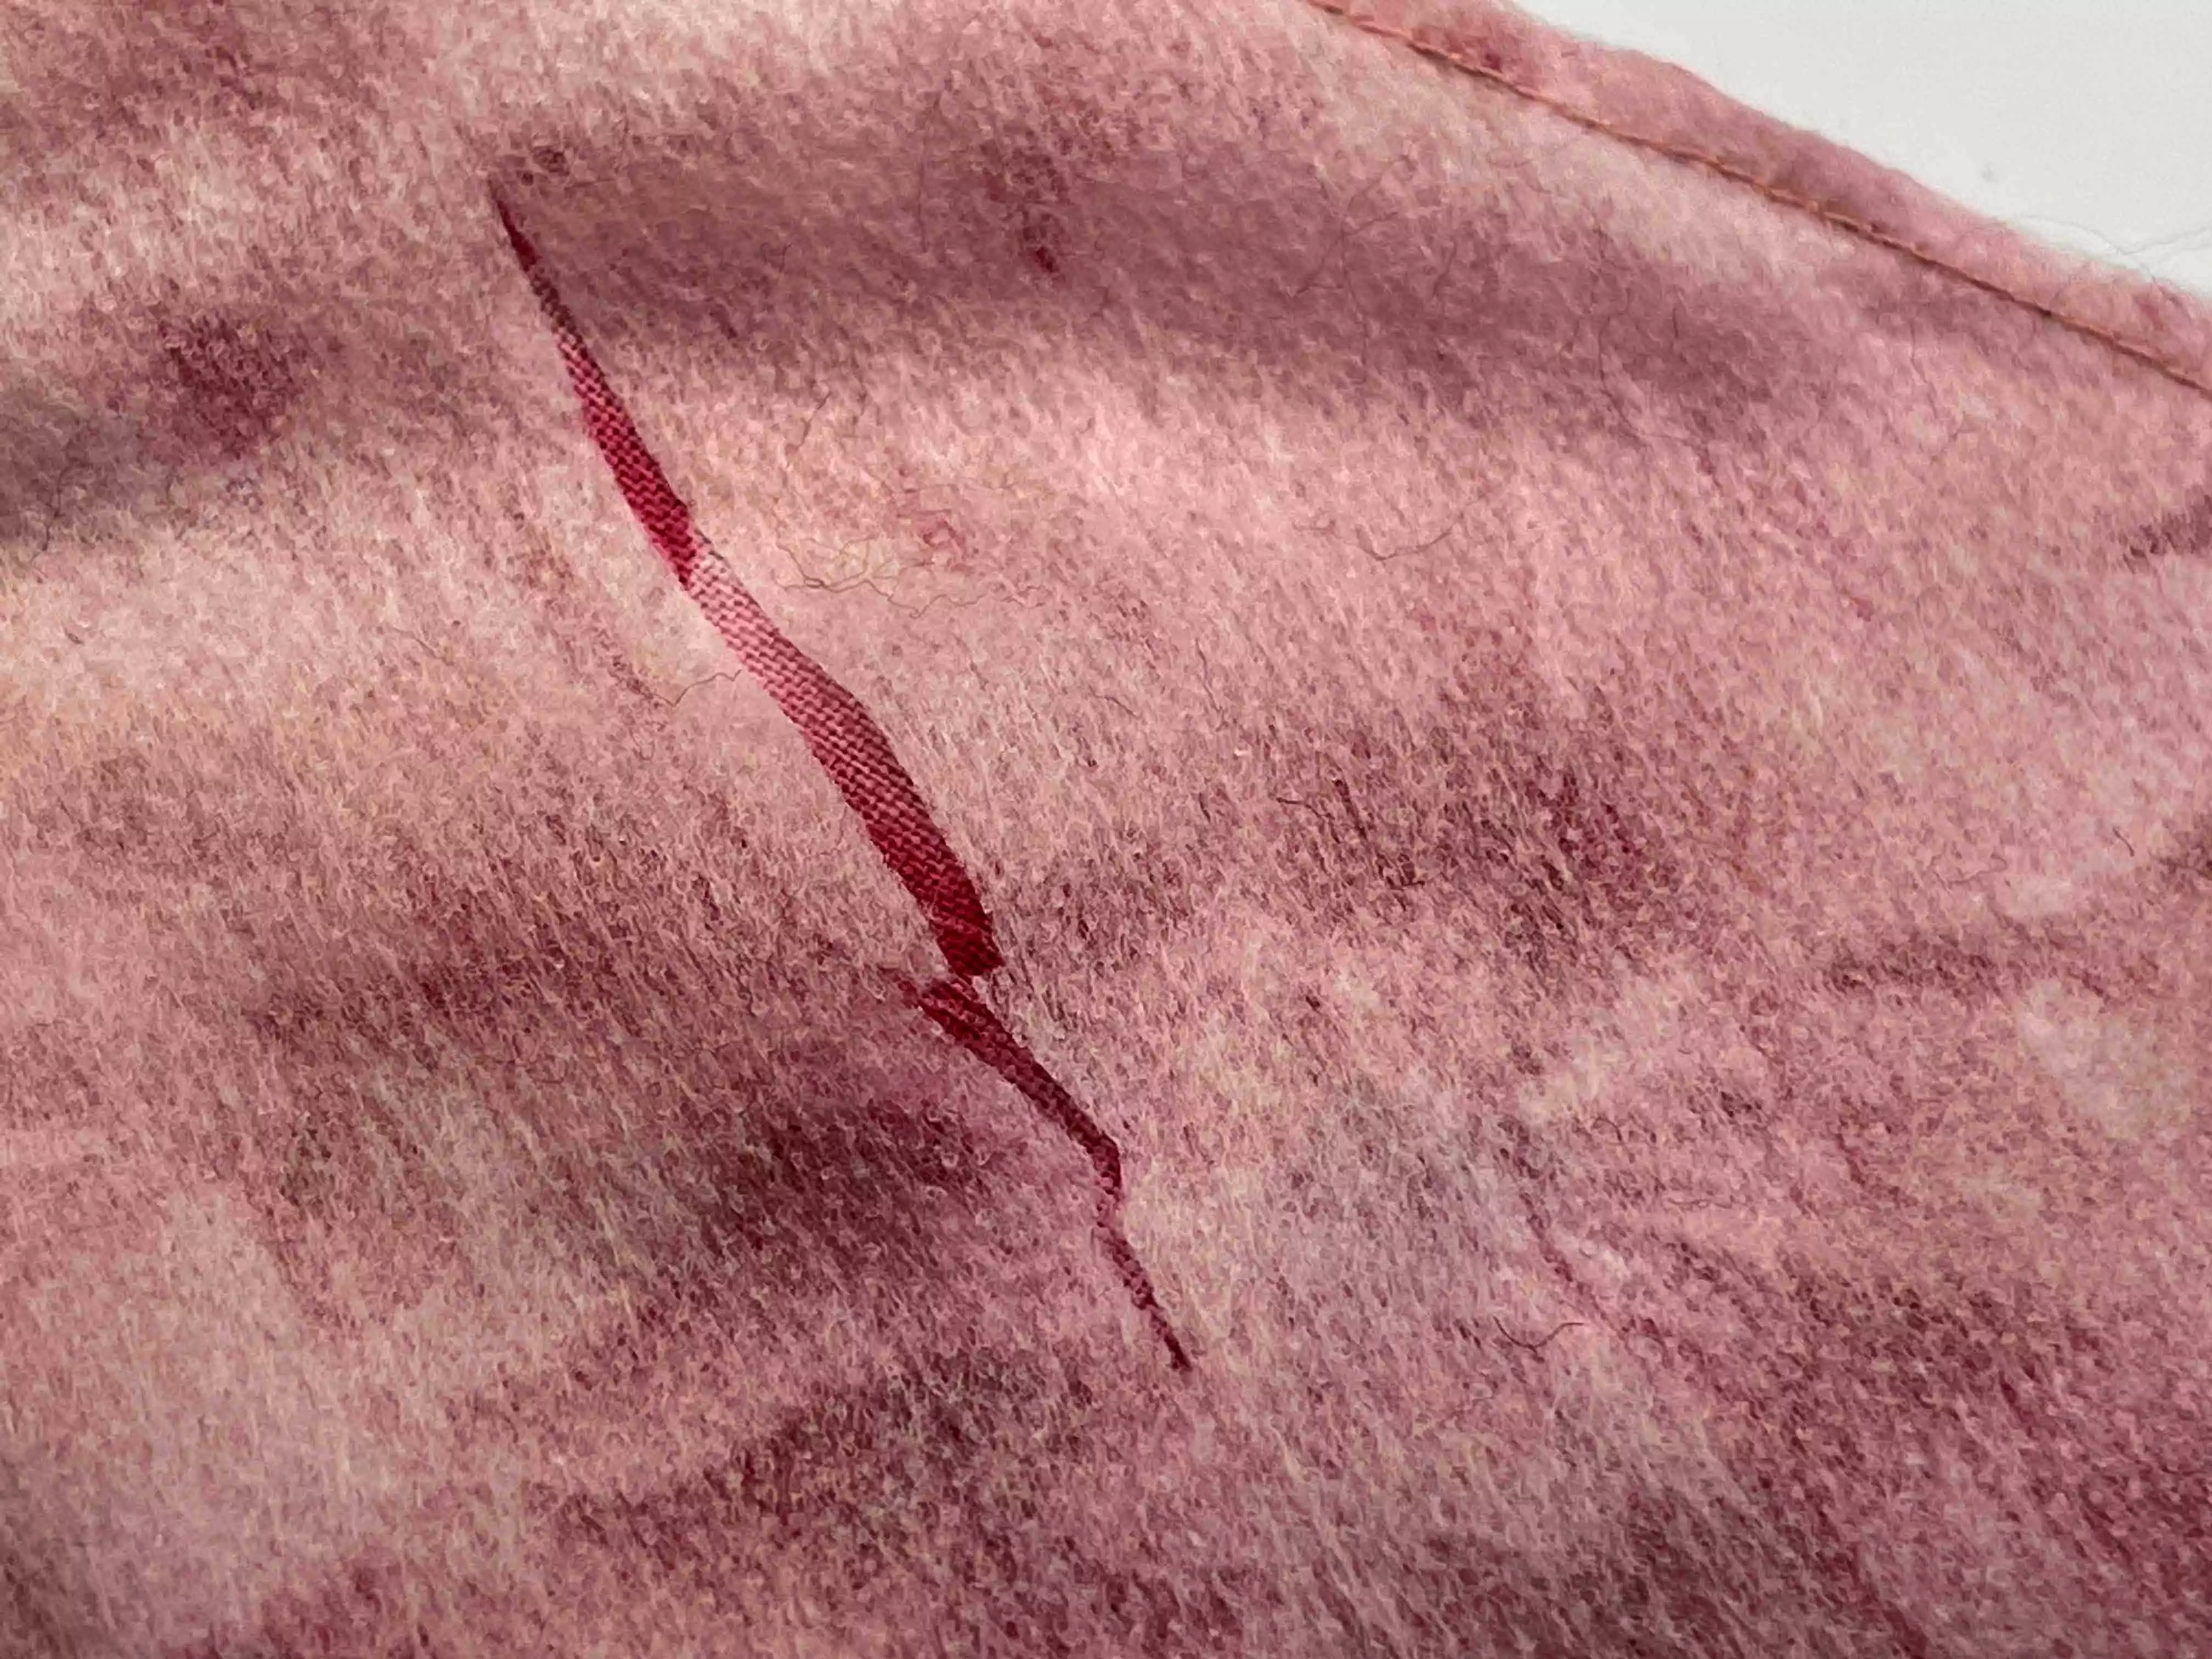
3. Cut out close to the stitching leave about ⅛” (3mm) seam allowance.Snip into the ingoing curve at the heart right to the stitching line. Be careful not to cut through the stitching

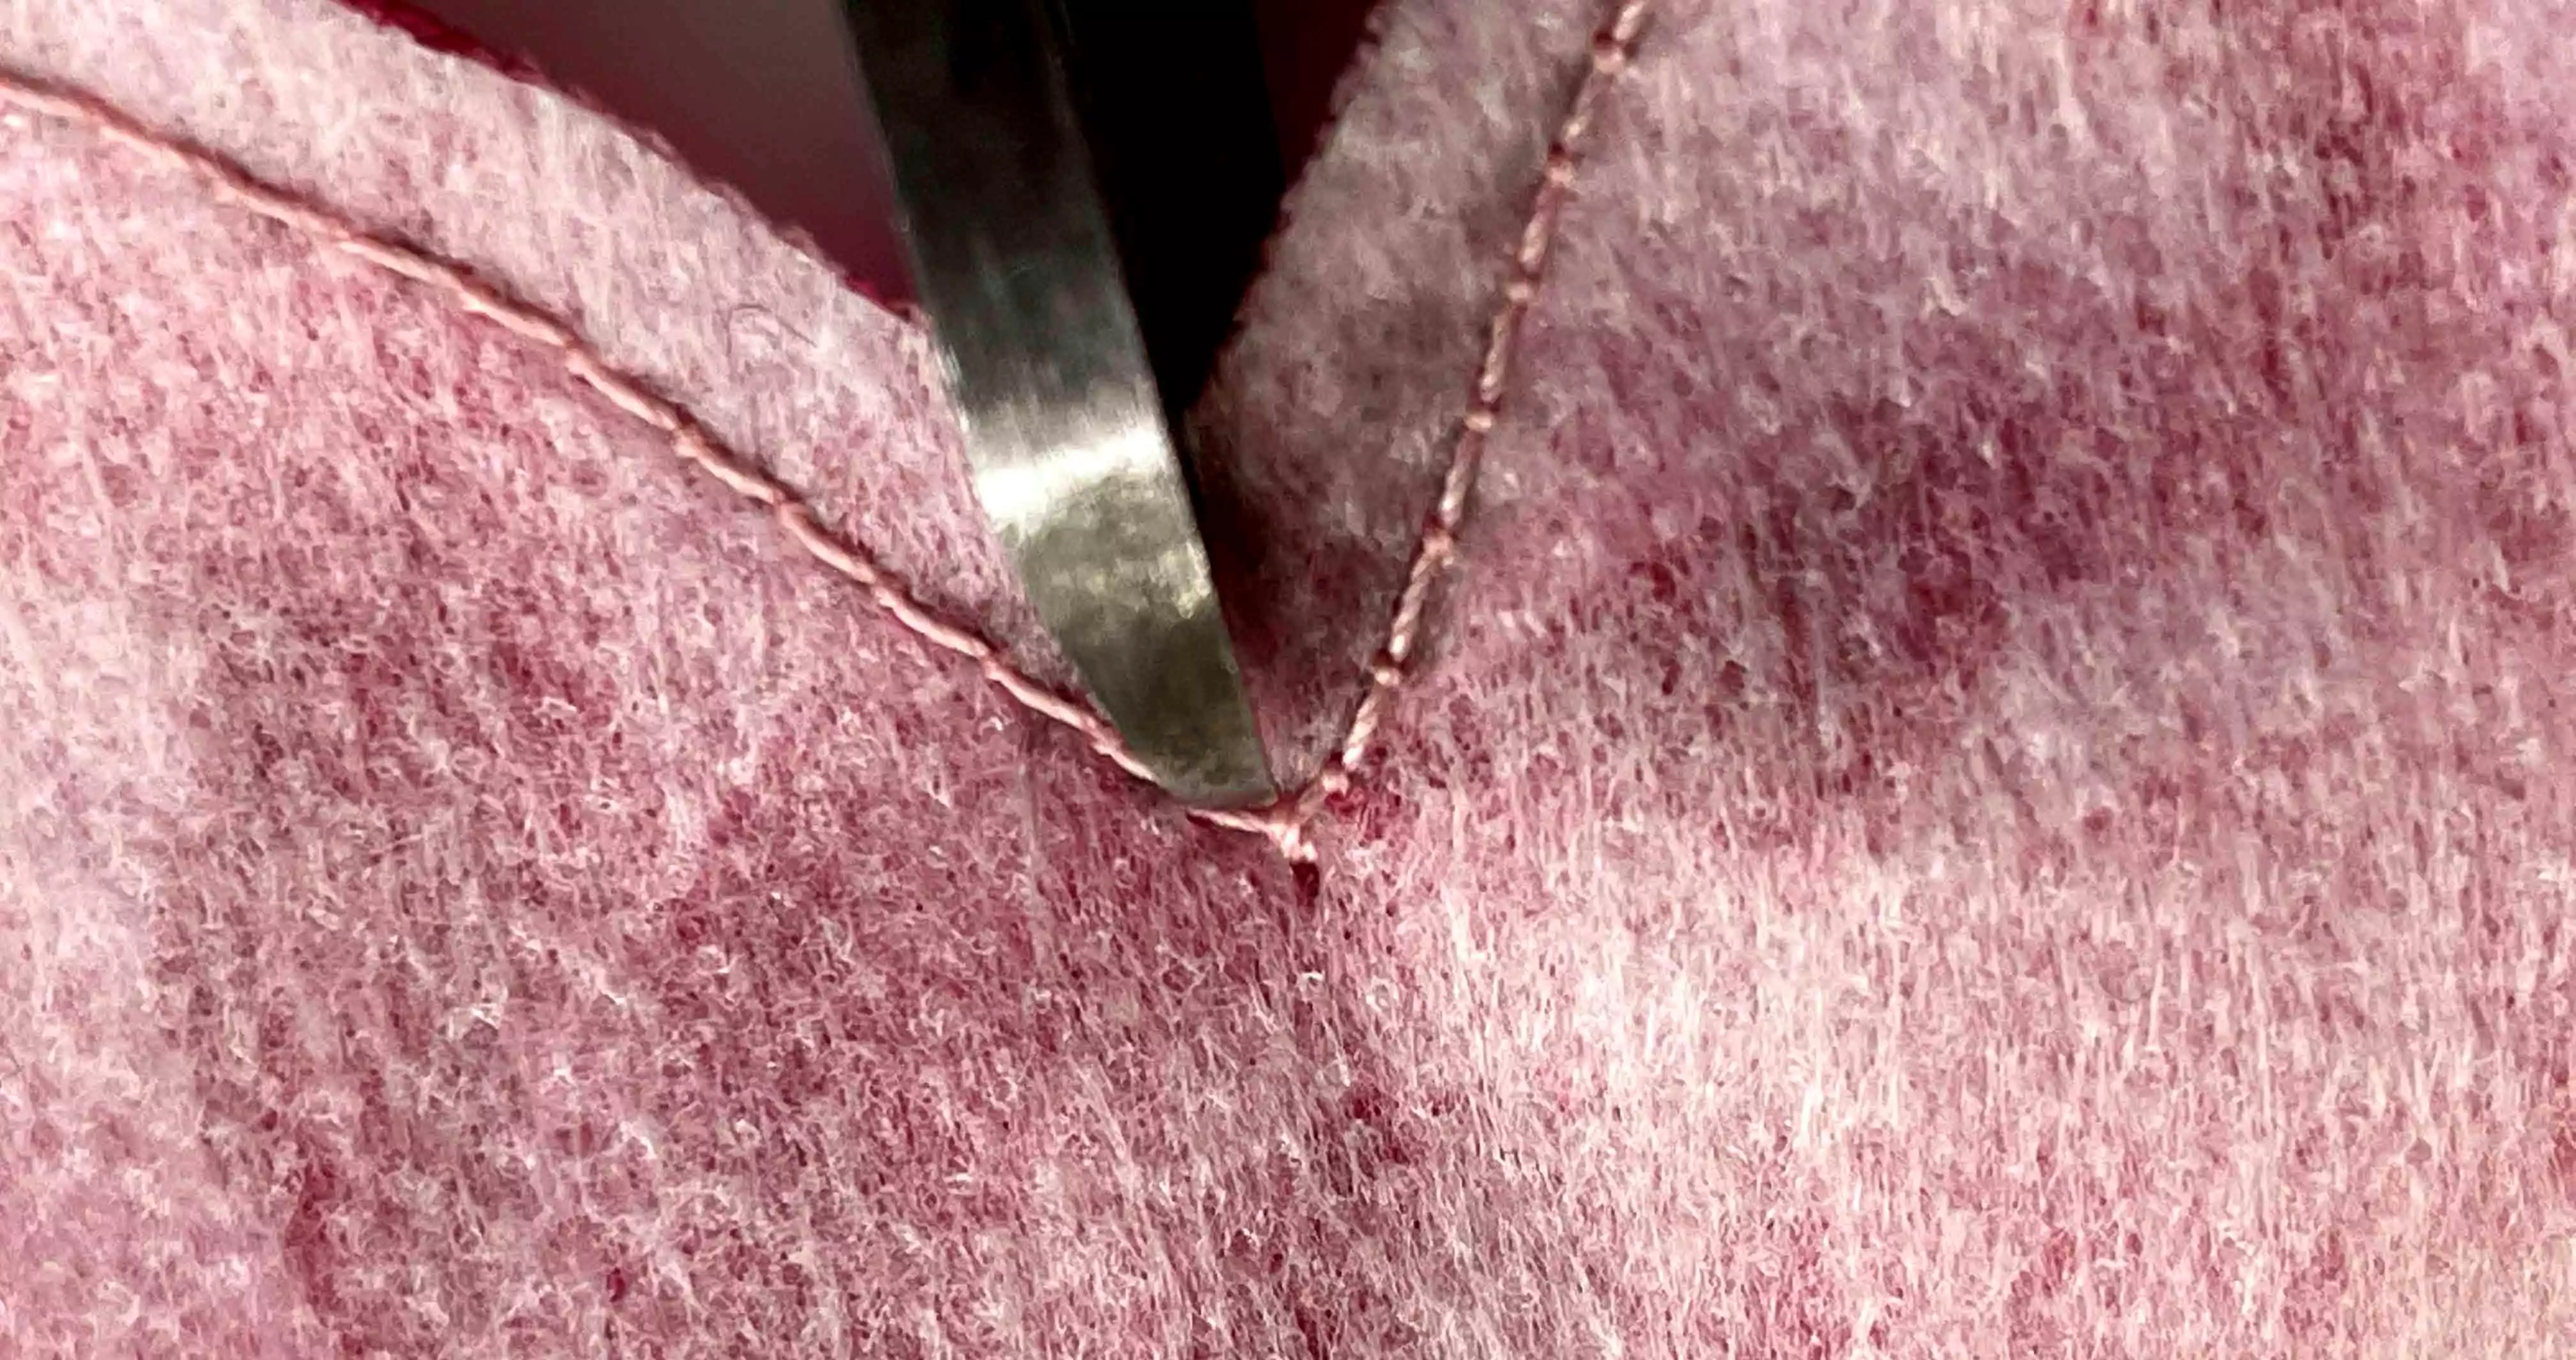
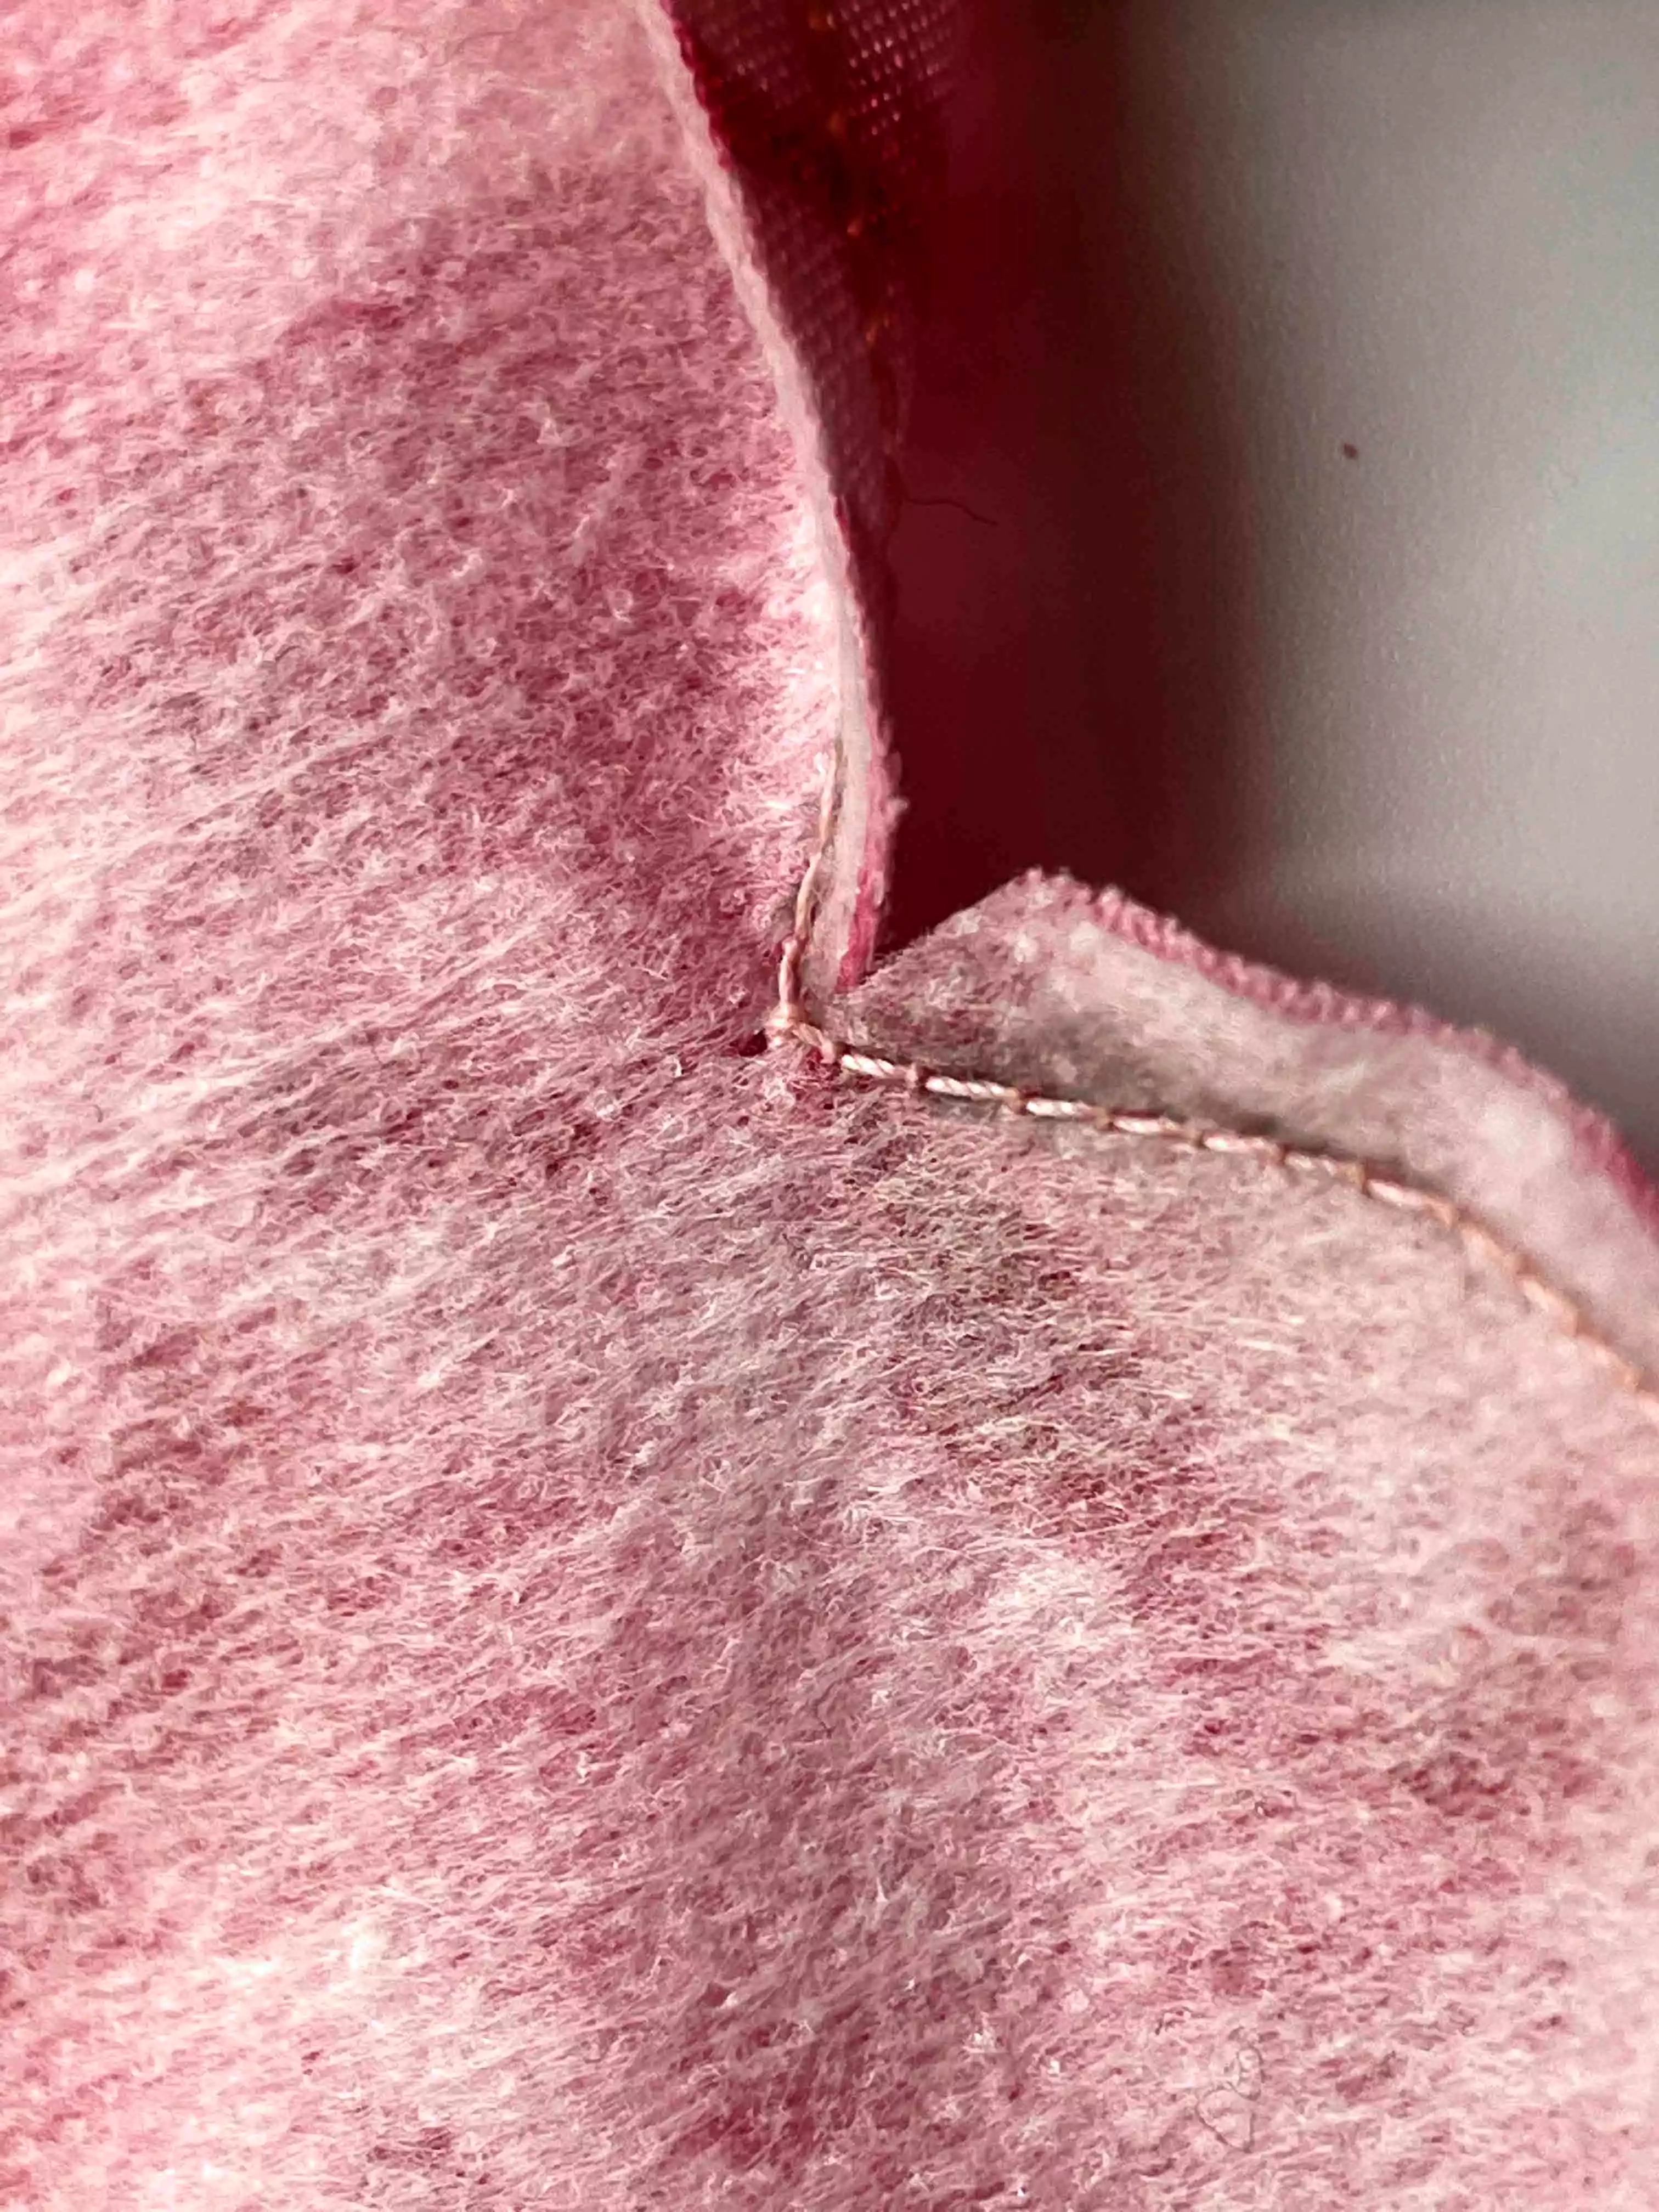
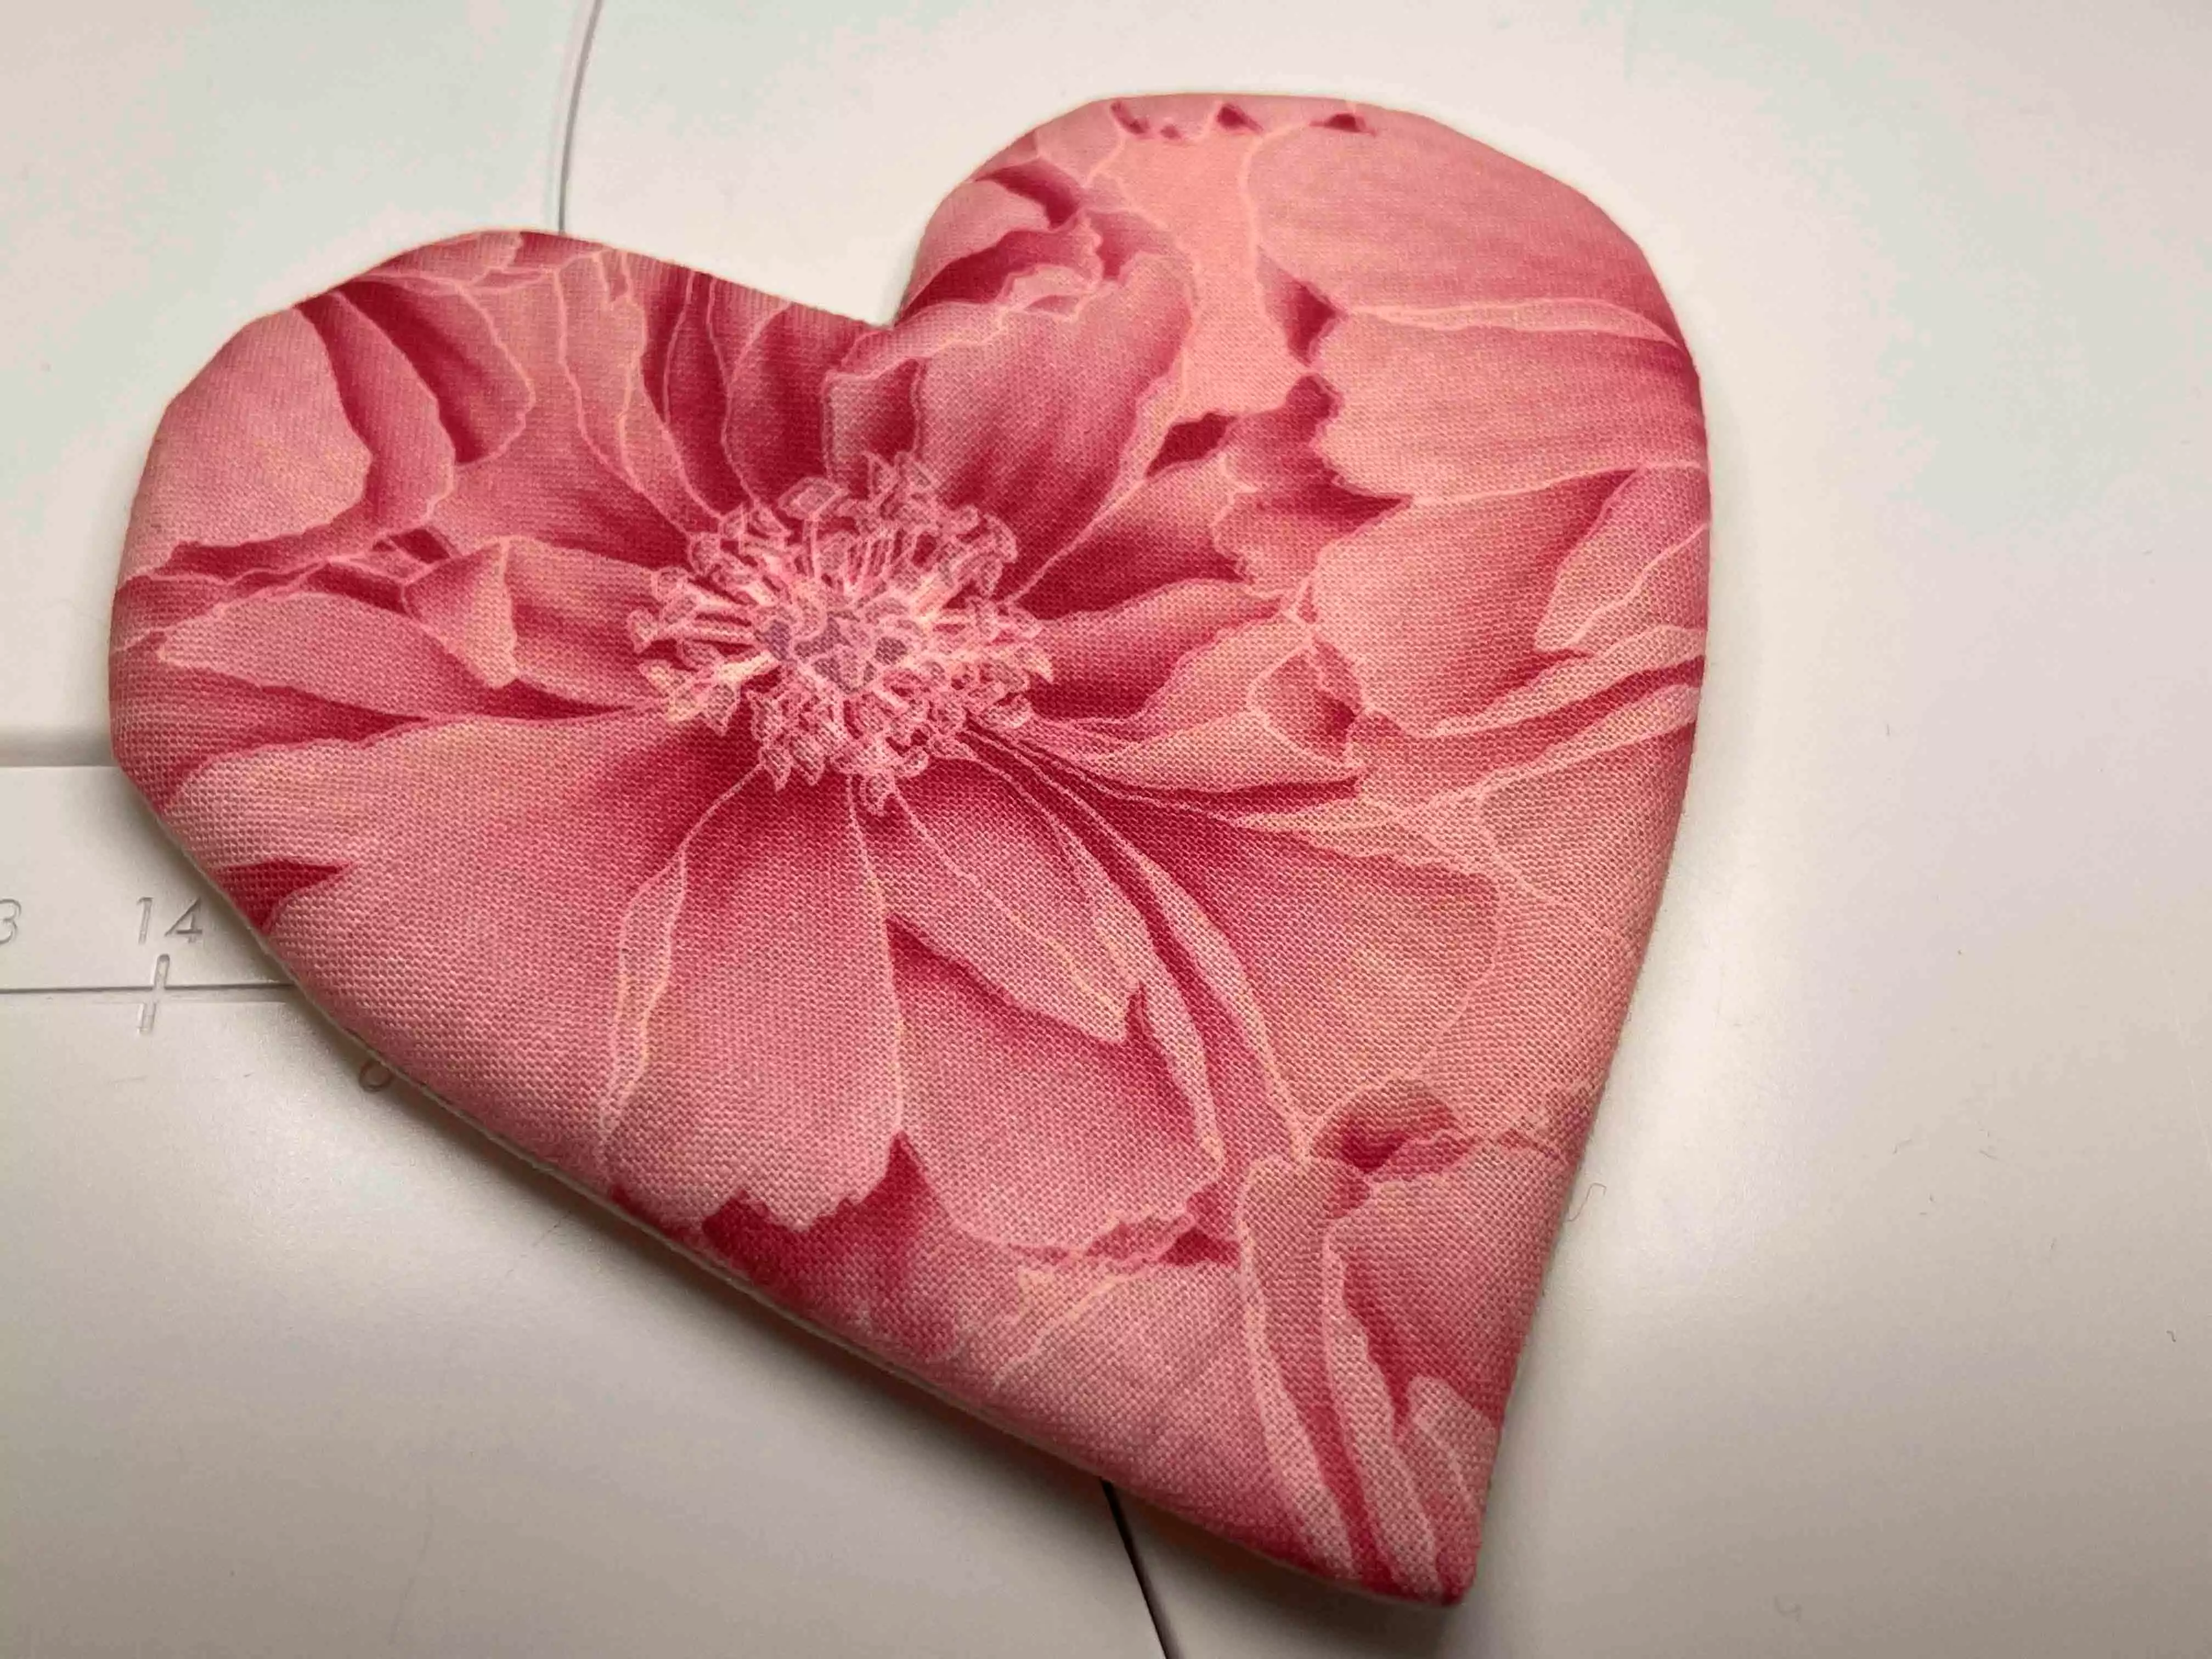
4. Make a slit in the interfacing and turn the right side out. Carefully go around the edges and be sure to get the fabric turned out all the way. Set aside for now.
Preparing steps
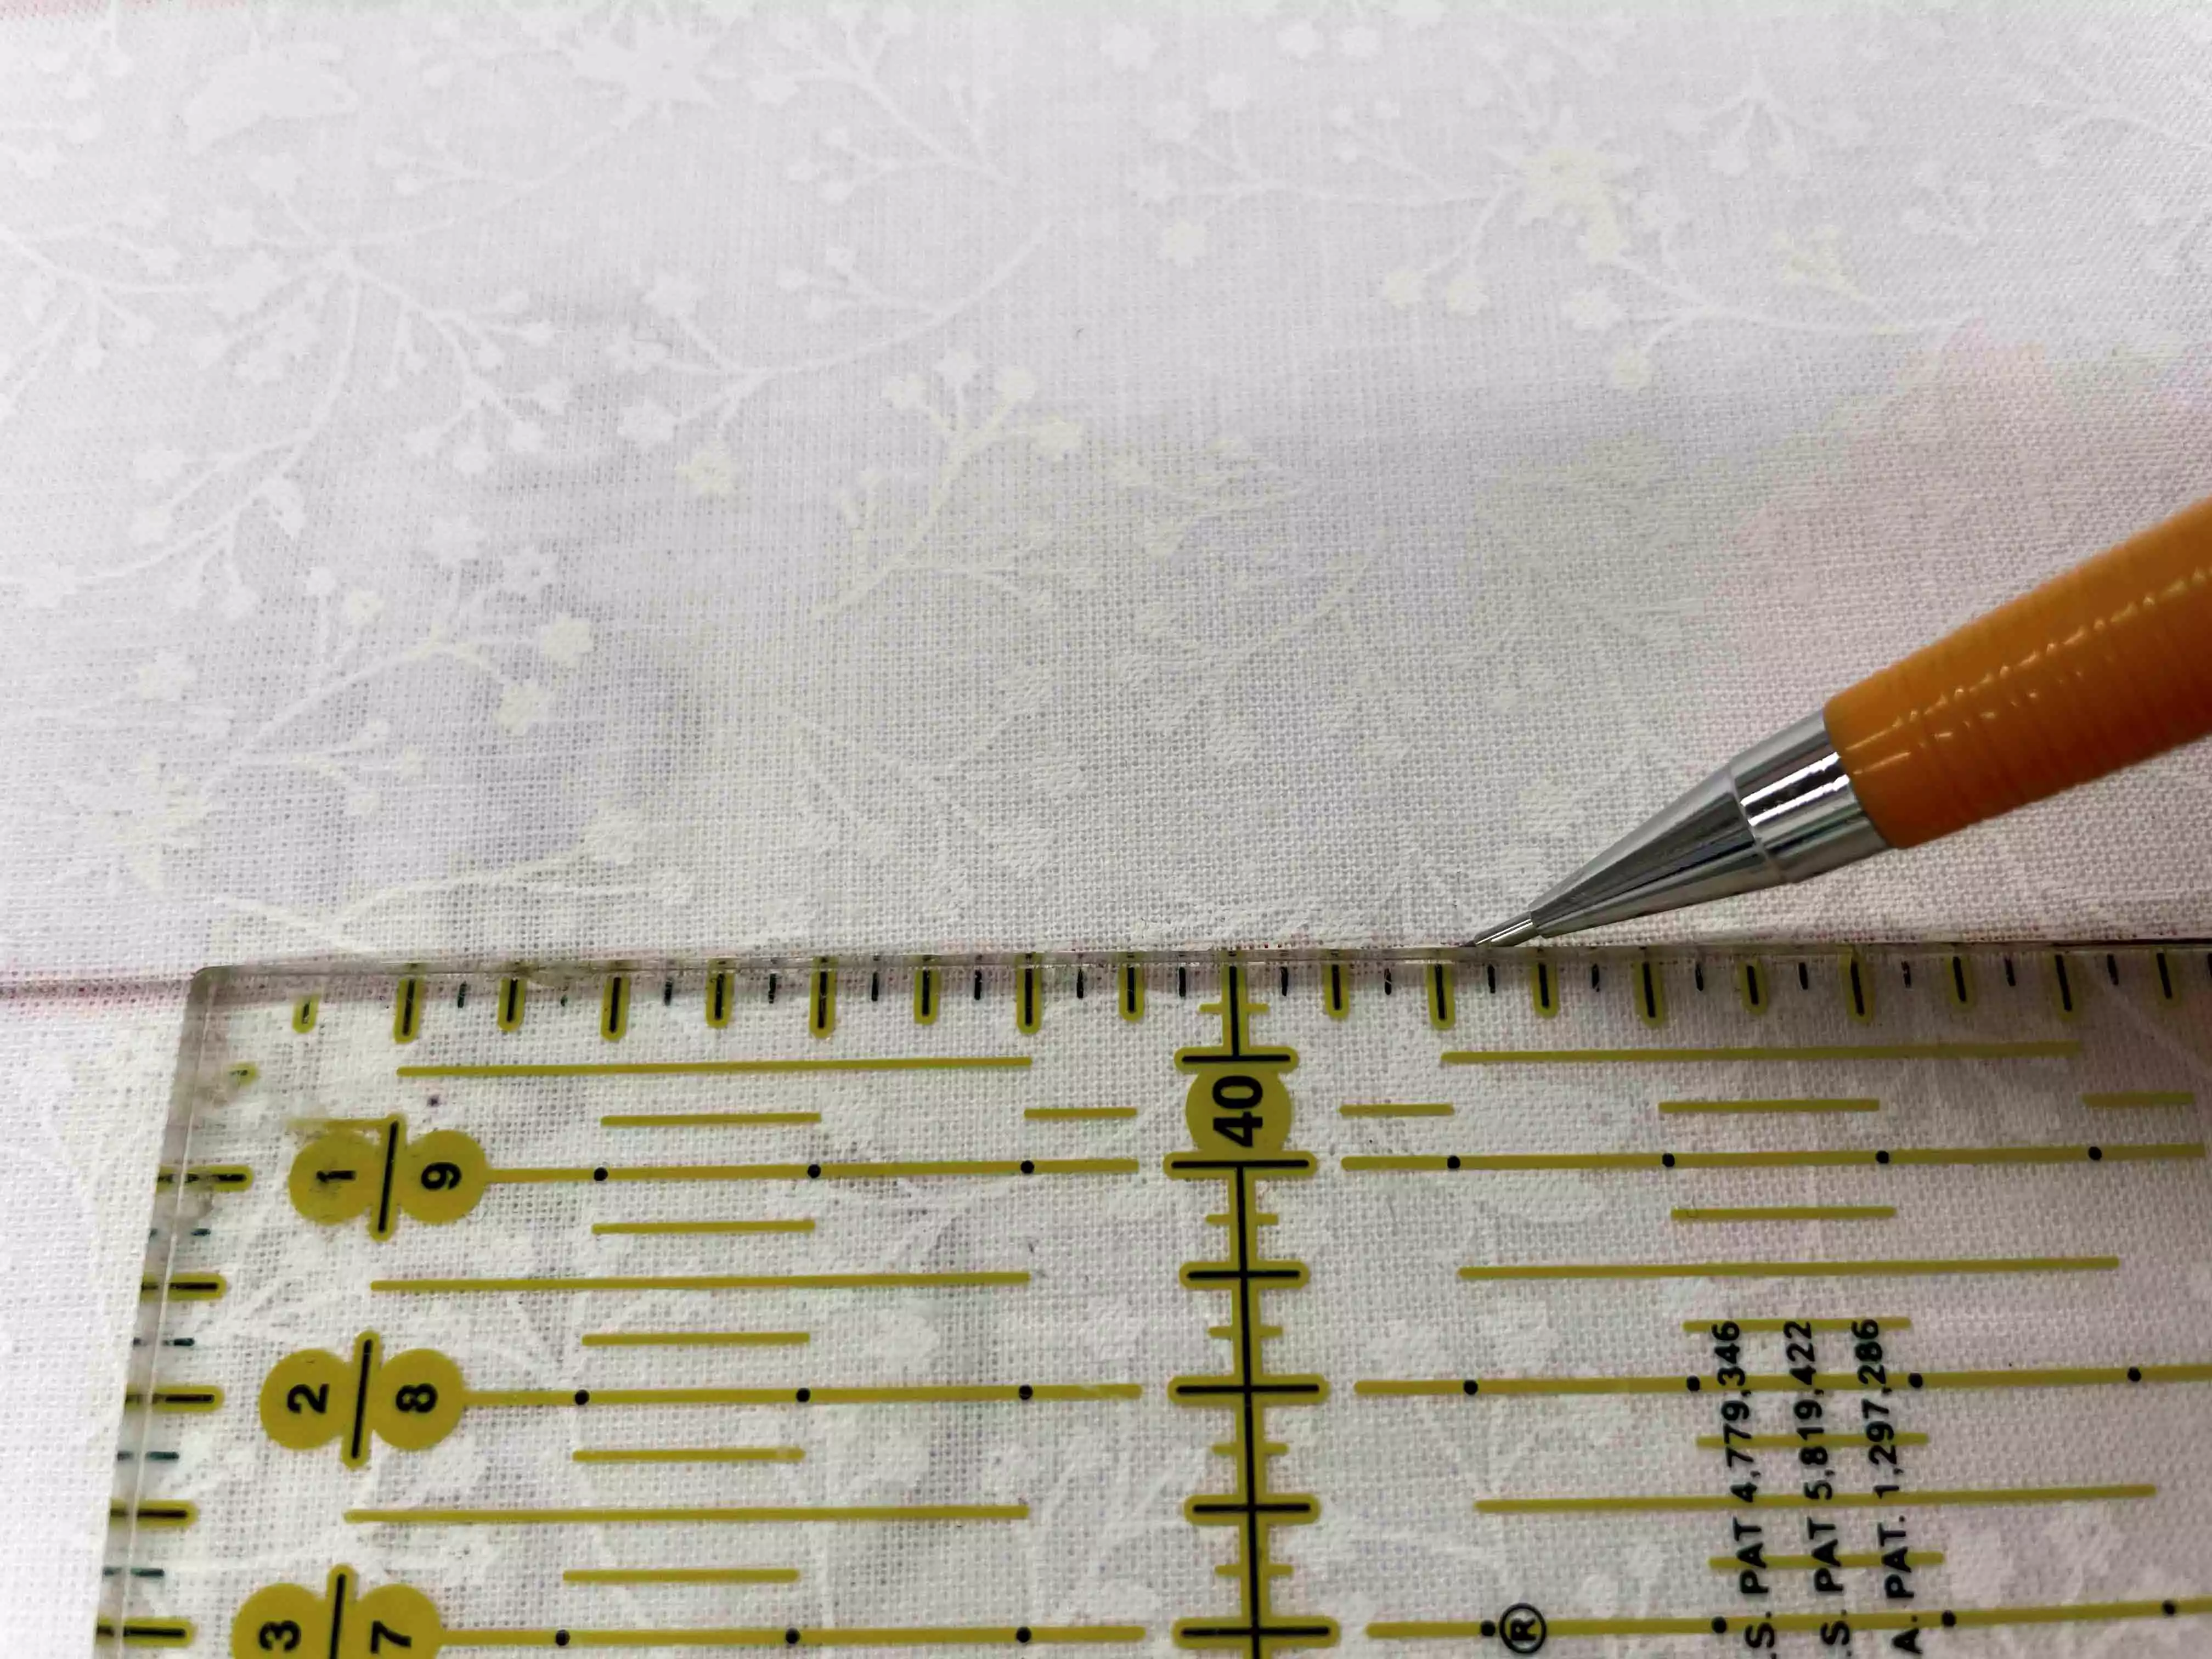
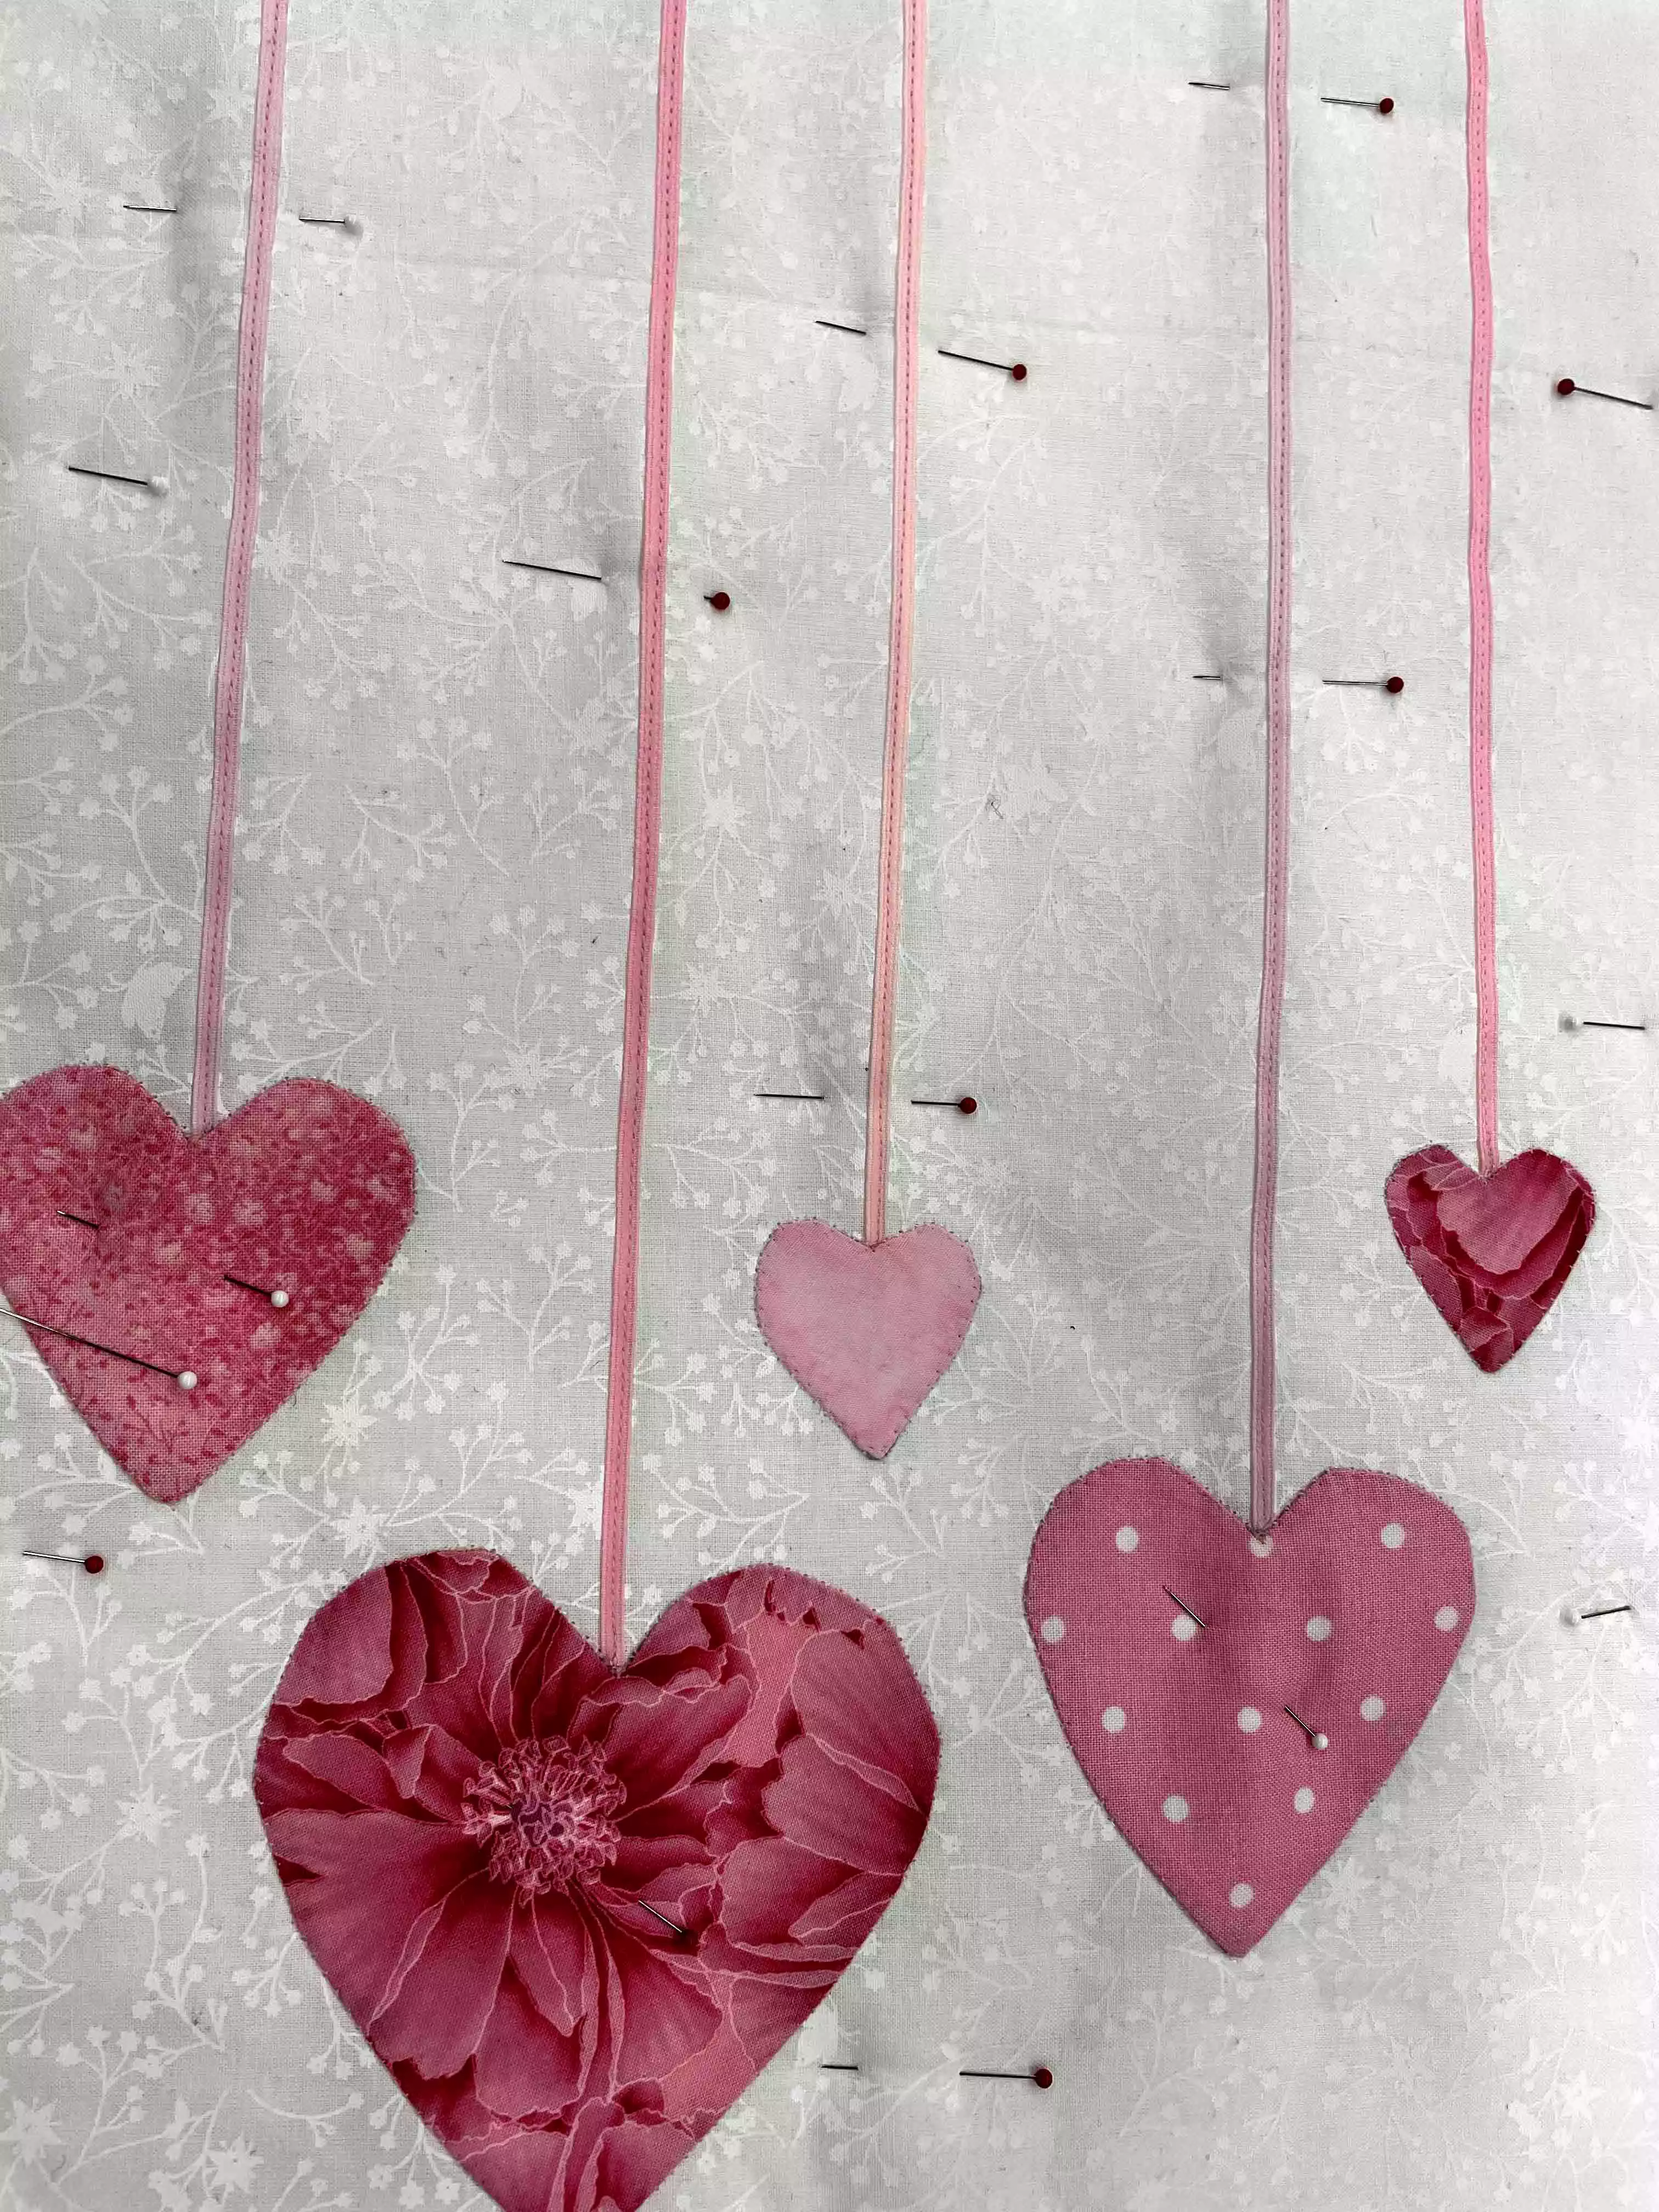
5. Draw parallel lines on the fabric for the table runner. Use the patterns as a guid. If your fabric is thin enough you could place it on top of the pattern and trace the lines, otherwise measure where to put them. Use a ruler as a guide to get the lines straight.
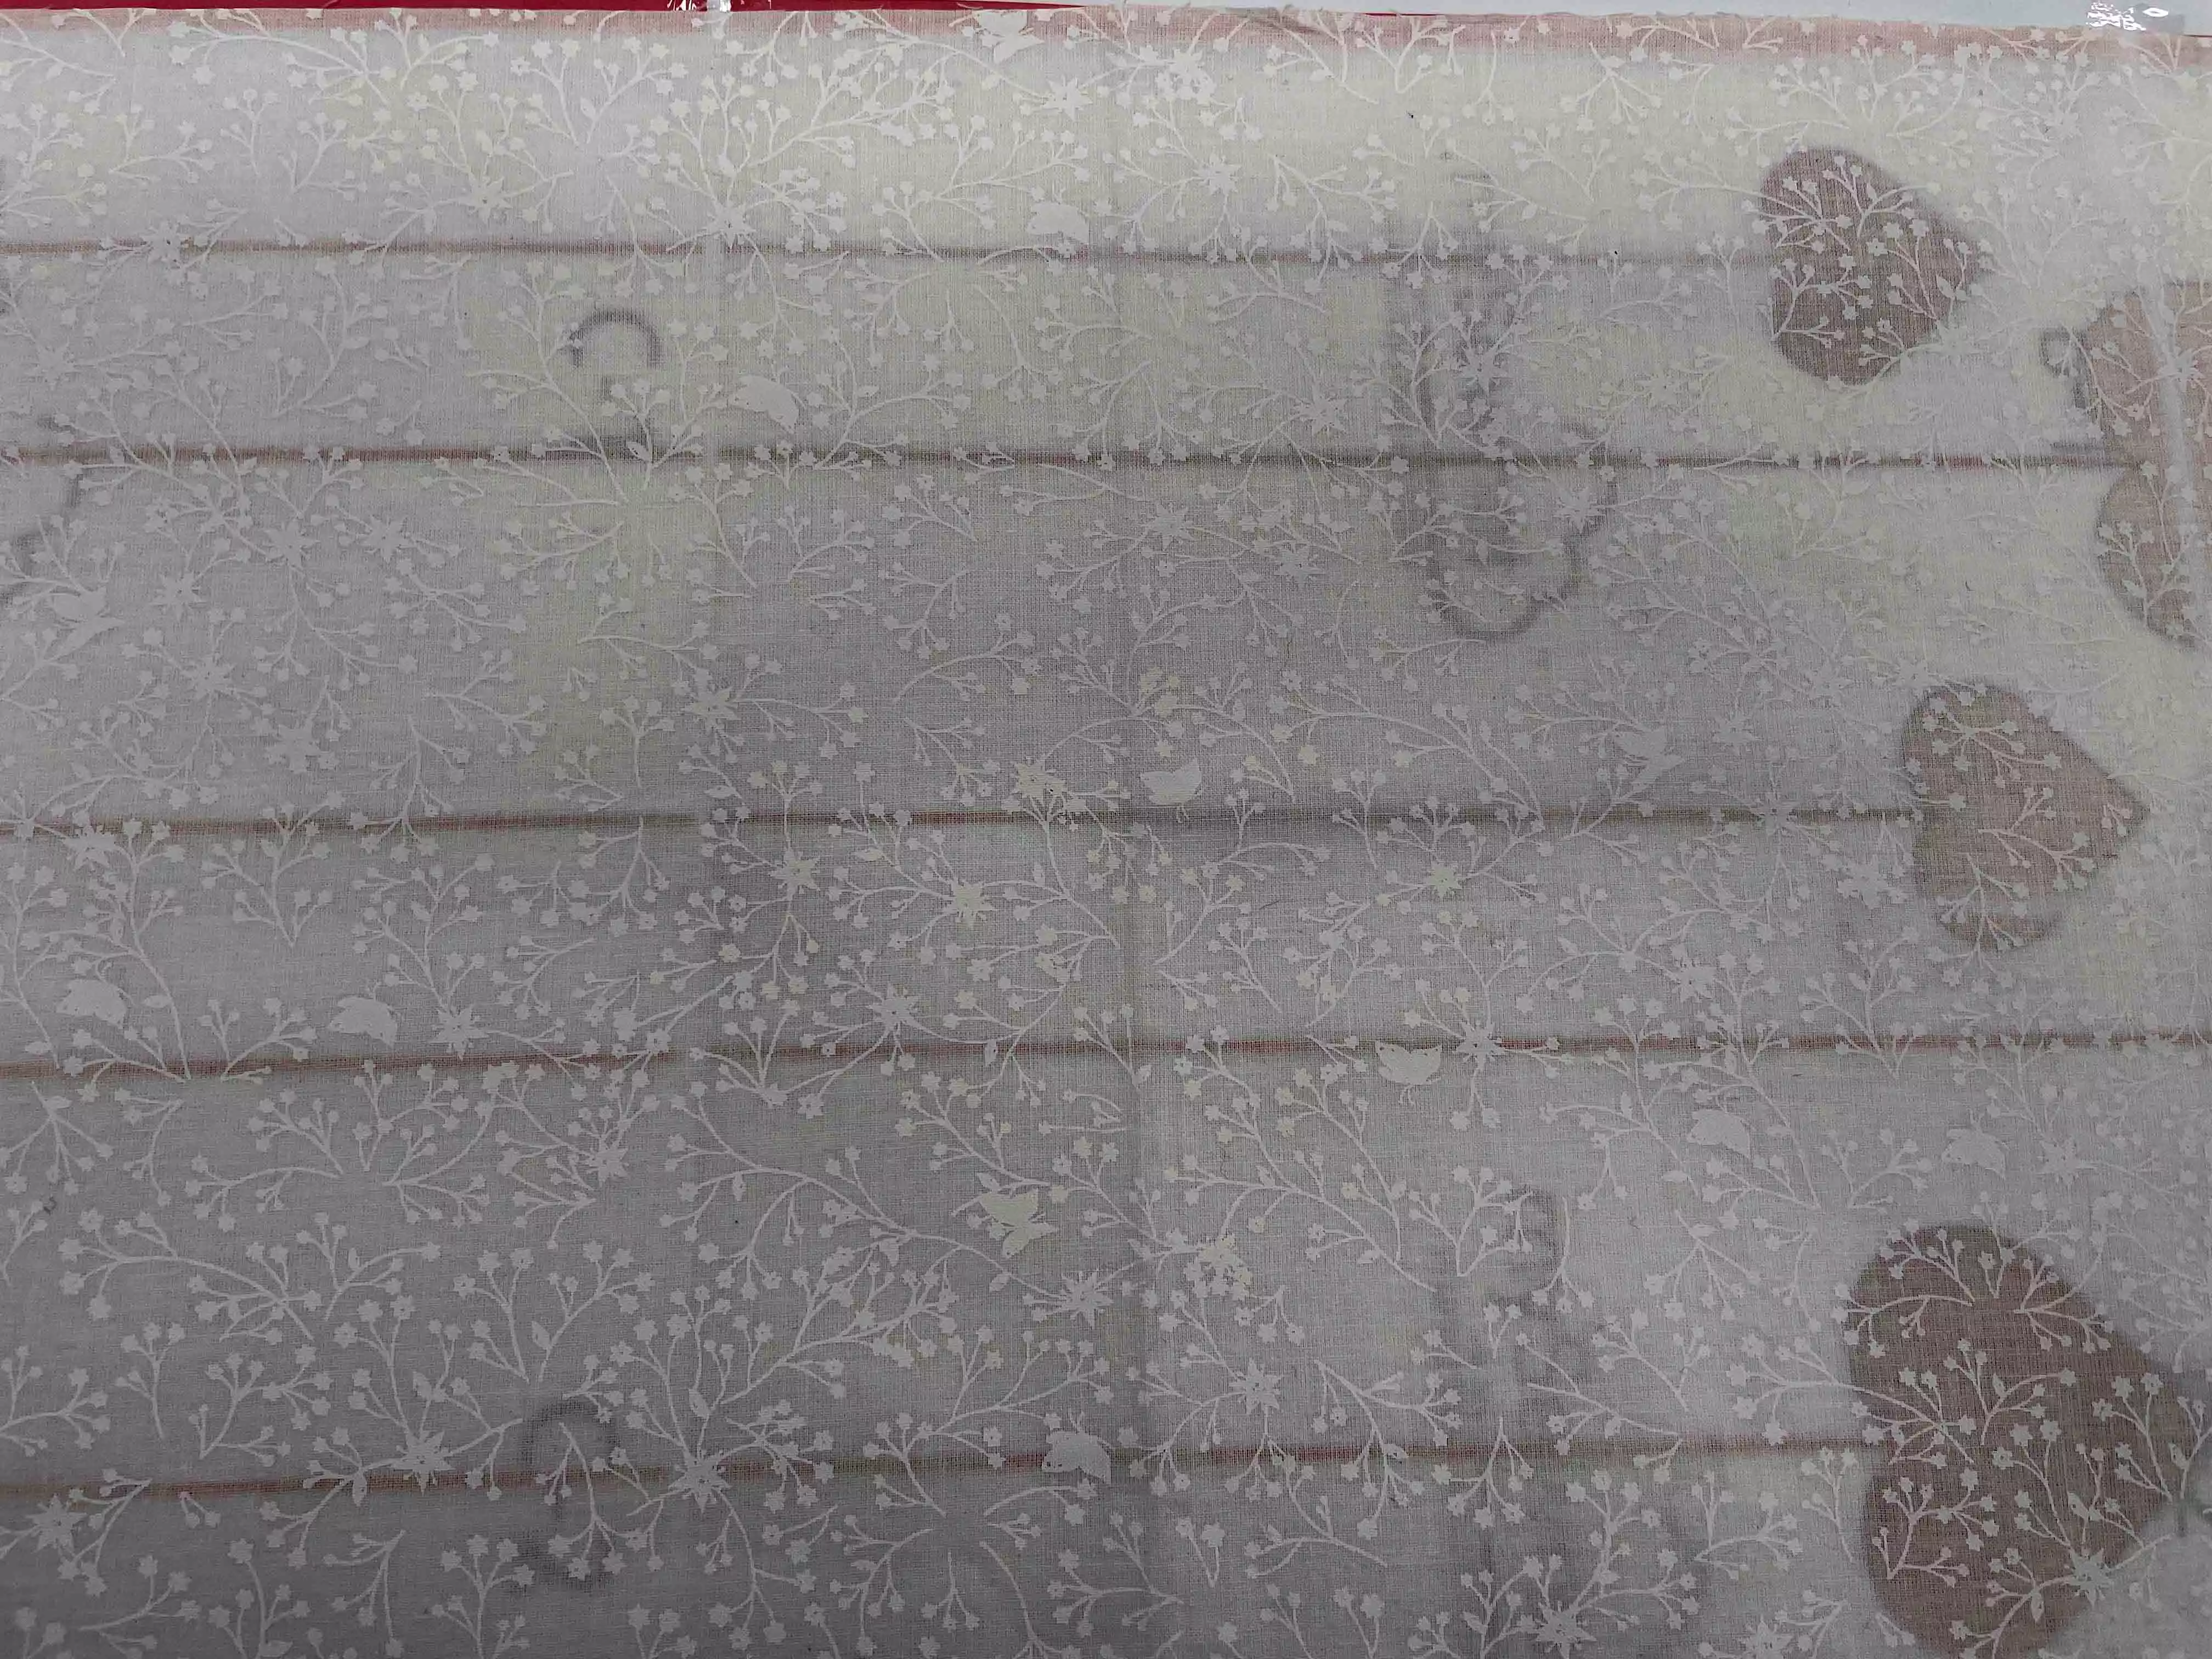
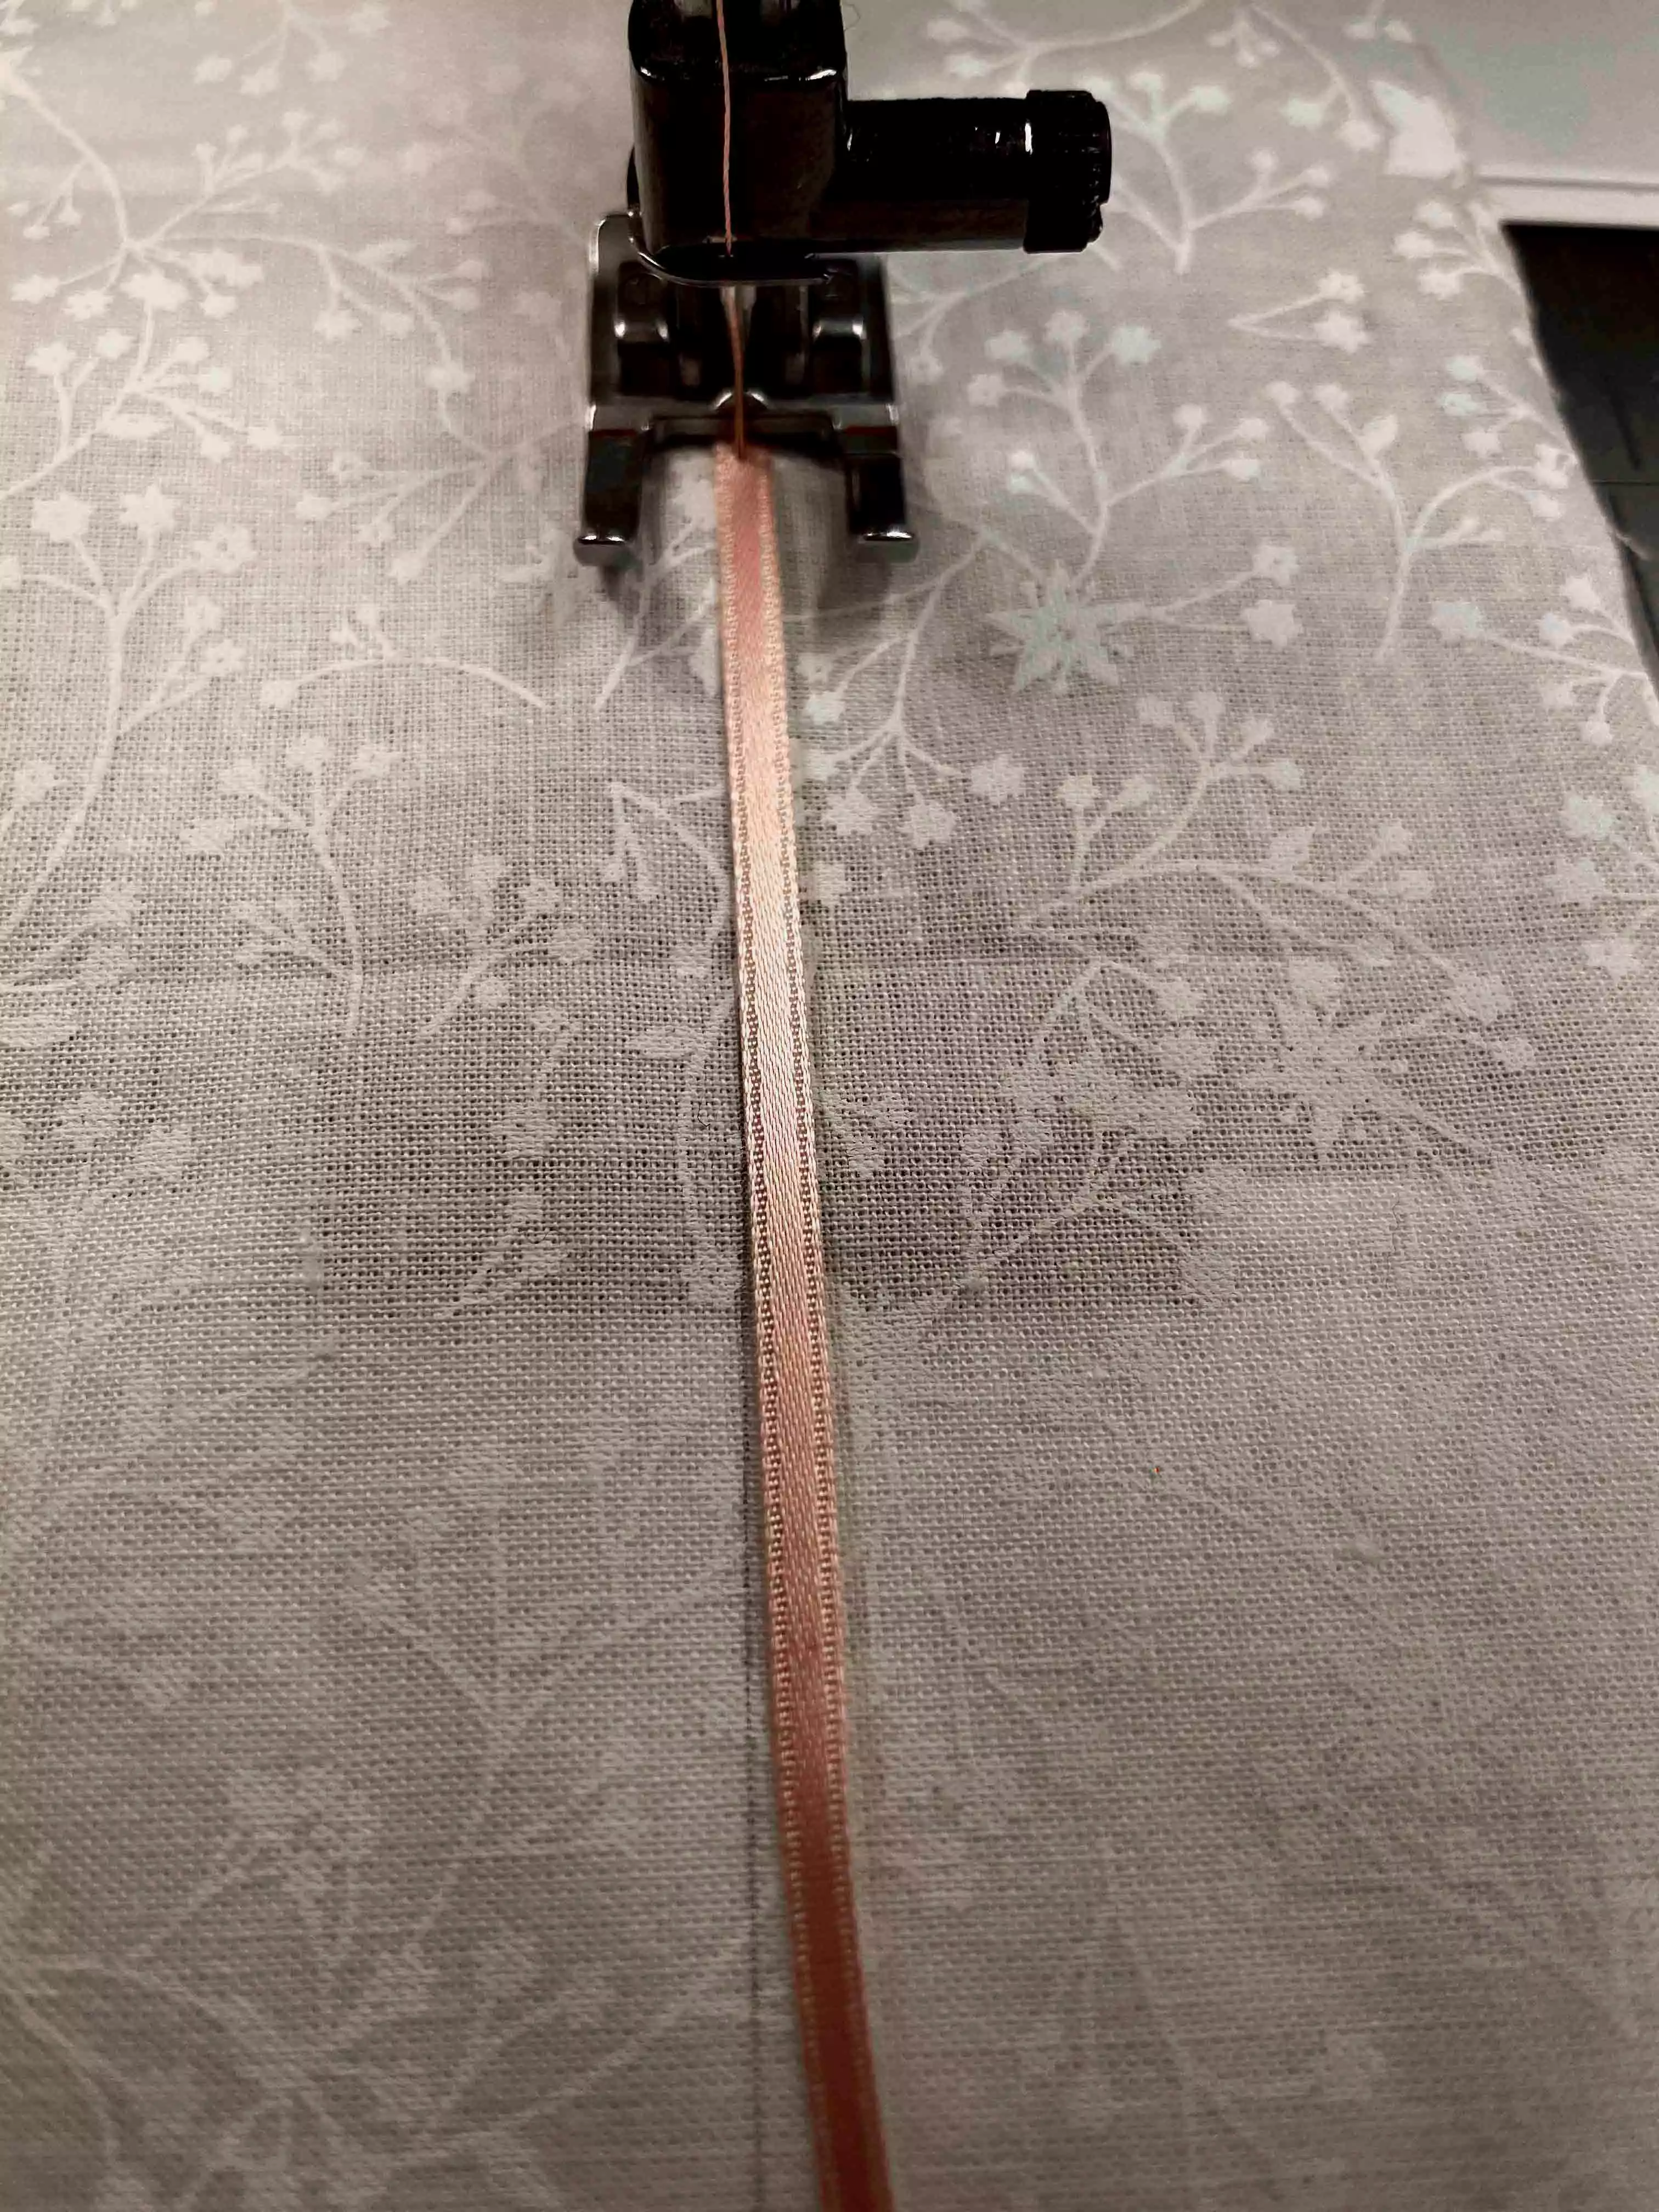
6. Put the thin satin ribbon on top of the lines and stitch them in place with a straight stitch..
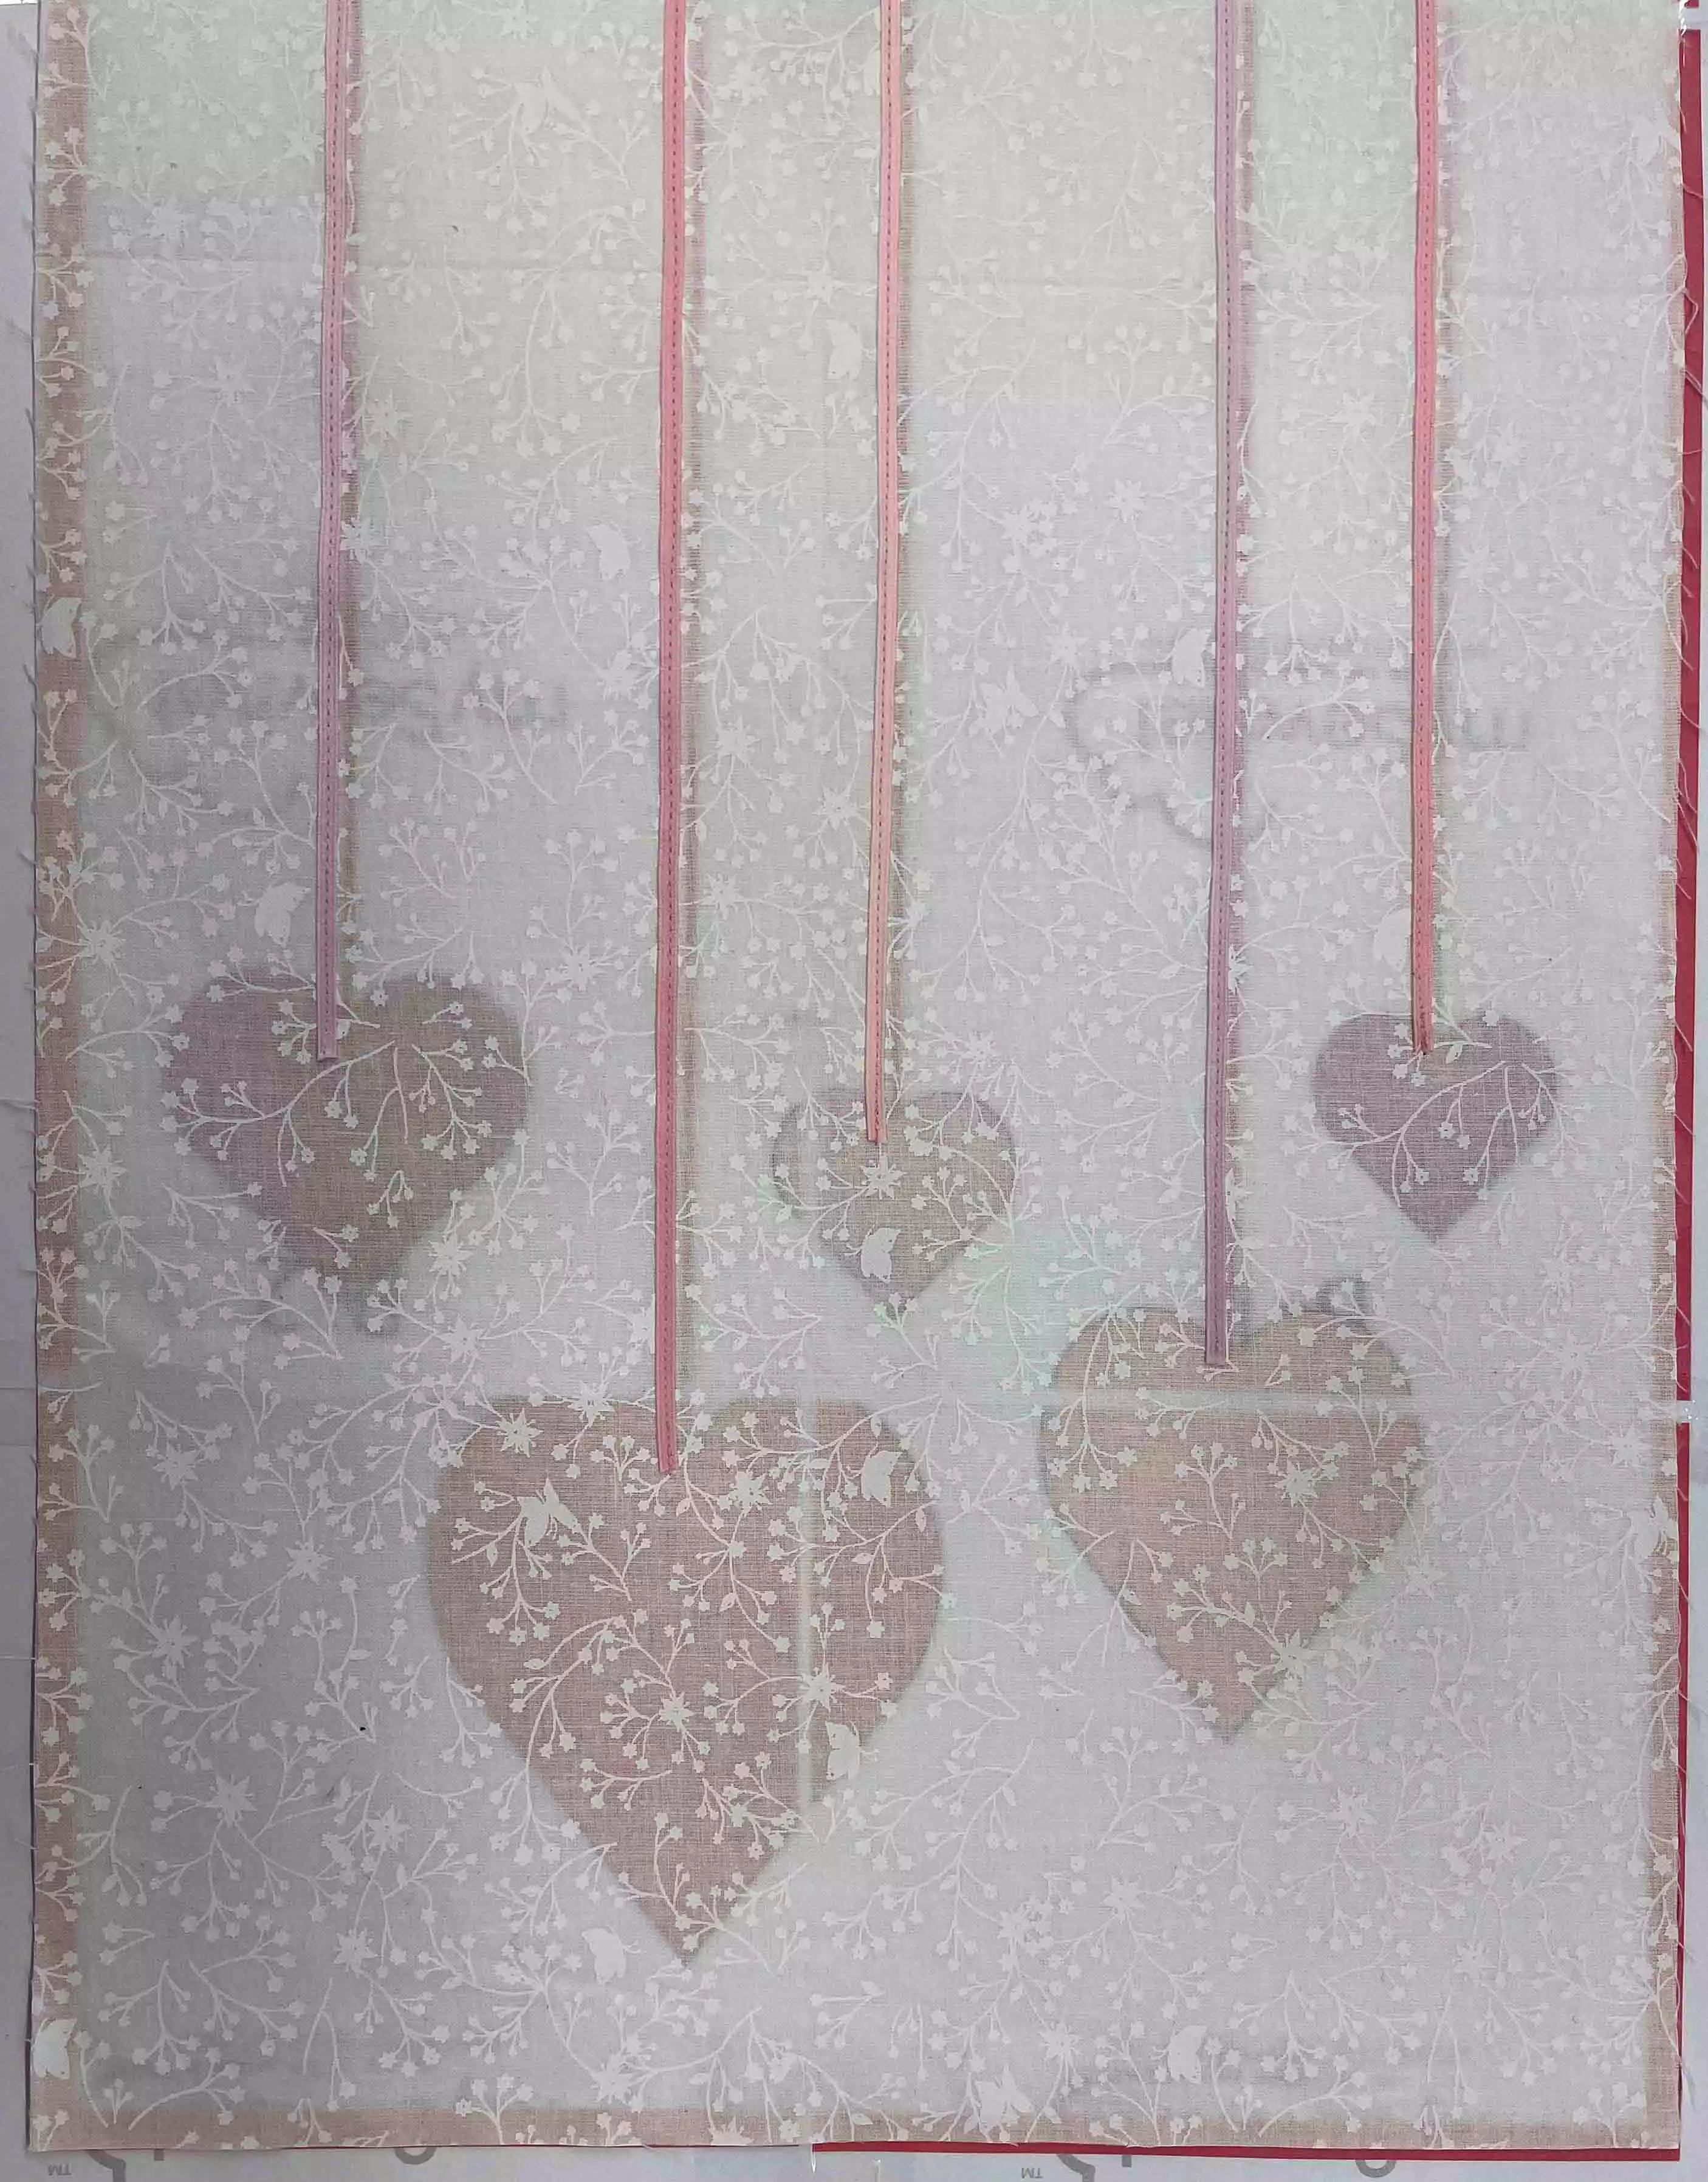
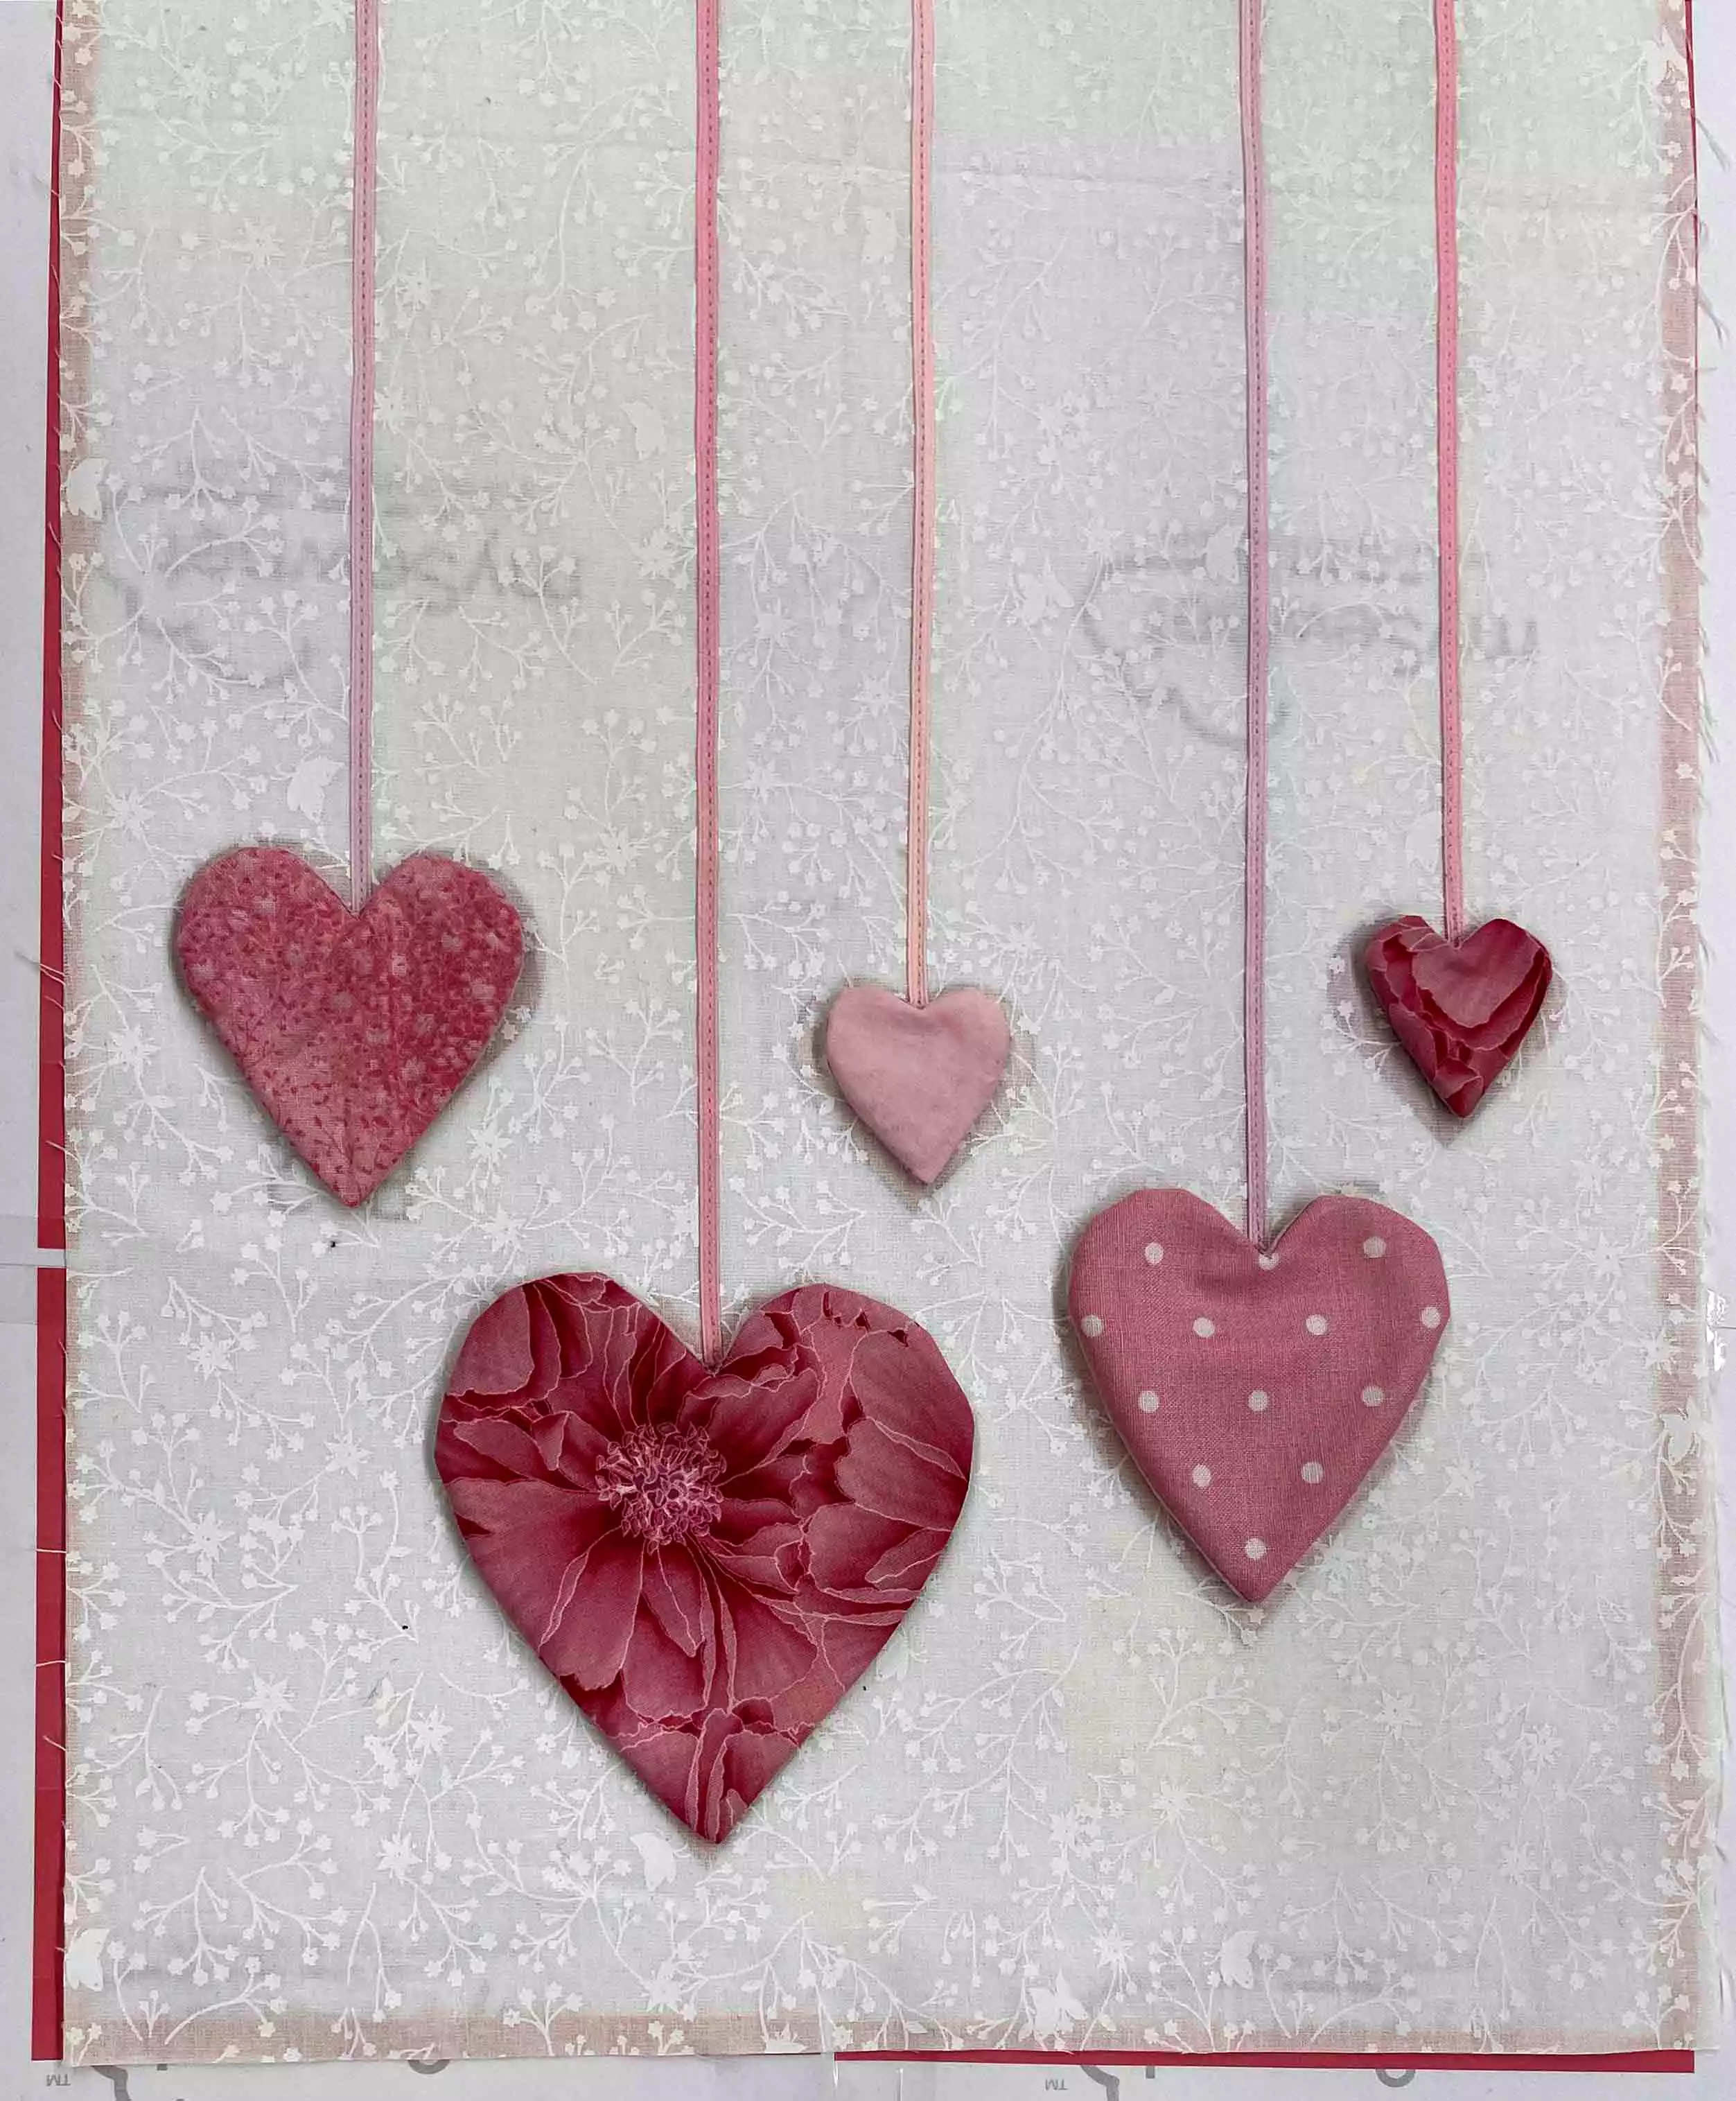
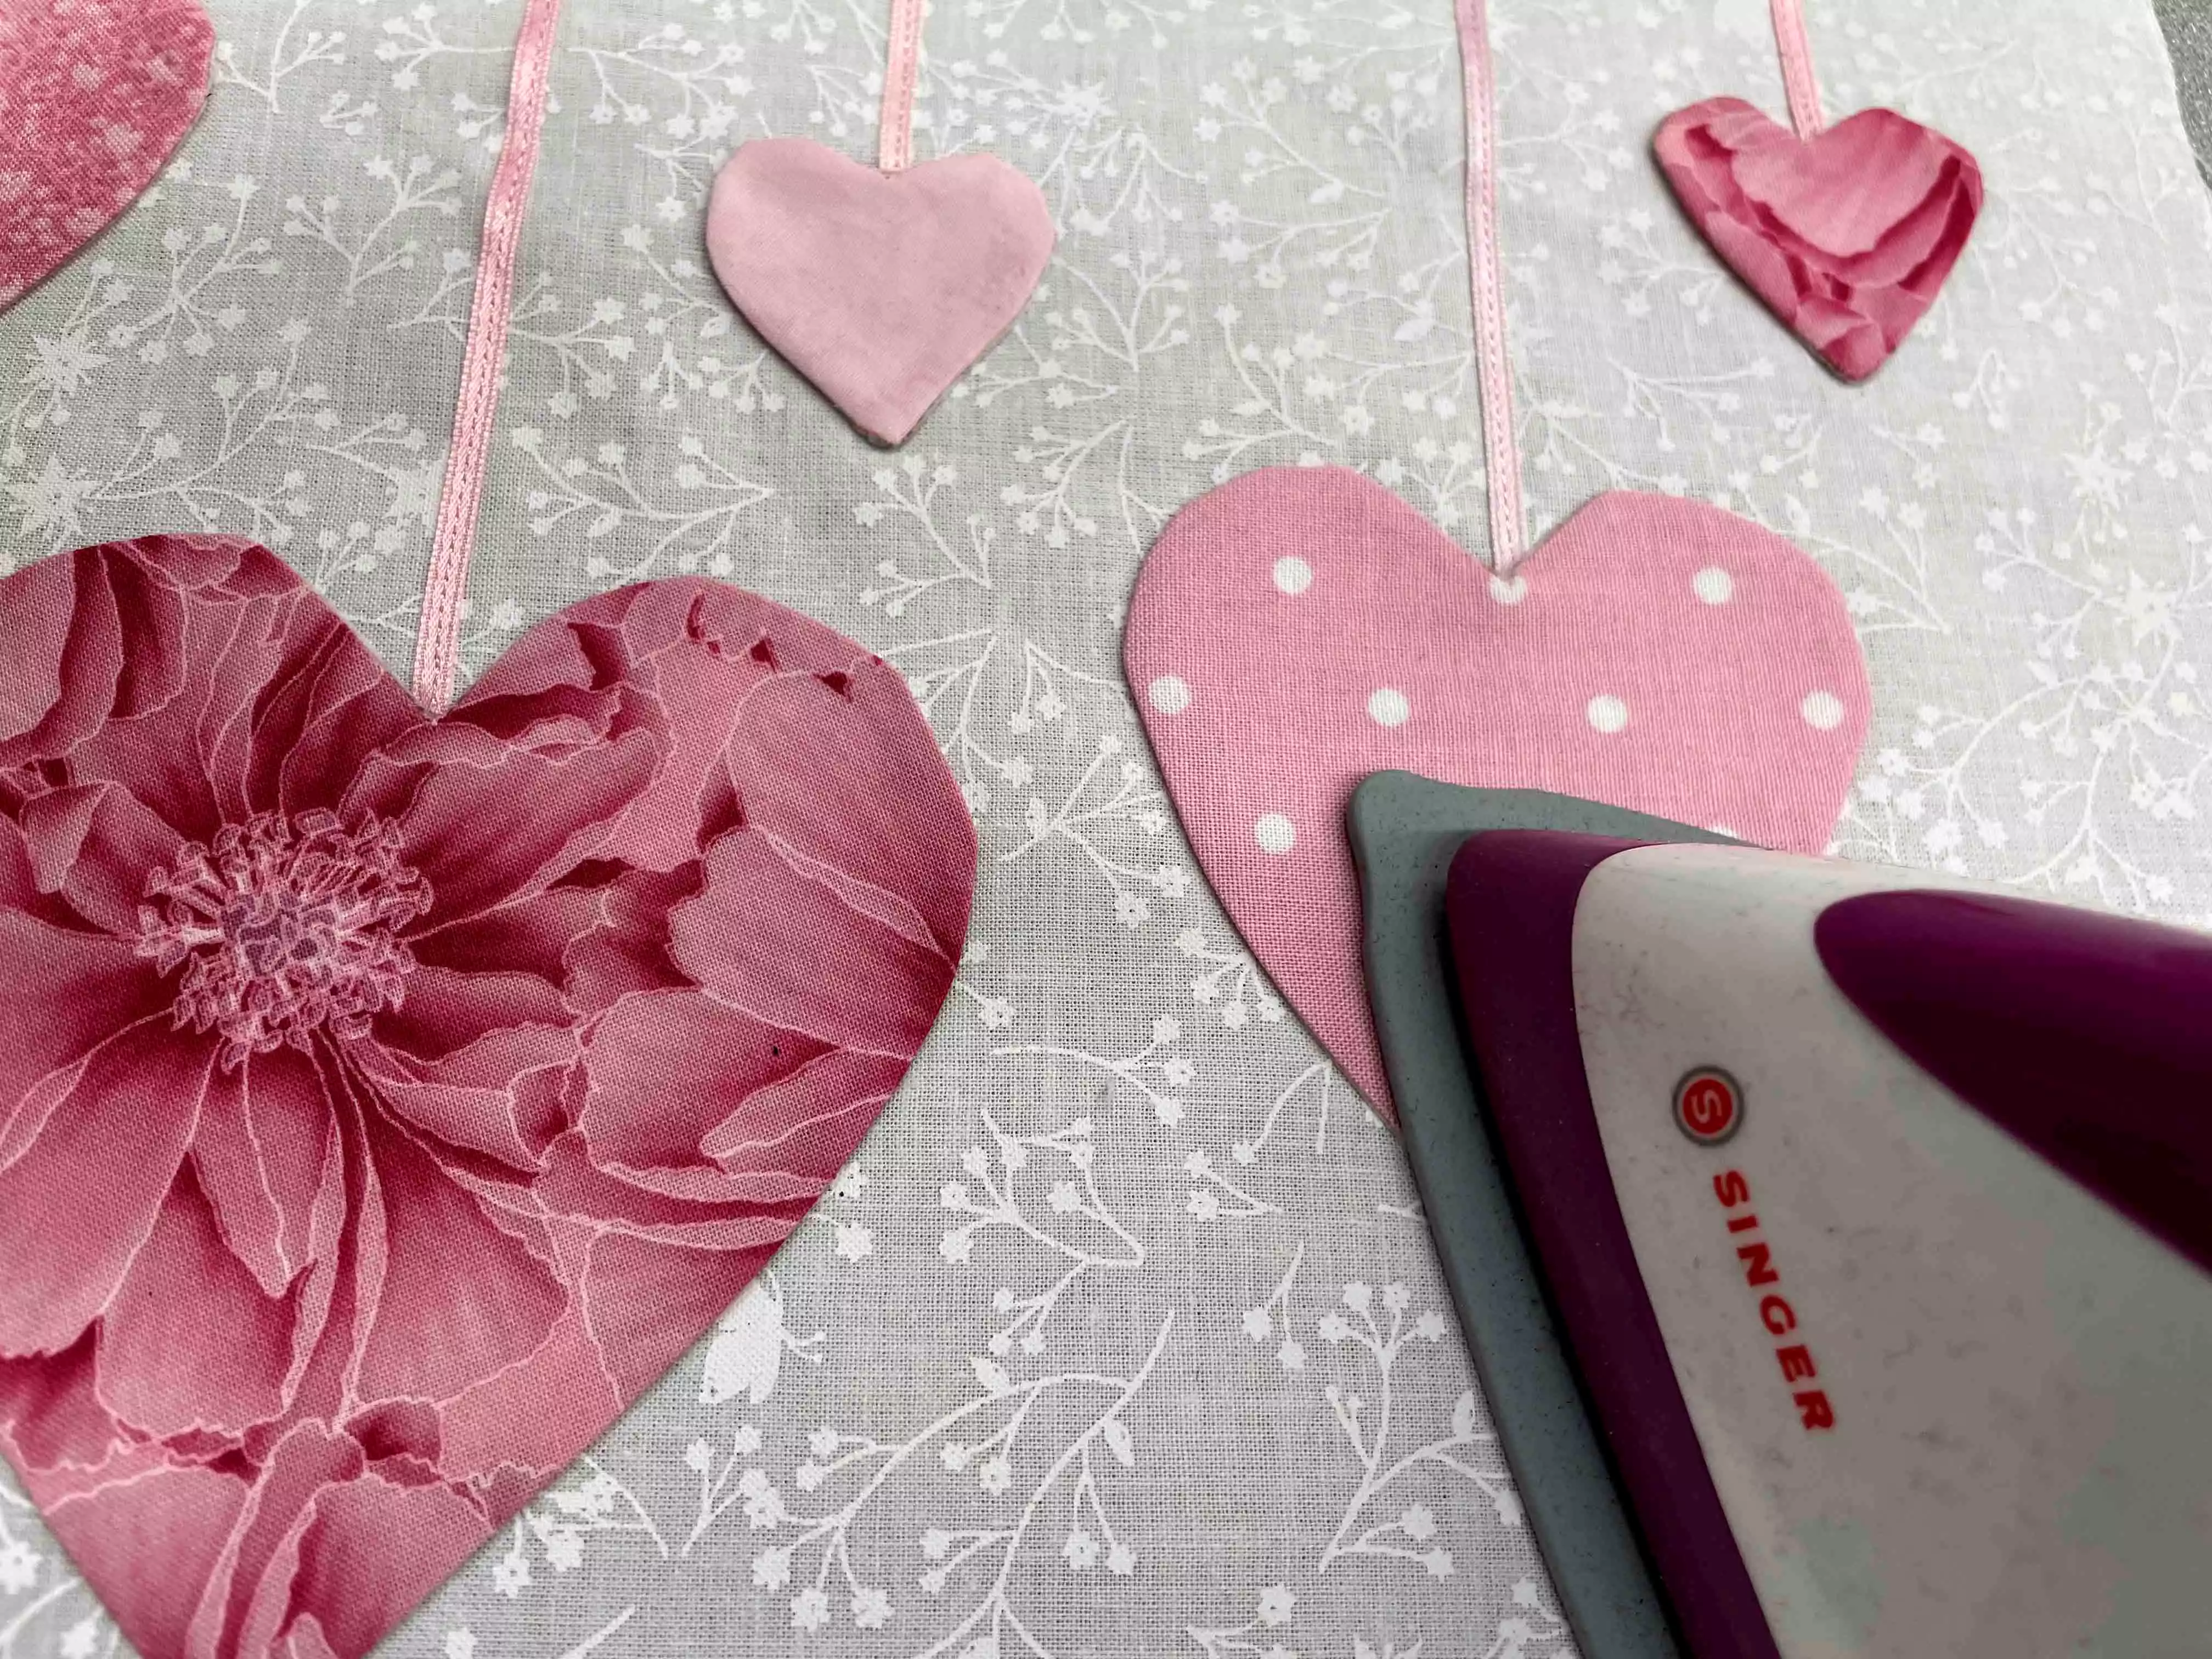
7. Put the hearts on top of the ends of the satin ribbon and press with a hot iron, this will fuse the hearts in place.
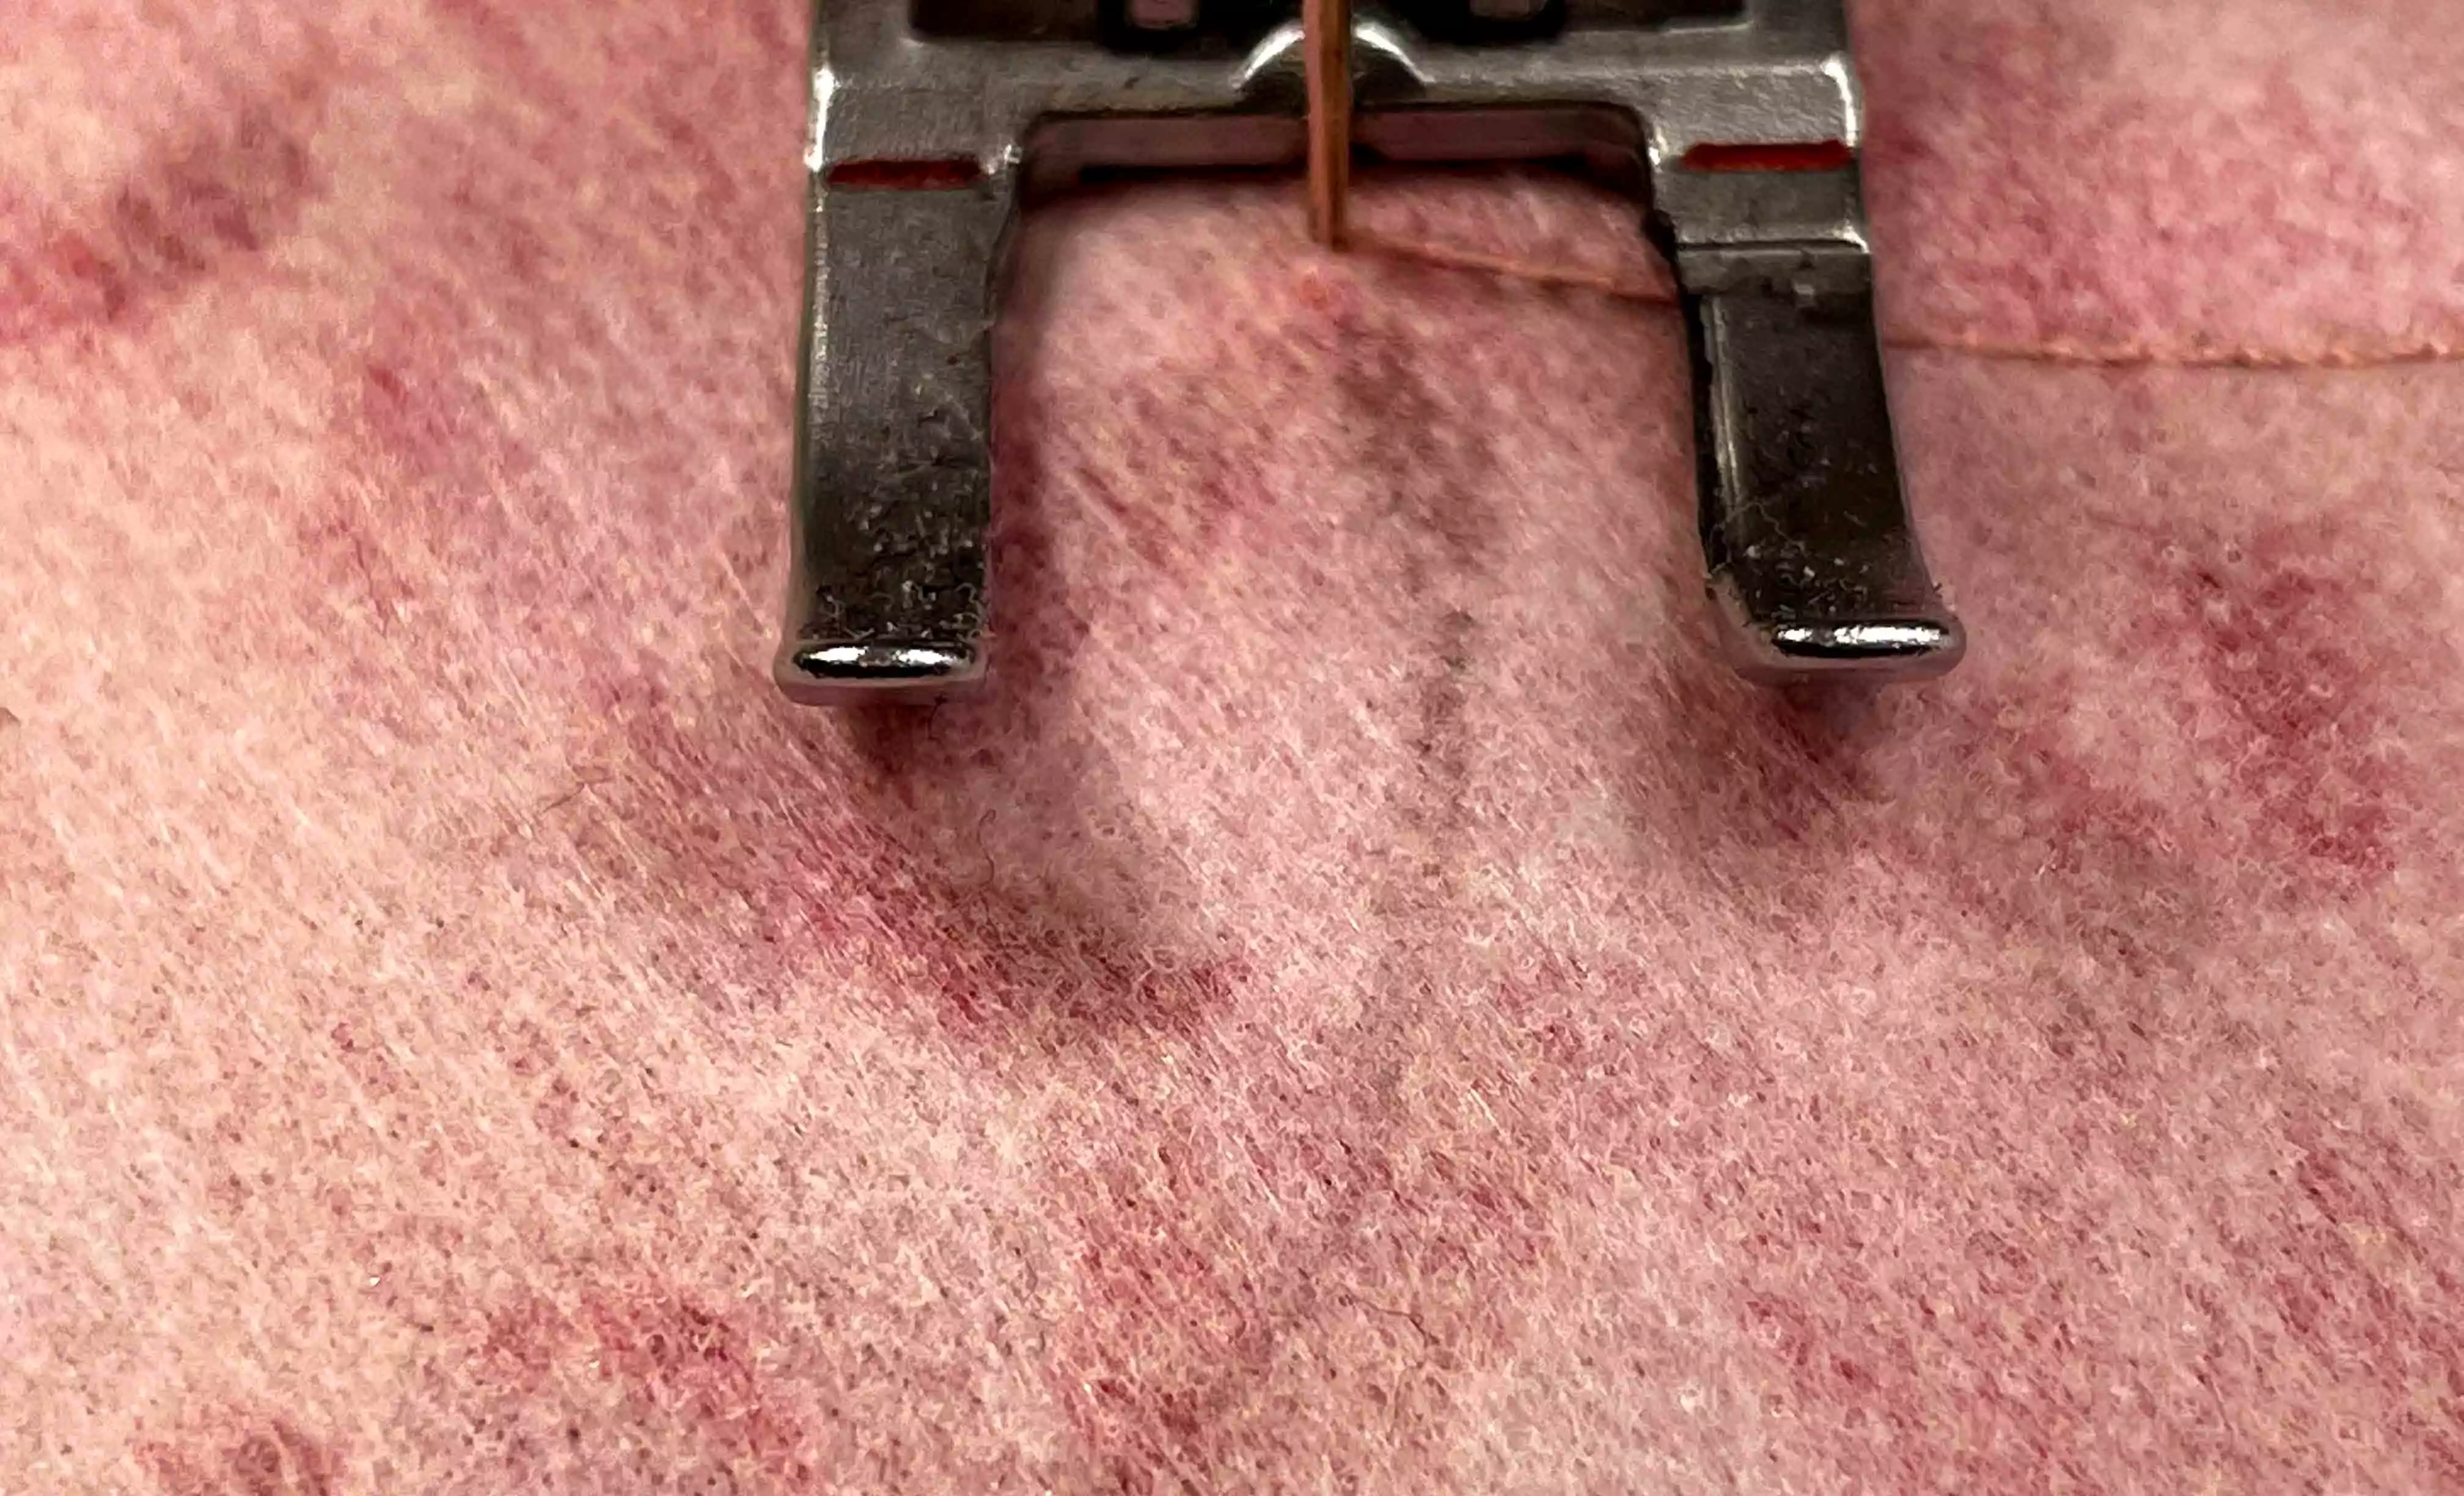
Making the invisible stitching
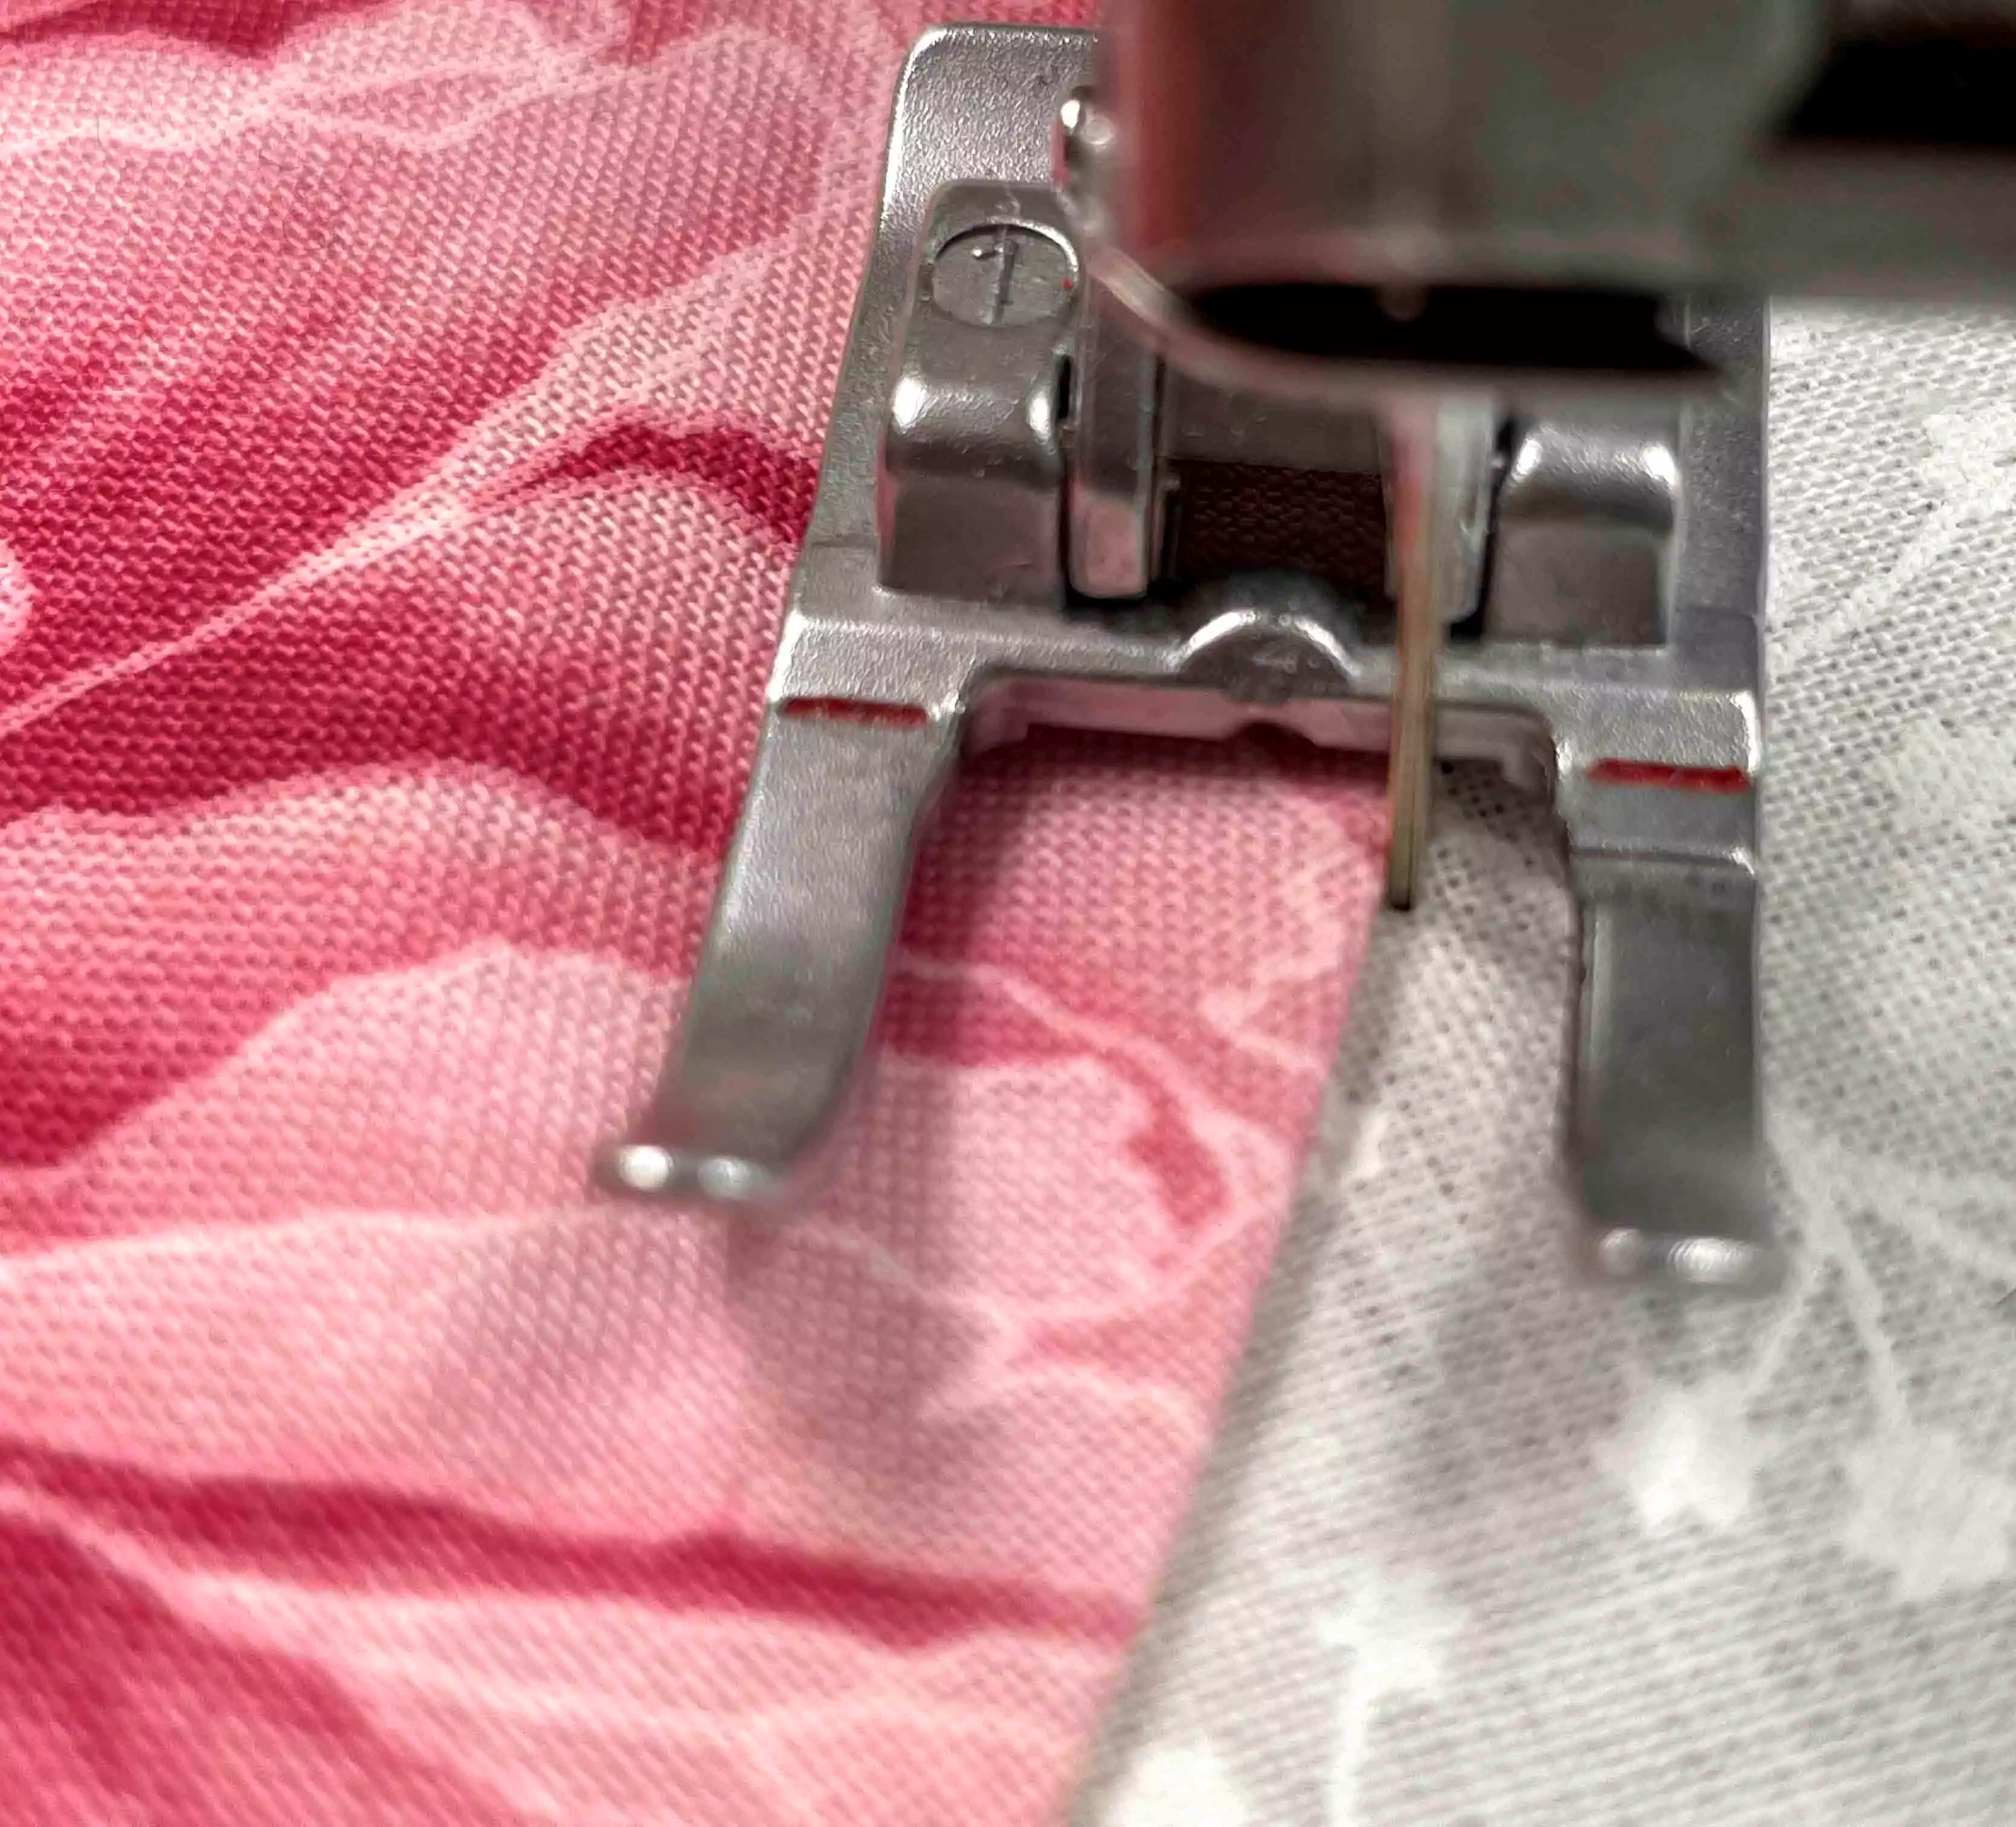
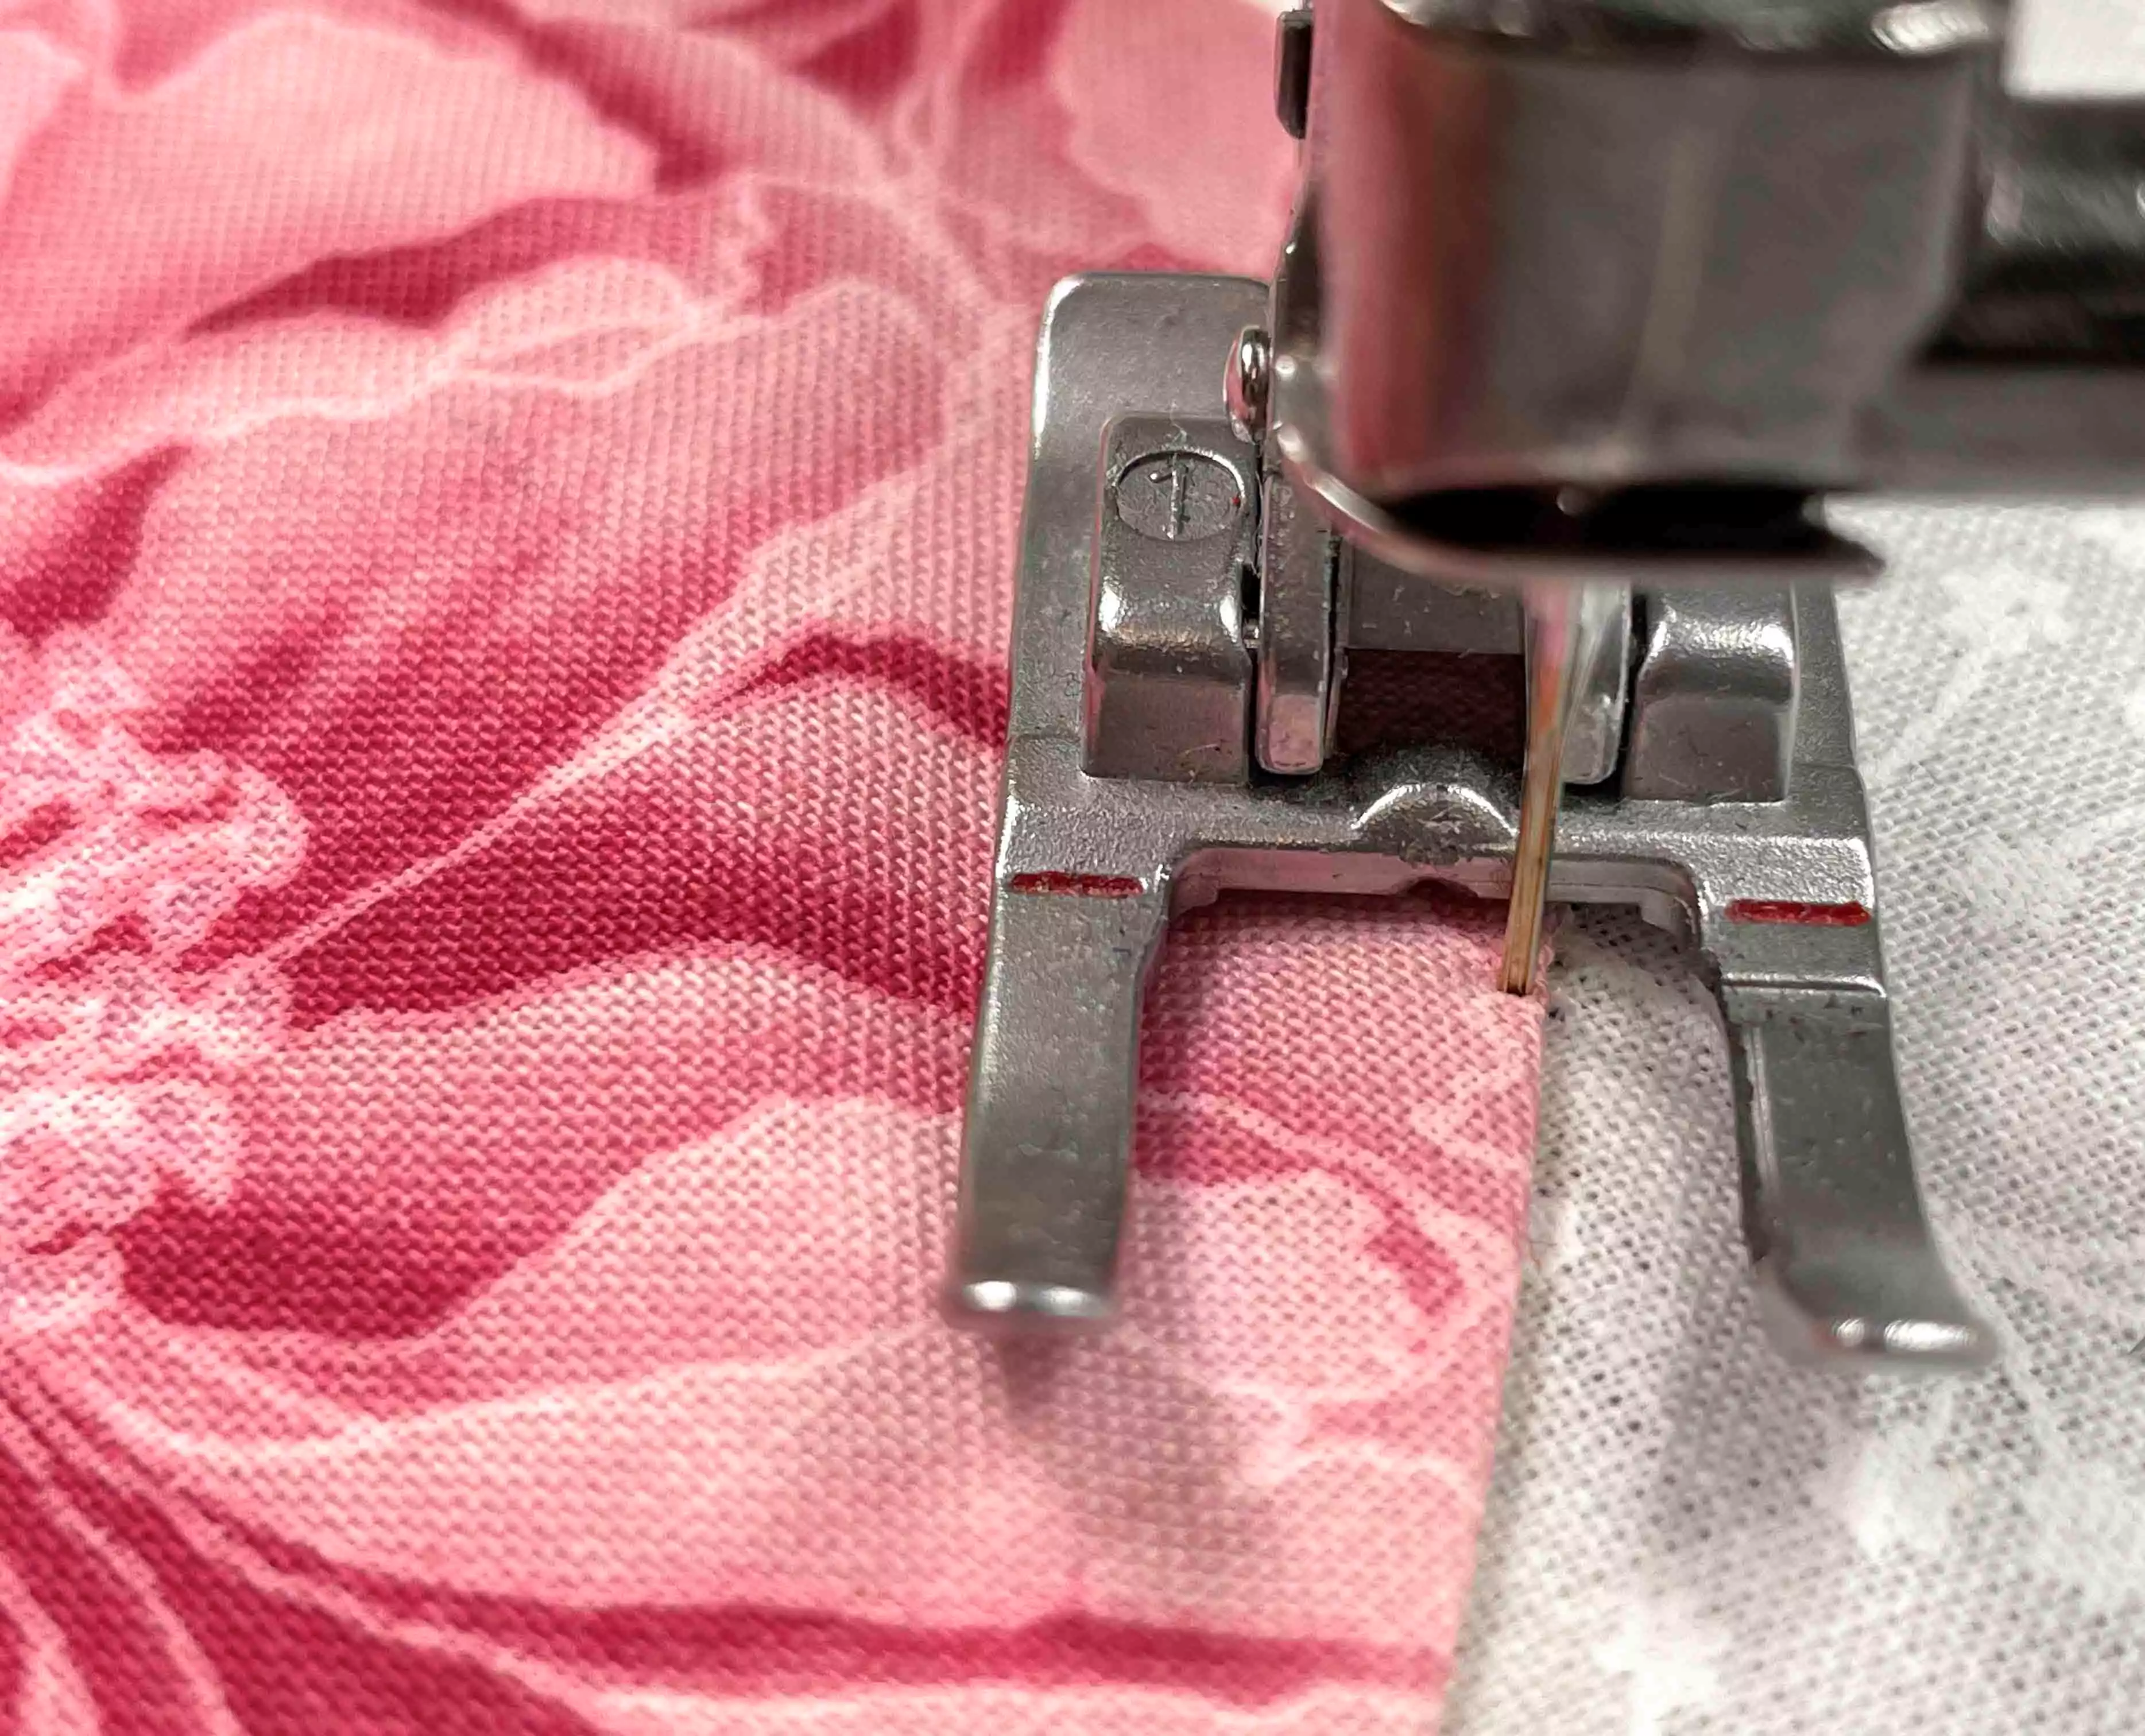
8. Set up your machine like this: choose a stitch that looks like this: .I..I..I..I We need to do some adjustments to the stitch: leave the length as it is but make it narrower in width (it may be necessary to adjust this later).
9. Thread your machine with invisible thread (transparent monofil thread) The bobbin thread should match the background fabric.
10. The technique is to topstitch on the background, close to the applique so that only the zig-zag stitch gets into the applique. This makes the stitching look similar to hand stitching and almost invisible.
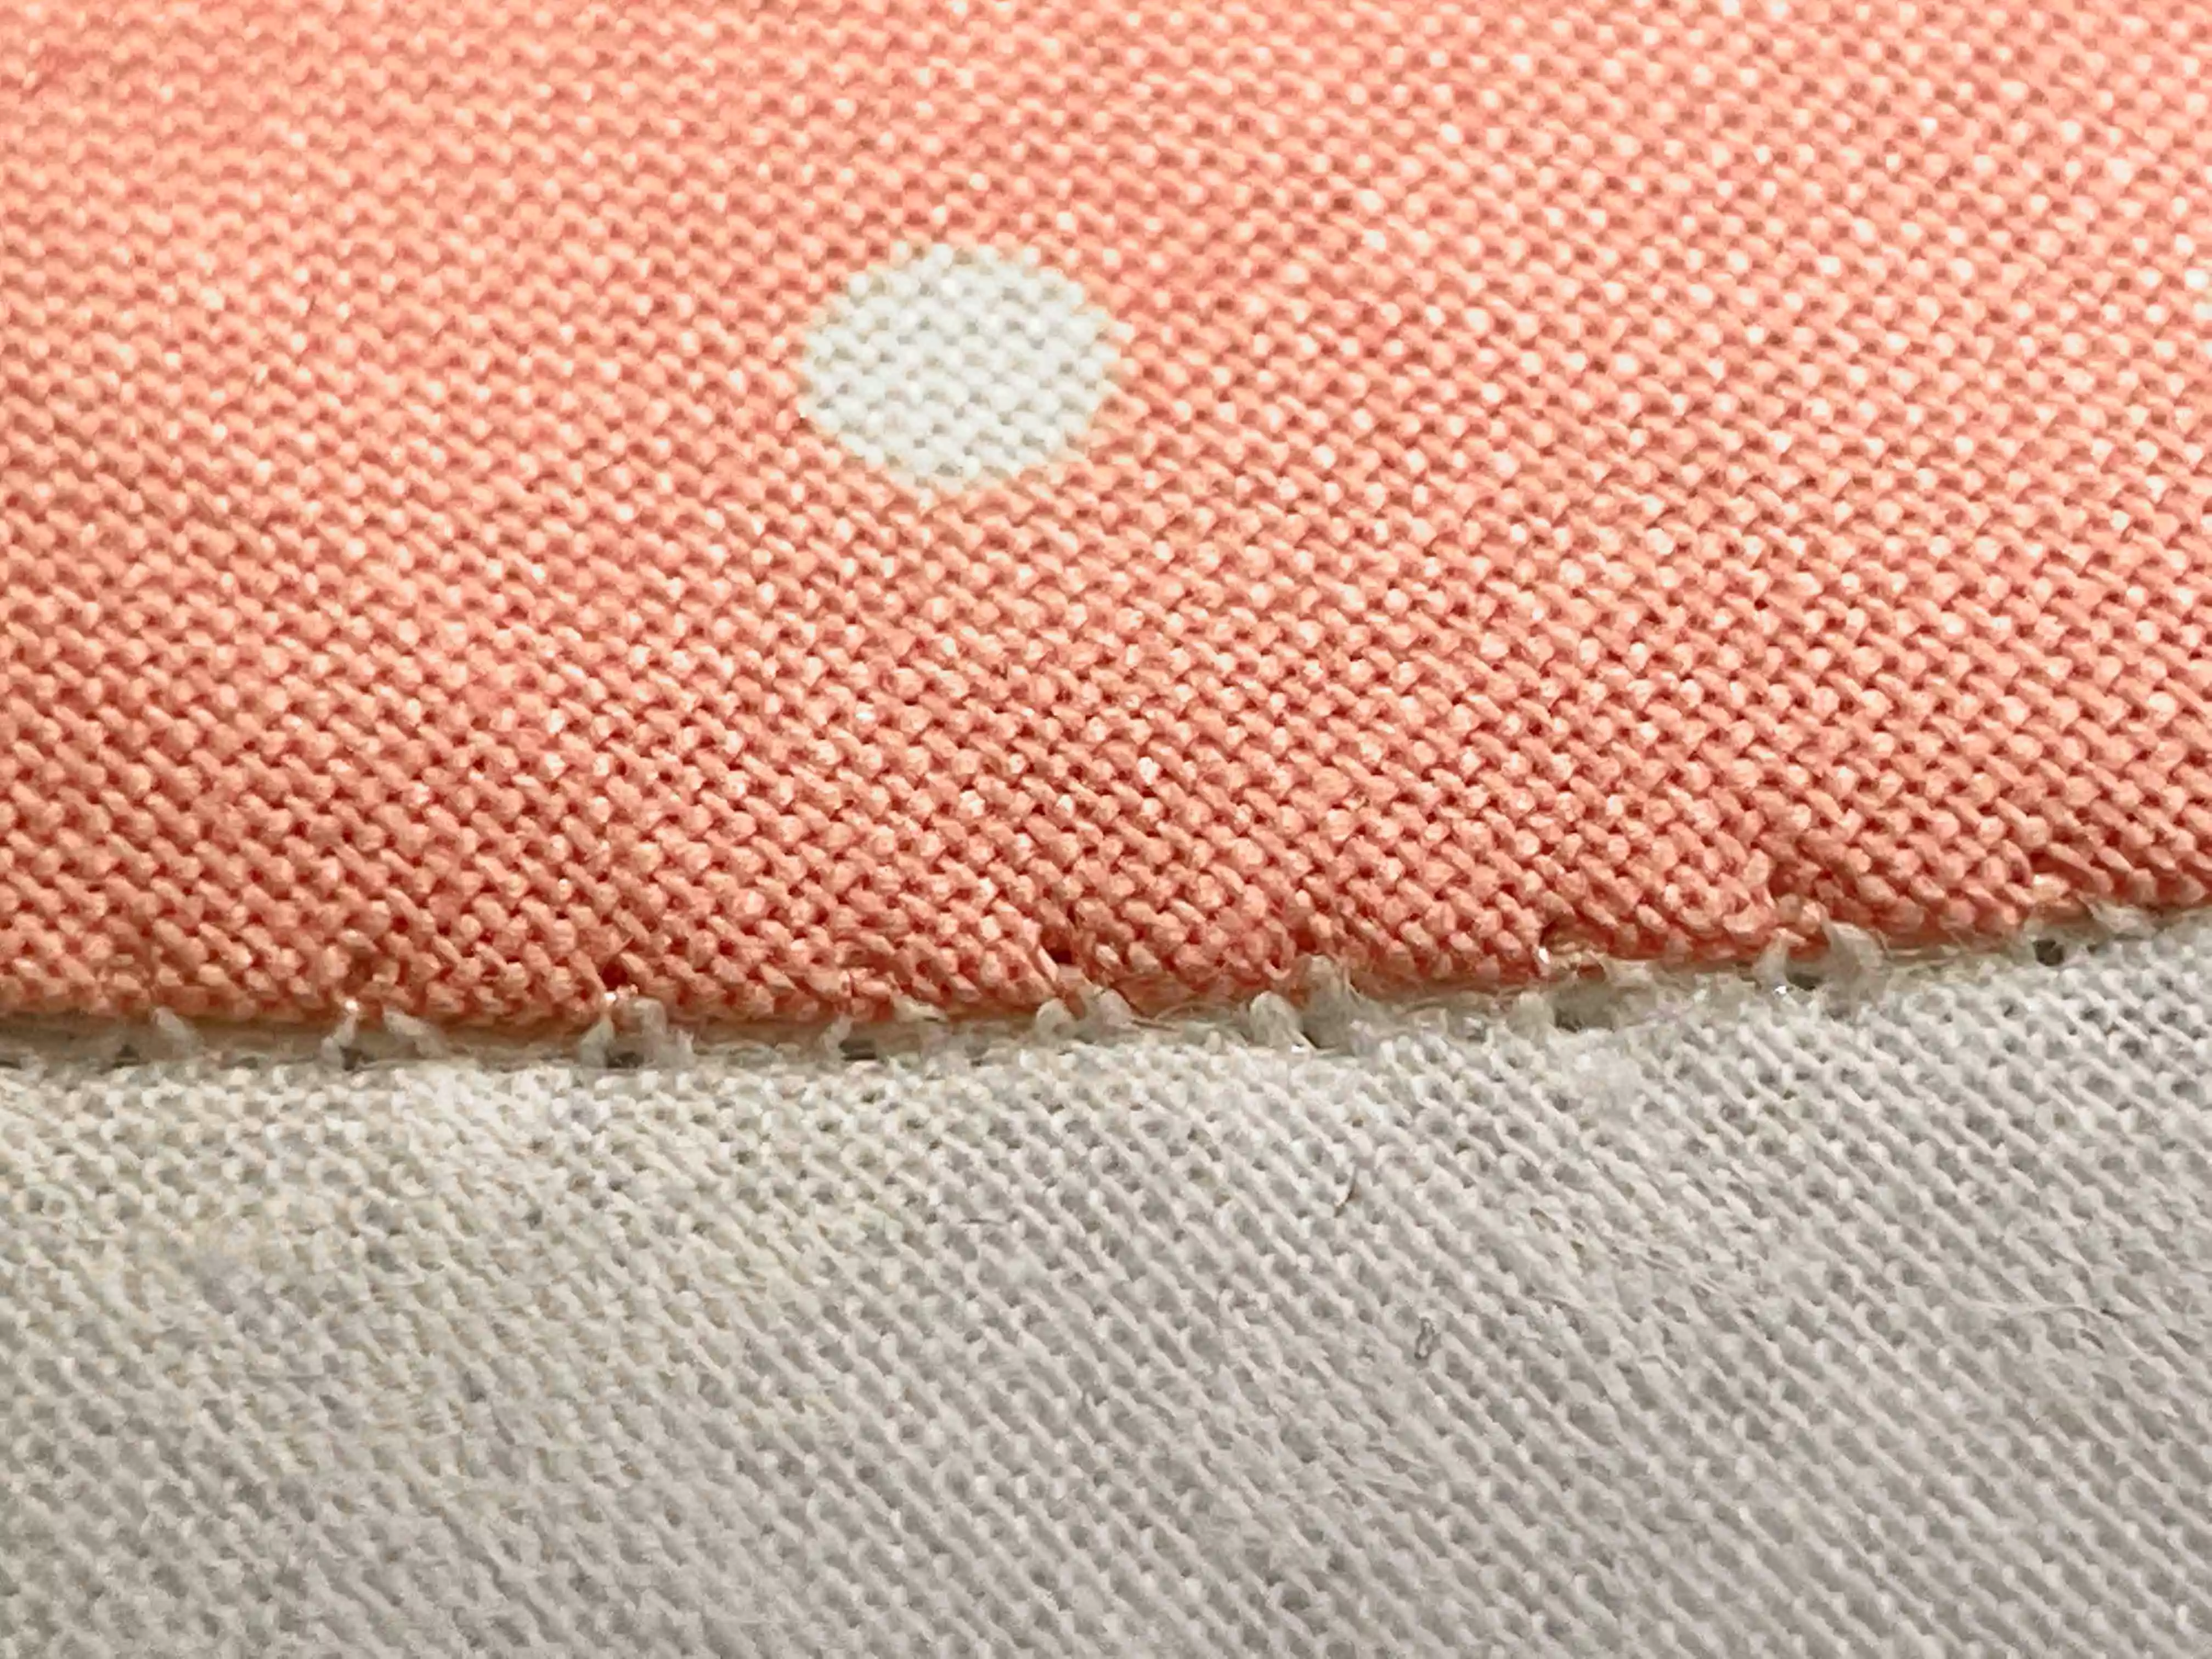
11. Test on a scrap piece of fabric first, if the bobbin thread shows on the applique piece you need to lower the upper thread tension.
Putting it all together:
12. Attach fusible batting to the wrong side of the table runner and fuse in place.
13. Place the table runner on top of the backing and pin in place. Quilt the tablerunner as you prefer, one way is to just stitch close to the hearts and on both sides of the satin ribbon.
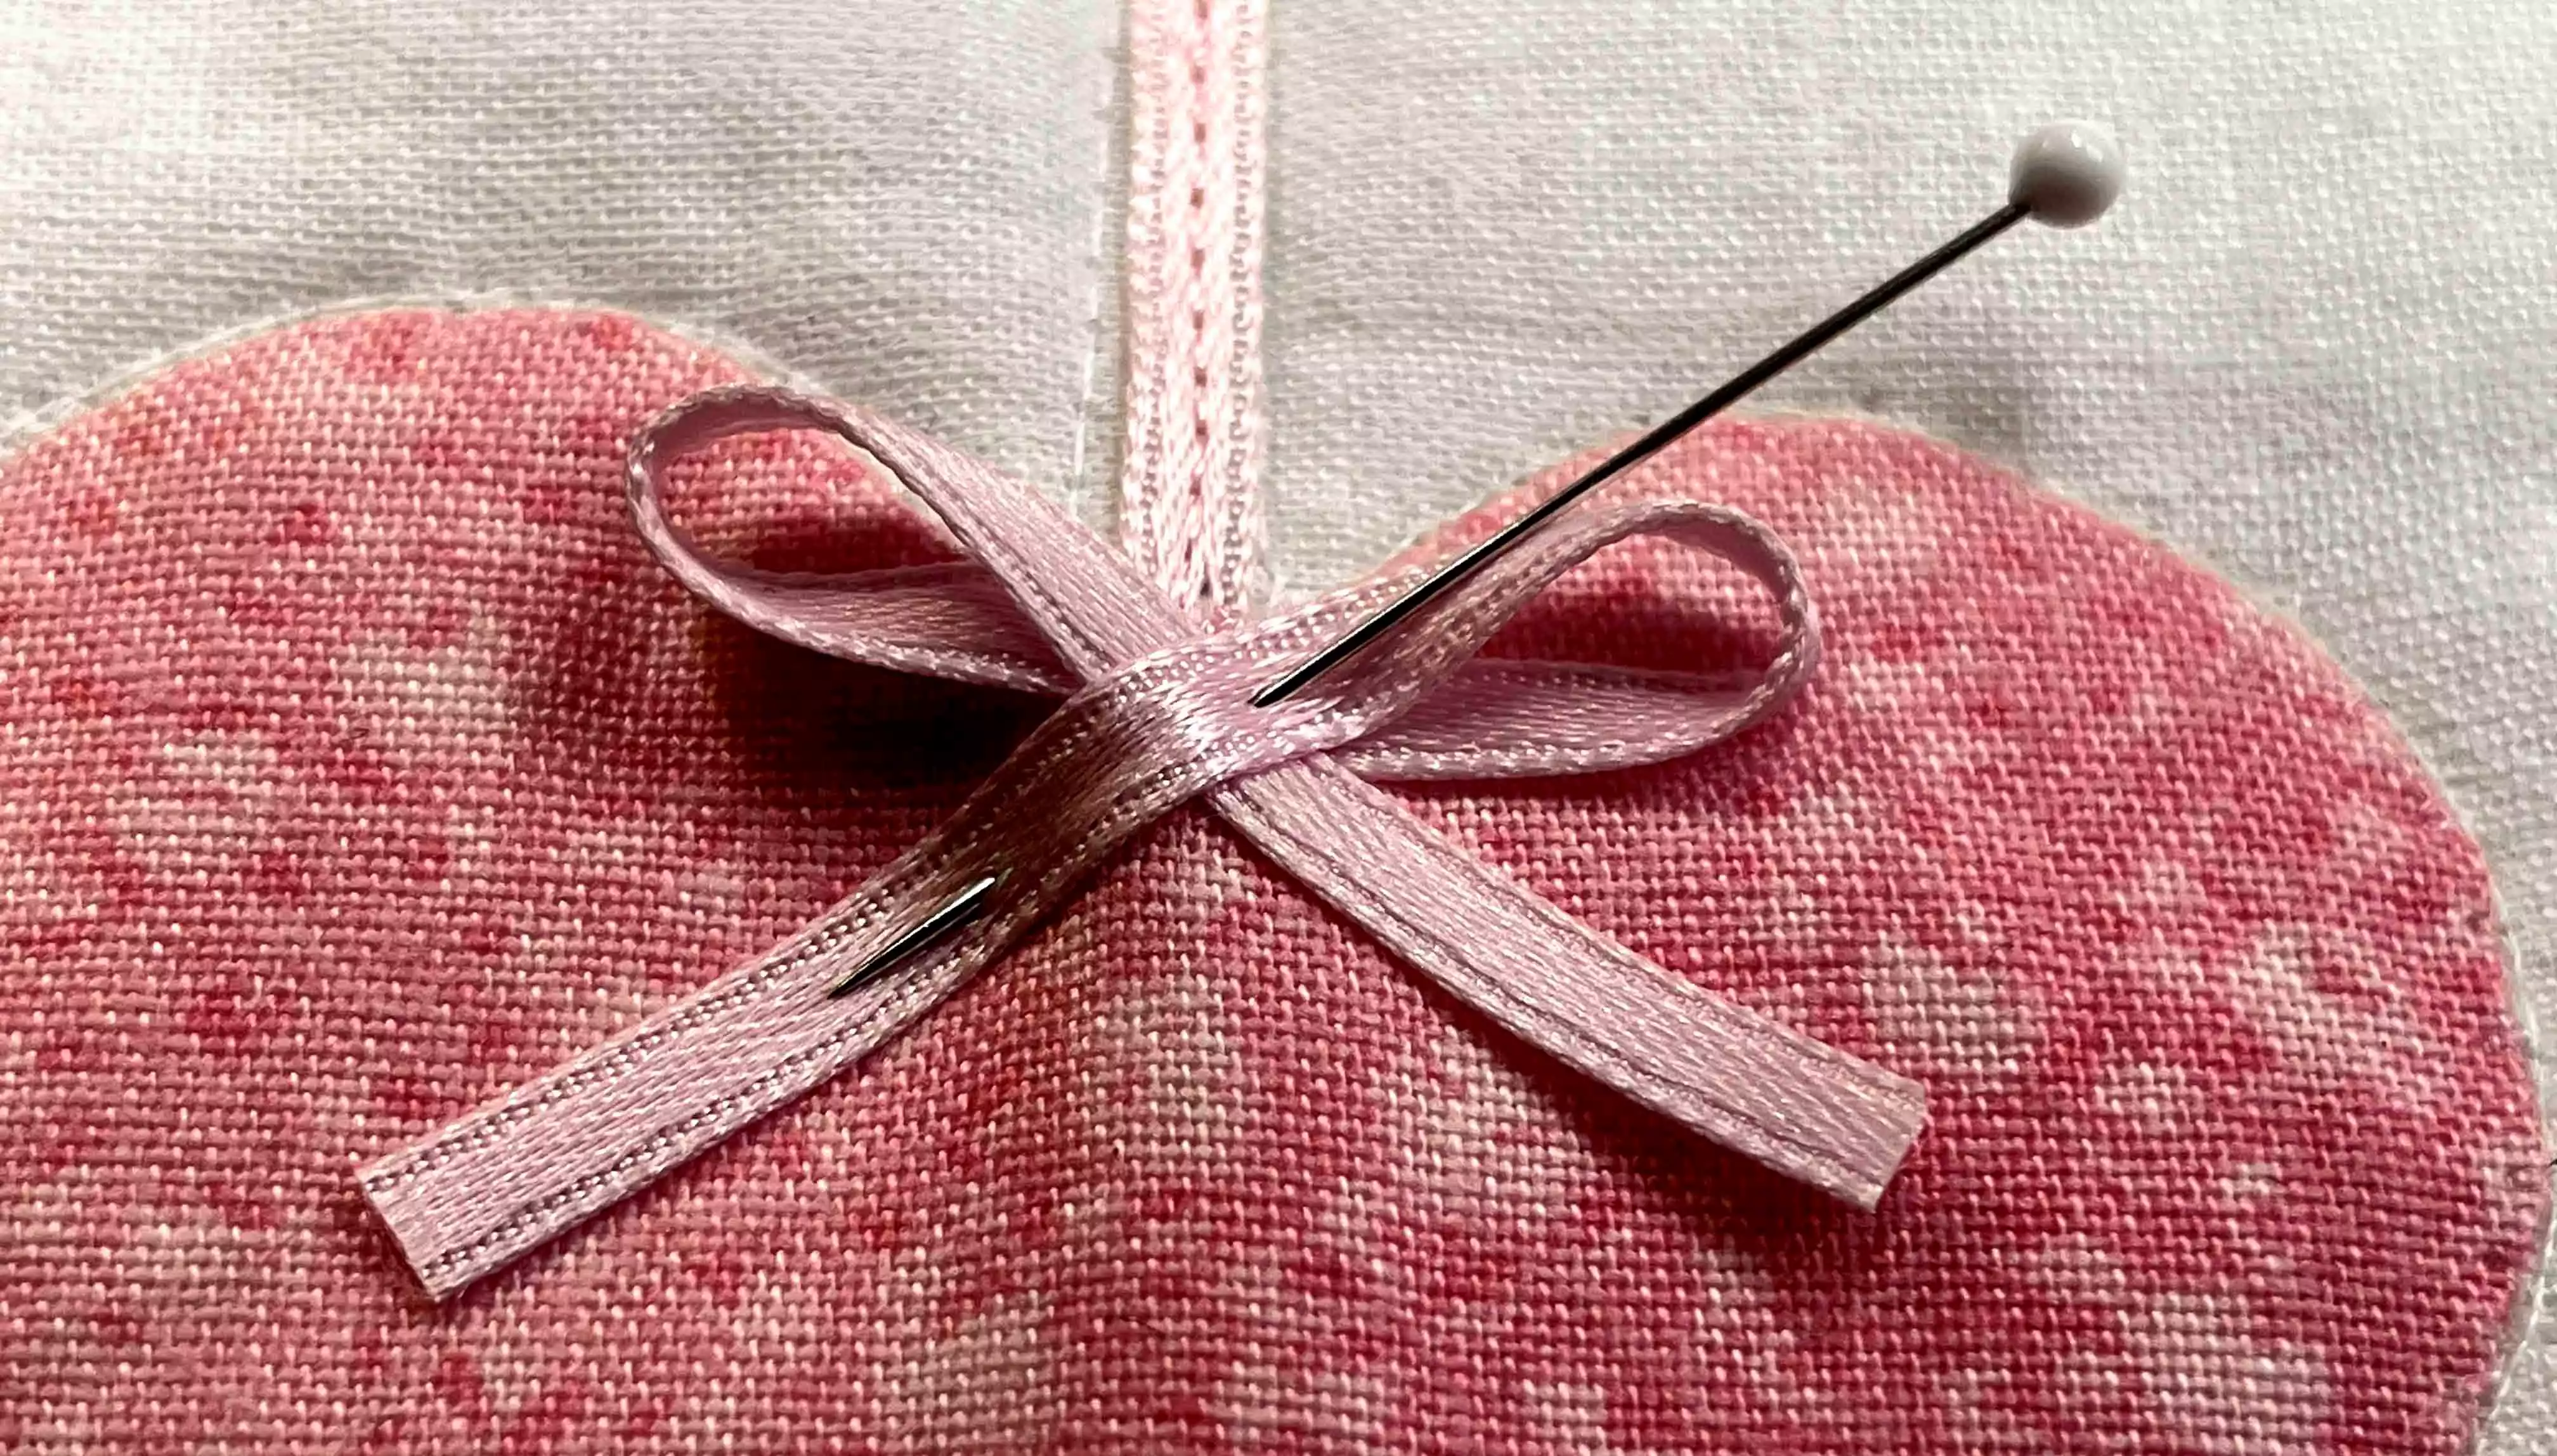
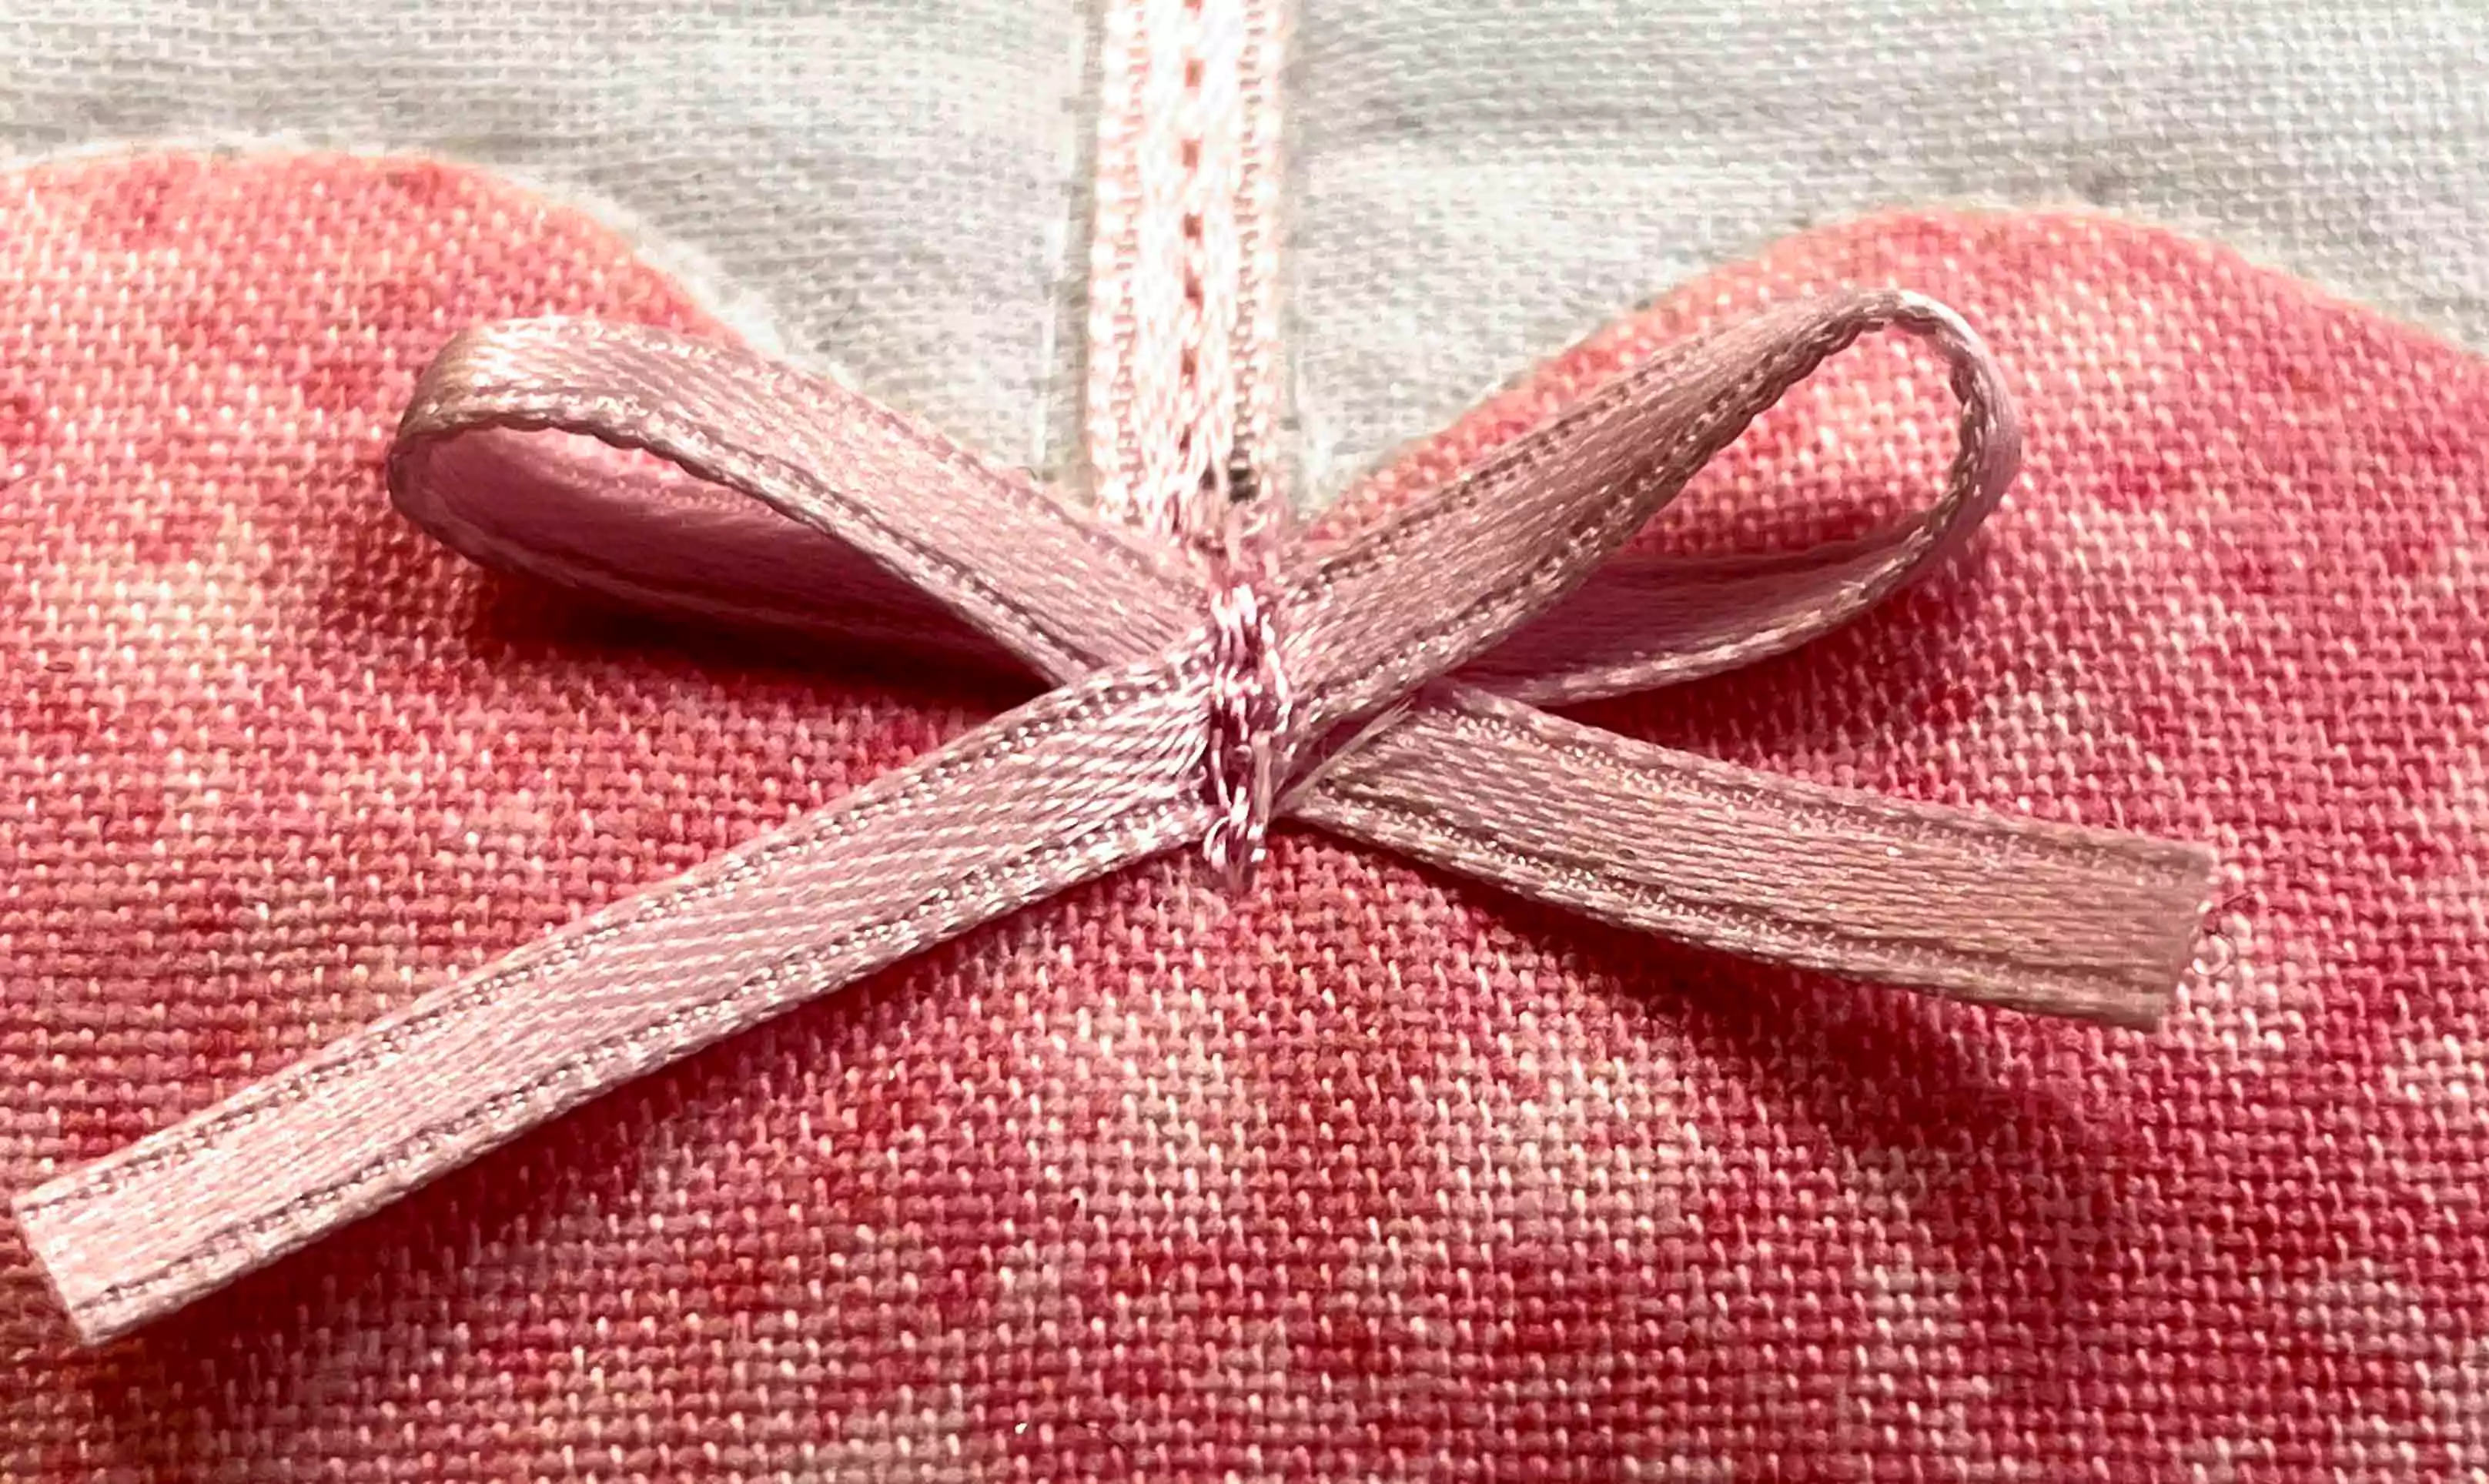
Making the bows (optional)
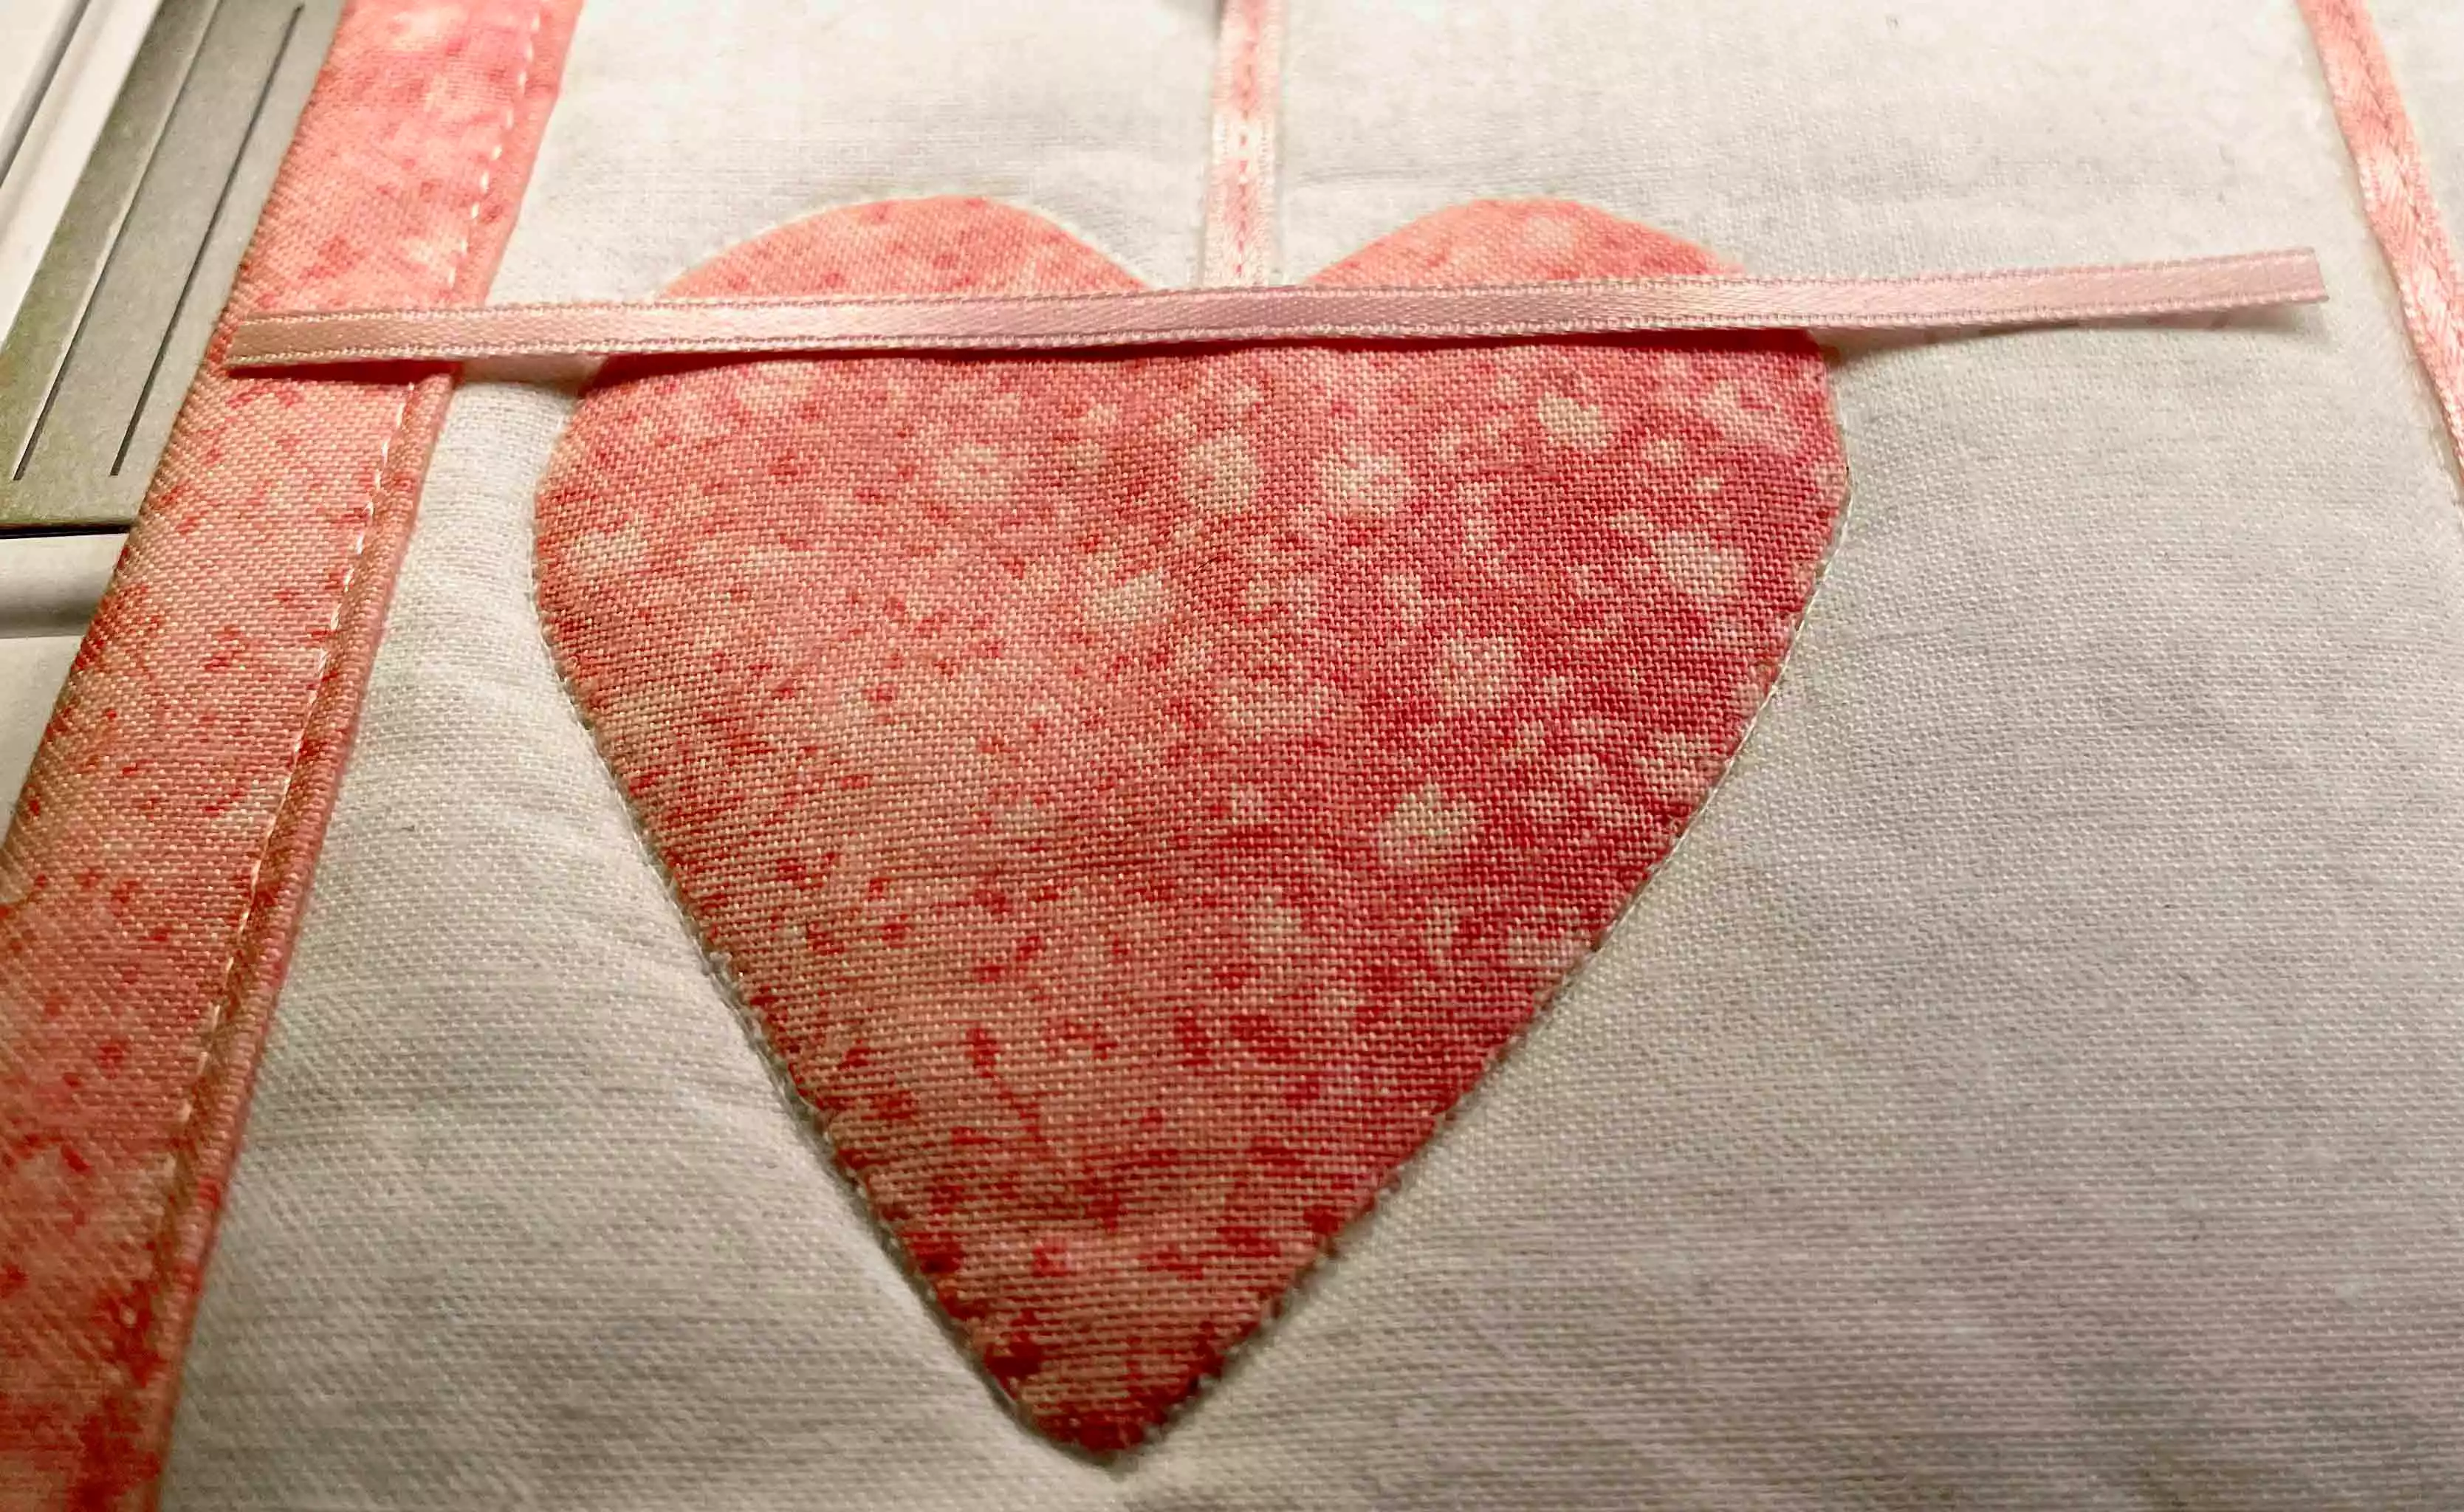
14. Cut 4” (10cm) pieces of satin ribbon. Center the piece on the edge between the applique and the stitched on ribbon. Secure with straight stitch.
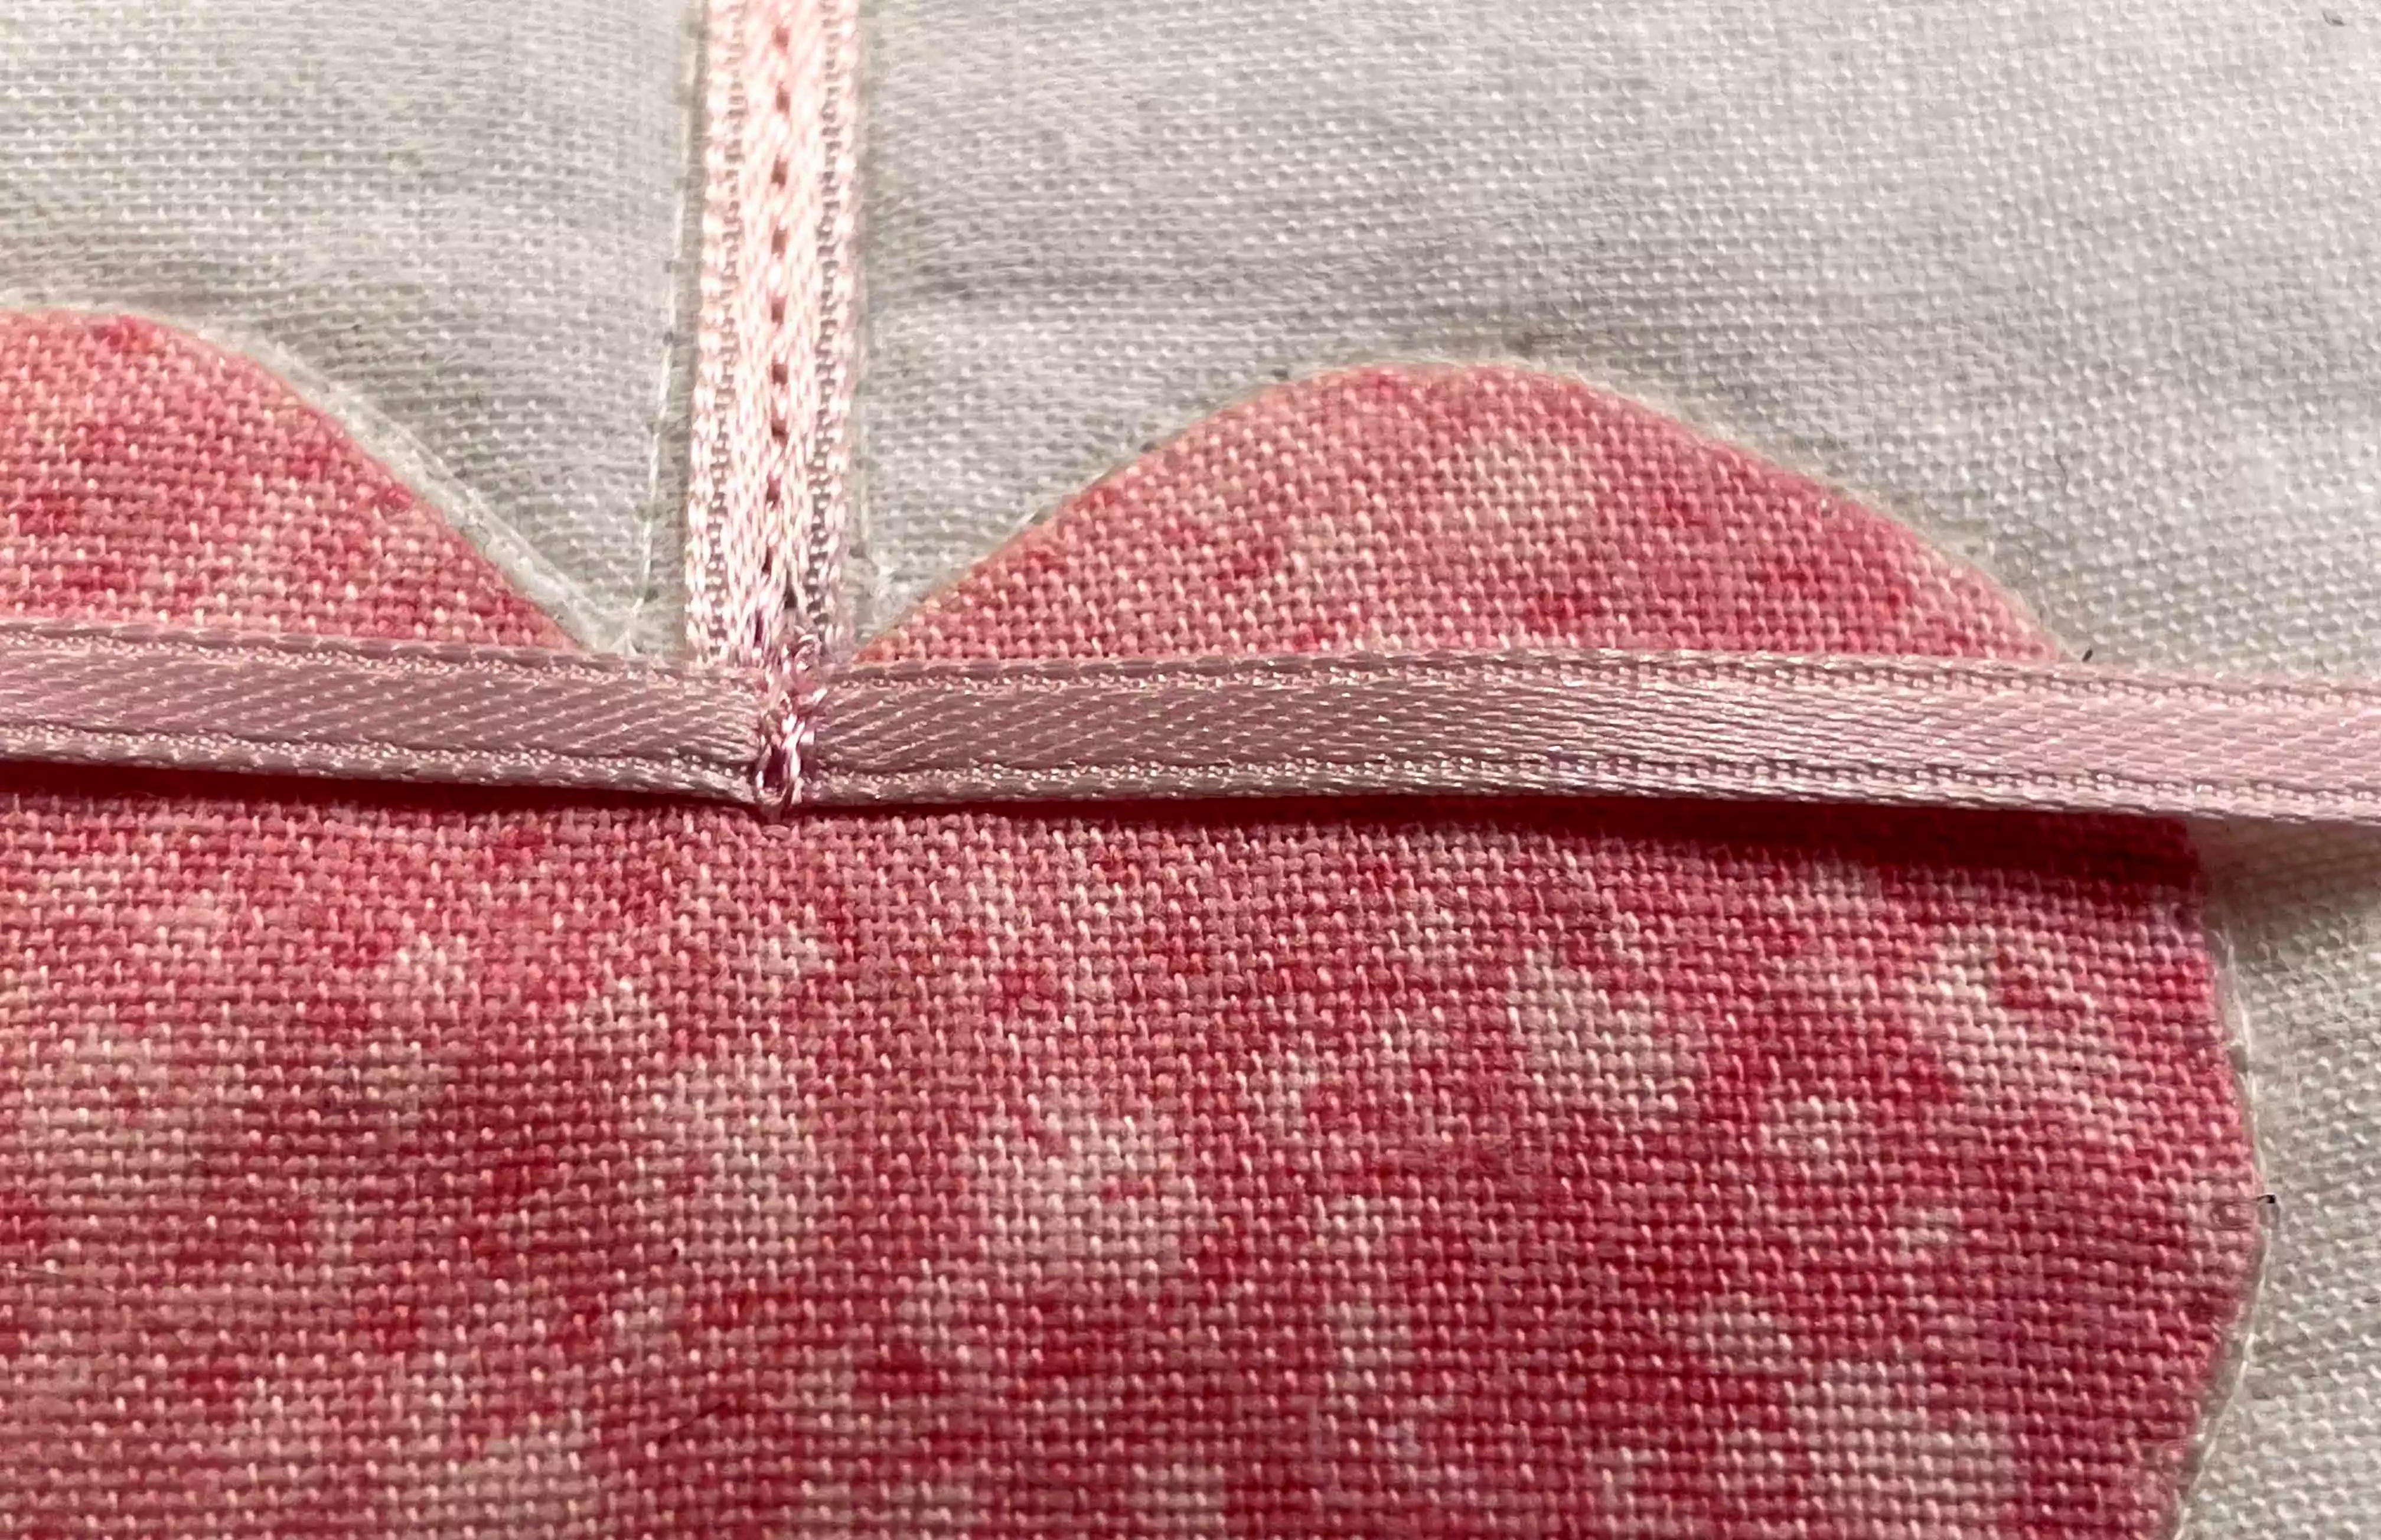
15. Fold the ribbon into a bow and stitch again to secure the folding. Cut the edges of the ribbon, leaving about ¾” (2cm).
Binding the table runner
16. See separate instructions on how to bind the edges. Find it in the How-To section, Binding with mitered corners, single layer.