United States
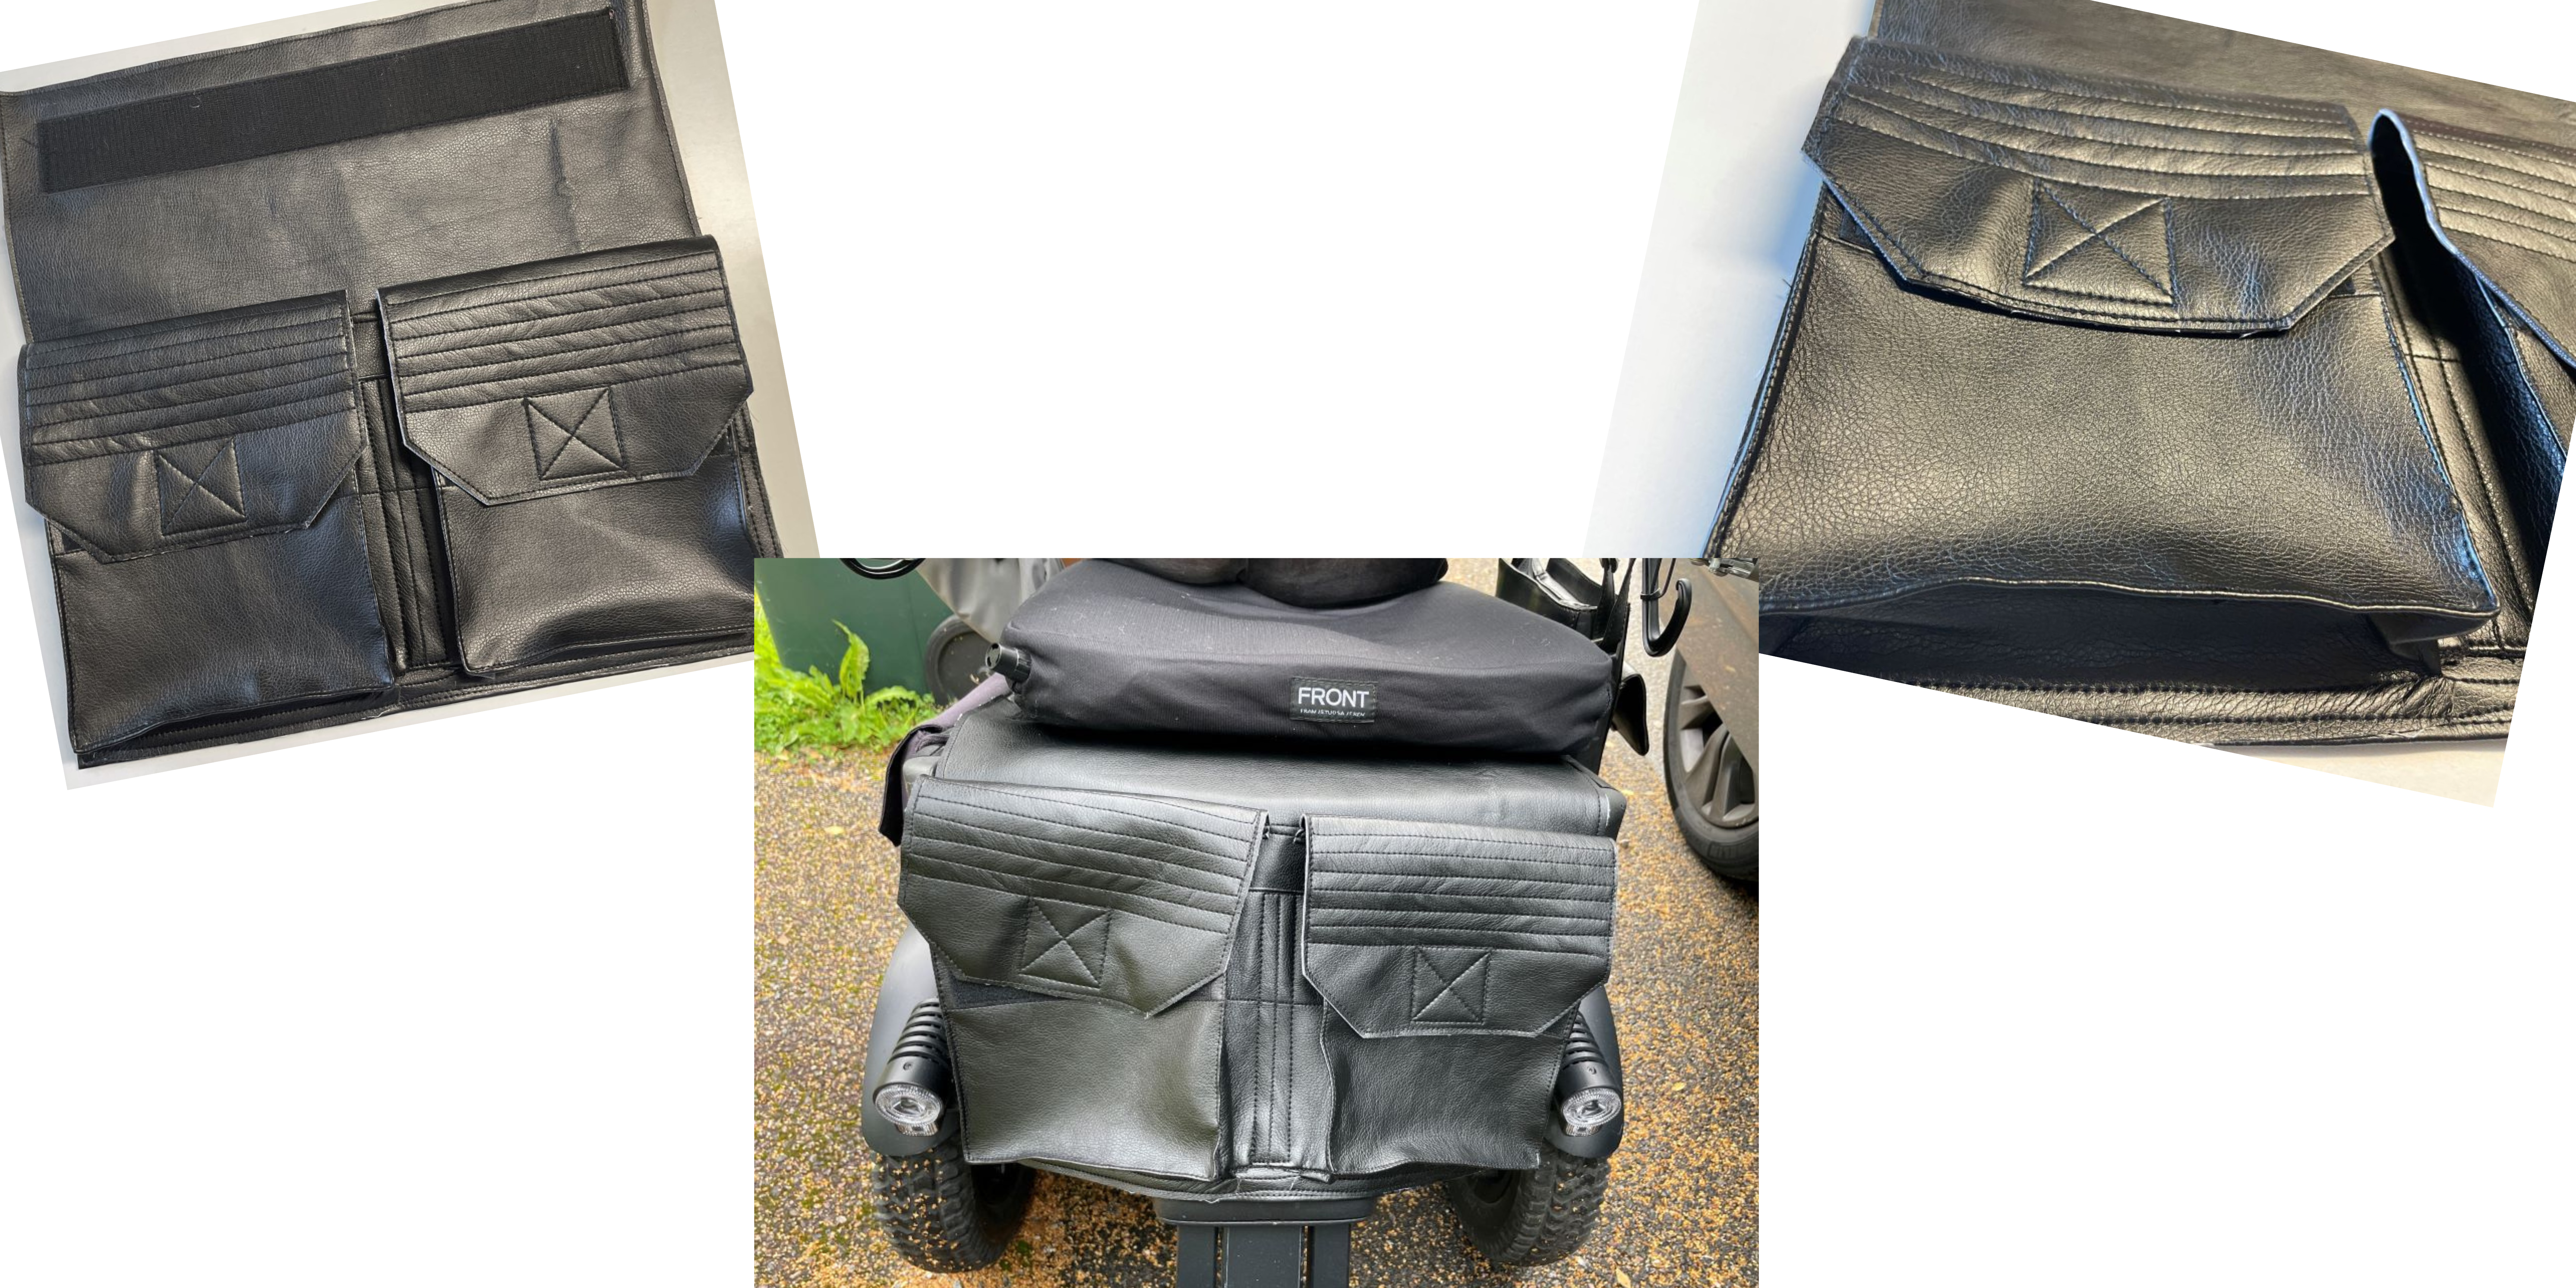
Under the Seat Wheelchair Bag.

Celebrate International Wheelchair Day with our DIY Underseat Bag! Keep all your essentials within reach with this convenient accessory. Designed to fit seamlessly under any wheelchair seat, this bag features customizable pocket flaps for easy access to your belongings. Whether you're on the move or simply need a handy storage solution, our underseat bag is perfect for everyday use. Secured with Velcro for added stability, you can also personalize it with straps or tie bands to suit your preferences. Don't miss out on this practical and versatile addition to your wheelchair setup. Get yours today and make life on the go a breeze!
What you need:
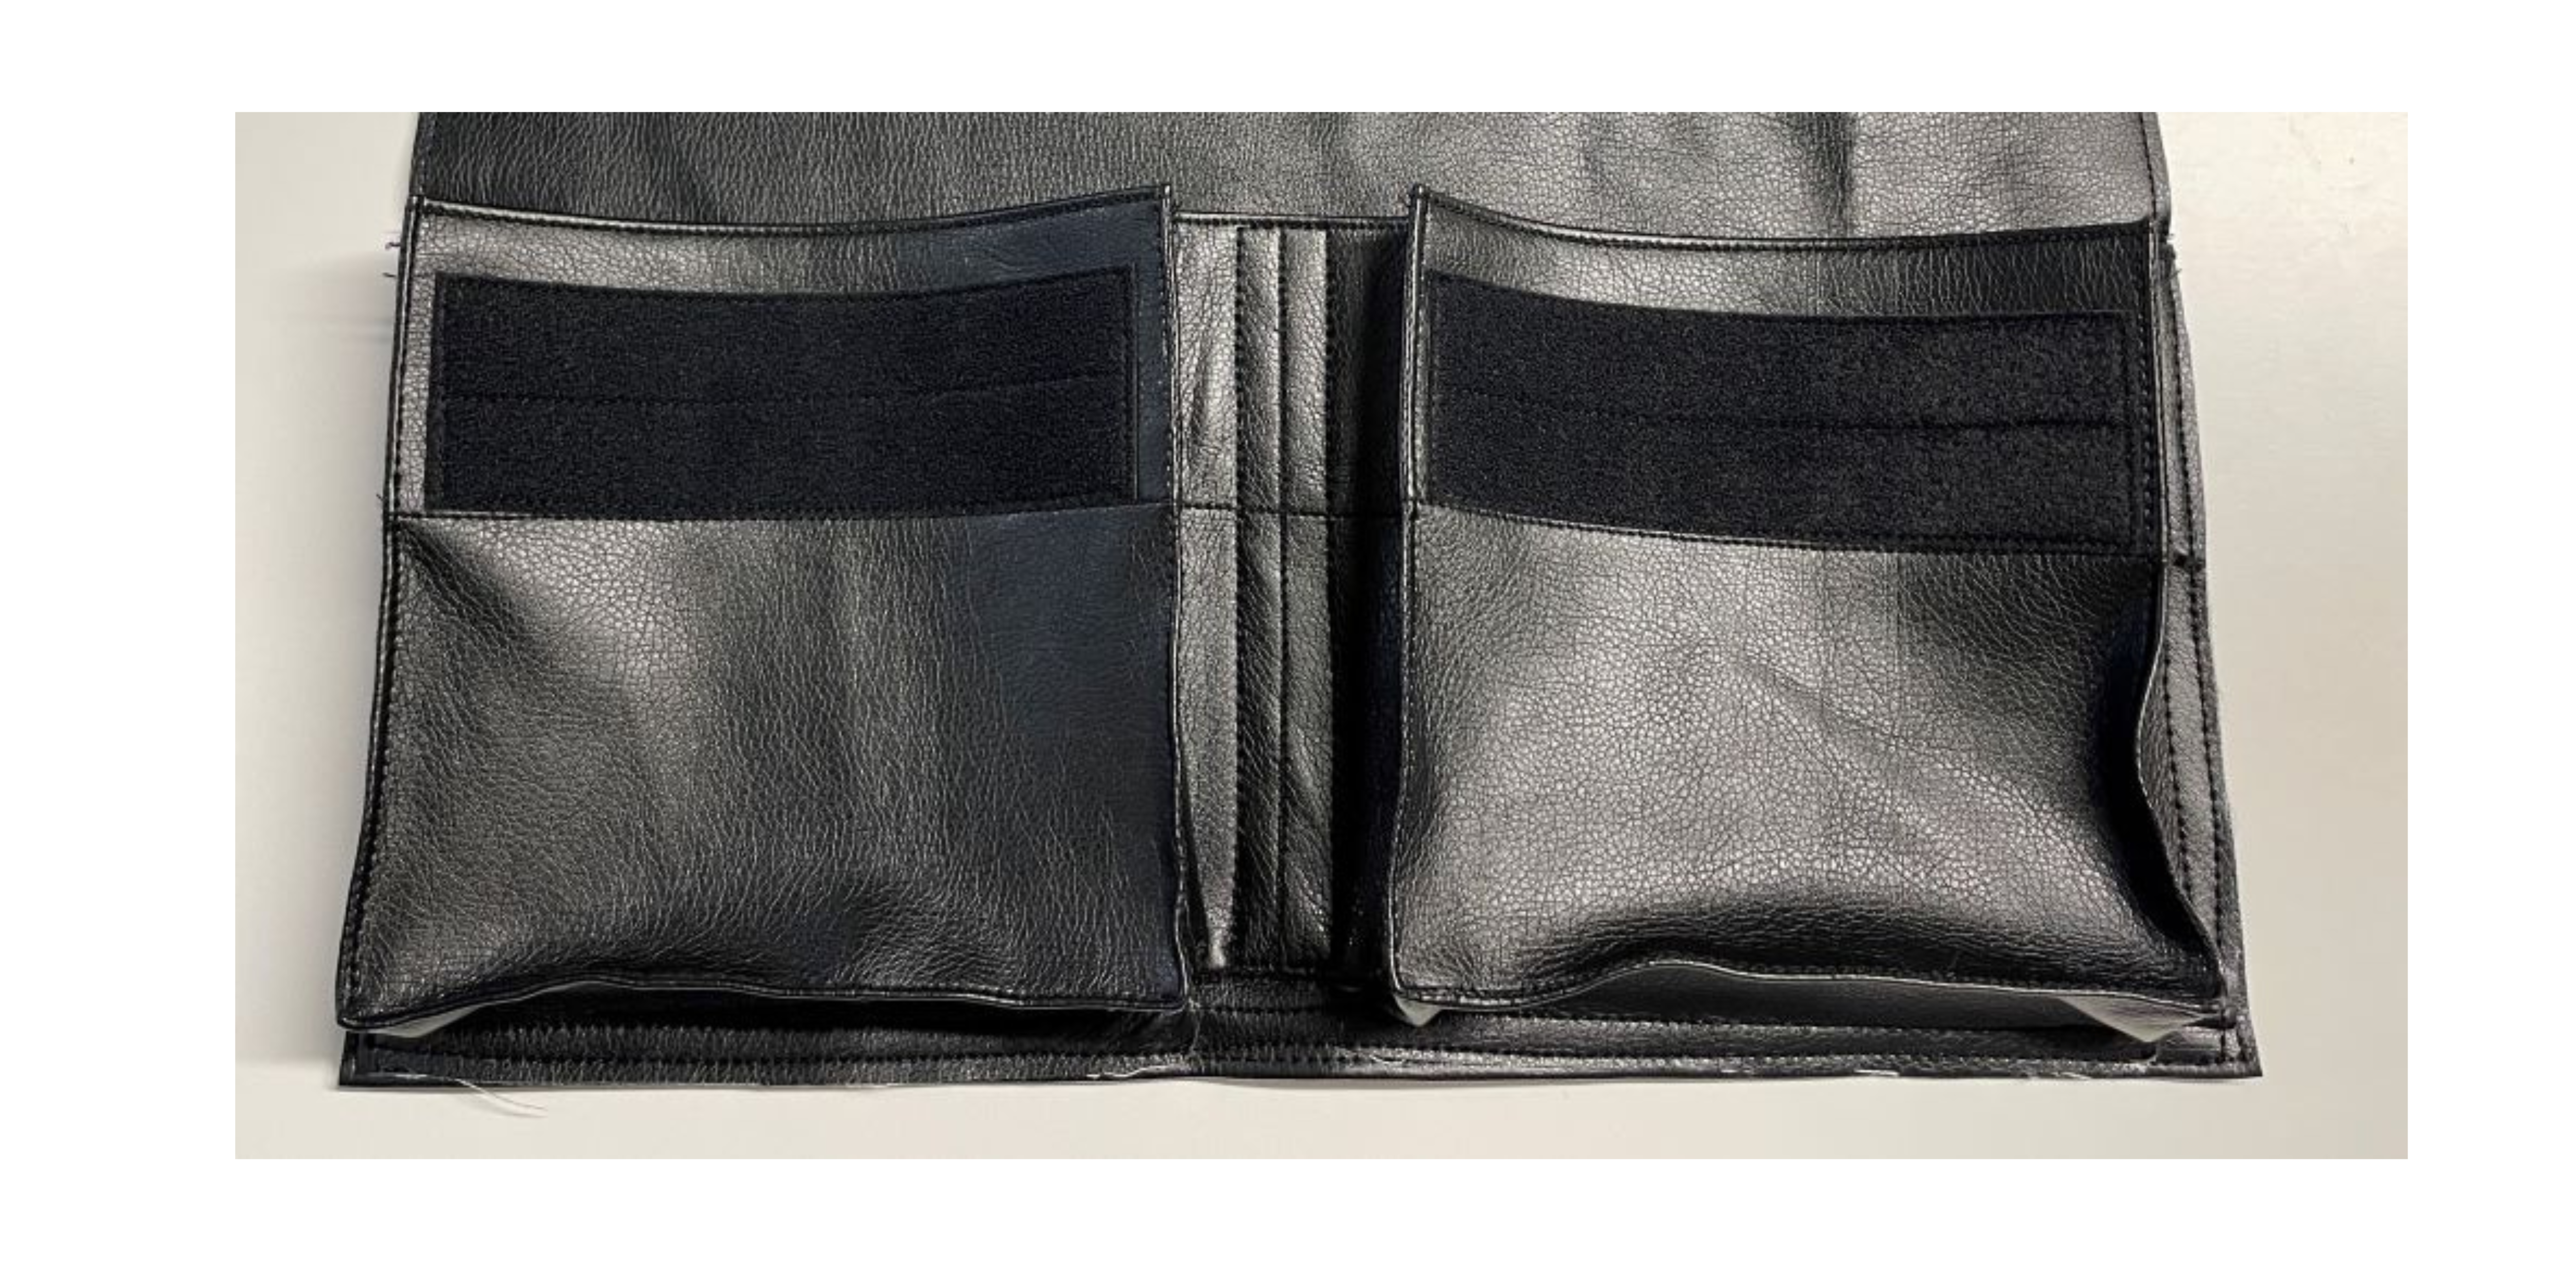
- Pu-leather, Vinyl or other non-fraying fabric. Like cordura.
- Strong polyester thread
- Double sided tape, ¼” (6mm) wide. Not necessary but makes things a lot easier.
- 2” wide Velcro 31” (80cm)
- Soft side (loop): 2 pieces 8½” (16cm) for the pocket, one piece 14” (36cm) for the main panel.
- Hard side (hook) 2 pieces 2” (5cm) for pocket flap and one piece 14” (36cm) for the main panel.
If you can't find 2” (5cm) wide velcro you can use 1” wide velcro instead and make double rows.
- PDF pattern, find it Here:
- Teflon or Roller foot
Prepare pattern pieces
1. Cut Out the pieces from the vinyl following the instructions on the pattern. No seam allowance should be added.
Making the pockets
Set your sewing machine at a straight stitch with a 4mm stitch length. Test the seam on a scrap piece to get the right thread tension, sewing with thicker thread often requires a higher thread tension. 4mm stitch length will be used in this project since shorter stitches perforates the vinyl too much making it weaker.
2. Make a line 14 cm down from the top of the pocket piece. Put double sided tape above the line, but close to it.
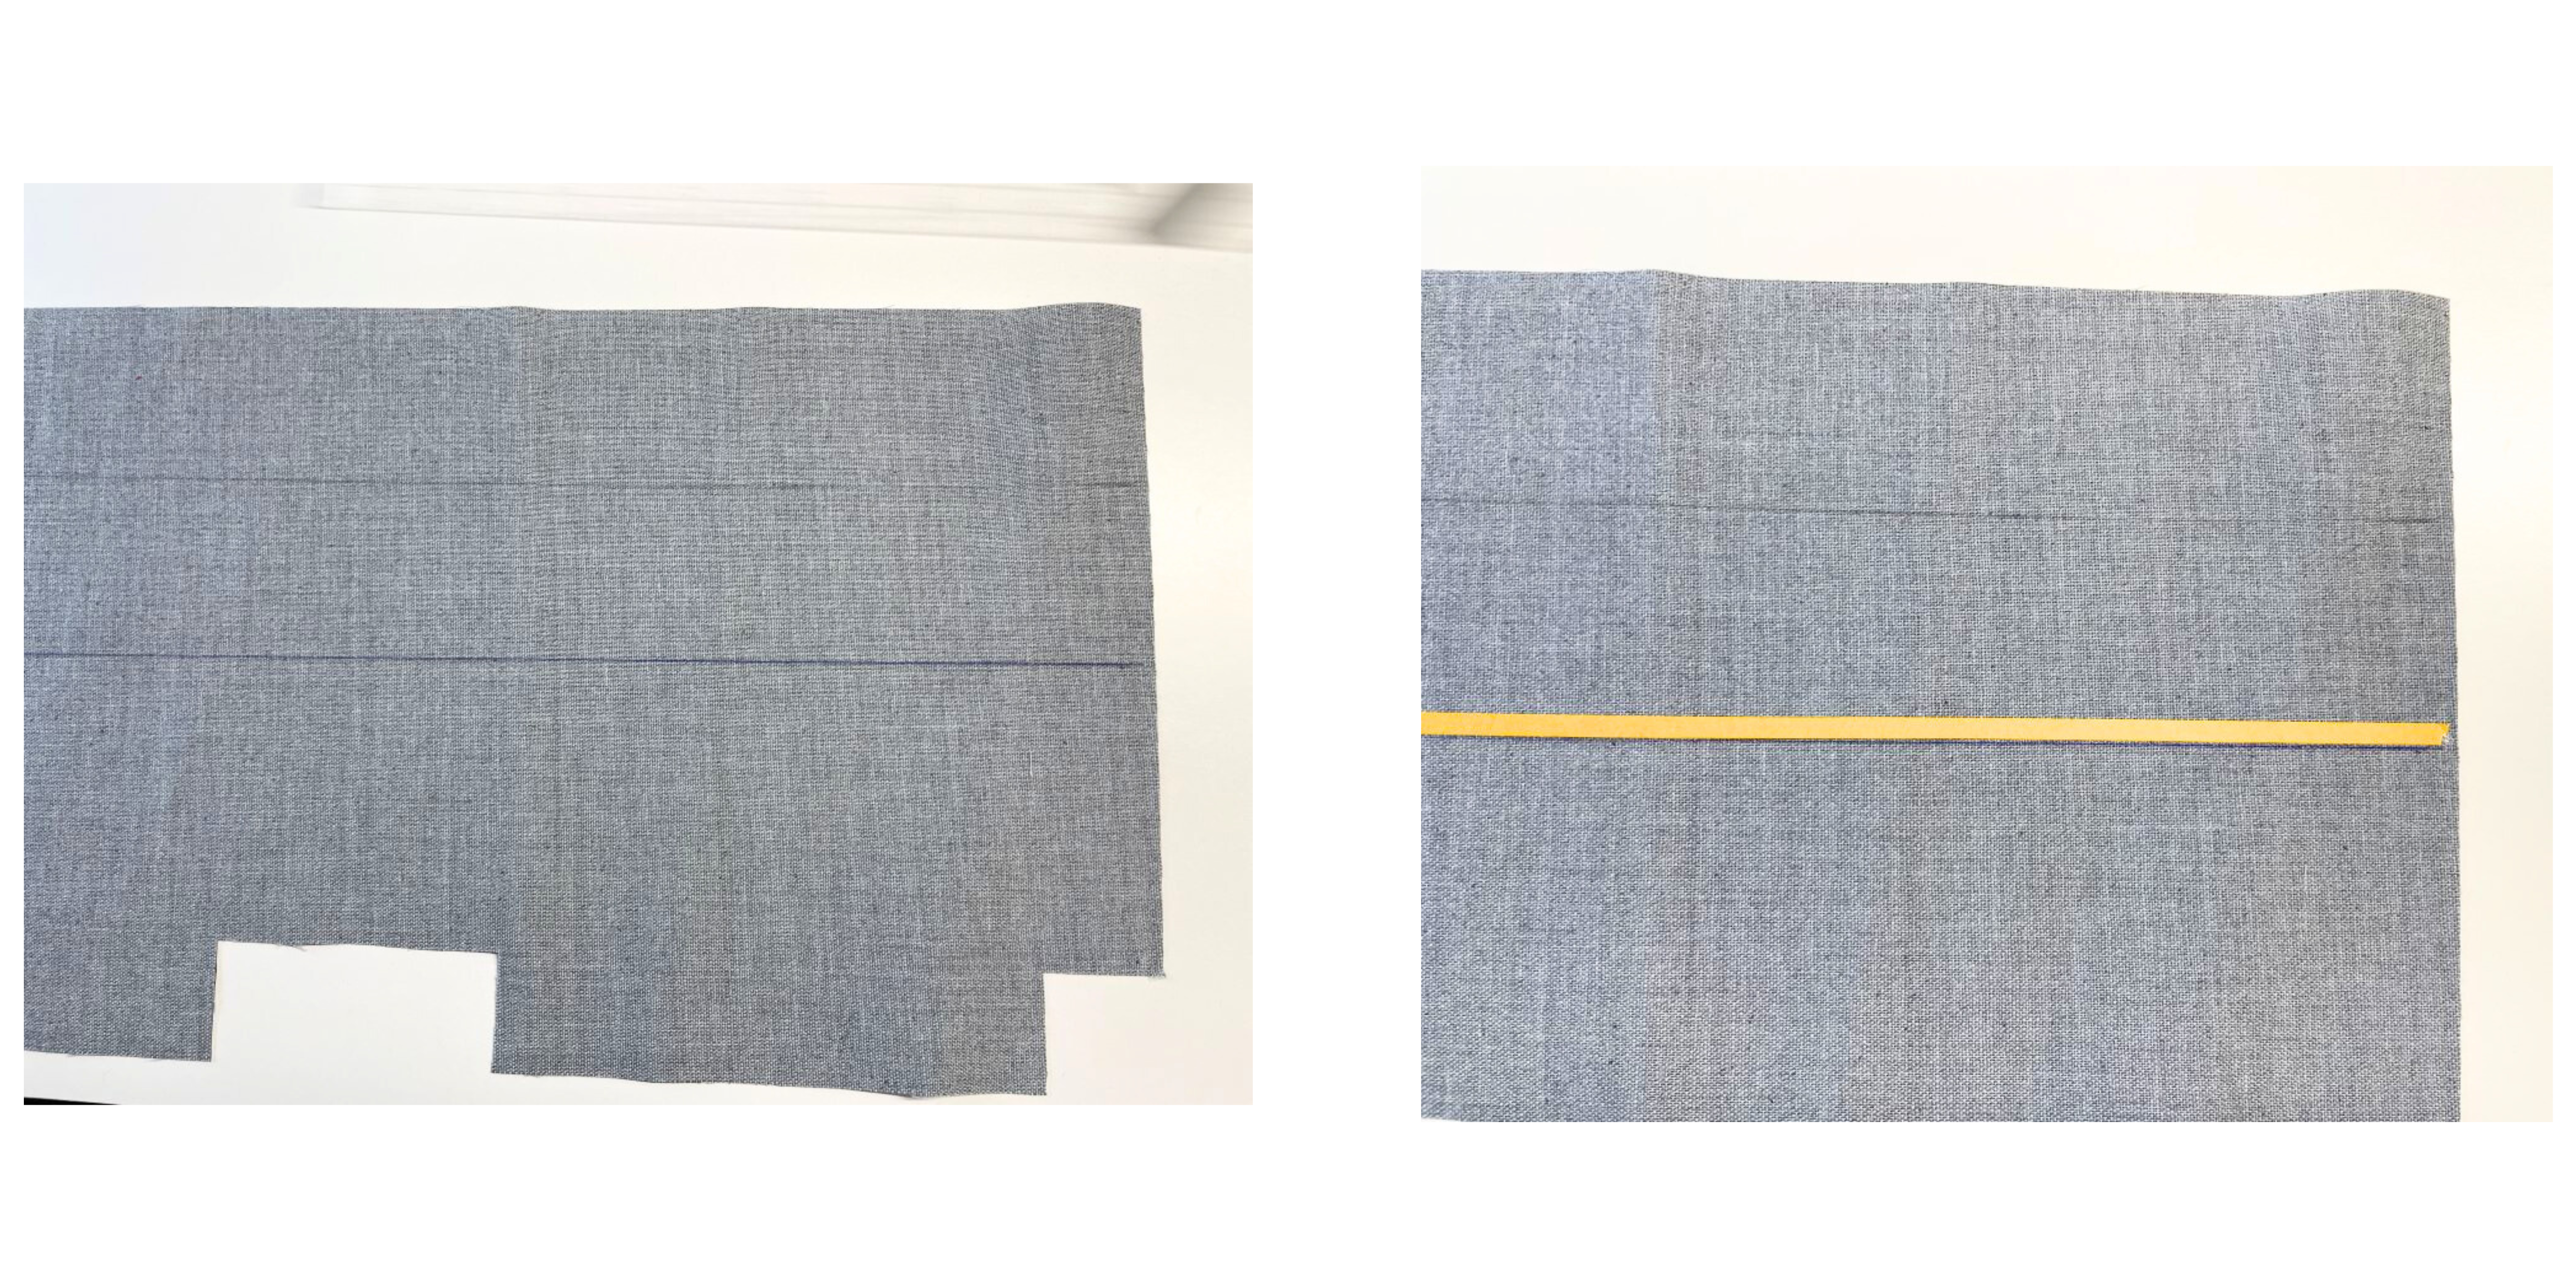
3. Remove the paper from the tape and fold the top edge down and over the tape.

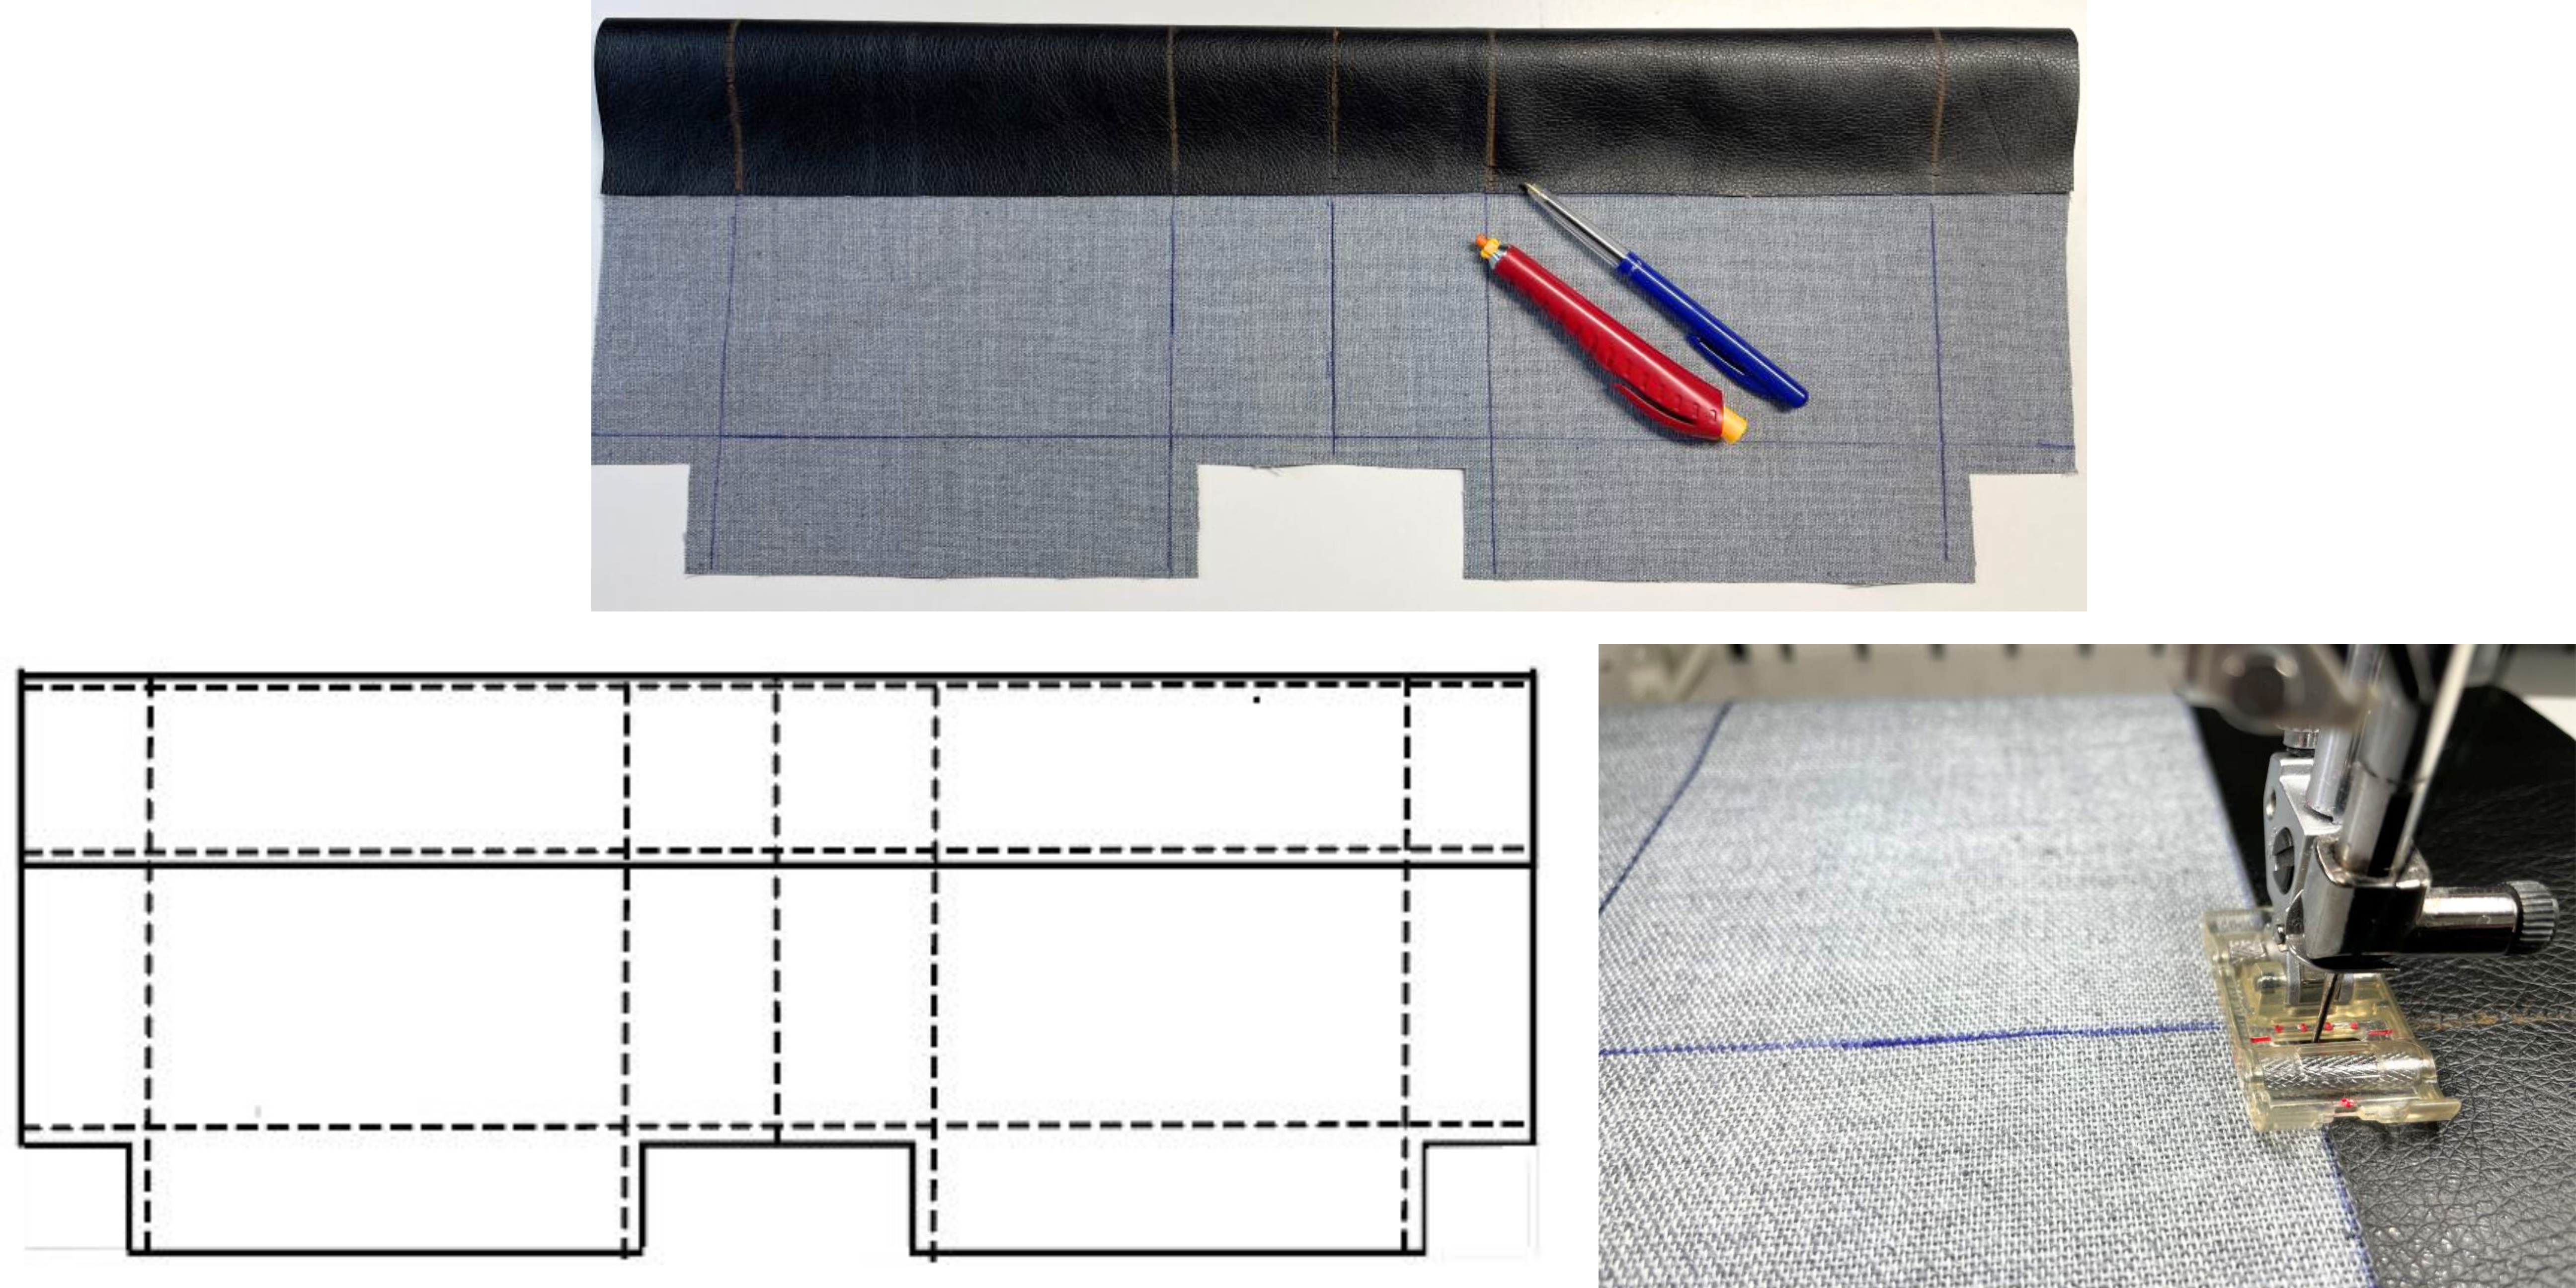
4. Draw lines as indicated below. The lines should be placed ⅜” (1cm) from the edge, see image. Topstitch in all lines with a 4mm straight stitch and a teflon or roller foot.. Test the stitches on a scrap piece first, it may be necessary to increase the thread tension to get a nice stitch on both sides.
5. Put double sided tape on the back of the soft side velcro pieces for the pocket. Attach centered in line with the horizontal stitch line.
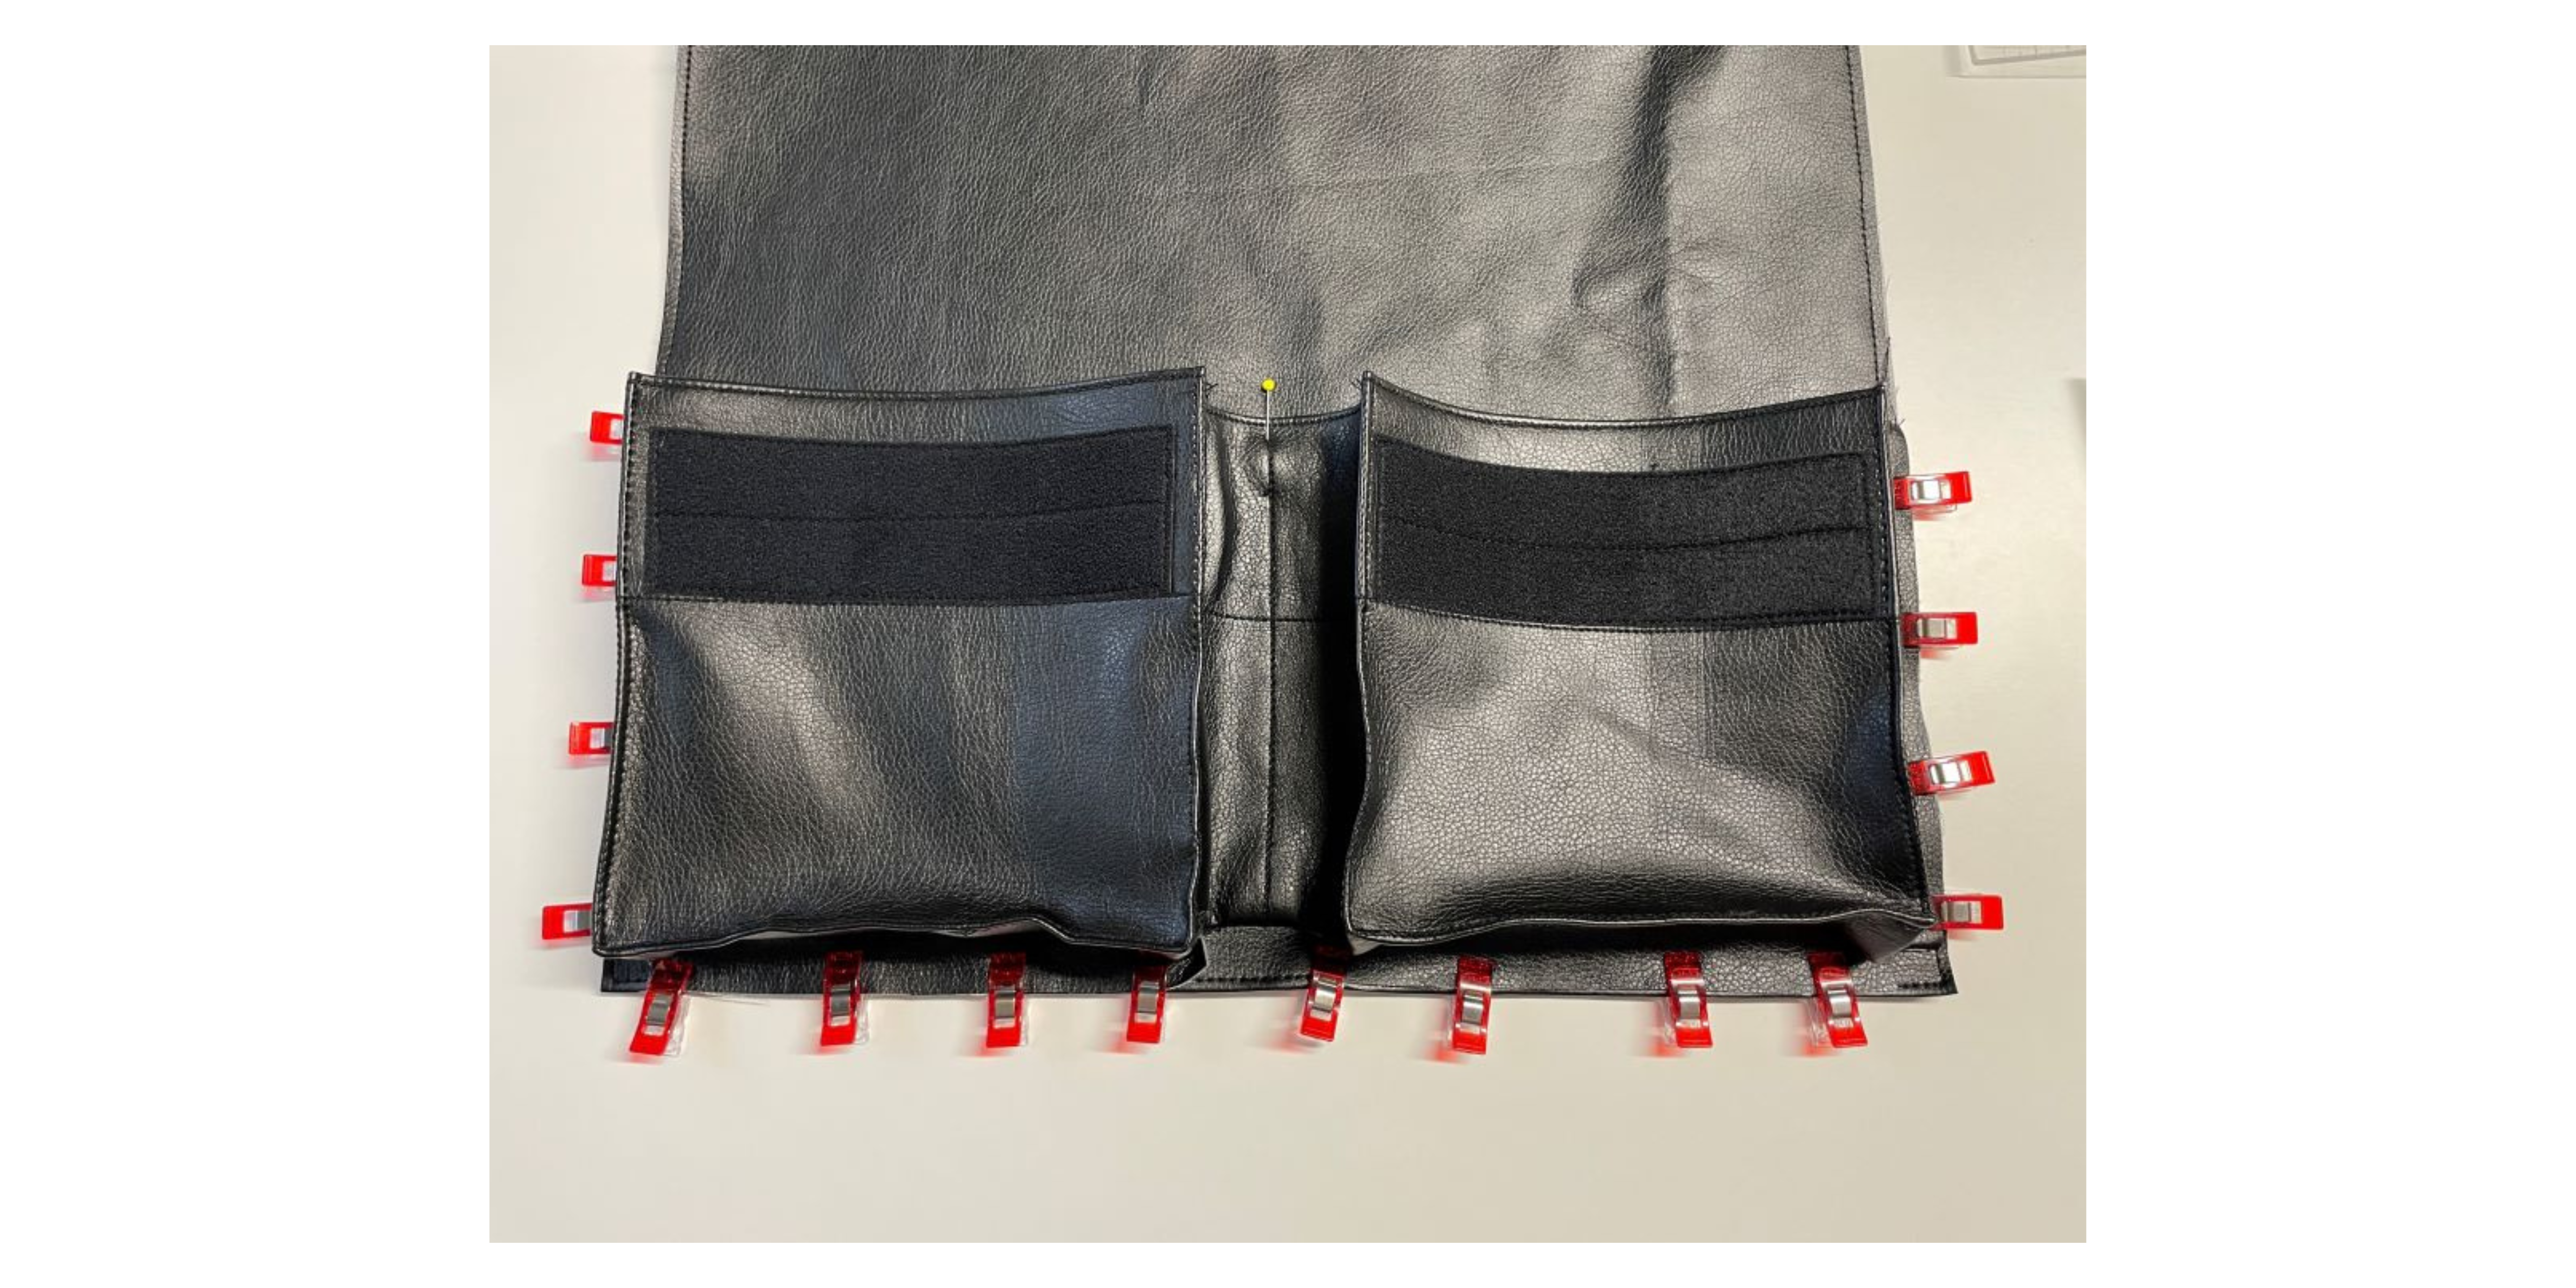
Pocket divider:
6. Fold the piece for the pocket divider, topstitch close to the edge all around.
7. Draw a vertical line ¾” (2cm) from the stitched lines on each side of the pocket piece.
8. Align one side of the pocket divider with the drawn line on the right side., topstitch in place.
9. Move the divider to the left side and align with the drawn line at the left side. Topstitch in place.
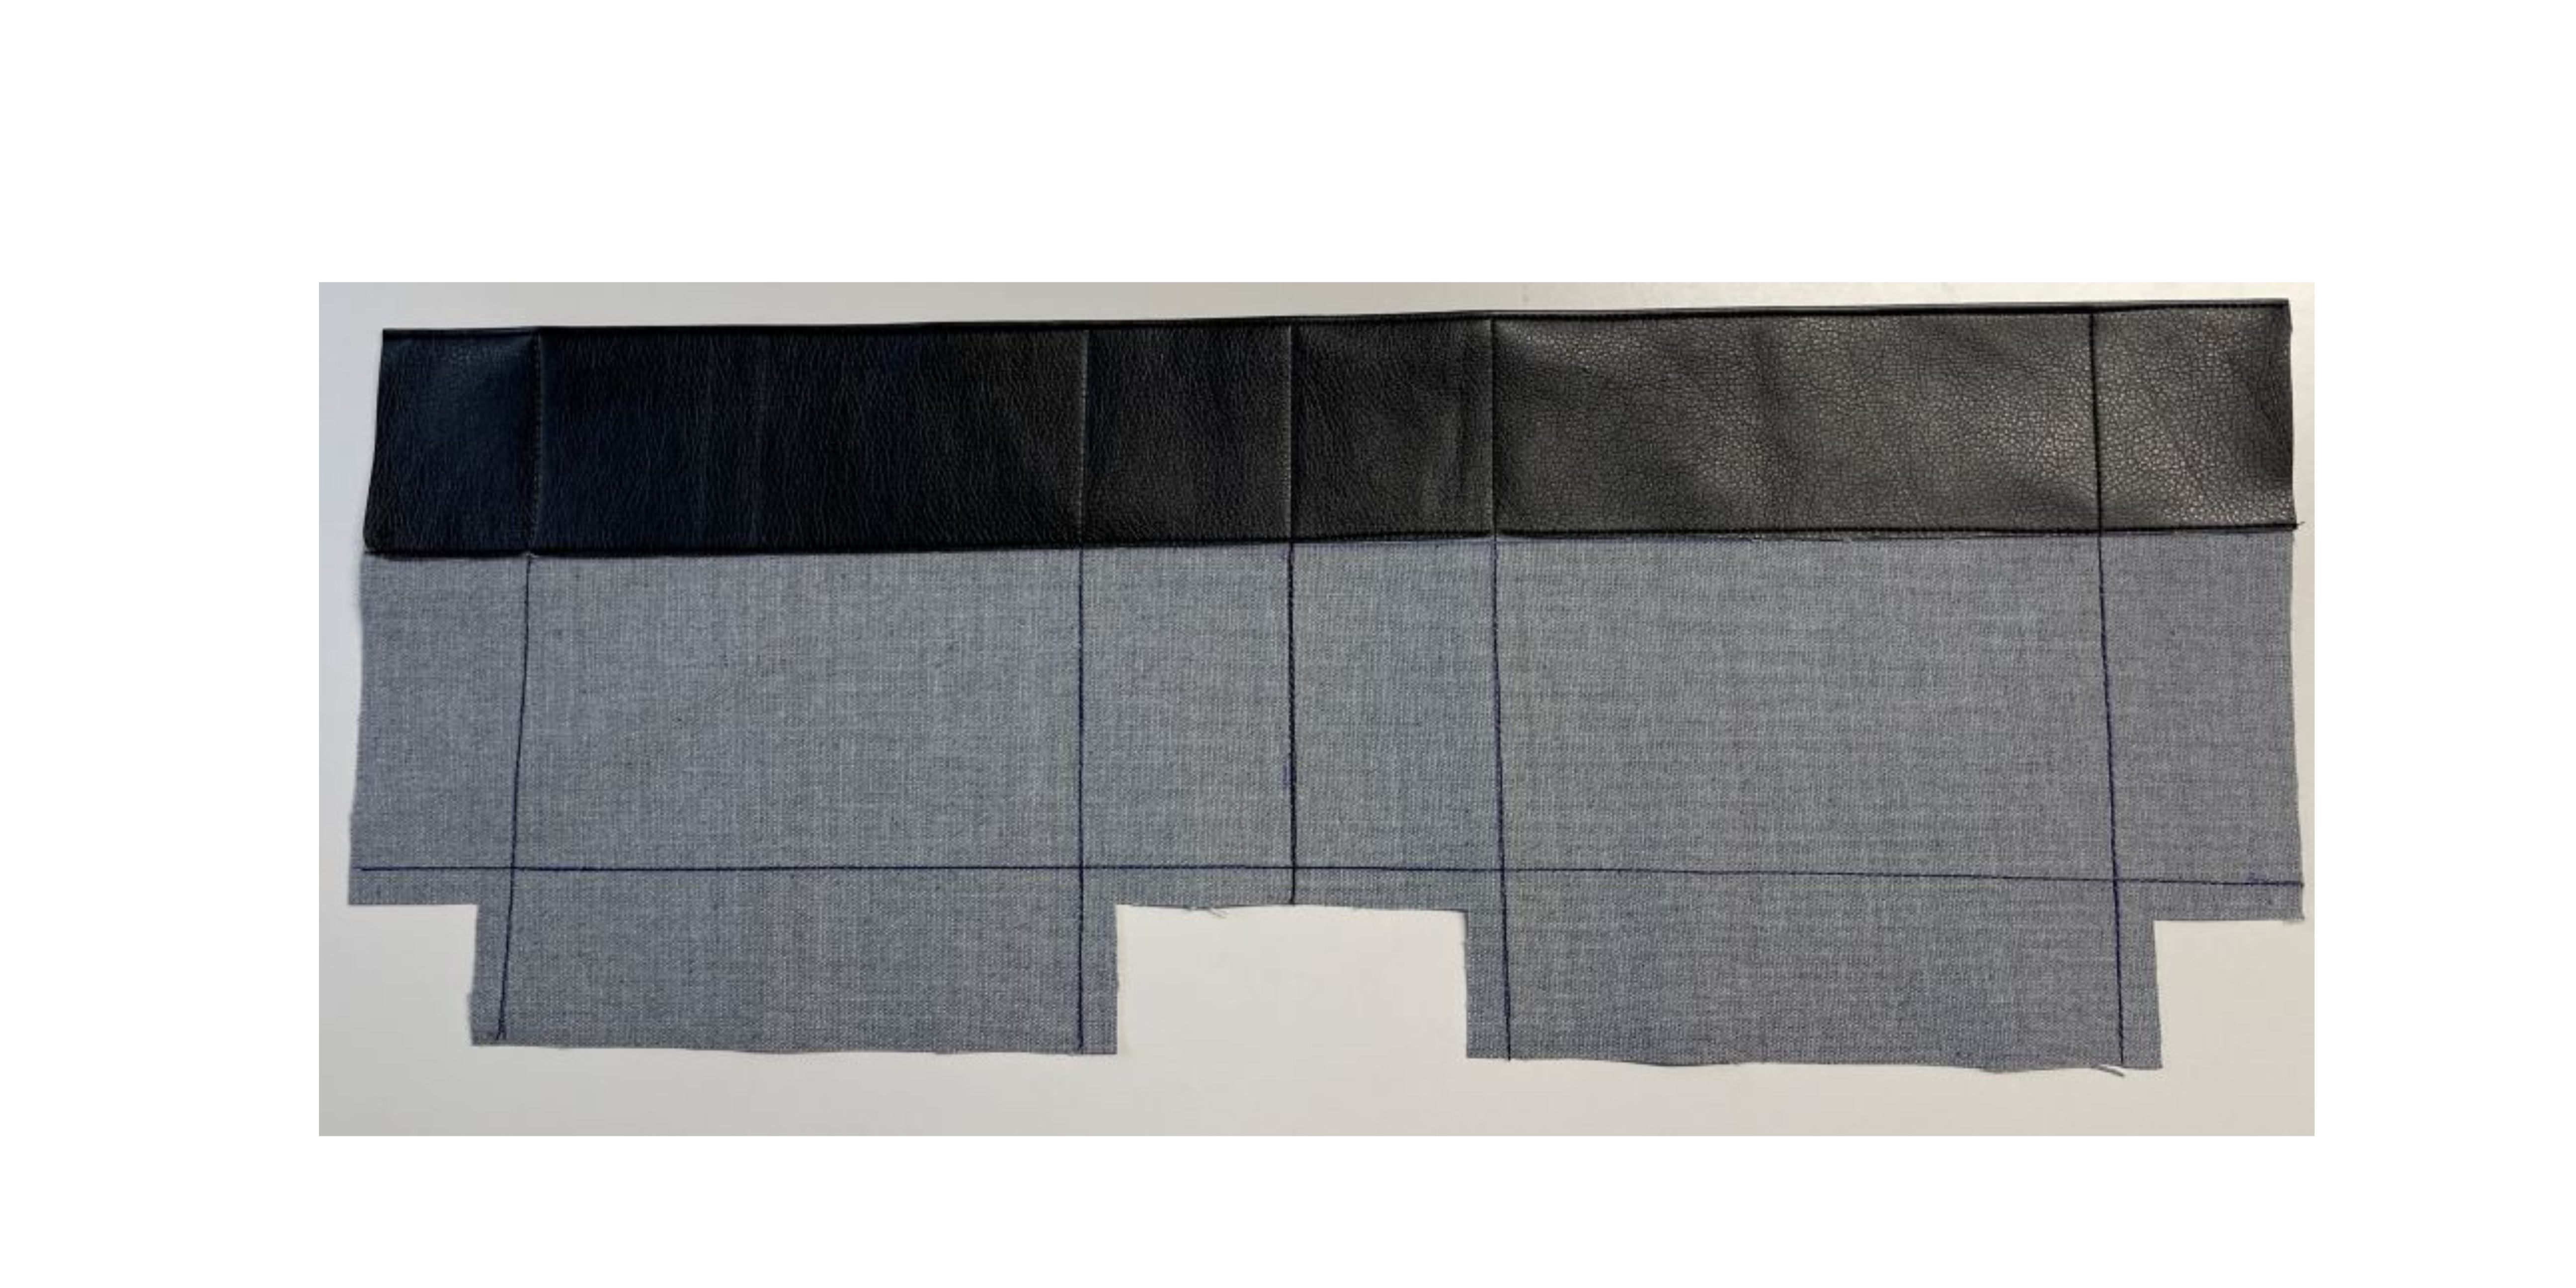
10. Now it will look like this:
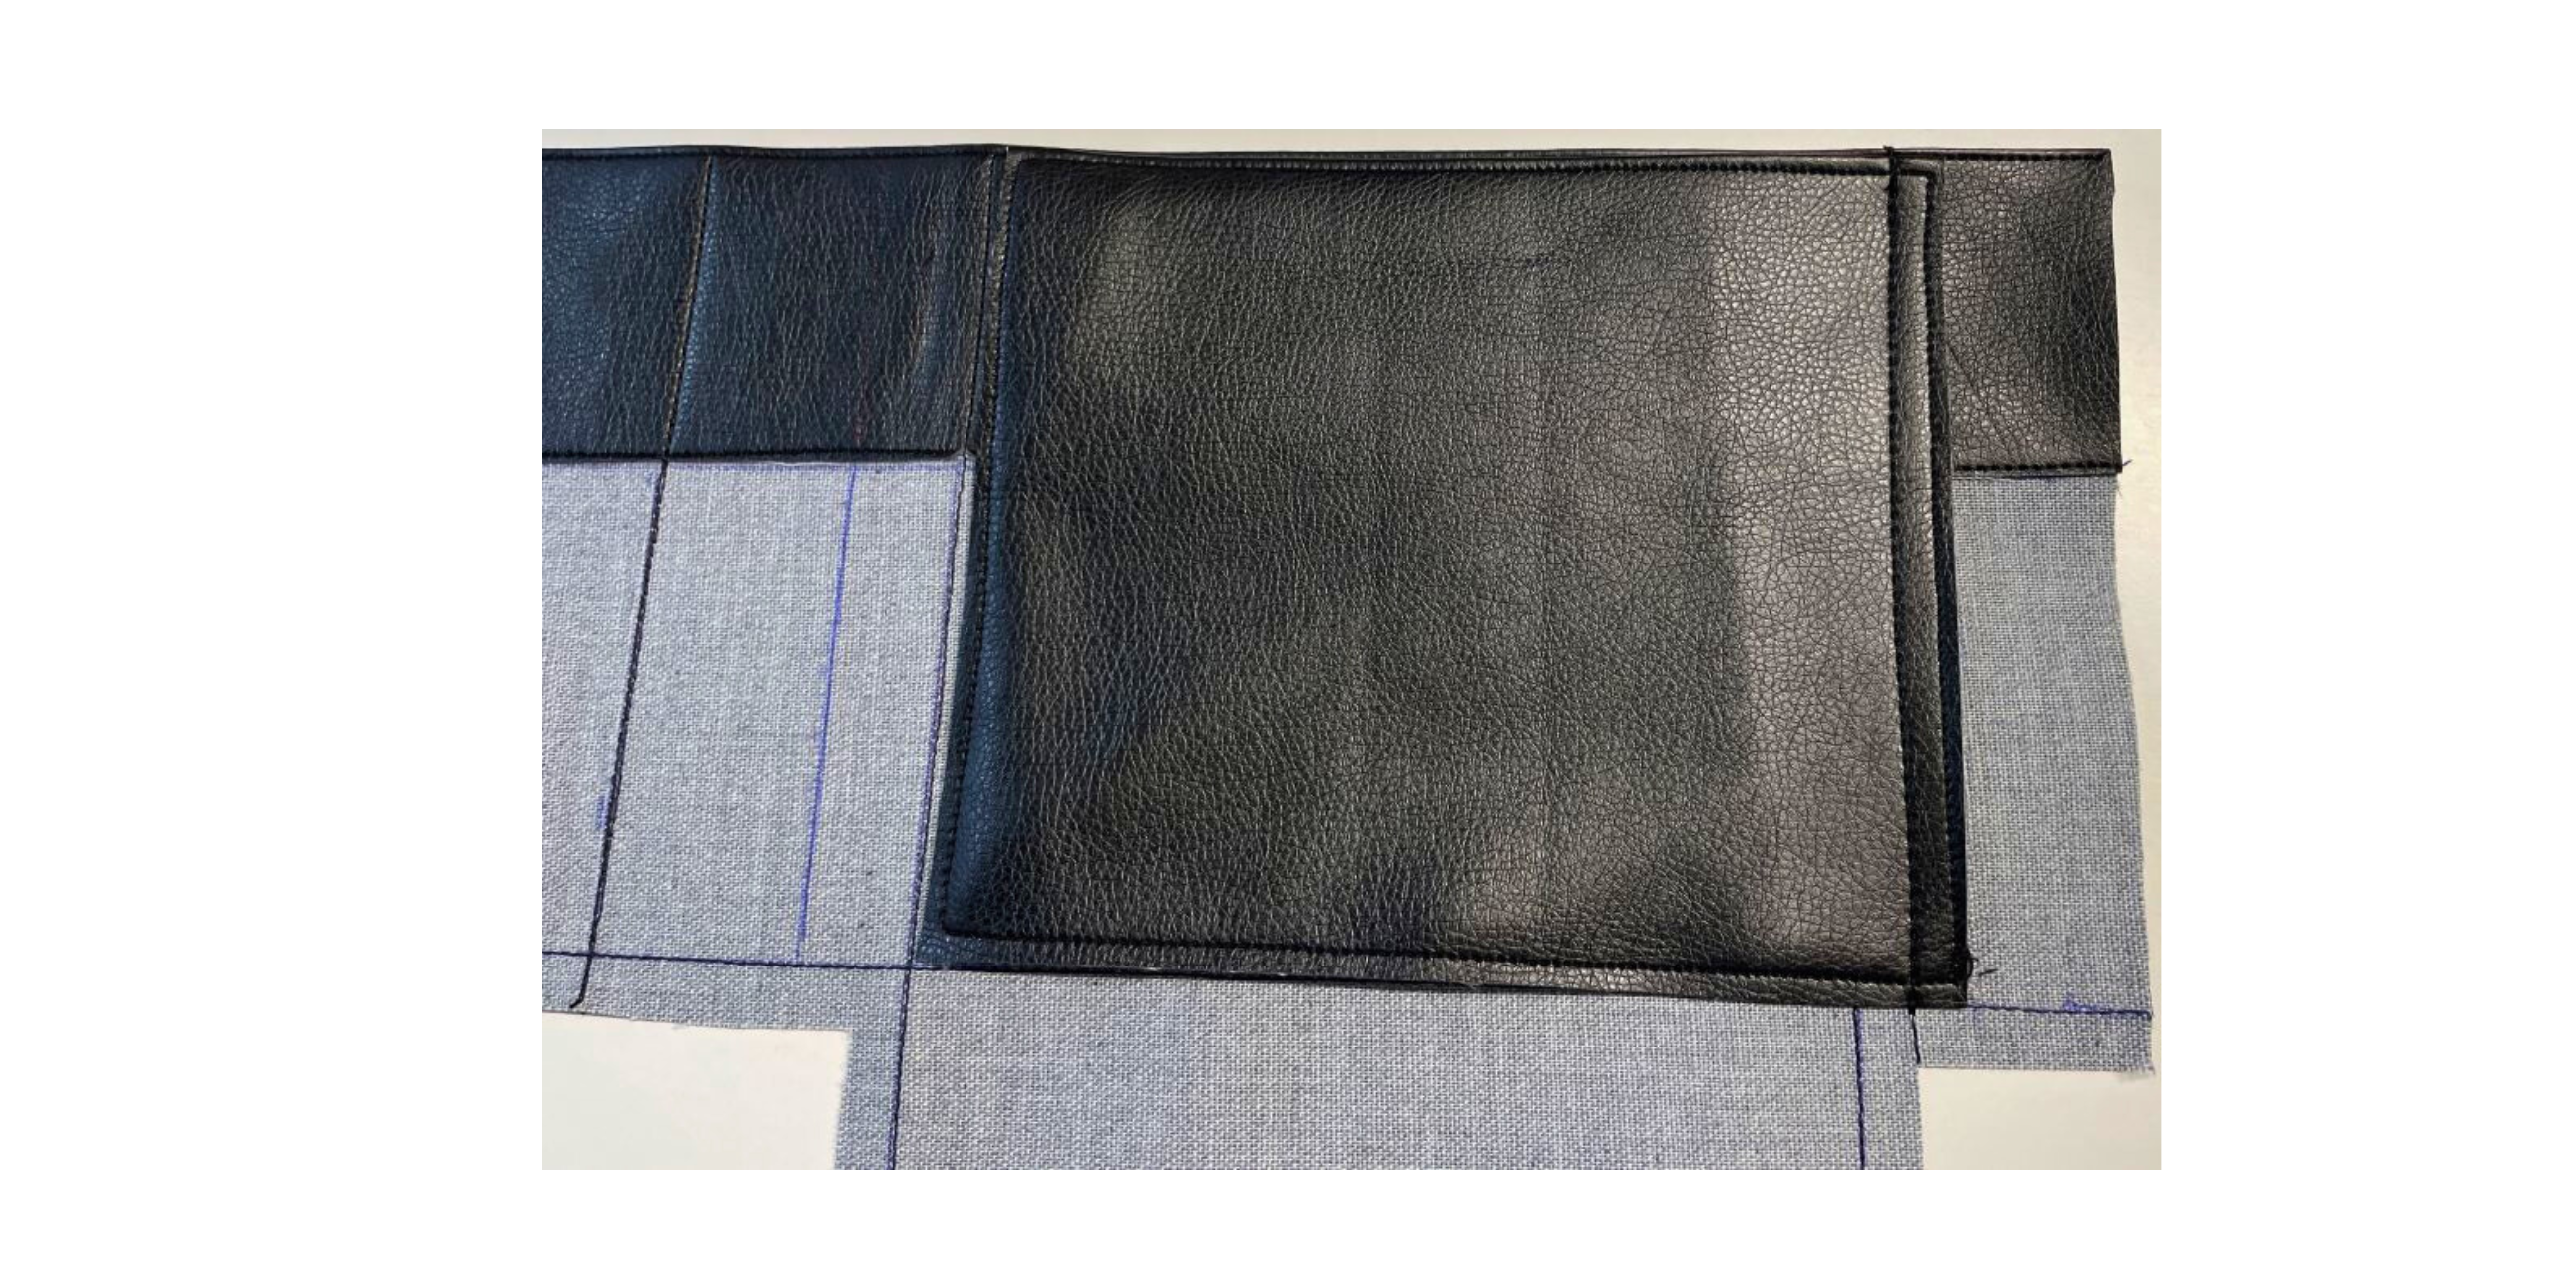
11. Make the corners by folding the cutouts together and sew with a ⅜” (1cm) seam allowance.
12. Fold the pocket piece at the topstitched lines and topstitch close to the edge. This step can be omitted, but it makes the pocket look more professional. Your pocket piece is now finished!
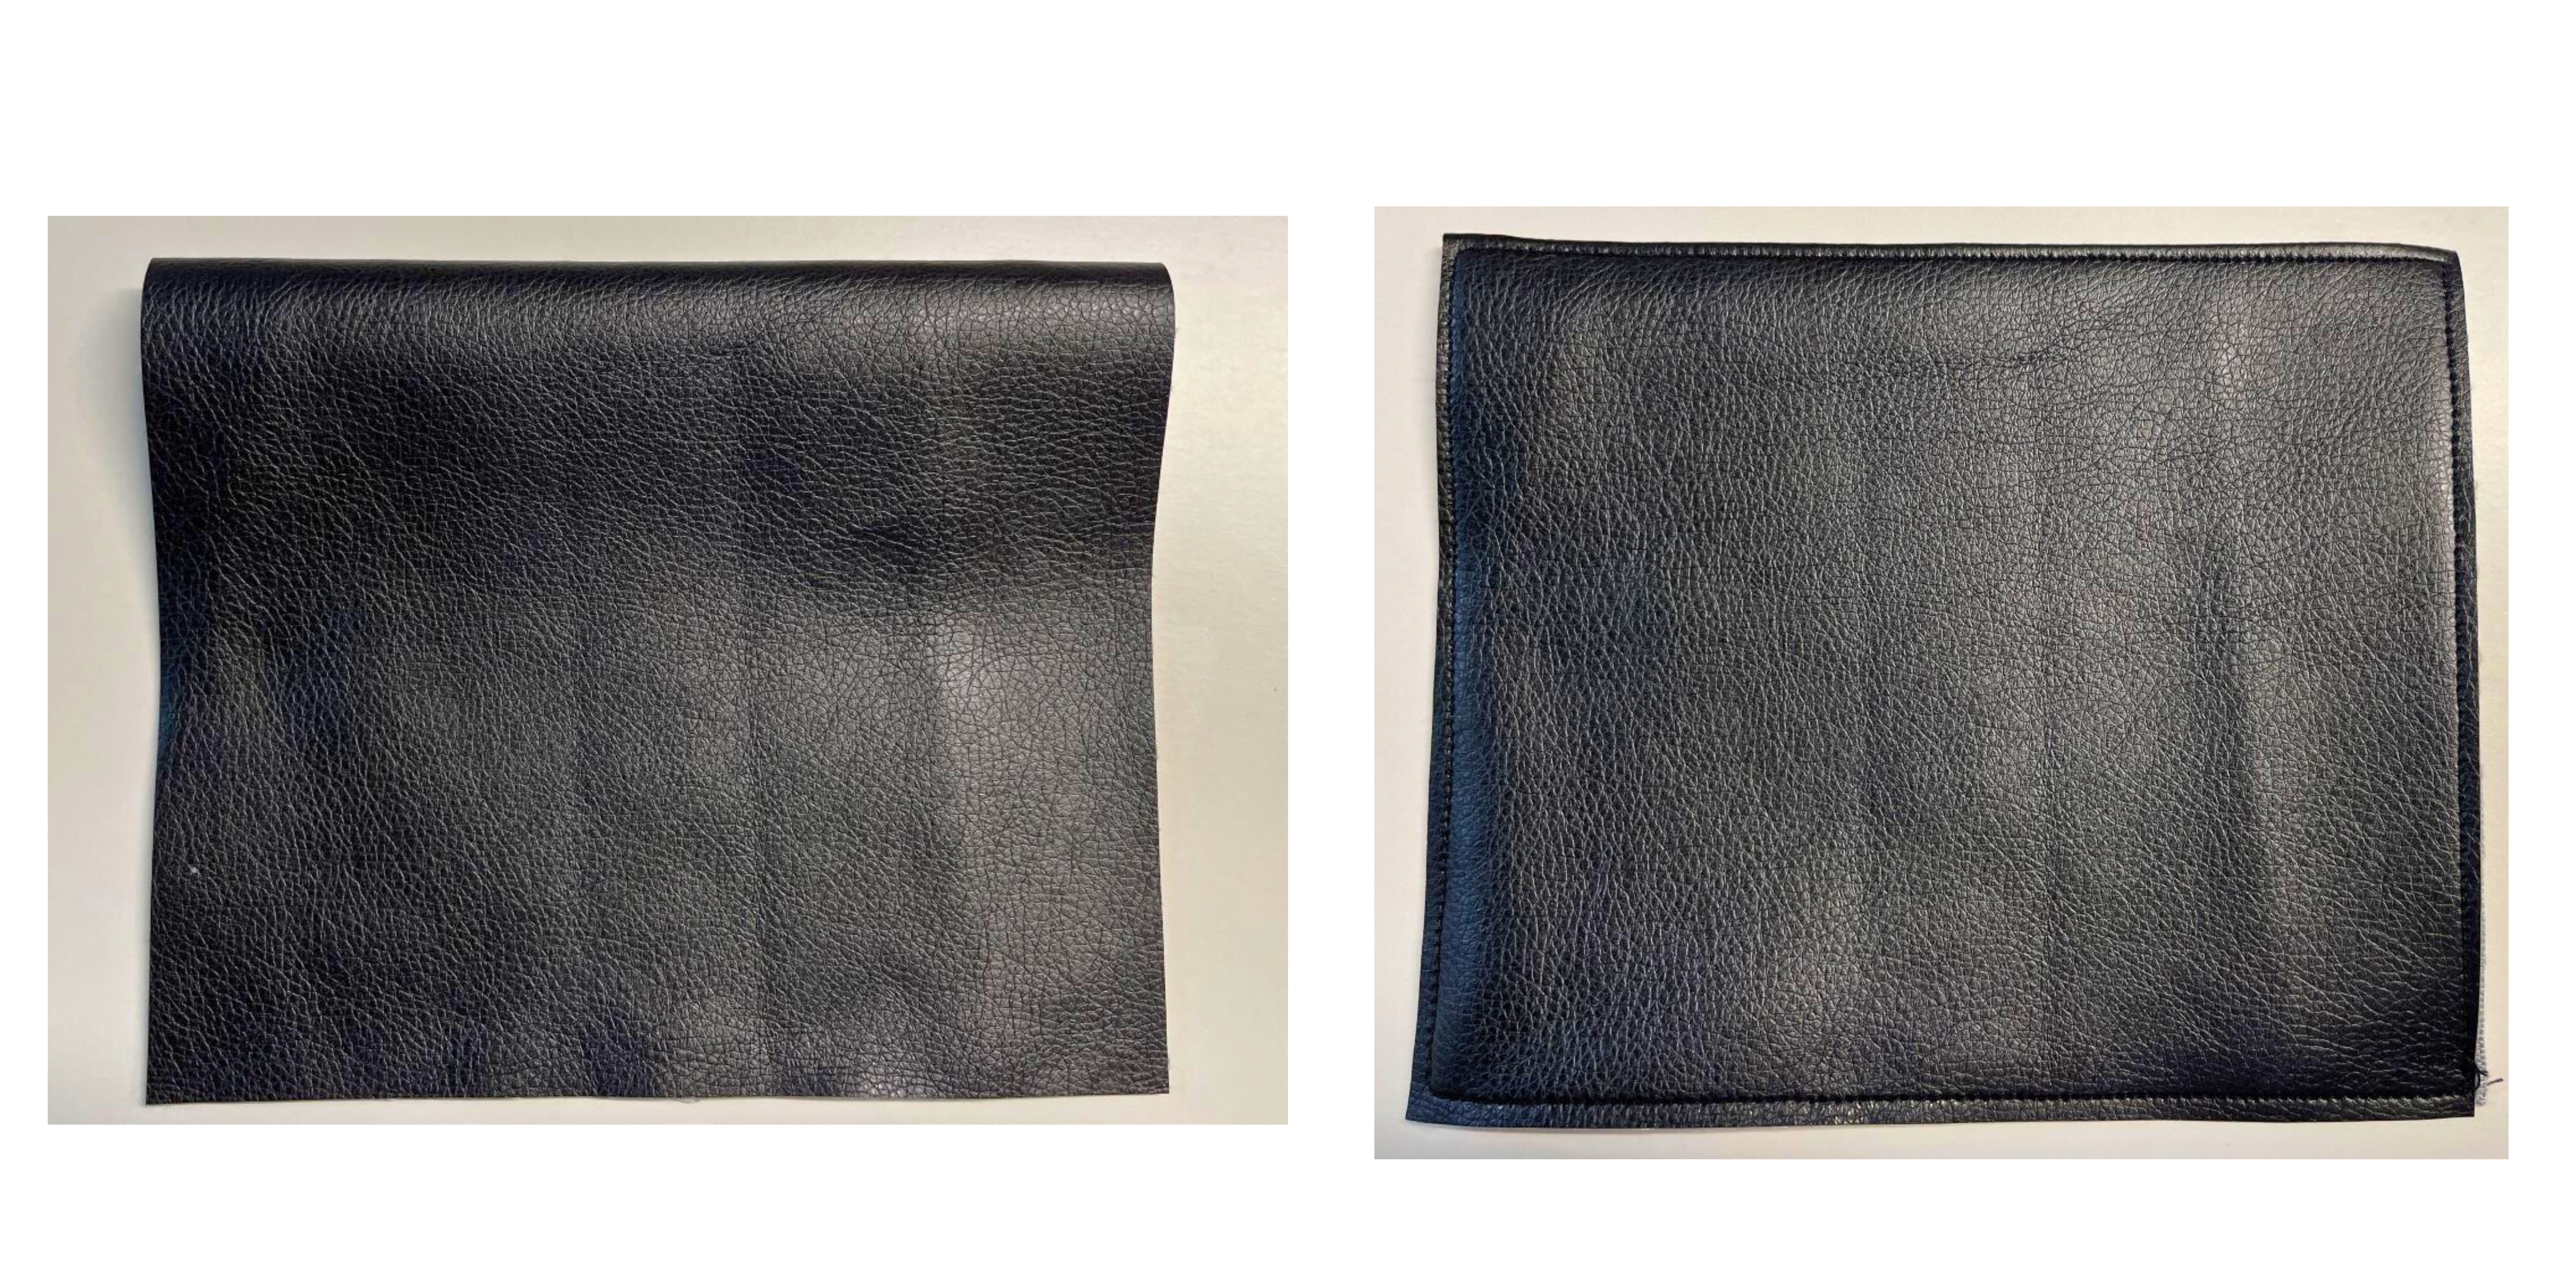
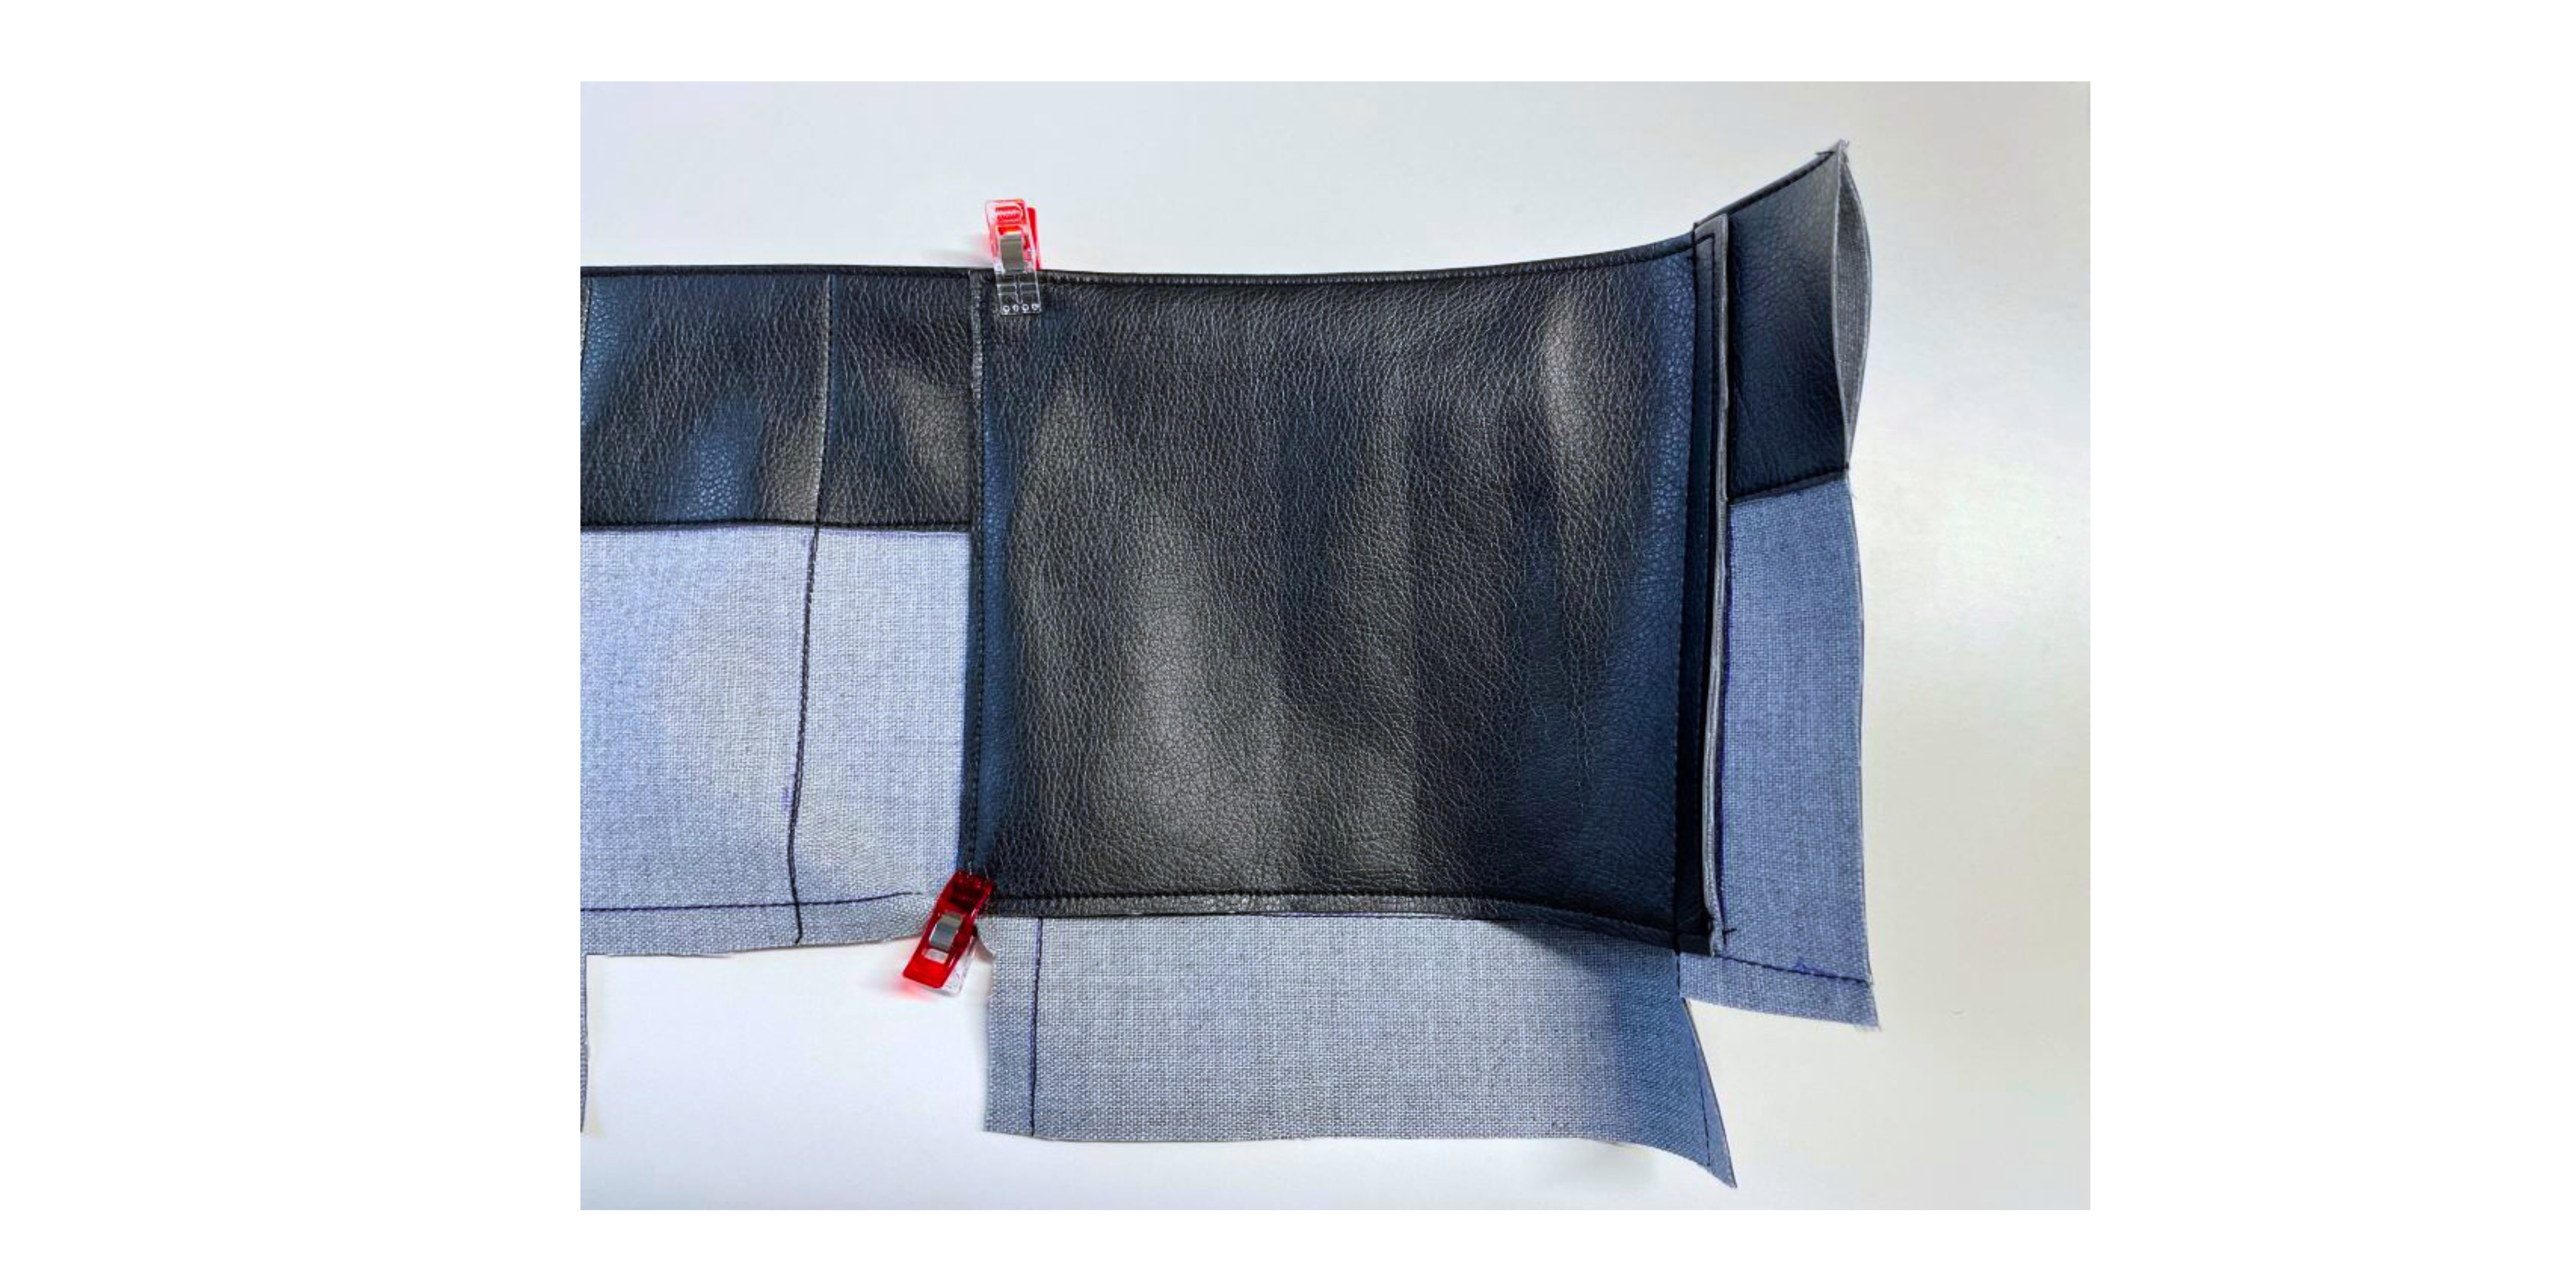
13. Fold the main piece panel double, wrong sides facing each other, topstitch around the edges.
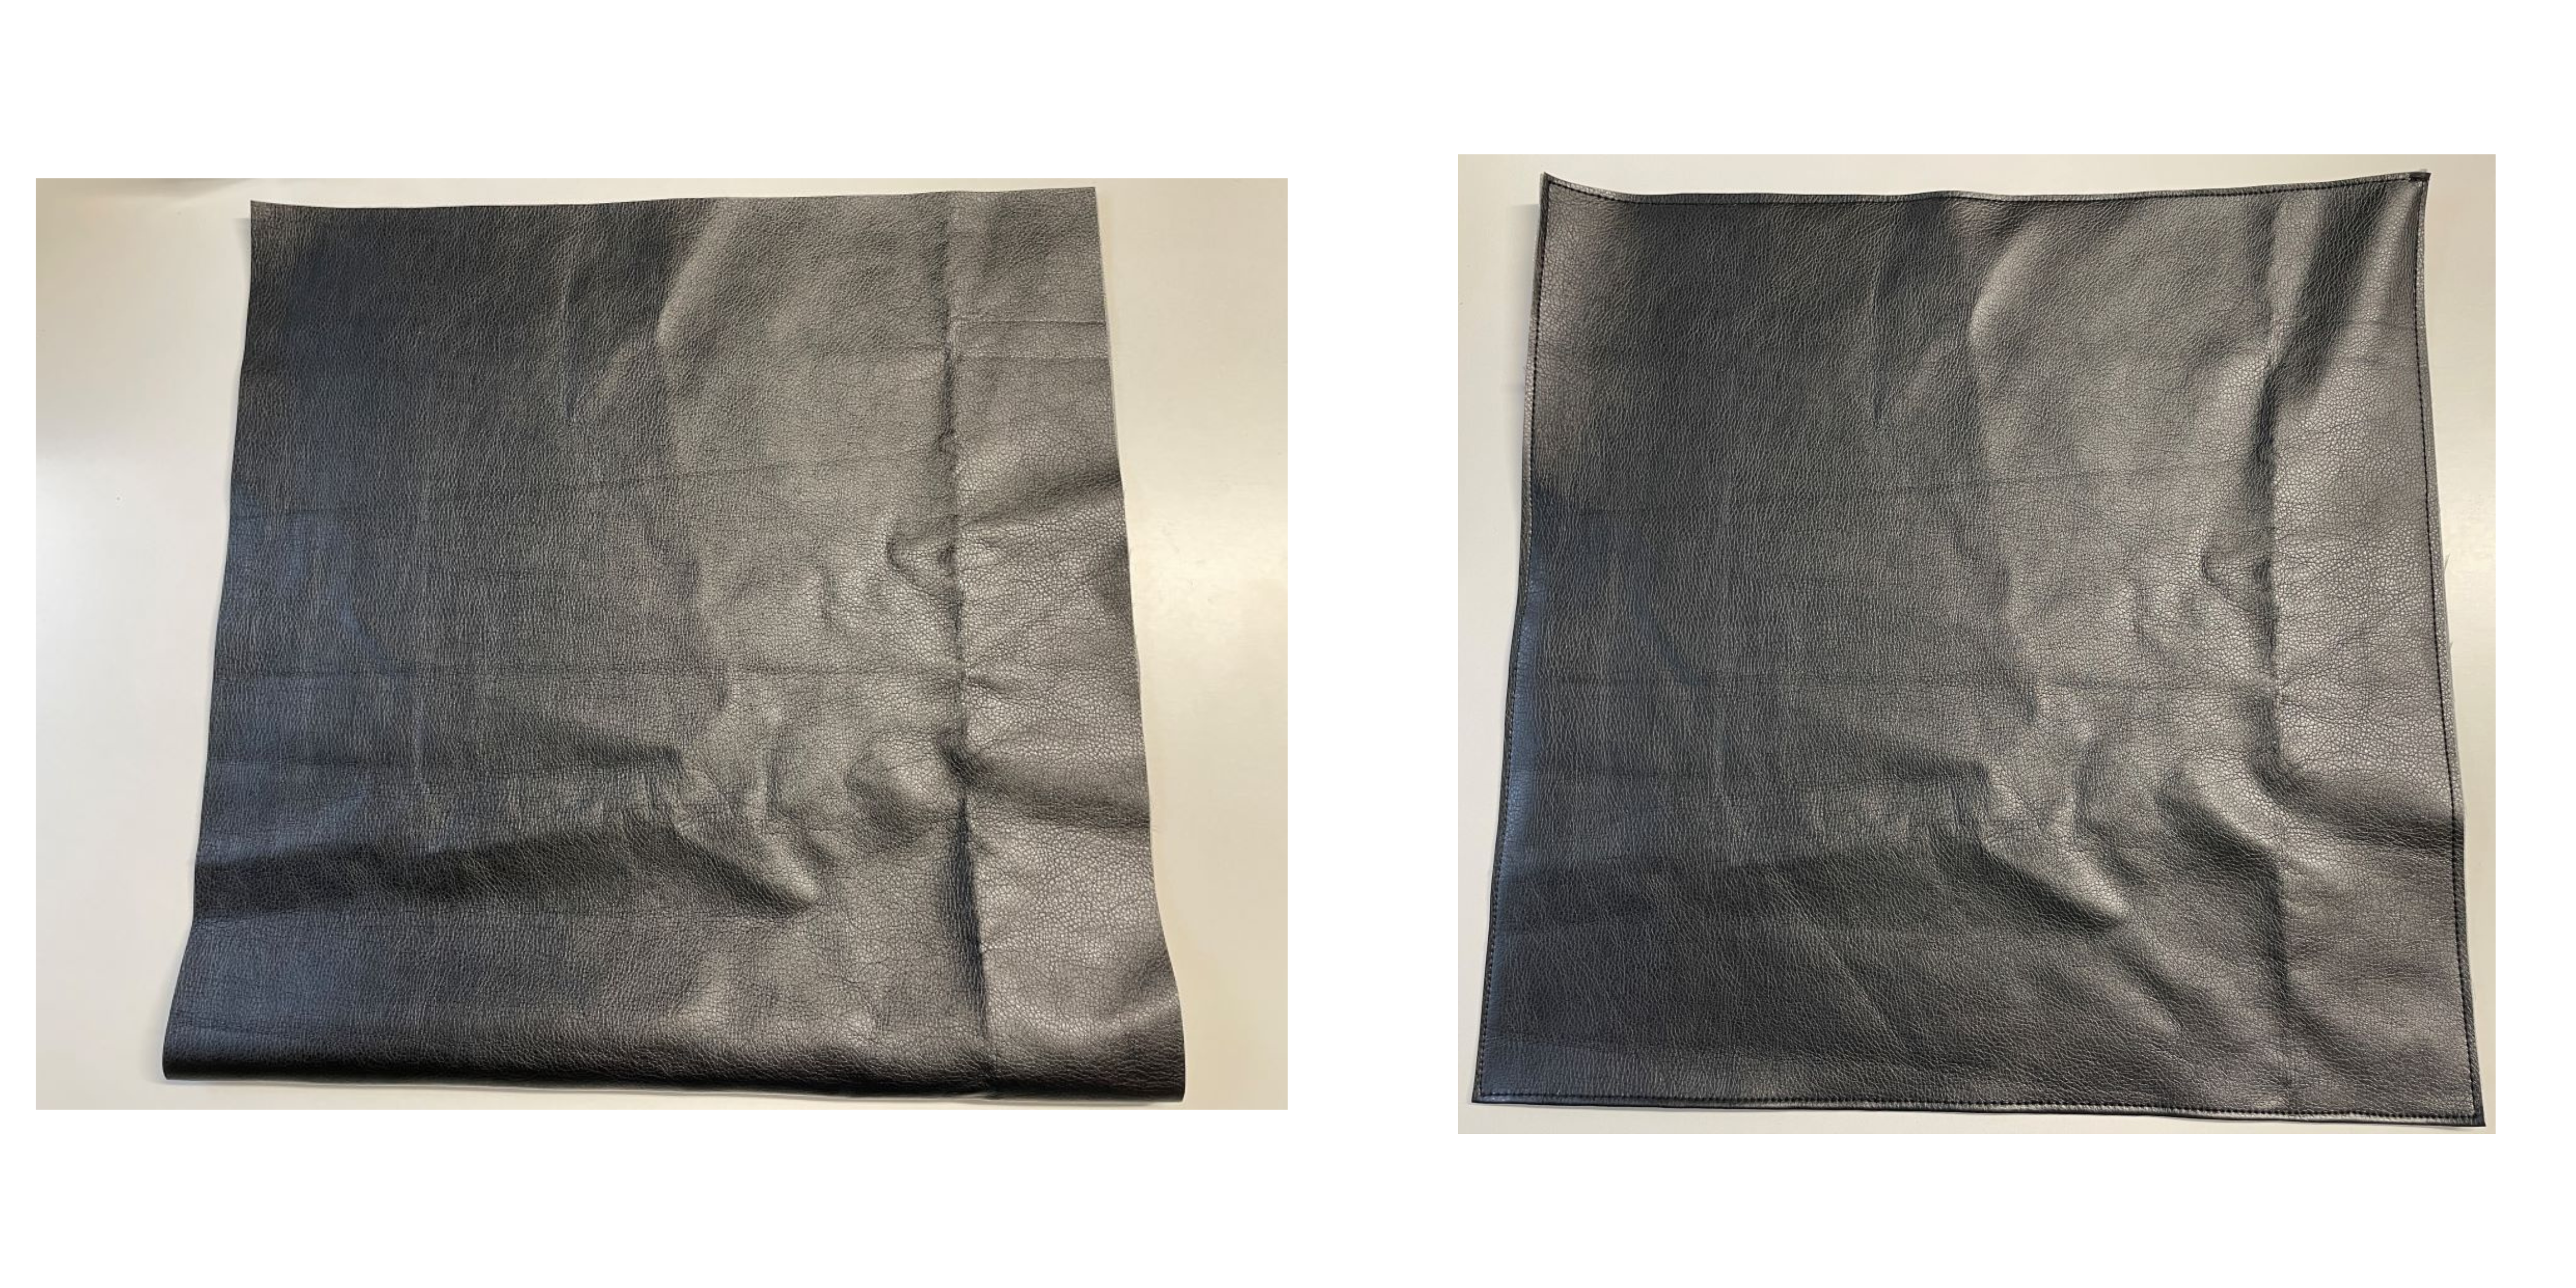
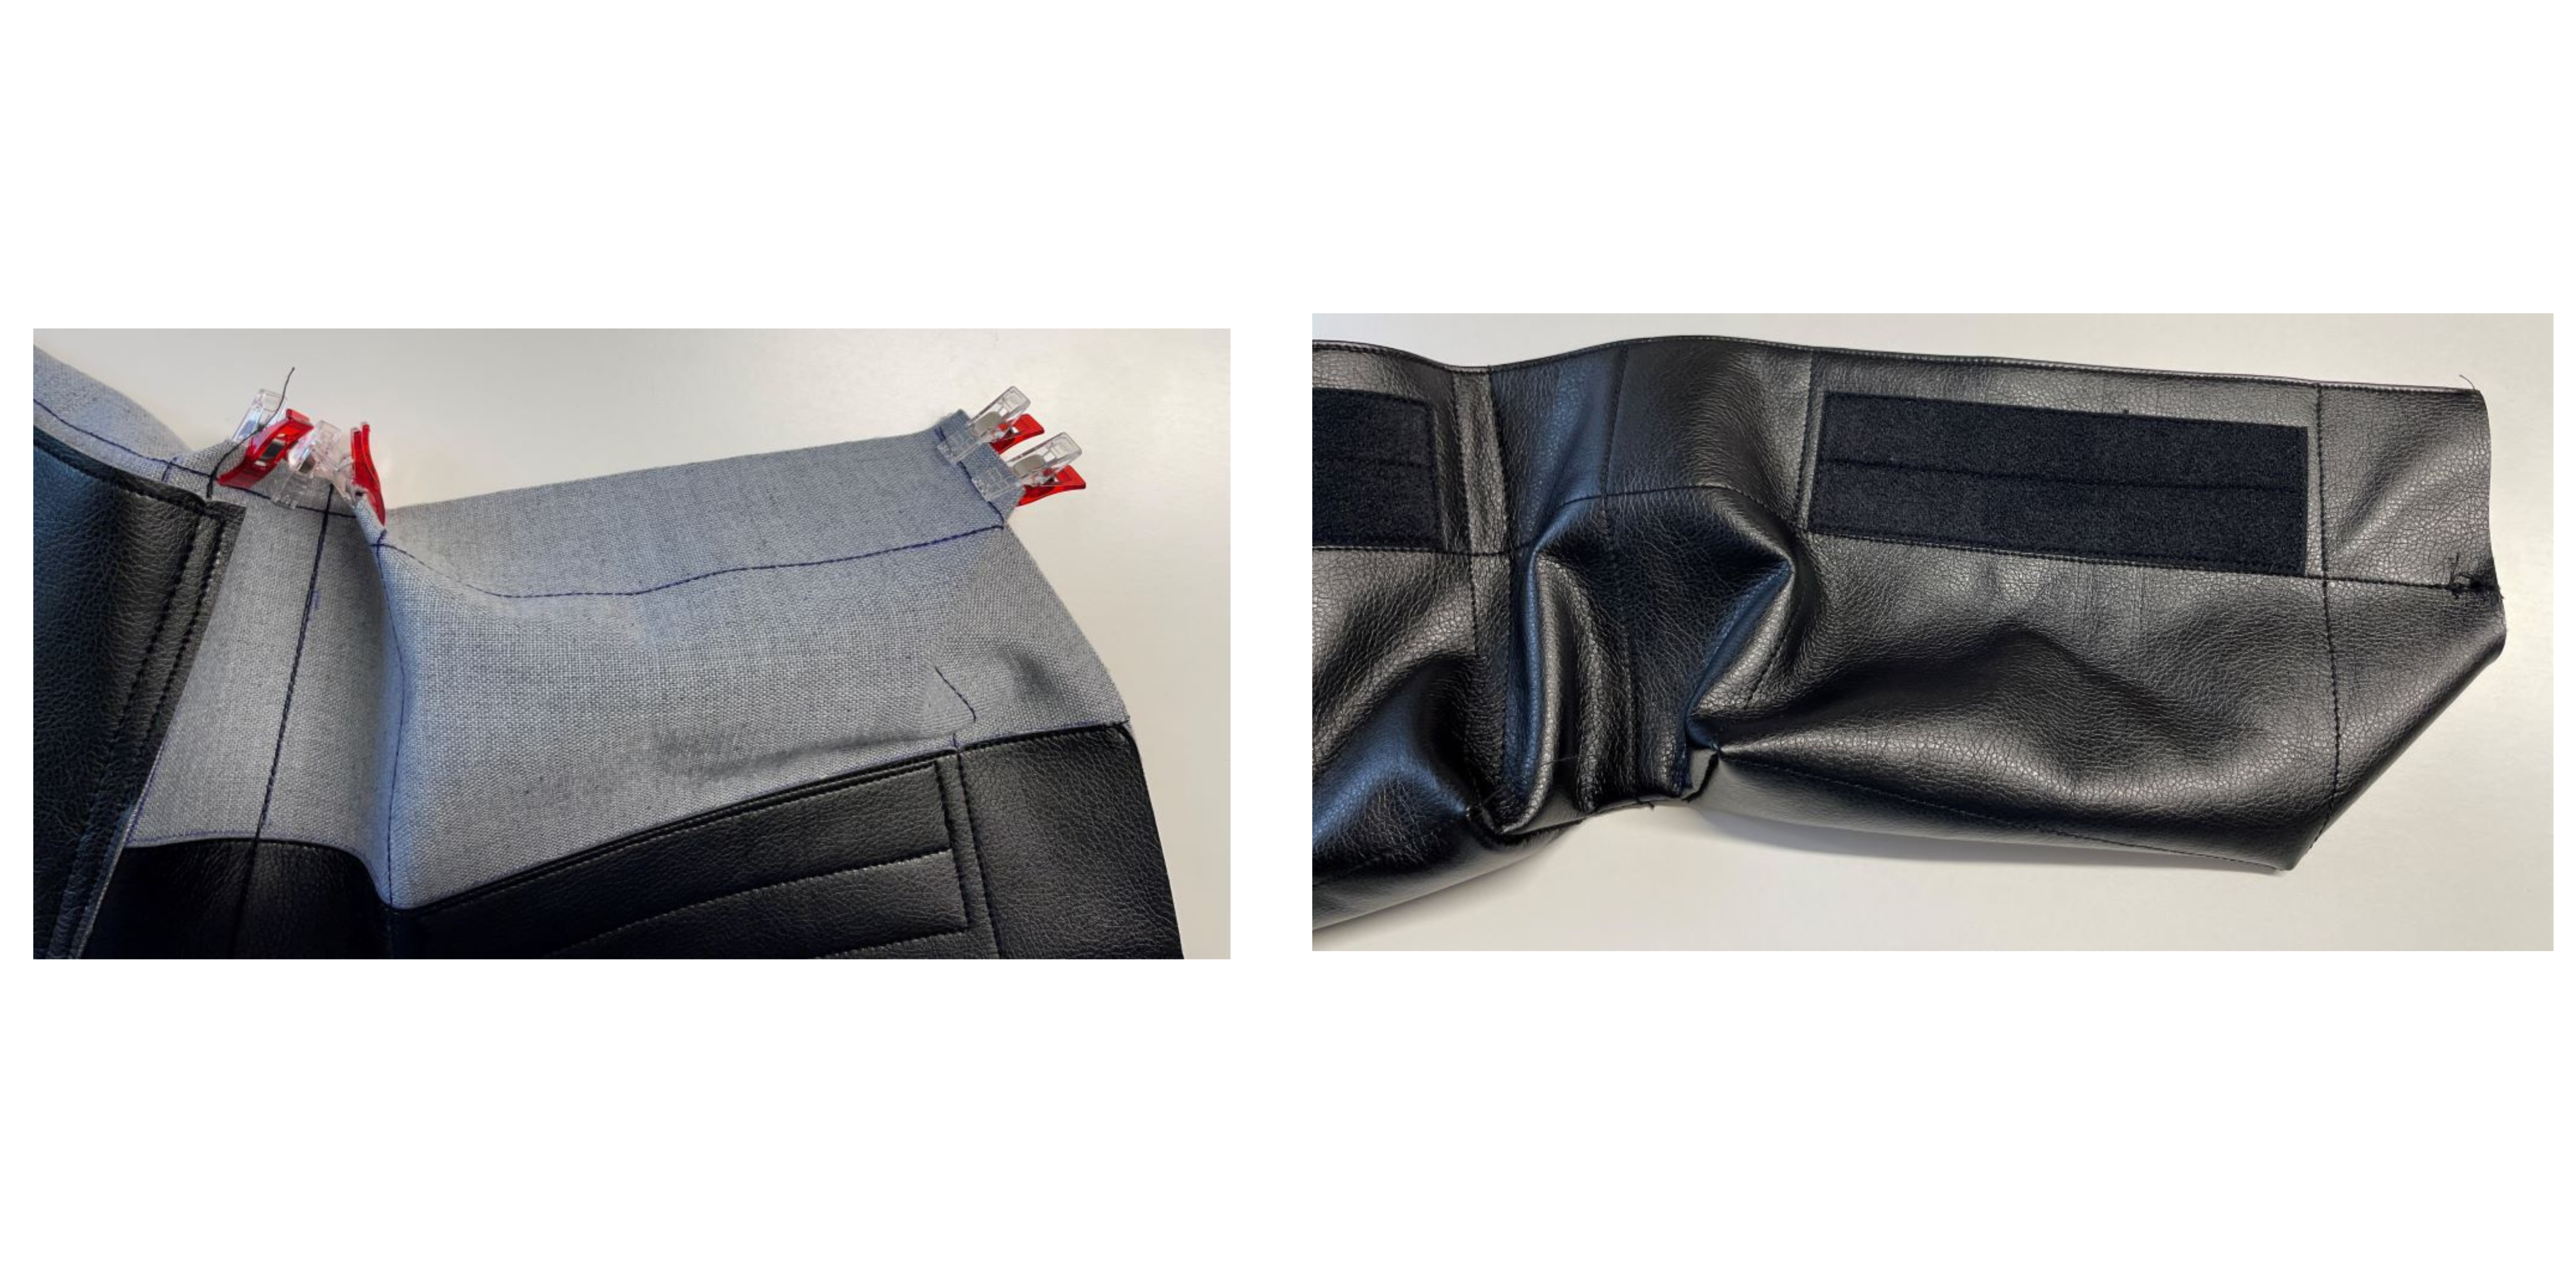
14. Make small cuts at the corners, ⅜” (1cm) long. Clip just beside the corner seam. Use clips to hold in place. A pin may be needed to hold the center line in place.
.png?language_id=1)
15. Topstitch in place ⅜” (1cm) from the edge and make another stitch line close to the edge.
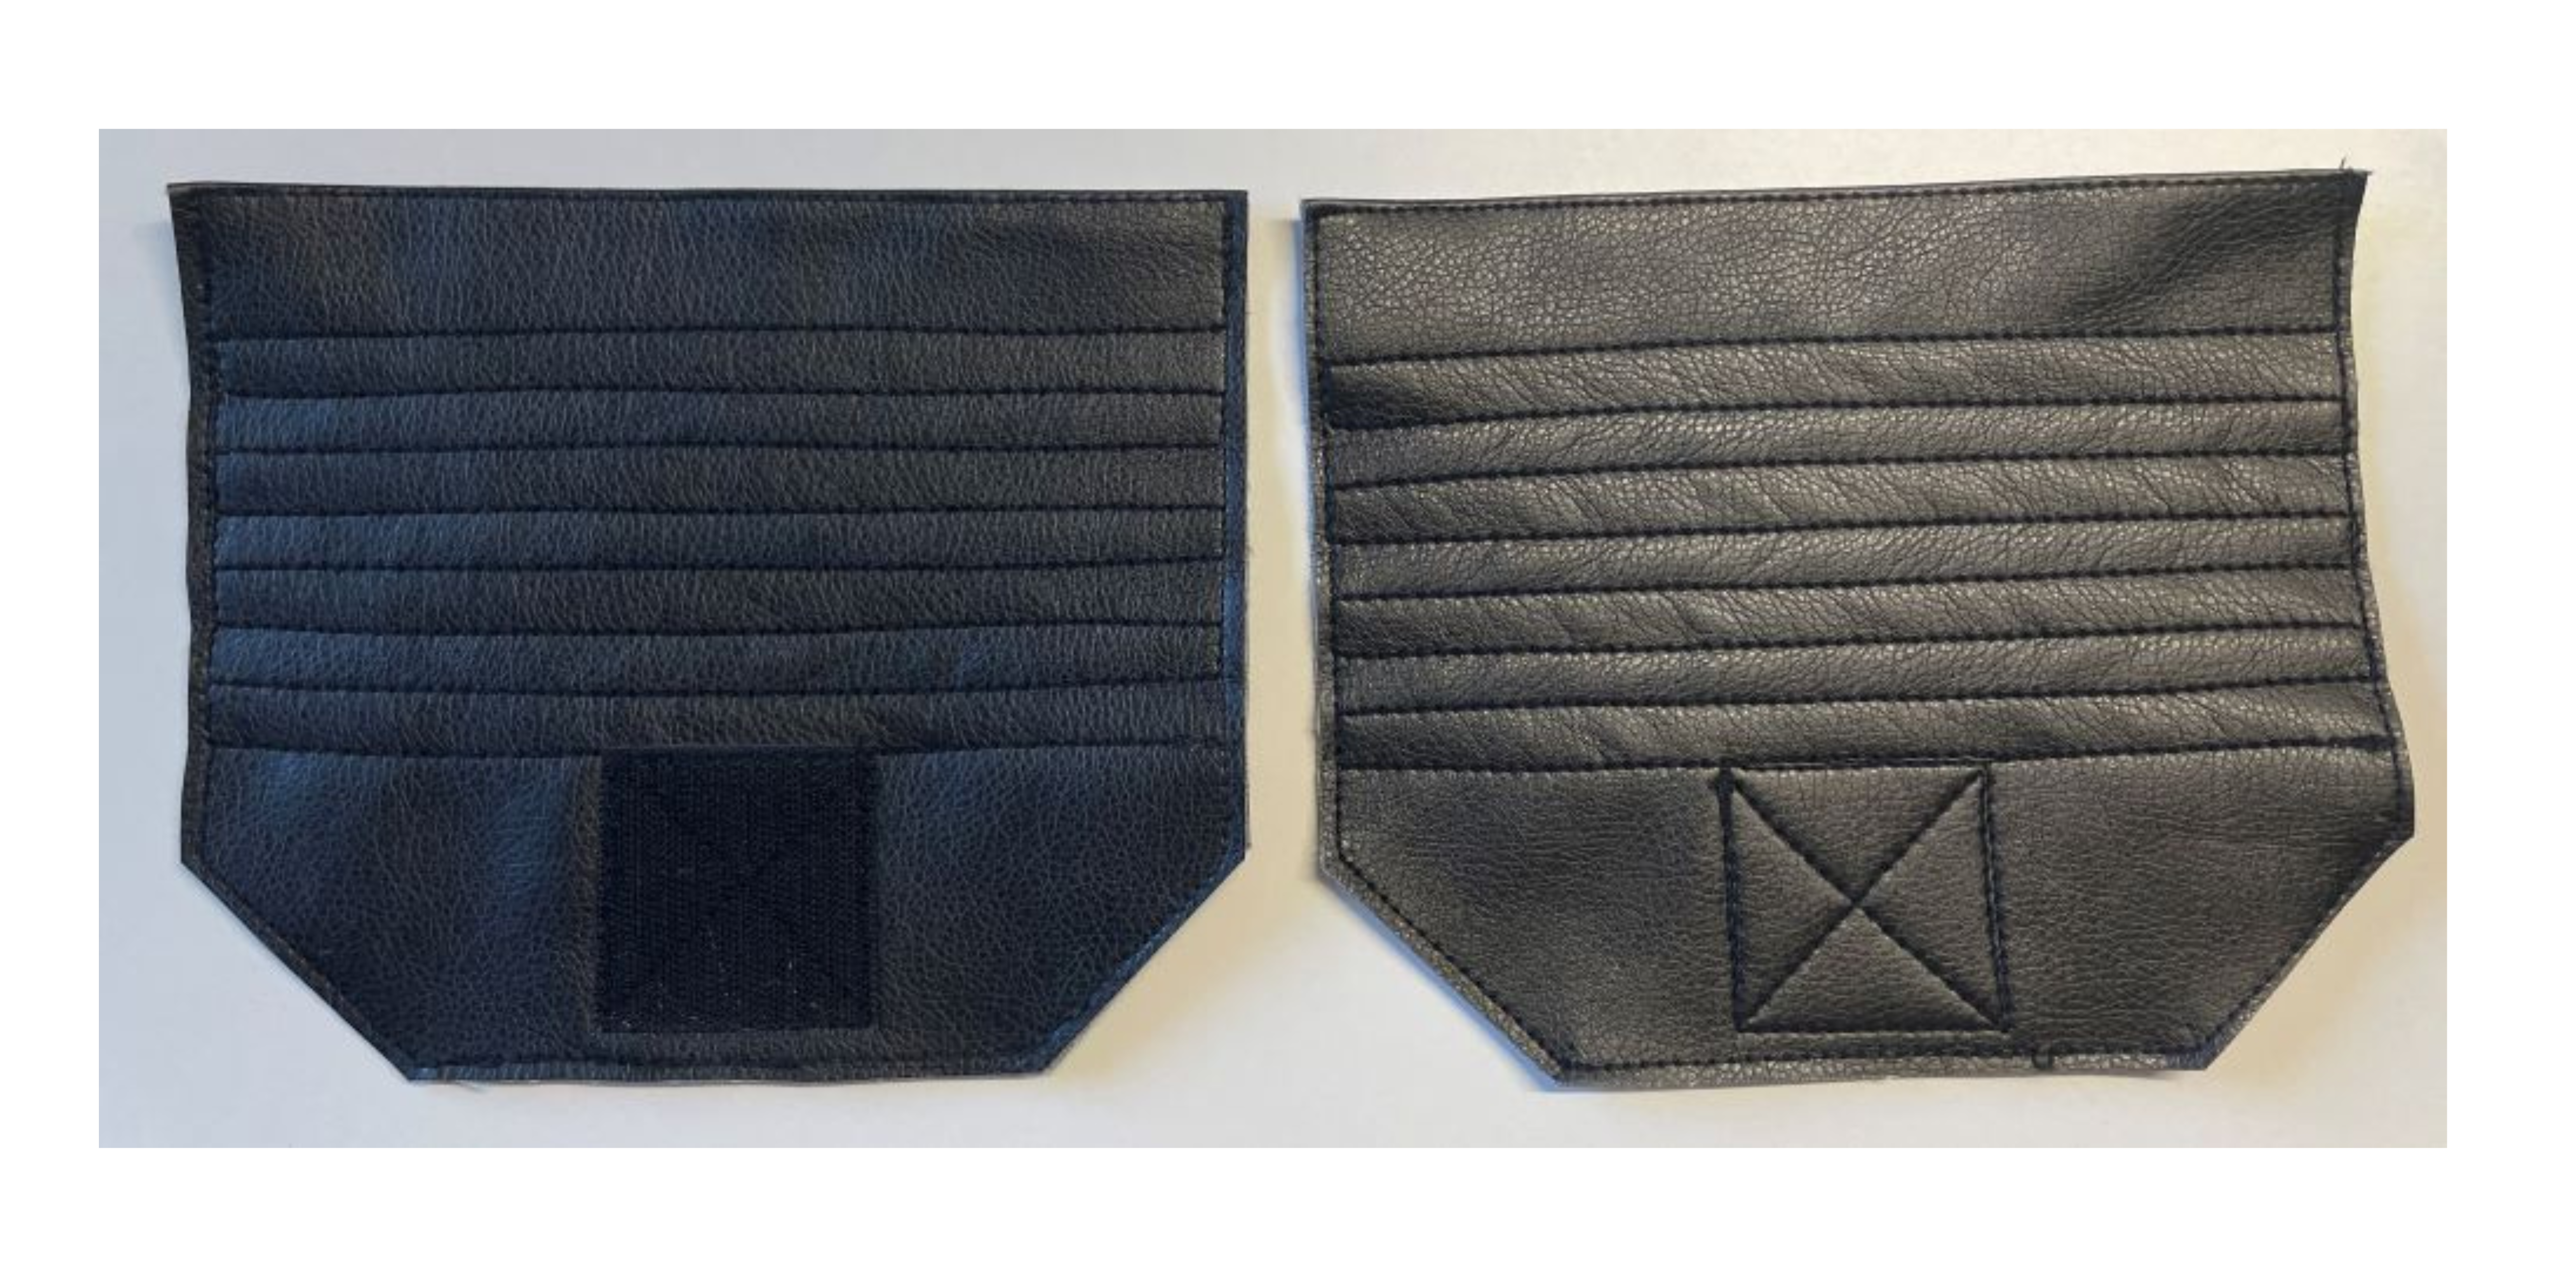
 Making the pocket flaps:
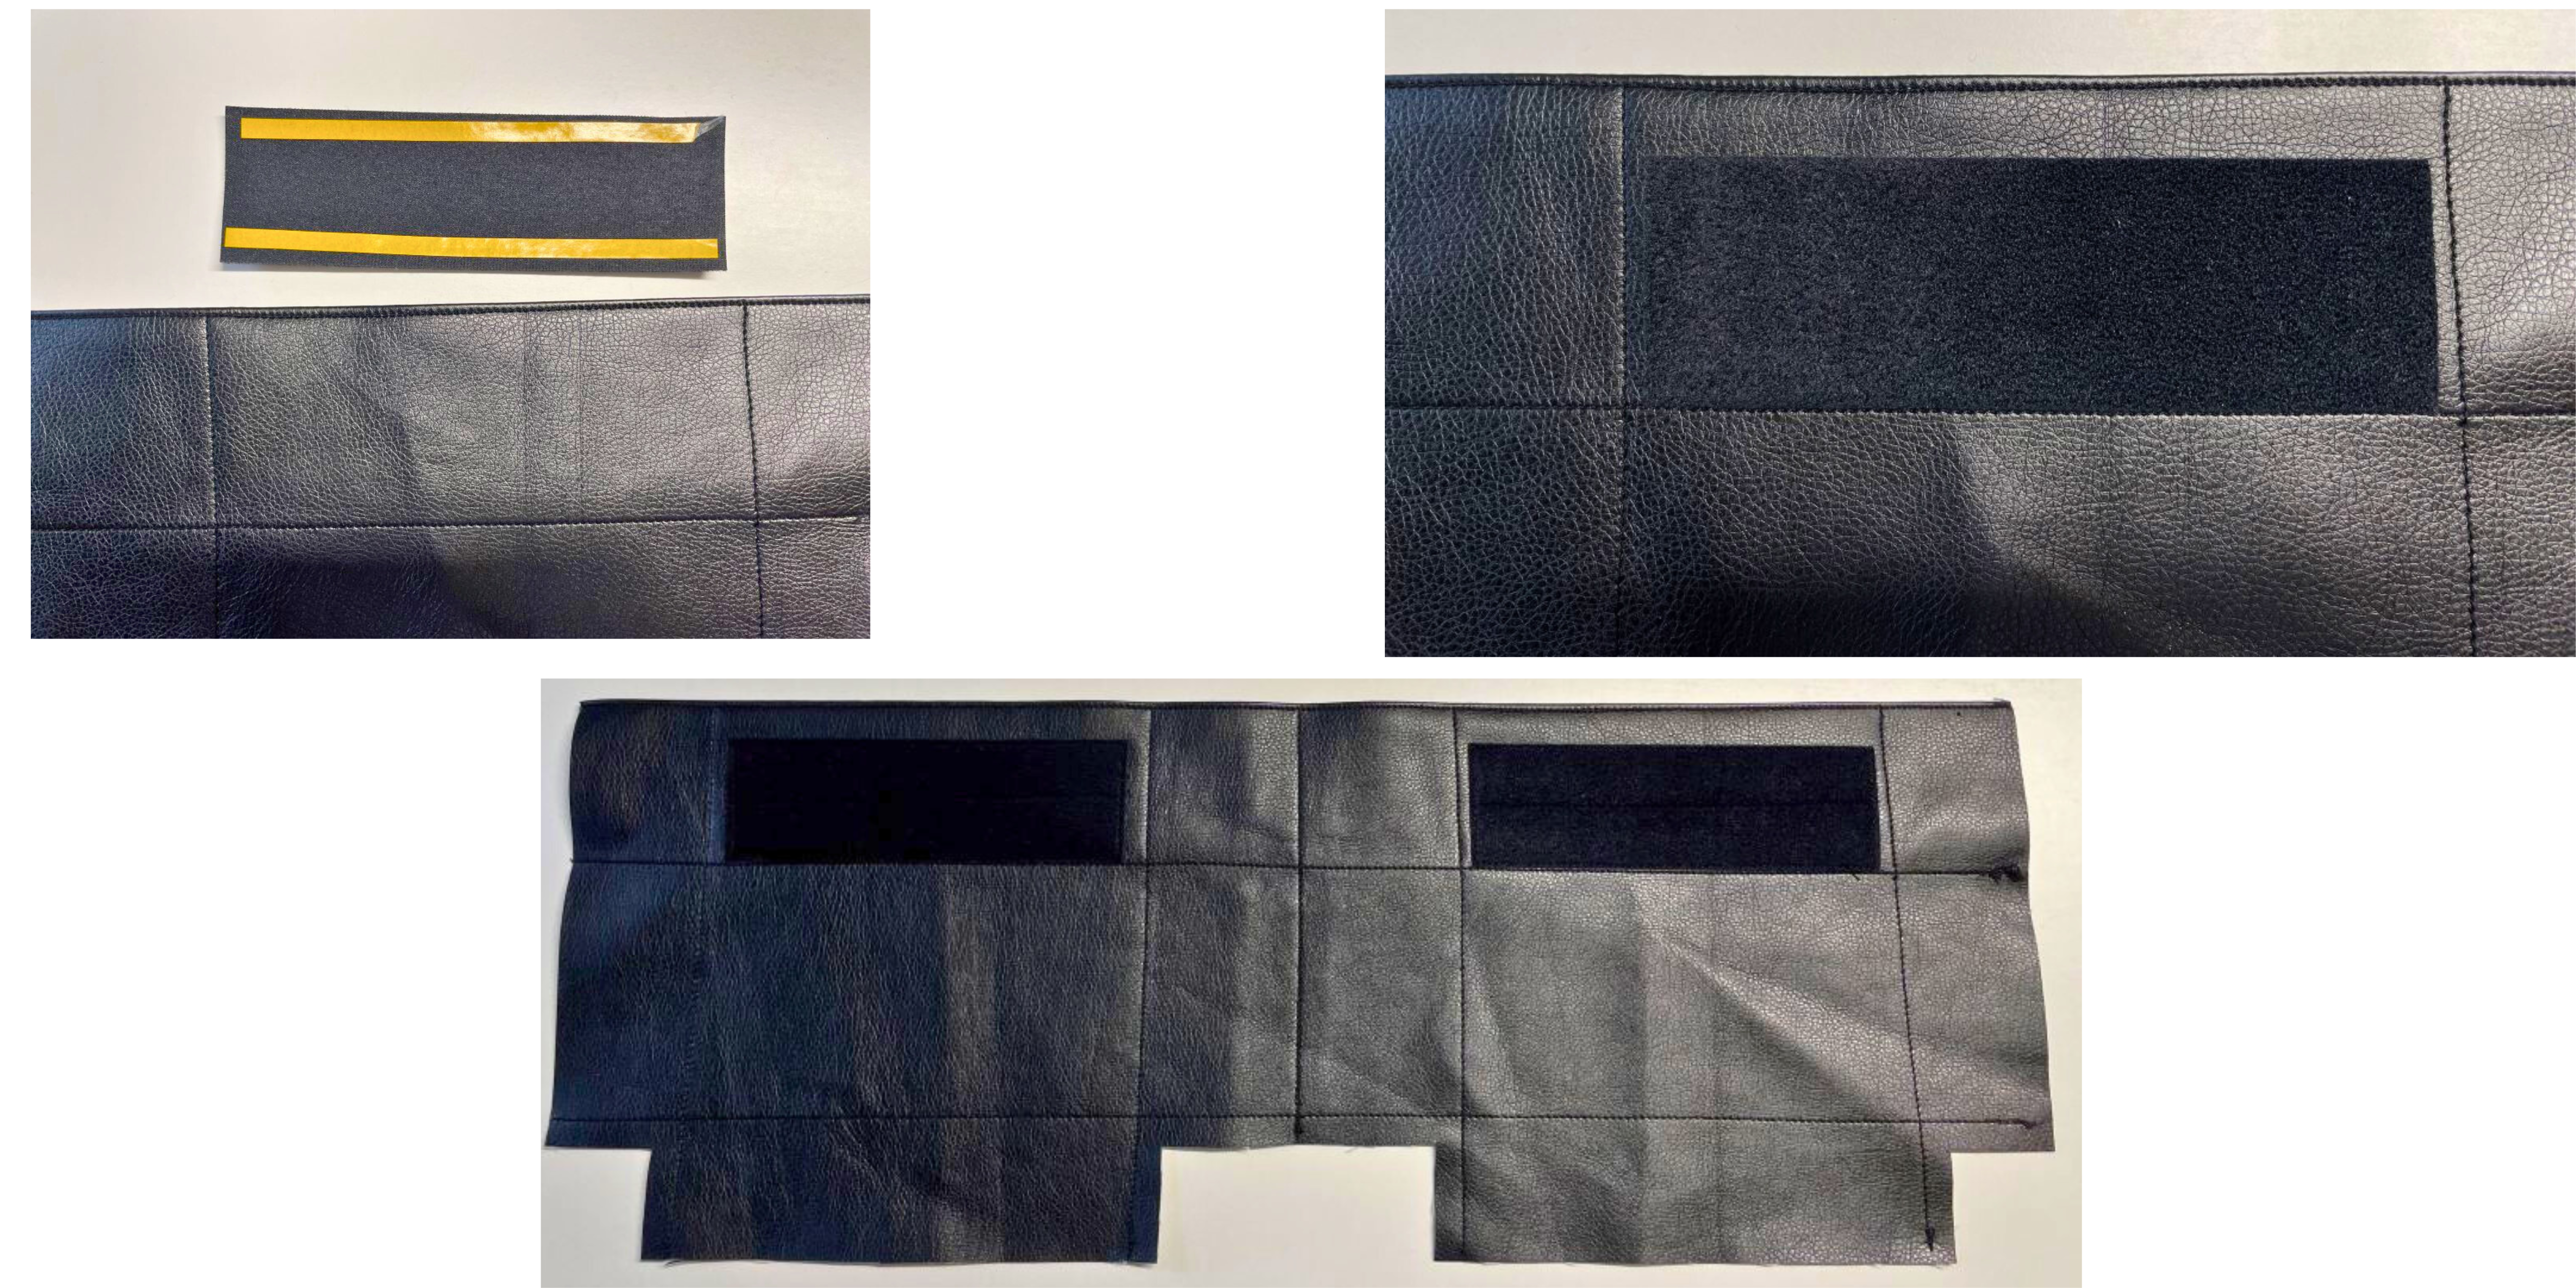
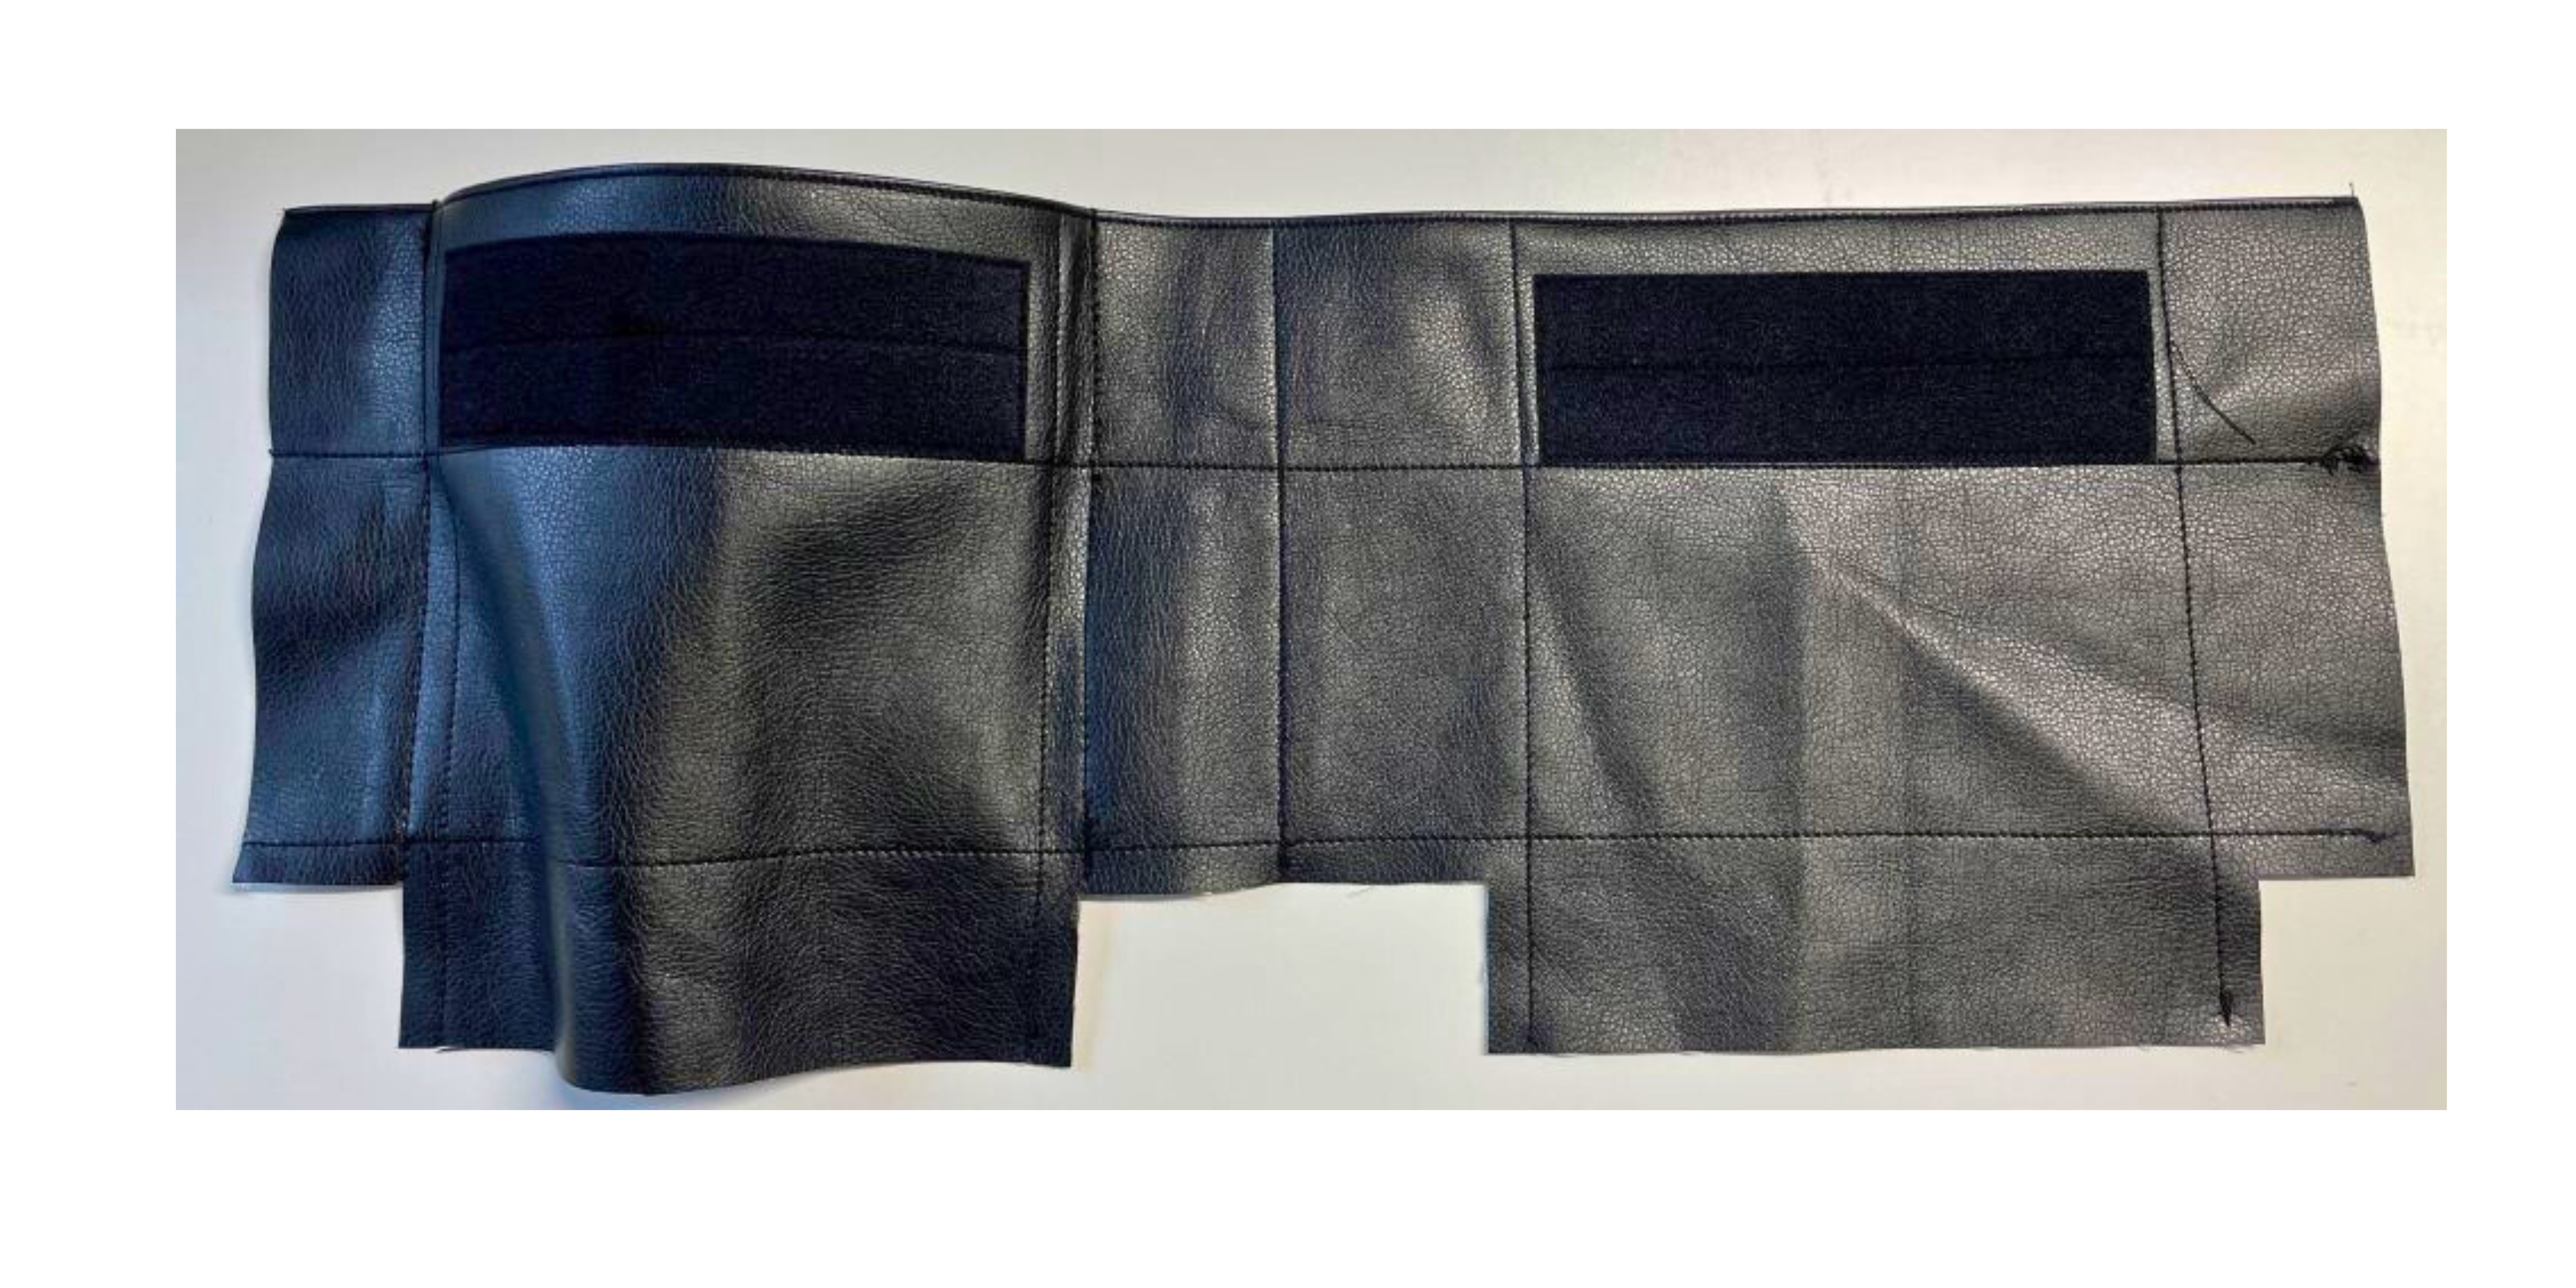
16. Fold the pieces for the pocket flaps double, wrong sides together. Topstitch close to the edge all around. Place the velcro (hard side) centered in place with double tape. Topstitch close to the edge of the velcro and make a cross in the middle.
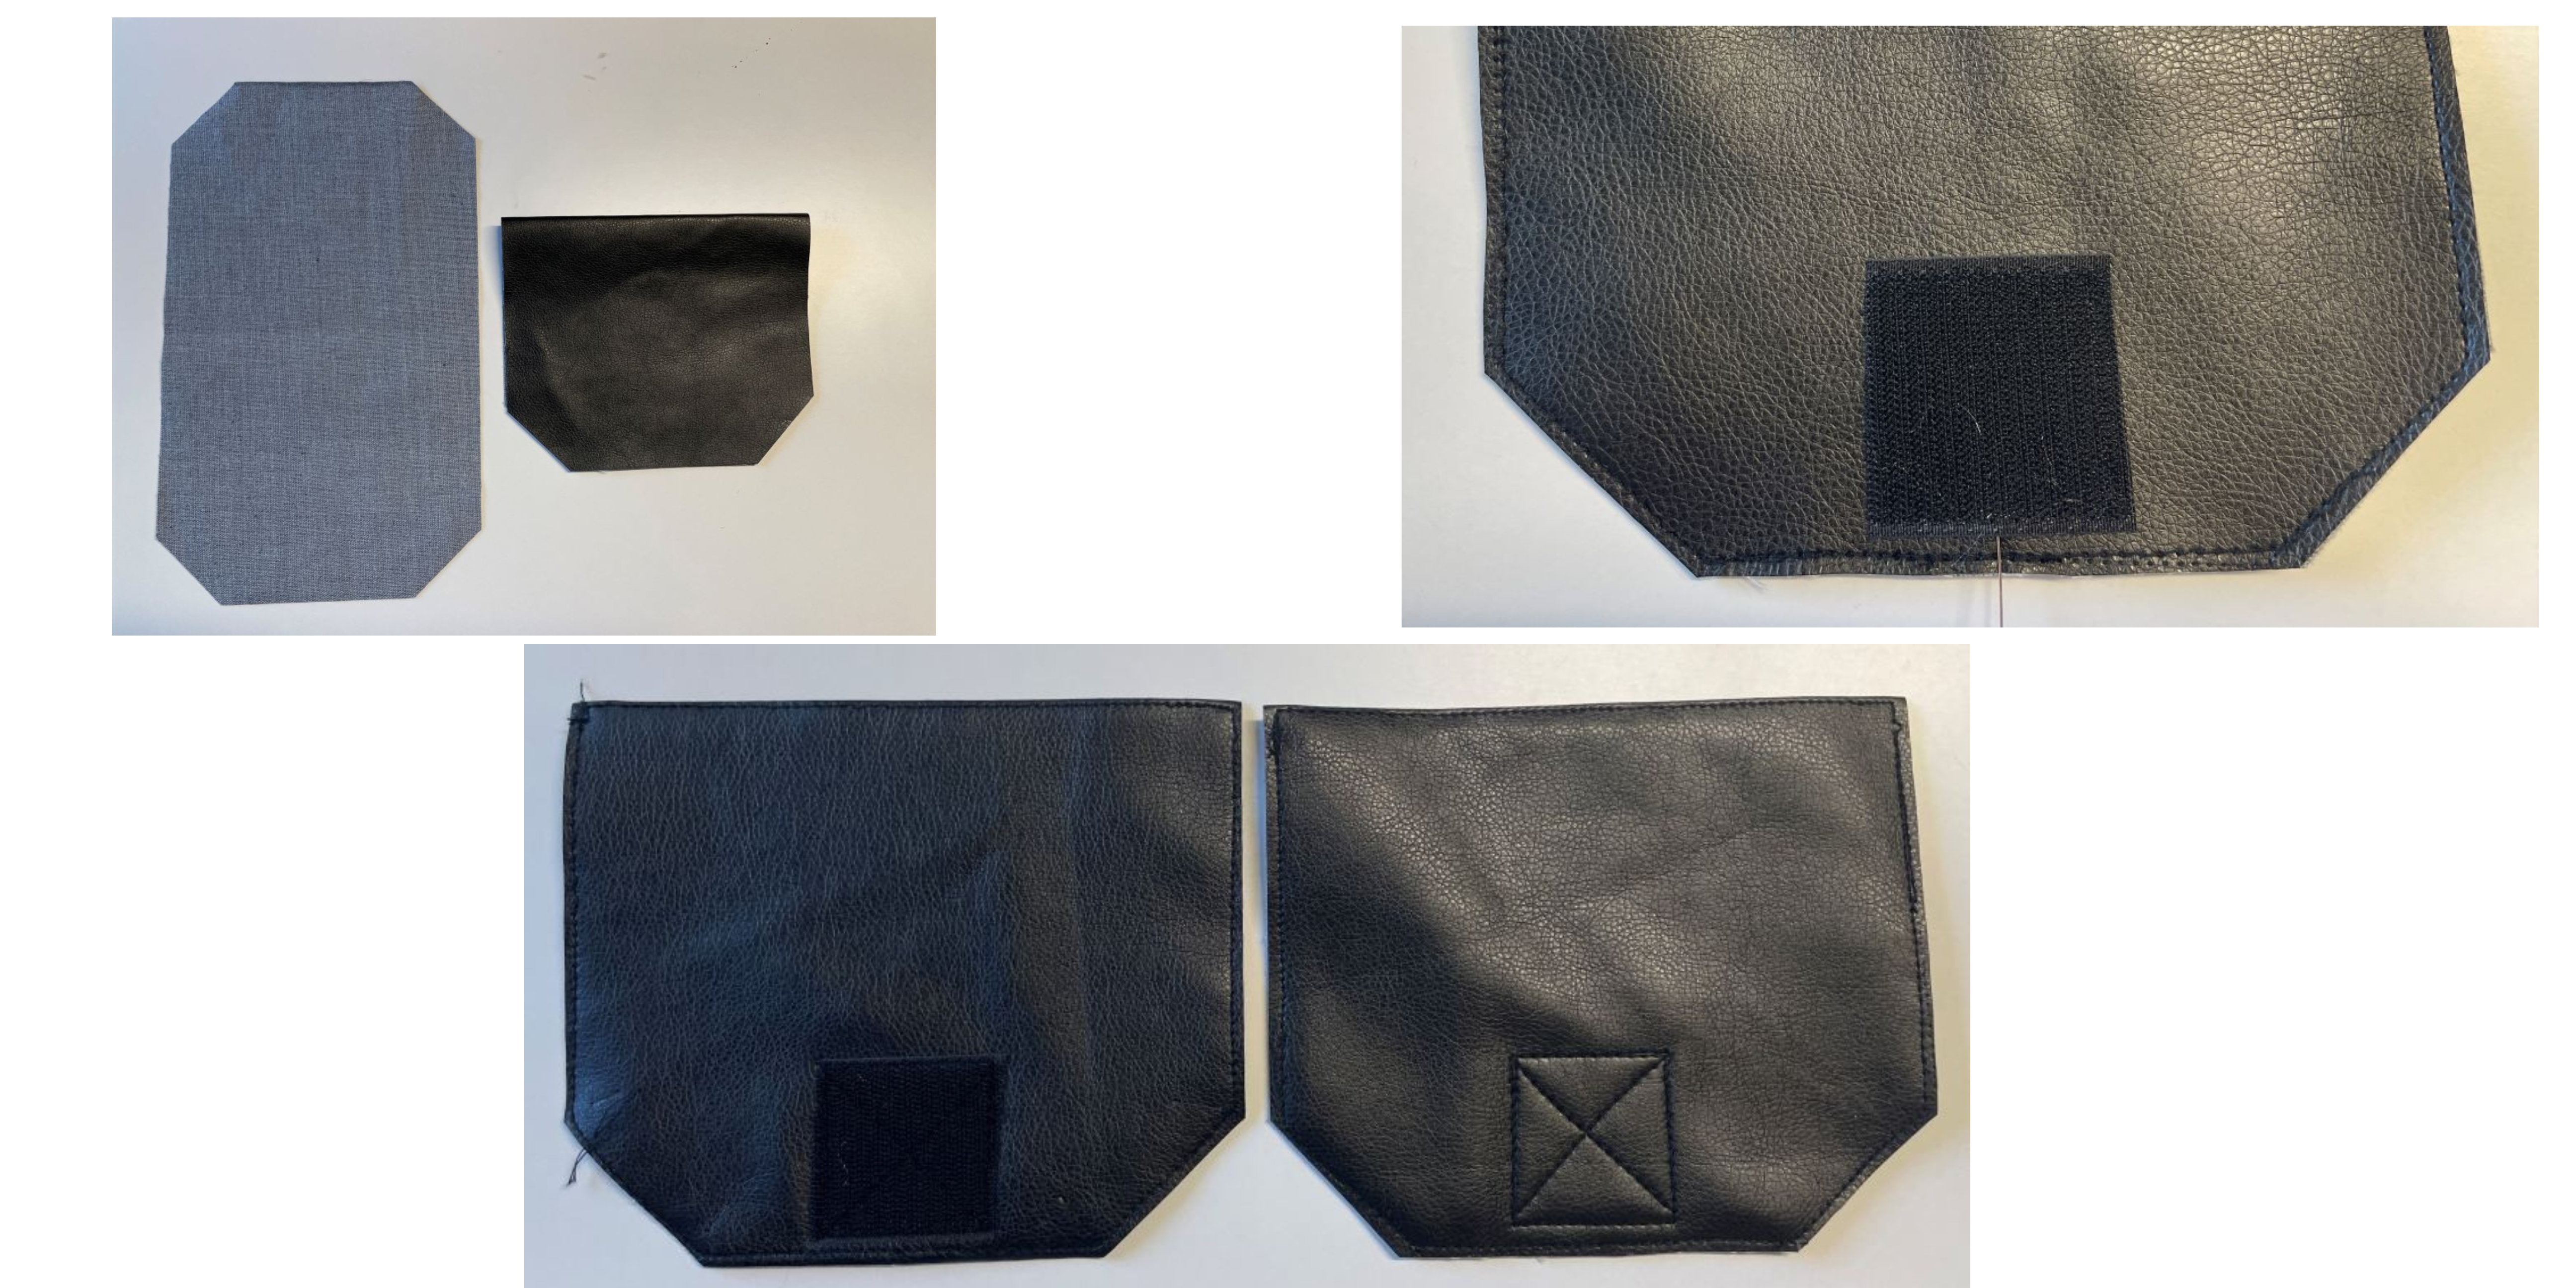
17. Make parallel horizontal topstitch lines, starting at the top of the velcro piece. Stop about 1” (2,5cm) from the top edge. This stitching makes the flap more pliable.
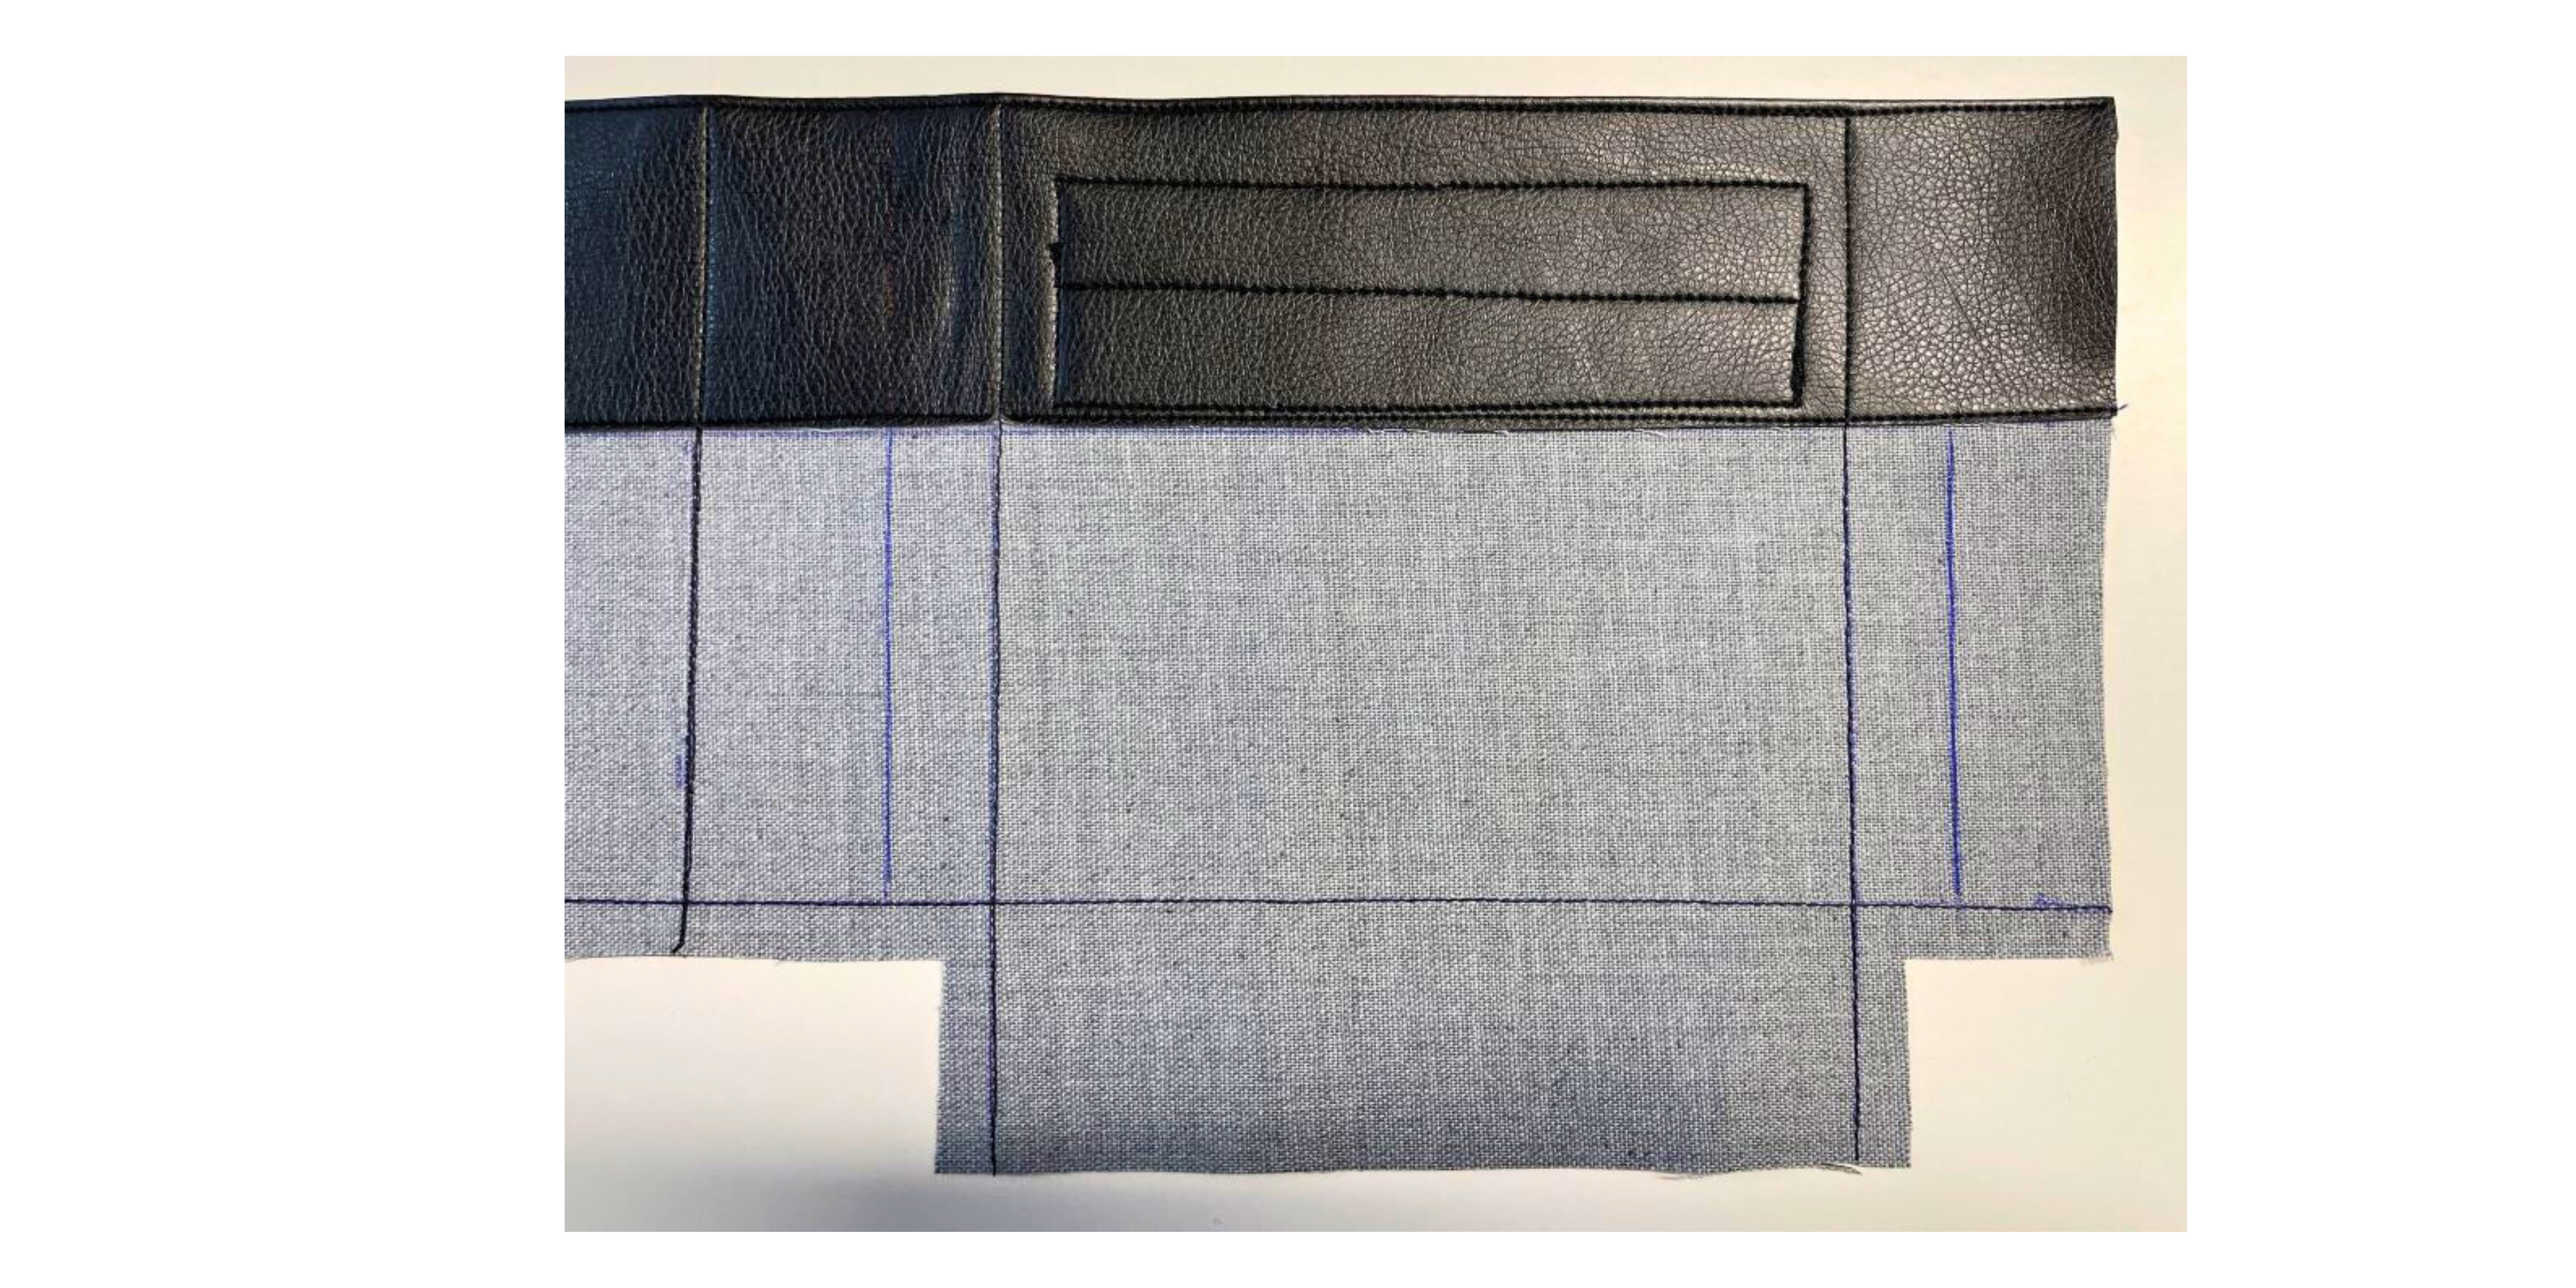
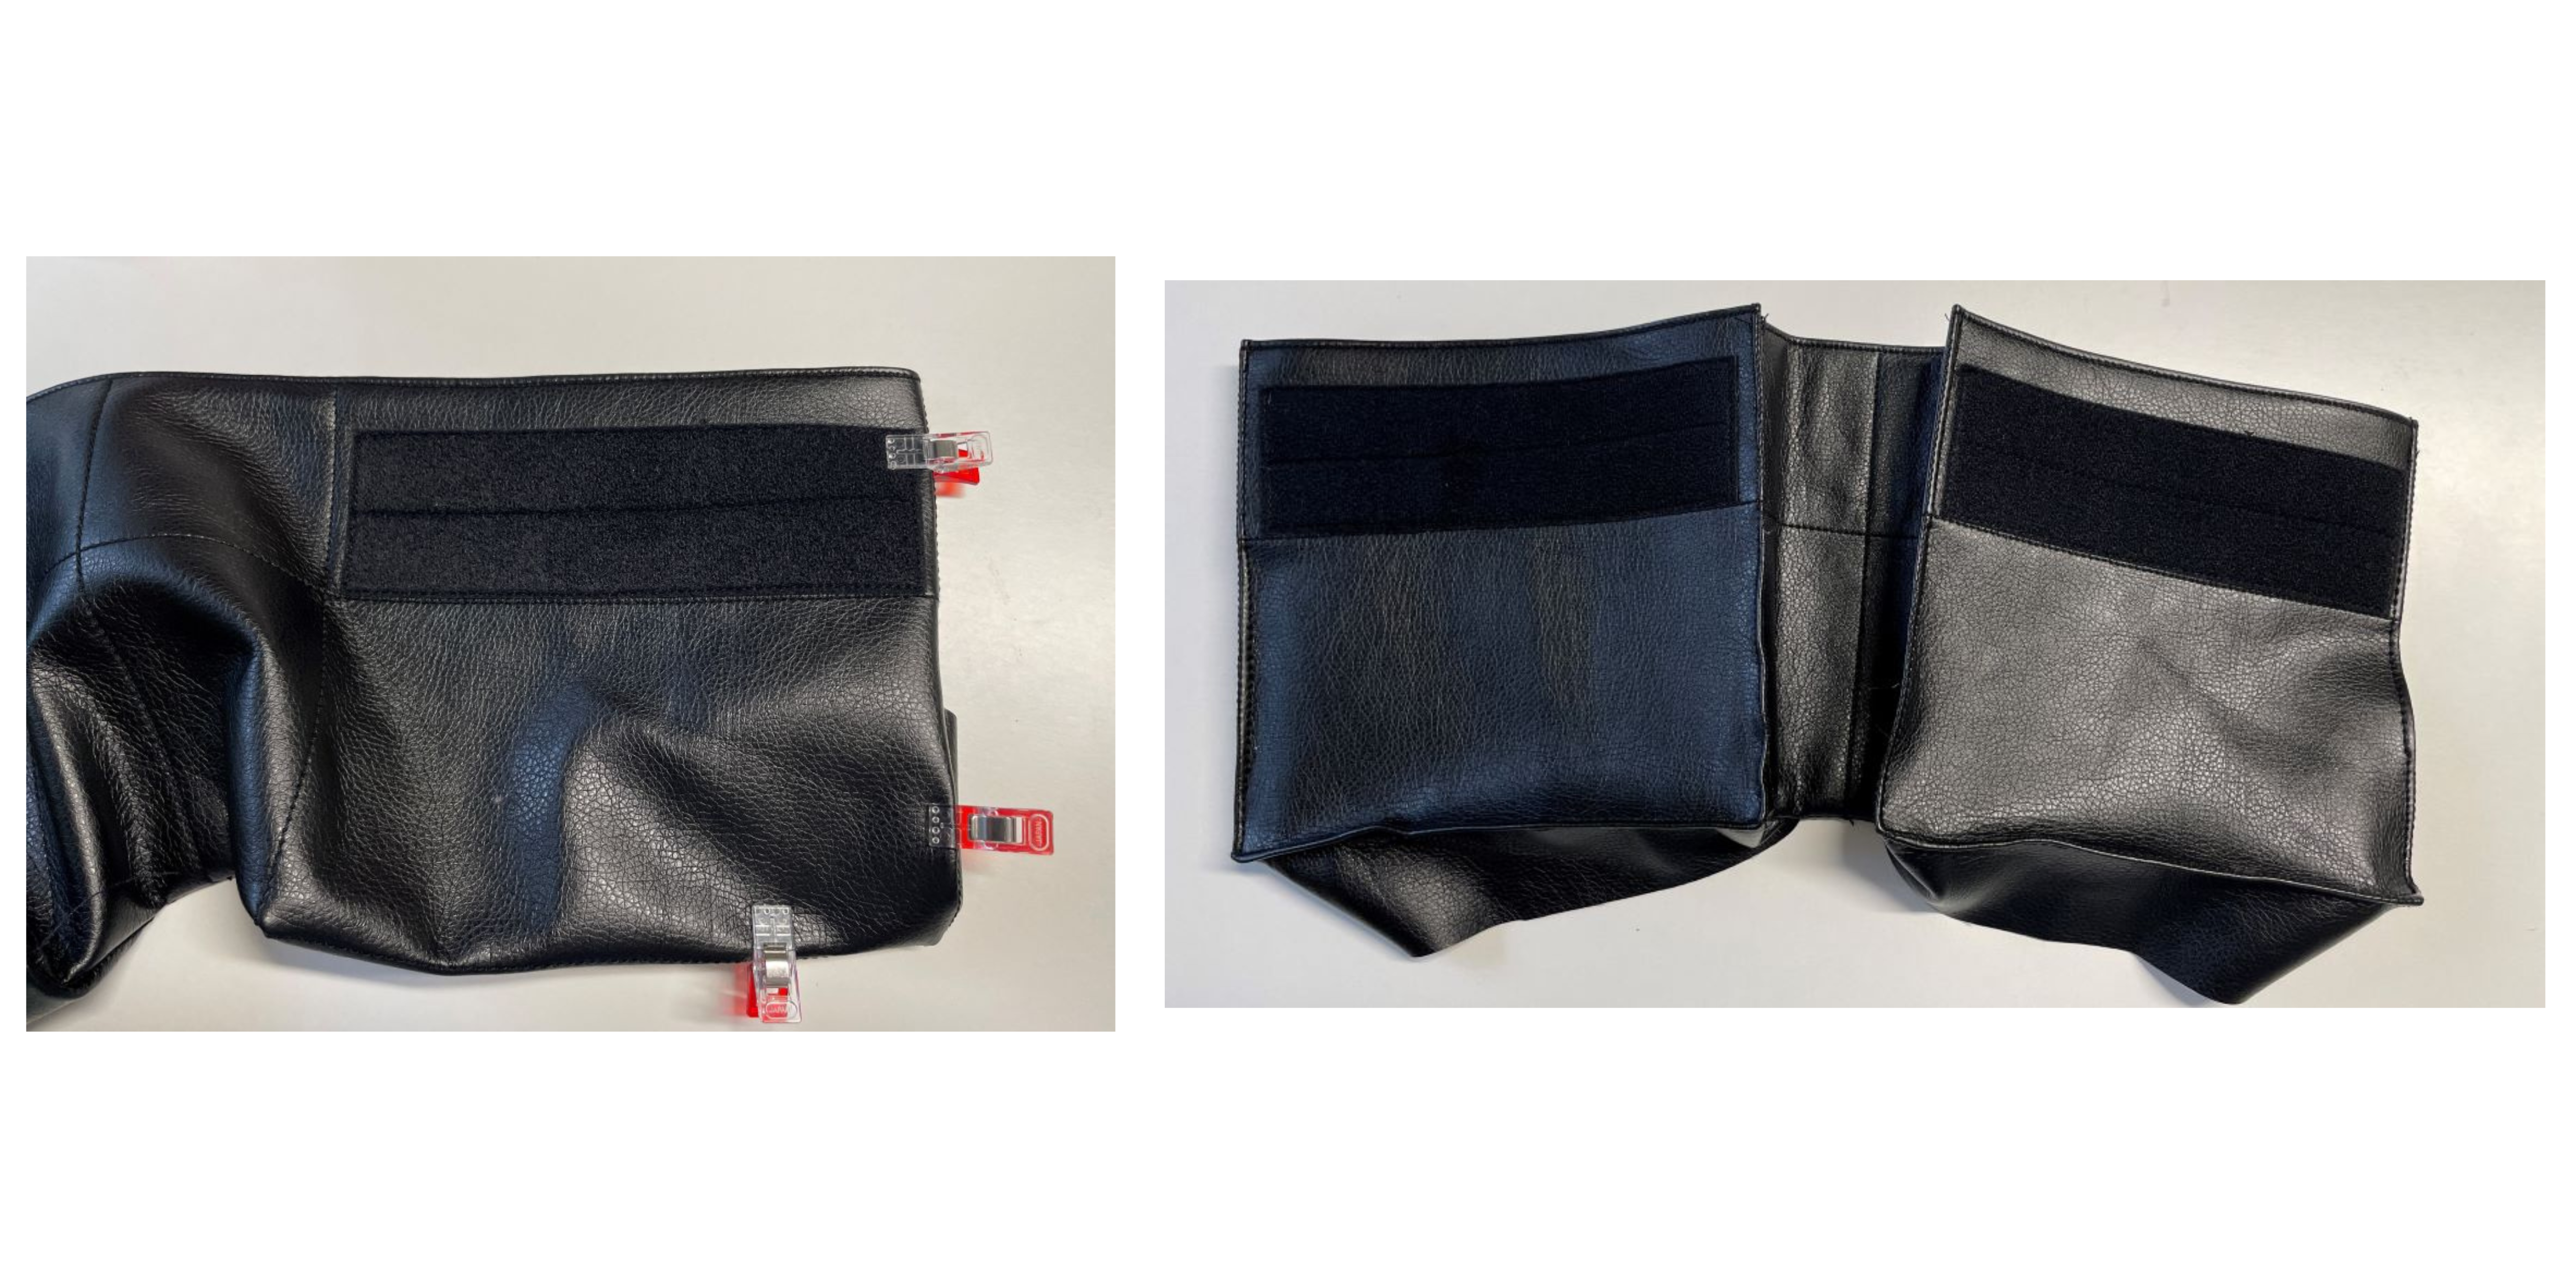
18. Place the pocket flaps on the main panel 8½” (16cm) from the top of the panel as shown on the image below. Topstitch in place close to the edge and ⅜” (1cm) away.
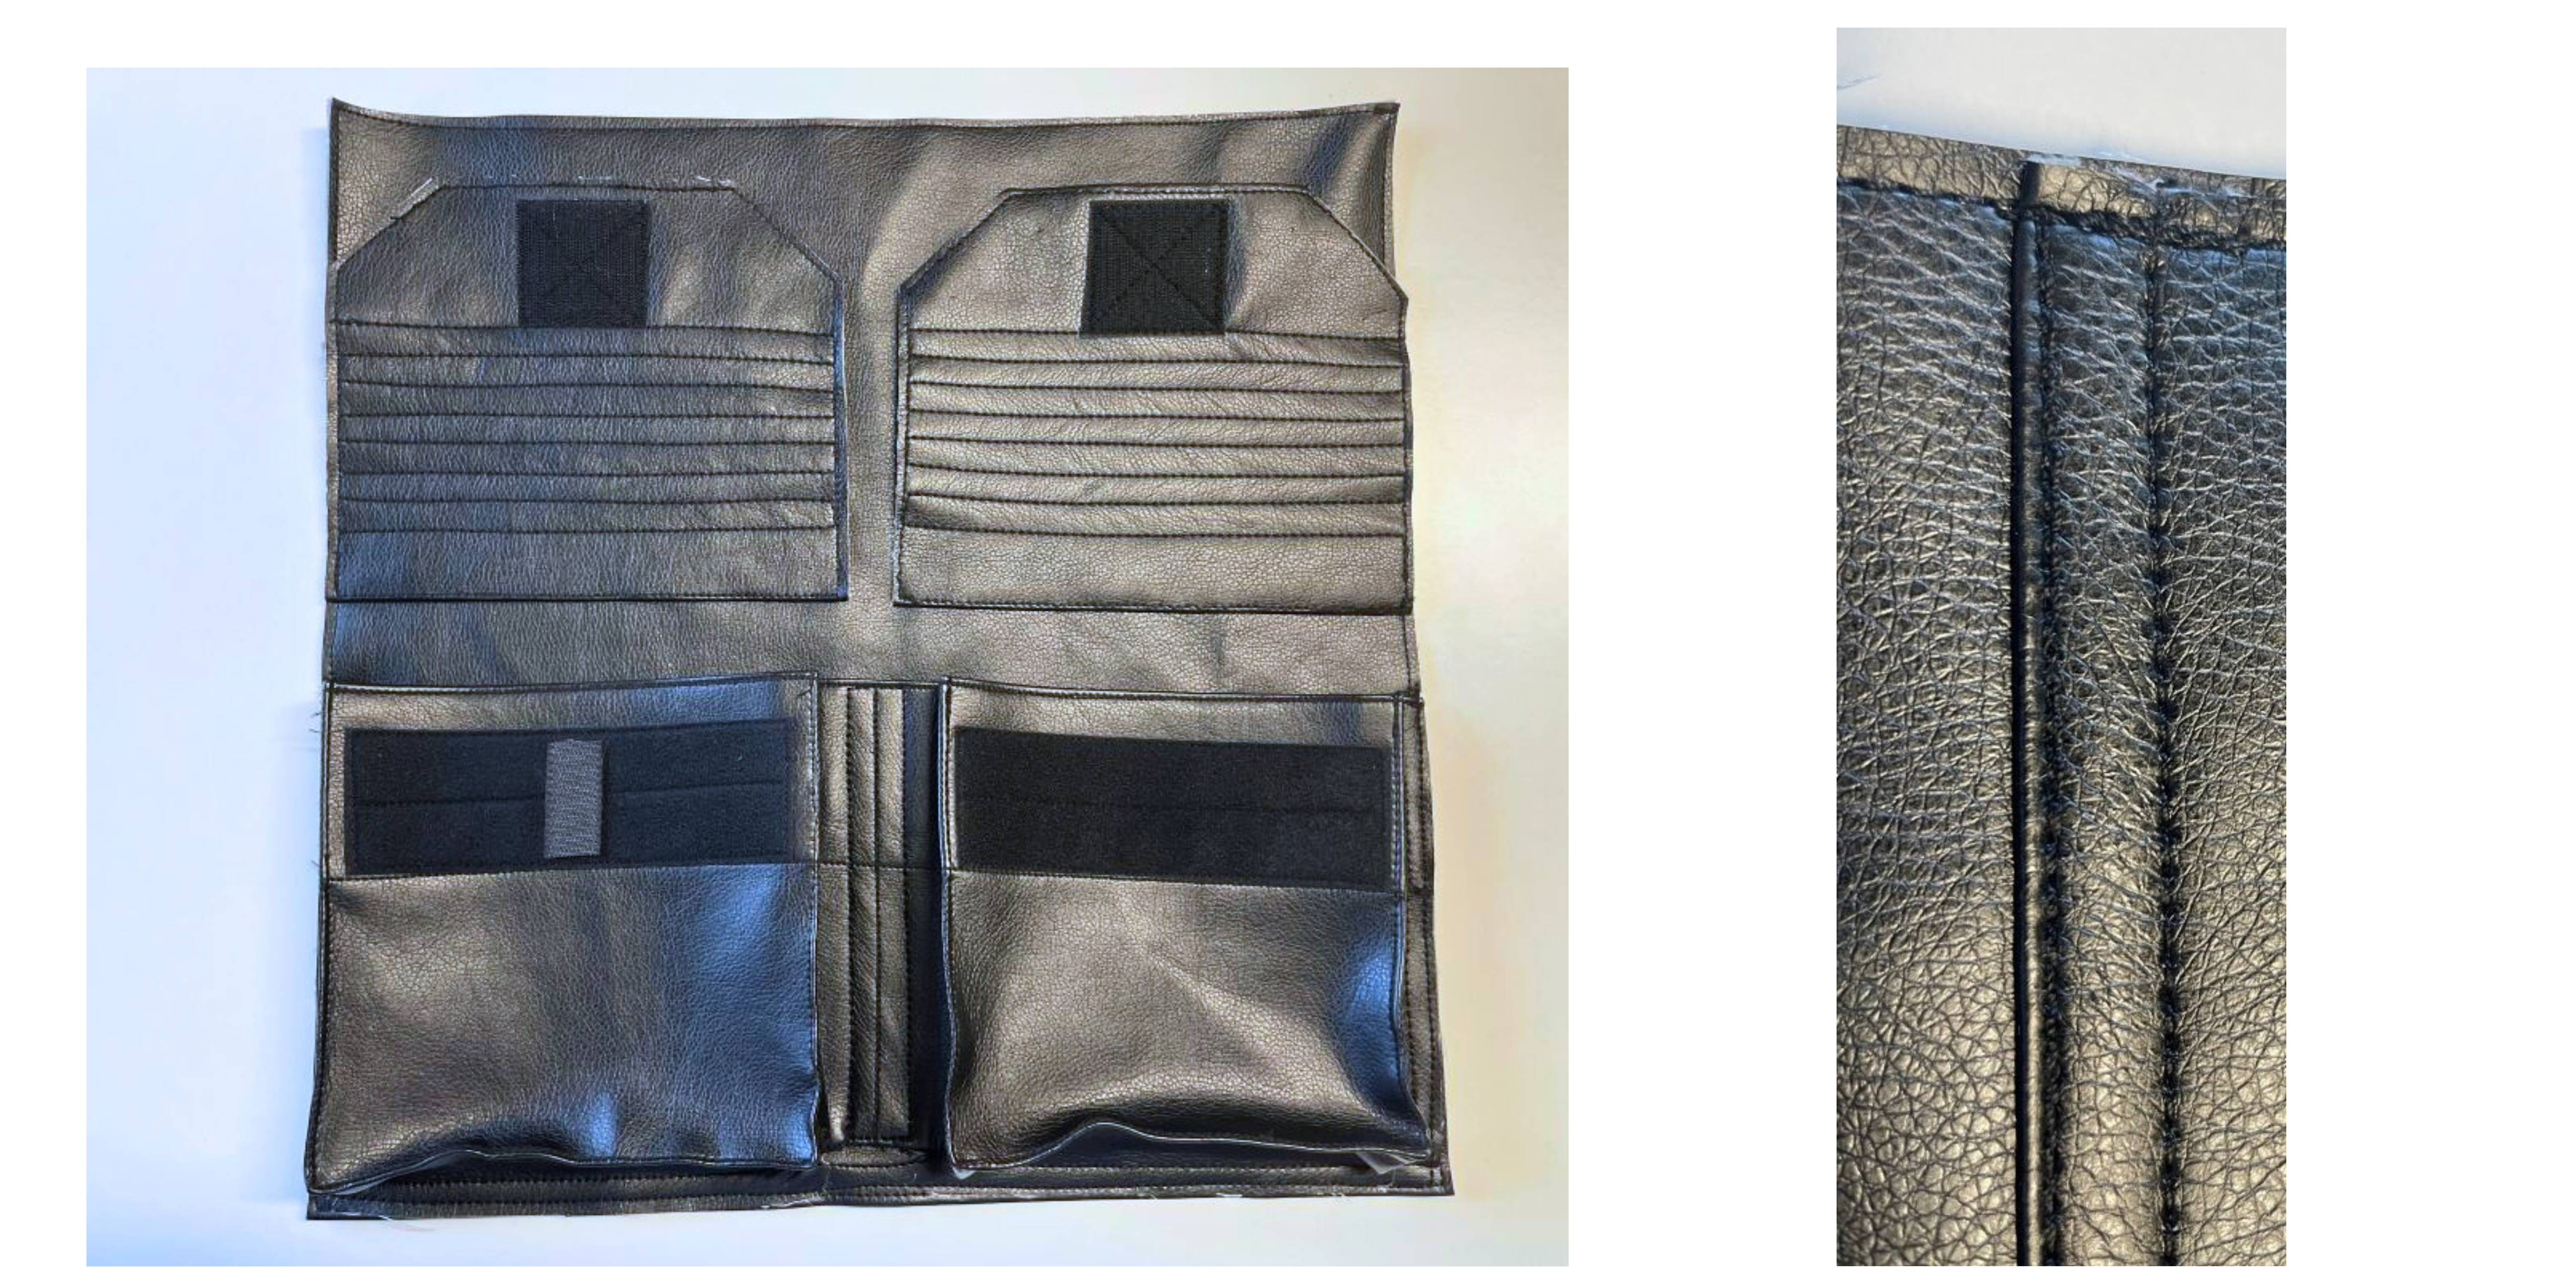
19. Place the hard velcro piece on top of the main panel, ¾” (2cm) from the top and side edges of the panel. Top stitch in place. Place the soft velcro piece on the wrong side, matching the stitched line and topstitch in place.
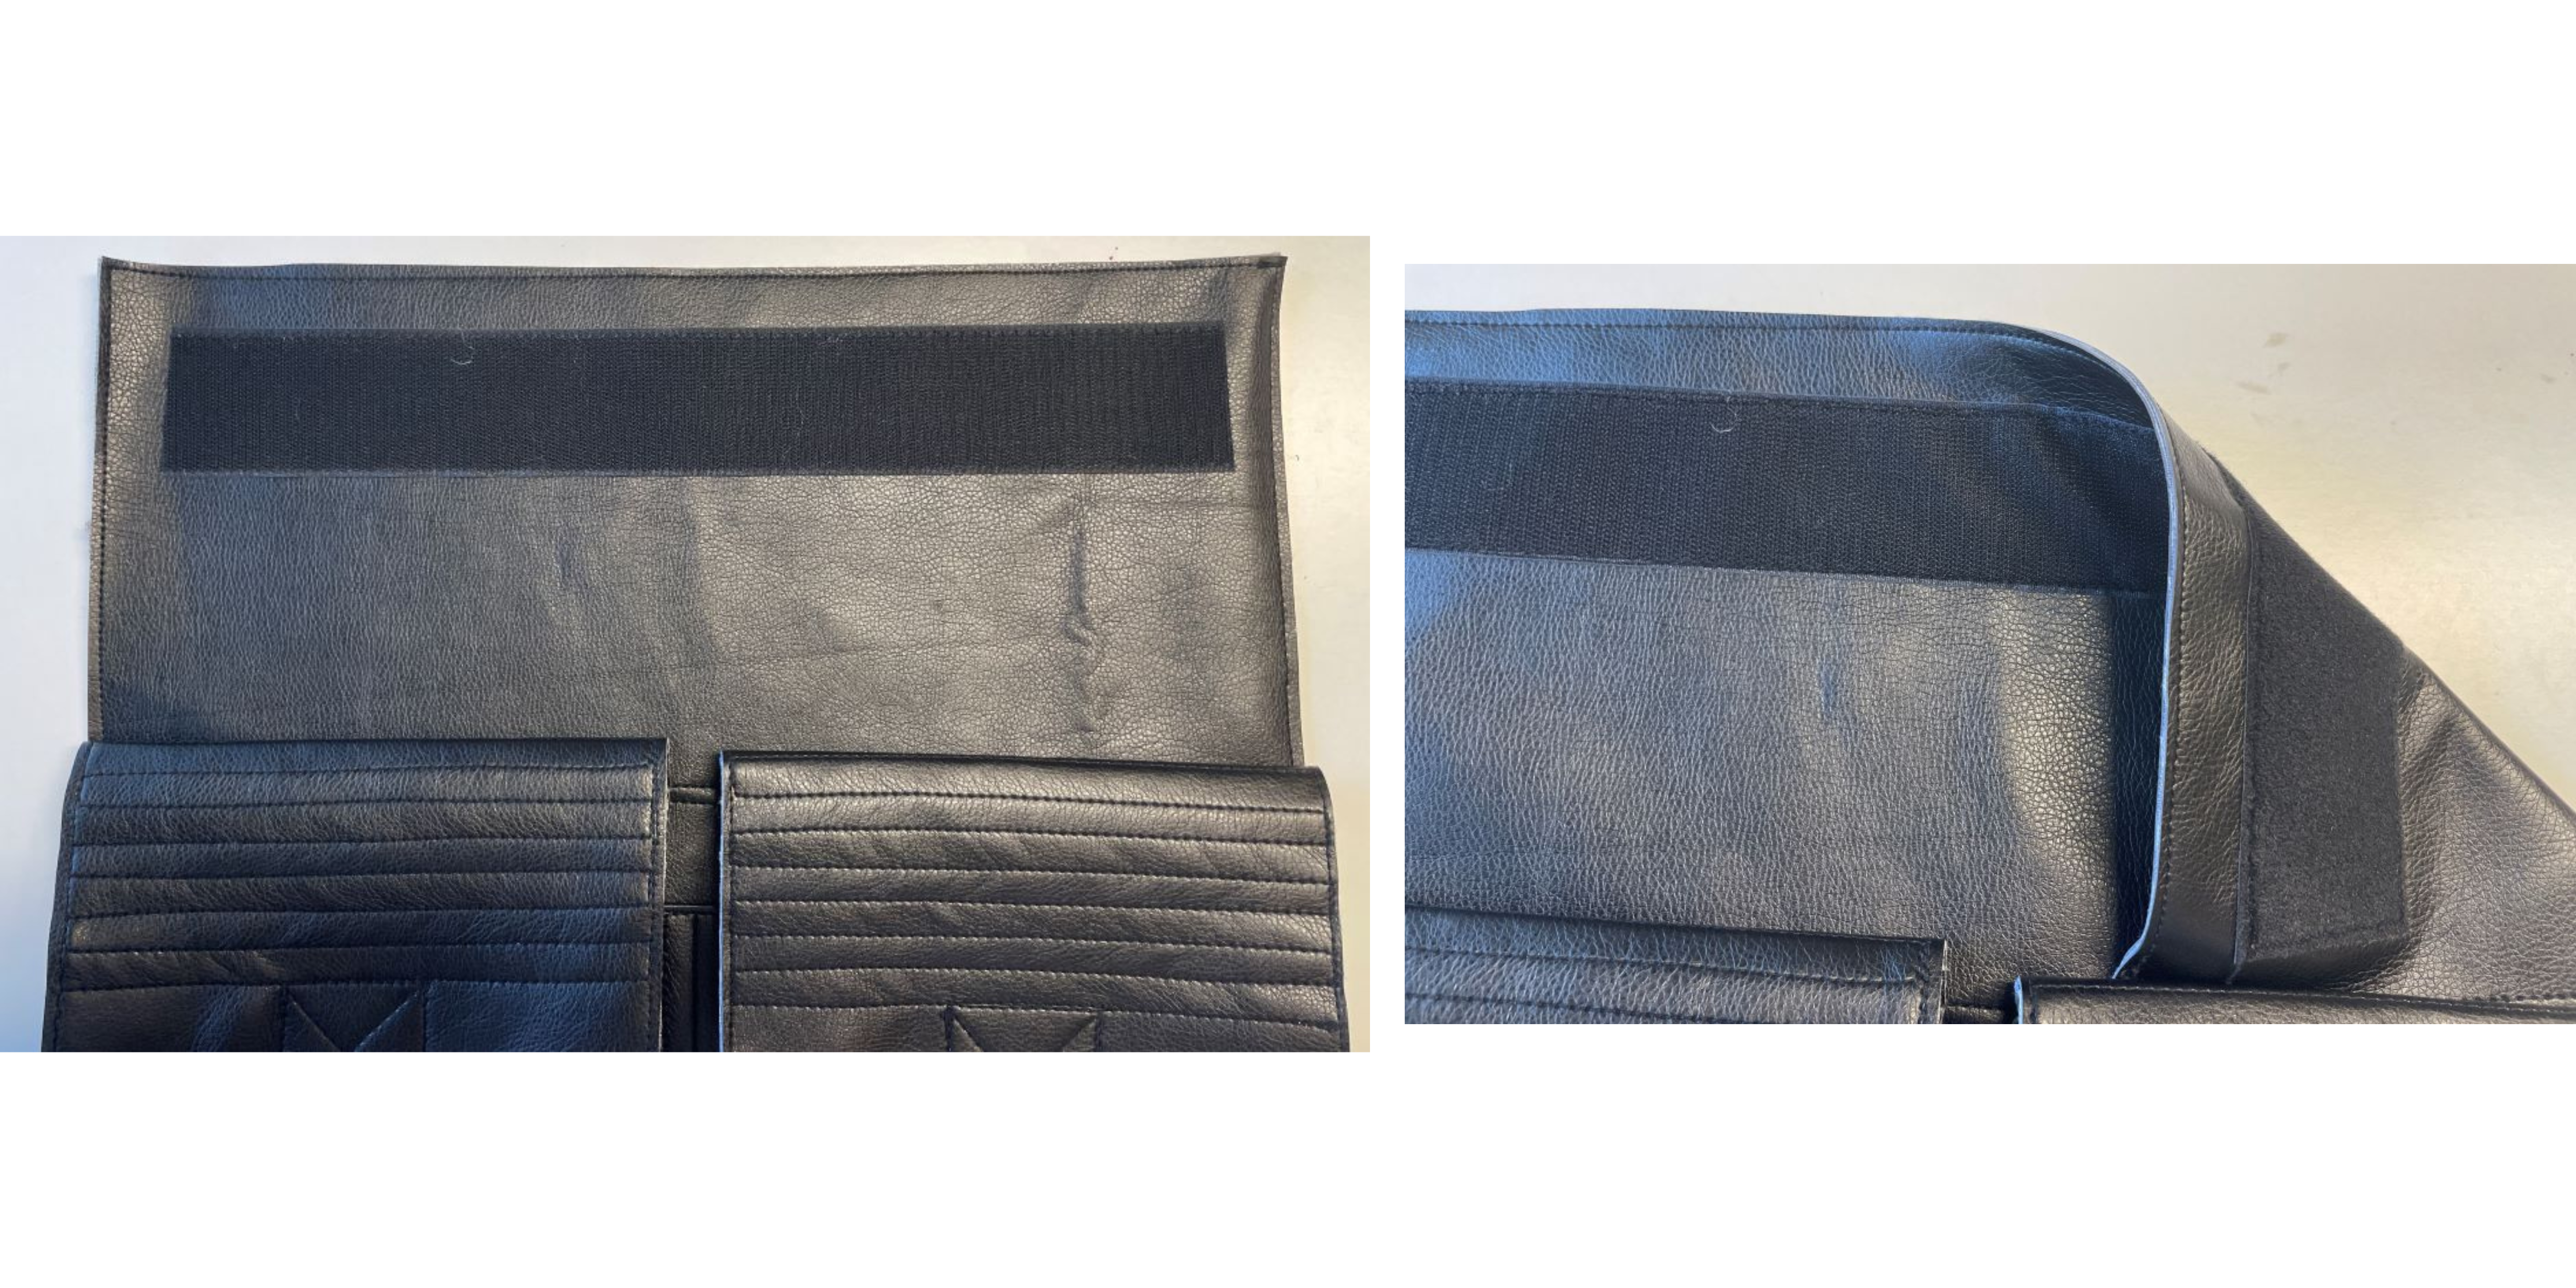
20. Your bag is now finished!!