 United States
Transferring Designs via mySewnet™ Cloud

mySewnet™ Cloud Sync Tool
Up until the update in September 2023 we had use of the mySewnet Cloud Sync Tool. This allowed us to put designs we wanted to store in the cloud in a folder on either PC or Mac, which would then sync to our mySewnet Cloud, the then in turn sync to our other devices that were logged in on the same account, i.e. our embroidery machines.
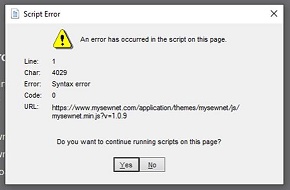
If you are a Sync Tool user you will find at the moment you can no longer log in with the Sync Tool, and get this screen.
This doesn’t mean you can no longer store designs in the mySewnet Cloud, in fact quite the contrary. We have other, newer tools to do that.
Send direct to the mySewnet™ Cloud
The examples shown are on a Windows 10 PC, but work similarly on Windows 11.
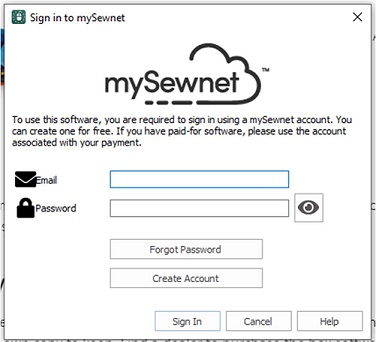
You need to have at least the Basic (free) level of mySewnet Software installed, and be signed in. If you don’t have this it can be downloaded from mySewnet.com, when you first open the software it will ask you to sign in with your mySewnet Account.
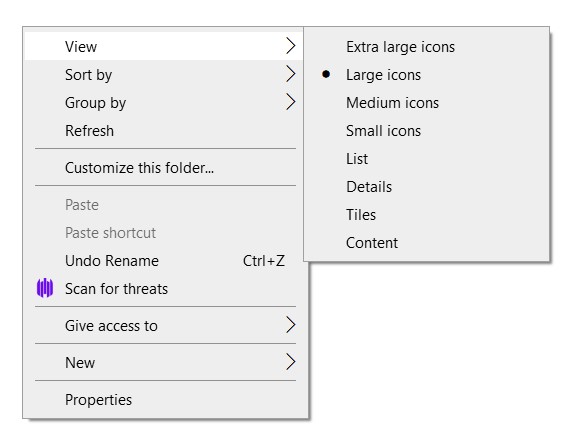
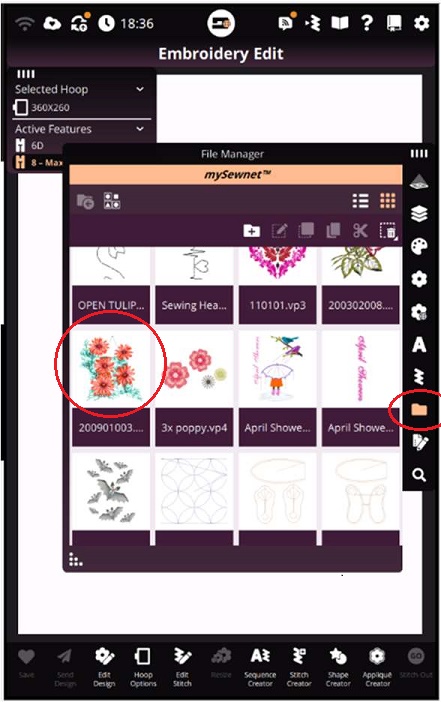
Open up File Manager and select a folder that contains embroidery files you want to transfer to the mySewnet™ Cloud. If you have any version of our software, free or above, and have installed the Explorer Plug-In, you can have the embroidery files show as a thumbnail; make sure you have large icons selected in by right click and View.
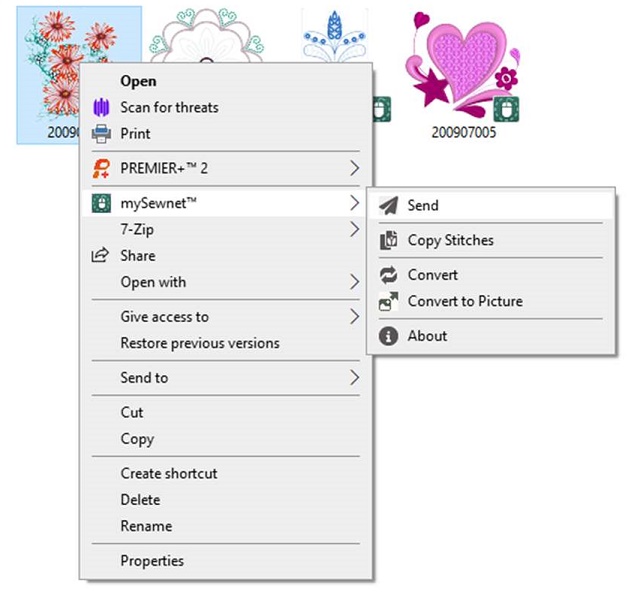
Select a design and right-click on it. Look for mySewnet™ in the menu, hover over it and there is a submenu. Click on ‘Send’. (N.B. in Windows 11 you may have to expand this menu to see all the options)
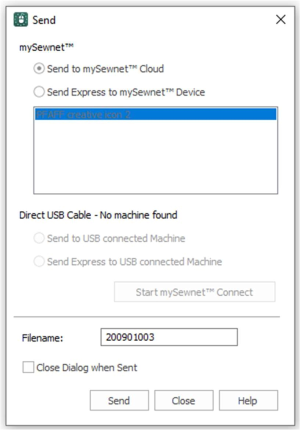
You then get this dialog box. Make sure the mySewnet™ Cloud is selected, and click Send at the bottom. It will send the design and tell you it was successful.
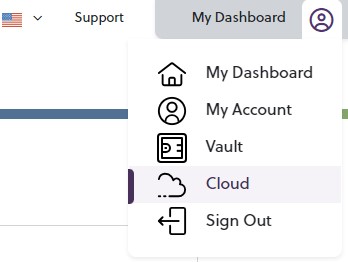
Want to see whether it went to your cloud or not? You can check, either on the mySewnet.com website or on your machine. They will sync pretty quickly.
You can also transfer whole folders this way, or a series of designs from the same folder, use the Shift+Left-Click to select a whole block, or the Ctrl+Left Click to select particular designs from the folder. If you select a whole folder, any sub folders will be transferred too!
Do bear in mind that non-embroidery files such as pdf’s cannot be read by your machine and will use up a lot of space.
Send direct to your machine or software
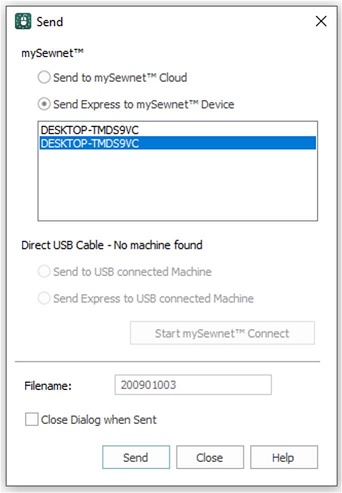
We use the same method to send direct to the machine screen without saving in the mySewnet™ Cloud. This time we are going to pick the second option, Send Express to mySewnet™ Device. You can see here I have two options as I have two machines logged in and on (lucky me!). Simply pick the one you want to use, and press Send. It will confirm the design has been sent to the machine.
Note the other options are for direct cable machines, so if you have a creative™ 4.5 or Designer™ Ruby Royale for instance, you can send direct via a cable. You need to make sure you have downloaded the communication software (i.e. the driver) from the mySewnet™ download page first. And here’s my design on screen. You may have to change the hoop size at this point!
You can also send direct to your software on another computer (not the one the design is on, you would just open it the conventional way of course!). The reason this has the same device listed twice is that I have both Premier+2 and mySewnet™ software on the other computer, so you can send it to either. It will open up in a new software window, the software doesn’t even have to be open first.
mySewnet™ Library
You send designs straight from the mySewnet™ Library if you have a current subscription and a mySewnet™ compatible Wi-Fi machine. Browse on mySewnet.com and you can choose to send to the mySewnet Vault, or direct to your mySewnet enabled machine or computer. Library subscription designs are in encrypted evp3 format. You also have the option to buy unencrypted designs they are saved to your mySewnet™ Vault in the format you choose and are yours to keep, whether you have a subscription or not.
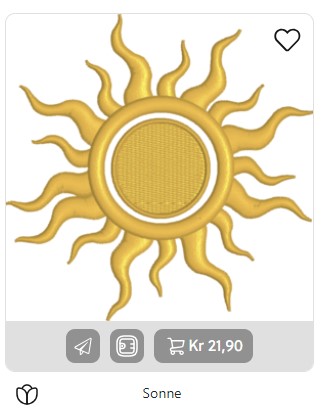
Use the paper plane icon to send directly to computer or machine and the Vault icon to send to Vault. The design will appear in the From Library Album in Vault.
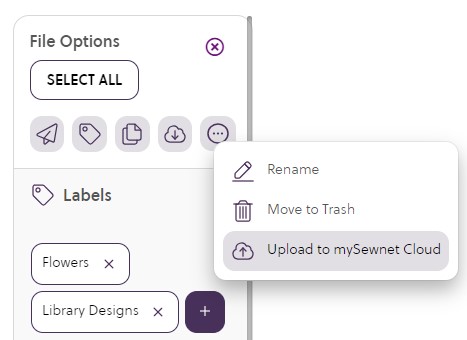
You can upload your designs from Vault to Cloud by selecting a design and clicking the three dots and Upload to mySewnet Cloud. This will upload a copy of the design to the folder called From Vault.
Louise Harrison, VSM UK Ltd - September 2023