 United States
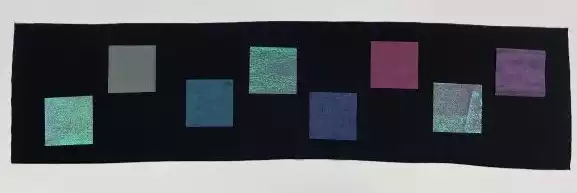
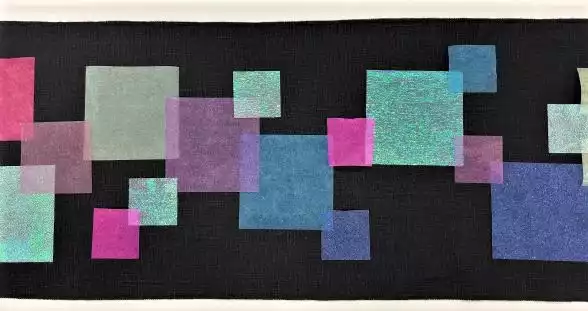
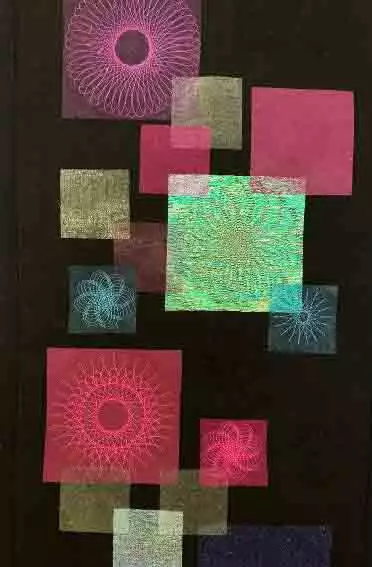
Spiro Skinny Quilt
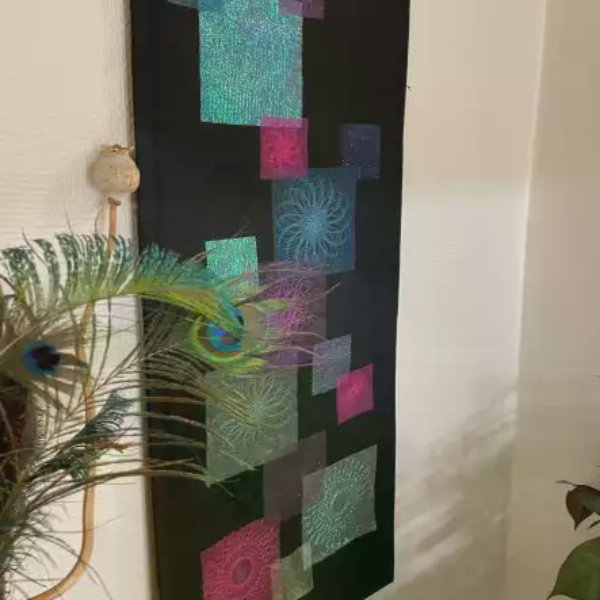
Skinny quilts can be placed everywhere, on the narrowest space on the wall and even as table runners. Make this modern skinny quilt and decorate it with delicate and intricate spiro embroidery designs!
With 30-day Free Trial of mySewnet Embroidery Software you will get to try out the most user-friendly and feature rich digitizing software on the market. It works with all embroidery machine brands and is available for both Windows and Mac.
What you need:
- mySewnet embroidery software, Gold or Platinum Level
- Metal hoop 100x100mm or 180x130mm
- Black linen 12”x47” (30x120cm)
- 8 iron-on fusible web squares 9x9”(22x 22 cm)
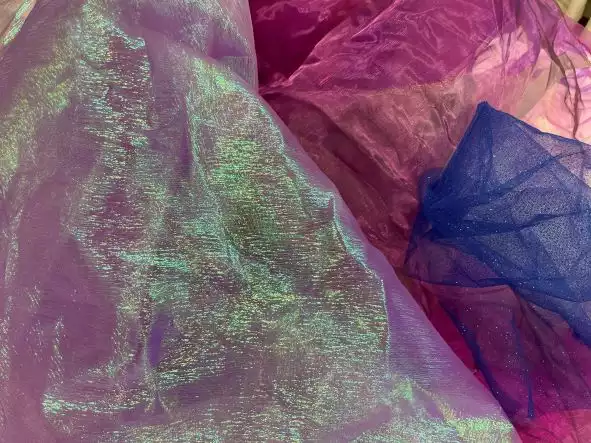
- Small pieces of fabric for the squares, organza, chiffon, tulle etc. 8 squares 9x9” (22x22cm)
- Fabric for the back of the quilt 14x50” (35x130cm
- 4 squares for the hanging sleeve corners 4x4” (10x10cm) (same fabric as the back)
- Thin fusible batting 14”x50”(35x130 cm)
- Fabric strips for binding 2” (5cm) wide with a total length of 4 yds (4m) in matching color to the linen fabric
- 2 thin wooden strips for hanging rods about 12” (30cm) each
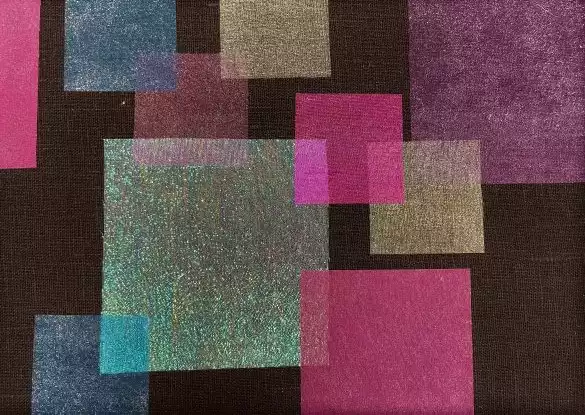
Making the spiro embroidery designs
1. Open mySewnet Embroidery software, click on Spiro

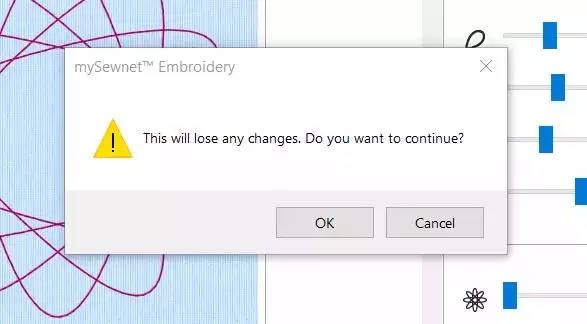
2. A dialog box will appear. Click on random, a warning message will appear, click ok
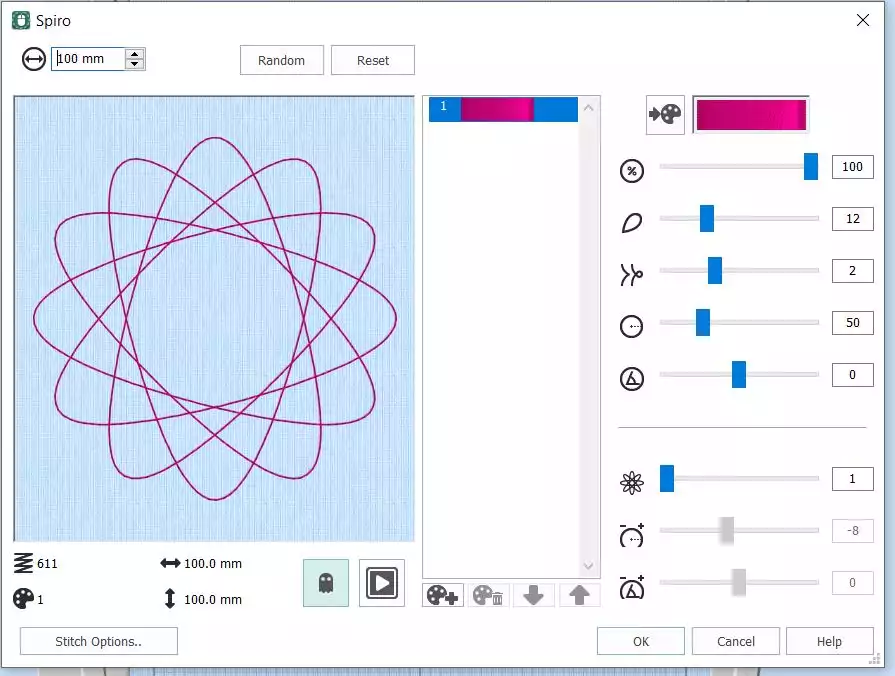
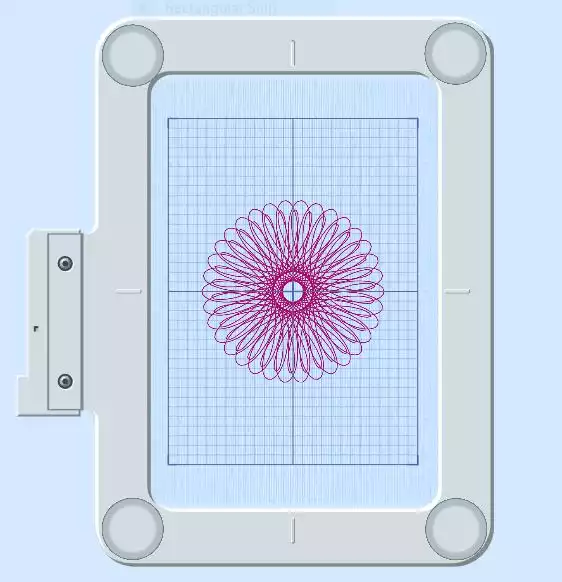
3. Set the size to 95 mm in the upper left corner.. Continue to click on Random until you find a design you like. Then click OK. The spiro will now close and go to the Home screen
4. Change the hoop size to metal hoop, 180x130mm or 100x100mm, depending on which size you have. Center the design if it isn't already.
5. Save the design and export it in your preferred format
6. Click on File, New and Spiro and make another embroidery design. Continue like this to make more designs, also in size 45mm and 70mm depending on the squares you have in your quilt top.
Preparing the squares
7. Gather some sheer fabrics, like organza, chiffong, tulle etc.
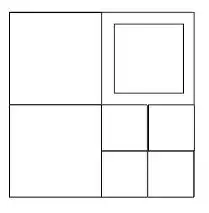
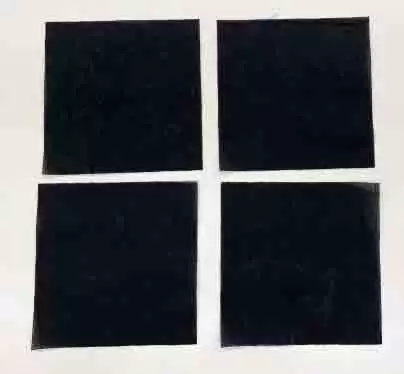
8. Fuse web adhesive to the wrong side of the fabric squares, cut them to 8x8”, then sub cut into squares 4”, 2” and some 3”
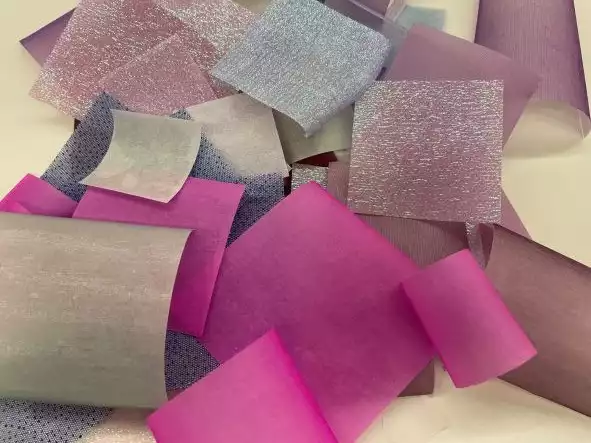
9. Remove the paper backing from the squares
10. Arrange them on top of the right side of the linen piece.Be careful to put the adhesive side down!
11. Fuse the squares in place with an iron. It is important to have a layer of waste fabric between the squares and the iron, since the squares are made of sheer fabric the adhesive may “bleed” through and get stuck on the iron soleplate.
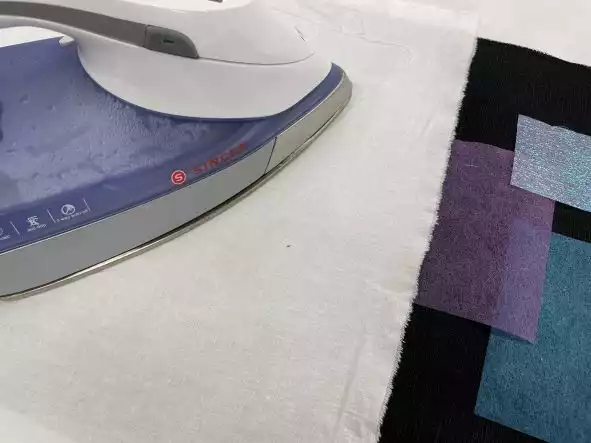
12. It is easier to remove the waste fabric before it has cooled down.
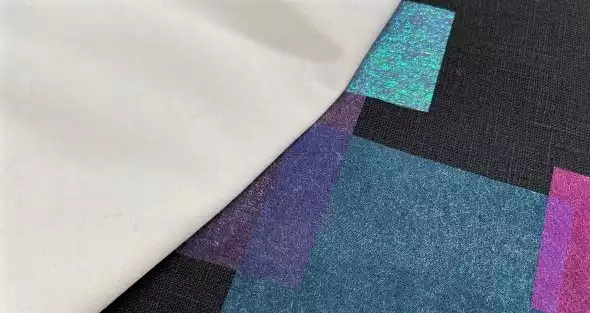
13. Fuse the thin batting to the wrong side of the backing fabric
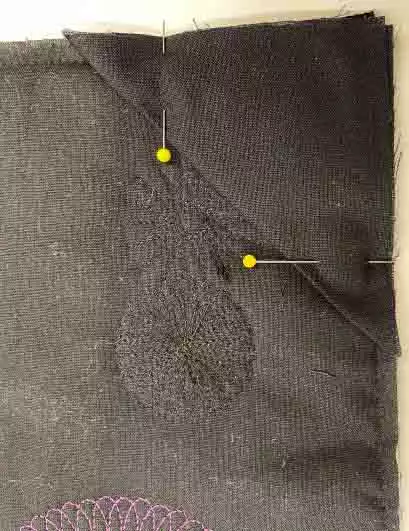
14. Put the linen on top of the backing/batting piece, wrong sides together and pin in place.
Quilting and finishing steps.
15. Stitch out the spiro designs on the quilt. Center the spiro´s in the squares with Precise Positioning/ Design Positioning. Also make some some lack spiro´s in the background.
Optional: Use the same color on top and bobbin to get a nice back of the quilt.
Finishing the quilt
16. Cut the backing and batting close to the edge of the quilt top. Topstitch around the edges to keep the layers together. You can use pins to hold the layers together instead if you prefer that.
Adding Hanging Sleeve Corners
17. Cut out four squares 4x4” (10x10cm), fold the diagonally and press.
18. Place one folded square in each corner matching raw edges, pin in place
19. Join the binding strip to one long strip. You will find instructions on how to add the binding on studio in the Education section: Binding edges with mitered corners - single layer. Finished width of the binding: ⅜”(1cm)
Making the hanging rod
20. Measure the distance between the two long sides of the quilt, cut the wooden strip to that length.
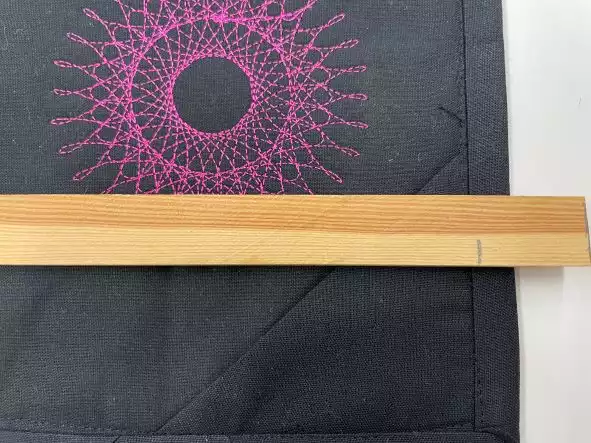
Make two and insert one on top and one at the lower endof the quilt

Your skinny quilt is now finished!