United States
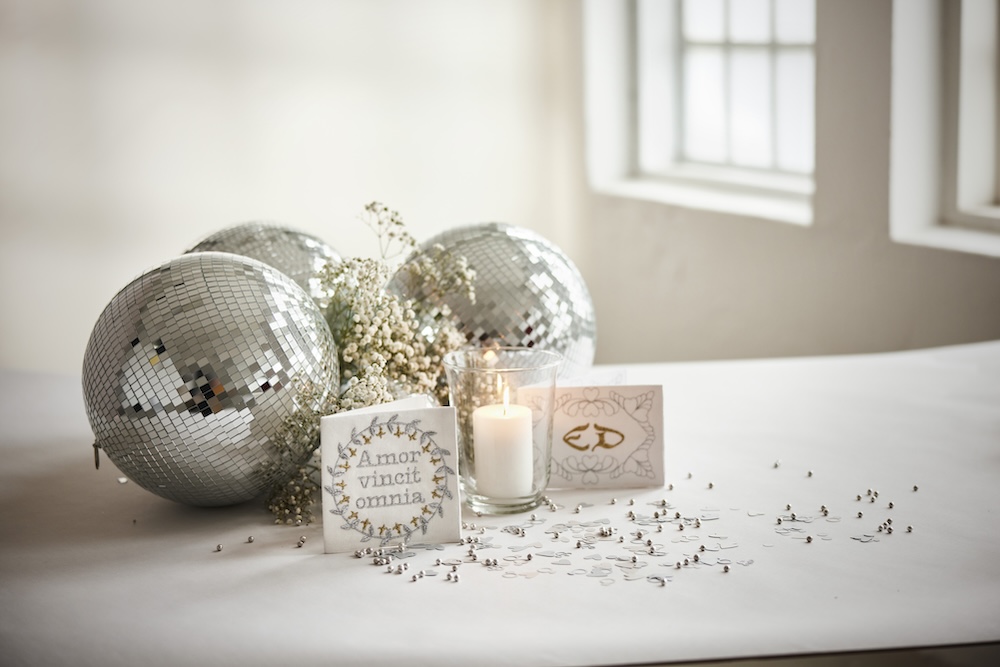
Silver Quilted Motif Wedding Card
The scrolls found in SuperDesign that are used in this card were originally intended for quilting, but they look fantastic also this way. There are so many different possibilities!
What you need
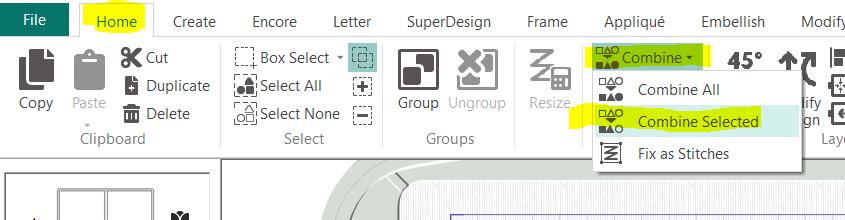
- mySewnet Embroidery software, Gold level or above
- Fabric for the card, in this project an old linen tablecloth is given a new life
- Tear away stabilizer
- Gold and silver embroidery thread
- Thin cardstock for stabilizing the finished card.
How to do
- Open mySewnet software, select Blank Canvas
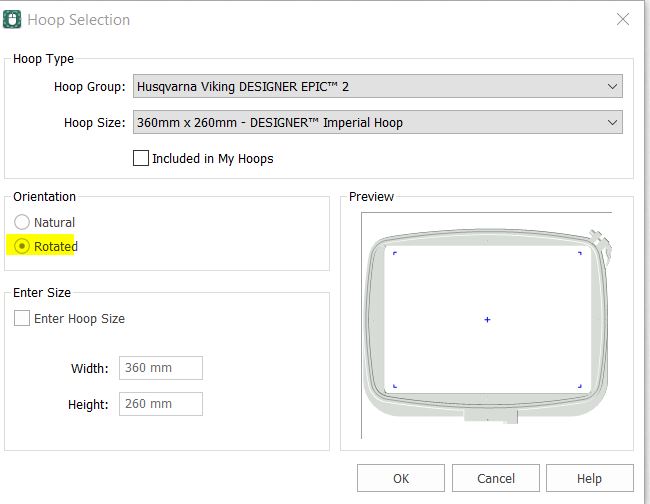
- Set hoop size to 360x260mm. Rotated orientation
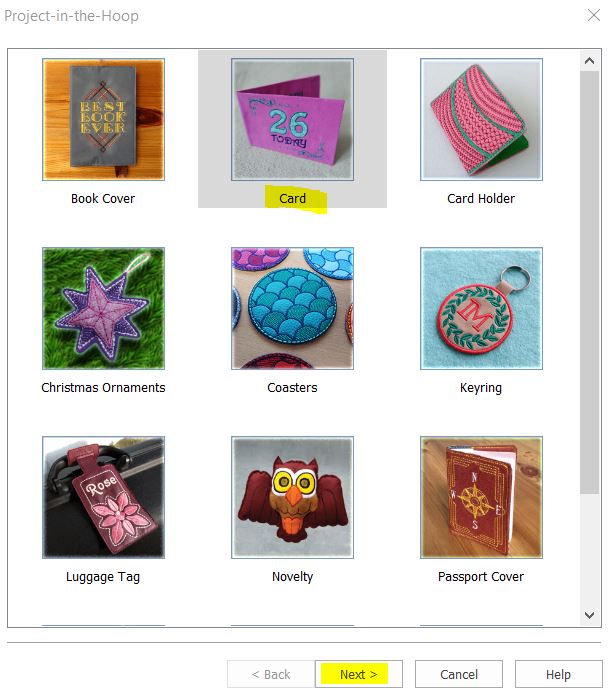
- go to Create and click on Project-in-the-Hoop.

- select Card and click Next.
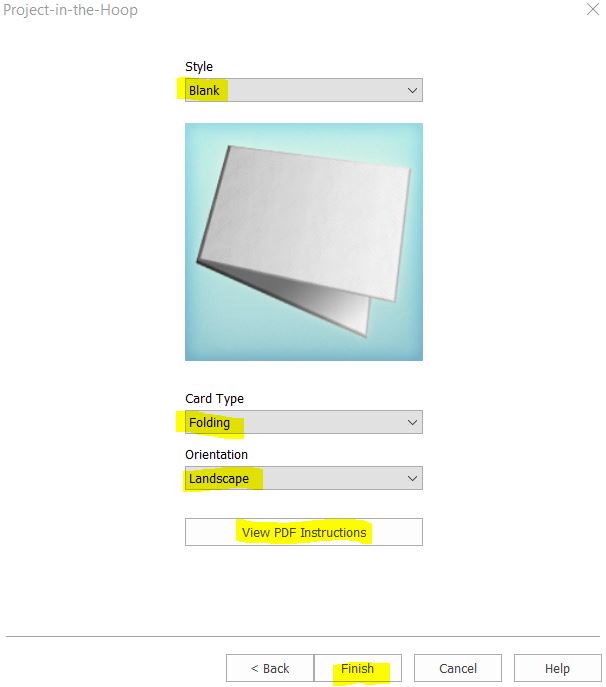
- select Blank, Folding and Landscape, click Finish.

Note: If this is the first time you make a card, take the time to read the PDF instructions to get more information. Click on View PDF-Instructions.
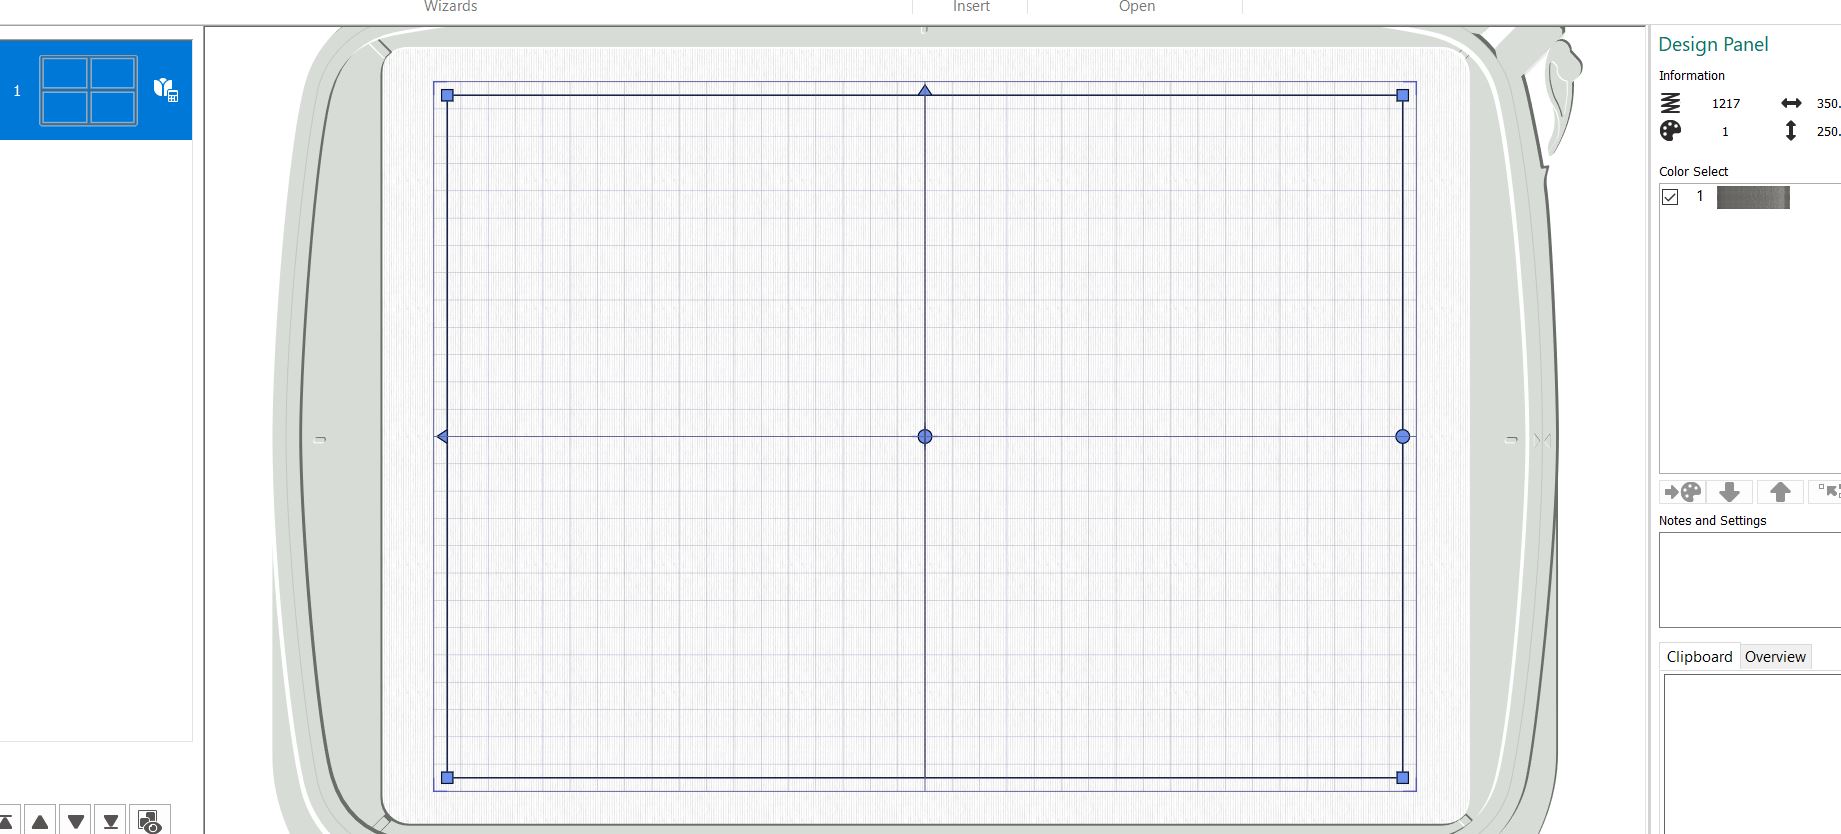
- Now it will look like this: a framework for the card.
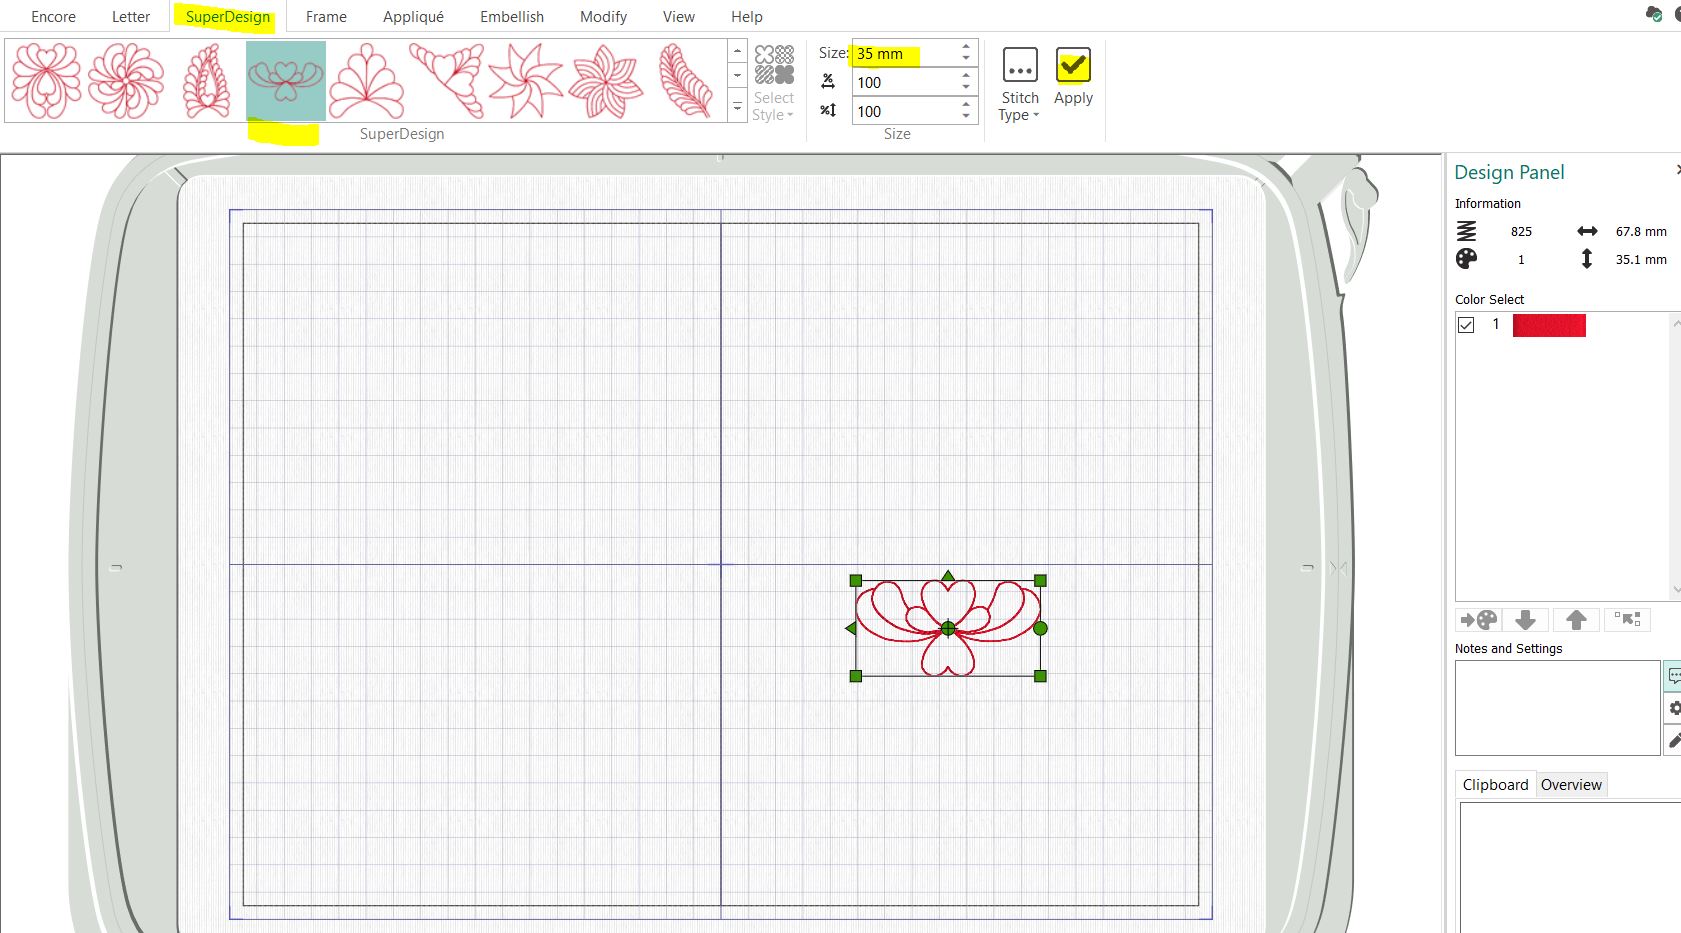
- Go to SuperDesign tab, Scroll down to Redwork 2 and click on 4 – Swag. Set the size to 35mm and click Apply.
- Repeat and get 6 Peacock Corner from the same collection. Set the size to 55mm.

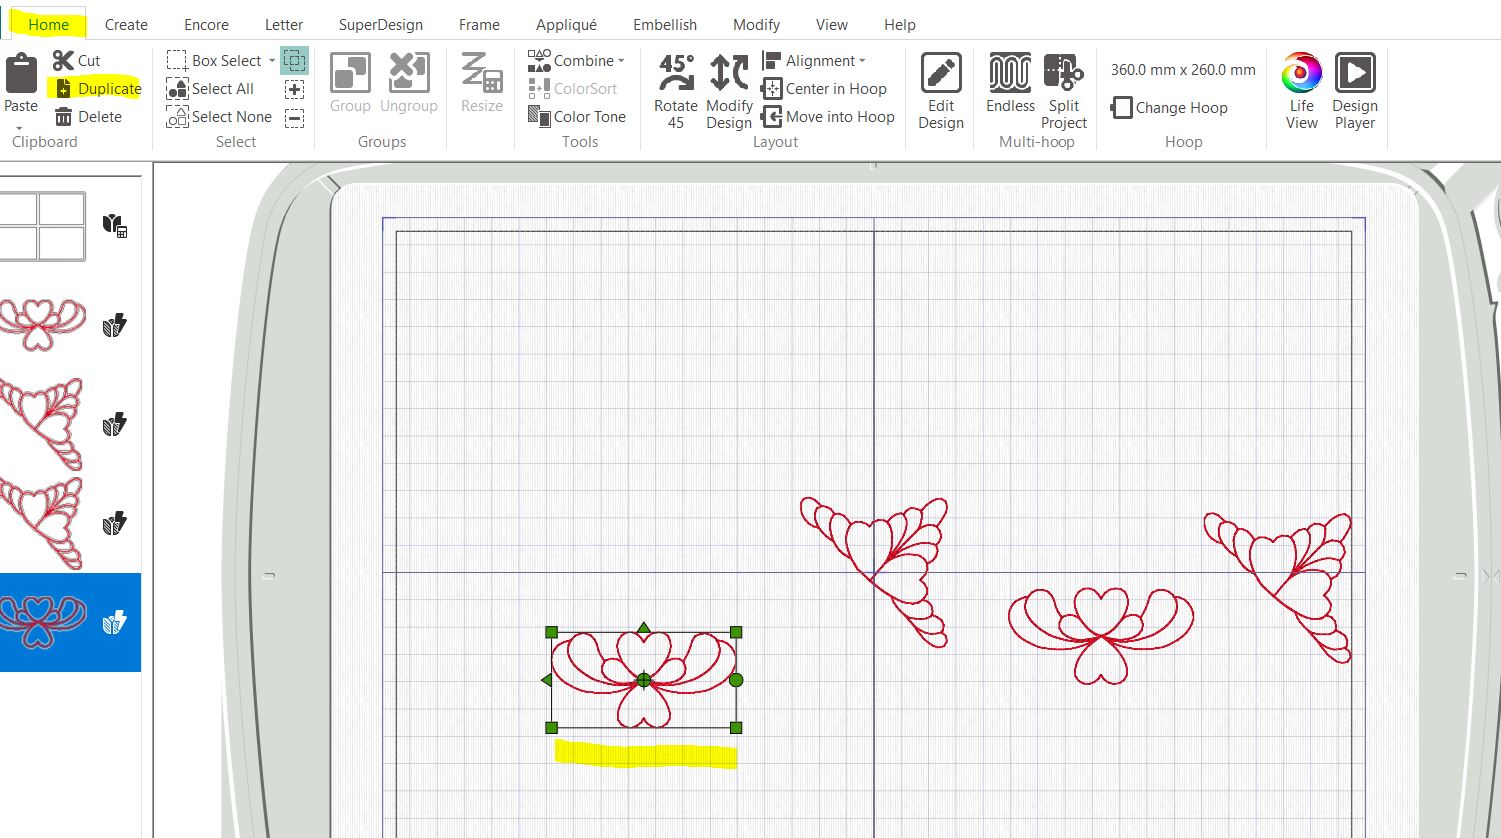
- Now we will duplicate arrange them: Start by going to Home tab and Duplicate the corner motif.
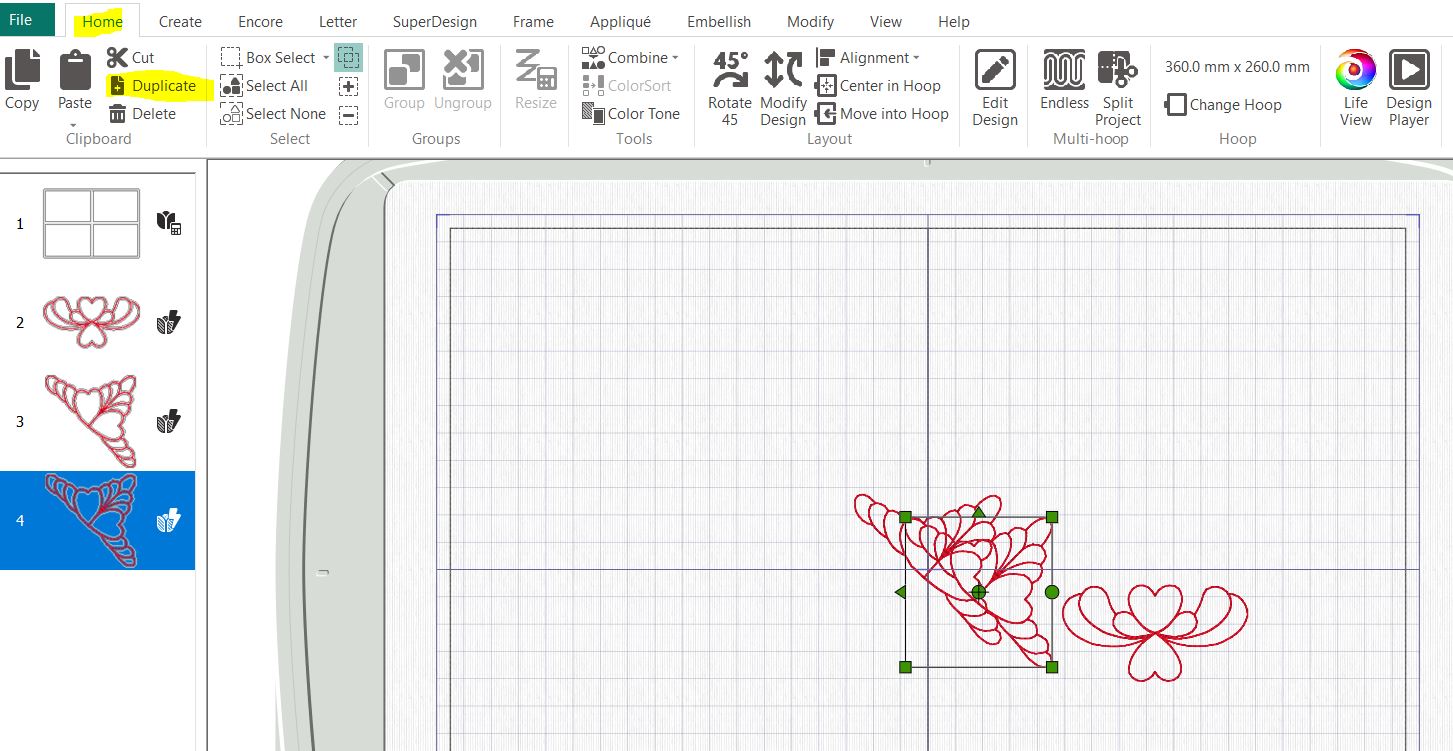
- Duplicate the first embroidery as well and move it to the left rectangle.
- Select the center design and rotate it 180 degrees with the 45-degree handle (four clicks)
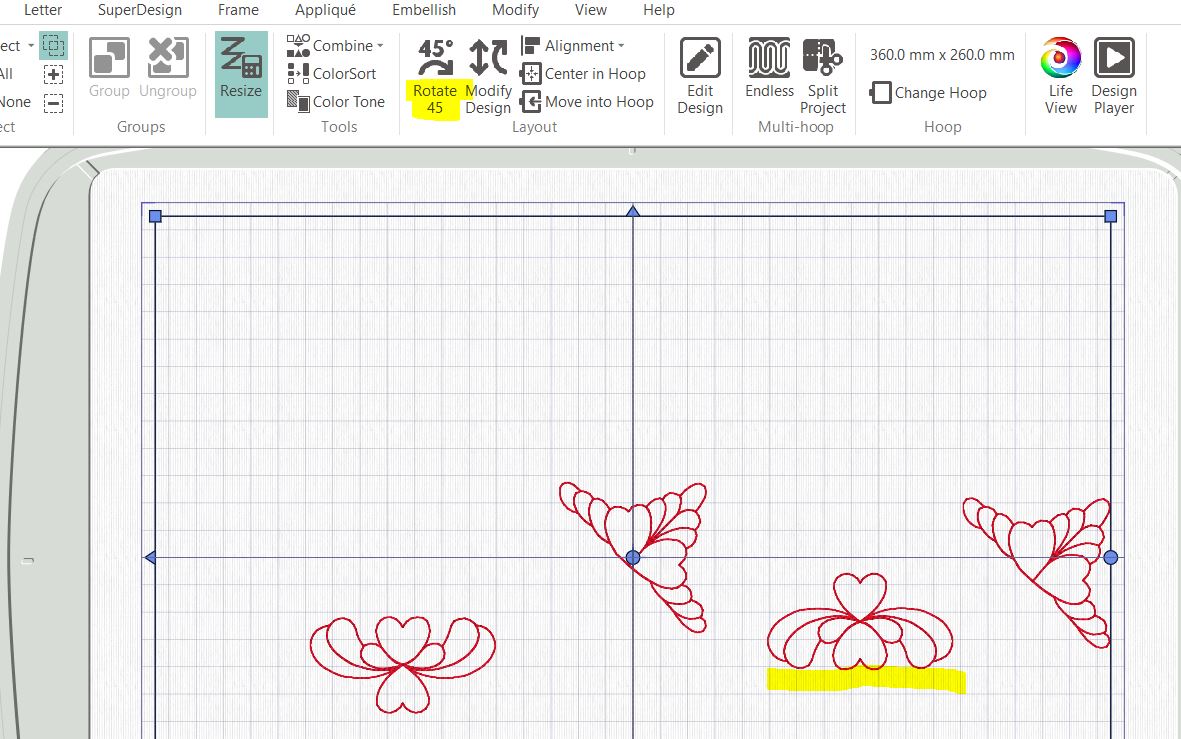
- Rotate the left of the corner motif by clicking the 45-degree rotating tool six times.
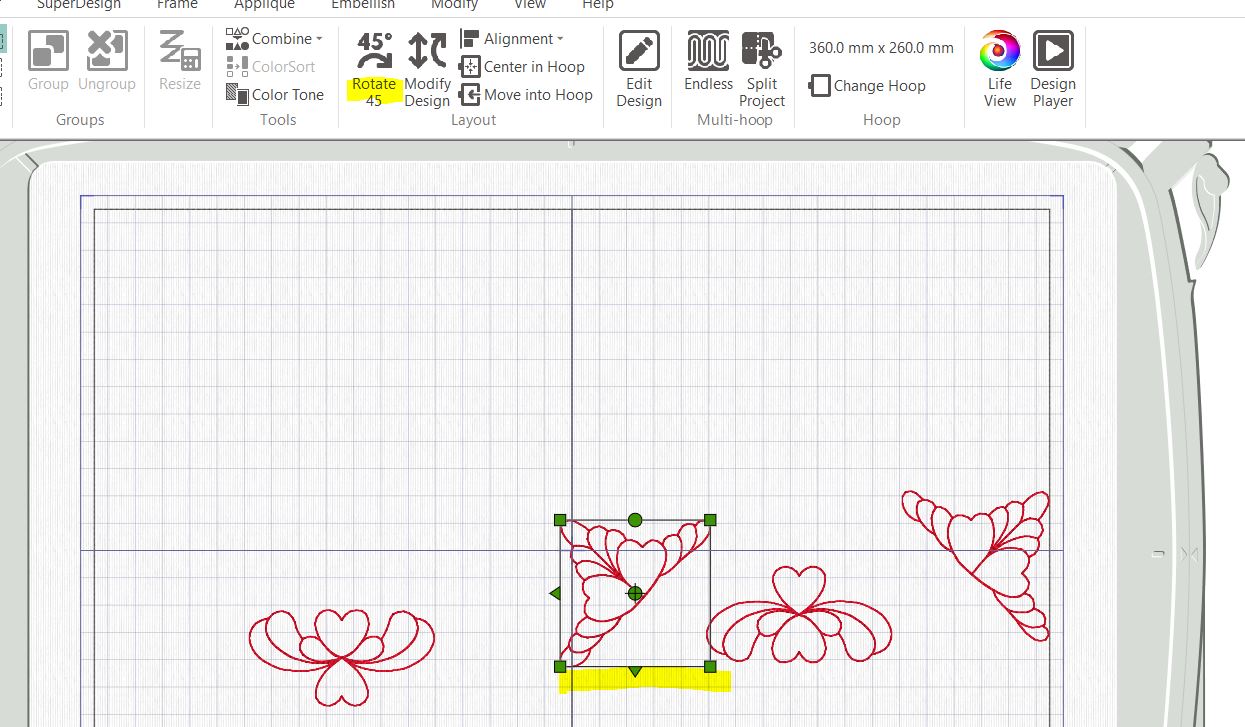
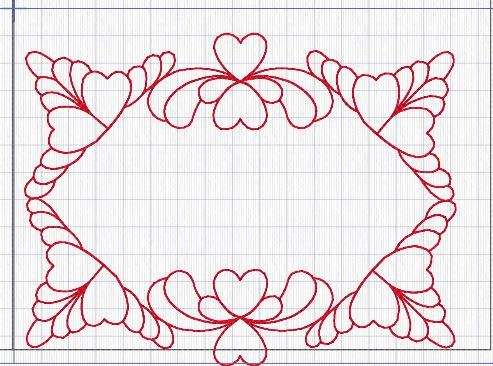
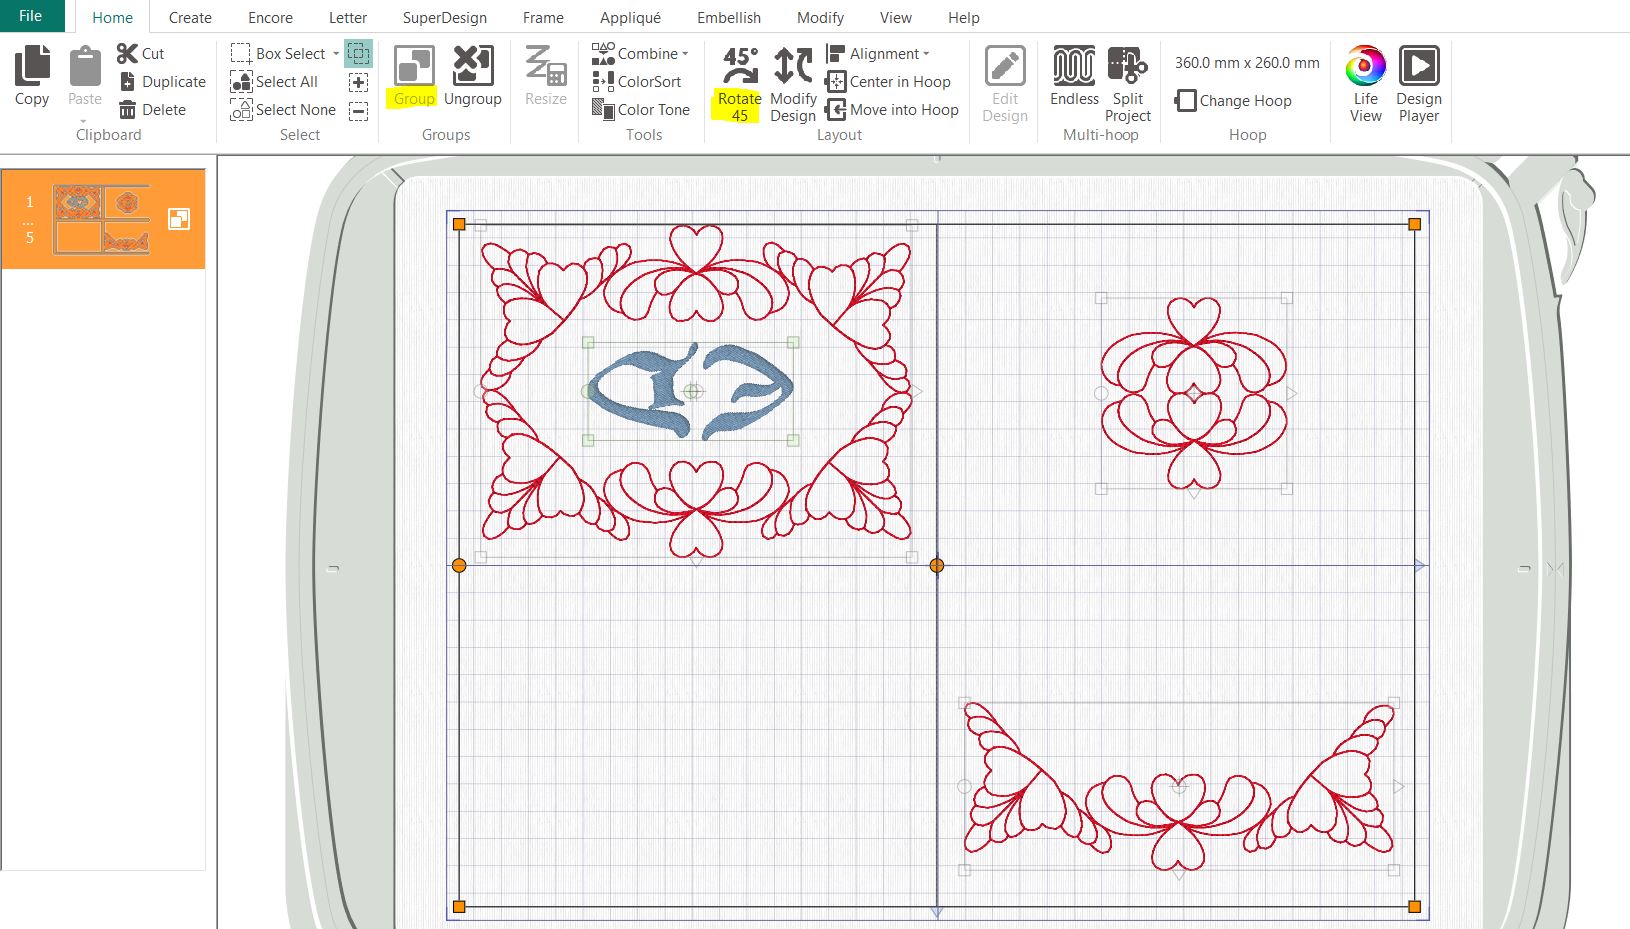
13 arrange the motifs together. See image below:
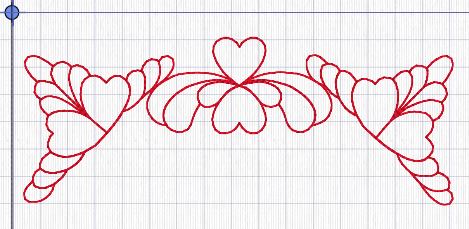
- Select the three embroideries by clicking on the in the Filmstrip holding down CTRL-Key.
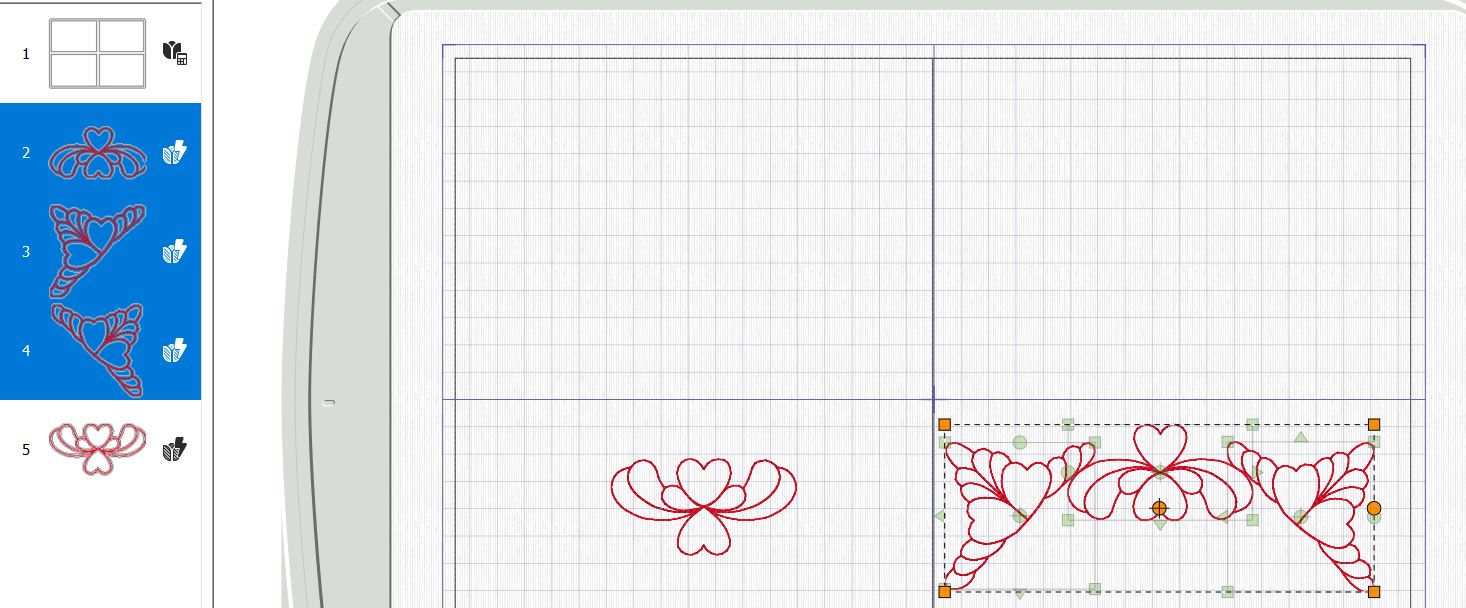
- Click on Combine, Combine Selected. Now the first part of the decoration is finished.
- Click on Duplicate again, two times.
- Move one of the combined motifs to the upper left square, we will use that later.
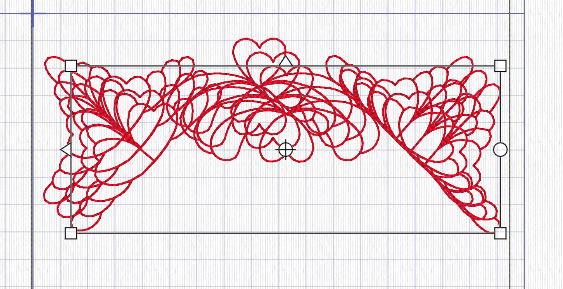
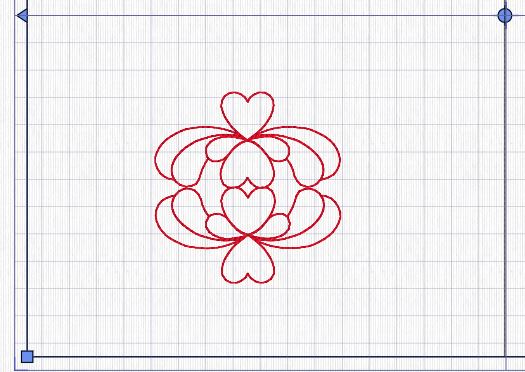
18 rotate one of the combinations in the lower right rectangle 180 degrees (use the 45-degree tool) move it in place. It should look like this:
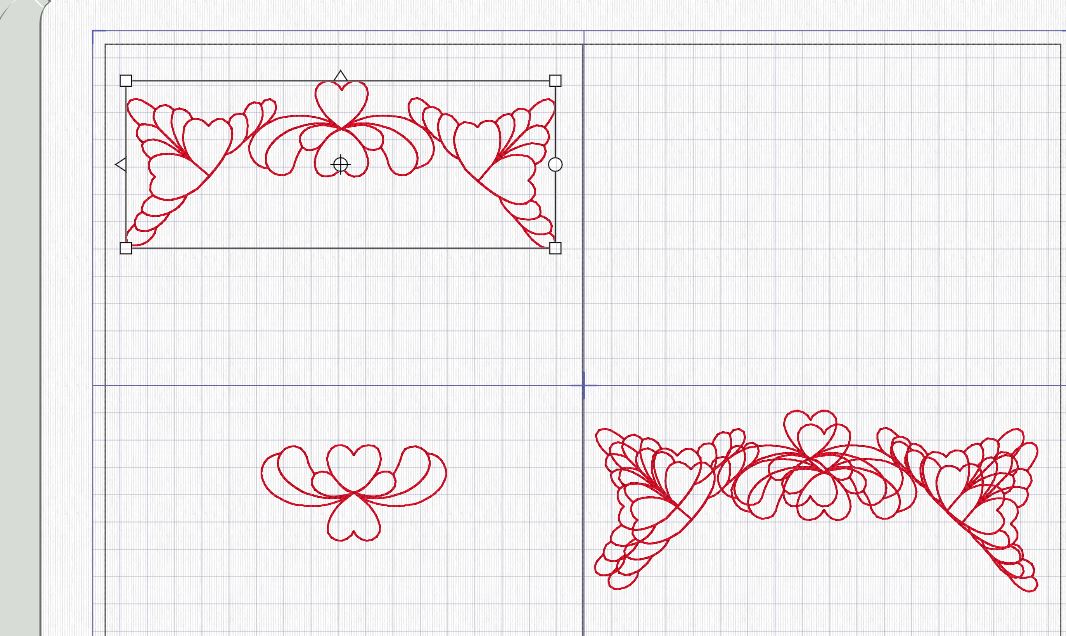
- Select the two embroideries holding down the CTRL key. Go to Combine, Combine Selected and join them. Center the combination in the lower right rectangle.

- Now duplicate the scroll in the lower left rectangle, turn one of the 18 degrees and combine them. Move the combination to the center of the rectangle It should look as this:
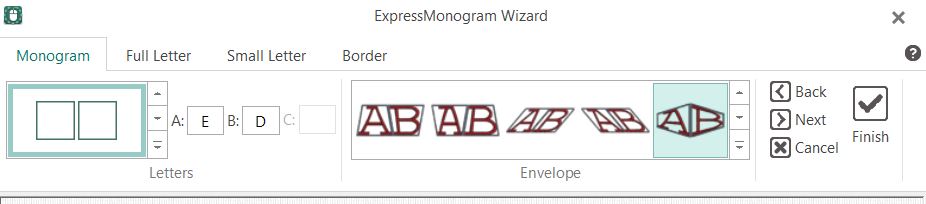
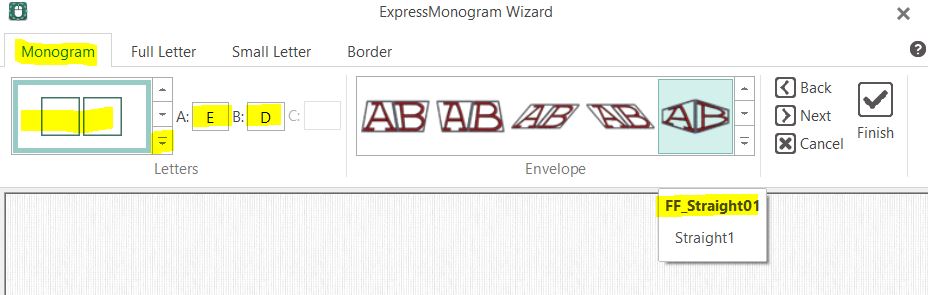
- 21. Time to add the initials to the outside of the card. We will use the express monogram for this since it will shape the letters into a frame: Go to Create, click on Express Monogram.
- 22. first we start with the monogram tab Add the Capital Letters E and D in the squares, set the Envelope to FF Straight 01 in the Straight 1 selection.
- Go to the Full Letter tab. Select Per Gothic Font from the Elegant selection, set the size to 40mm.
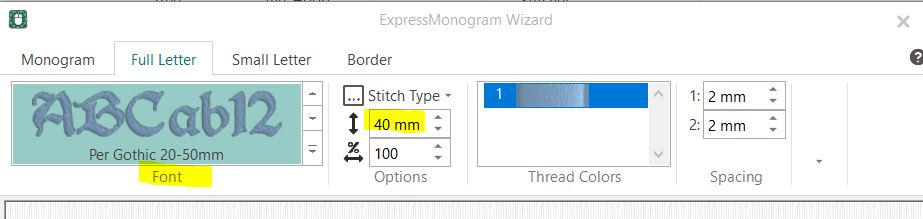
- Go to Border and Unclick the Border box. Now it should look like this:
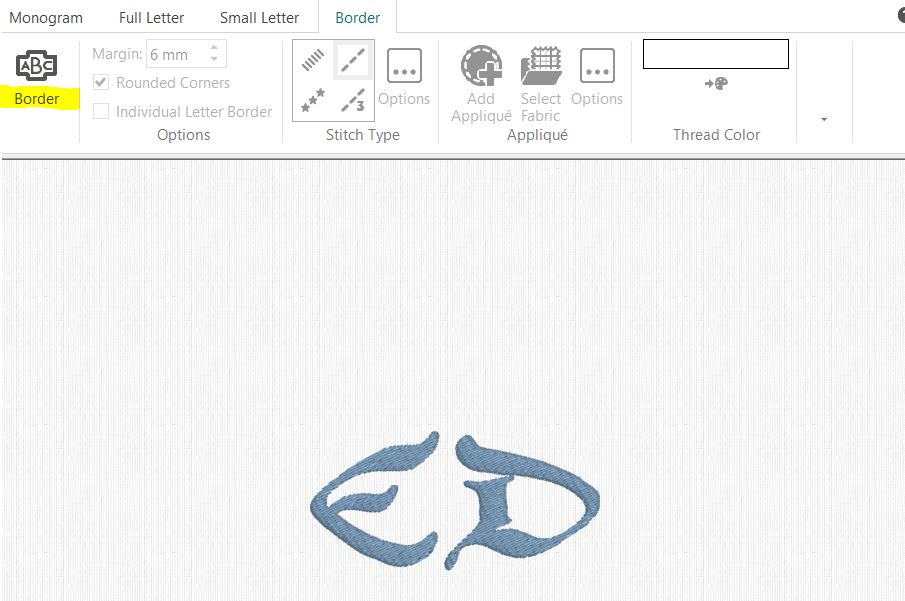
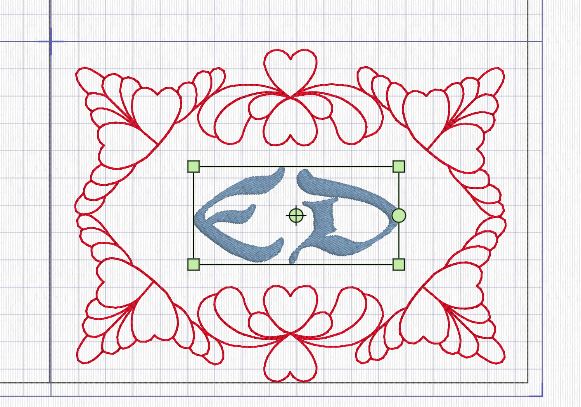
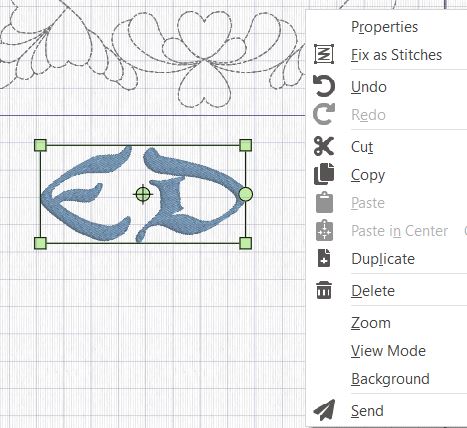
- Go Back to Monogram tab and click Finish. Move the Monogram into the center of the front rectangle. Right click and Fix as Stitches
Making the Inside of the Card
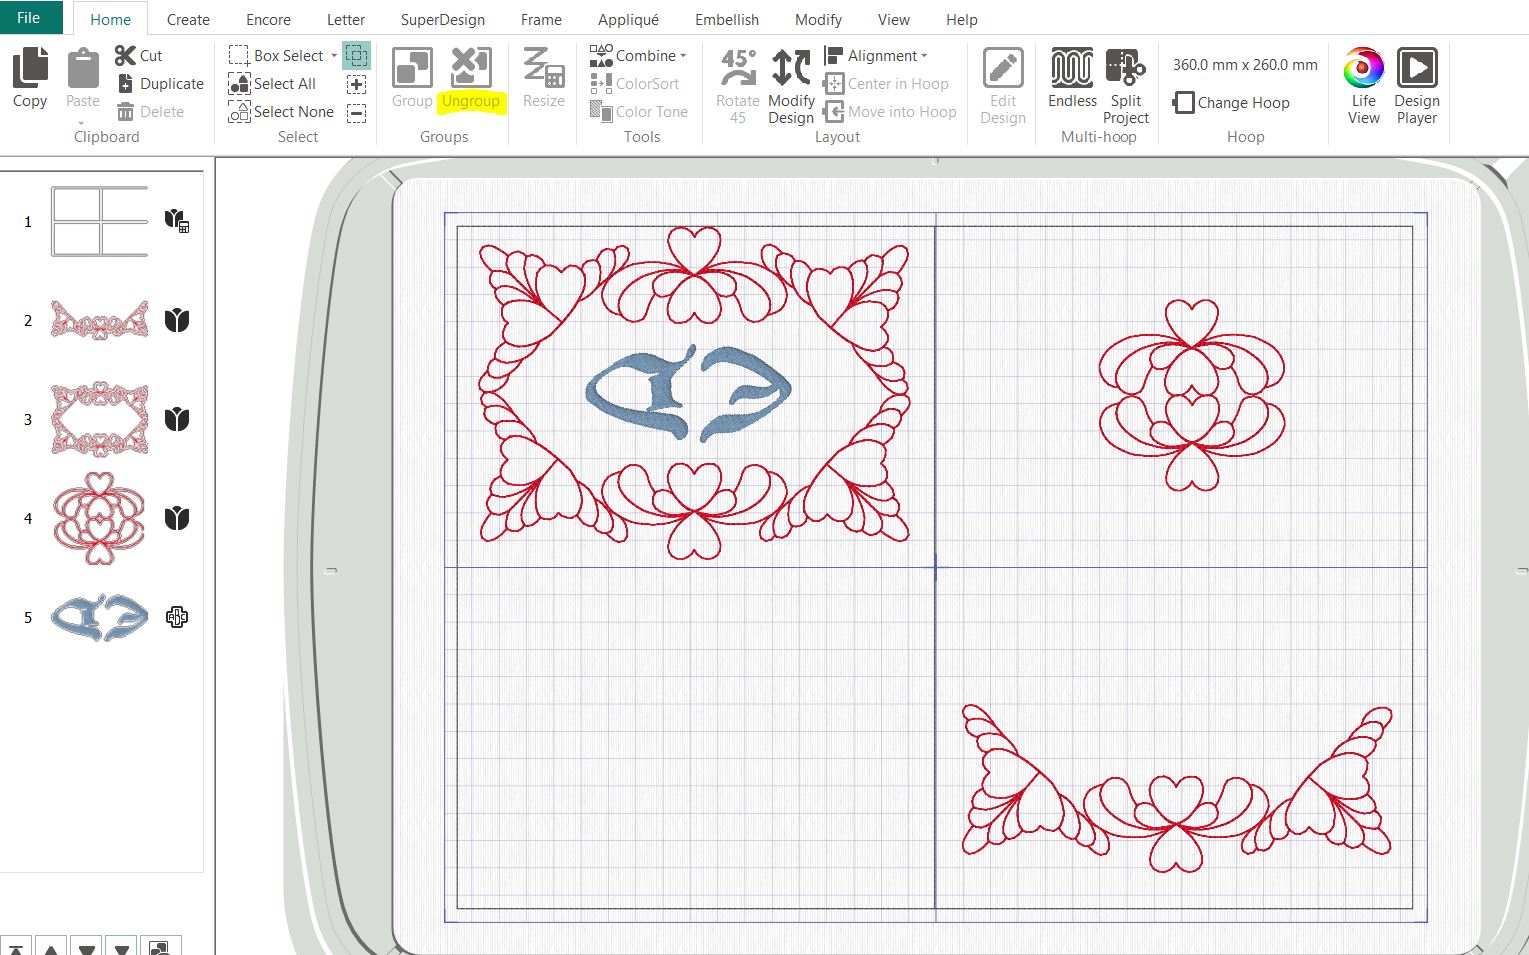
- To make the inside of the card we need to turn everything 180 degrees. Do as follows:
Select everything in the filmstrip, go to Home, Group. Then go to 45 degree turning tool and click four times. Now it should look like this:
27. Click on Ungroup, this will make all designs editable again.
- Click on the design in the lower left rectangle, turn it 180 degrees with the 45-degree tool and place it on the upper side of the rectangle.
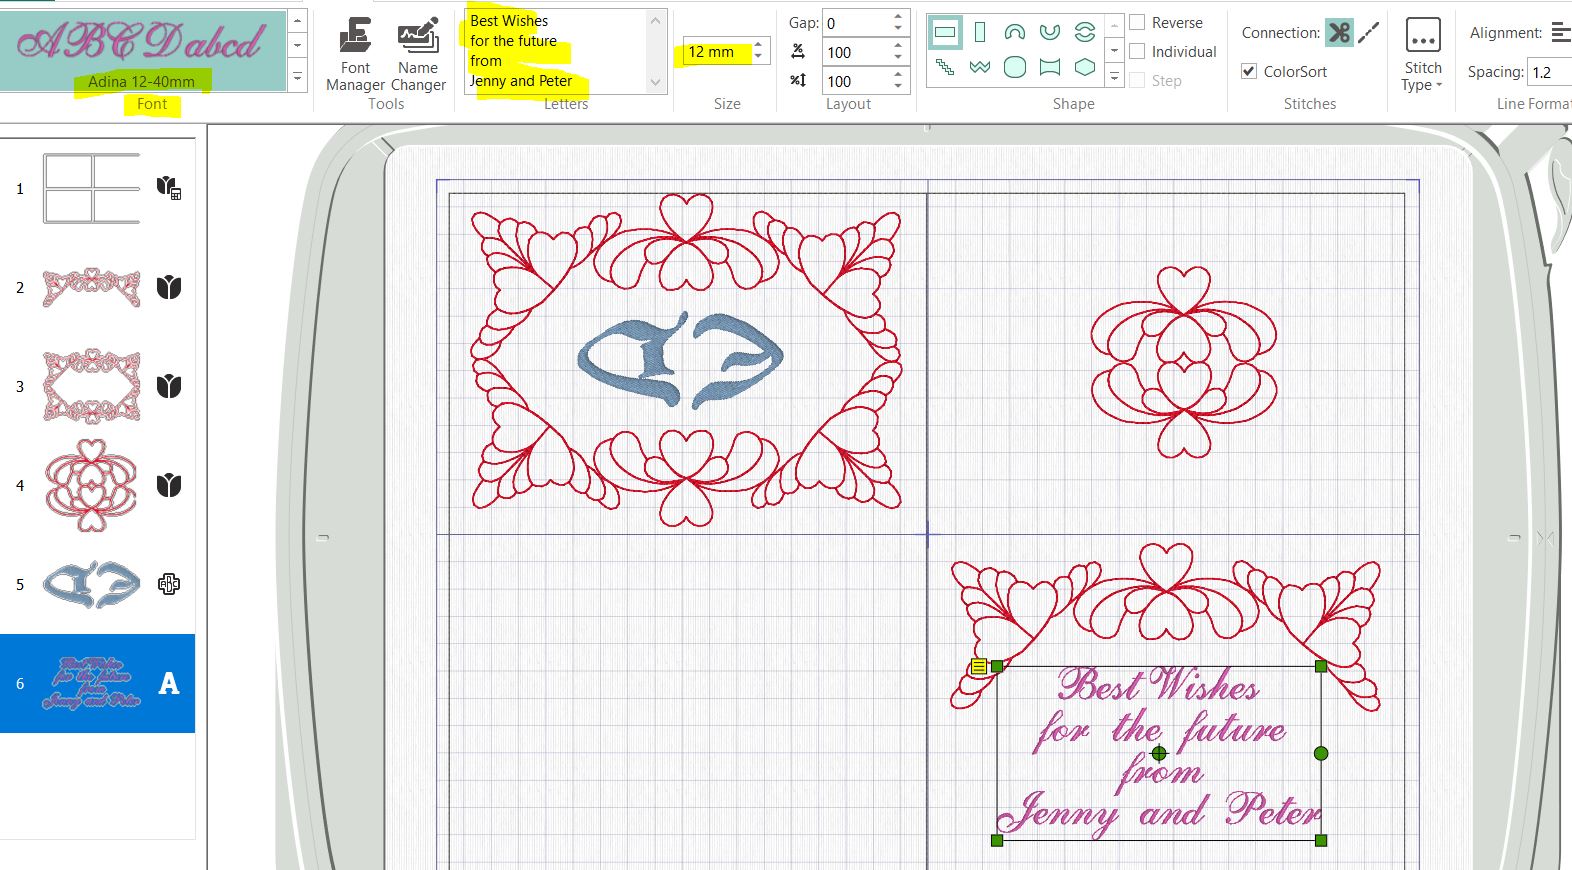
- Go to Letter and select the Adina font in the Script section. Set the size to 12mm. Type the text, in this case “Best wishes for the future from Jenny and Peter” Remember to click enter when you want a new row. Click Apply and move the text to the right place.
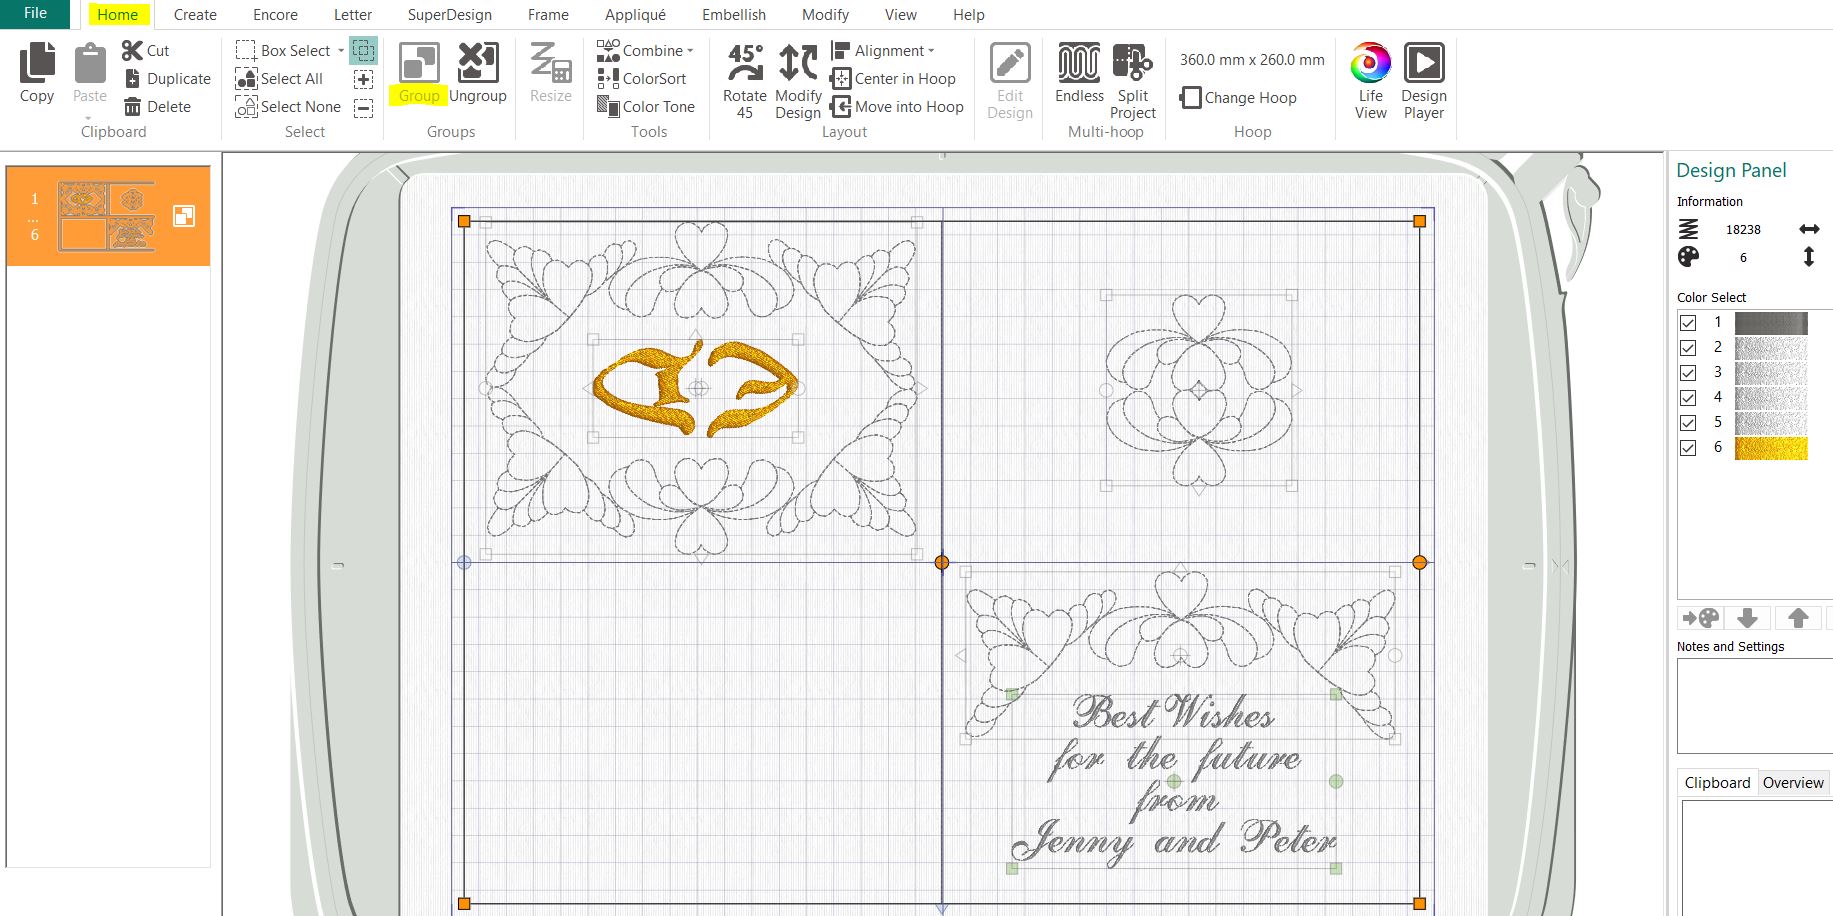
- Now the design is finished. I changed the color for the Monogram to Gold And the rest to Silver, except the Framework which I left unchanged.
Final steps
- Click on all the designs in the Filmstrip to select them. Hold down CTRL key when doing this. The background in the filmstrip will turn Blue. Go to Home tab and click Group. Grouping the finished design is better than combining since it is much easier to come back and make changes later. Just click ungroup and change!
- Save the design on your computer. It will be saved as a vp4 file which is correct.

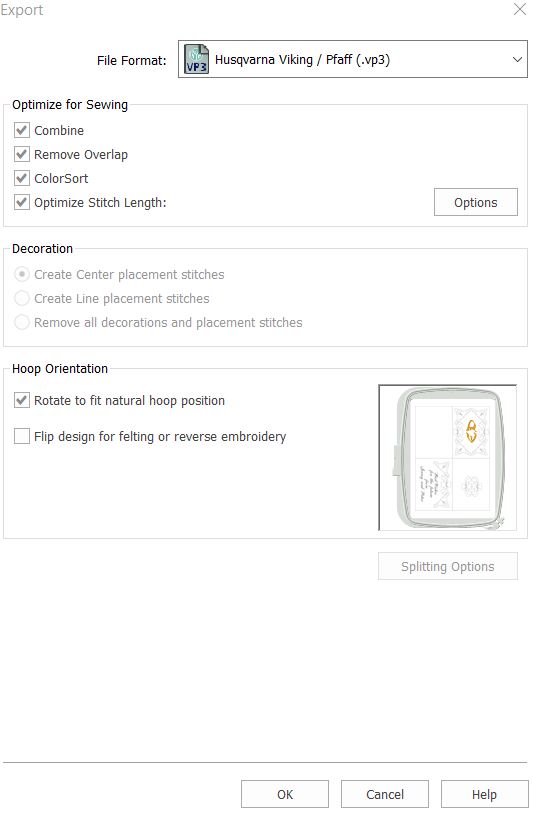
- Now go to File, export, and export the file in your preferred format. I chose vp3. You can colorsort the embroidery if you want to. Save on your computer, on a USB stick or send to machine or Vault.
Stitching out the design
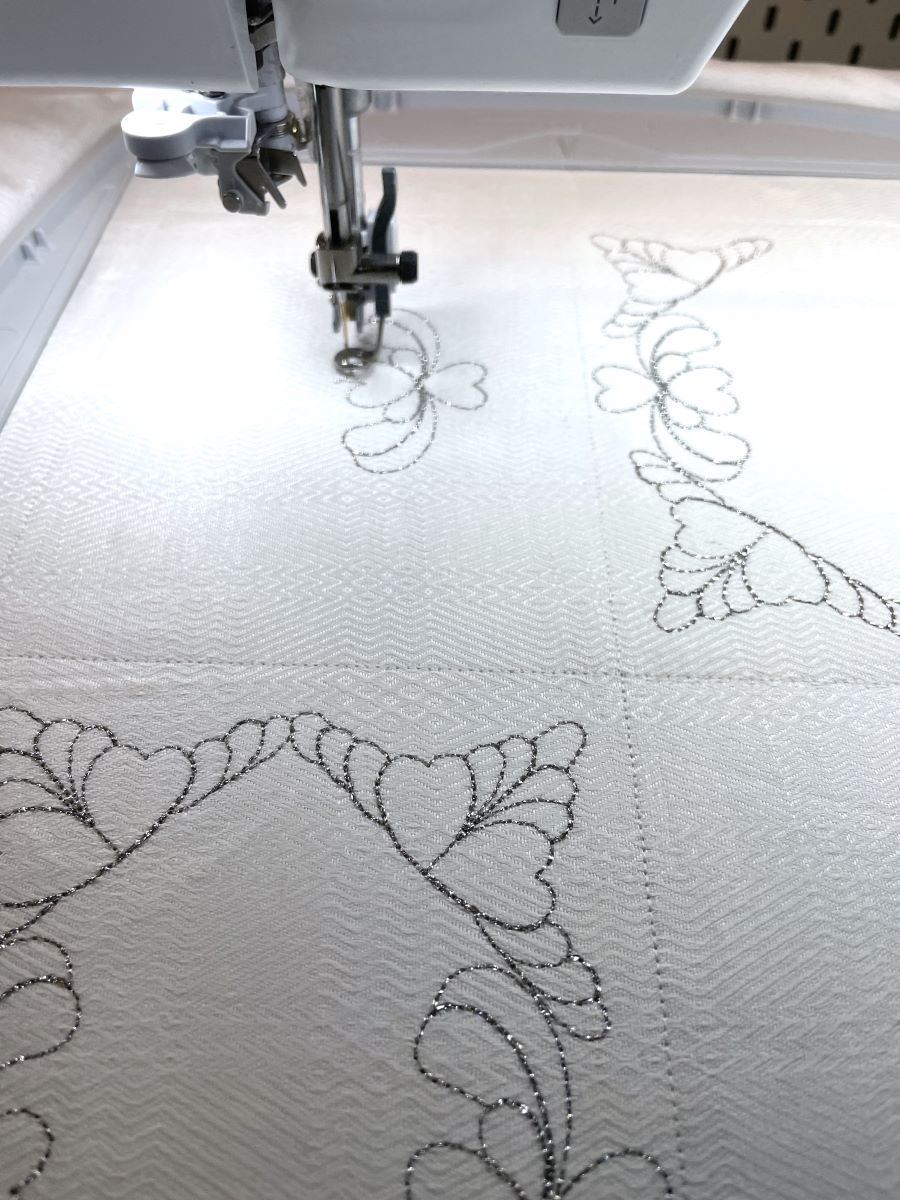
34.Hoop stabilizer and fabric in the 360x260 hoop.
- Stitch out the design.
- When finished, unhoop the embroidery and follow the instructions in the PDF to put the cards together.