 United States
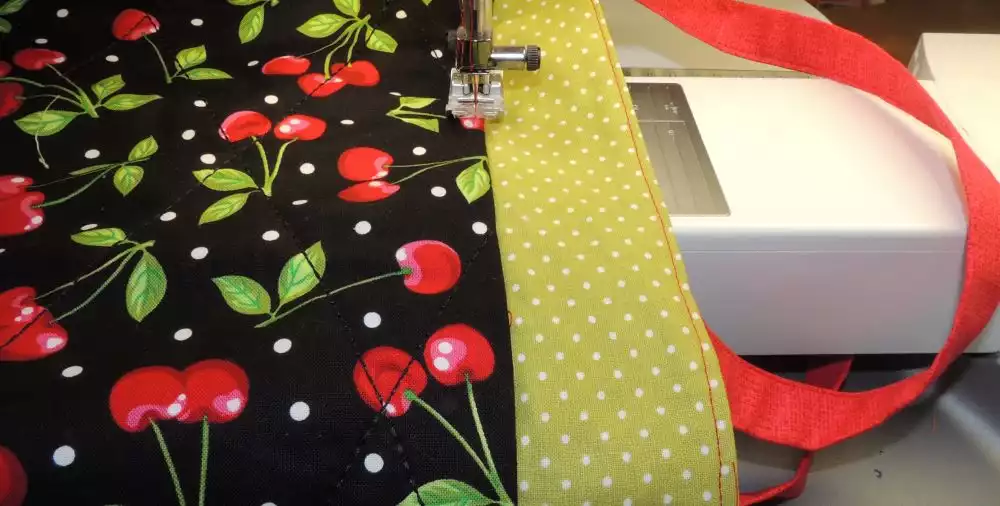
Reusable Lunch Bag
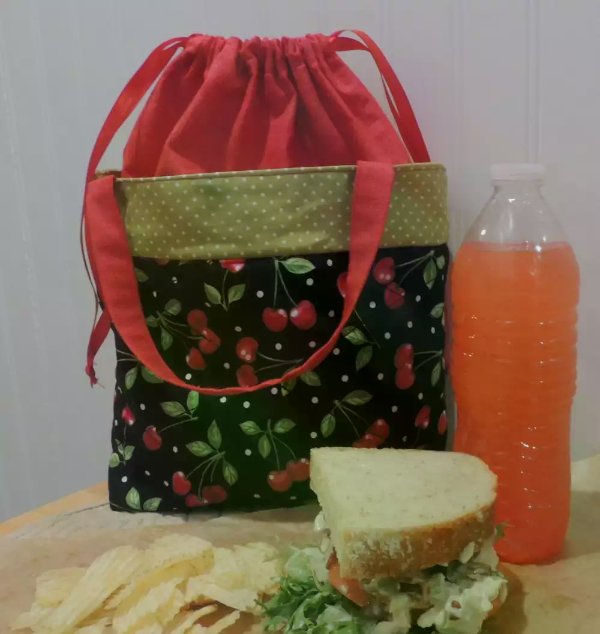
This little bag holds many possibilities. Use it to carry knitting projects, cosmetics, sewing notions, toys or use it as a special gift bag, the list goes on. Oh, by the way, it is also a great bag to carry a lunch.
Note: All seam allowances are ¼” unless stated. Fabric yardage based on 42” width.
What you need:
- Sewing machine with Pfaff® IDT ™ or Husqvarna® Viking® IDF™
- 1- Fat quarter for main fabric (cherries)
- 3/8 yard for lining and handles (red)
- ¼ yard for handle band (green)
- Fusible batting
- Fusible woven interfacing
- 1 ¾ yard ribbon for drawstring
- 5/8” Quilt Binder (Pfaff® #821370096, Husqvarna® Viking® #920726096)
- Thread to match fabrics
- Basic sewing tools supplies
Cutting:
Main Fabric
- 1- 17” x 11 ½”
Lining & Handles Fabric
- 1- 3” x WOF
- 1- 15 ½” x 11 ½”
- 2-8 ½” x’ 11 ½”
Handle Band Fabric
- 4- 2 ¾” x 11 ½”
Fusible woven interfacing
- 2 -2 ¾” x 11 ½”
Fusible Batting
- 1- 17” x 11 ½”
Assembling the bag
1. Attach the Quilt binder following the directions and stitch the 3” strip of fabric to create the bag straps. Cut two 14” pieces from the strip and set aside.
2. Fuse the batting to the wrong side of the main fabric.
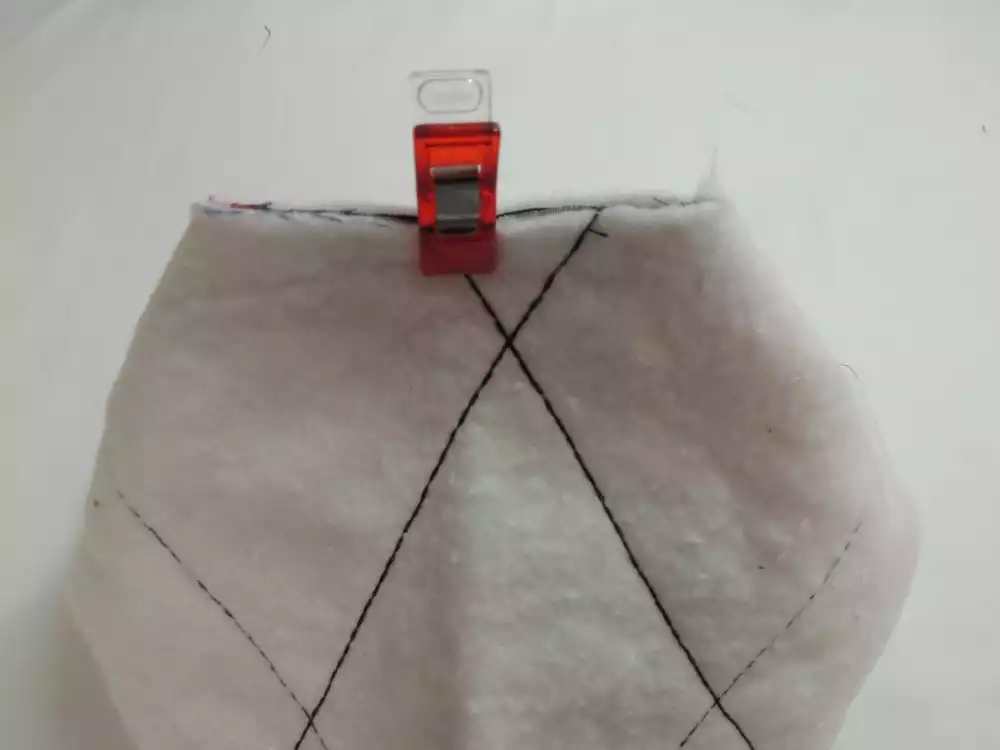
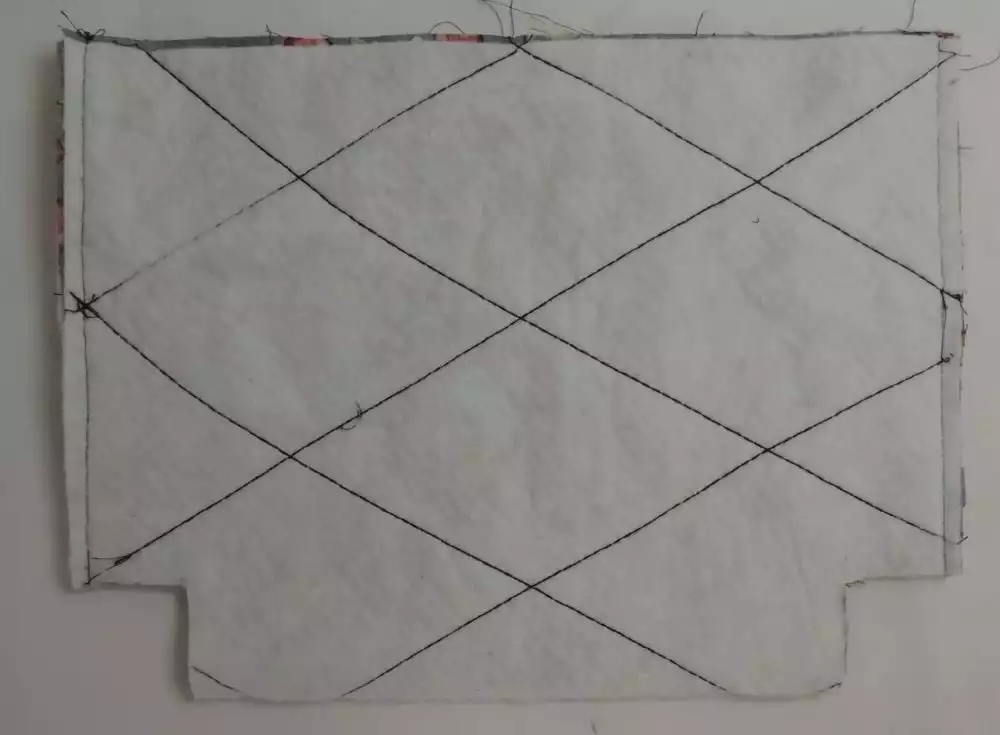
3. Engage the Pfaff® IDT ™ or Husqvarna® Viking® IDF™ and quilt the main fabric to the batting using a diagonal grid pattern.
4. Fold the rectangle right sides together matching the raw edges of the short sides at the top, and stitch the side seams.
5. Make Box Corners. Cut out a 1 ½” square from the lower corners of the bag.
6. Open up the corners, place them right sides together, matching raw edges and stitch across. Turn right side out.
7. To create the lining, fold the 15 ½” x 11 ½” lining fabric, fold the rectangle right sides together matching the raw edges of the short sides at the top, and stitch the side seams.
8. Box the corners referring to step 5 and 6.
9. Place the lining inside the main bag, wrong sides together, matching side seams and raw edges. Baste in place using a 1/8” seam allowance and set aside.
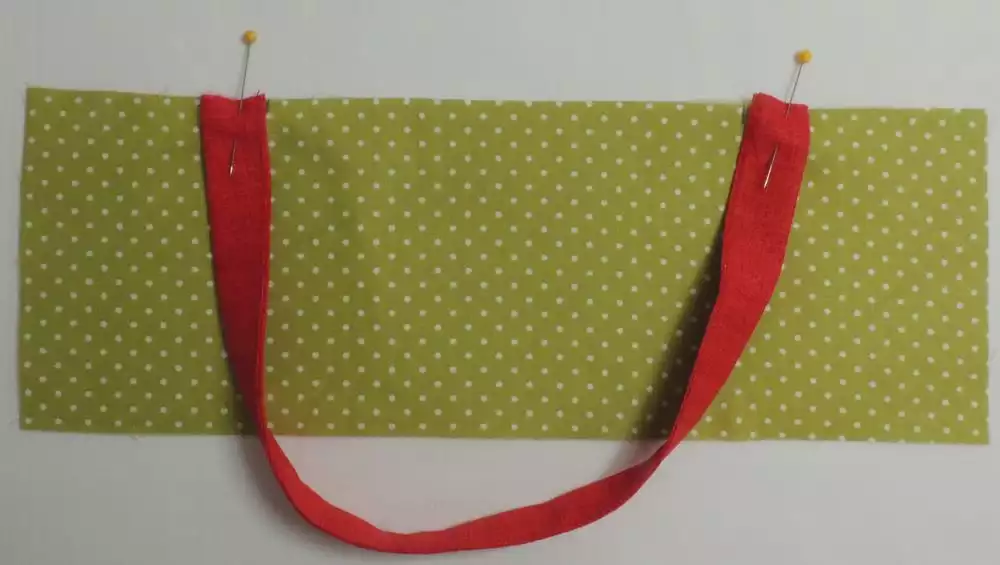
10. To make the contrasting band, fuse the interfacing to the wrong side of the 4” x 11 ½” strips. On the right side of each interfaced strip, make a 3” marking on both ends of the strip. Place the outer edge of one handle at these points on each end of the strip and base in place. Do this for both interfaced strips.
11. Pin the remaining 2 ¾ ” x 11 ½” strips to the top edge of the interfaced strip and handles, right sides together, stitching through all the layers being sure to catch the ends of the handles. Press the seam open. Repeat for the remaining handles.
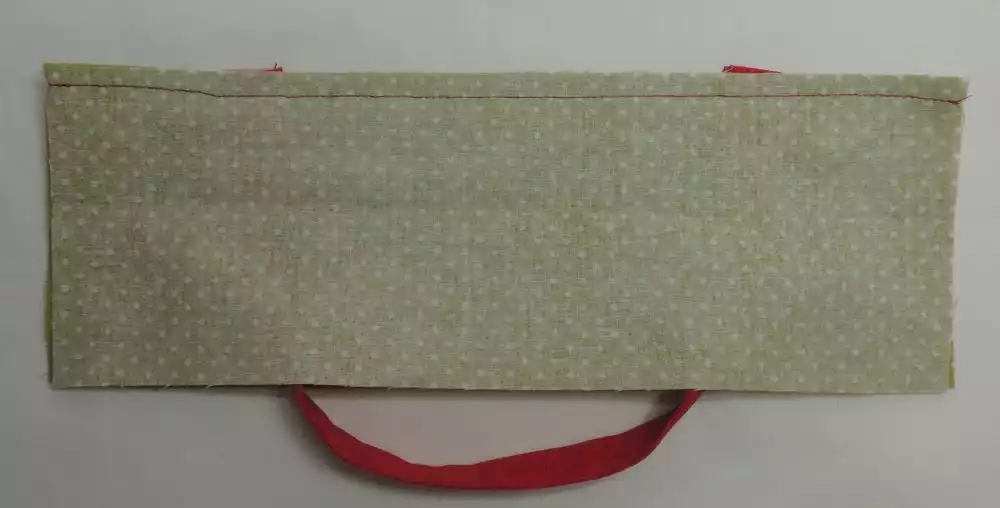
12. Sew the two handle units, right sides together, along both short ends creating a circle.
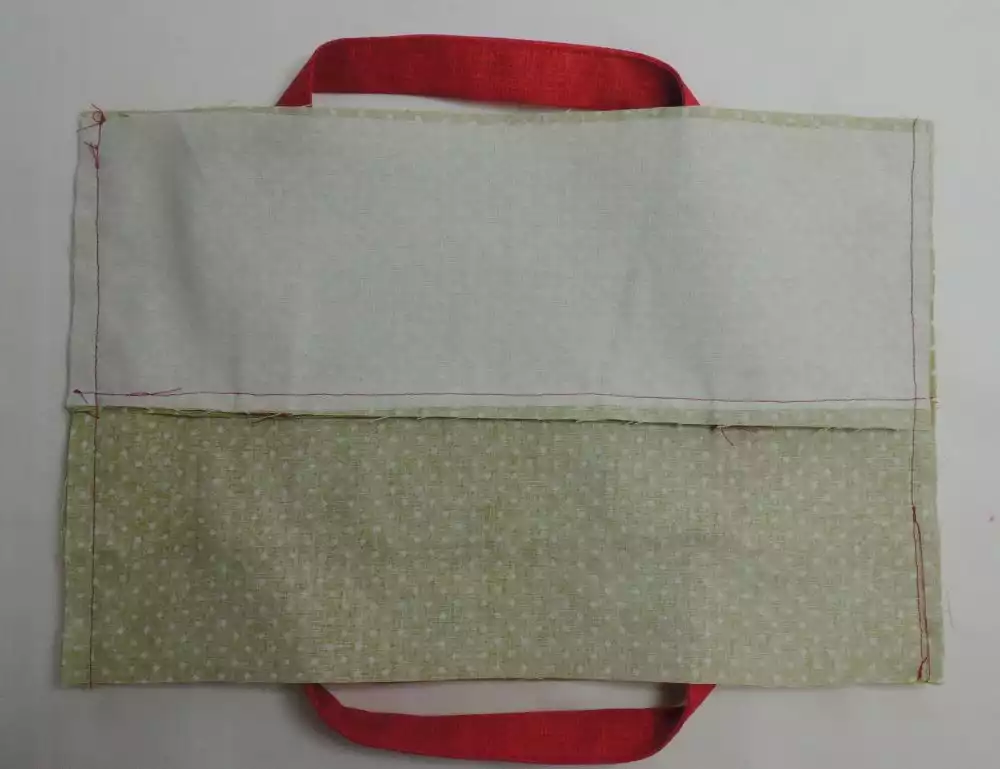
13. Fold the circle wrong sides together and press. Topstitch close to the top edge with handles extended creating the handle band.
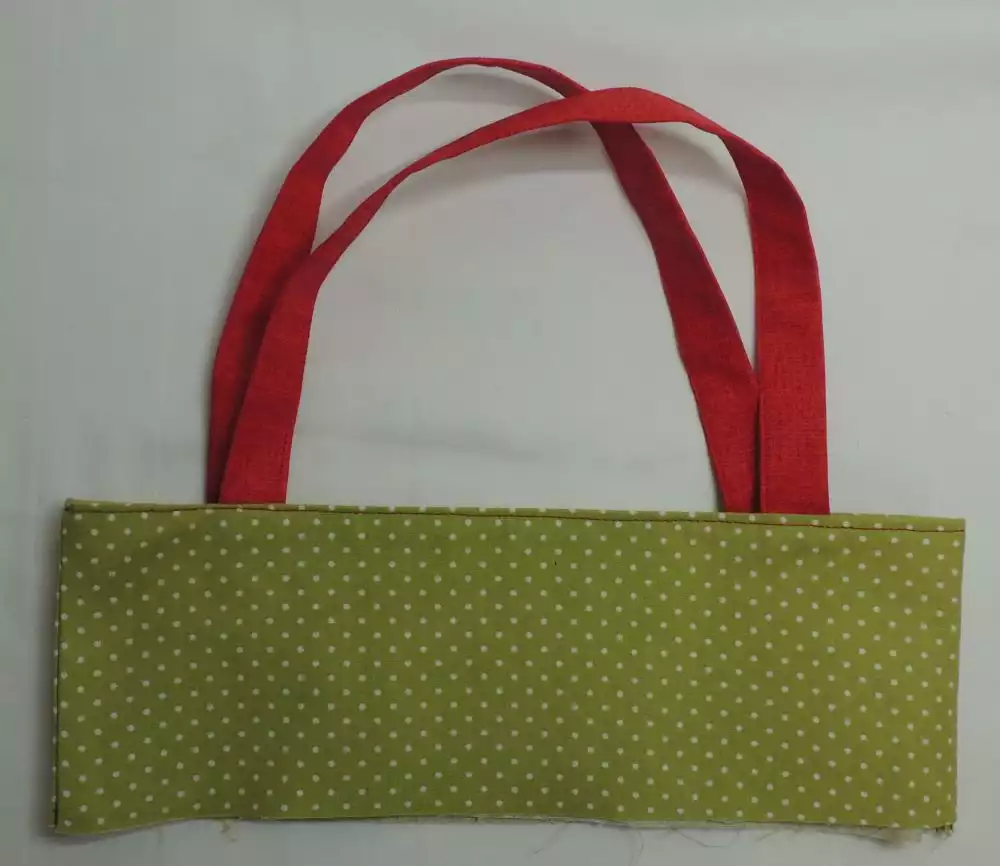
14. Place the handle band over the top of the bag matching raw edges and side seams. Stitch with a scant ¼” seam

15. To make the drawstring cover, sew the two 9” x 11 ½” pieces of fabric together along the short sides leaving a 2” opening on both sides.
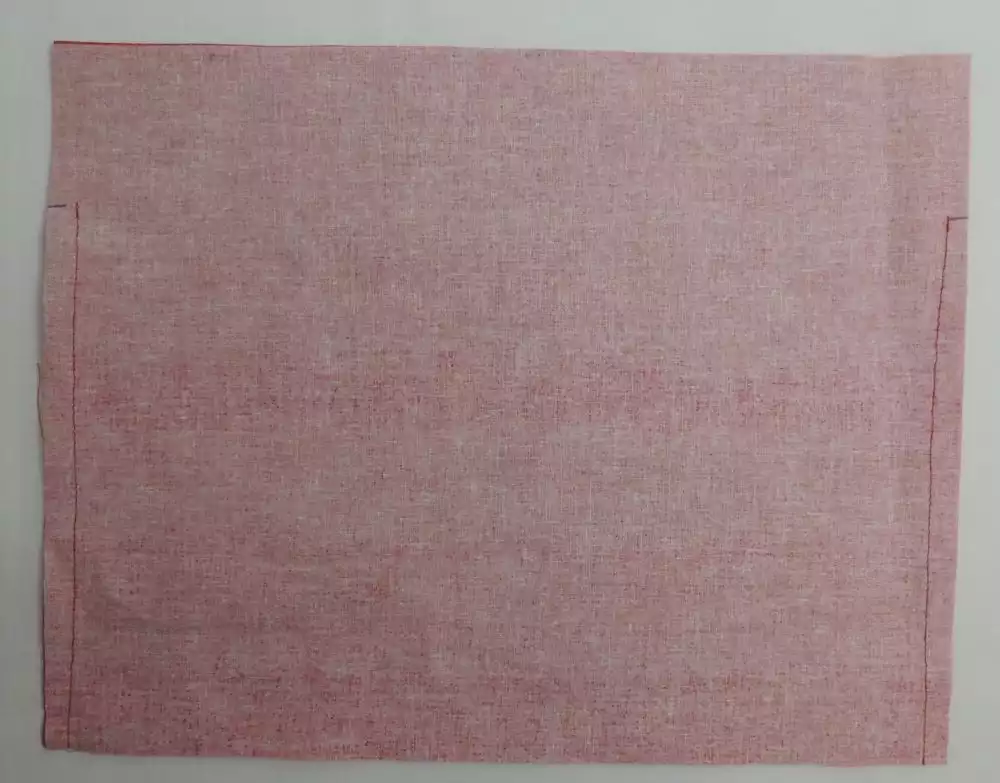
16. Press the seams open, including the 2” opening. Topstitch the opening a 1/8” from the folded edge of the opening.
17. Make a casing by folding the top edge ¼” to the wrong side, press and fold down another ¾”, press in place and stich close to the folded edge. Do not turn right side out.
18. Slip the drawstring cover over the bag with right sides together, matching raw edges and side seams. Stitch in place. Finish raw edge with on overlock seam or zig zag stitch.
19. Pull the cover up and push into the bag. Pull the handles up and away from the bag and press. Topstitch a ¼” around the bag through all the layers.
20. Pull the drawstring cover back out of the bag.
21. Cut the ribbon in half and thread through one end through the entire casing coming out on the same side of the bag. Knot the loose ends together. Do the same with the remaining half of the ribbon, starting at the opposite opening.
Now that the bag is complete, take a lunch break!