 United States
Remake of a Men's Shirt: New Cuffs
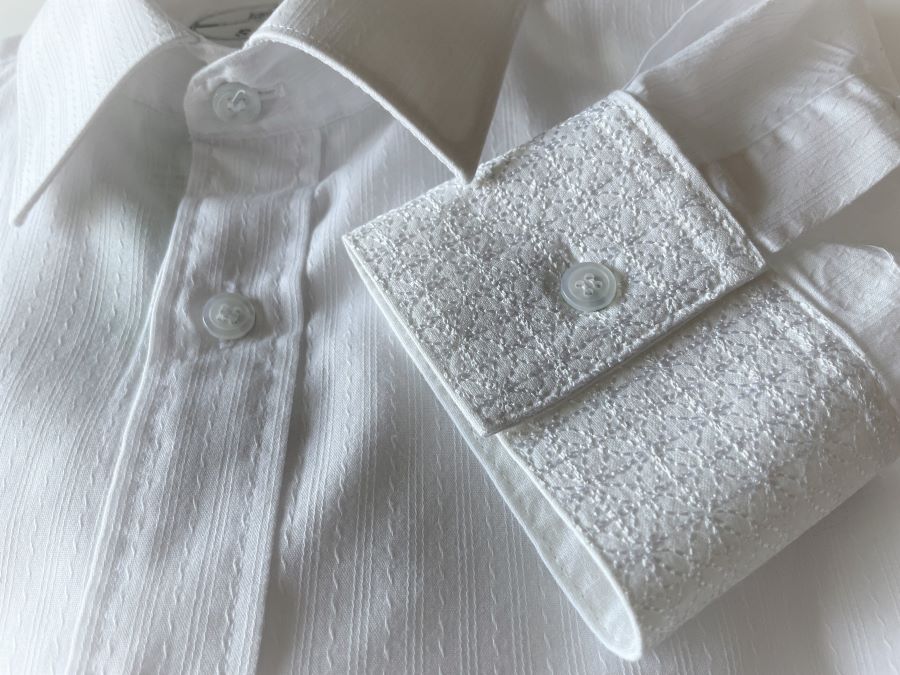
Give your old shirt a new life with updated cuffs!
What you need:
- Old shirt
- Fabric for cuffs
- Embroidery file
- Embroidery thread
Preparations
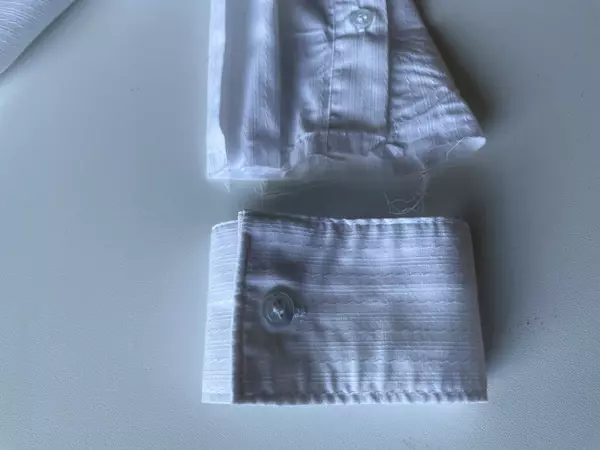
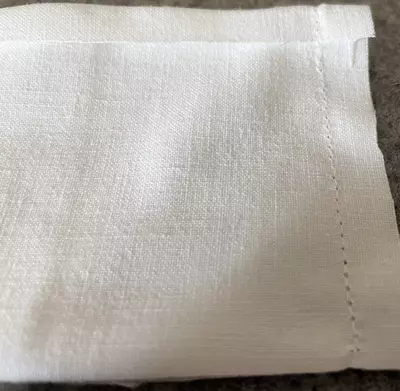
Measure the width and length of the original cuff and then remove the cuff from the shirt. 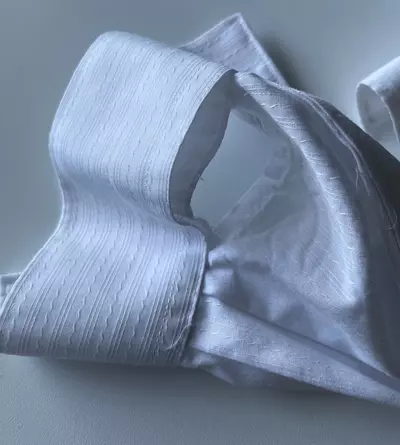
 Open the embroidery file in mySewnet Embroidery program and choose a hoop that will fit your embroidery.
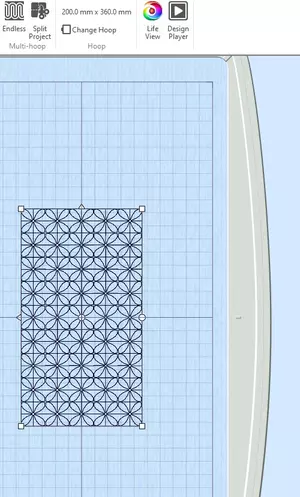
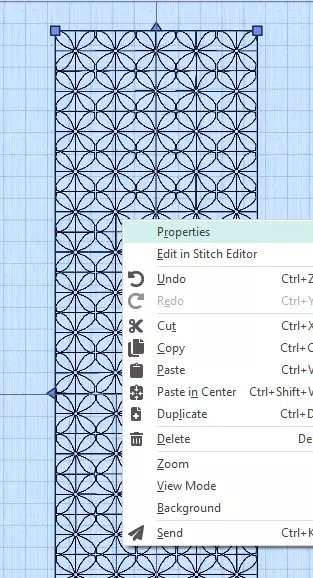
Combine the embroidery according to the original cuff´s measurements, to get the right size, use resize: Click on resize, the handles will turn blue. Right click on the embroidery file and choose properties. Unclick Proportional and adjust the size manually, then Export or send to machine.
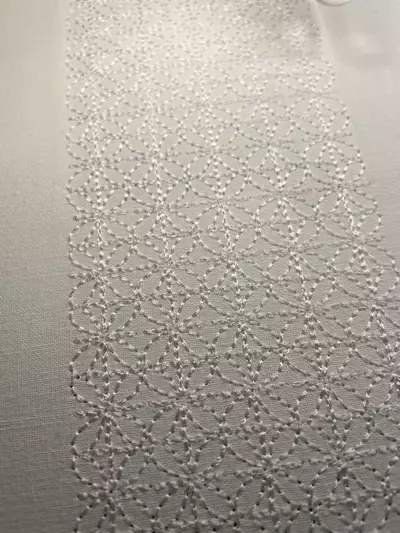
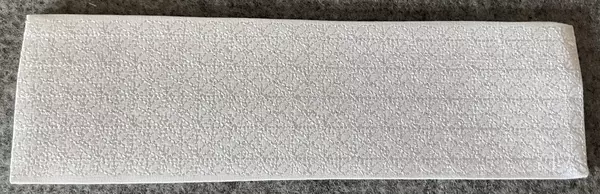
Stitch Out the Embroidery
Hoop fabric and stabilizer. Remember to make the fabric piece big enough to be able to fold it lengthwise to make the cuff double later. Stitch out the embroidery. Repeat to make the other cuff.
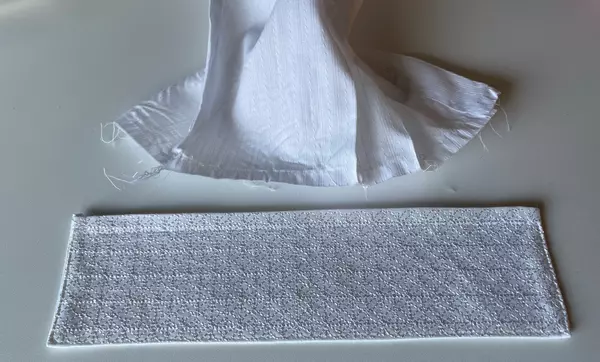
Sewing the Cuffs
Fold the fabric lengthwise close to the embroidery right sides together. 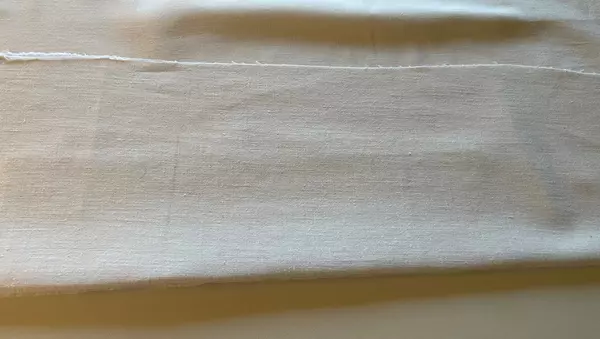
Cut ⅝” (1cm) from the embroidery on the other three sides. Fold the lengthwise seam allowances to the wrong side. 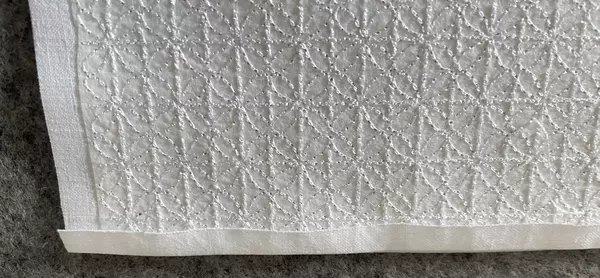
Pin the short sides together and sew.
Turn right sides out and press
Topstitch ⅝” (1cm) from the open edge and then close to the edges of the cuff.
Sewing the cuff back on the shirt
Put the raw edge of the sleeve in the slit on the cuff, pin in place. 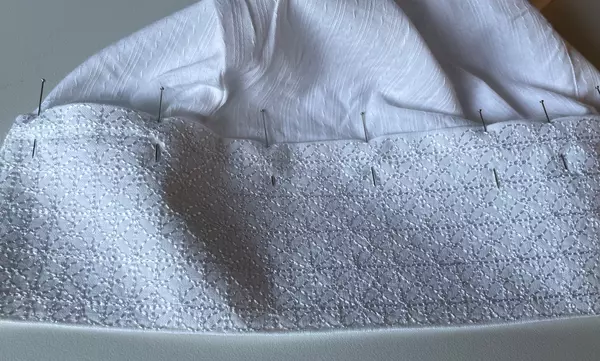
Topstitch, catching all layers in the seam. Sew a buttonhole and sew button in place. 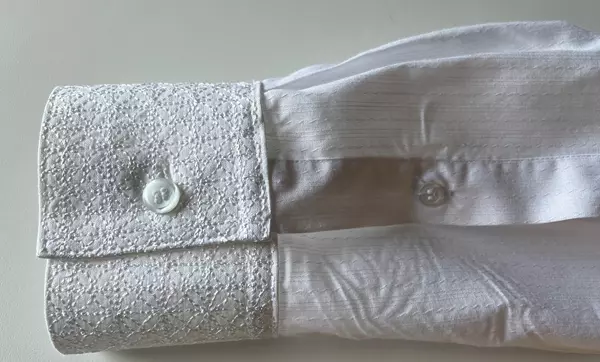
With 30-day Free Trial of mySewnet Embroidery Software you will get to try out the most user-friendly and feature rich digitizing software on the market. It works with all embroidery machine brands and is available for both Windows and Mac.