United States
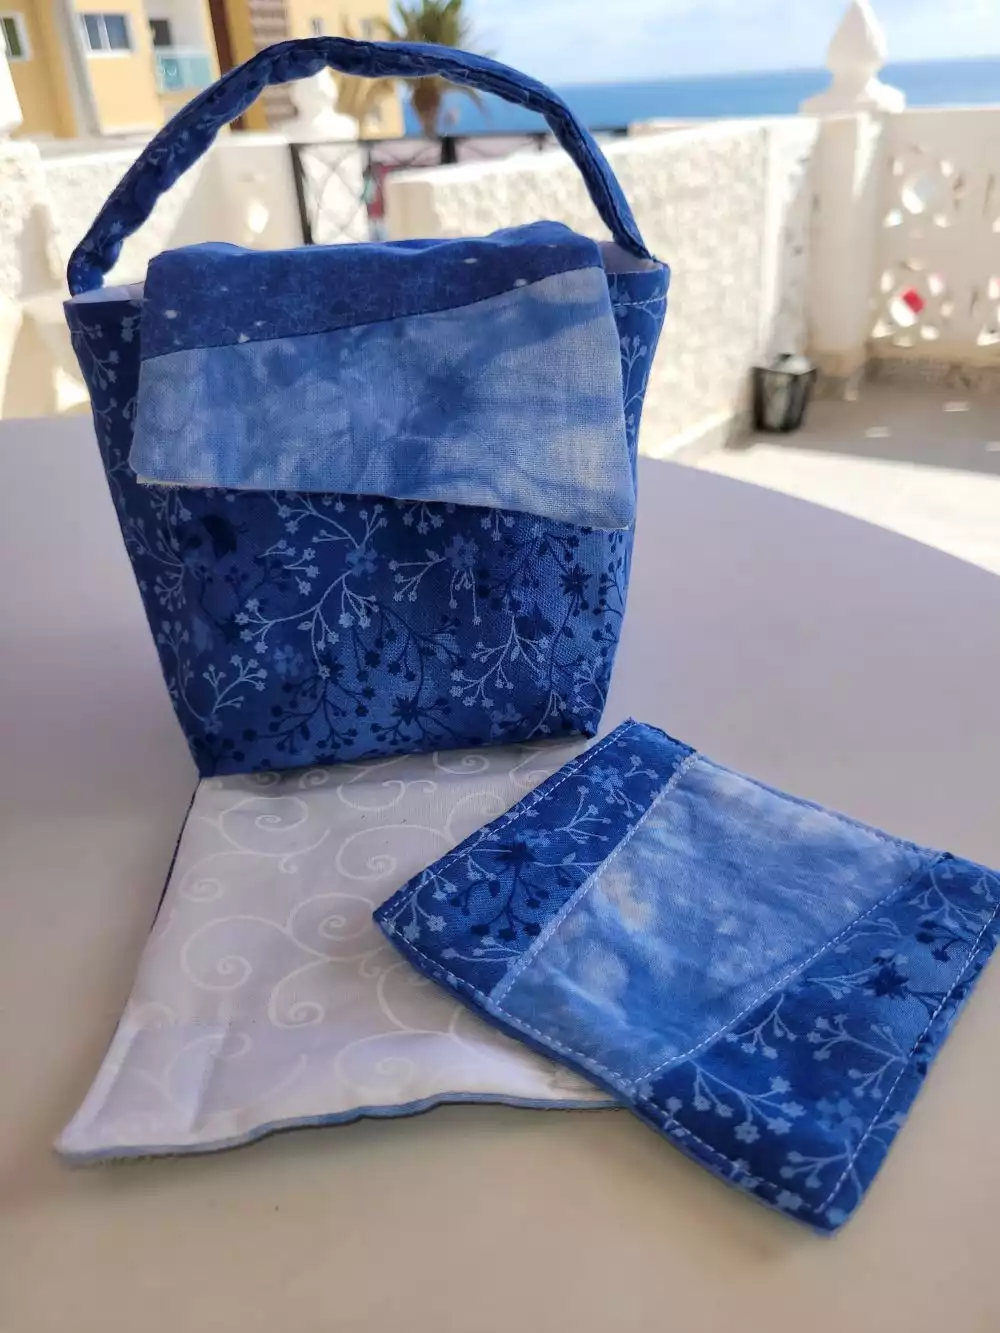
Quilt Class Mug Carrier with Mug rug
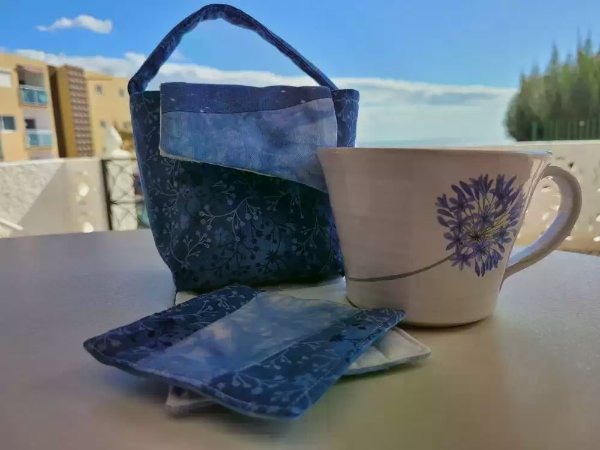
Go to quilt class and the coffe- or tea break in style with this practical Mug carrier with a matching mug rug!
What you need
- Fabric pieces for outer layer of wrap and mug rug 13 pieces at least 6”x4”
- Fabric for basket outer layer 2 pieces w 9”x h 7,5”
- Fabric for basket lining 2 pieces w9” x h7,5”
- Fabric for basket handle 1 piece 4”x8”
- Fabric for inside of wrap and small pockets 1 piece 5”x21”, 2 pieces 7”x5”
- Interfacing 2 pieces for basket outer layer 9”x7x5” and one piece for mug rug5”x5”
- Thin fusible batting 2 pieces for lining of basket 9”x7,5”, one piece for handle2”x8” 1 piece for Wrap lining (5”x21” and one piece for mug rug 5”x5”
- Velcro both hard and soft side 5” of each
- Coordinating thread
Preparations
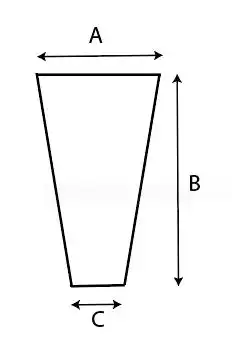
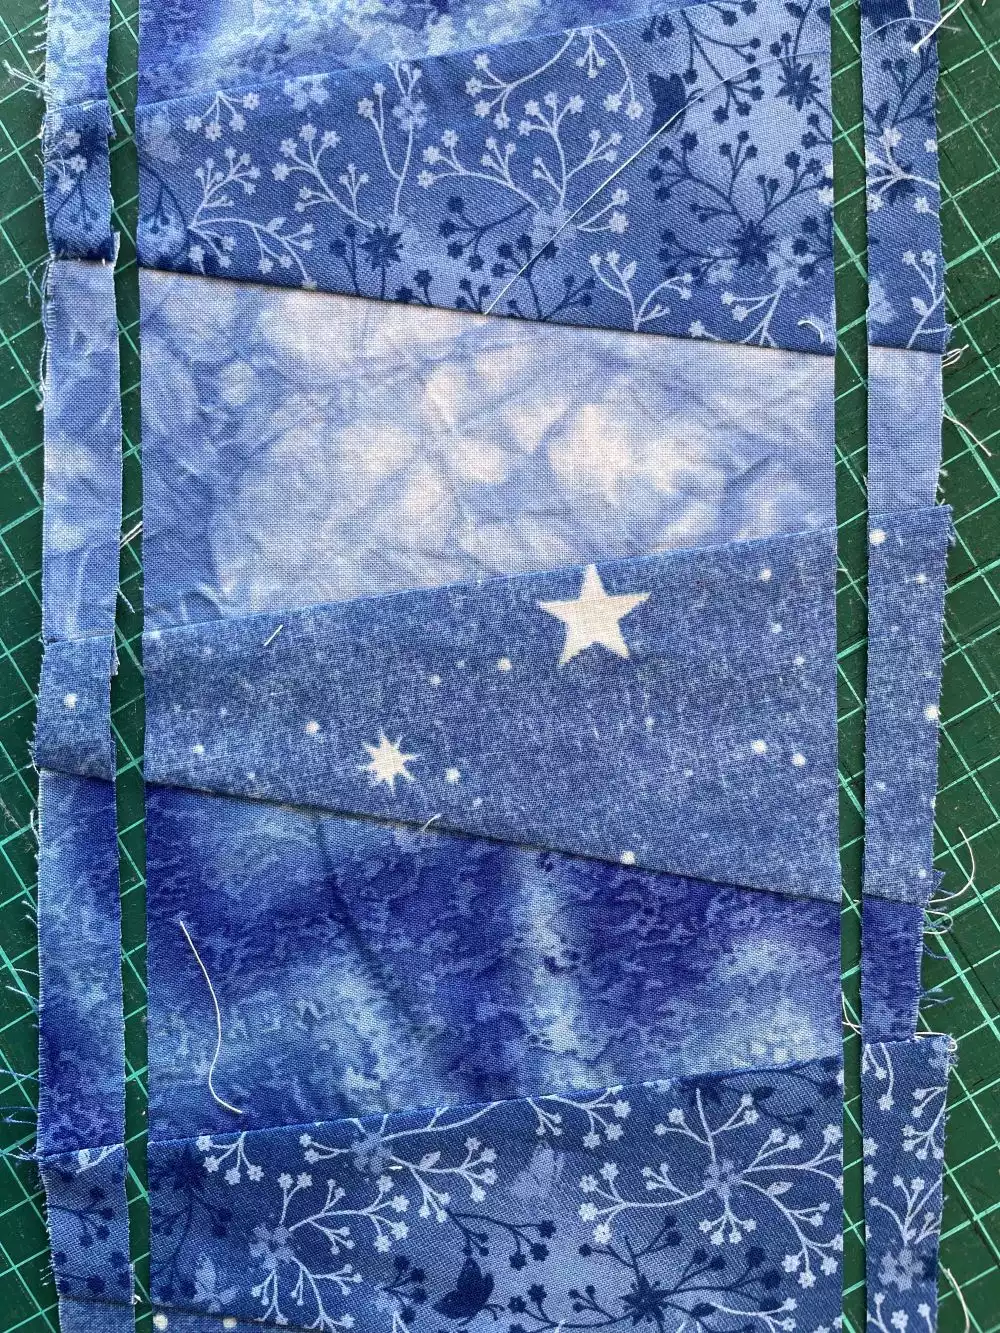
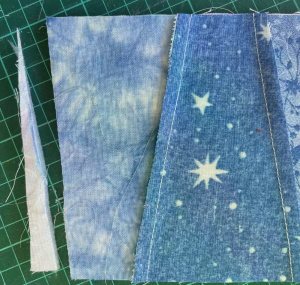
1. First make the template for the outer layer and mugrug pieces. The height (B) is 6” the width on top (A) is 3½” and at the bottom (C) 1½”. Seam allowance, 1 1/4 “ (6mm)is included
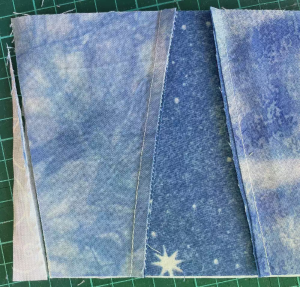
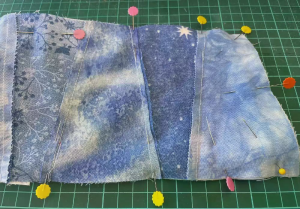
2. Cut out 13 pieces from the template, sew ten of them together for the outer layer of wrap and three for the mugrug. Press the seam allowances to one side.
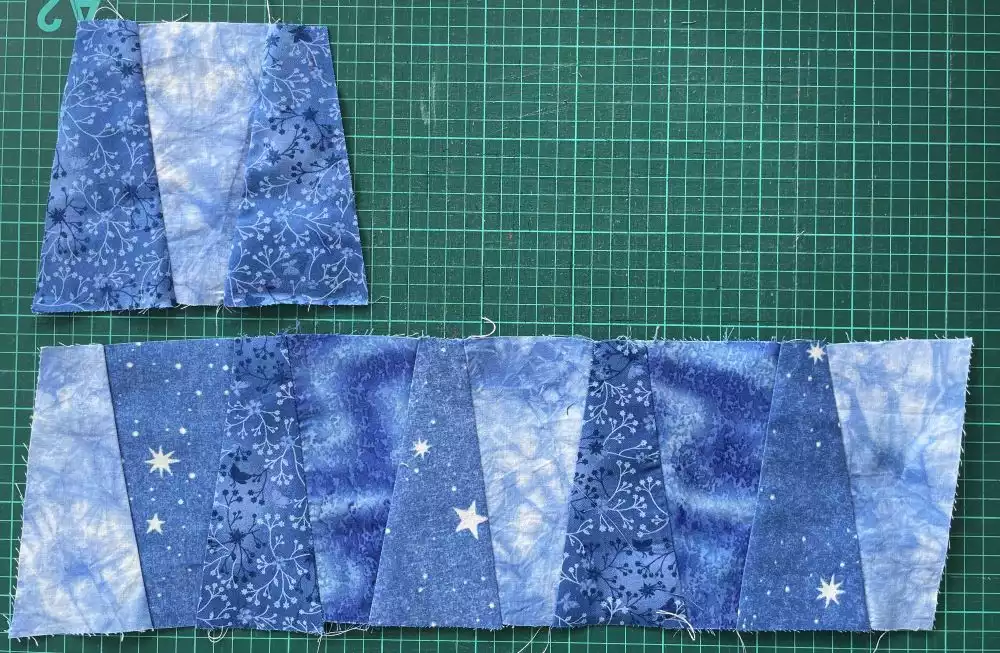
3. Cut the long edges even of the piece for the outer layer, finished width 5”. Put aside for now
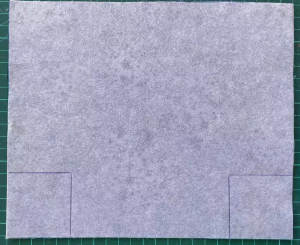
4. Press interfacing on the outer sides of basket, and on the backing for the mugrug
5. Press batting on the lining layer of the basket and the lining for the wrap. Also press batting on top of the interfacing and mugrug backing
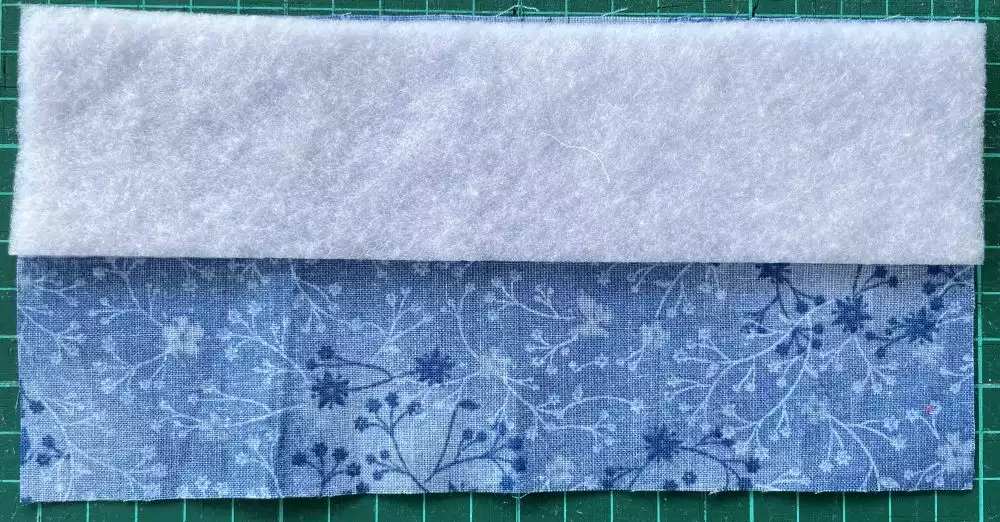
6. Press thin batting along one of the long edges of the handle.
Making the handle
7. Fold the long sides of the handle piece towards the middle and the fold them together. Stitch close to the long edges.

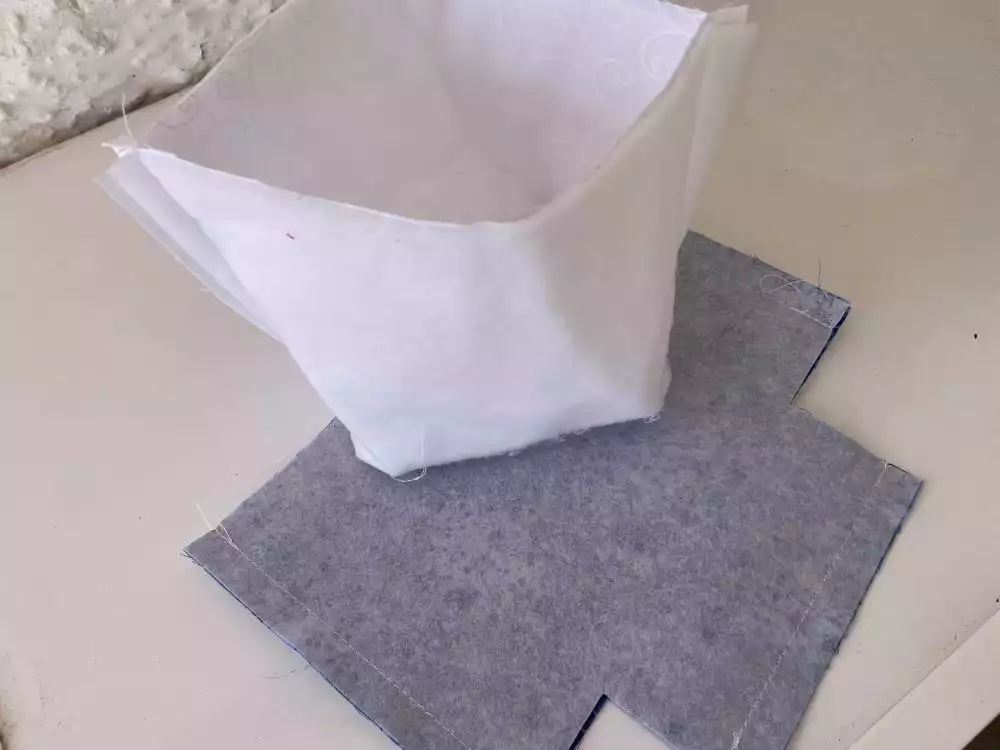
Making the basket
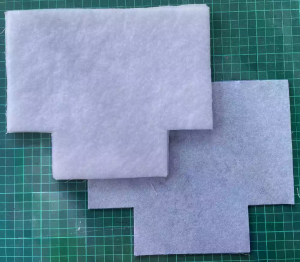
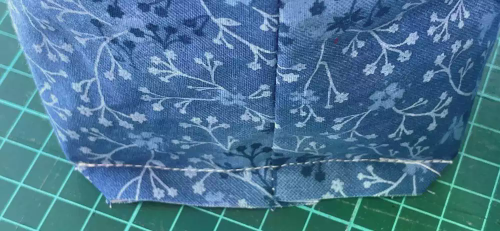
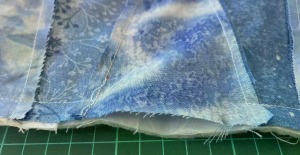
8. On the outer edge fabric and the lining cut out a 2” square from each of the lower corners. The finished result will look like this
9. Sew the sides and the bottom edges right sides together. Seam allowance is ½” (1,5cm)
10. Fold the bottom corner on the lining piece only and stitch right sides together with a ½” (1,5cm) seam allowance..
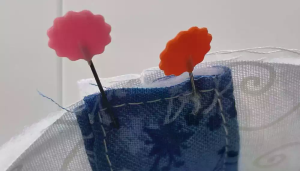
11. Turn the lining right side out, pin the handle matching the center of the handle with the side seam of the lining. Put the outer layer in place and pin around the edge, matching side seams.
12. Sew together with ½” (1,5cm) seam allowance around the pinned edge Turn right side out through one of the bottom corner openings of the outer layer.
13. Topstitch about ¼” (6mm) from the edge.
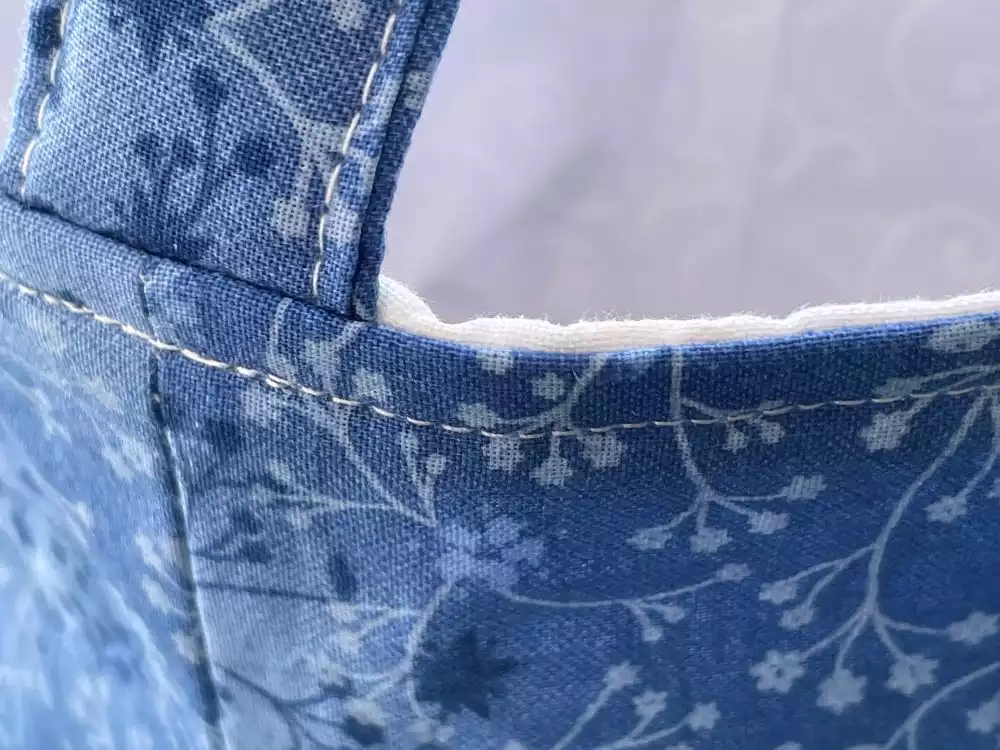
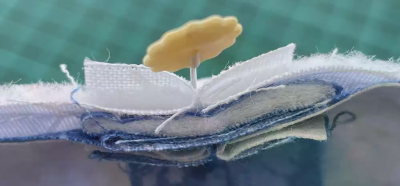
14. Stitch the bottom corner of the outer layer together on the outside with a ½” (1,5cm) seam allowance. Be careful not to catch the lining in the stitching.
15. The basket is now finished, put aside for now.
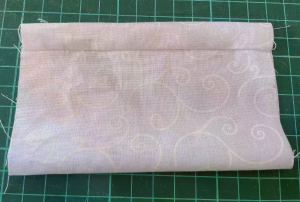
Preparing the wrap
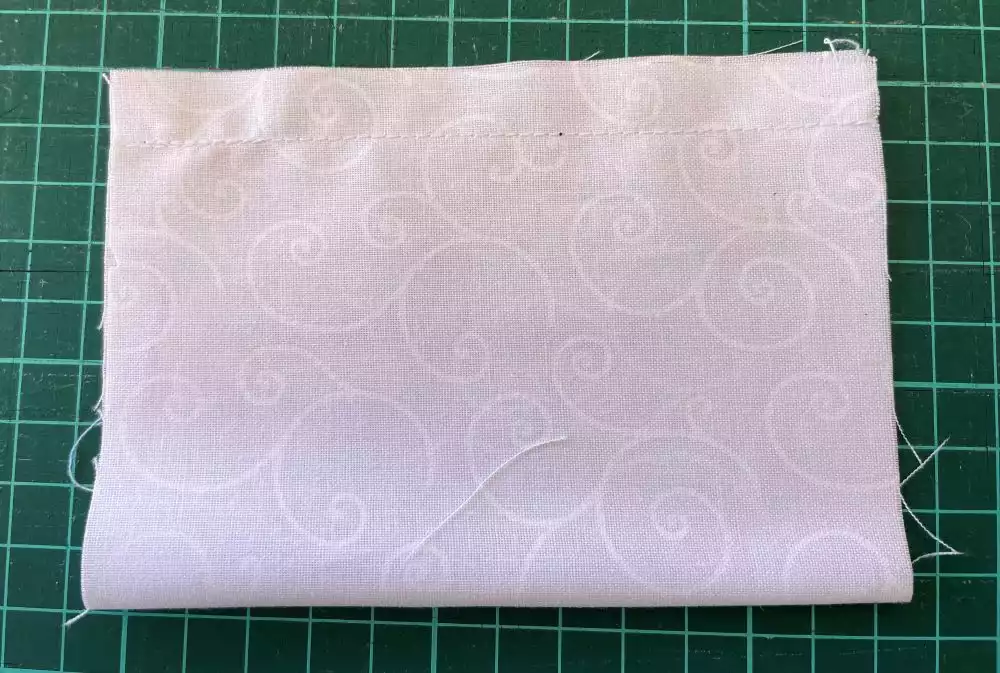
16. Put the outside wrap piece on top of the lining right sides together. Cut the short ends to match the pieced top
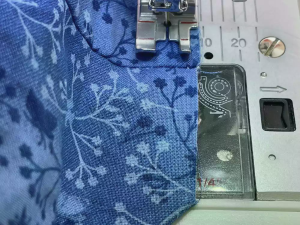
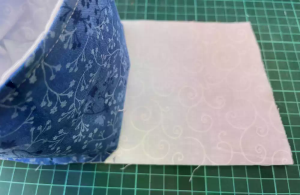
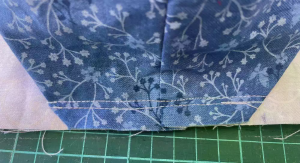
17. Take the lining piece and make a mark 5” from one of the short sides. Place the basket on the mark and stitch in place on both sides (stitch on top of the previous seams of the basket corner)
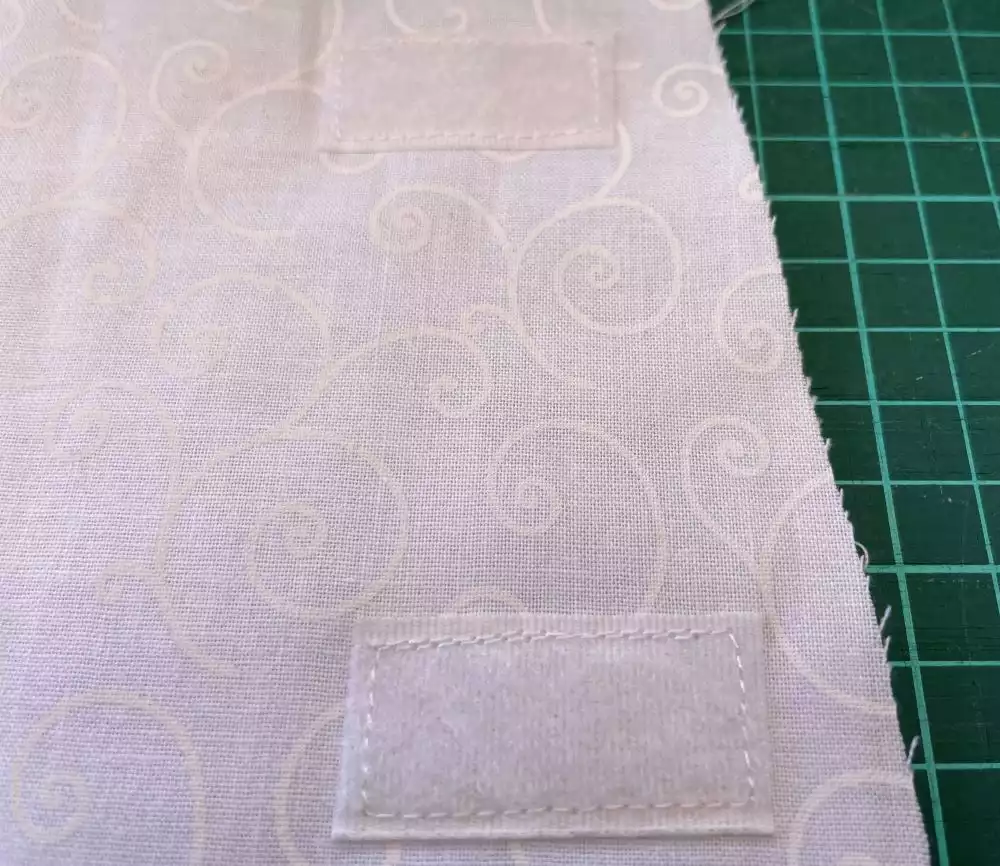
Making the inside pockets
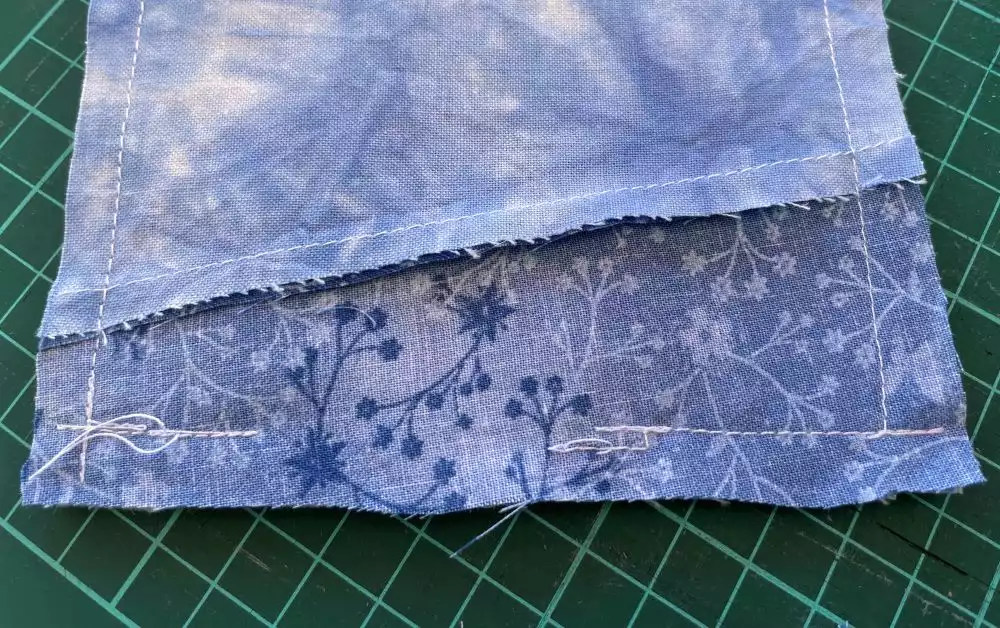
18. Take one pocket piece and fold it right sides together. The piece is now 3½”x5”. Sew the short ends together with ½” (1,5cm) Seam Allowance, turn right side out.
19. Fold the seam allowance towards the top and fold. Stitch close to the seam, this will make a nice edge on the pocket. Make another pocket the same way.

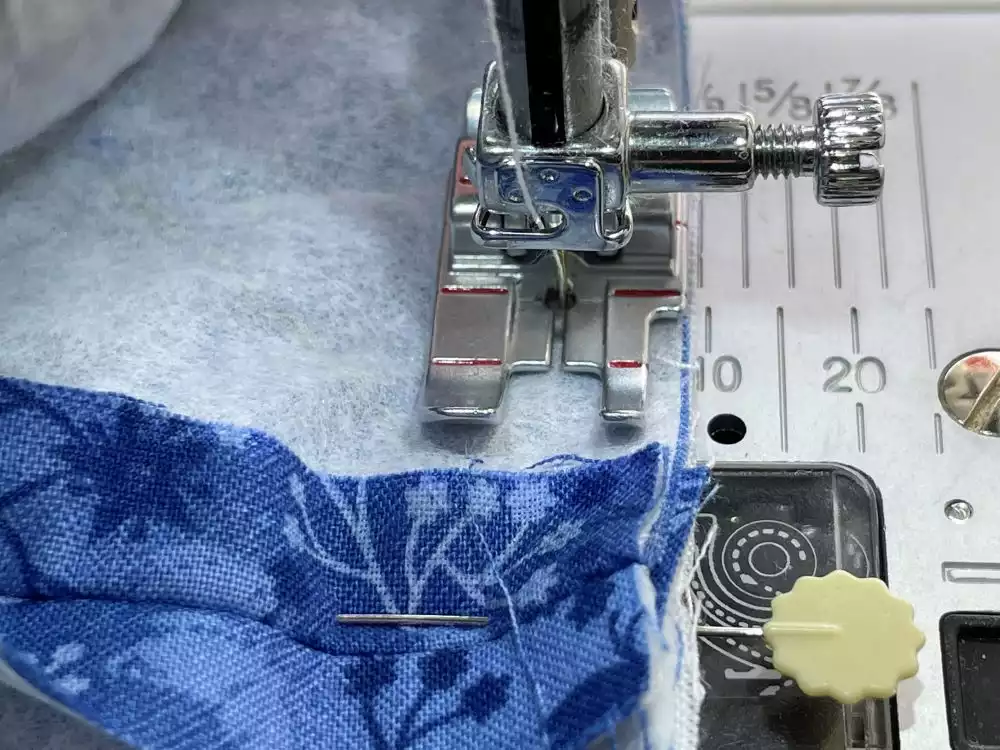
20. Place the first pocket close to the basket on the wrap, and the other about ¾” (2cm) away. Stitch the bottom edges to the lining, start with the bottom pocket.
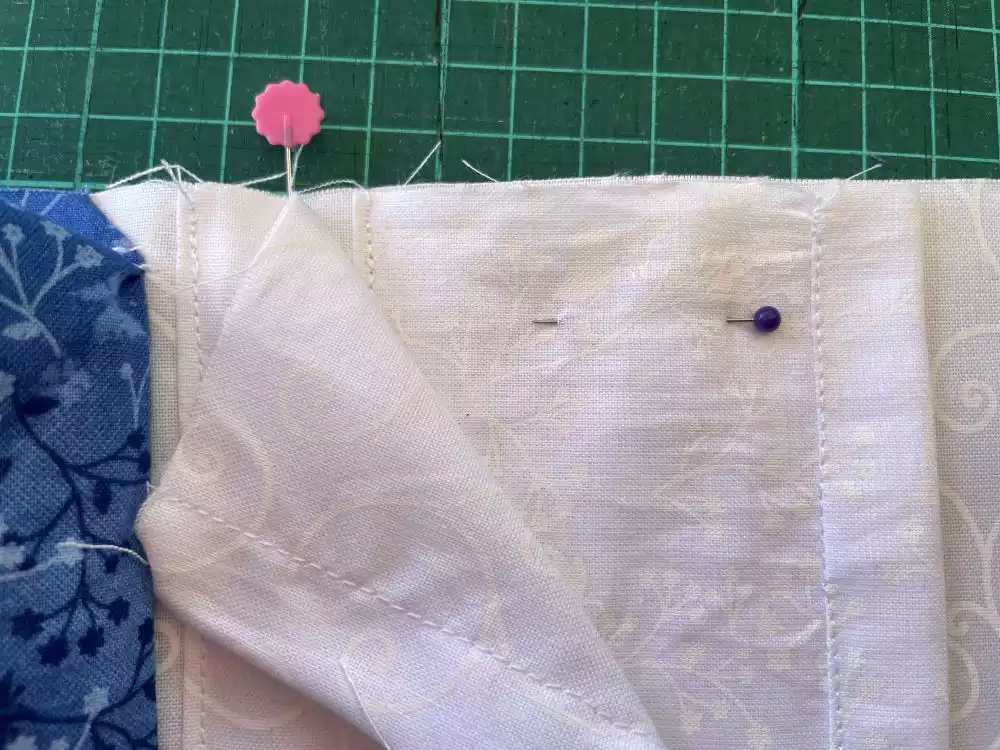
21. Baste them in place along the sides about ¼” (6mm)from the edge to hold them in place.
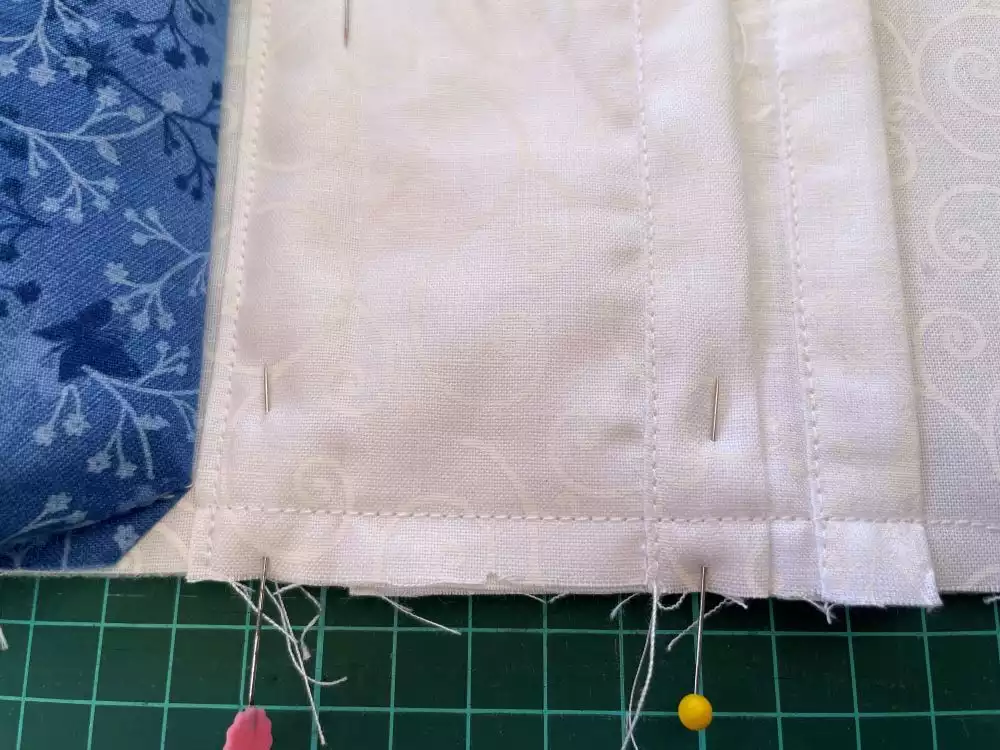
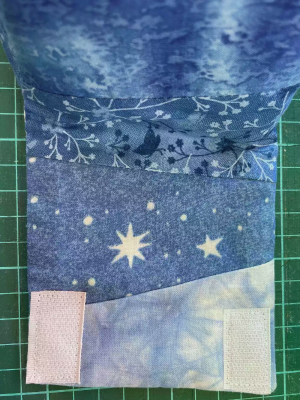
22. Cut the velcro into two pieces, each 1 ½” (4cm)both the soft and hard side. Place the soft side on the lining piece of the wrap, ½” down from the short side and ½” in from the long side. Stitch in place.
Putting it all together
23. Pin the outer layer of the wrap on top of the lining, right sides together. Pin in place. Stitch around the edges but leave an opening for turning about 2” (5cm) on one of the long sides. Keep the basket out of the way when stitching,only catching the sides in the seam.
24. Turn right side out and press.
25 Handstitch the opening closed.
26. Place the hard velcro pieces on the outside of the short end of the wrap and stitch in place through all layers.'
Making the mug rug
27. Place the backing fabric with the interfacing and batting attached on top of the front piece, right sides together.

28. Stitch together but leave a small opening for turning. Use a ½” (1,5 cm) seam allowance.
29. Cut away excess fabric, leave about ¼” (6mm). Turn right side out and close the opening by hand. Press.
30. Stitch close to the edge and on top of the mugrug.
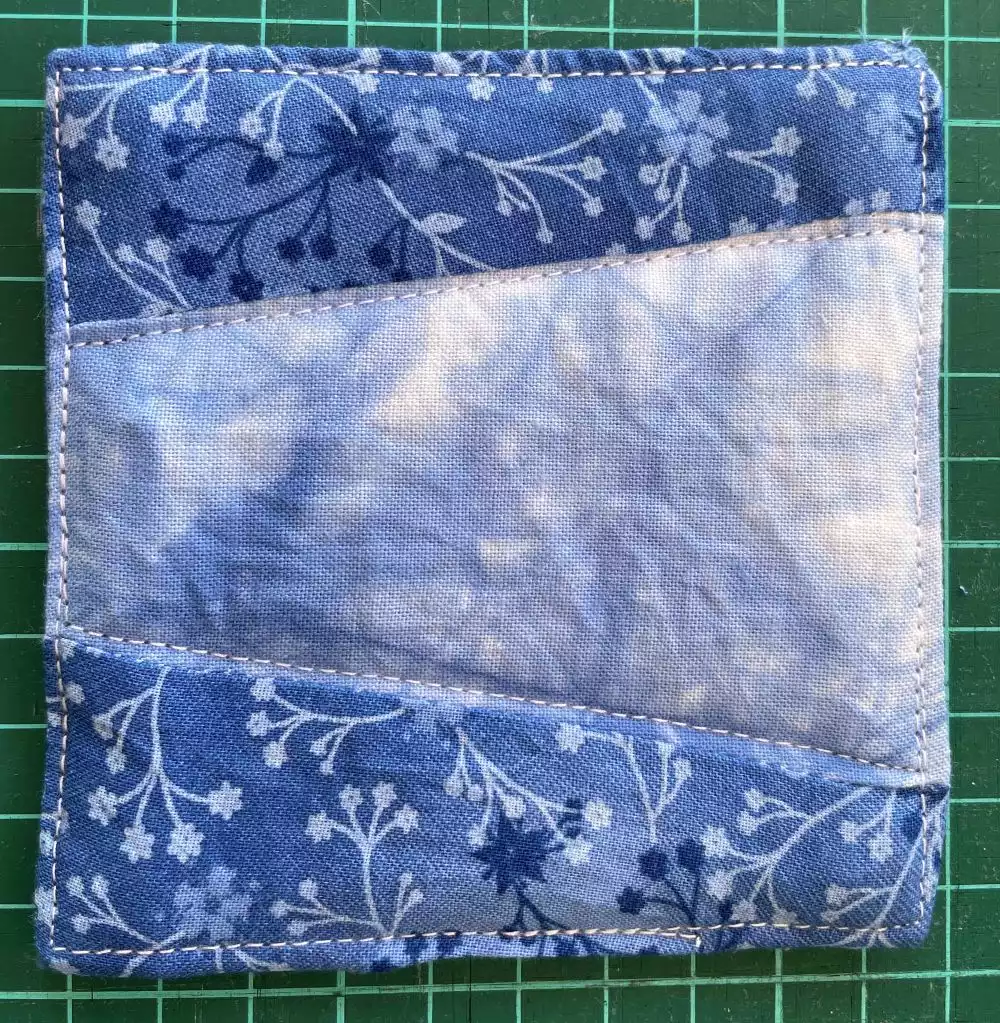
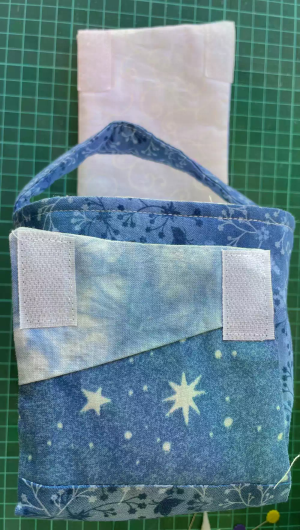
Your project is finished, well done!