 United States
Quick Serger Gift Bag
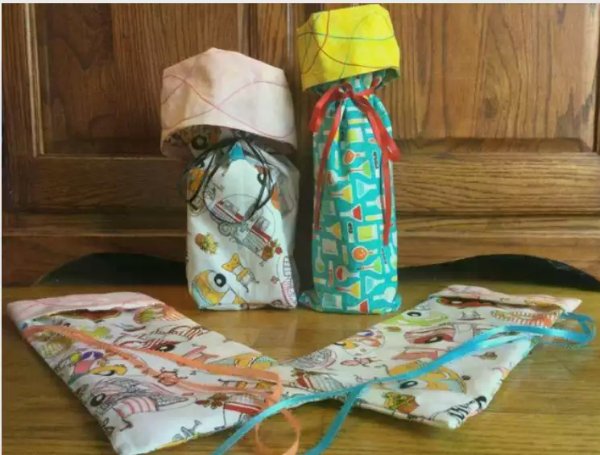
Use your Serger/Overlock Machine to quickly decorate and stitch this reusable gift bag. The dimensions in these instructions are for a bag that will hold a bottle of wine, the size can be adjusted to make bags for gifts of any size.
What you need:
- Serger/Overlock Machine with chain stitch (or flatlock)
- Solid fabric for the lining –1 piece cut 18” tall by 12½” wide
- Print fabric for outside-1 piece cut 18” tall by 12½” wide
- Matching ¼” ribbon-1 yard
- Thread in matching color for construction
- Decorative thread in contrasting color for decorative chain stitching
Decorate the Lining
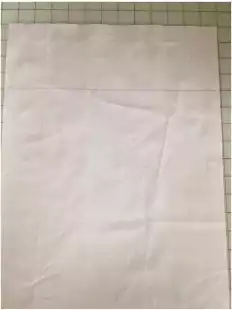
1. Draw a line across the wrong side of the lining fabric 4 inches down from the top.
2. Set your serger up for a chain stitch using decorative thread in the chain looper. (If your serger does not have a chain stitch you could use a flatlock stitch with decorative thread in the loopers)
3. Place the lining fabric on the serger right side down and sew random lines of stitching on the wrong side of the fabric in the 4-inch area between the line and the top of the fabric so that the looper thread is on the right side of the fabric

Bag Construction:
4. Set the serger up for a 4-thread overlock stitch.
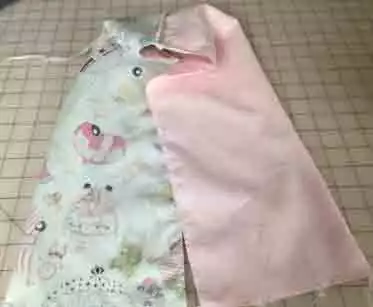
5. Place the lining fabric and the outer fabric right sides together with the decorated portion of the lining at the top of the outer fabric. Be mindful of directional fabrics as you are placing these fabrics.
6. Serge across the top seam.
7. Press the seam towards the lining.
8. Fold the ribbon in half and place the folded edge on the edge of the outer fabric on the right side of the fabric 6 inches down from the fold. Make sure that the loose ends of the ribbon to not get tangled in the seam.
9. Fold the bag with the right sides together so you have a folded piece that is 36 inches long and 6½ inches wide.
10. Serge along the 3 raw edges leaving a 2-inch opening for turning.
Optional Boxed Corners:
11. Pull the two layers of lining away from each other so you can fold it back aligning the side seam or fold underneath the bottom seam. You will have 2 points on the folded fabric.

12. Lay flat and mark 1 inch down from the corner.
13. Serge across the seam at the 1-inch mark.
14 Repeat for the 2nd corner on the lining and the 2 corners on the outer fabric.
15. Turn the bag right side out and press.
16. Stitch the opening closed using your preferred method with the serger, sewing machine, or hand stitching.
Finishing:
17. Fold the lining to the outside so that the lining is just above the ribbon in the seamline. Press.

18. Place your gift or bottle in the bag and tie the ribbon around the outside of the bag.
Enjoy using your new gift bag.