United States
Project in the Hoop Christmas Tree
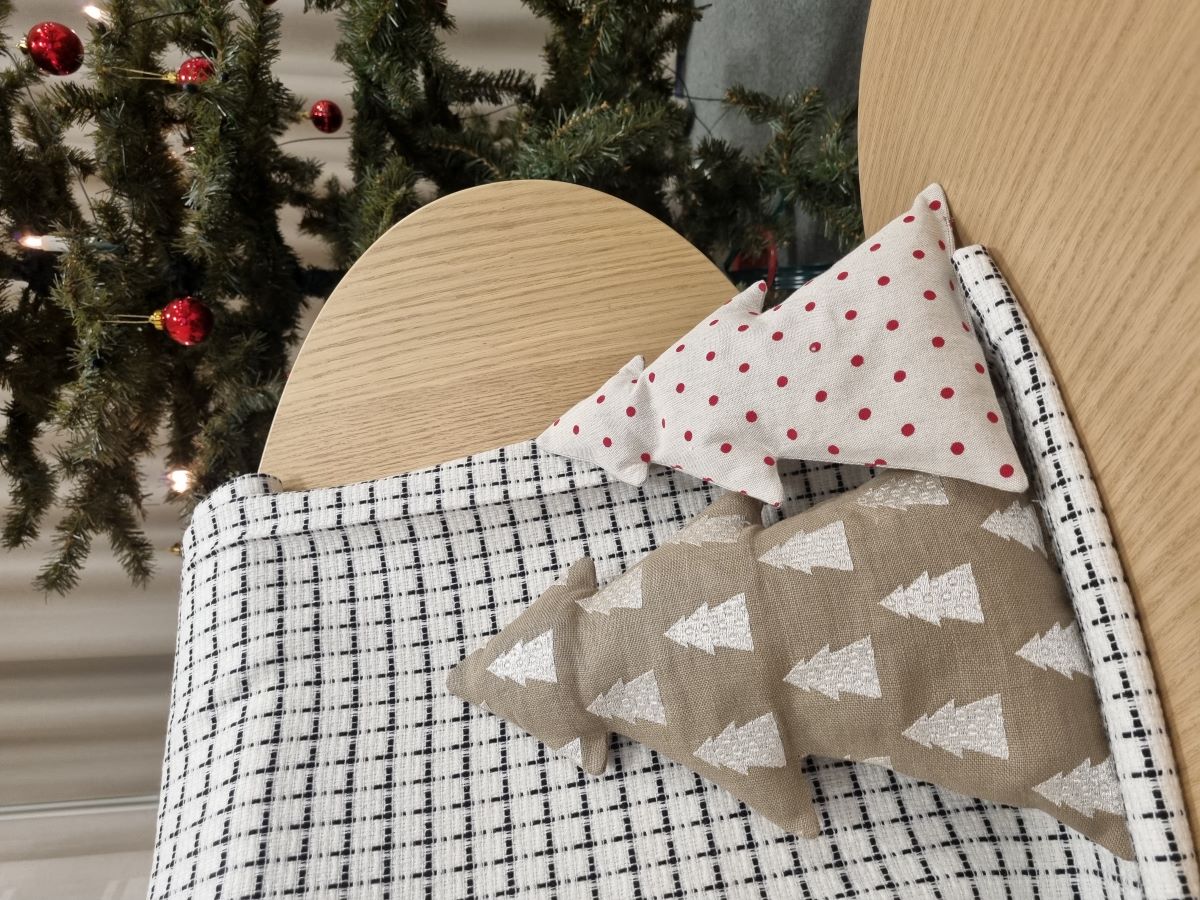
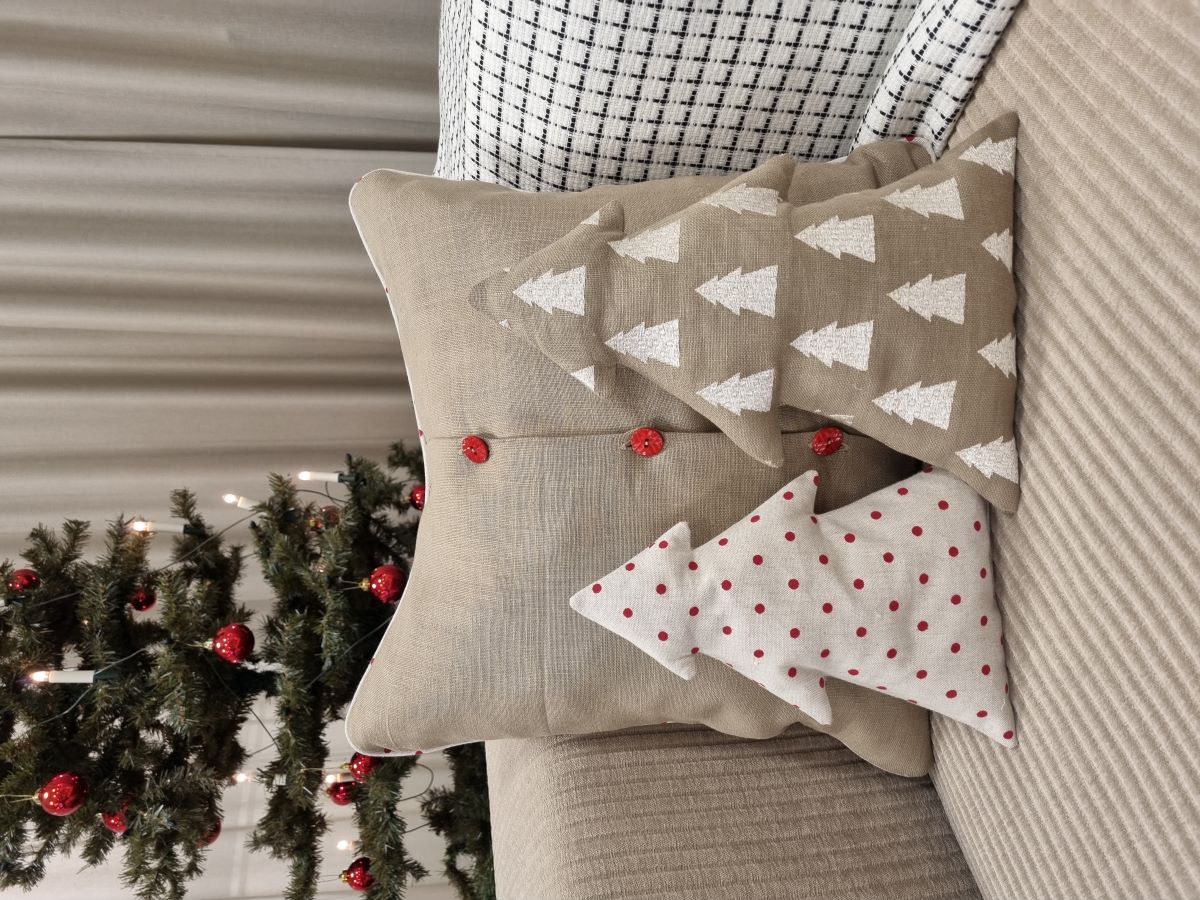
It’s Christmas time! This is a quick and easy project that is perfect for you who don’t have a lot of spare time this time of the year- but still want to add something new to the Christmas decor. It’s also the perfect project to do together with your small ones since it is a lot about the basics of embroidering. Fill the tree with whatever you have laying around, fabric scraps, filling from an old pillow or perhaps uncooked wheat or rice, for which case it makes the coziest heating pad to heat up in the microwave. Enjoy!
What you need:
- Fabric: 2 pcs á 16” x 20” (40x50 cm)
- Tear Away Stabilizer (if your decorating the tree with embroidery)
- Fill (leftover fabric scraps, cotton from an old pillow, wheat or uncooked rice)
- Embroidery thread
- Sewing thread (color suitable for the fabric you choose)
- 360 mm x 260 mm hoop
- Pins/Fabric clips
- Iron and Ironing board
- Embroidery files
Embroidery Design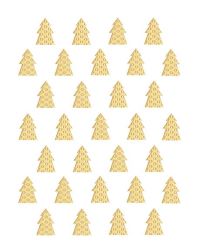 Embroidery Design
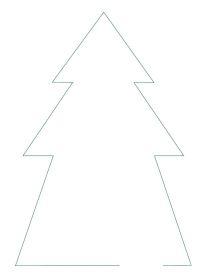
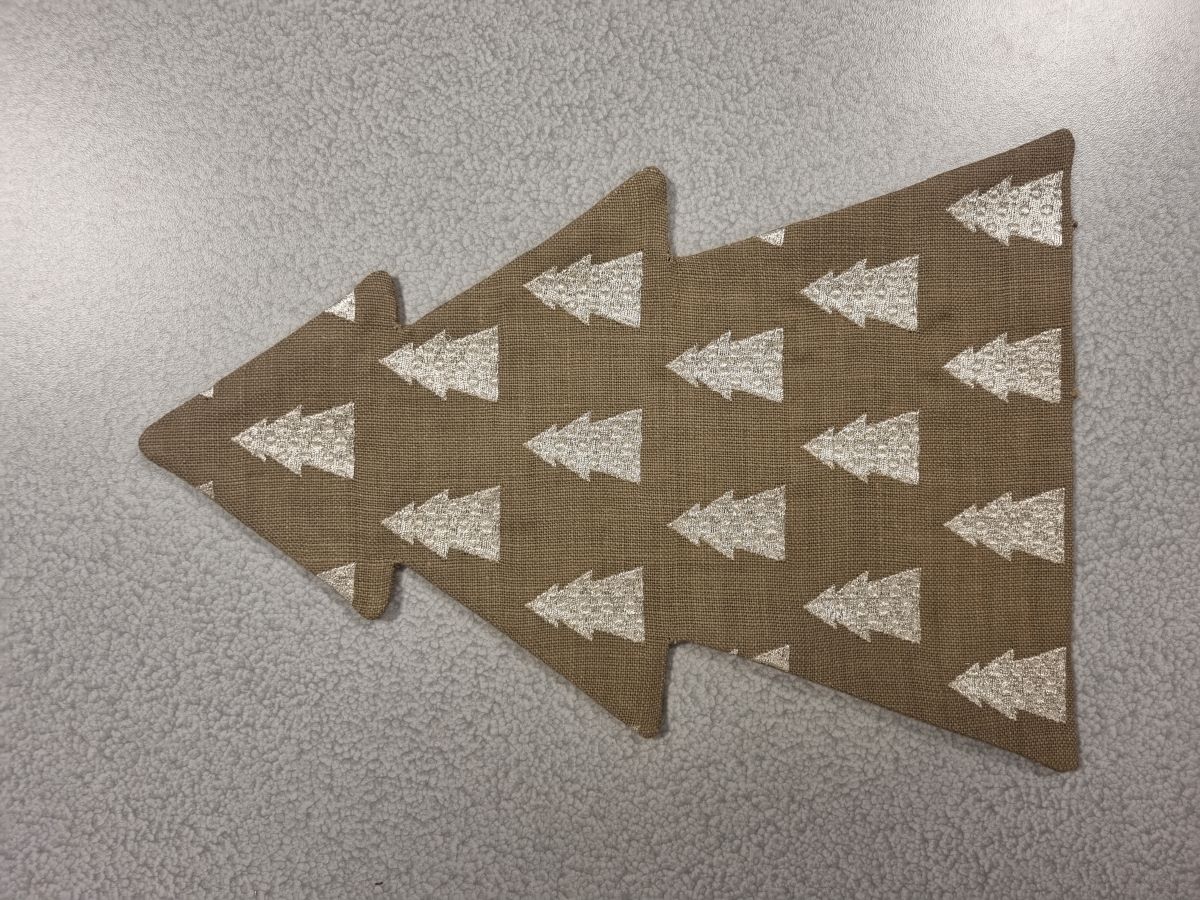
All over fabric decorating
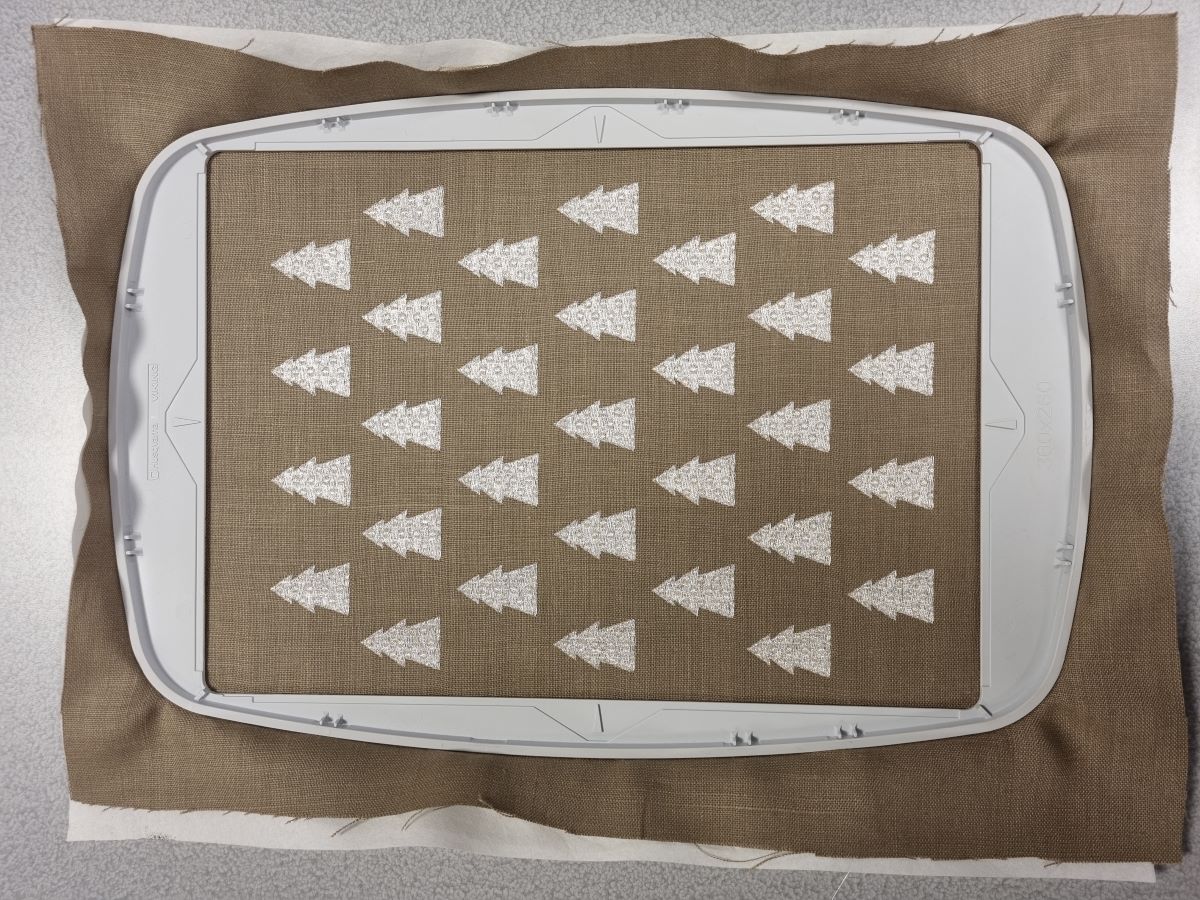
Send the All over pattern embroidery file to your mysewnet enabled machine, or download the file and load onto your machine with an USB-stick.
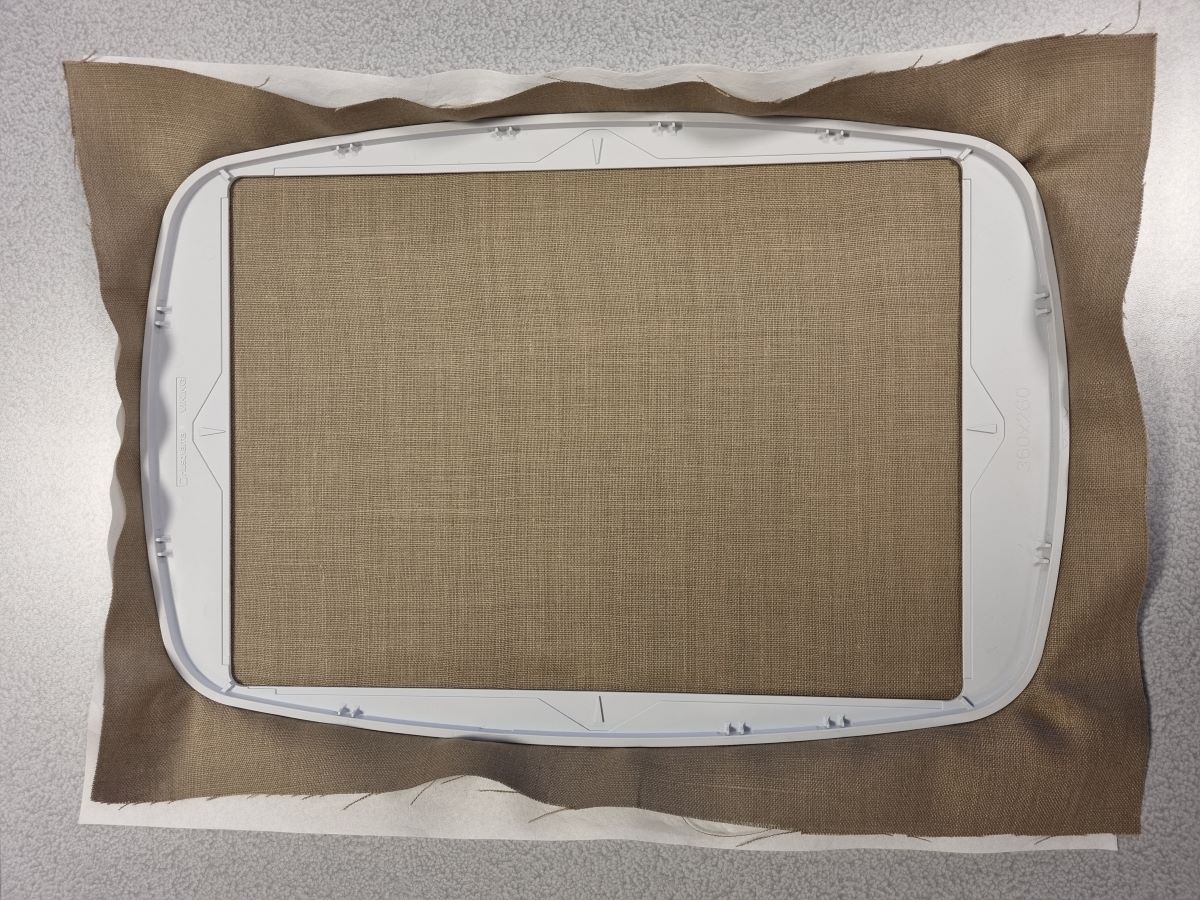
2. Take one of the two pieces of fabric and hoop it with a piece of stabilizer behind, in the 360 mm x 260 mm hoop.
3. Thread the machine with an embroidery thread of your choosing (I chose Robison-Anton Metallic thread 1002) and embroidery bobbin thread in the bobbin.
4. Embroider the All over trees pattern onto the fabric.
5. Remove the hoop from the machine, but DO NOT unhoop the project yet. And go back to embroidery edit.
Project in the hoop
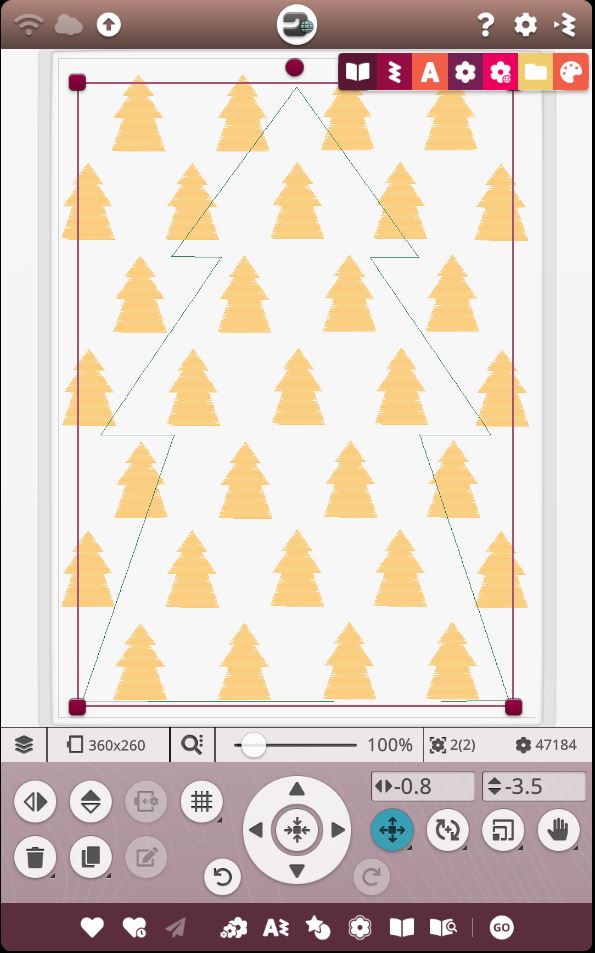
6. Send the “Christmas Tree pillow_335mm” embroidery file to your mysewnet enabled machine, or download the file and load onto your machine with an USB-stick.
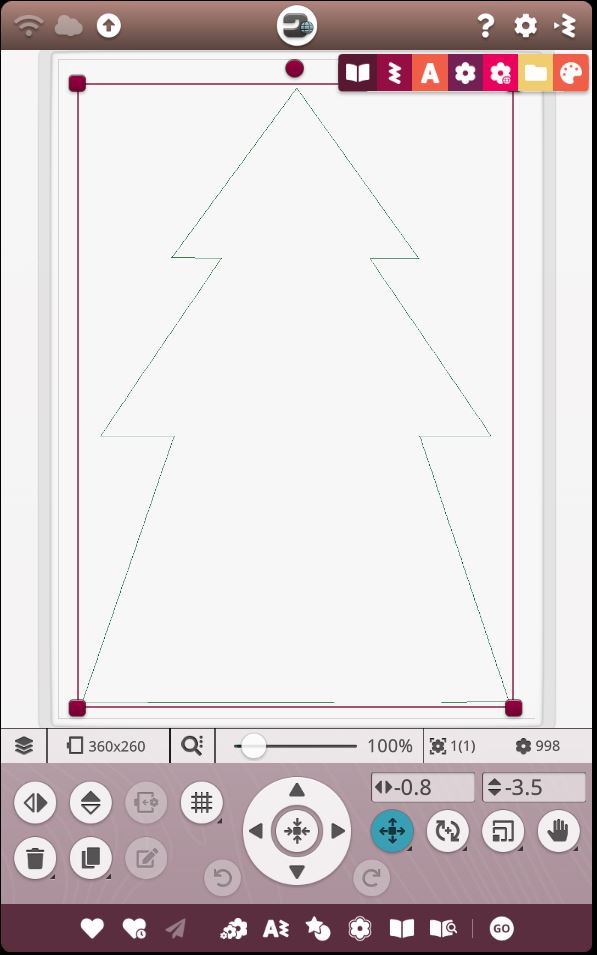
7. Add this file into the work area in embroidery edit without removing the “All over Tree design” you have just stitched out. With only the new design selected, position the outline christmas tree at a suitable place in relation to the All over pattern Tree design.
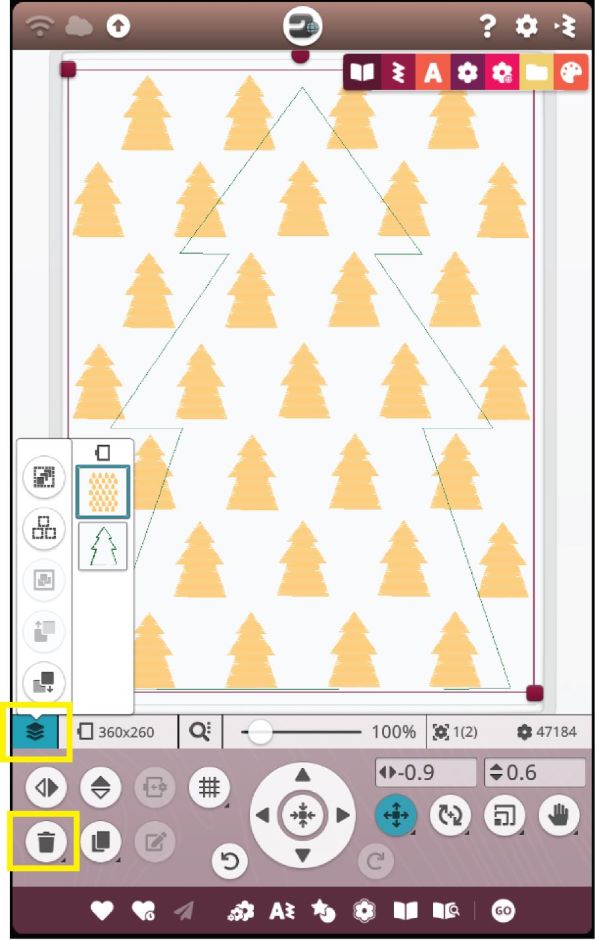
8. Select the All over pattern Trees design only, and delete it. (if you find it difficult to select only the all over pattern design you can go to layers and select the design from there)
9. Thread your embroidery machine with regular sewing thread in top and bobbin matching the fabric.
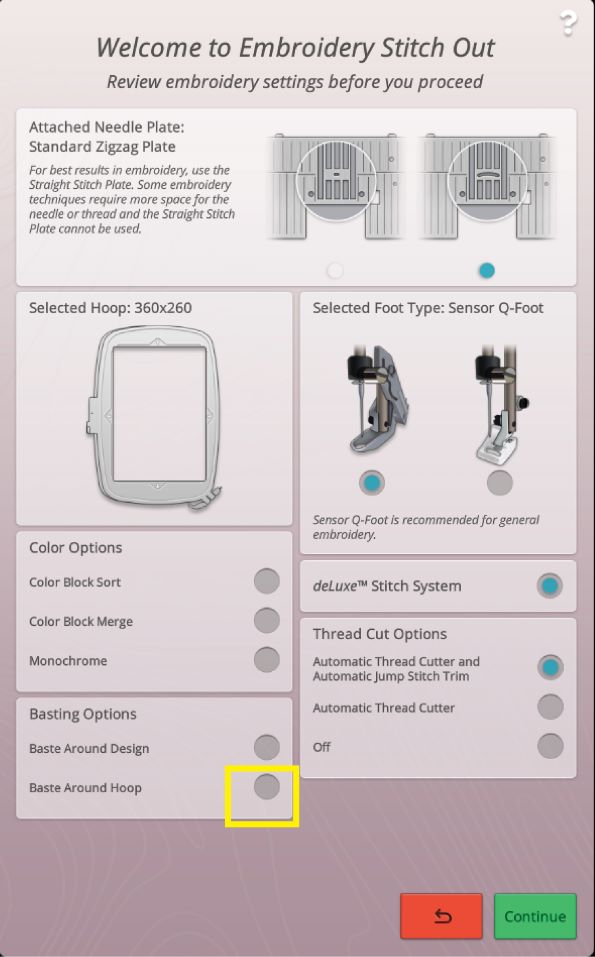
10. Now with just the Outline Tree design left, press Go to stitch out and choose baste around the hoop in the stitch out settings window, then continue to stitch out.
11. Now take your second piece of fabric and place it on top of the hoop with the embroidered fabric, right sides together.
Attach the hoop and press start to start basting.
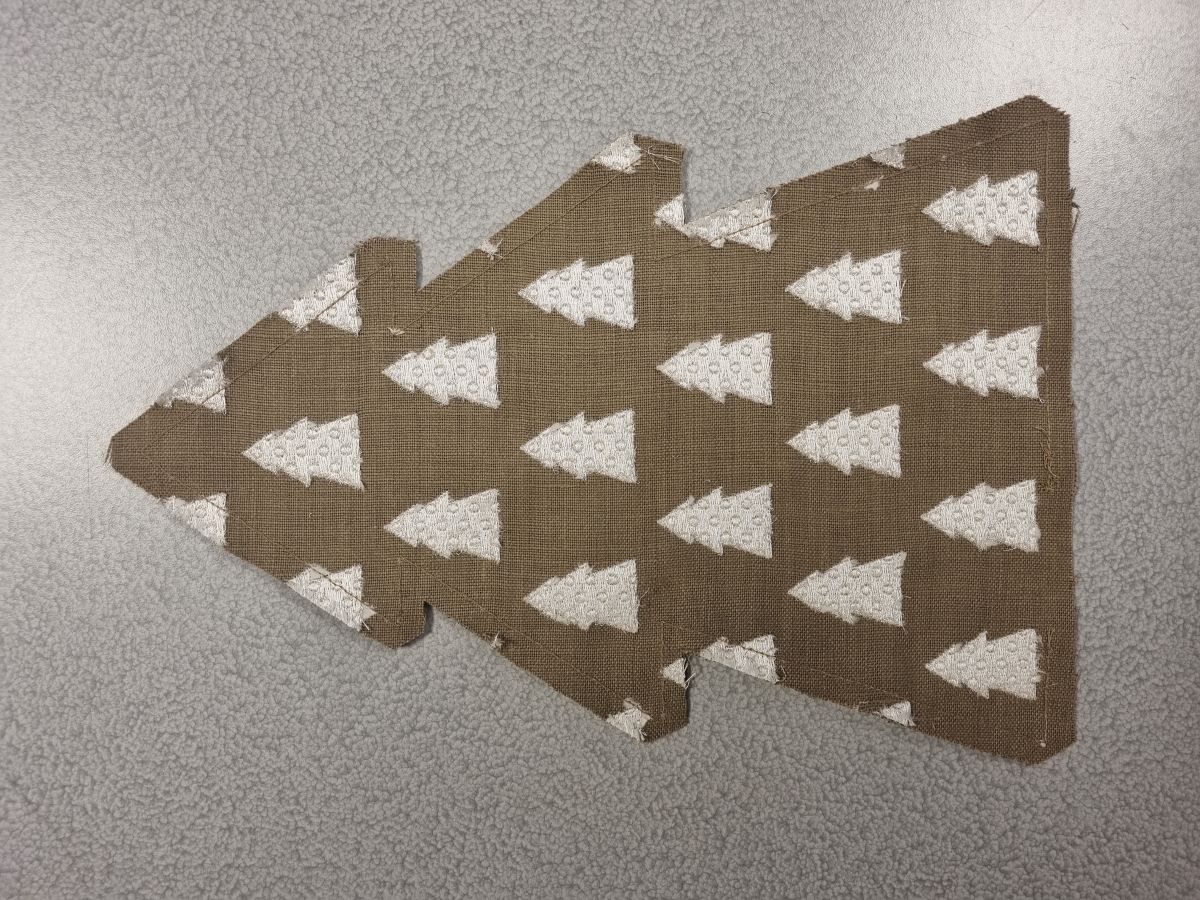
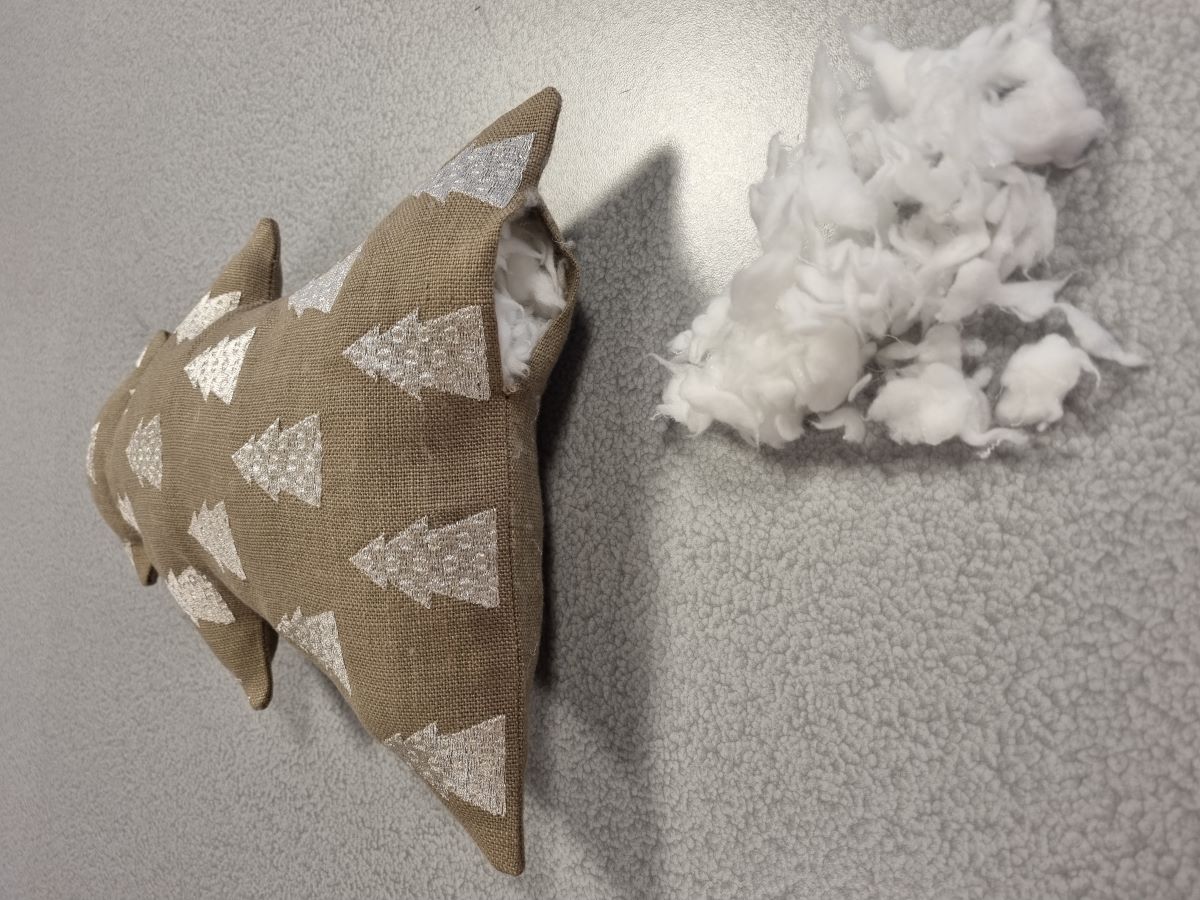
12. Continue with the rest of the embroidery. When finished, you will have an opening in the bottom of the tree.
13. Remove the hoop from the machine and unhoop the project. Remove the tear away stabilizer.
Unravel the basting if needed and cut 2/4 “ (1 cm) from the edge all around the tree.
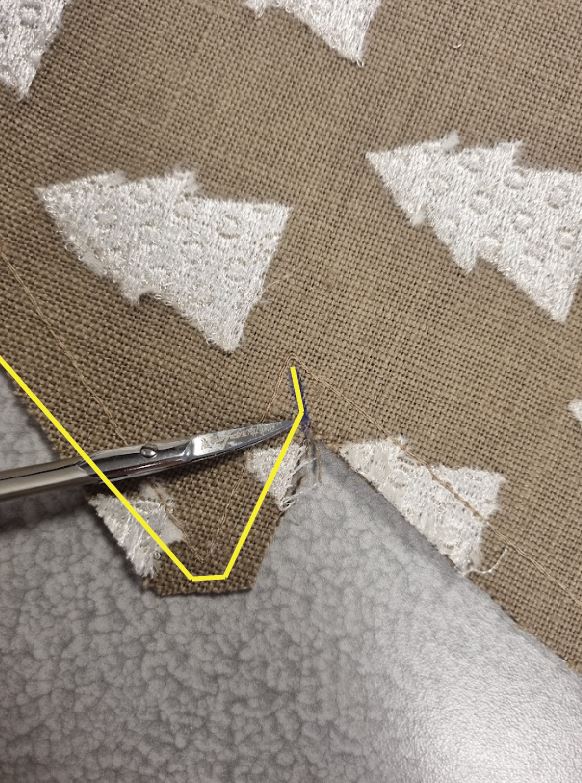
14. Trim the seam allowance around the corners more narrow. Be careful not to cut into the stitching.
15. Press the seam allowance open before turning, this will make the final press way easier. Now turn the project inside out through the opening at the bottom of the tree.
16. Use a pin to sharpen the corners from the outside or you can use a thin blunt object for example a knitting needle to push the corners sharp from the inside.
17. Use an iron to press the final outline of the tree.
18. Fill your tree with whatever you please. Leftover fabric scraps, cotton from an old pillow or maybe wheat or uncooked rice if you want to use it as a heating pad for chilly evenings in front of the TV.
19. Place a couple of pins lengthwise over the bottom opening to hold it closed.
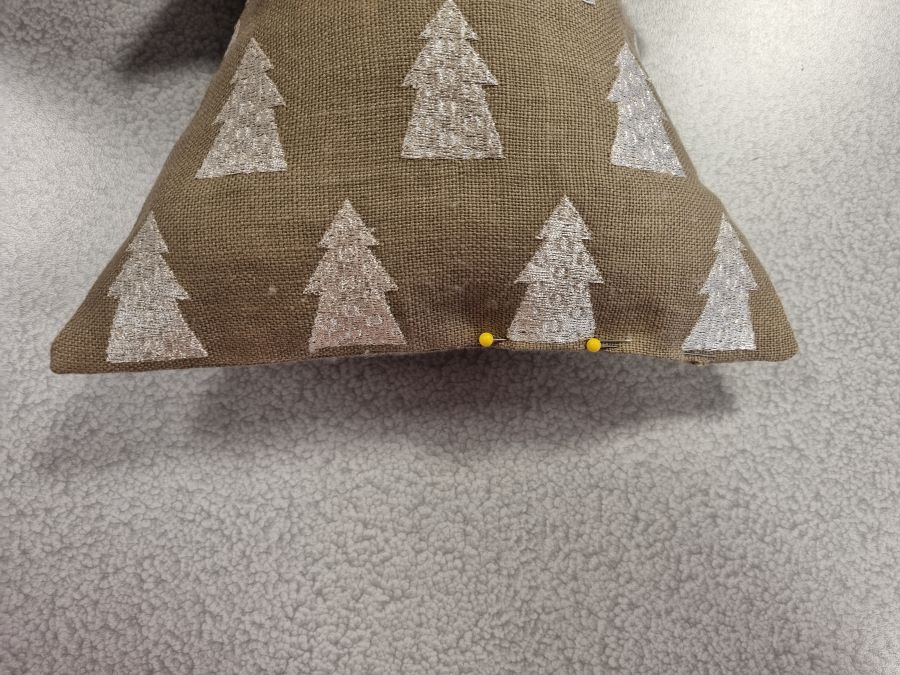
20. Go to your sewing machine and sew the hole shut with a straight stitch . Don't forget to fix the seam at the beginning and the end. Stitch length 2.5 mm is suitable.
Optional - For extra decoration, stitch a decorative stitch ½ inch from the edge all around the three with the stitch of your choosing.
Finished, Have fun!