 United States
Pinked Edge Mug Mat
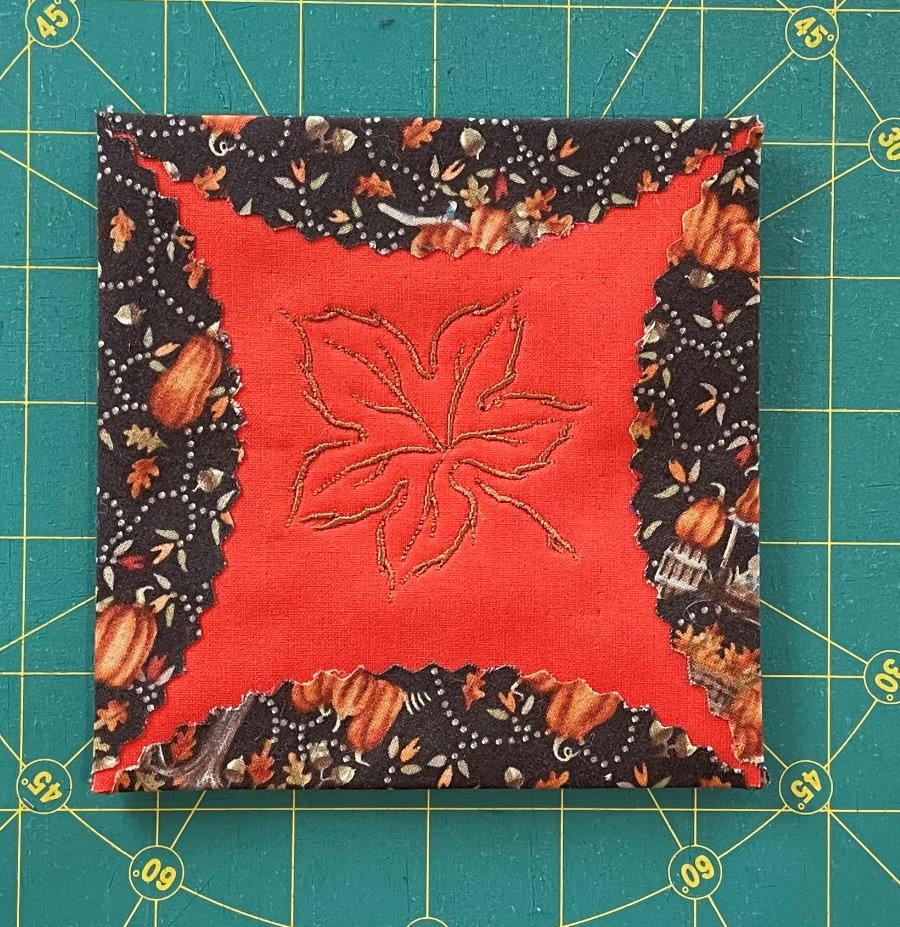
Add a ceramic mug to this decorative mat for a great gift for any occasion. Embroider in the center, if desired.
What you need:
- 8” square backing fabric
- 7-1/2”” square paper backed fusible web
- Compass or 7” plate & marking pen
- 6” square center front fabric
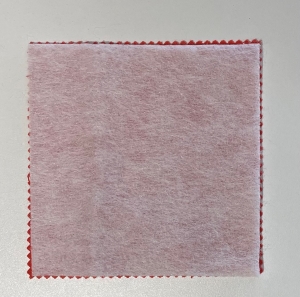
- 6” square fusible fleece
- Pinking shears or pinking rotary cutting blade, cutter and mat
- Embroidery supplies, if embroidering center front
Preparation
1. Remove one paper side of the fusible web leaving the other paper piece attached to the fusible web. Center on the back of the 8” backing fabric and fuse in place.
2. With the compass, draw a 7” circle on the fusible web paper (or trace around a 7” plate).
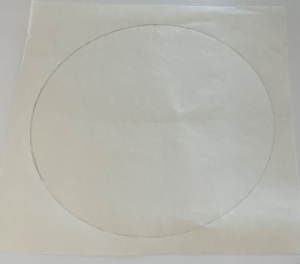
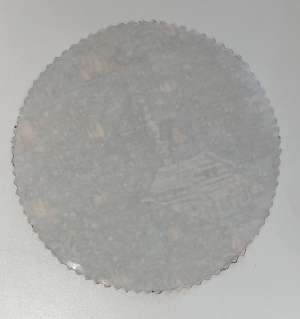
3. Using your pinking shears or rotary cutter with pinking blade, cut around the circle.
4. Fuse the fleece to the back of the center front fabric.
Embroider
1. If desired, embroider a design in the center of the 6” square keeping the embroidery to about 2-1/2” square, or less.
2. Square this center front piece to 5”.
Assemble
Remove the paper from the backing circle. Lay wrong side up on your work surface. Part of the backing fabric will fold to the front to finish the outside edges.
2. Center the front center right side up on the wrong side of the backing circle.
3. Fold the remaining backing circle to the front on all 4 sides. Press to secure. Stitch around the pinked edges if you plan to wash the mug mat.