 United States
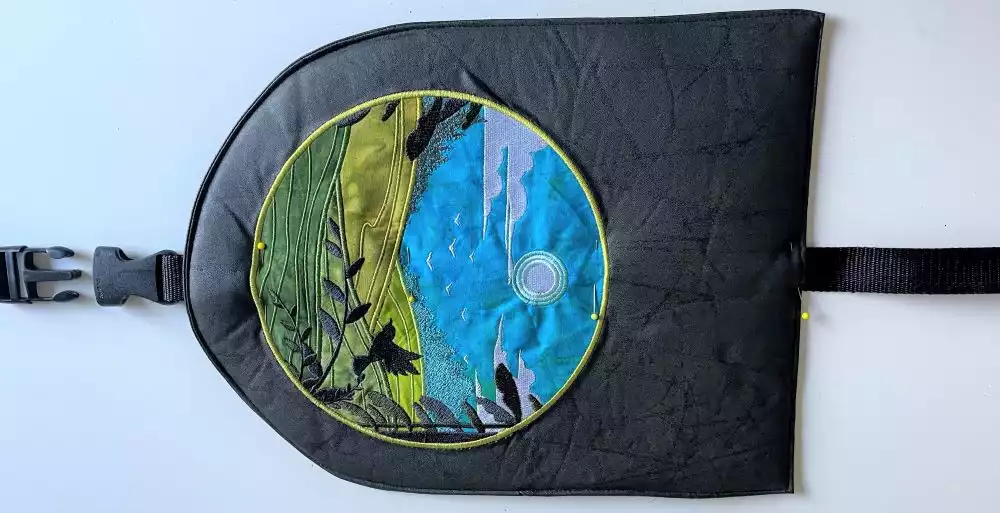
Picnic Blanket with Embroidered Holder
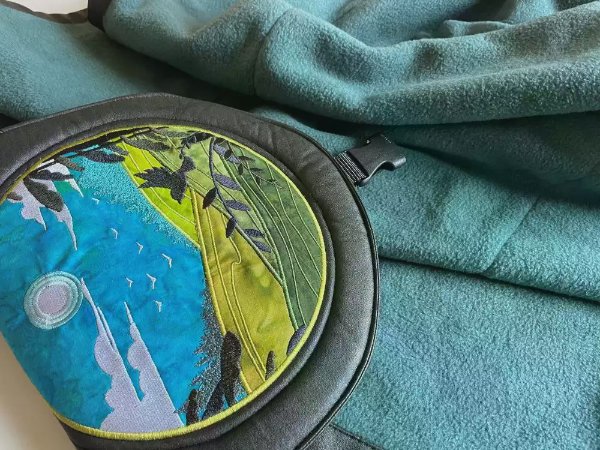
This small picnic blanket is a must on all those excursions in nature. The applique embroidery makes it that little extra!
What you need:
- Embroidery file. Find it Here
- PDF-File: picnic blanket holder pattern.pdf
- Embroidery hoop 8”x8” (20x20cm) or larger
- Tear-Away stabilizer
- Water resistant fabric such as Traditional oil cloth fabric.
- Fleece 53”x27” (135x70cm)
- Foam interfacing 12”x14” (30x35cm)
- Spray glue
- Matching thread
- Webbing for strap 1” (2,5cm) wide 32” (80cm)
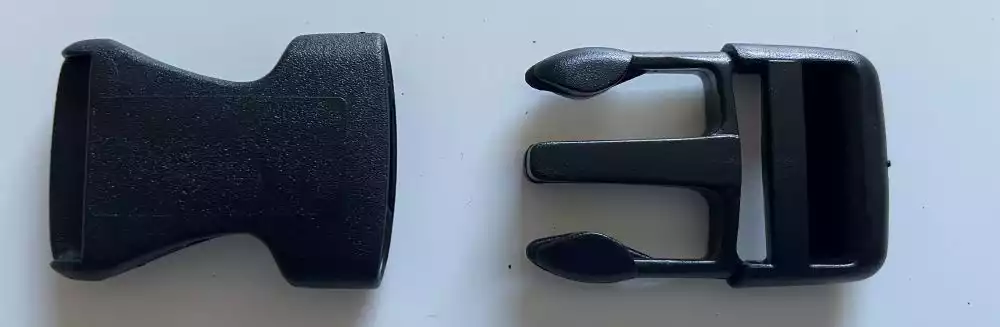
- Buckle snap lock for 1” (2,5cm) webbing
Preparations
Print out the PDF file and tape it together.Trace and cut out the pattern pieces from the PDF
From Outside fabric cut:
- 1 piece of fabric 58”x31” (145x80cm) for blanket
- 1 piece of fabric 12”x28” (30x 70 cm for cover.
From fleece cut:
- 1 piece 53”x27” (135x70cm)
From foam interfacing cut:
- 1 piece from the Pattern piece for the cover
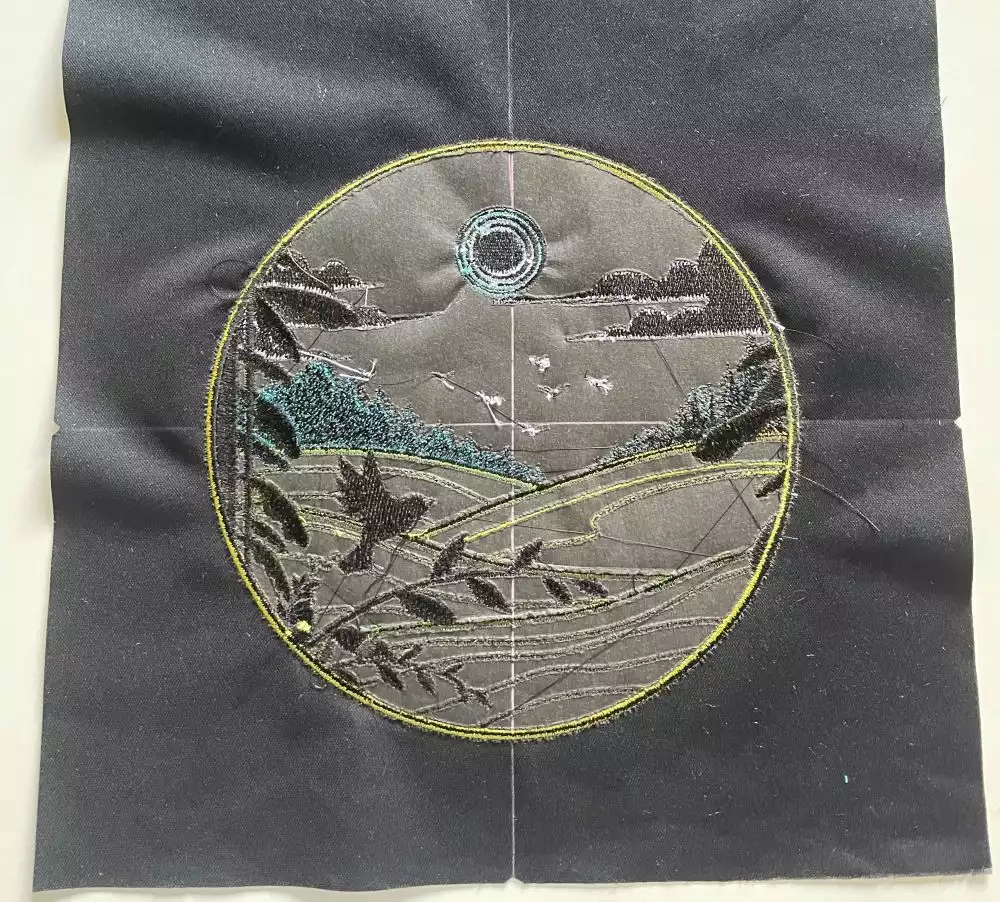
Stitch out the embroidery
1. Attach tear-Away stabilizer in the hoop. Place the fabric piece for the flap front in the hoop matching the center point mark of the embroidery hoop with the mark on your fabric piece. Be sure to make it straight both horizontally and vertically.
2. Secure the fabric in the hoop with the basting function before stitching out the embroidery.
3. Stitch out the embroidery following the instructions in the embroidery file.
4. Un-hoop and tear away excess stabilizer.
Making the cover
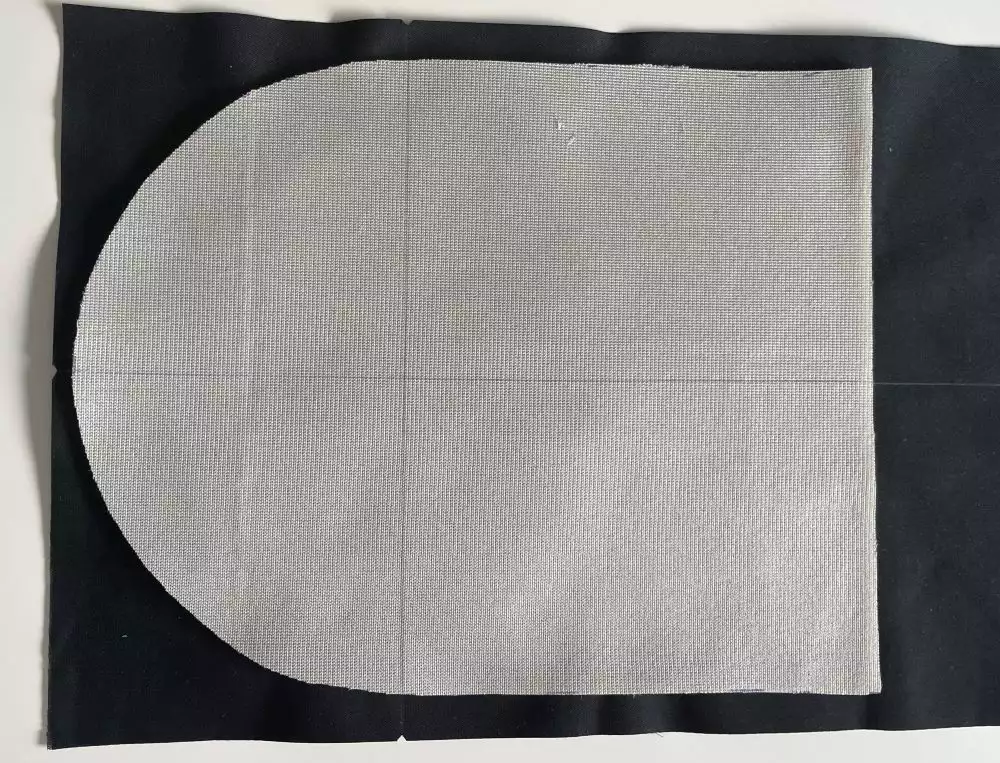
5. Mark the center lines on the back of the embroidered piece extending the lines out to the edge.
6. Place the foam interfacing on top matching the lines. Spray glue in place.
7. Fold the remaining fabric to the front, the folded edge will be at the edge of the foam interfacing.
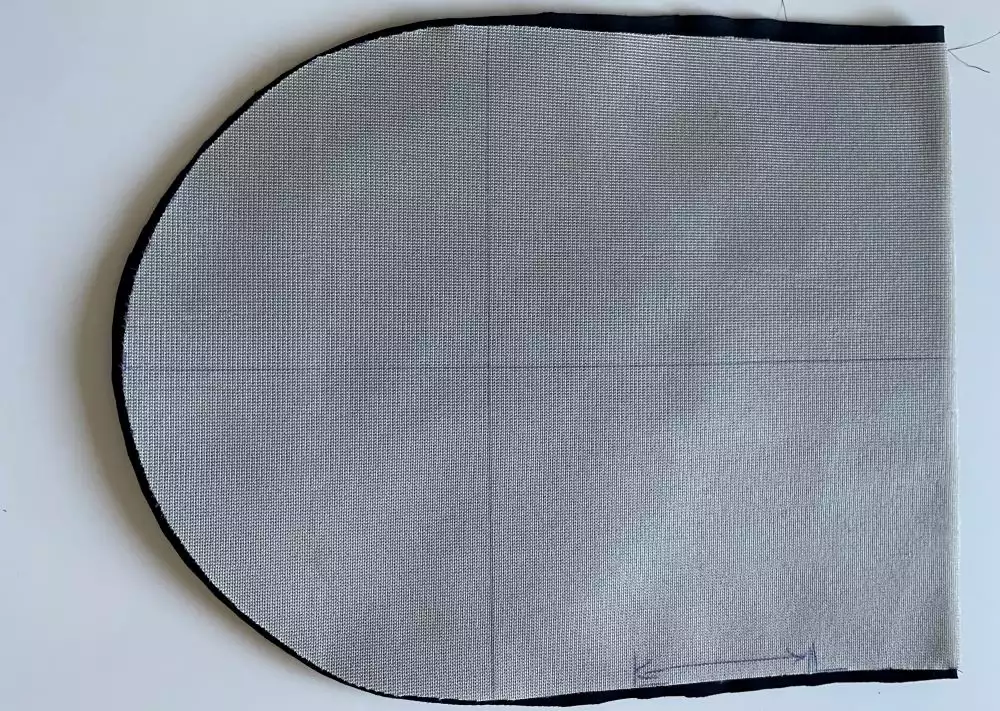
8. Sew along the edge, leave an opening for turning. Cut away excess fabric after sewing and turn right sides out.
9. Stitch close to the edge all around the cover.
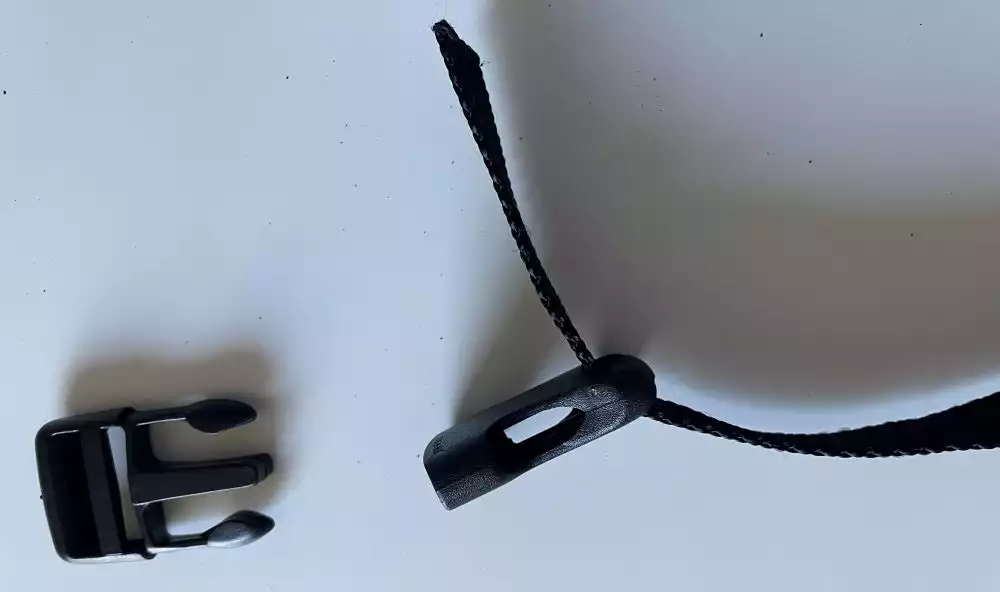
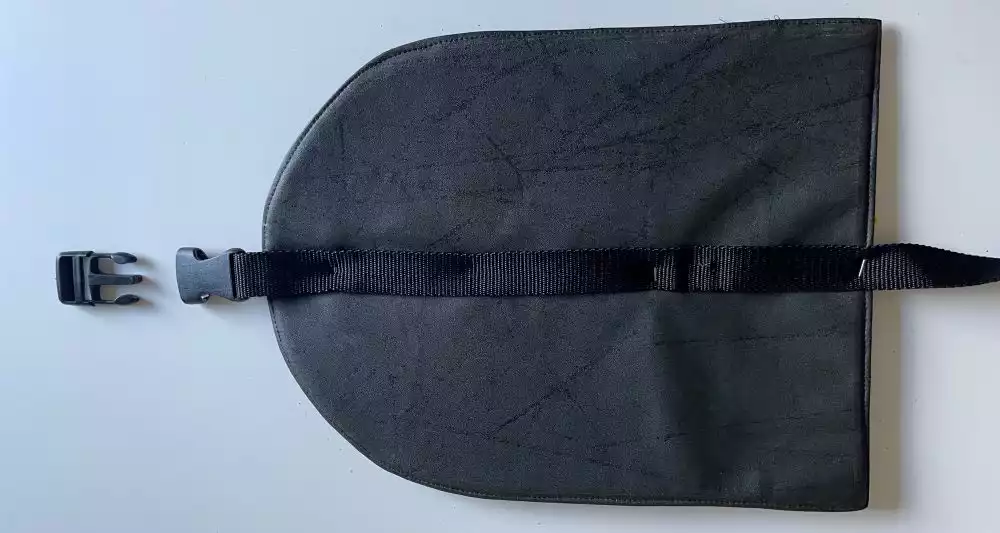
Making and attaching the strap with buckle
10. Singe the edges of the webbing to prevent unraveling.
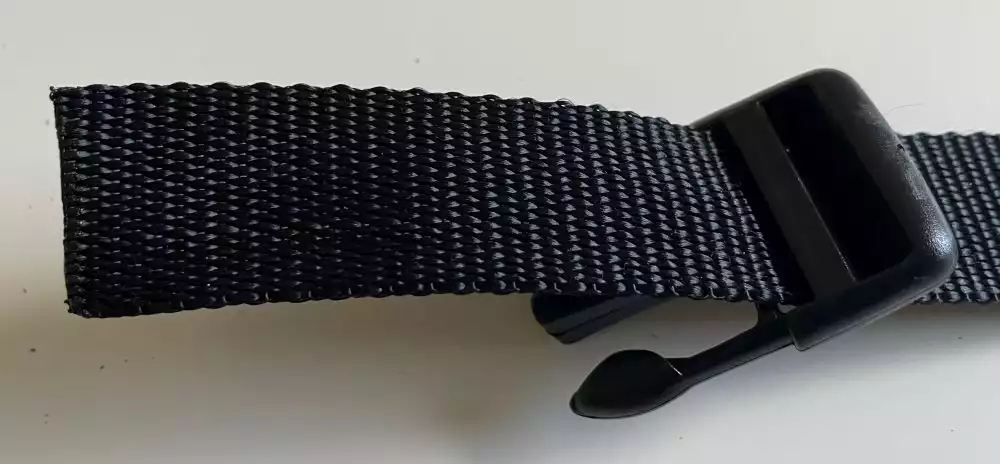
11. Guide one end of the webbing through the female part of the buckle 2” (5cm), fold and pin in place centered to the top edge of the cover. The raw edge of the webbing is placed 2” (5cm) from the edge.
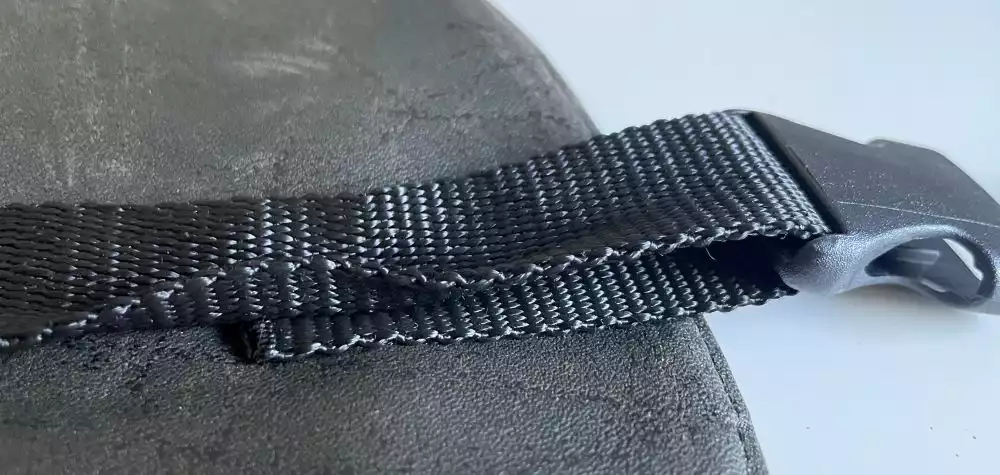
12. Pin the webbing in place, centered towards the round edge of the cover.
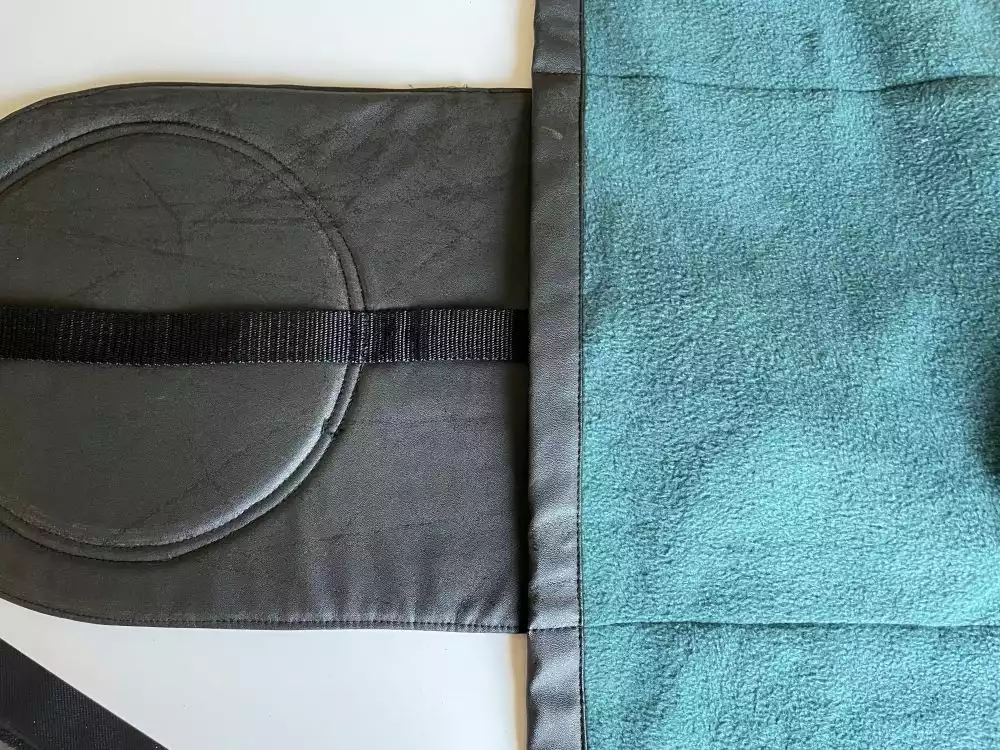
13. Turn right side up and stitch close to the edge around the embroidery and another line 14” (6mm) from the first stitching.
14. Make a stitch close to the folded edge of the cover to secure the webbing.
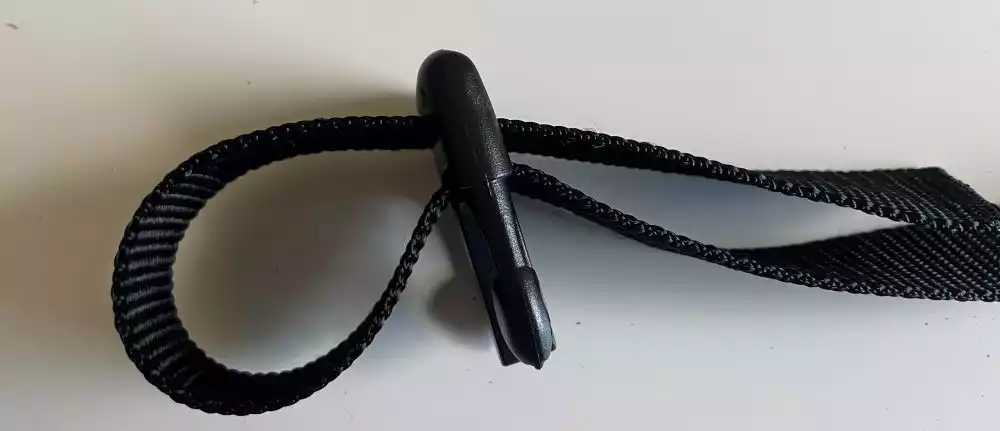
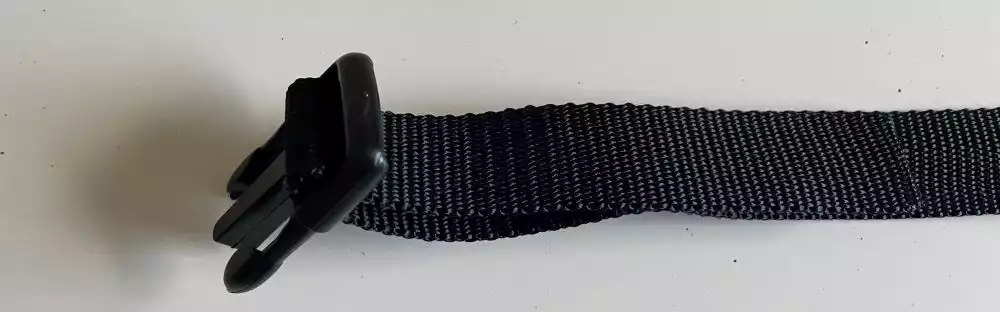
15. Thread the male part of the buckle on the other end of the webbing like this:
Making the blanket
16. Center the fleece on top of the outer fabric,wrong sides together. There should be 2” (5cm) of outer fabric around the edges. Fold the edges in 1” (2,5cm) and then once more. Stitch in place. Make a stitching line 5 ½” (13cm) out from the center on each side to make the blanket easier to fold.
17. The cover can be stitched to the edge between the lines on the blanket or used as a separate piece.