United States
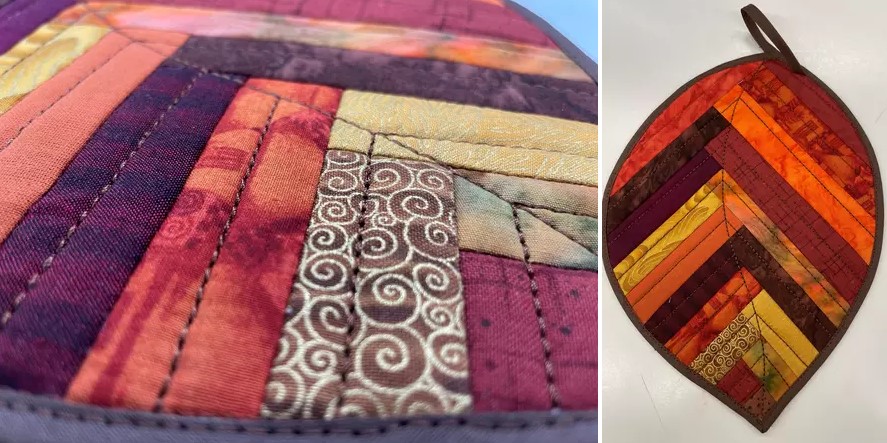
Patchwork Leaf Potholder in the Hoop
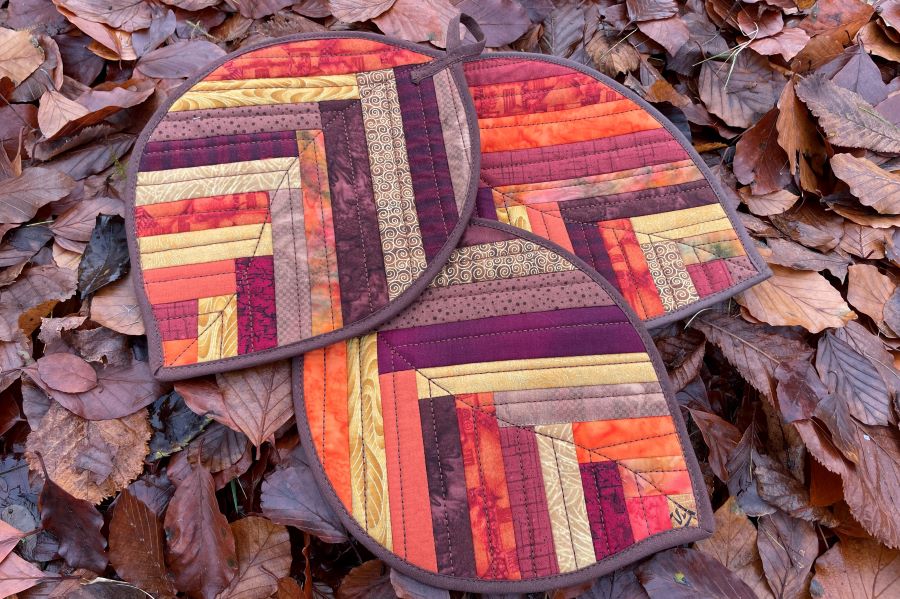
Celebrate autumn with this beautiful pot holder. It is a great opportunity to use up all those remnants from previous projects.
What you need:
- Soft cutaway stabilizer or fabric, like old bed linen, the fabric will not be shown in the finished project.
- Batting for hotpads, you can also use an old terry towel 11” x 9” (28x23cm)
- Small pieces of fabric about 2” (5cm) wide for the patchwork
- Fabric for the back of the pot holder 11” x 9” (28x23cm)
- Coordinating thread for the stitching and quilting
- One strip of fabric 34” x 1½” (85x4cm) cut on the bias, or purchased bias tape for the binding of the pot holder
- Embroidery hoop size 260x200mm
- Embroidery Design
Making the pot holder
Hoop the stabilizer or fabric.
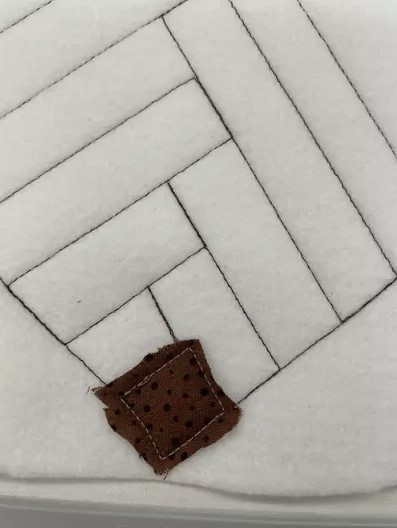
Stitch out the first color, this will show where to place the batting.
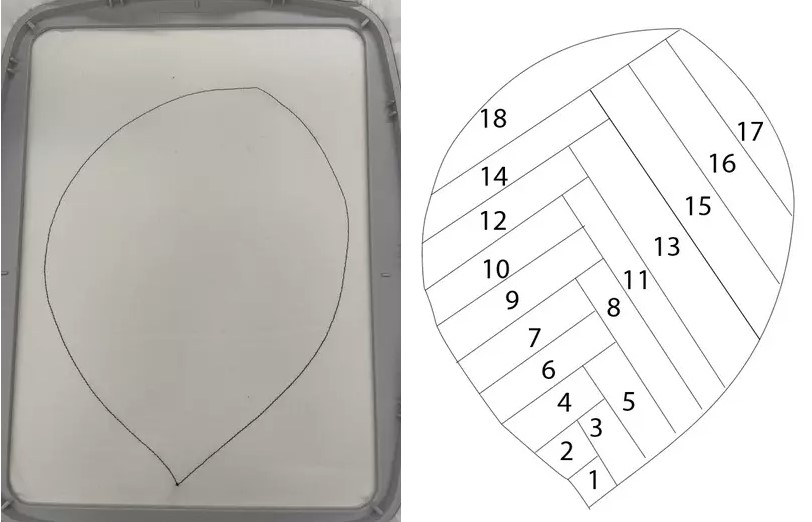
Place the batting on top of the stitching, covering the line on all sides, stitch color two. This will secure the batting and stitch out the placement lines for the fabric pieces. Here are an overview of order the areas will be stitched out.
Place a fabric piece on top of section #1 making sure the fabric is larger than the section. Stitch out color three, this will secure the fabric piece in place. Cutaway excess fabric outside the stitched line, leaving about ¼” (6mm) seam allowance.
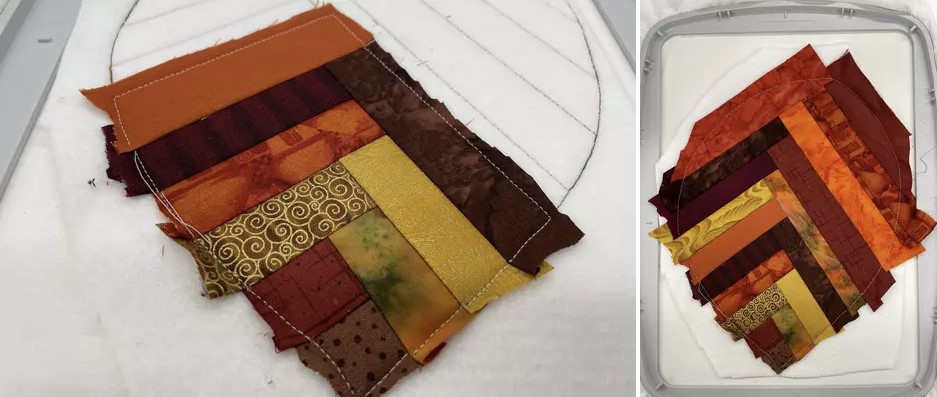
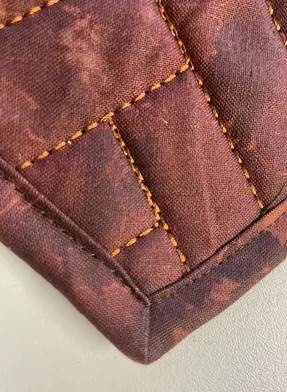
Place the next fabric piece on top of the fabric that has been stitched down on area #1 with the raw edges even between section #1 and #2. Stitch color 4, this will stitch a line between the two areas. Flip the fabric out and stitch color 5, this will secure the fabric piece.

Continue like this adding fabric pieces and stitching until all the sections are covered.
Take the hoop out from the machine and put it upside down on the table. Place the fabric for the back of the pot holder on top of the stitched area, right side facing up. Secure with tape.
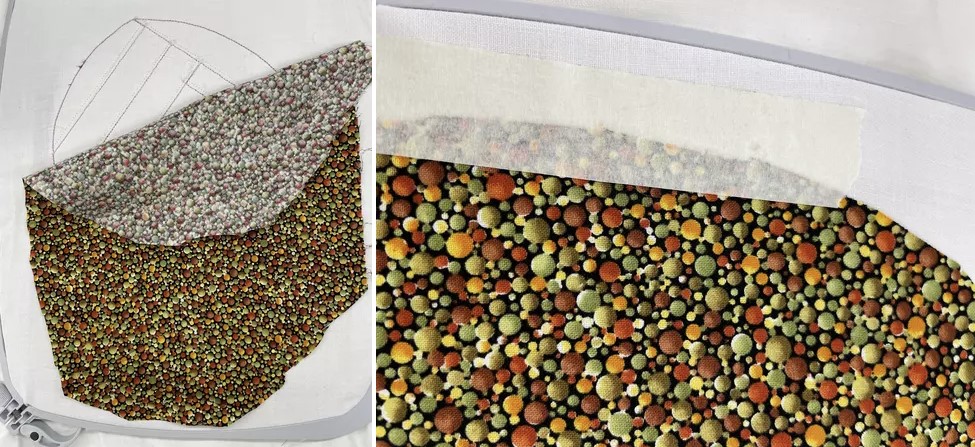
Put the hoop back in the machine and continue to stitch out the last two colors. This will secure the back fabric in the hoop and quilt it. Use the same thread on top and bobbin as it will be shown on the back of the pot holder
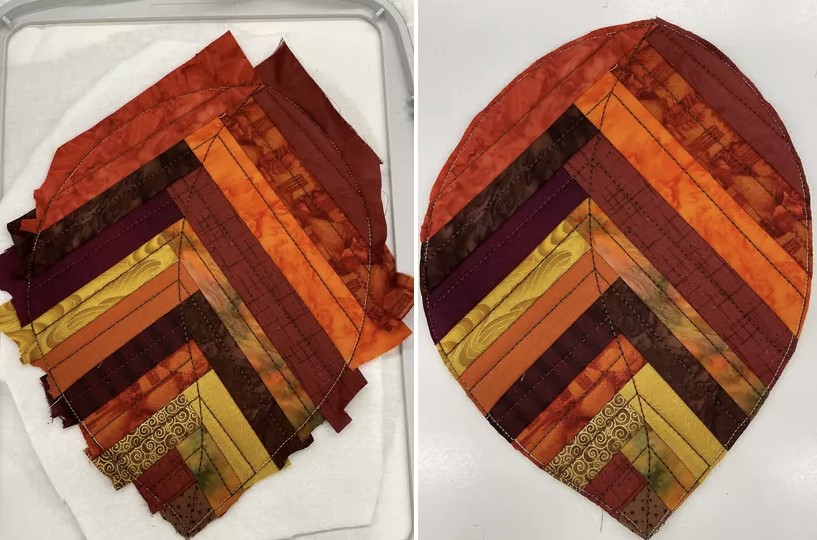
Unhoop the pot holder and cut it out just outside the stitching lines.
Binding the edges
(The pictures in the instructions below are from the simplified leaf pot holder instructions)
Cut a bias strip 1½” (4cm) wide and about 34” (85cm) long. Sew the bias tape on the wrong side of the hotpad beginning at the top using a ¼” (6mm) seam allowance. Make a corner turn at the point of the leaf: stop ¼” (6mm) from the corner, stitch out to the corner point. Cut thread, fold the corner and start stitching from the edge.
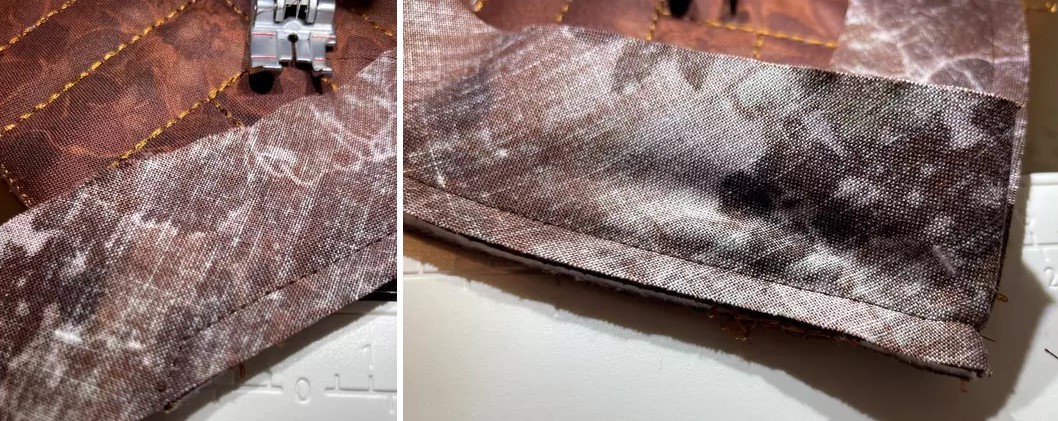
To make the join at the end, stop stitching about 2” (5cm) before the top, go back to the start of the strip and turn it over to the right side, fold the raw edge in, making sure it covers the stitching. Pin in place. This will make the join neater.
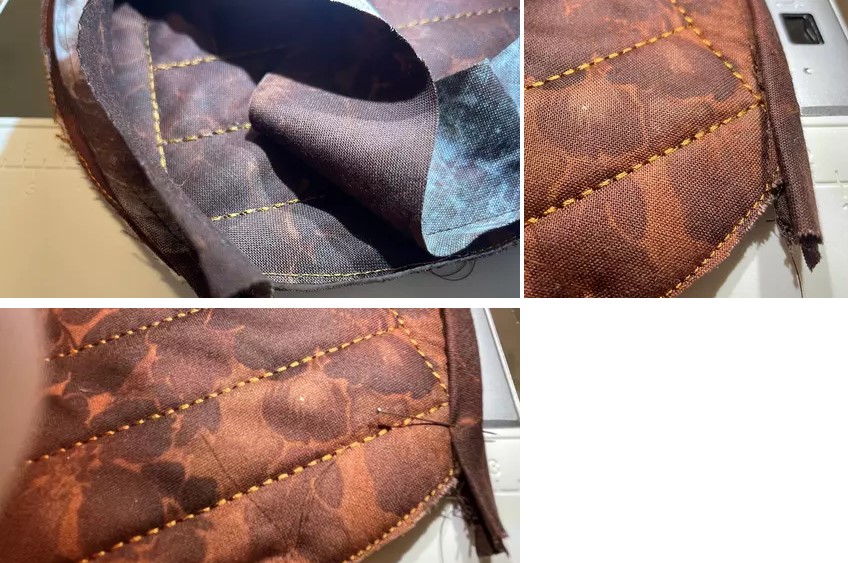
Stitch the rest of the bias tape in place.

Cut off the bias tape 4” (10cm) from the edge, fold together and stitch close to the folded edge stop 1” (2,5cm) from the edge.
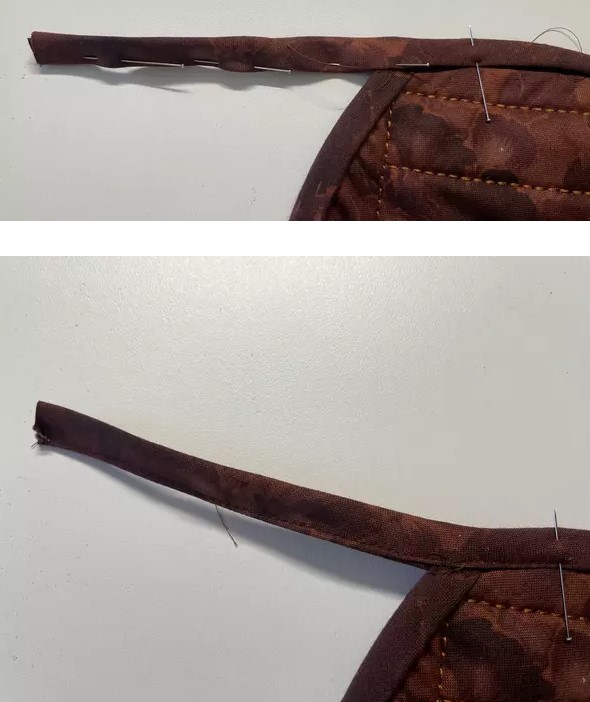
Put the end of the folded bias edge under the edge, to make a hanging loop stitch in place.
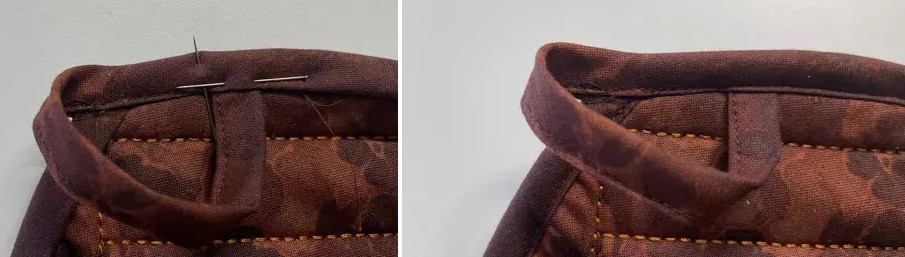
Continue stitching all around the edge, making a mitered fold on the corner point on the leaf.
DONE!