United States
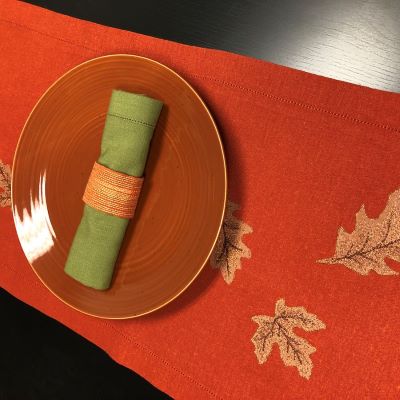
Metallic Embellishments for Fall Decor
Enhance the beauty of your fall table by embellishing your linens with metallic threads and yarns. These simple napkin rings feature surface texture created by couching over lightweight metallic crochet cotton and floss, stitched using metallic thread. The runner has leaf appliques embellished with free-motion stitching using several colors of metallic threads.
These instructions show how to create the napkin rings, followed by basic tips for adding appliques featuring free-motion stitching with metallic threads.
What You Need: Napkin Ring
Note: Supplies listed are for one napkin ring - adjust fabric requirements as needed
- Fabric for napkin ring, cut 8” long x 6” wide (20cm x 15.25cm)
- Lightweight fusible interfacing, cut 8” long x 6” wide (20cm x 15.25cm)
- Metallic thread (for couching over cords)
- Crochet cotton or lightweight yarns with metallic accents
- All-purpose or polyester thread for bobbin
- Universal or topstitching needle, size 14
- Hand sewing needle
- Fabric marker and ruler
- External thread stand (optional)
Sewing Directions:
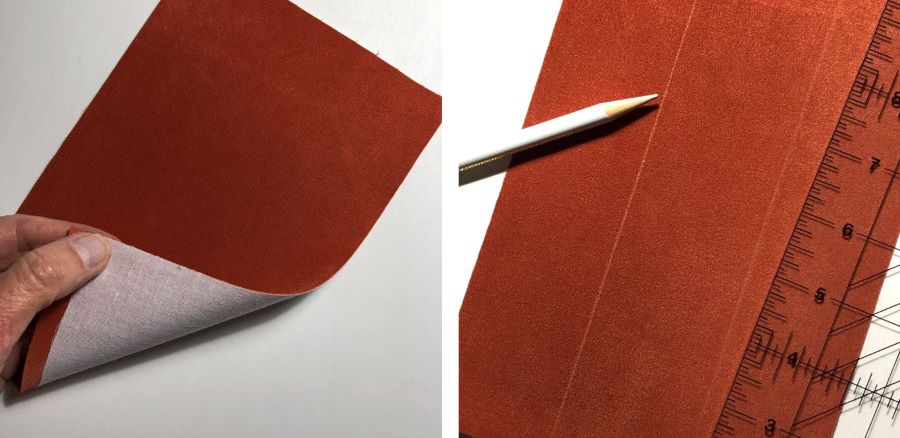
1. Apply a lightweight fusible interfacing to the wrong side of the napkin ring fabric, following interfacing manufacturer’s recommendations for application. This will help support the fabric and stitches as you sew. Use a fabric marker and ruler to draw reference lines, indicating the area within which you want to apply the rows of cord.
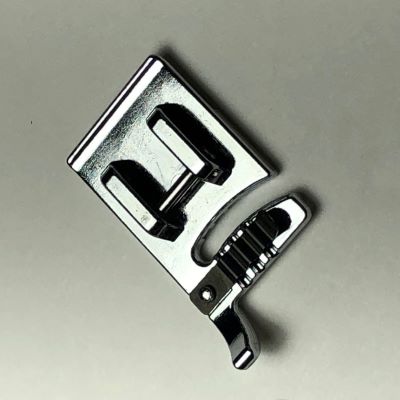
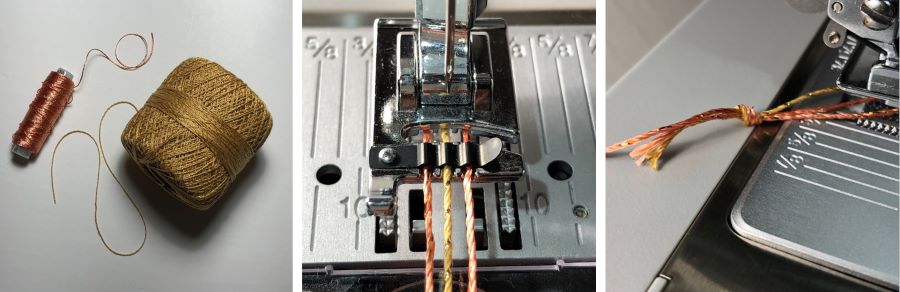
2. Attach the Cording Foot to the machine. Though there may be various styles of cording feet with the capacity to accommodate varying amounts of cord, this project features a 3-groove Cording Foot.
Note: Video demonstration of this foot
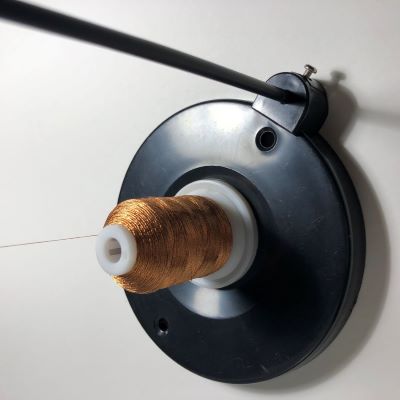
3. Wind a bobbin with all-purpose or polyester sewing thread. Place a universal or topstitching needle, size 14, in the machine to prepare for sewing with metallic thread. Thread the top of the machine with the metallic thread. It can be helpful to set the thread spool on an external thread stand, which will help prevent the thread from twisting excessively while sewing. Test sew on scrap fabric. If the metallic thread is shredding, change to a size 16 needle which has a larger eye.
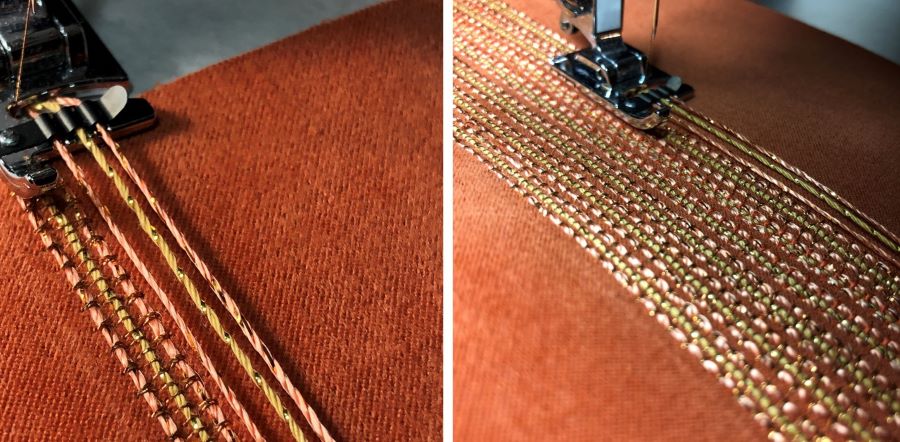
4. Though a number of different stitches can work for couching over cords, our napkin ring was stitched using the Multi-Step Zig-zag stitch. Set the Stitch Width to 6mm so that the stitch will cover all 3 cords when you sew - if stitch width is too narrow, the stitch will likely miss sewing over one or more of the cords. Try your stitch on a scrap fabric and set the Stitch Length as desired for the look you want.

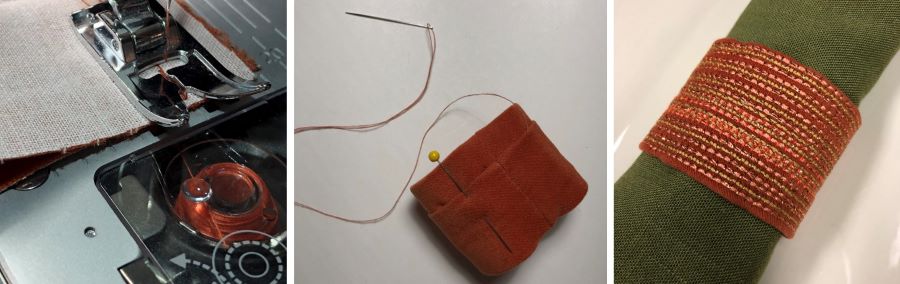
5. Cut a length of cord about 2” (5cm) longer than the fabric to be embellished. Place the thread into the groove of the foot at the far left, as shown in the photo below. Cut another length of cord, then place in the center groove. Cut a third length of cord, then place in the groove at the right. After all 3 cords have been placed in the foot, tie them together - behind the foot - to help prevent them from slipping out of the foot.
6. Place the fabric under the presser foot, using the drawn lines as a reference. Stitch at a moderately slow speed and sew across the length of the fabric. When the first row is finished, insert 3 new lengths of cord, as you did for the first row) into the foot and sew the next row. Continue this process until all desired rows have been stitched.
7. Press the embellished piece. Fold the fabric, extending on each side of the stitching, toward the back side of the embellished piece. Press again.
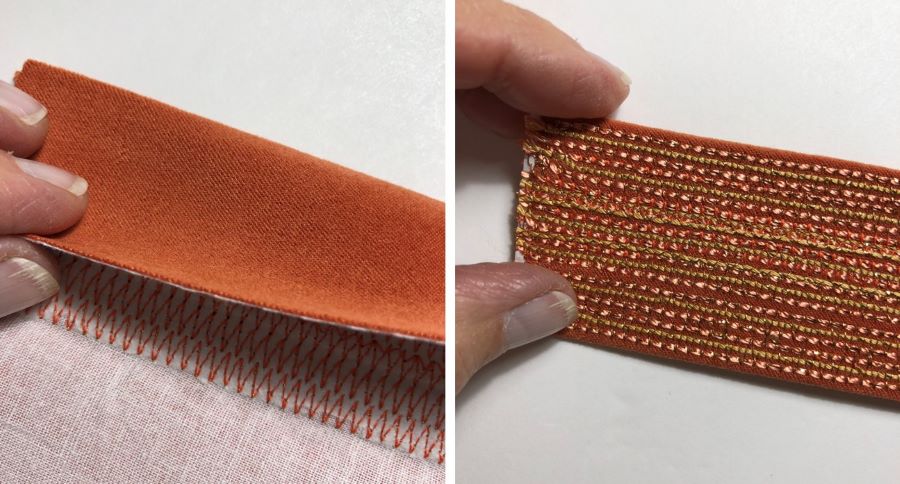
8. Open the piece flat. Trim one long side to 1½” (3.8cm) from the stitching to the raw edge. Trim the opposite long side to 2” (5cm) from the stitching to the raw edge. On the 2” (5cm) side, turn and press ½” (13mm) again. Trim the piece length (short end to short end) to 6½” (16.5cm).
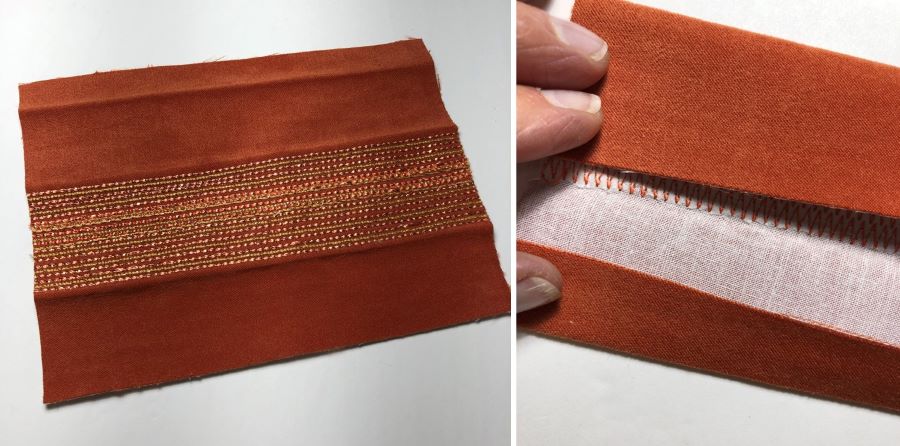
9. Open the piece flat again. Bring the two short sides together and stitch using a ½” (13mm) seam allowance. Trim seam allowances down to ¼” (6mm) and finger press open. Fold along the crease lines and secure with pins, if desired. Hand-stitch the inside of the napkin ring. Turn right side out when finished, then insert your napkin.
What You Need: Free-Motion Stitching on Appliques
- Plain table runner to be embellished with appliques and free-motion stitching
- Lightweight tear-away interfacing (placed under appliques while free-motion stitching)
- Universal or topstitching needle, size 14, for stitching with metallic thread
- Three coordinating shades of metallic thread
- All-purpose or polyester thread for bobbin
- Fabric for appliques (amount depends on number of appliques to be stitched)
- Fusible web (for adhering appliques to table runner surface)
- Darning / Embroidery foot
- Disappearing or removable fabric marker
- External thread stand (optional)
Sewing Directions:
10. Apply the fusible web to the back side of the applique fabric, following fusible web manufacturer’s recommendations. Draw or trace the desired leaf shape onto the paper side, remembering that the shape should be a reverse image of the final applique (as the paper side is the wrong side of the applique). Cut around the shape, then remove the paper from the back of the applique. Repeat this process for all appliques desired.

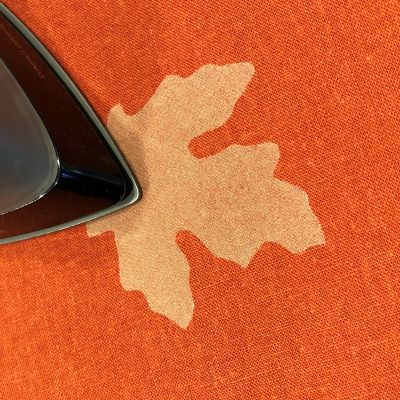
11. Set the leaf appliques in place on the table runner as desired. Press in place, again following fusible web manufacturer’s recommendations for application.
12. Wind a bobbin with all-purpose or polyester thread. Insert the Universal or Topstitching needle. Thread the top of the machine with the metallic thread. It may be helpful to set the thread spool on an external thread stand, which will help reduce the amount of thread twisting and help prevent issues with the thread feeding smoothly.
13. Disengage the machine feed teeth. Attach a Darning / Embroidery Foot. Not all Darning/Embroidery feet are the same - check your machine owner’s manual for information about the correct foot for your machine model.
Note: Video demonstration on how to use the Darning / Embroidery foot

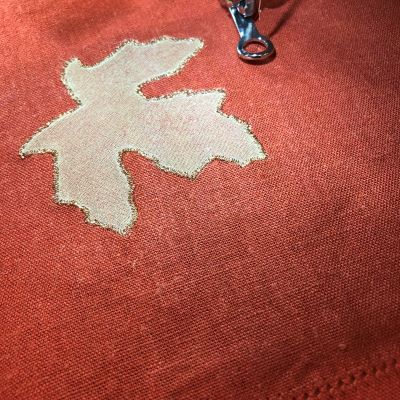
14. Set the machine for a zig-zag stitch, approximately 1.5mm wide. Stitch length setting doesn’t need to be set because the feed teeth are disengaged. Place a small piece of lightweight tear-away stabilizer underneath the first applique to be stitched, then place the fabric under the presser foot. Lower the presser foot. Stitch around the outside edge of the applique with the desired color of metallic thread to cover the raw edges of the applique as well as provide definition.
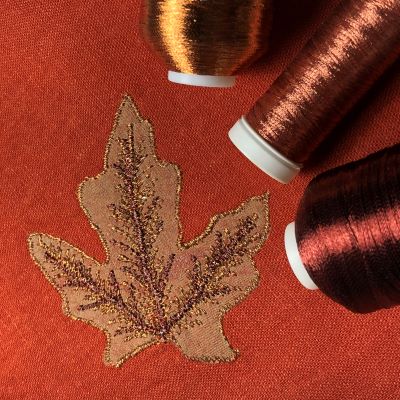
15. Before sewing the area inside the applique, it may be helpful to first draw guidelines for the “veins” of the leaf, as a reference for where to stitch.

16. Stitch over the drawn veins of the leaves with the darkest of the metallic thread colors. Sew at a moderate speed, which will help the metallic thread feed more smoothly than if stitching at a high speed. After the main color for the veins has been established, fill in around it with the other two metallic thread colors.
17. When all appliques are finished, carefully remove the excess stabilizer from the back side of the runner. Press to finish.