 United States
Leaf Encore Wreath with Creative Embellishment Attachment Pearl Embroidery
Small embroideries can be combined and repeated for more impact. A small leaf embroidery from mySewnet library is used to make this beautiful wreath. Embellish it further by adding pearls using your Creative Embellishment Attachment.
What you need:
- mySewnet Embroidery software, Platinum Level
With 30-day Free Trial of mySewnet Embroidery Software you will get to try out the most user-friendly and feature rich digitizing software on the market. It works with all embroidery machine brands and is available for both Windows and Mac.
- Creative Embellishment Attachment
- 2mm pearl string
- Embroidery thread
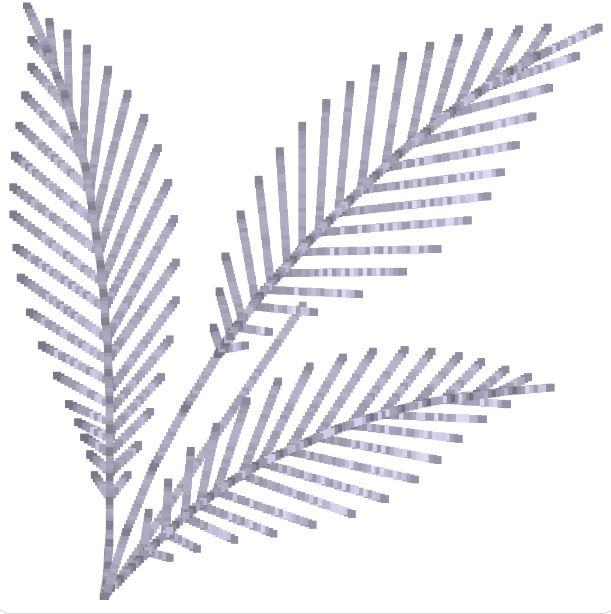
This is the file we are starting with:
https://library.mysewnet.com/design/200210039
Making the leaf wreath
1. Open mySewnet embroidery program, select blank canvas and the 260x260mm hoop.

2. Click on File, Insert and add click on the embroidery file to add it to the hoop.
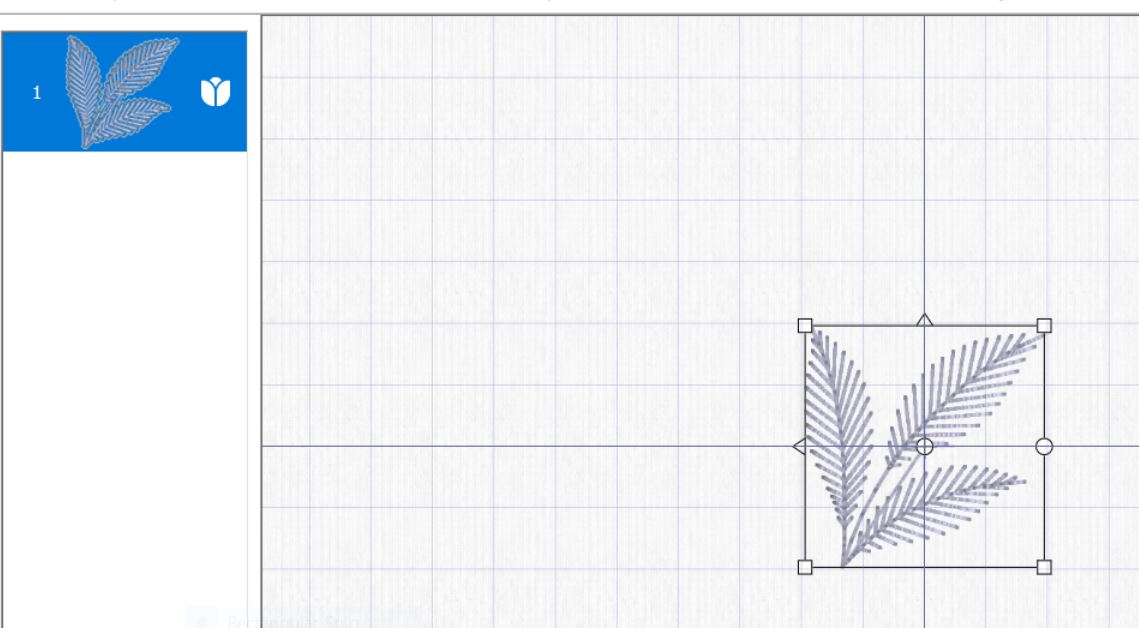
3. When the embroidery is selected, click on Duplicate, a copy of the embroidery will appear on top of the first embroidery, slightly offset.
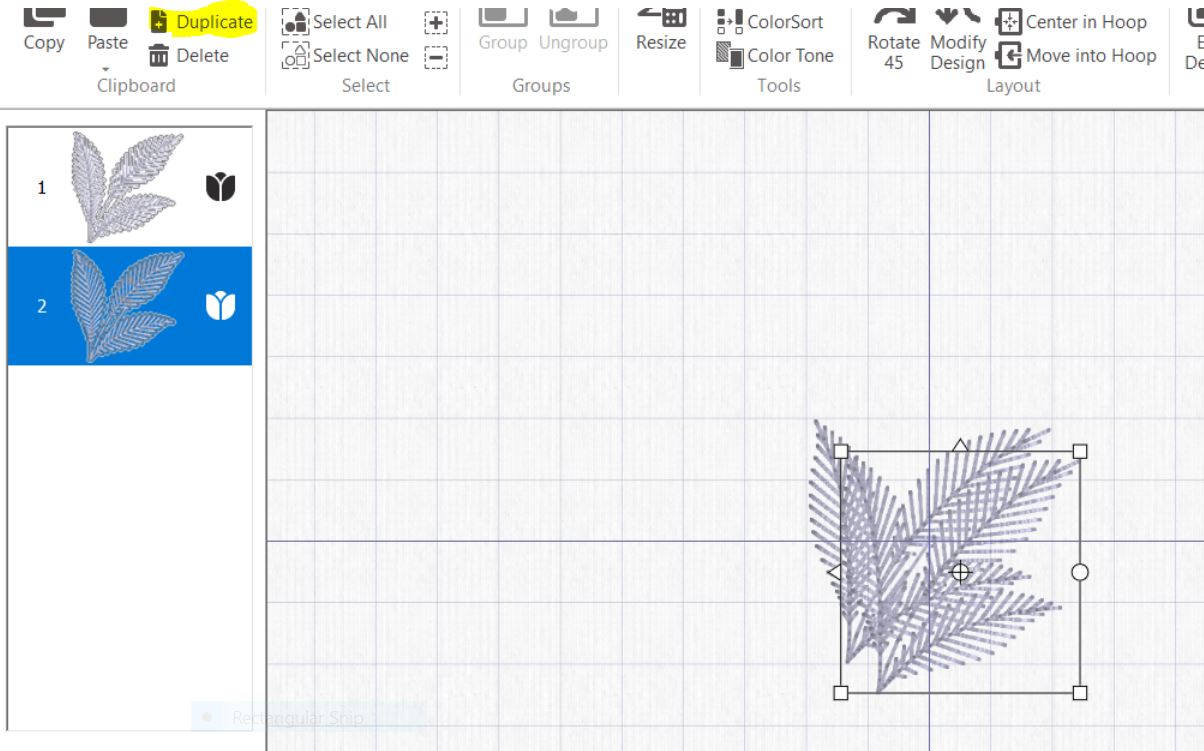
4. Click on the pointed handle to the left to mirror the embroidery you just added.
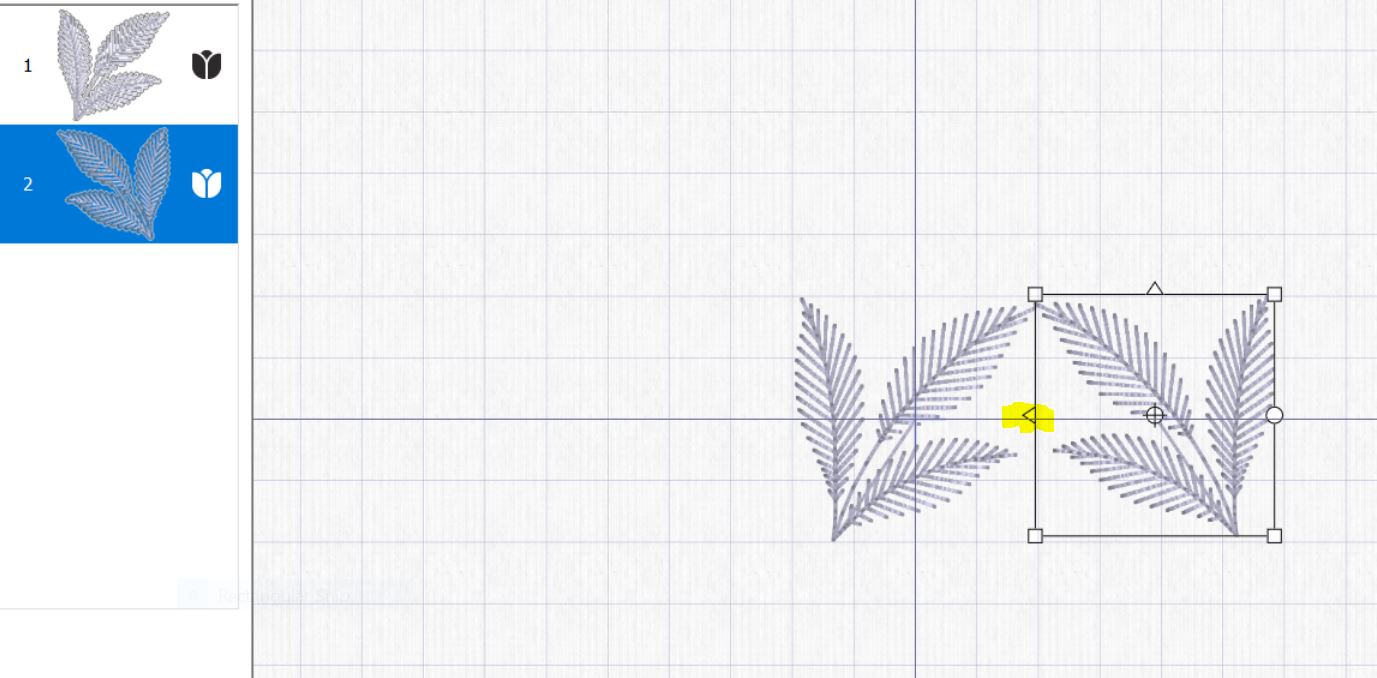
5. Arrange the embroidery files together like in the image below: tip: Move the rotation point to the base of the leaf to rotate them from that point.
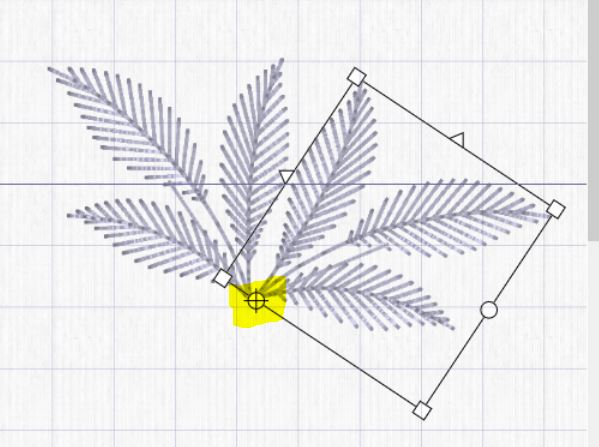
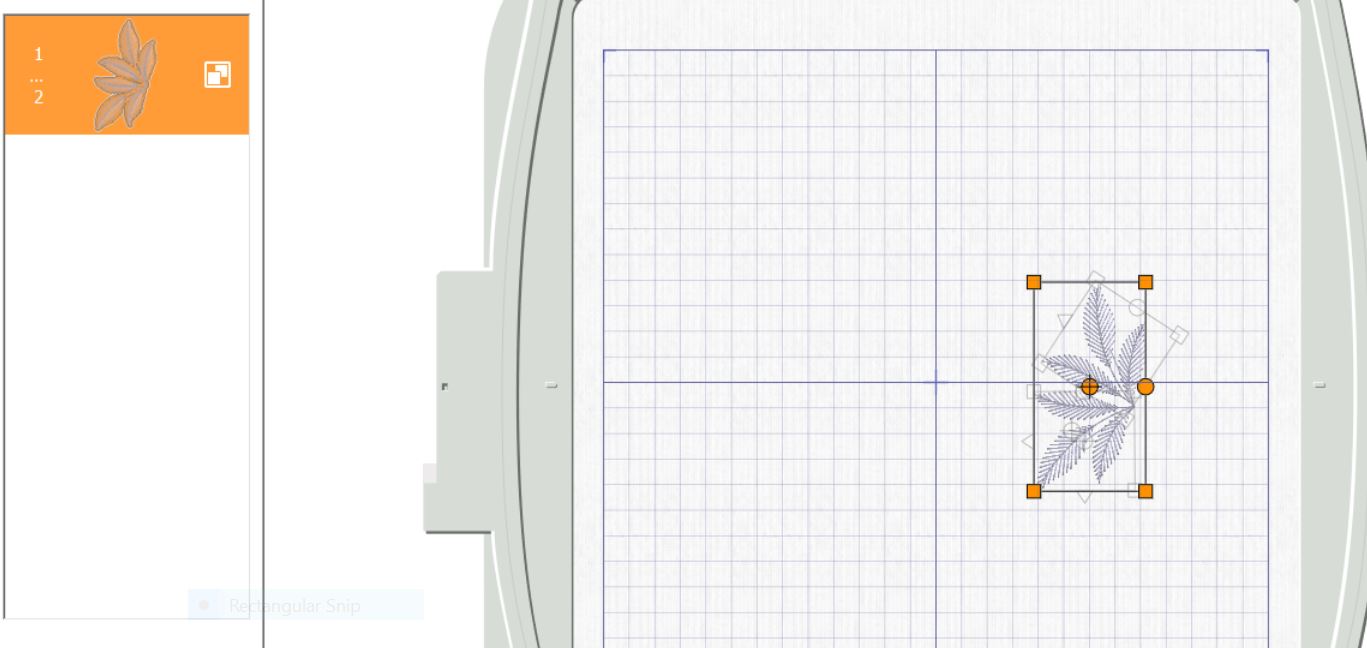
6. Hold down the shift key and click on both embroideries. Click on Group the box will turn orange.

7. Rotate the grouped embroidery about 90 degrees to the left., see image for clarity:
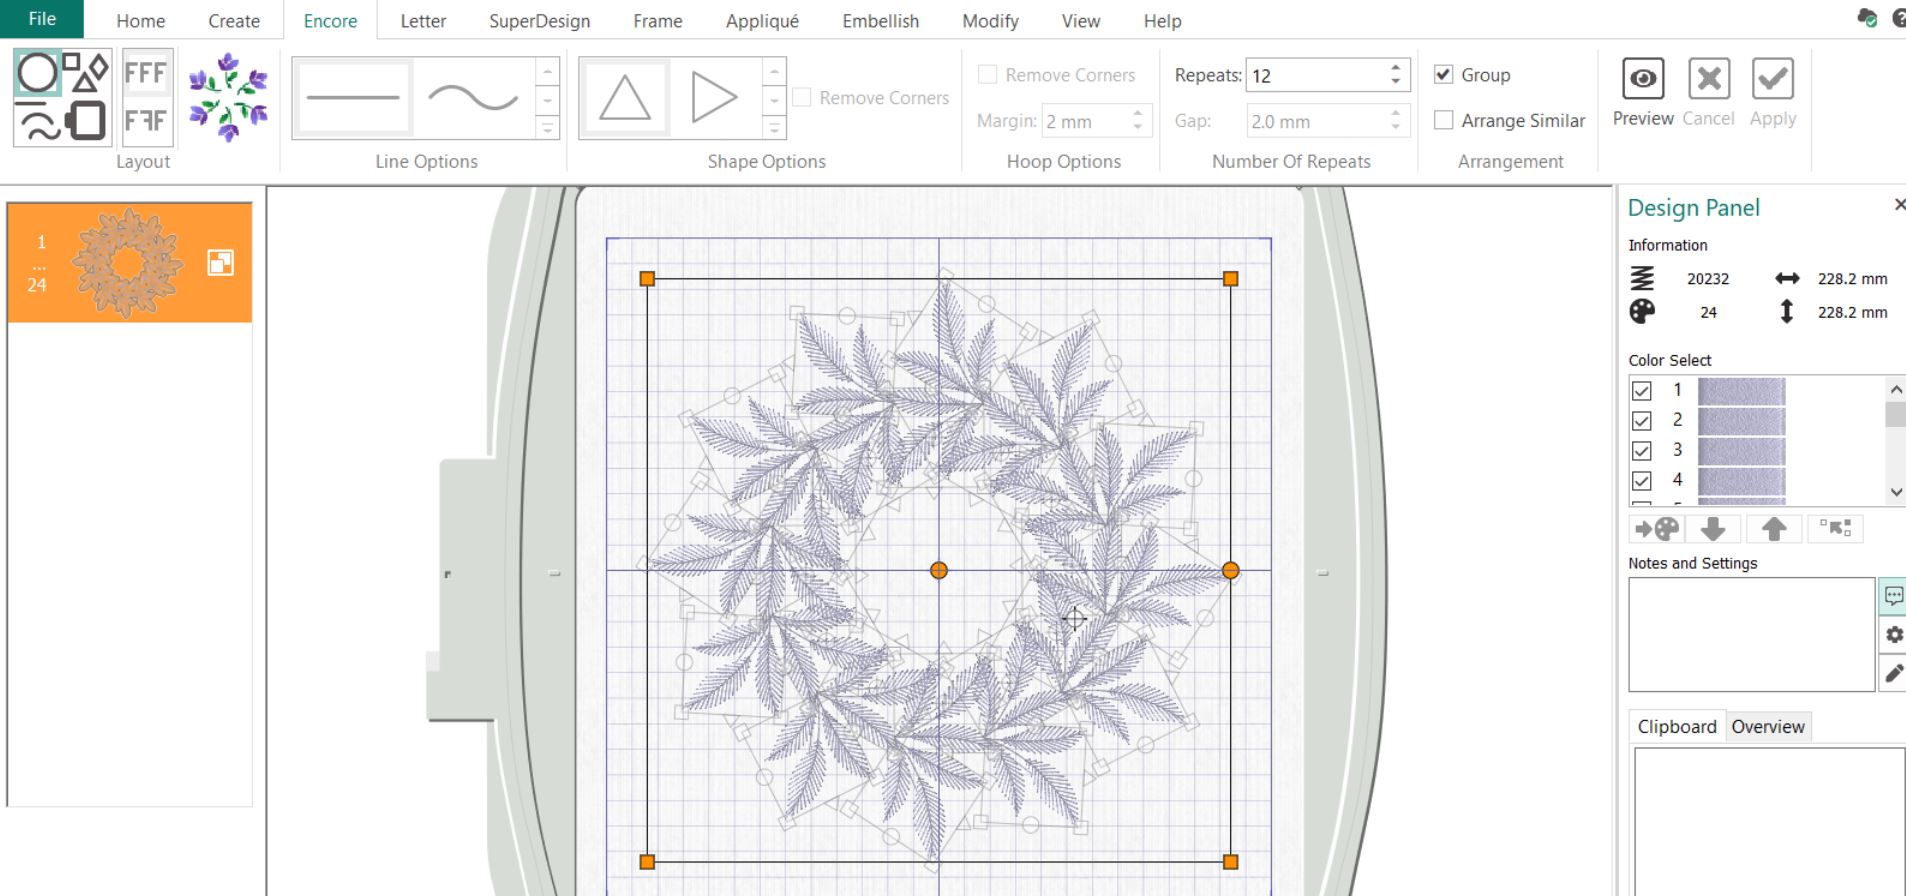
8. Now we will make the wreath, go to Encore, choose the Circle in Layout, set the Repeats to 12 and click on Preview.
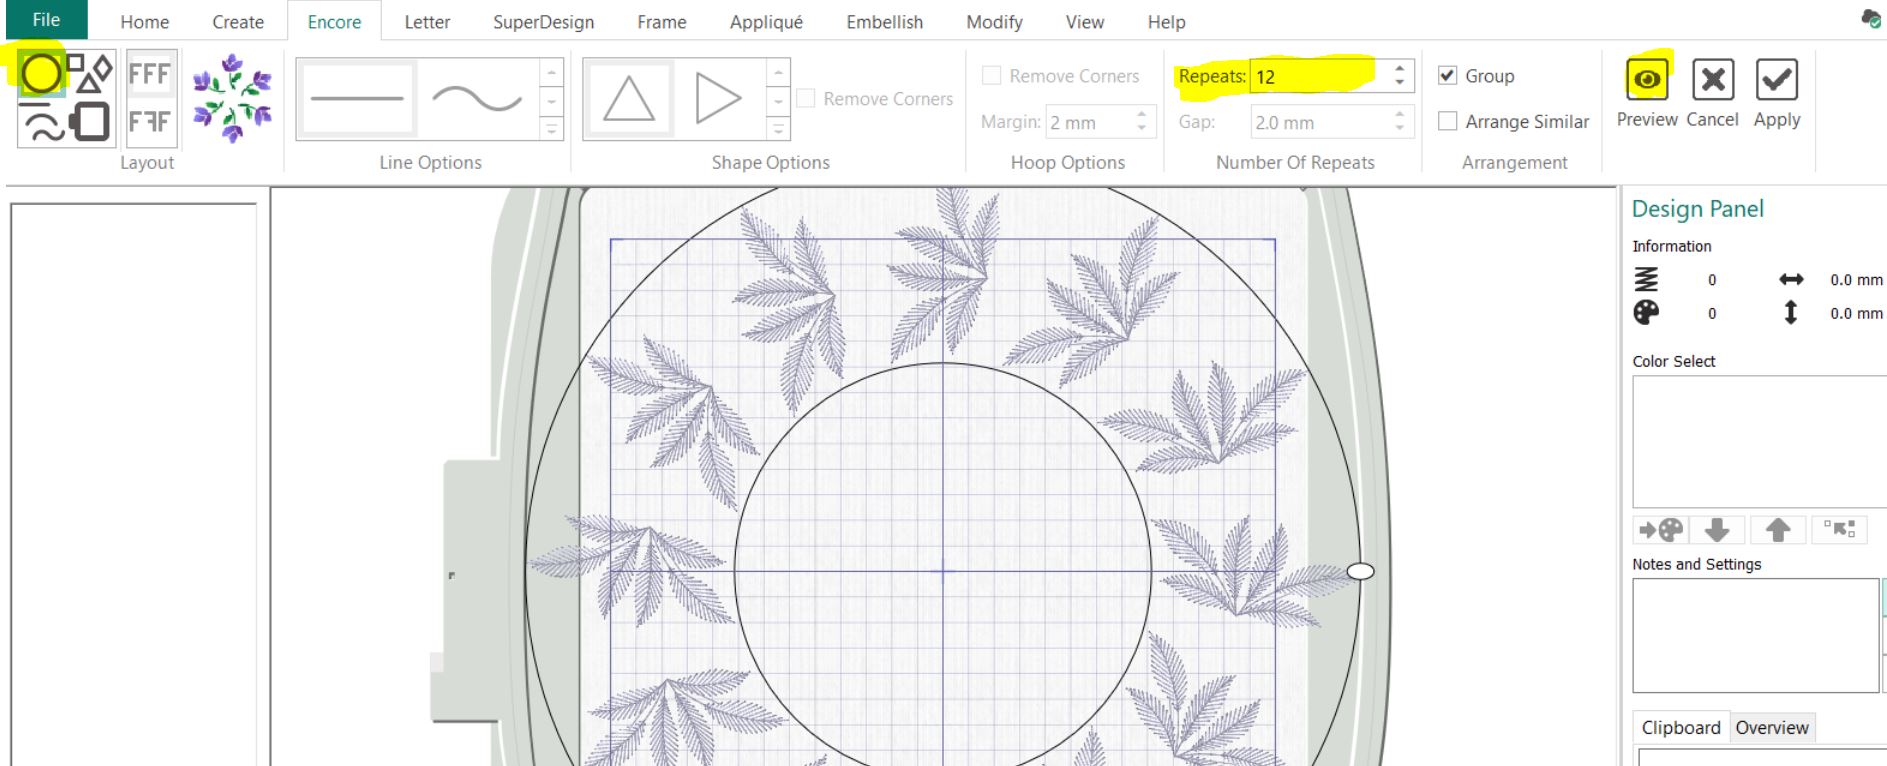
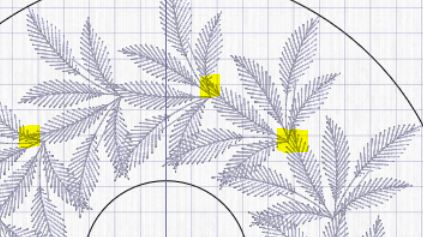
9. Move the cursor over the inner circle, it will change to a black + sign, and drag towards the center to make a wreath. The center leaf should overlap the stems of the leaf in front of them, see detail below:
10 When you are satisfied, click Apply. The finished size of the wreath will be approximately 230mm.
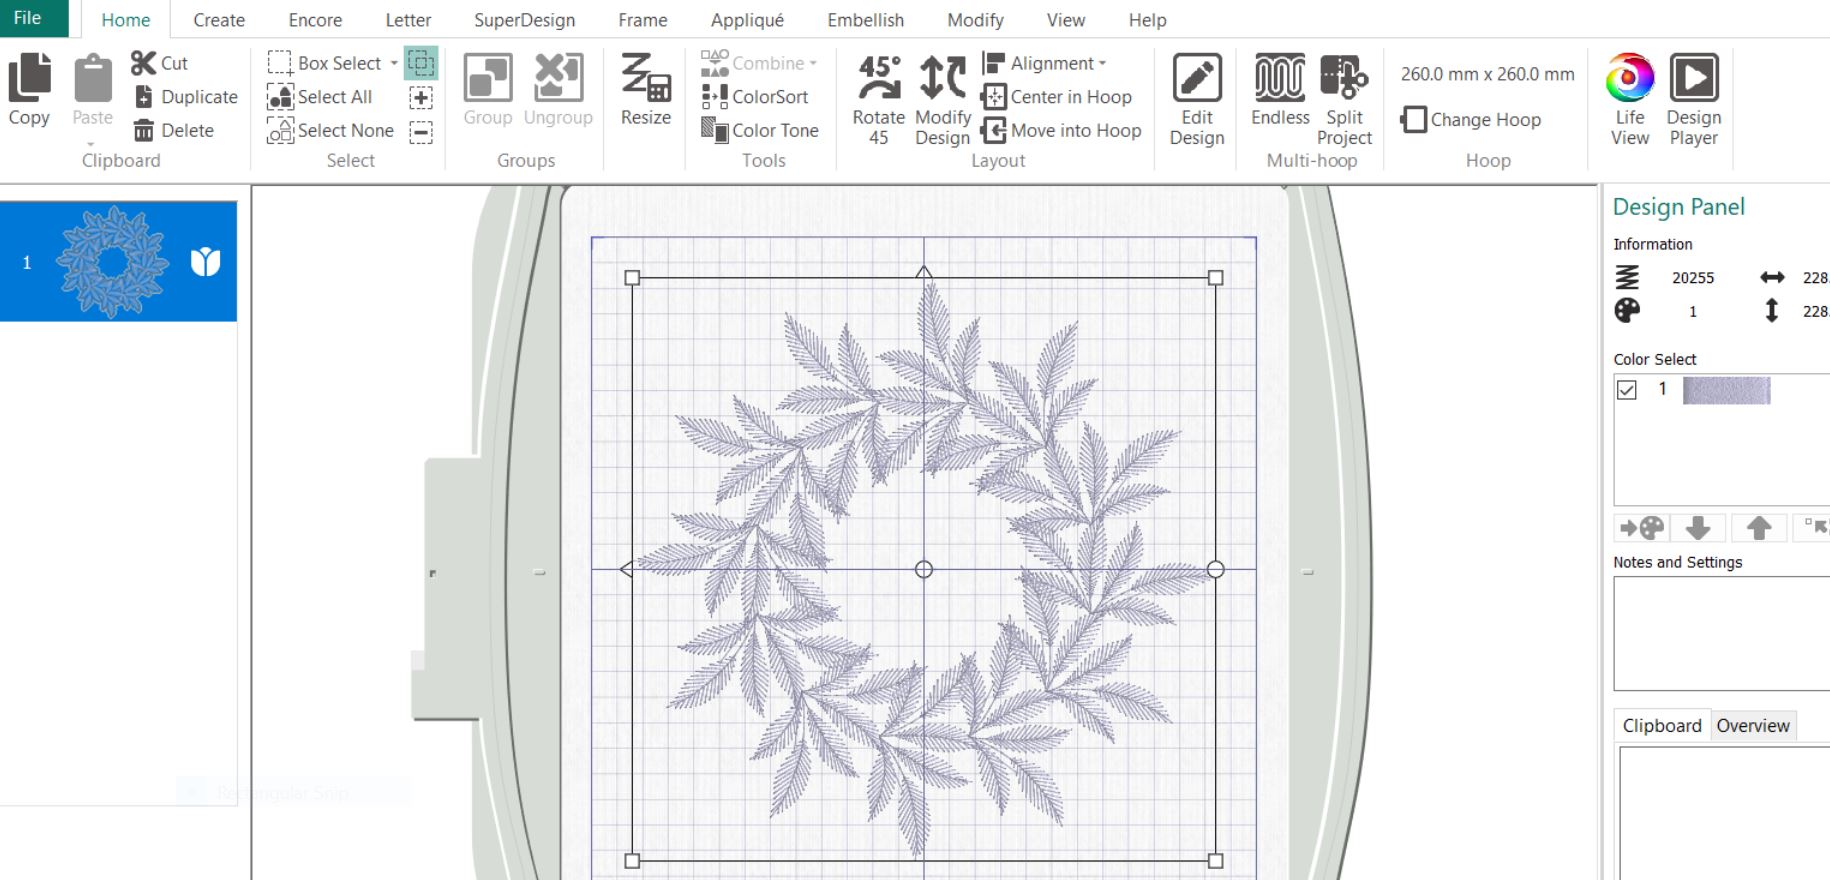
11. Go to the Home tab, click on Combine, Combine All and then colorsort. Now only one color change will remain at the Color Select box in the right panel. The embroidery have turned blue in the film strip and the surrounding corners are white.
Making the pearl embroidery circle:
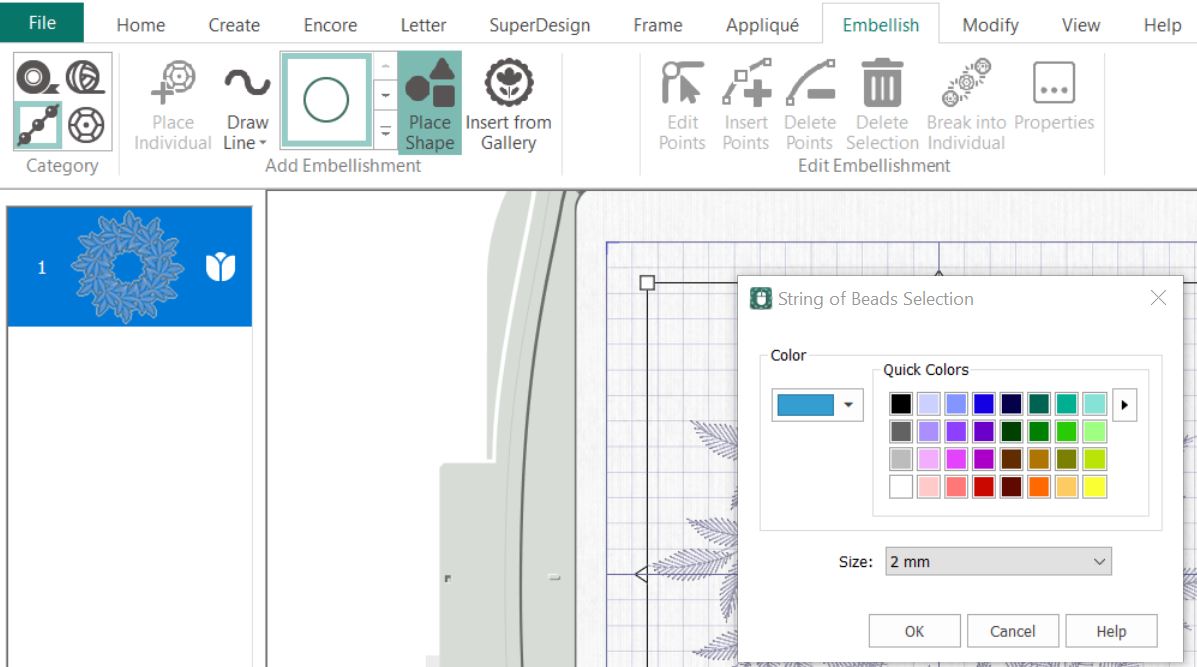
12. Go to the Embellish tab, In Category, select Beads, In the Shape box, select Circle if not already selected. Click on Place Shape.
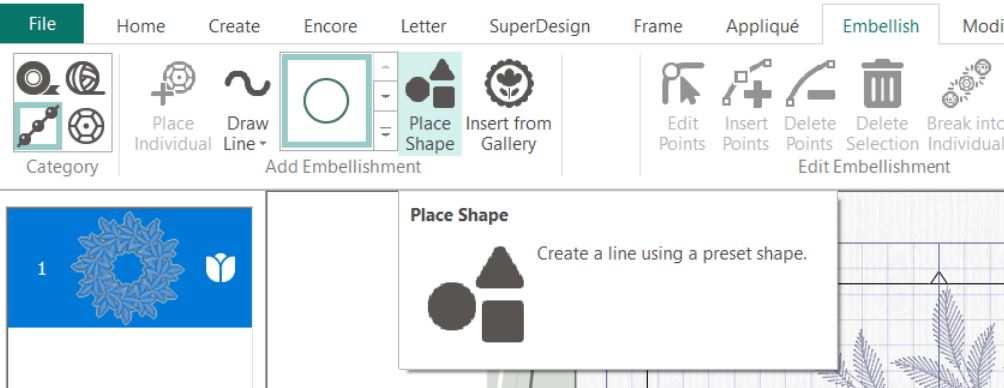
13. A new dialog box will appear on the screen, select Size 2mm and any color you like for the pearls, preset is blue, click OK.
14 A circle of pearldots will appear in the hoop area, with green handles. Hold down Shift kean and drag it to your preferred size. I tried to make it follow the center of the wreath.
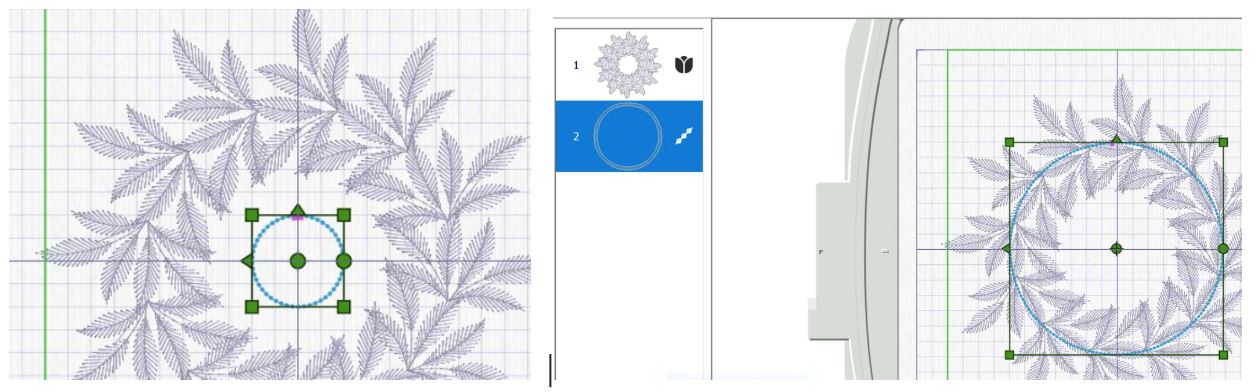
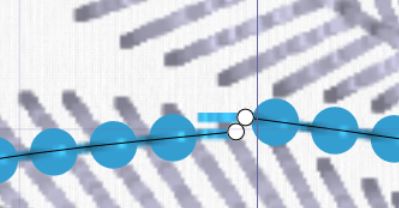
15. At the top of the circle you can see where the start and end points are. As you can see the join are cerise colored. This means that the ends are too close together. We will adjust this.
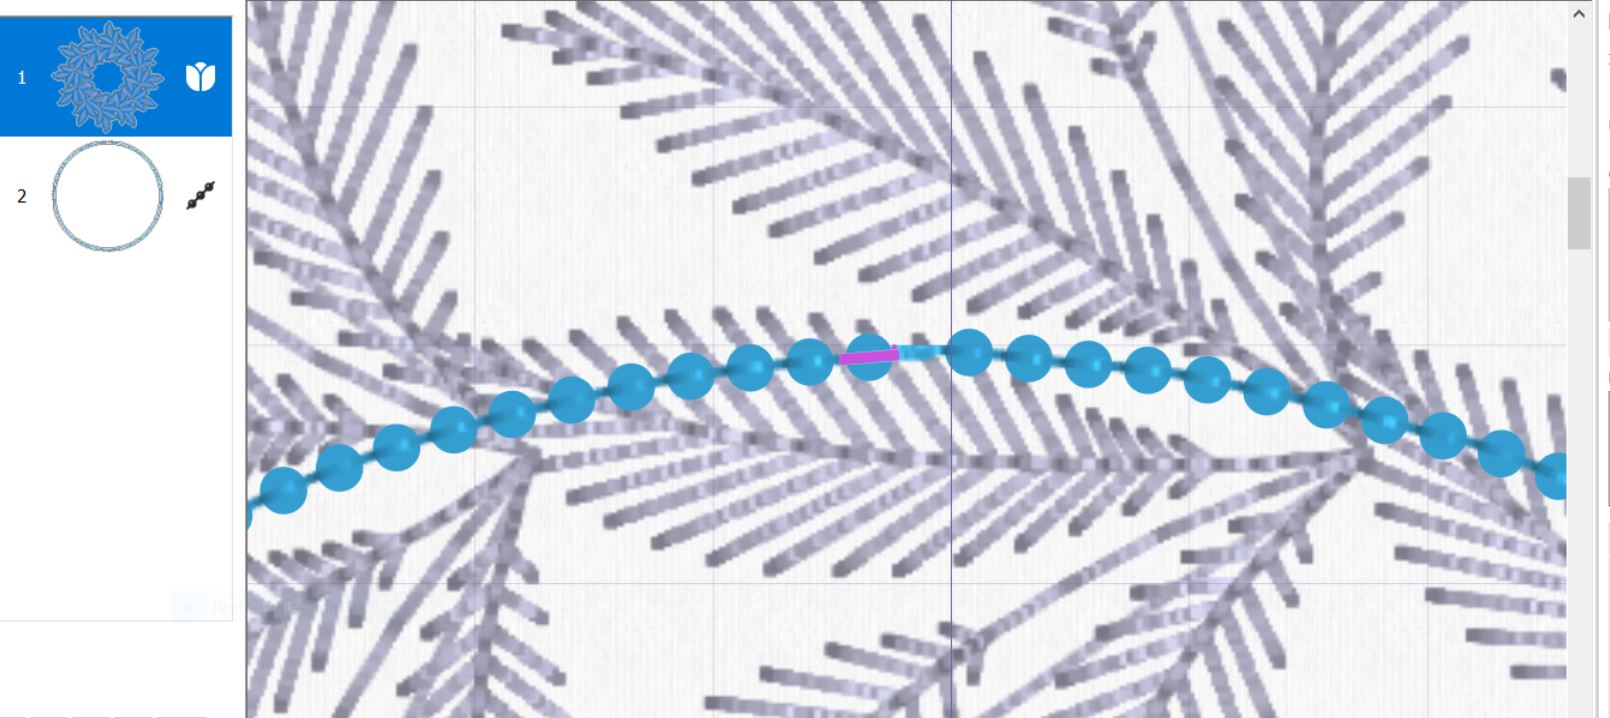
16. Click on Edit points, then on the pearl circle. A square will appear at the starting point. Click on it and it will change to a round point.(actually there are two points on top of each other, but you can only see the top one.
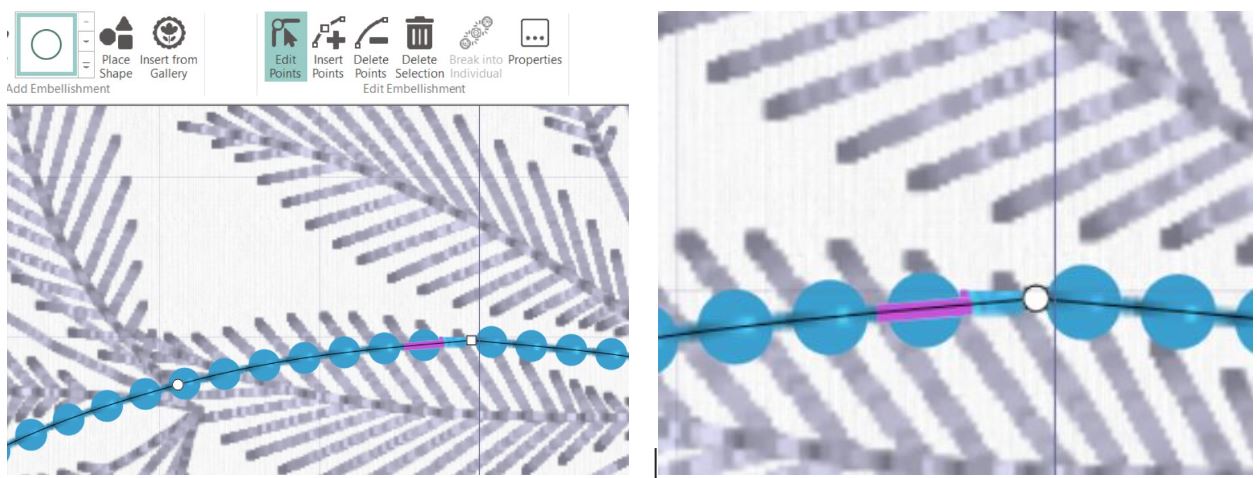
17. Gently move the point up( just one or two mm:s) until the cerise color disappears. Now the circle can be stitched out with the creative embellishment attachment!
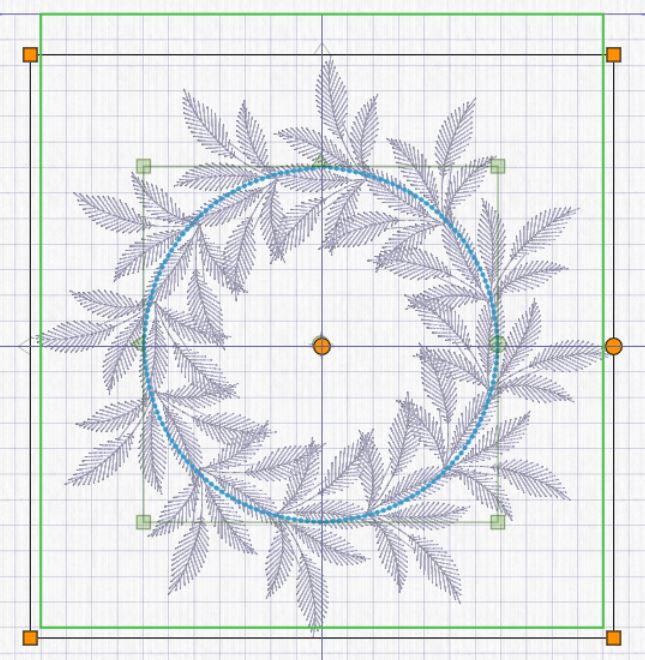
18. Go to Home tab, click on Select All, then Group. The embroidery file will be orange in the filmstrip at the left side and the handles around the embroidery will be orange as well.
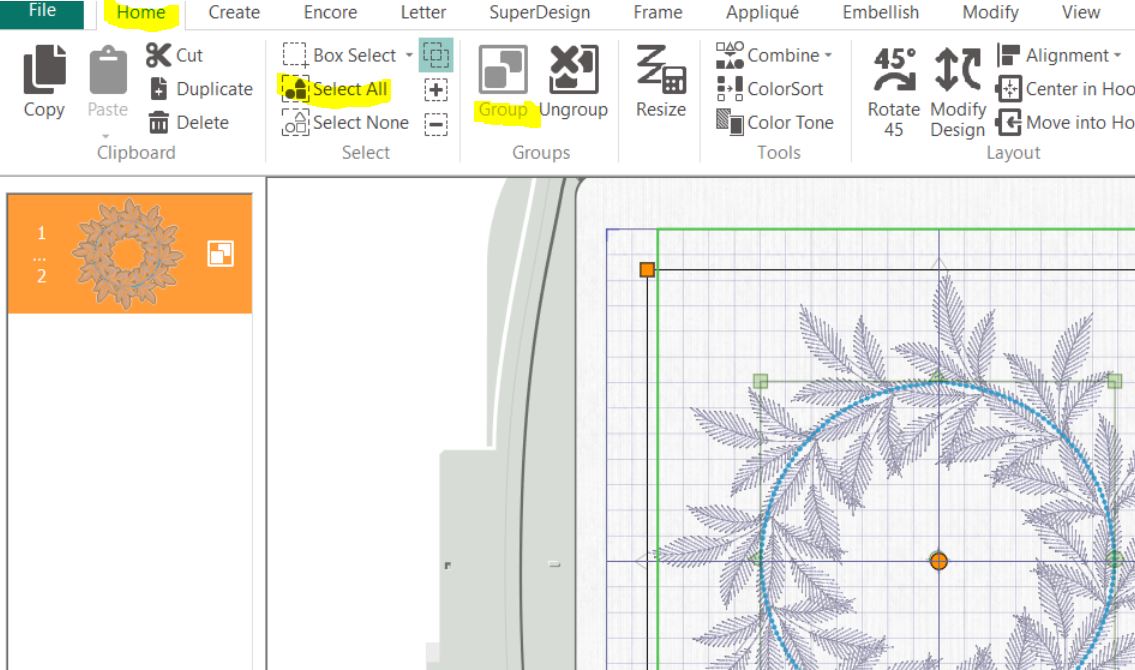
19. If you look carefully you can see a green solid line in the hoop area. This is the working area for the creative embellishment attachment.
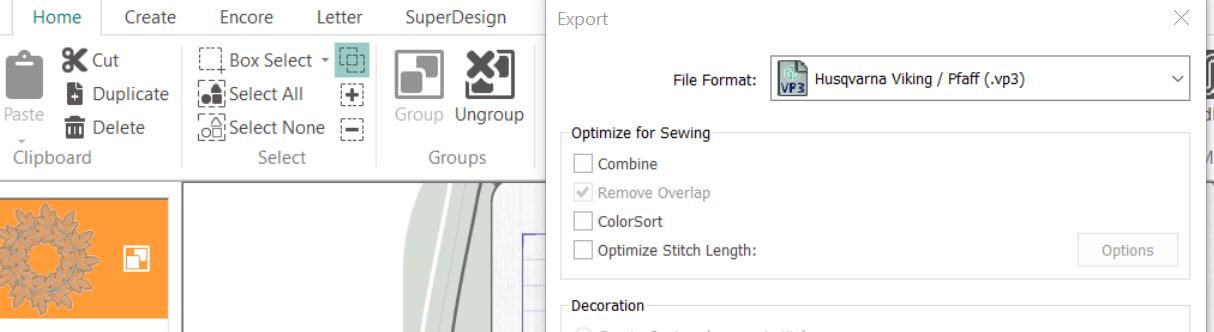
20 Export the embroidery file in your preferred format and send it to your sewing machine. Uncheck all the optimize for Sewing suggestions (Combine, remove overlap, ColorSort, Optimize Stitch Length).
Stitching out the design
21.hoop fabric and stabilizer in the 260x260mm hoop (a 260x360mm hoop can also be used).
22. Stitch out the first color, this is the wreath. Attach the creative embellishment attachment and stitch out the second color (blue) this will attach the pearl to your wreath. Follow the instructions for the creative embellishment attachment in your sewing machine.
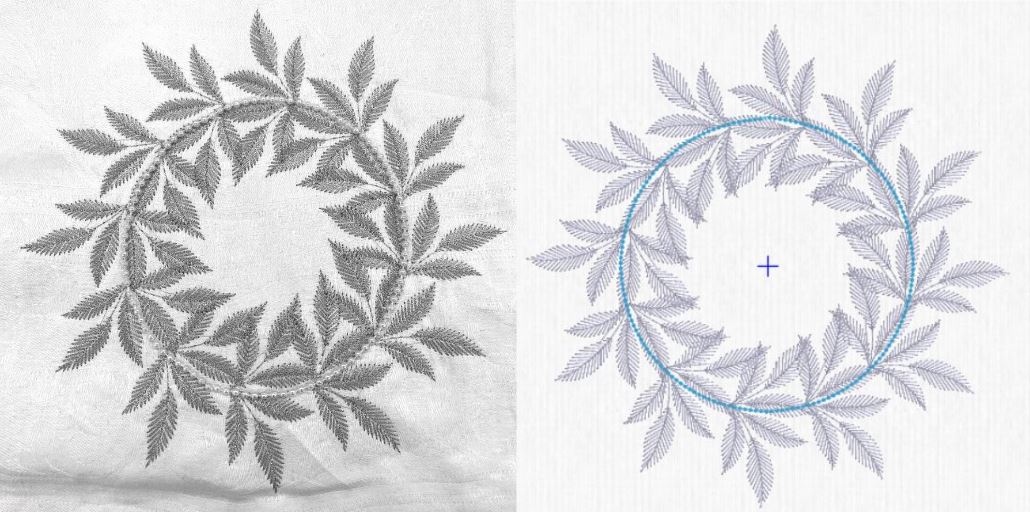
The final result will look like this:

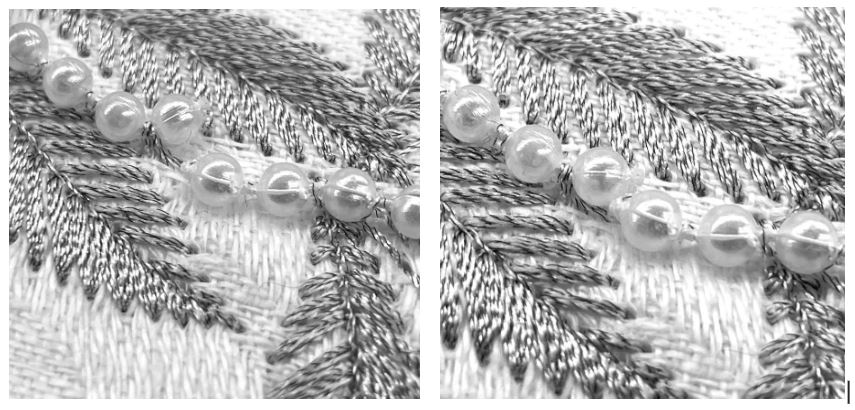
In the close up images below you can see how the join will look. In the first image the ends are pulled apart a bit for better visibility.
Tip: The leaf wreath looks really great without the pearls too!