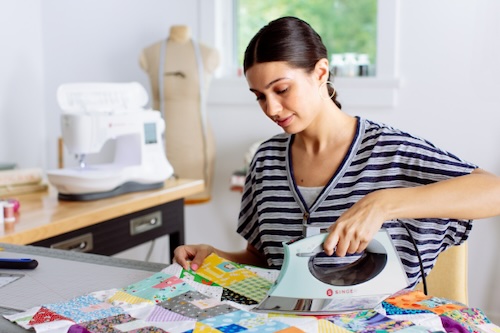
Ironing Tips & Tricks: Quilting

Experienced quilters know how necessary an iron is to quilting success. But if you’re just getting into the sport (if you’ve done it, you know it should be classed as a sport) our tips may save you from some quilting mishaps.
IRONING
-
- Ironing is only done during the beginning part of piecing a quilt. You should iron out the wrinkles in your fabric after you’ve gotten it from the store and/or after you’ve washed it.
- You will want to iron gently (in the direction of the weft and warp) so that you don’t shift your grainlines out of position. This method of ironing reduces the likelihood that you will stretch out your fabric.PRESSING
PRESSING
-
- Pressing should be done throughout the piecing process. After piecing, you'll want to press your fabric to set in the seam using the OnPoint™ tip.
- After sewing your pieces together, you should press the seam open or to one side (usually the darker fabric's side so you won't see the fabric through it). As with garment sewing, this reduces bulk in your finished product.
- After sewing your blocks together, you'll want to open the quilt block by pressing it open from the right side using the OnPoint™ tip. This will help eliminate any tucks or wavy lines to ensure your blocks are the correct size.
Pro-Tip: Often used interchangeably, Ironing & Pressing are NOT the same thing. Ironing is the action used to remove wrinkles by sliding a hot iron back and forth. Pressing is the process of lifting and putting the iron down on a specific part of a project.


 United States