United States
How to Sew a Patchwork Garment
Everything in fashion cycles back around - and this is oh so true for patchwork! Patchwork blouses, dresses, coats, pants, vests, skirts, and more can be seen in small boutiques and across Pinterest and Instagram. Patchwork garments represent the best of both worlds as far as I’m concerned: one of a kind wearables that represent your love for textiles. And they’re a great way to use up precious scraps of fabrics. Here are some tips for how to make this trend work for you.
Notes on Planning
Generally speaking, lightweight woven fabrics work best for this technique. Linen, cotton, and lawn are all great choices.
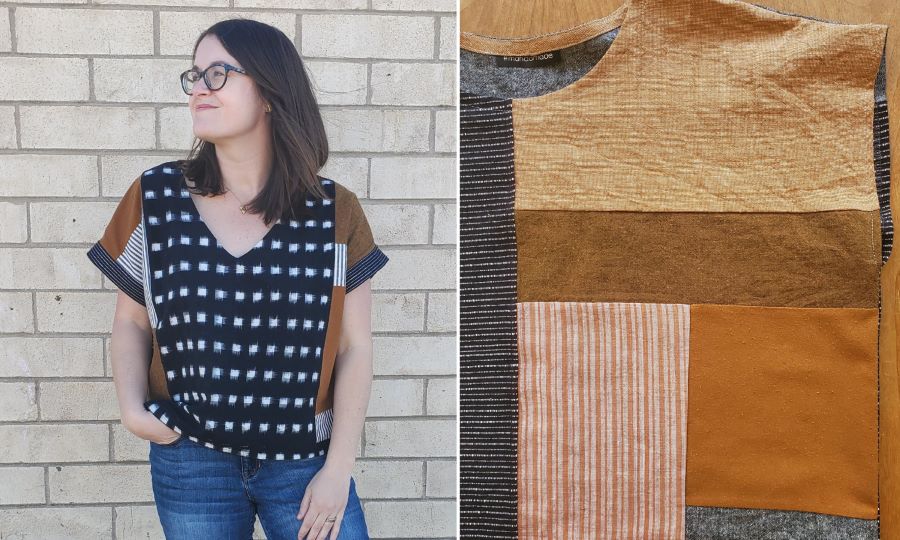
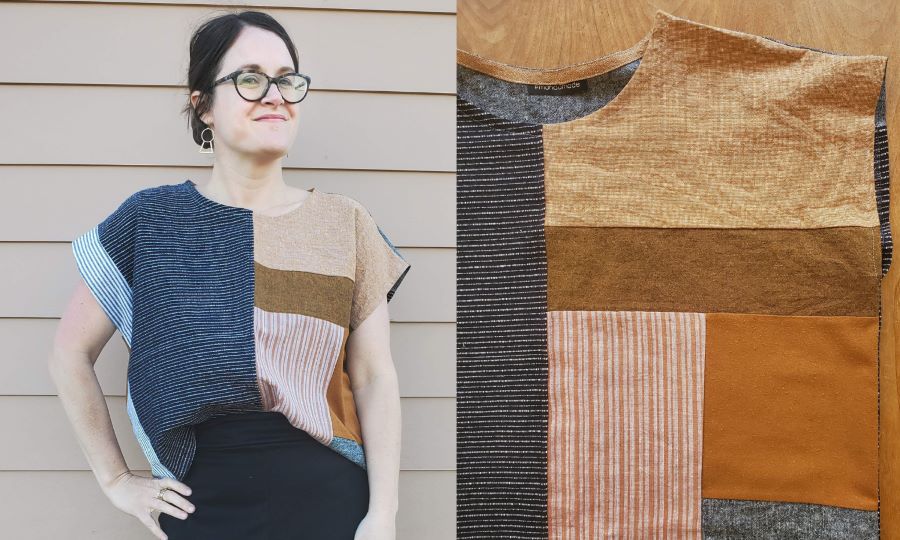
In terms of colors and print combinations, there are no rules! I like to keep things in the same tonal range for a more cohesive look. I also find that working with my scraps from other projects works well for this technique, as I tend to be fairly consistent in my fabric selection.
Instead of piecing the fabric yourself, consider sourcing quilt tops for upcycling. You’ll approach the project in much the same way.
Work with fabrics of a similar weight, as much as possible.You can mix weights but stay within a few ounces to avoid creating heavier and lighter areas in your garment, as this will cause your finished piece to hang unevenly.
Pick garment patterns that are more boxy in nature. Super fitted designs will potentially strain the seams and/or keep the seams closer to your body, which could be uncomfortable if you have sensitive skin.
Also, pick simple garment patterns with less details. Creating a button placket or princess seams will be tricky as you’ll be working across bulky pieced seams.
Keep the finished fabric weight in mind. Combining fabrics together, with threads and serger threads, will add weight to the finished fabric. With smaller pieces - and thus more seams - the more weight you’re likely to create.
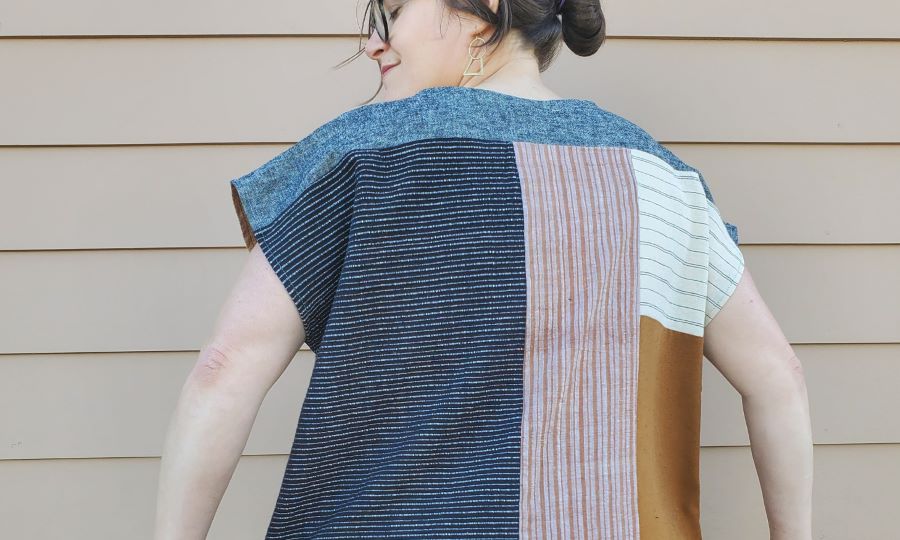
Consider placement. If you’re planning to do an intricately pieced block or square or perhaps a strip, consider where you’d like to feature this on the garment. A center strip on the front or back of a blouse can make a nice statement. Or place it to one side for an asymmetrical layout.
To start, consider working with larger pieces of fabric for more of a blocked (rather than pieced) look.
Notes on the Process
Piece your fabrics together first, then cut the pattern pieces from the pieced panels. Be mindful of pattern edges and seam lines, and plan your piecing around them as much as possible. You want to avoid having a pieced seam close to the garment seam. You’ll also want to avoid having a horizontal hem close to your garment hem, as this will potentially add bulk to your hem.

Consider how you’ll finish the fabric raw edges. In traditional piecing, no edge finishing is needed, but this isn’t the case with single layer garments. You’ll either need to serge, zigzag-finish, or use pinking shears to finish the fabric raw edges. French seams are not an option for this technique as they create too much bulk. As an alternative, you could plan to line your garment with a lightweight layer, but this will add to the overall weight of your garment and impact your construction steps.
Press your seams as you work to reduce bulky intersections as much as possible.
My favorite technique is to piece the blocks or fabric pieces on my serger, press the seams to one side, then topstitch the seam in place with a coordinating thread.
Wash your finished garment by hand or using a delicate cycle on your washing machine and hang to dry. Press as needed.