United States
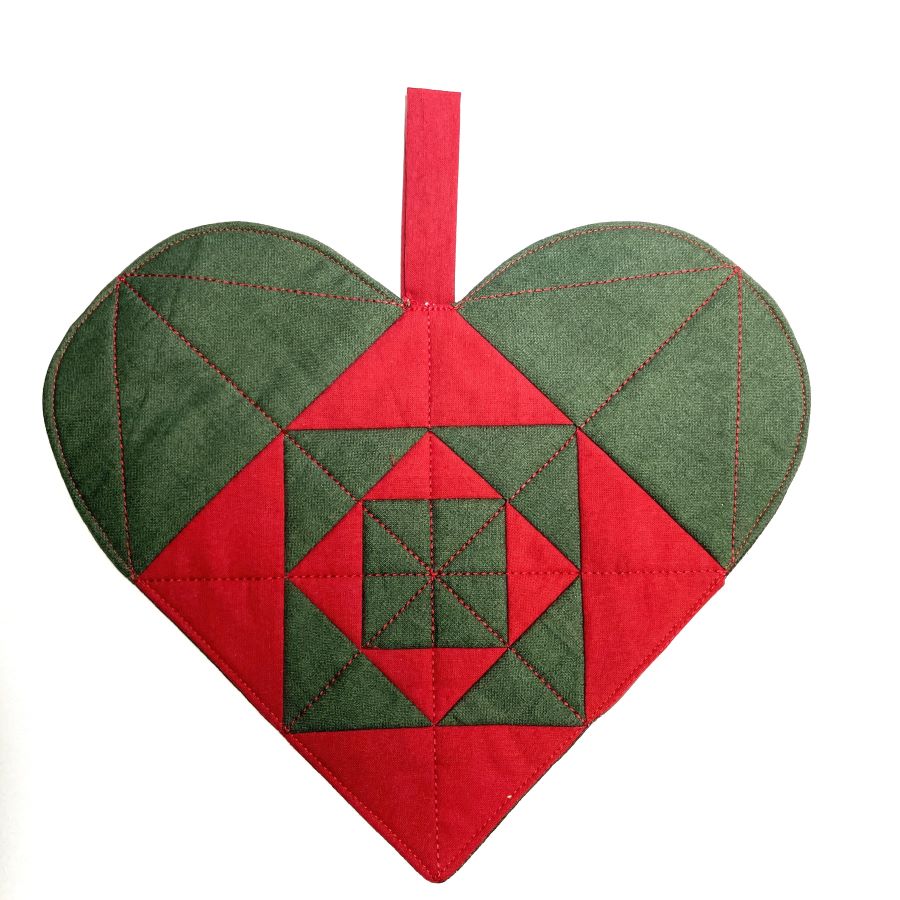
Heart Hot Pad In-The-Hoop
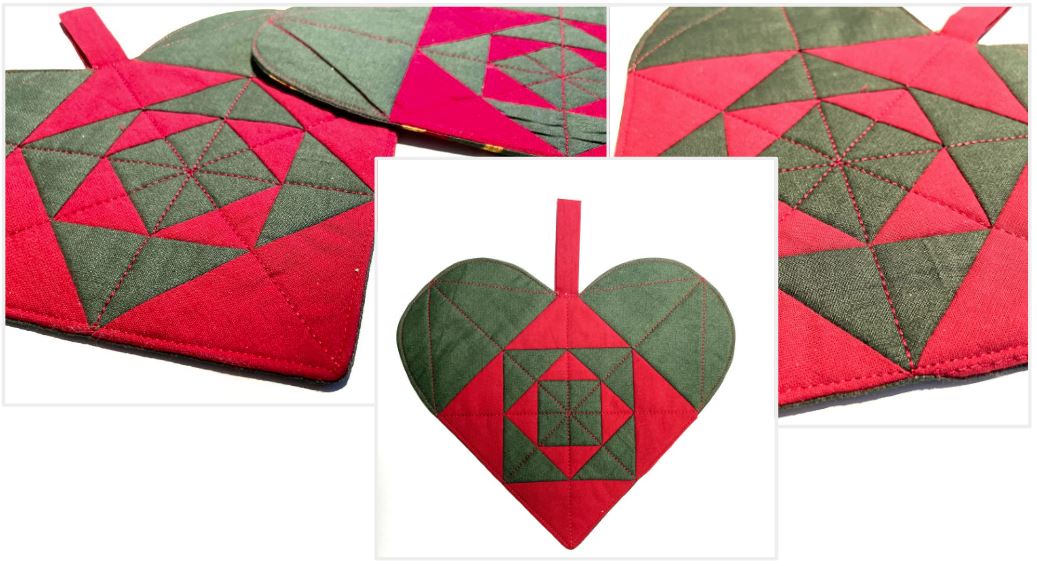
These Hot Pads are made entirely in the hoop with just a small opening for turning. They are great for placement mats also. If you resize them they make great mug rugs or Christmas tree decorations.
What you need:
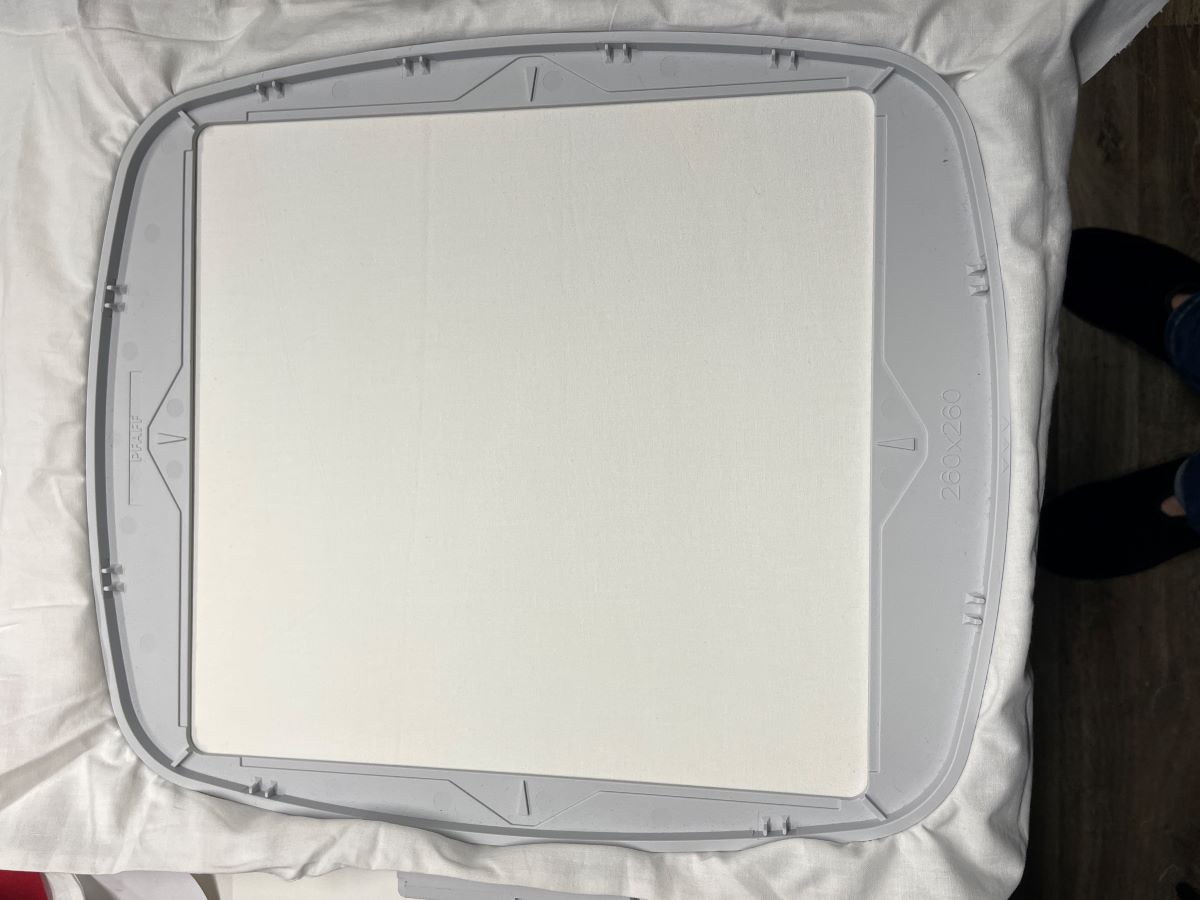
- Embroidery hoop 200x200mm or 260x260mm
- Embroidery file (Available now in the machine blog for mySewnet-enable embroidery machines and in mySewnet Library Dec 22nd)
- Stabilizer for the hoop (I used old cotton bed sheet, It will not be visible when finished and makes the hotpad softer)
- Heat resistant batting 12x12” (30x30cm)
- Fabric for the back 12x12” (30x30cm)
- Fabric for the hanger, 8x3 ¼” (20x8cm)
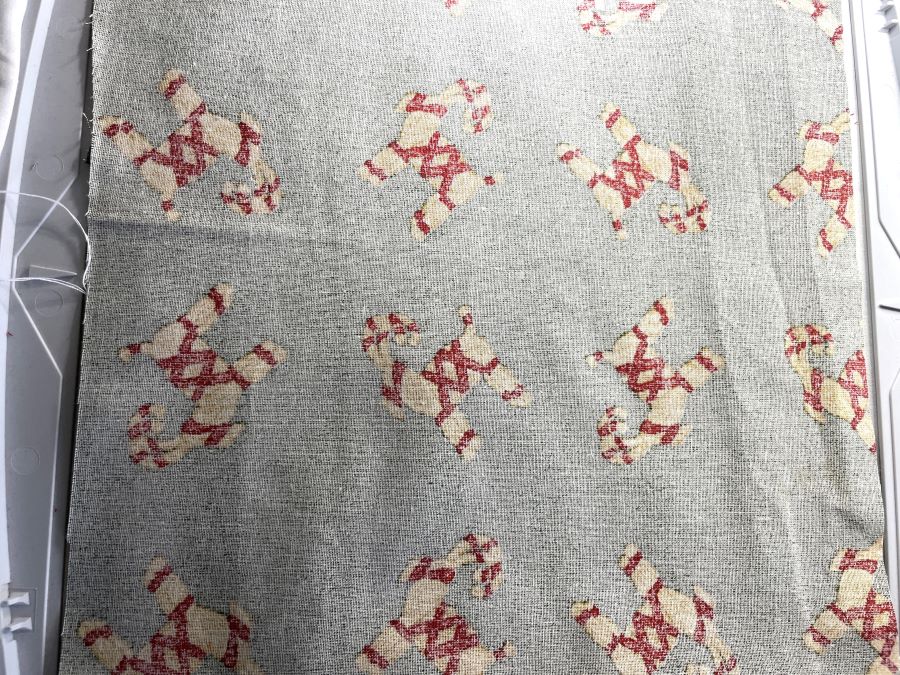
- Red and green cotton fabric for the patchwork front.
- Sewing thread (use ordinary sewing thread for this project.)
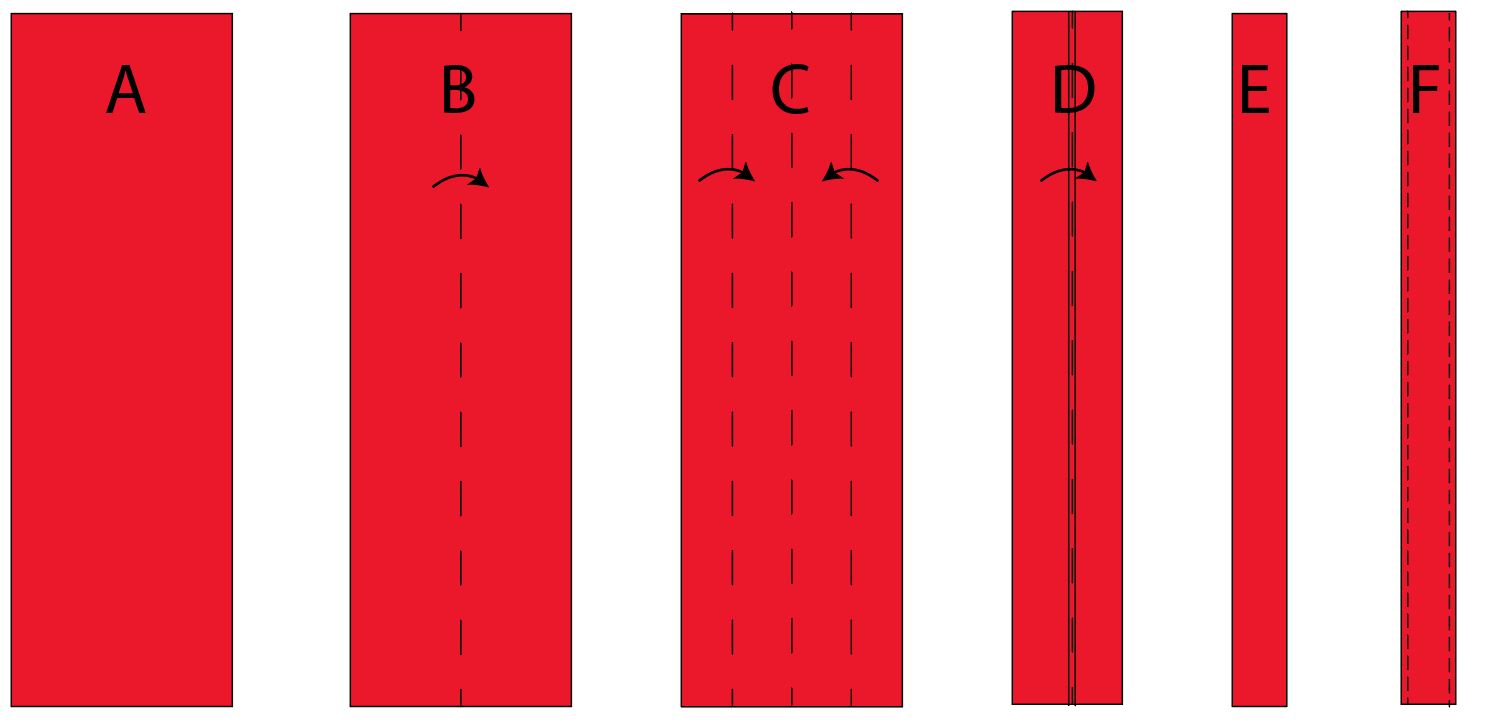
Make the handle(s):
A: For each handle you need a strip 3 ¼” (8cm) wide and 8” (20cm) long. If you plan to make many hearts you can make a long strip and sub cut it into 8”(20cm) pieces after folding and stitching.
B: Fold the strip lengthwise and fold it out again.
C: Fold the edges towards the center fold.
D: Fold it all together
E: Now you have a ¾ ”(2cm) strip.
F: Topstitch close to the edge on both sides.
Stitching out the design
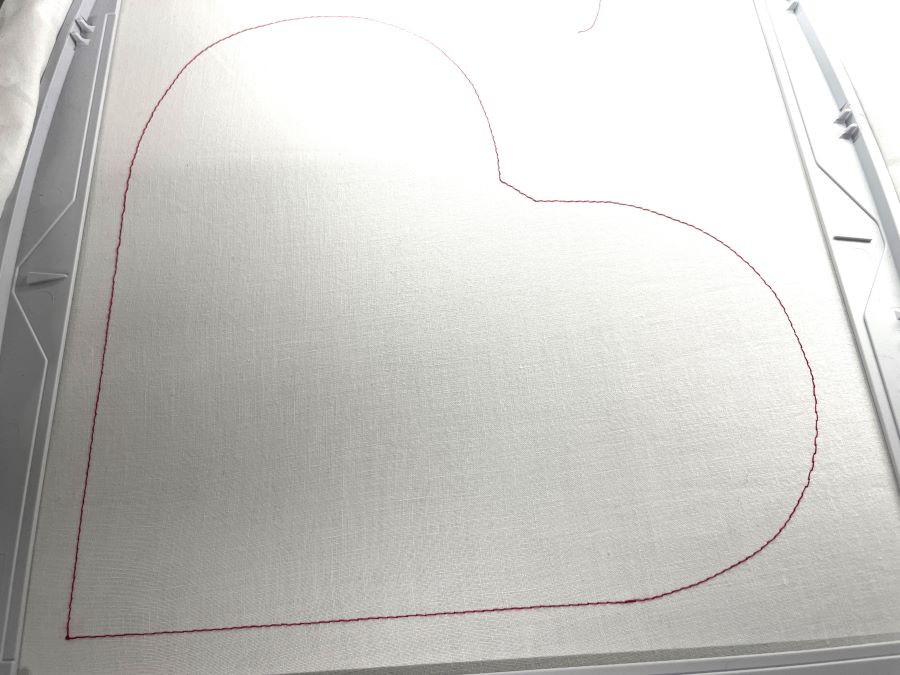
1. Hoop the stabilizer (in this case an old cotton bedsheet or similar).
2. Stitch out the first color, this will make the placement line for the batting.
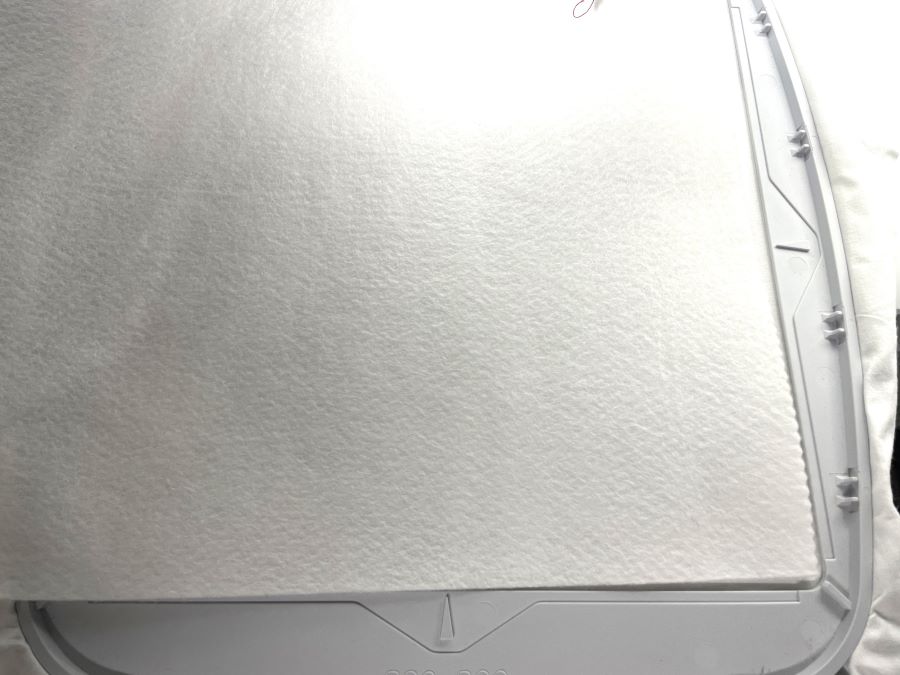
3. Place batting on top, make sure it extends outside the placement stitches on all sides, stitch out color 2.
4. Color 2 will secure the batting and mark the patchwork areas.
5. Remove hoop and cut away excess batting.
6. Place the first fabric piece in the middle, right side facing up on the middle square. Make sure the fabric extends outside the stitched line on all sides.
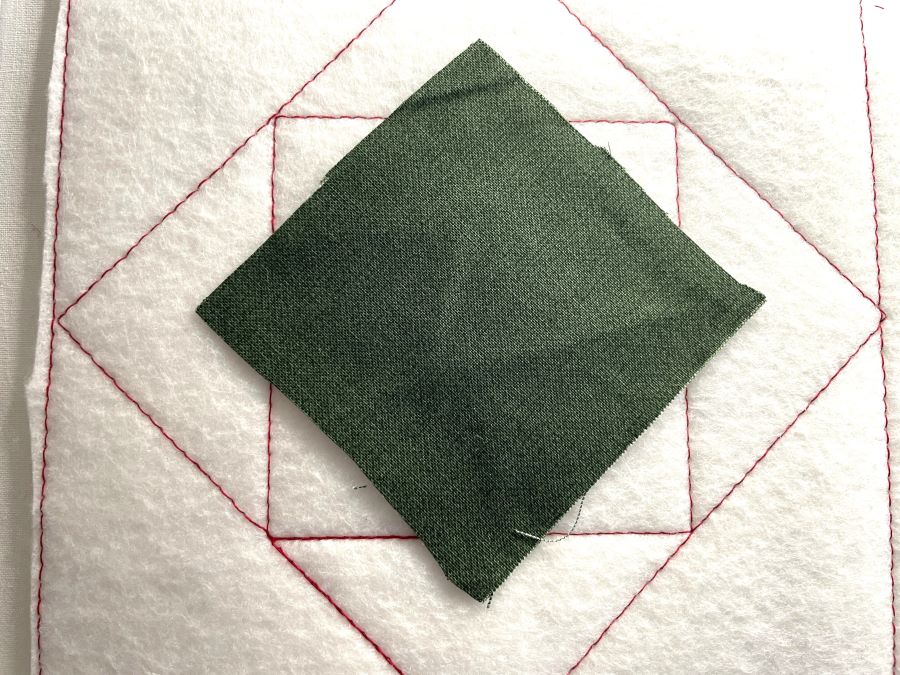
7. Stitch out the next color (3) this will secure the center fabric piece. Cut away excess fabric, leave about ¼” (6mm). Place the next fabric piece along the left top side of the square. The fabric should be facing right side down.
8. Stitch next color (4). This will stitch the fabric in place.
9. Unfold and turn the right side up, secure with some masking tape.
10. Stitch the next color, (5) this will secure the fabric piece.
11. Cut away excess fabric, leaving about ¼” (6mm) around the edges.
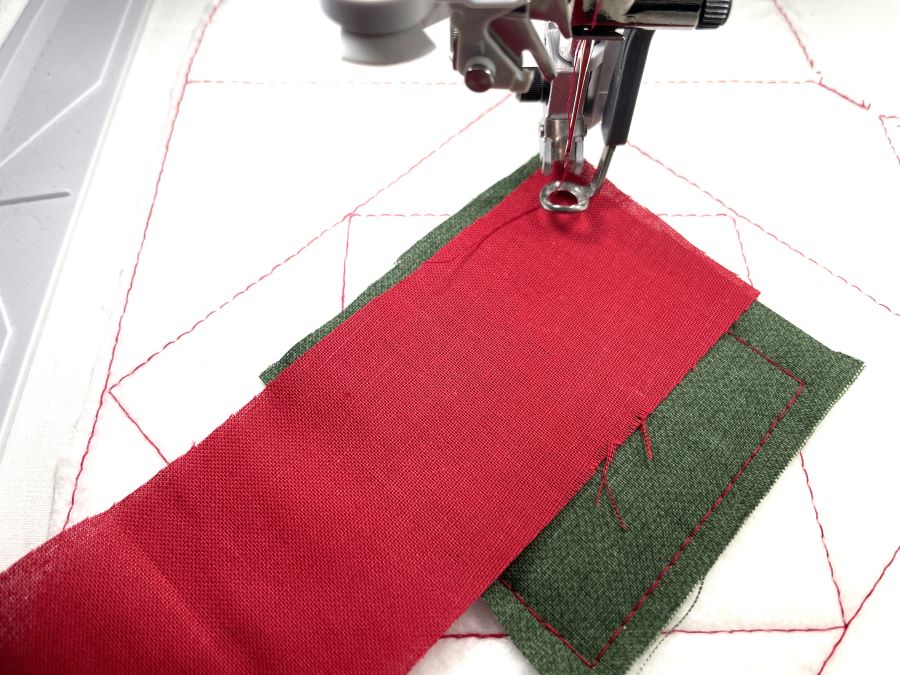
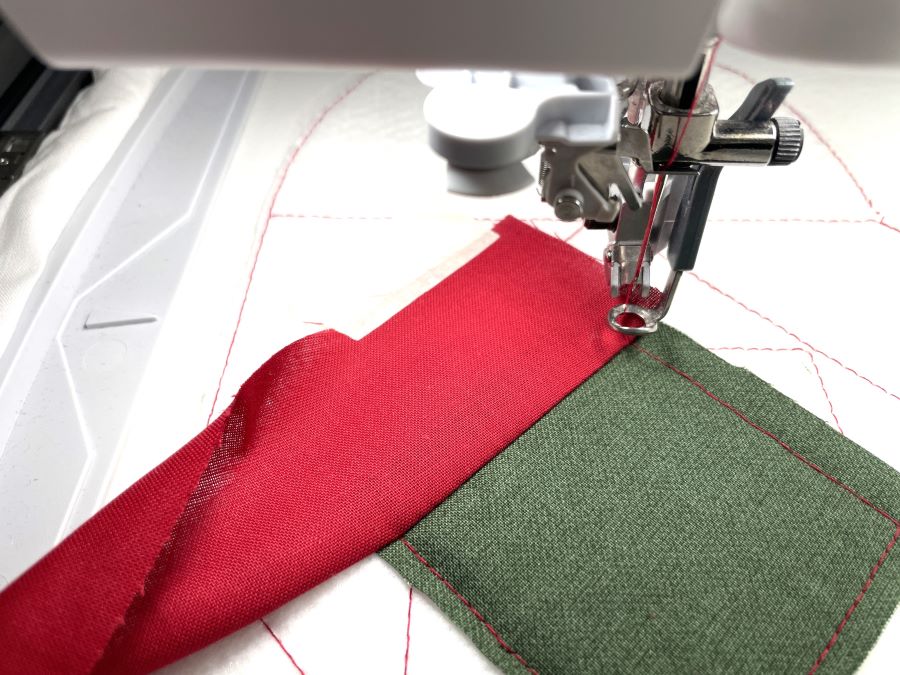
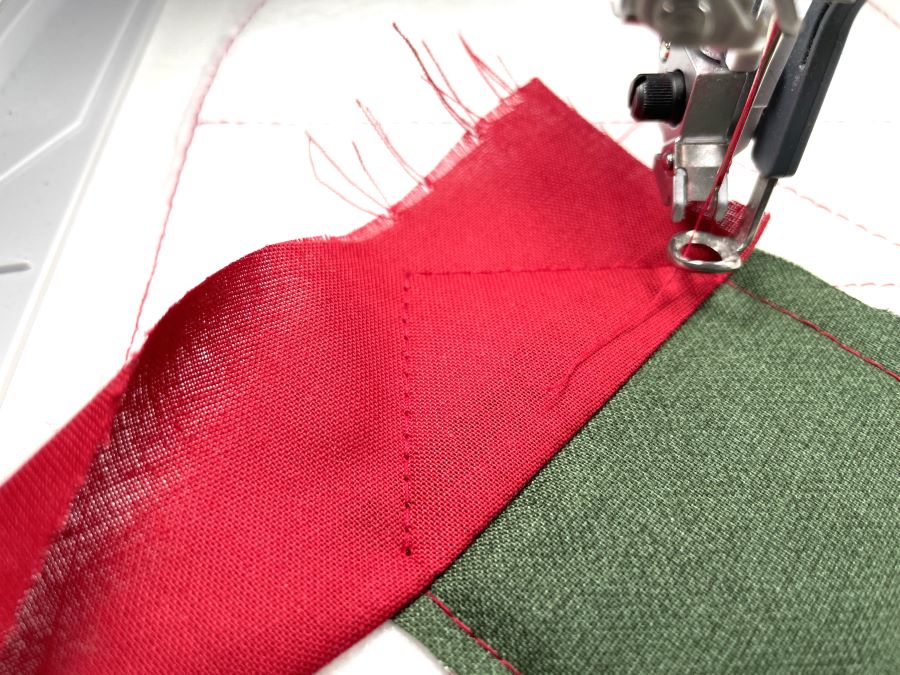
12. Place the next fabric piece along the top right edge of the center square, right side facing down. Stitch next color (6), this will sew the fabric piece in place.
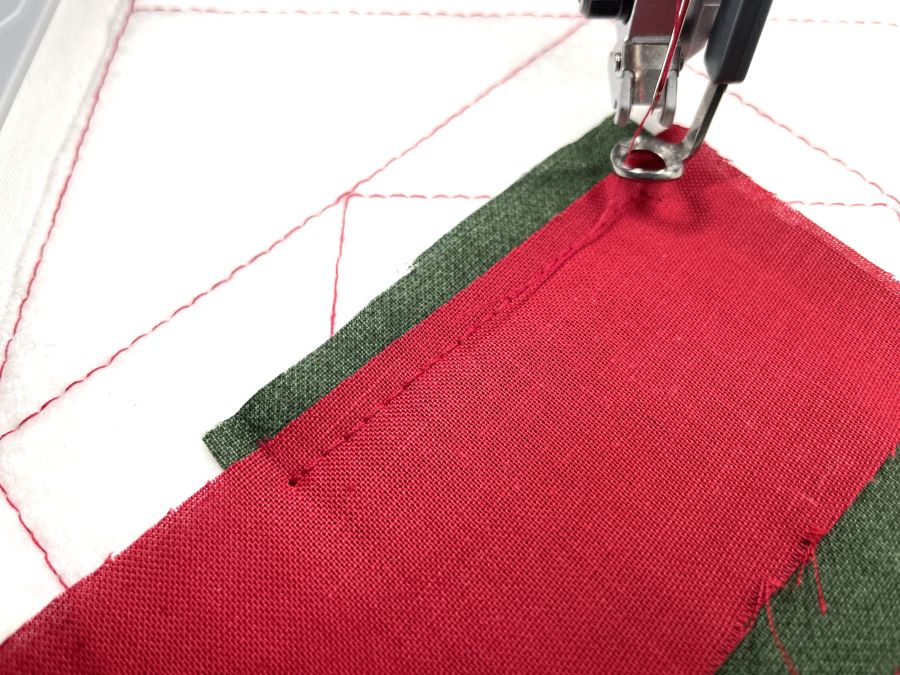
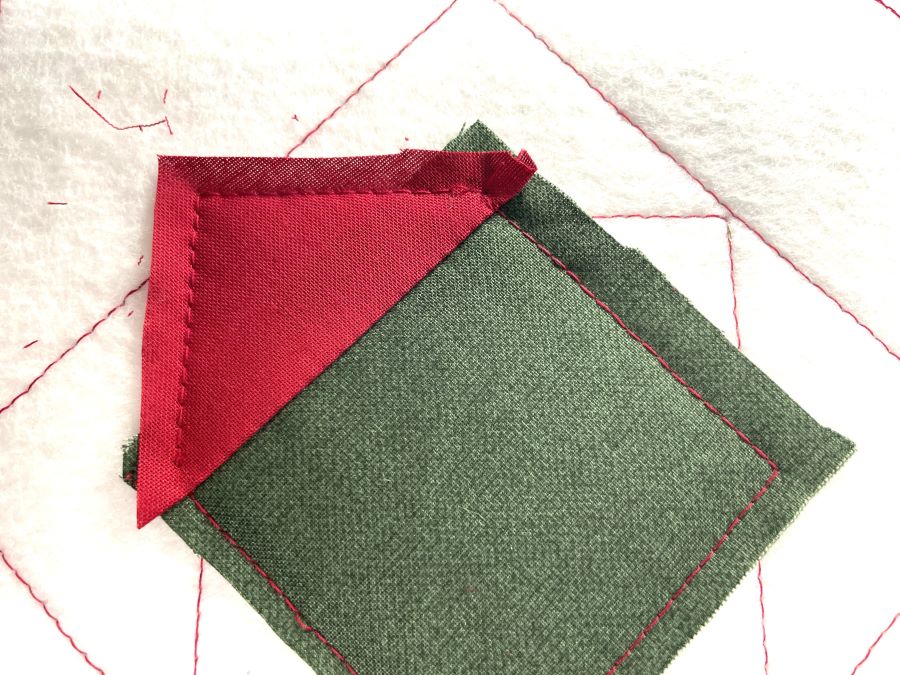
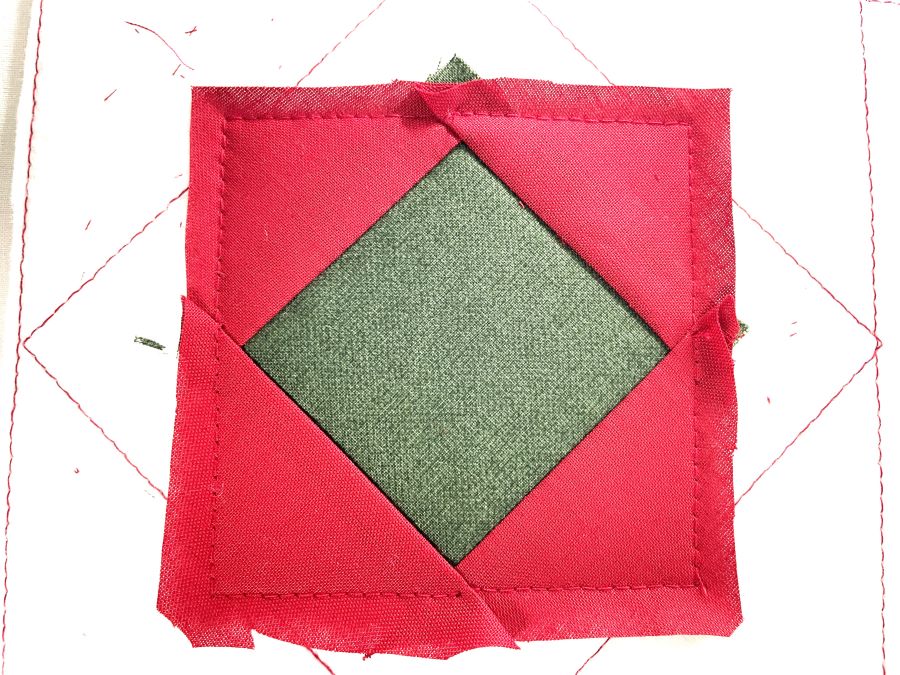
13. Fold out and secure with masking tape, stitch next color(7), this will secure the fabric piece in place. Cut away excess fabric and leave about ¼” (6mm) seam allowance.
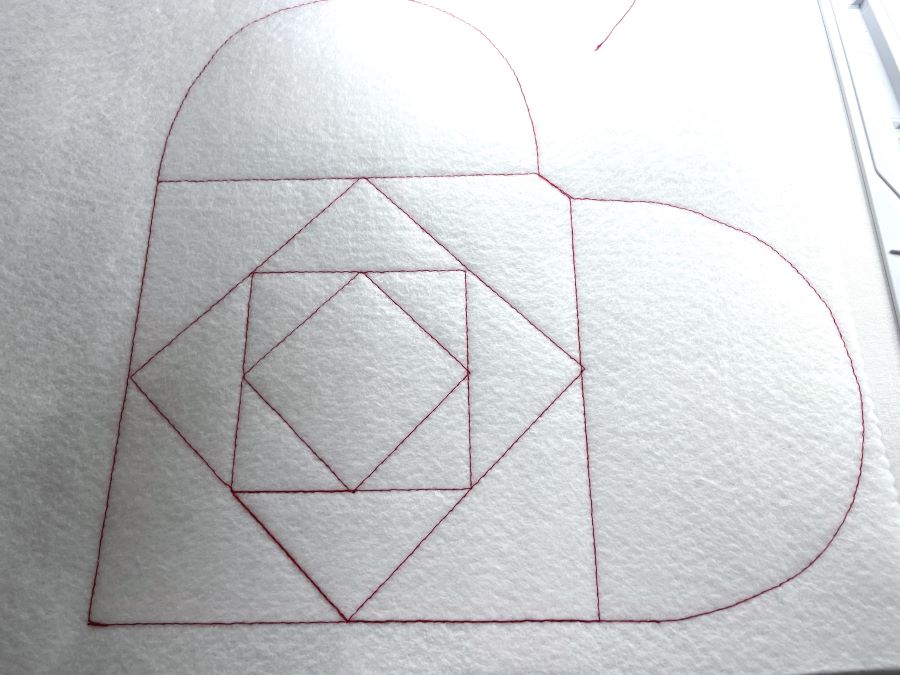
14. Continue as before with the two last patches in the first row, now it will look like this:
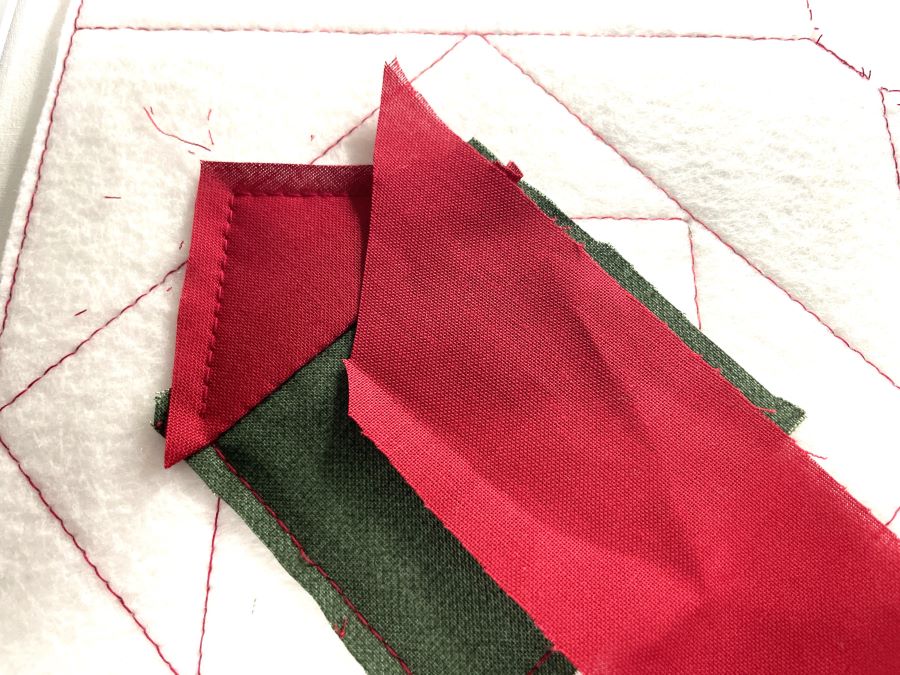
15. Now it is time for the next row (green) Place the fabric along the top of the first row,Right side of fabric facing down, raw edges even.
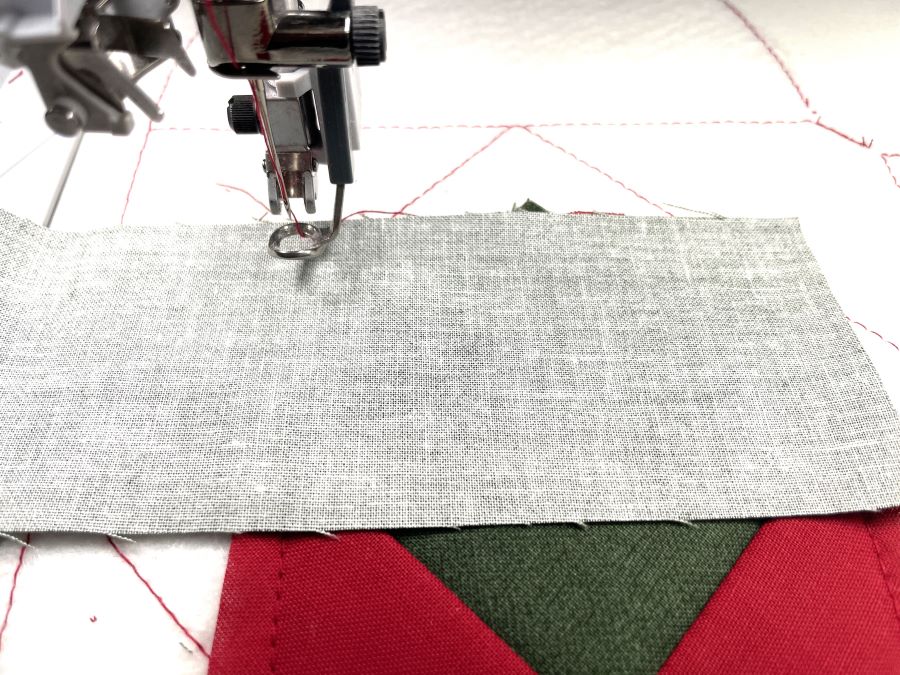
16. Stitch in place (color13) , fold out and secure with next color(14)now it will look like this:
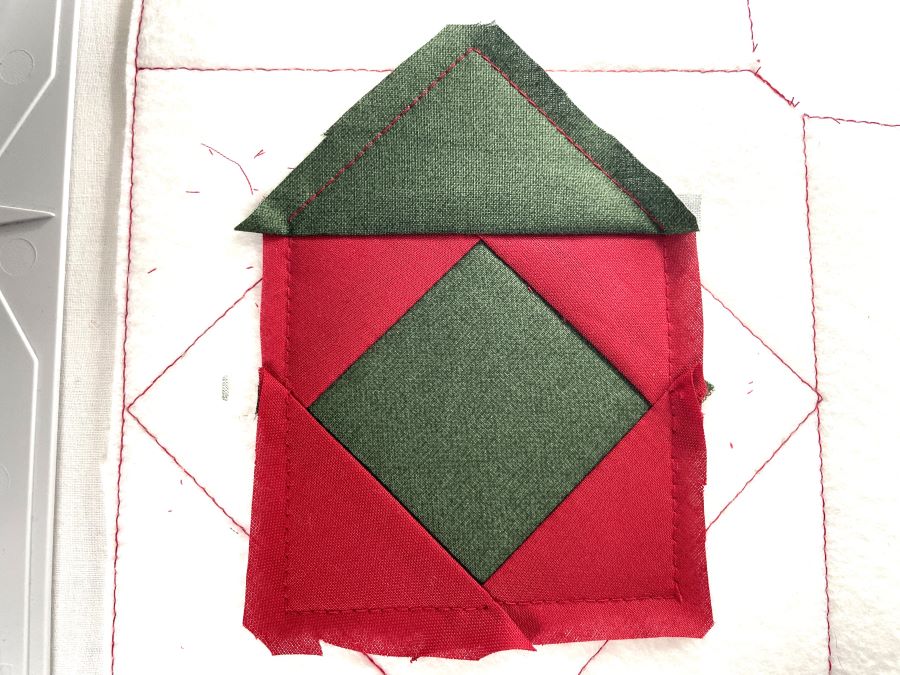
17. Continue in a clockwise direction to complete the second row.
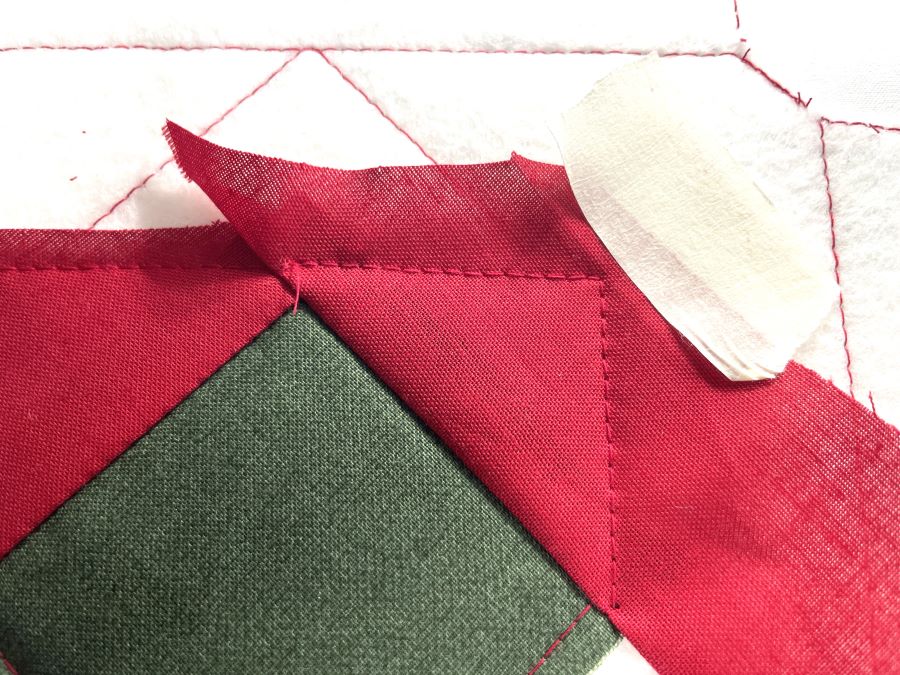
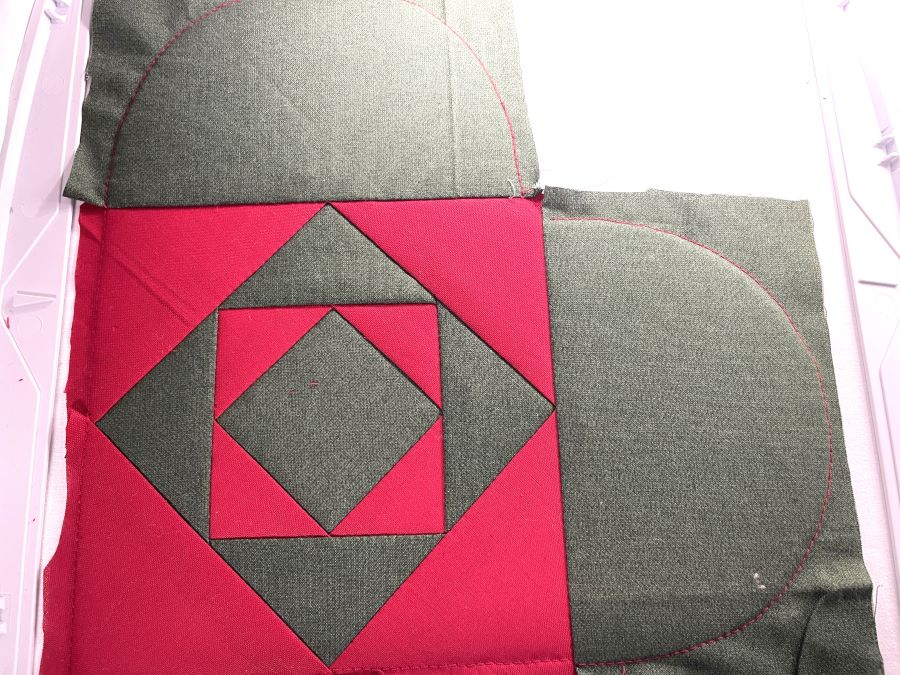
18. Make the third row in the same manner, changing to red color fabric. Start at the left side of the previous row and proceed clockwise around the center.
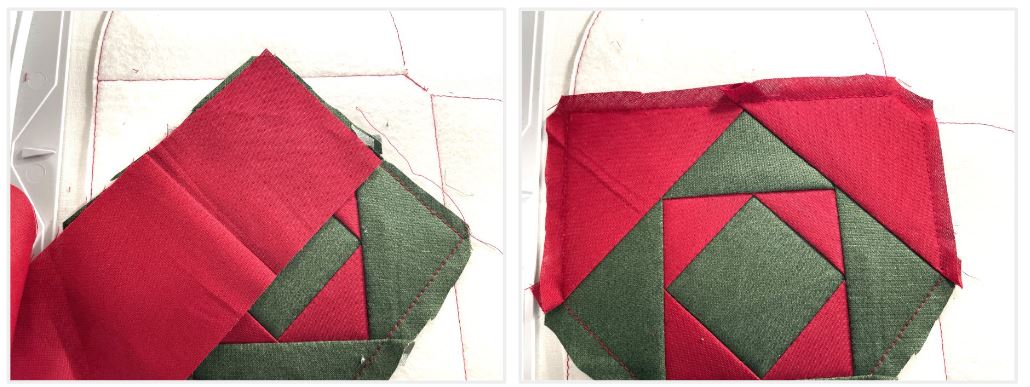
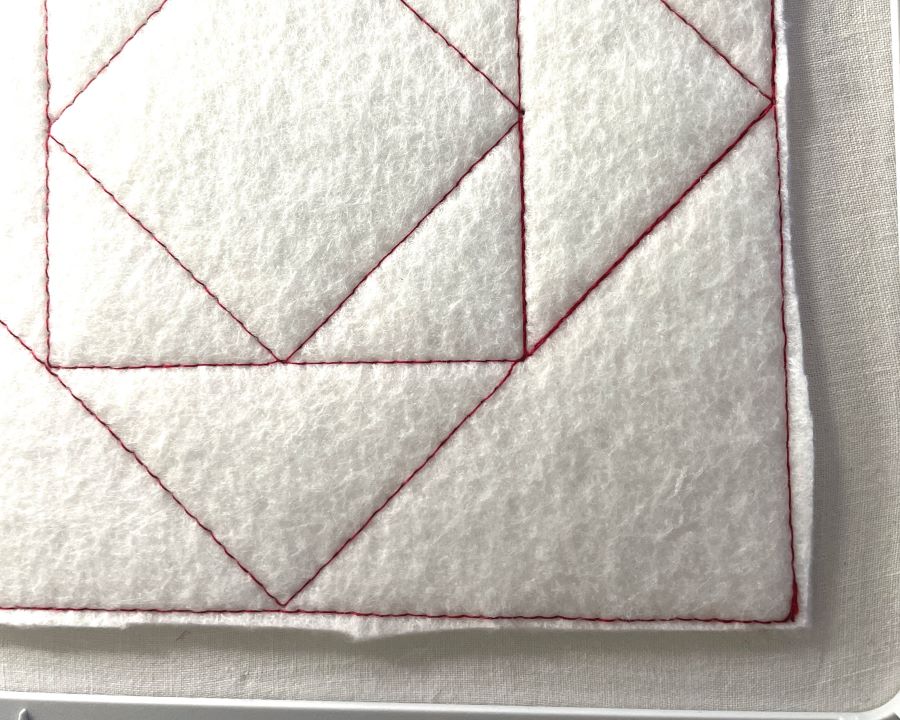
19. The finished row will look like this:
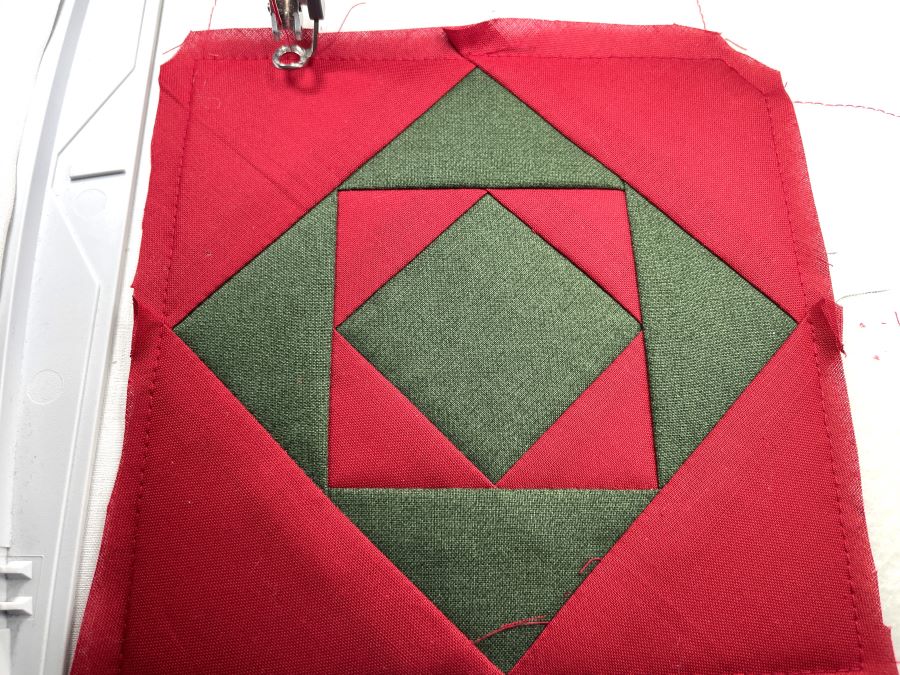
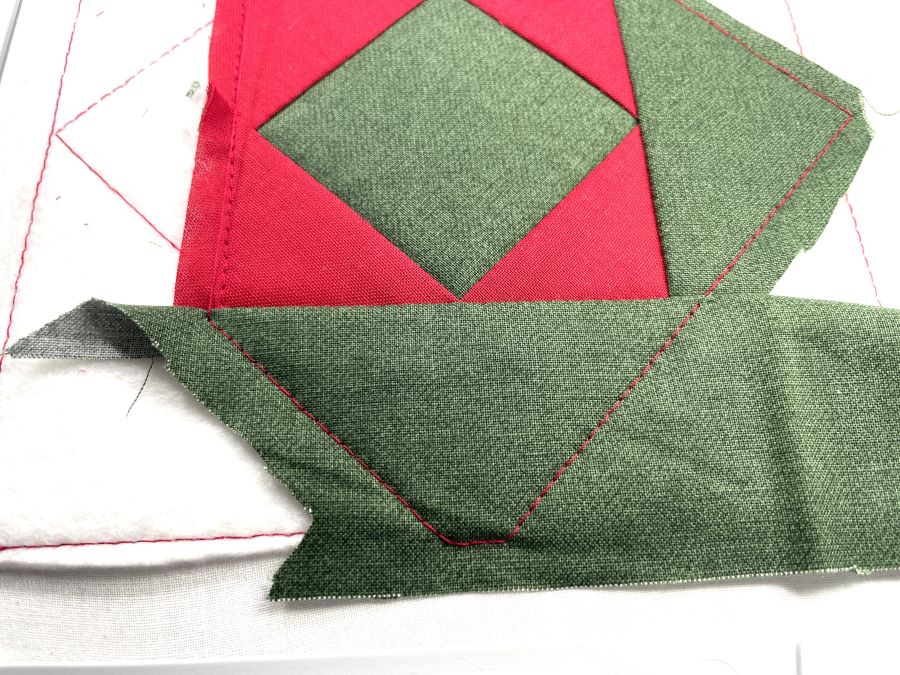
20. Finally we will cover the rounded edges of the heart. Place green fabric right side down along the top edge of the third row, stitch down.
21. Fold out and stitch next color to secure in place.

22. Repeat with the other rounded edge.
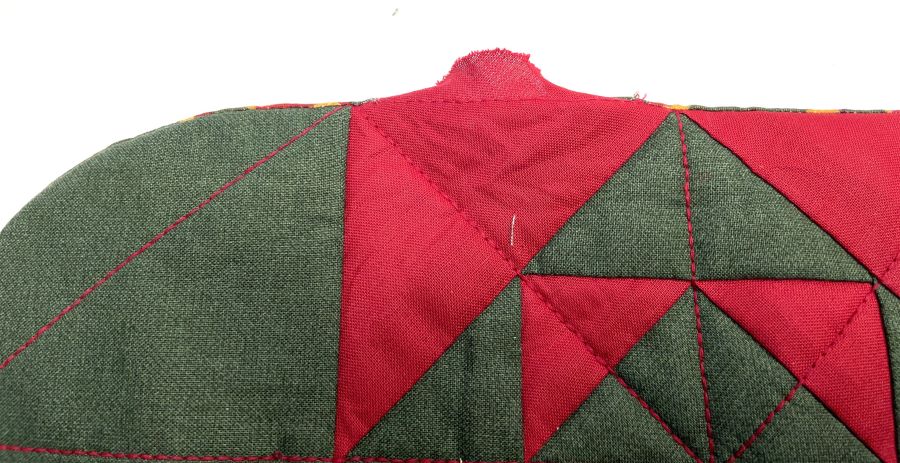
23. Now it will look like this:
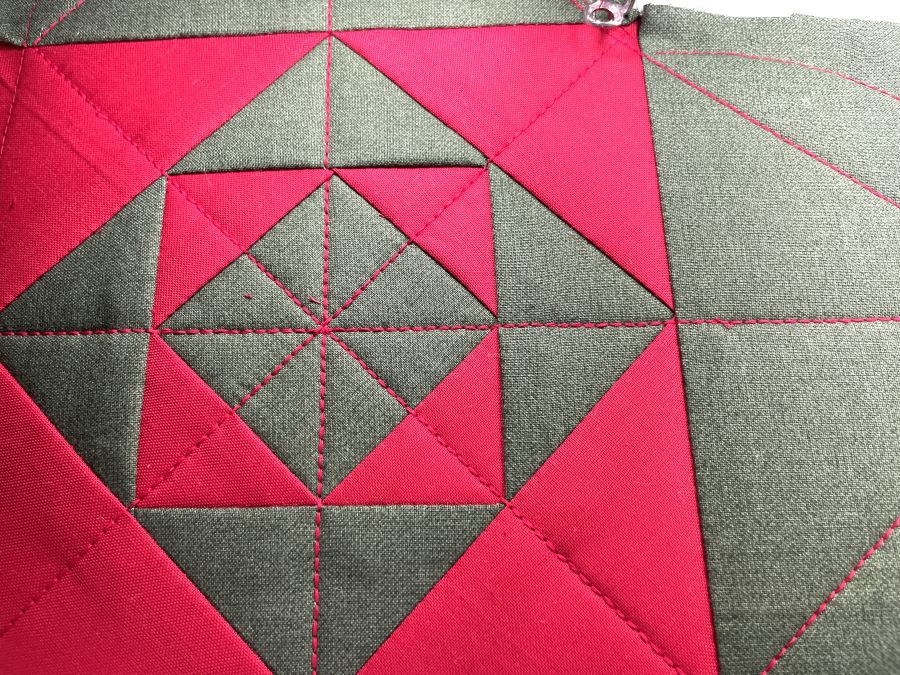
24. Stitch out the next color, this will male the quilting on the design. Change thread if needed for the quilting.
25. Fold the handle double and tape it in place in the corner between the rounded edges. Let the raw edge extend at least ⅜” (1cm) to make it secured to the hotpad.
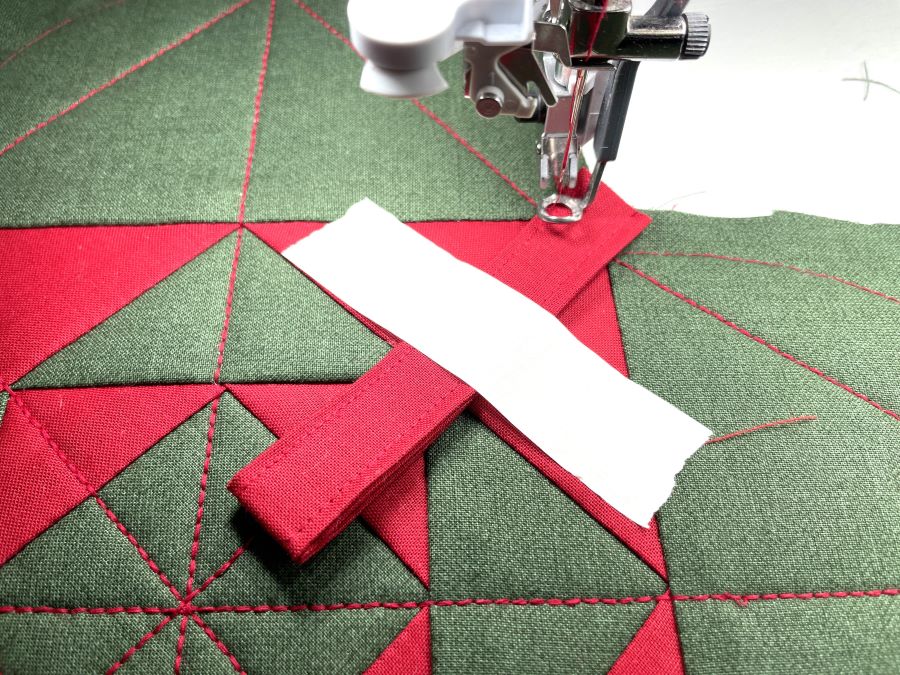
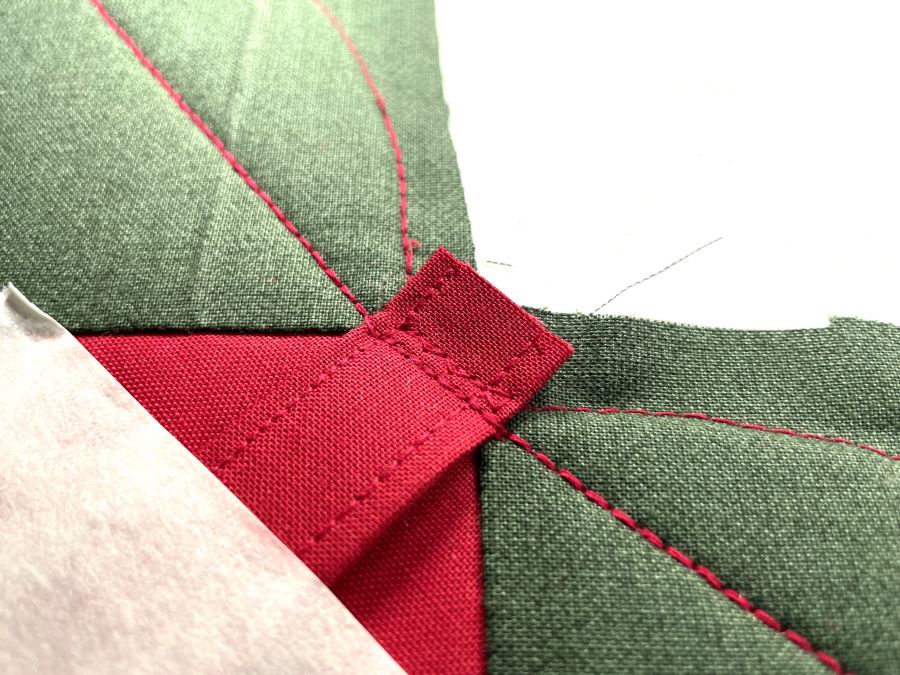
26. Stitch next color, this will secure the handle in place.
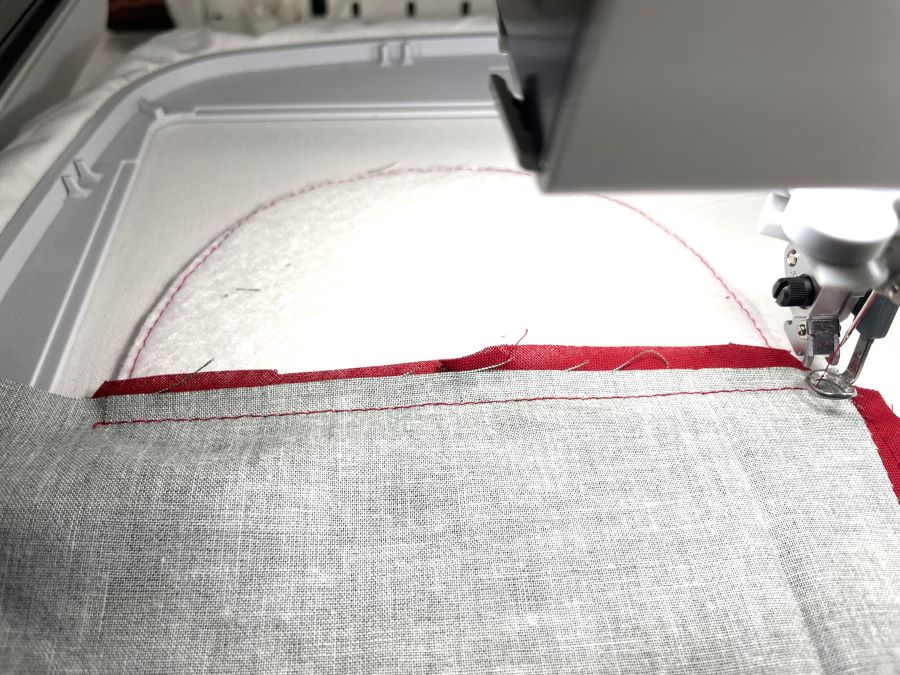
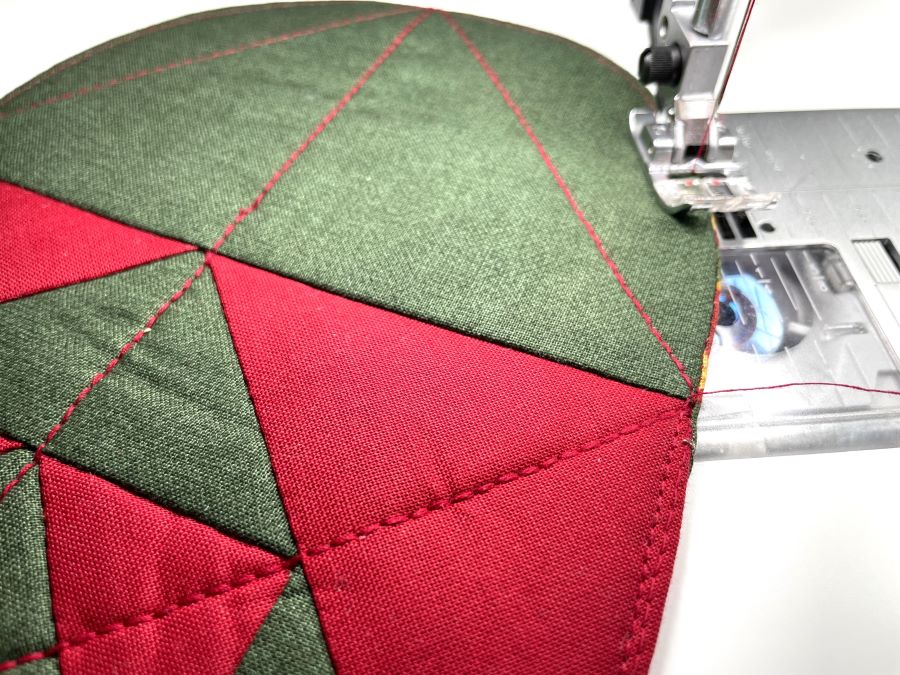
27. Time to add the backing fabric. Place the fabric on top of the front piece, make sure it extends outside the outer stitched edge on all sides.
28. Stitch next color(the last one) This will sew the layers together, leaving a small opening for turning.
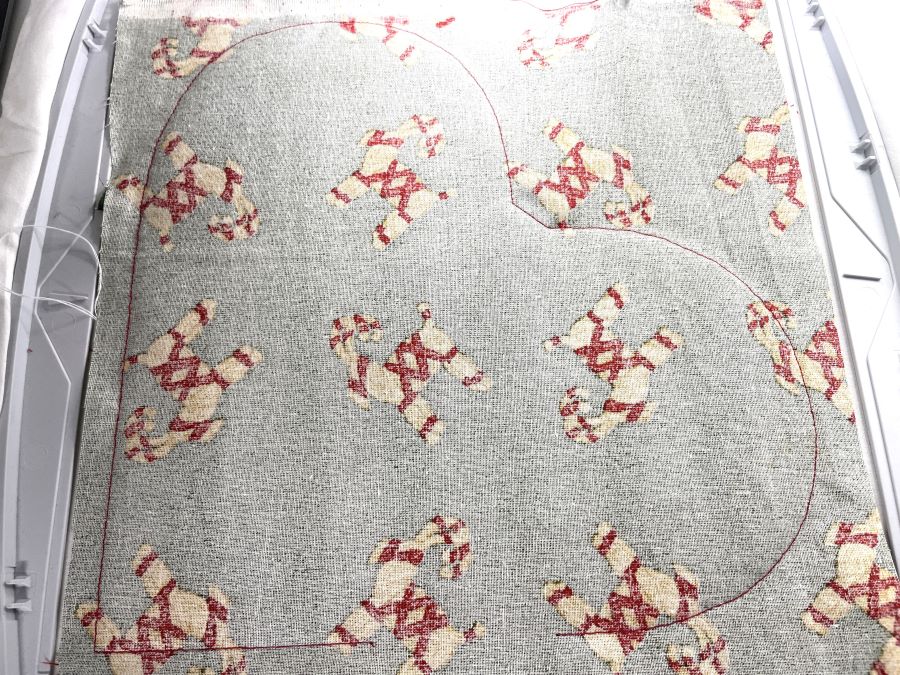
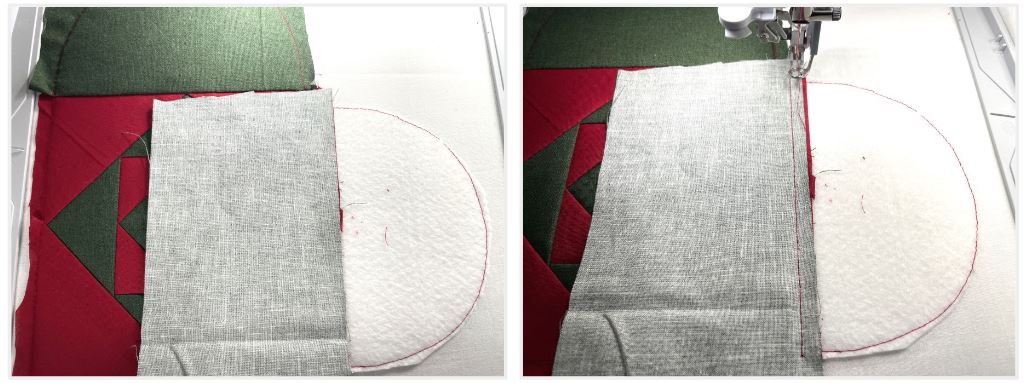
29. Remove the hoop form the machine, un-hoop the hot pad and cut out leaving a ⅛” (3mm) margin except where the opening is, here you need a ⅜”(1cm) seam allowance .
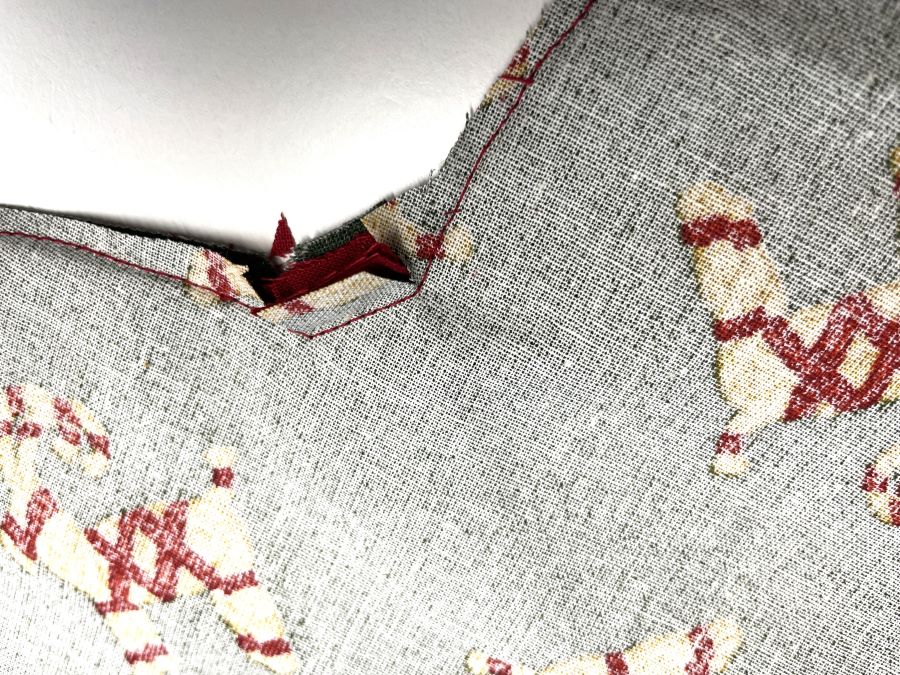
30. Make small cuts in the corners where the handle is attached. Do not cut in the handle, just the top and bottom fabric layers.
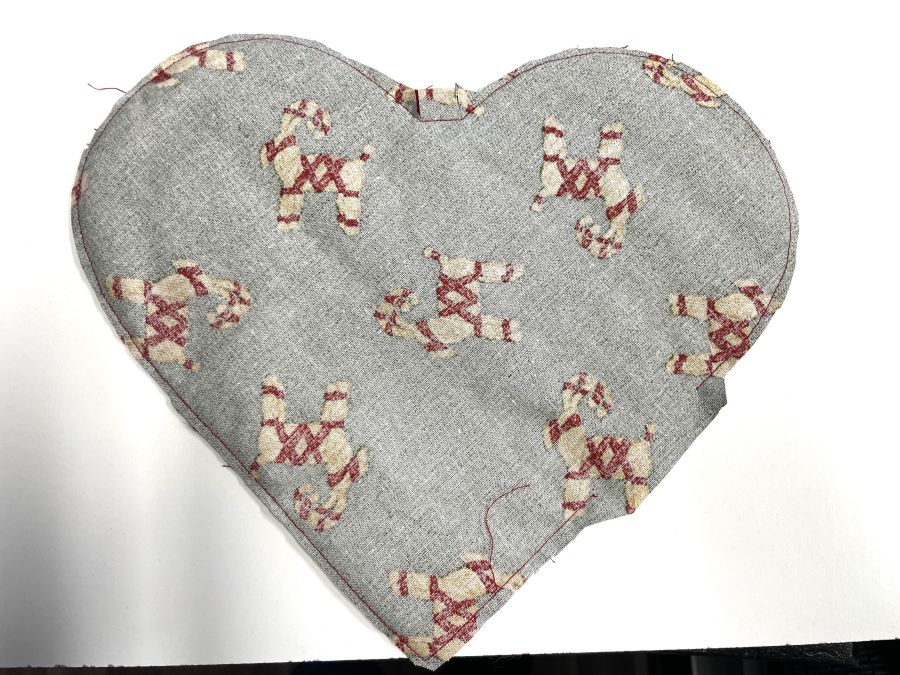
31. Turn right side out, fold the seam allowances in at the opening. Pin or hand stitch the opening closed.
32. Topstitch around the edges.
33. Your hot pad is now finished!