 United States
Food Market Grocery Tote
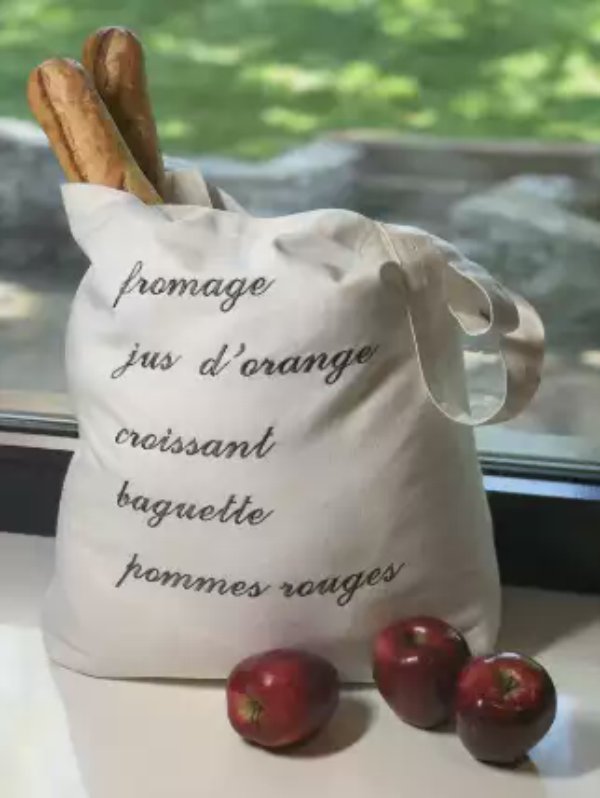
Use your SINGER Legacy sewing and embroidery machine to make this rugged tote. With sturdy handles and lots of space, it’s perfect for those weekend visits to your local food market. For and added touch, embroider text on the bag front to emulate the look of a “shopping list”! The finished size of the tote is 14” x 5½” x 17” (35cm x 14cm x 43cm).
What you need:
- ⅞ yard (82m) of 55” wide (140cm wide) cotton canvas
- All-purpose sewing thread to sew the bag
- Rayon embroidery thread to embroider the text
- Bobbin thread for embroidery
- Tear-away stabilizer
- Removable fabric marking pen
- Ruler
- Size 16 needle for constructing the bag
- Size 14 embroidery needle for stitching text
- Large safety pin
- Blind hem foot (optional)
Sewing Directions
Note: Seam allowances are ⅜” (1cm)
1. From the canvas fabric, cut two pieces 22” x 24” (56cm x 61cm) for the main bag. Cut one piece measuring 4” x 36” (10cm x 91cm) for making the bag handles.
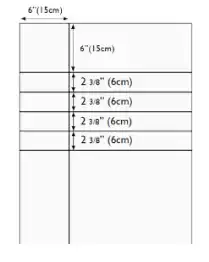
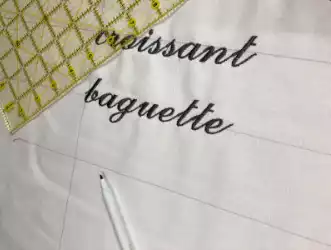
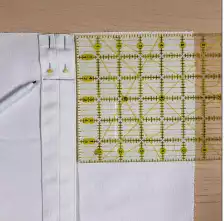
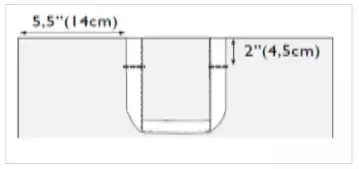
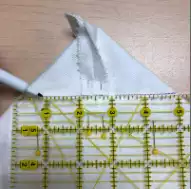
2. Mark placement lines for embroidering the text on one main bag fabric piece, as shown below. The vertical line is 6” (15cm) from the left side. The horizontal lines are 2⅜” (6cm) apart from one another, starting 6” down from the top.
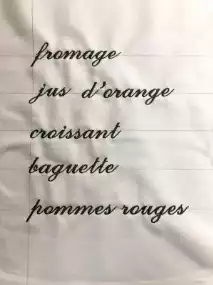
Note: The tote shown in the photo on page one features 5 French words, creating the “shopping list”.
fromage
jus d’orange
baguette
croissant
pommes rouges
3. Set your machine to embroidery mode. Fill the bobbin with bobbin thread. Insert the size 14 embroidery needle. Thread the top of the machine with the rayon color desired for embroidering the text.
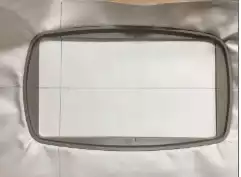
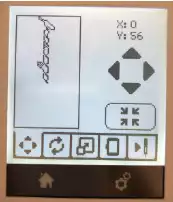
4. Hoop the fabric and stabilizer so that the markings on the inner hoop line up with the markings drawn on the fabric. Attach the hoop to the machine, to prepare for embroidering the first word.
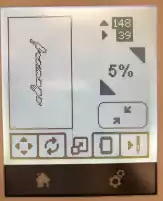
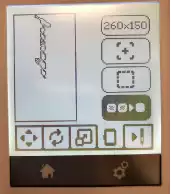
5. Program the text you want to sew on the top row of the tote’s “shopping list”. This tote was created using SINGER Legacy sewing and embroidery machine, so the text is from the built-in embroidery lettering. Select the largest size of the Script style letters, ten program the word fromage, rotated 90 degrees. Scale the size of the lettering up by 5%. Move the text up as far as it will go on the screen. Press the “Monochrome” icon to remove color stops between the individual letters.
Note: If you are using a different model of embroidery machine to create this project, the process of creating text may differ. Consult your machine manual for information on how to program embroidery text for your specific machine model.
6. Embroider the first word. When finished, unhoop the fabric and re-hoop to embroider the next word. Attach the hoop to the machine. Follow the process from Step 5 to program the next word you want to embroider, then stitch it out. Repeat this until you have embroidered your desired text for all 5 rows on the bag front fabric.
7. When all embroidery is finished, remove the drawn markings from the fabric. Convert the machine from embroidery mode to sewing mode. Thread the top of the machine and bobbin with all-purpose thread. Insert the size 16 needle. Select an overedge stitch and sew along the raw edges of both main bag fabric pieces to help prevent the fabrics from unraveling. (If desired, use an overlock machine to do this.) Set the bag front and back pieces aside for now.
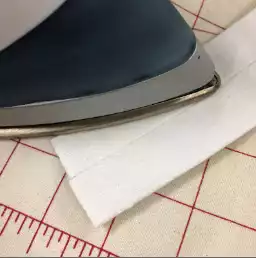
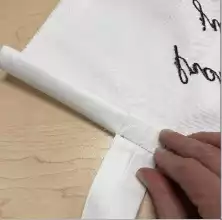
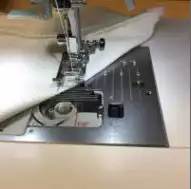
8. Fold the handle fabric in half lengthwise, right sides facing. Sew the seam on the long edge using a ⅜” (1cm) seam allowance. Use a large safety pin to turn the handle right side out. Press with the seam centered, as shown below. Cut the long handle piece in half so that you have two separate handles that each measure 18” (20.3cm) in length.
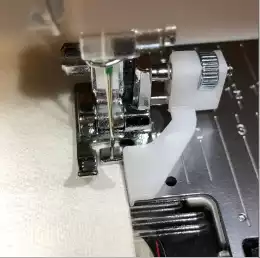
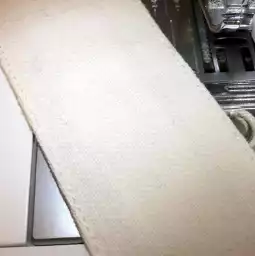
9. Edge-stitch along both sides of each handle. Tip: If desired, use the Blind Hem Foot to help you guide the fabric evenly while stitching - the extension at the front of the foot is adjustable for accurate fabric placement.
10. Place the handle ends on the outside of the bag 5 ½” (14cm) from each side and even with the top raw edge, making sure the center seam on the handle is facing you, then pin in place. Use a removable fabric marker to draw a line 2” (5cm) down from the top edge of the bag fabric. Baste 2” (5cm) from the edge, catching the handles in the basting.
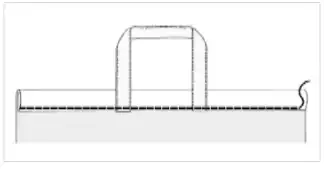
11. Fold the top over 1” (25mm) toward the wrong side of the fabric, then fold over 1” (25mm) again and press. Pull the handles back up toward the top of the bag. Sew the folded edge and handles in place with a straight stitch.
12. Place the bag front and back pieces together with right sides facing. Sew the bottom and side seams. Press all seams open.
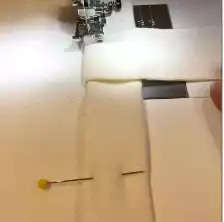
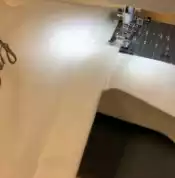
13. To create the “base” for the bag, match the side seam to the bottom seam, then use the fabric marking tool to draw a 5” (12.7cm) long line that is 2½” (6.4cm) down from the tip, as shown below. Pin, then sew along the drawn line. Sew a second line of stitching next to the first, which will help provide added stability to the finished bag. Repeat for the other side of the bag.
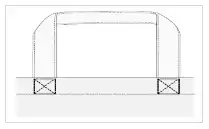
14. Turn the bag right side out and press. Stitch around the bag top. Stitch the handles securely by creating a stitched “X”, as shown below. You’re ready to go shopping!

© mySewnet Studio