United States
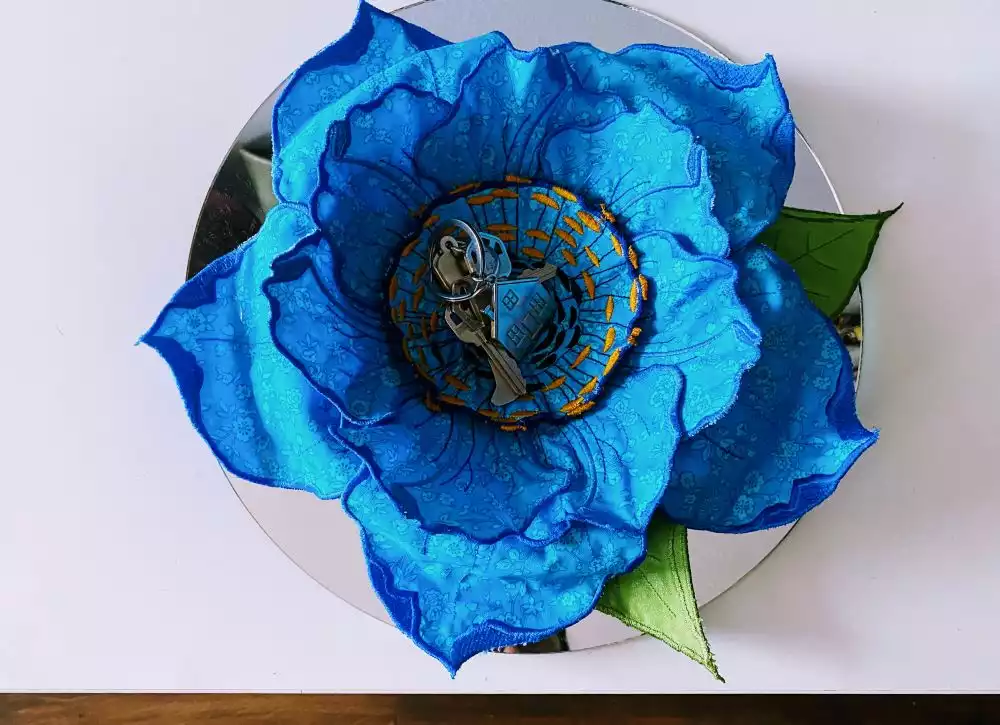
Embroidered Applique Flower Bowl
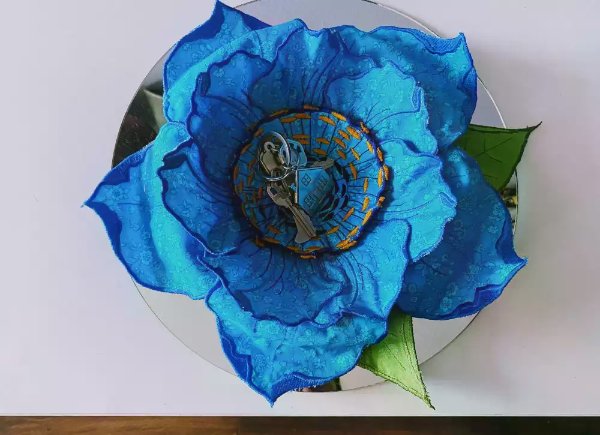
Embroider this show stopping centerpiece for elegant decor that can also be functional. This bowl takes free-standing appliqué to another level, shaping the appliqué pieces with the power of the water soluble stabilizer it's stitched on.
What you need:
- mySewnet™ Library subscription or you must purchase the designs separately
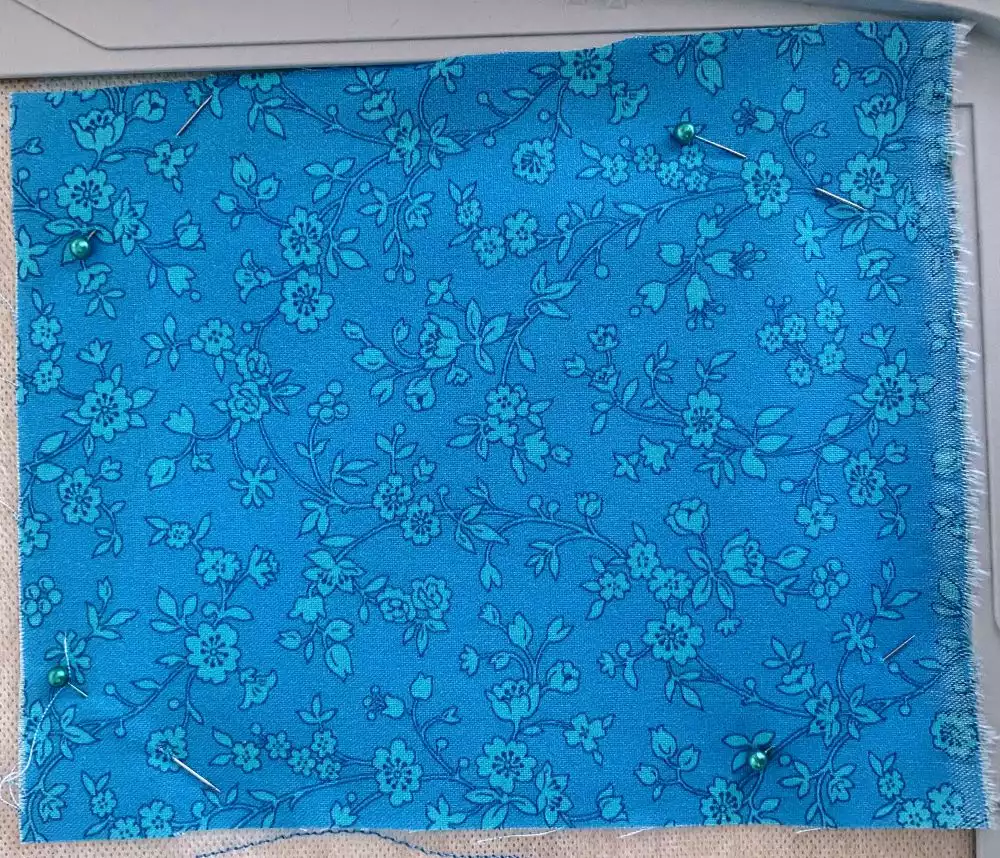
- 1/2 yard (48 cm) of 45" (114 cm) width medium weight woven fabric for petals
- 1/4 yard (24 cm) of 45" (114 cm) width medium weight woven fabric for leaves
- 5" (13 cm) piece of cork or felt for bowl bottom
- Water soluble stabilizer
- Embroidery thread that matches your petal fabric
- Embroidery thread that matches your leaf fabric
- Metallic gold rayon embroidery thread for outer ring of flower center
- Embroidery thread that is one shade lighter than your fabric for petal veins
- Two embroidery threads that contrast your fabric for flower center
- ¼” Foot
- A bowl approximately the shape and size you want the final flower to be
- A tube (like a pipe or drink bottle) to shape leaves over
- Hot glue gun with glue
Preparation
1. Save the following designs to your mySewnet™ Cloud from the mySewnet™ Library.
Leaf
Small petal
Large petal
Center
2. Cut twelve 5" (13 cm) squares from your petal fabric.
3. Cut ten 6" x 7" (16 x 18 cm) rectangles from your petal fabric.
4. Cut one 6” (16 cm) square from your petal fabric.
5. Cut six 6" x 7" (16 x 18 cm) rectangles from your leaf fabric.
Stitching
6. Enter embroidery mode on your machine and load the small petal design.
7. Thread the top and bobbin with thread that matches your petal fabric.
8. Duplicate the design on screen until you have six designs on screen or fill your hoop.Tip: The larger the hoop, the more designs you can fit so there’s less stabilizer used, though I would avoid using specialty hoops like the 360x350 turnable hoop.
9. Hoop the water soluble stabilizer.Tip: Use 2 pieces of stabilizer if you want your bowl very stiff.
10. Enter stitch-out mode and attach your hoop.
11. The first color block will stitch an outline of where the fabric should go. When the outline is finished, move the hoop to Center/Remove Hoop Position and remove the hoop.
12. Place one 5” (13 cm) square over the outline on top and on bottom; attach the fabric to the stabilizer by taping or pinning the corners of the fabric squares to the hooped stabilizer. The fabric should be facing right side out on both sides. Attach the hoop when done.
13. The next color block will attach the fabric. Once that is finished stitching, move the hoop to Center/Remove Hoop Position and remove the hoop. Trim the excess fabric as close to stitching as you can.
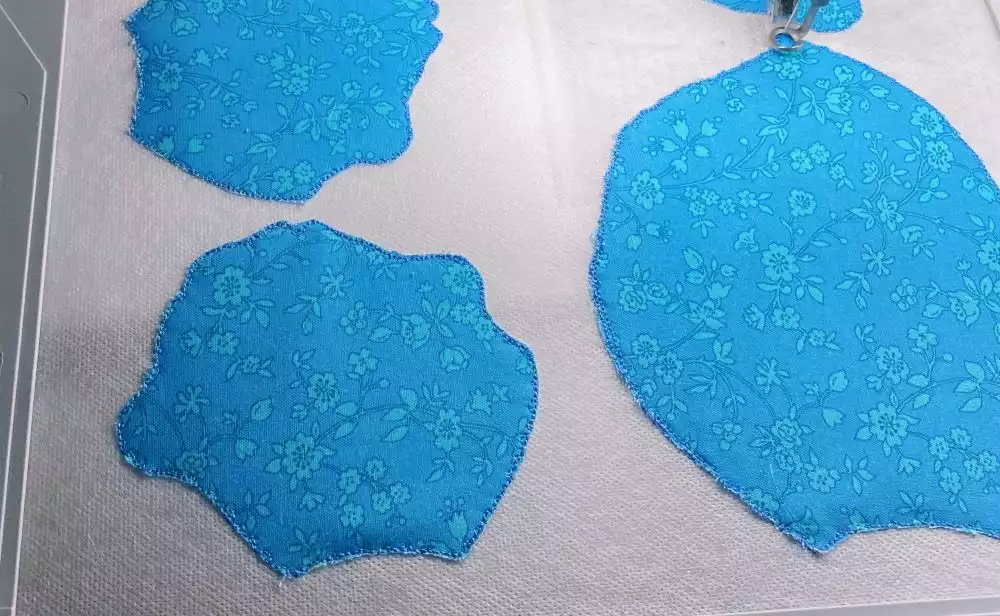
14. Attach the hoop and continue stitching until all petals are done in this way.
15. Go back to embroidery edit.
16. Delete all designs on screen.
17. Load the large petal design.
18. Duplicate the design on screen until you have four designs on screen or fill your hoop.
19. Repeat steps 9-16 with the ten 6" x 7" (16 x 18 cm) rectangles from your petal fabric.

20. Load the center design.
21. Repeat steps 9-16 with the one 6” (16 cm) square from your petal fabric.
22. Once the applique part is done, you can keep the bobbins as the thread that matches the petal fabric, but change the top color as it changes in the design.
23. Change the thread to match the leaf fabric on top and in the bobbin.
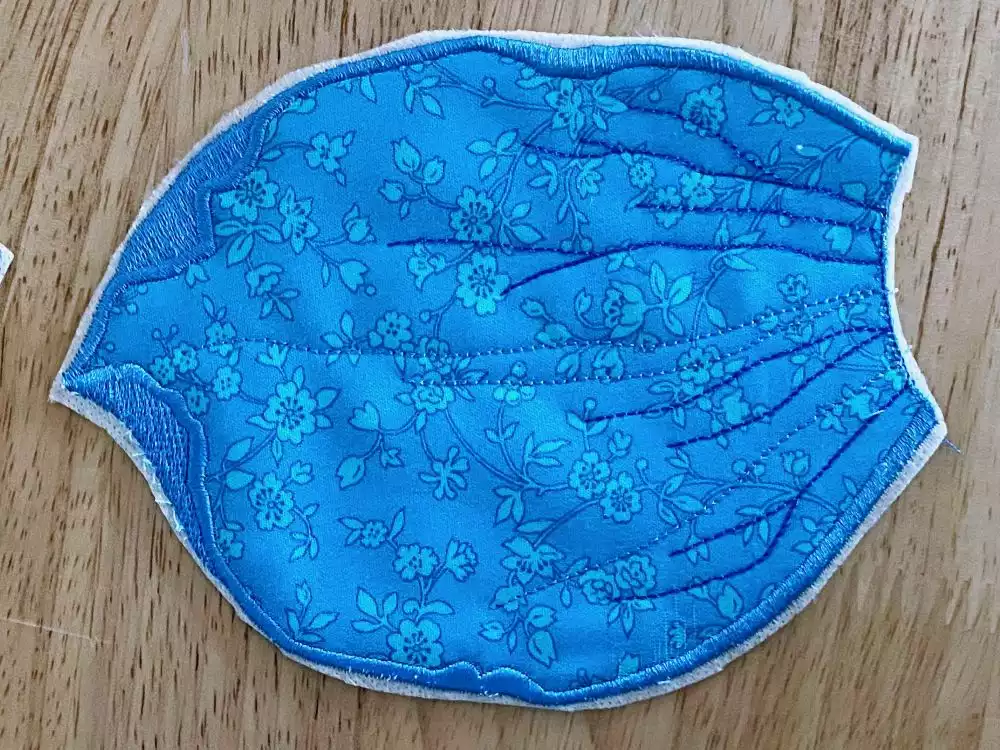
24. Load the leaf design.
25. Duplicate the design on screen until you have three designs on screen or fill your hoop.
26. Repeat steps 9-16 with the six 6" x 7" (16 x 18 cm) rectangles from your leaf fabric.
Forming the Bowl Pieces
27. Unhoop all of the finished piece and trim down the excess stabilizer leaving approximately ¼" (6mm) or less of stabilizer around the free-standing applique.
Note: Do not wash away the remaining stabilizer yet.
28. Layout the small petals in a ring formation on a flat surface making sure they overlap slightly.
29. Check the opening in the ring to make sure it will be covered by the center of the flower with an overlap between ½" - 1" (13-25mm). Pin where the petals overlap.
30. With a straight stitch, sew the pieces where they overlap in the same direction that the veins of the flowers are stitched. Note: Make sure the thread on top and in the bobbin match the petals.
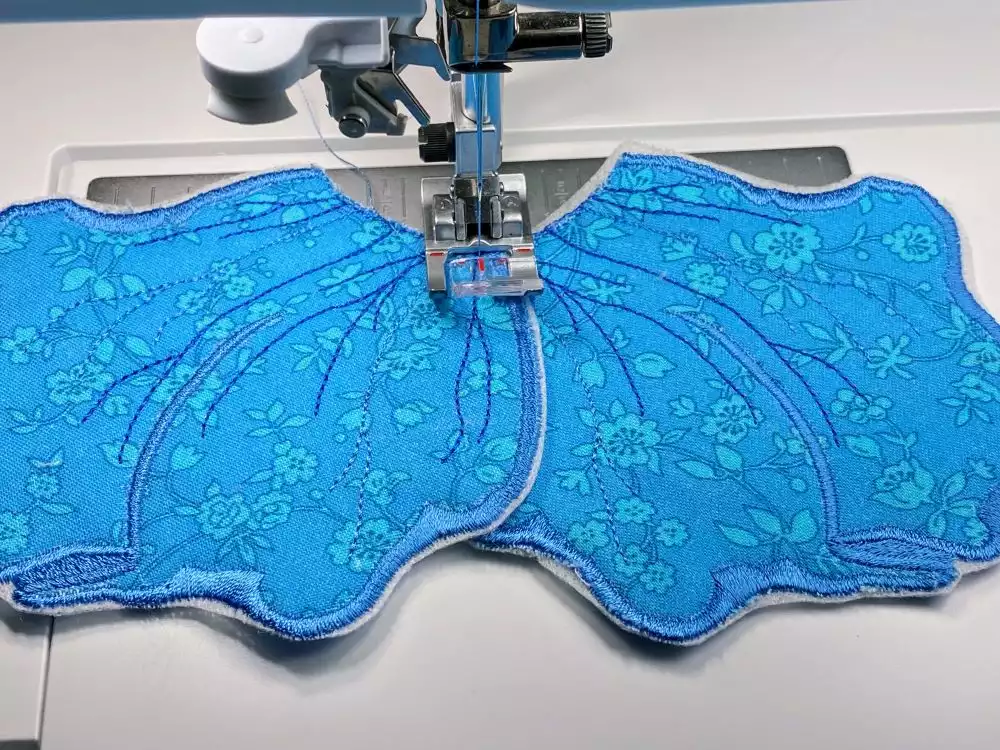
31. Repeat steps 28-30 with the large petals.
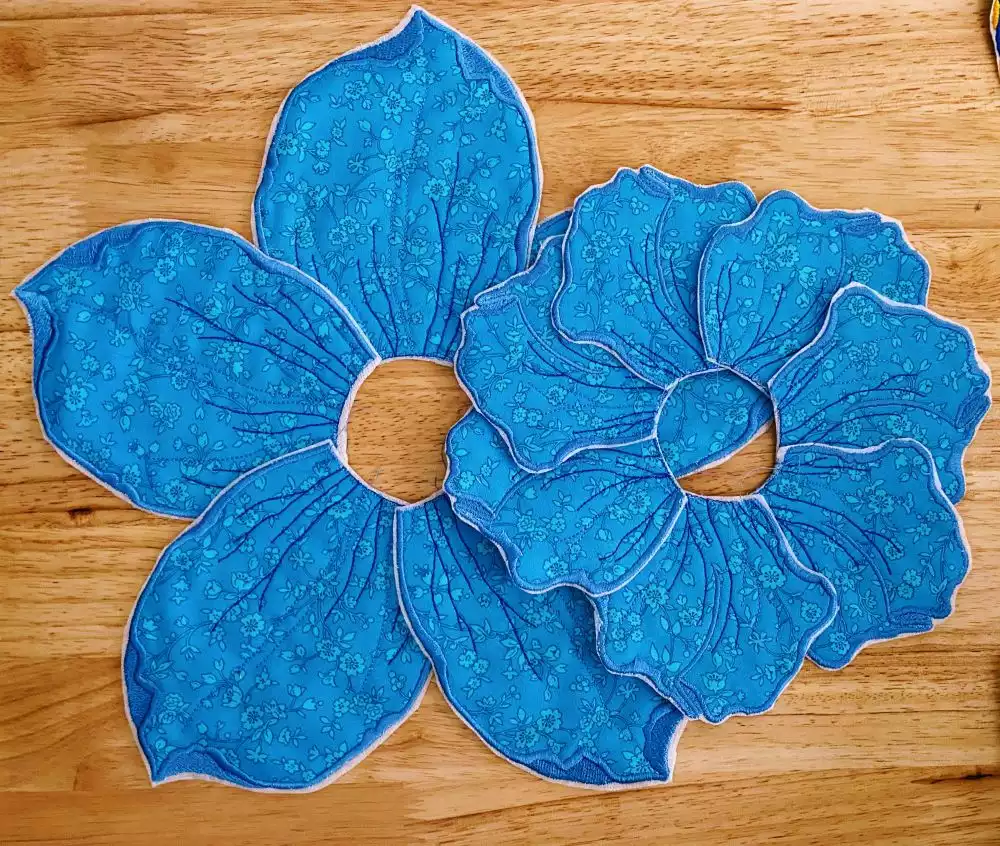
32. Place the small petal ring on top of the large petal ring and baste together in the same way. Sew similar the the way the veins are at 4 spots
33. Fully submerge the ring of petals in warm water and remove any excess stabilizer from the edges of the petals.
Note: Do not use a strong stream of running water and do not overly agitate the pieces; you want the stabilizer in between the fabric to get wet but not be washed away.
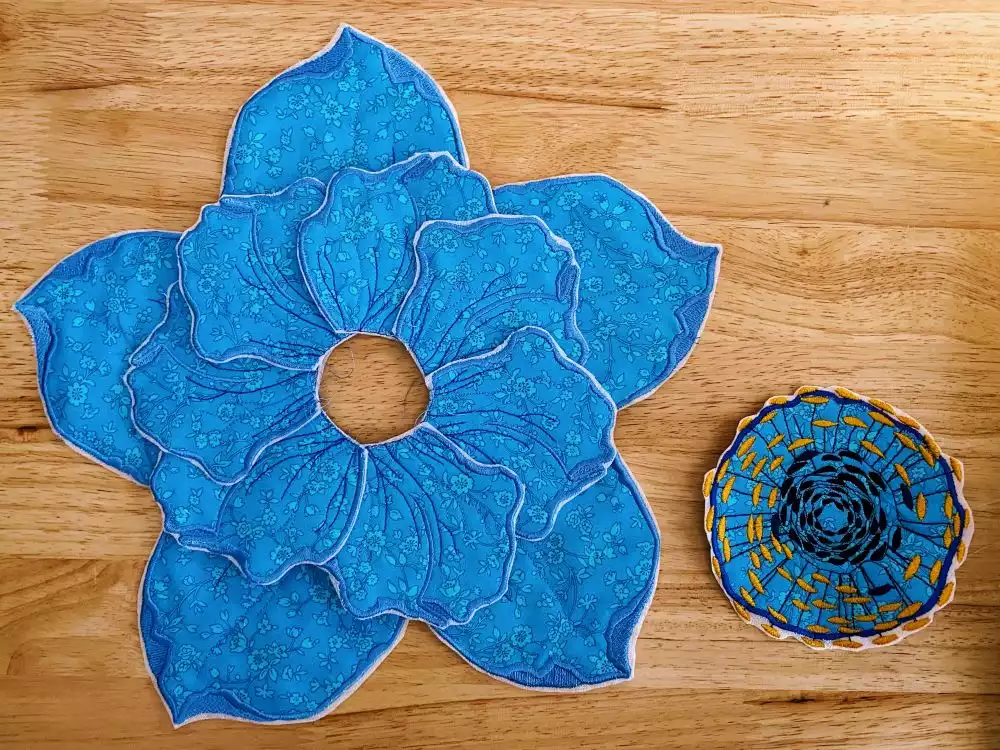
34. Remove the ring from the water when the excess stabilizer is removed and place it in or over a bowl to dry. I put mine over a bowl and them put that bowl in a larger bowl so I would get an extra little bend at the ends of the petals.
Note: The shape the pieces lay in or on the bowl will be the shape it stays in when removed.
35. Fully submerge the leaves in warm water and remove any excess stabilizer from the edges.
Note: Do not use a strong stream of running water and do not overly agitate the pieces; you want the stabilizer in between the fabric to get wet but not be washed away.
36. Remove the leaves from the water when the excess stabilizer is removed and place the leaves over the tubes/cups/bottles in different directions to dry.
Note: The shape the pieces lay will be how they stay when dry.
37. Fully submerge the center in warm water and remove any excess stabilizer from the edges.
Note: Do not use a strong stream of running water and do not overly agitate the pieces; you want the stabilizer in between the fabric to get wet but not be washed away.
38. Remove the center from the water when the excess stabilizer is removed and place in a bowl to dry.
Note: The shape this lays will be how it stays when dry.
Assembling the Bowl
39. When completely dry, remove all flower parts from the bowls and tubes.
40. Place the flower center over the opening of the petal ring. Hold this upside down and use a hot glue gun to attach the center to the base of the ring from the back.
Note: Before gluing, decide if you want the clumps of satin stitches that hang off the center to be attached; if not cut them off now.
41. When the glue is dry, glue the leaves to the bottom of the flower in a similar way.
42. Cut down your piece of cork or felt to fit the bottom of the flower ring, and hot glue in place. This will hide all of your hot gluing.