 United States
Edit in Edo
Elevate your .edo with Edit in Digitizing!
Today, we’ll explore the creative potential of linking .edo files from the mySewnet Embroidery module/app, with the Platinum boxed or subscription version! Work with live .edo files in the Embroidery module/app as you customize for a special project, and raise the bar on creativity as you link into the Digitizing module/app to change up or fine tune your digitized files!
With 30-day Free Trial of mySewnet Embroidery Software you will get to try out the most user-friendly and feature rich digitizing software on the market. It works with all embroidery machine brands and is available for both Windows and Mac.
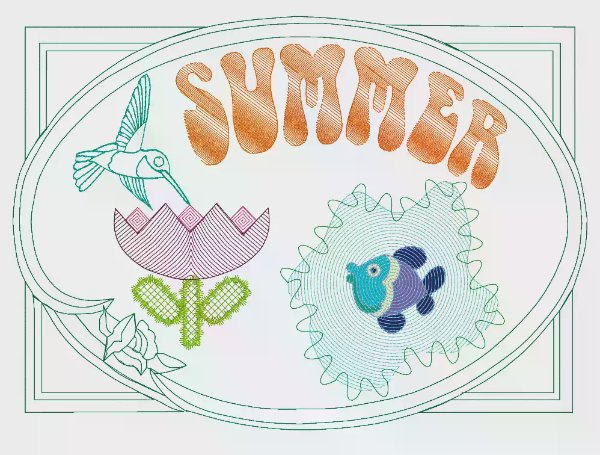
Shown above, an airy summer embroidery: Lettering using Bell UC 20 – 100mm, Adjusted with Handles menu to Curve, Match Top and Bottom, and Constraint Free. Lettering Pattern Fill changed to Fill 115, No Underlay, Gradient with Single Color Gradient, with multiple added Markers set to varying densities.
Handles Menu Icon: ![]()
Frame Light Ornamental 1, Frame 9, adjusted to fit inside the hoop’s work area boundary.
Hummingbird, flower and fish in puddle are all .edo files adjusted with linking to Digitizing module/app.
.edo Files in the Embroidery Module/App
Our ability to open .edo files directly into the Embroidery module/app has been an exciting new feature in the mySewnet™ software family.
We can view and arrange working Digitizing files (.edo) within an Embroidery module project’s work area in the same way we use any finalized or exported file type, but through the process of linking, we add the fantastic ability to open the .edo files in Digitizing to change up a fill, add a new section, and much more!
Let’s take a peek at how to make and then restyle some of the embroideries used in the illustration above!
How To Add .edo Files to the Embroidery Module/App
Use Insert (Actions menu in Mac) to add any .edo file as a subdesign in an existing project work area. Individual .edo files appear in the Filmstrip with a unique Design Object icon that tells you at a glance what the file type is!
TIP: Use Insert to add files as subdesigns in the work area as untitled embroideries, so you won’t accidentally overwrite your original design files. With Insert, you can add multiple files into a single project’s work area.
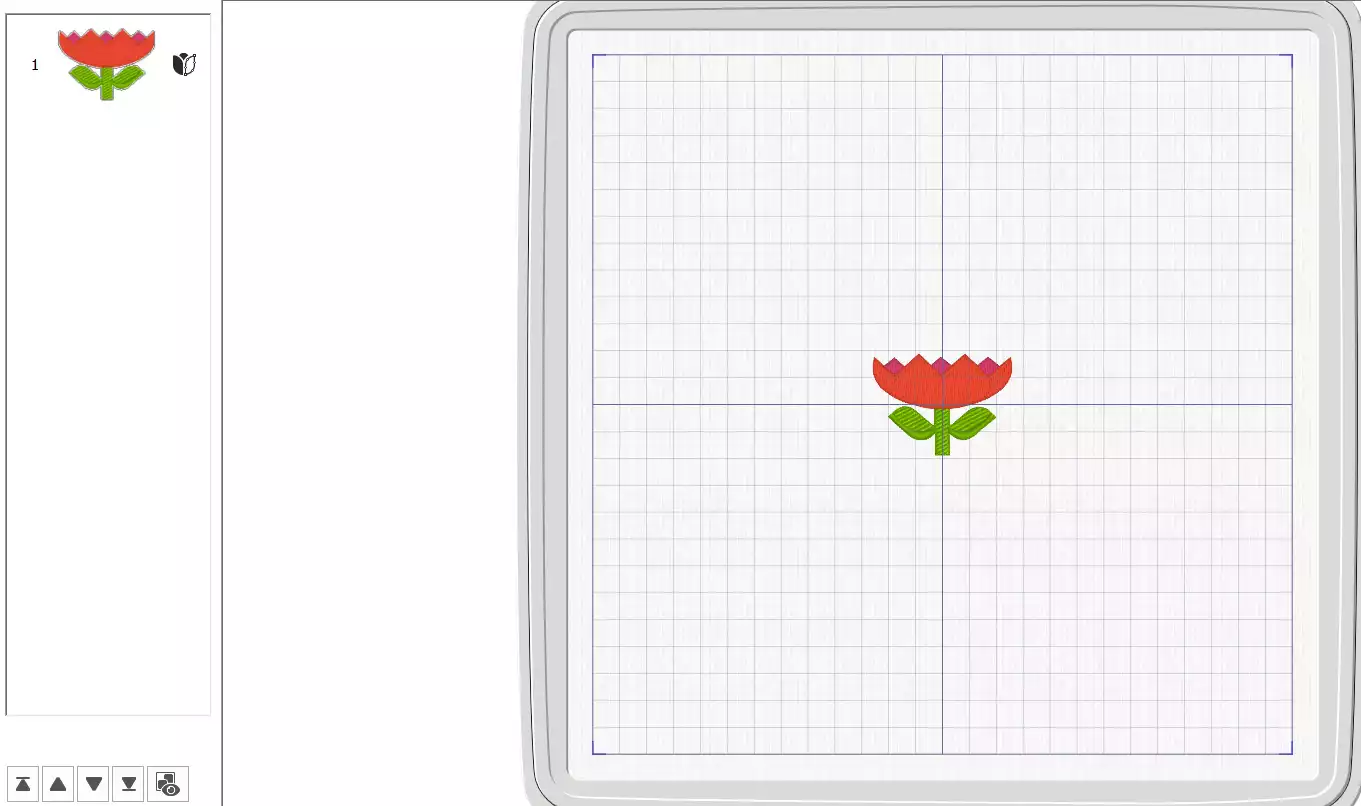
Shown below, Nesting Doll Flower.edo in a 260mm x 260mm hoop, inserted from Samples, Digitizing, Edo.
To quickly make an .edo design from clip-art pictures, check out ExpressDesign Edit-in-Edo-express design icon copy.jpgin the Embroidery module/apps’ Create tab ( Edit-in-Edo-mac create tab icon copy.jpgin Mac Control Panel).
Shown below, Create tab, ExpressDesign into Rectangle, Create Express Embroidery, Create New Picture to link to Draw & Paint, Insert tab, Design Gallery Edit-in-Edo-design gallery icon copy.jpgand Fish subfolder, Cartoon Fish 3.edo, image adjusted to fill Canvas area. Close Draw & Paint, finish Wizard/Assistant as desired.
Are you an advanced designer who prefers something more user-controlled? You can also select Insert DigitizingEdit-in-Edo-Insert Digitizing icon copy.jpg from the Create tab, linking directly into a new session of the Digitizing module/app so you can use all the Digitizing tools as you design something unique and new. Then, save the working file for later use if you wish, before you close Digitizing and link back to Embroidery with the newly designed .edo file as part of your masterpiece in progress!
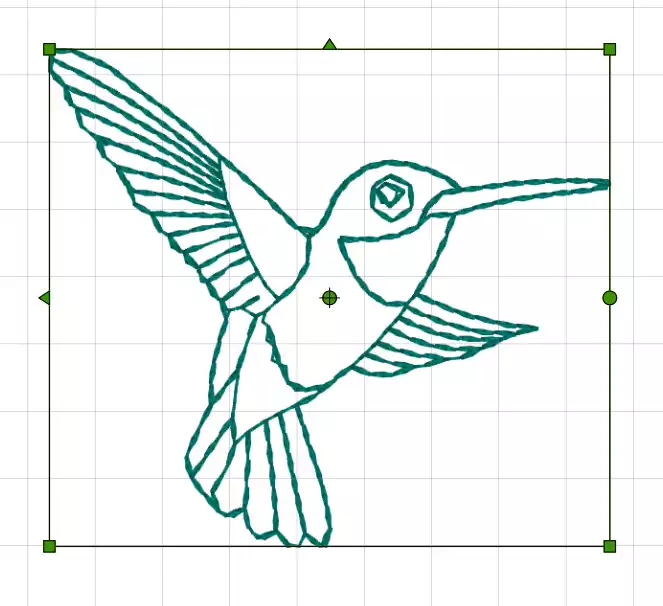
Shown below, hummingbird designed by linking to Digitizing from the Insert menu on the Create tab. ExpressDesign, Create Express Trace, Load a picture, Birds 9 from Samples, Embroidery, Pics. Find Outline checked, Monochrome Threshold increased, Double Trace, finish Wizard/Assistant. Change all Double Trace objects (Global Properties) to a Motif Stitch such as Universal, Bean Stitches 1, Stitch Pattern 1. Adjust other stitches as desired, adjust design size, and remove stray stitch objects before closing Digitizing.
Working With Linking
When you’ve linked to Digitizing from the Embroidery window, the design is actually active in both modules/apps at the same time. Any changes you make in Digitizing update automatically in the Embroidery window, as well.
In the Embroidery window, an .edo subdesign has green corner handles (as do Letters, SuperDesigns, Frames, Borders, Embellish file types). When a select box’s corner handles are green, the design size is adjustable, and updates the stitches automatically.
However, once linked into Digitizing, you can change an almost infinite variety of properties! Resize or adjust an individual stitch object, a selected group, or the entire design! Change from one Fill Type to another. Adjust Density and Underlay with high accuracy. Add additional stitch objects to the design.
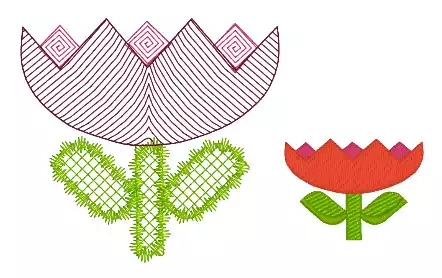
Shown below, flower at left changed by linking with Edit in Digitizing, to use Specialty Pattern Fills, and removed unwanted sections.
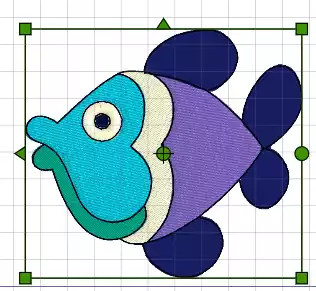
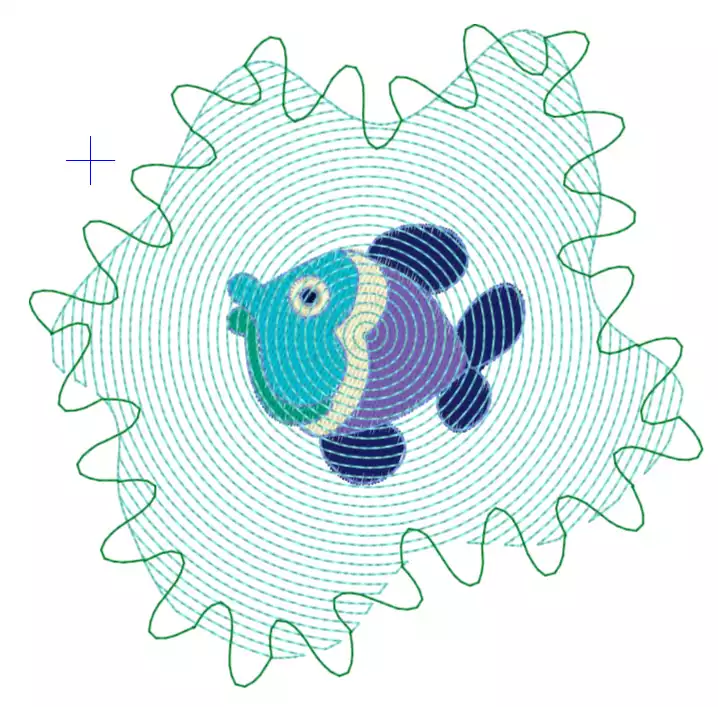
Shown below, Fish created using ExpressDesign Wizard/Assistant in the Embroidery module/app. Linked with Edit in Digitizing, and a transparent ‘puddle’ added over the top, using specialty Spiral Fill plus a Motif Stitch border, Universal, Geometric 1, Stitch 2, and Insert Color Change for Border, to make the fish appear underwater!
And best of all, as you make those changes in the Digitizing module/app, you are updating the linked version at the same time, so when you close Digitizing and return to Embroidery, your changed-up design is ready for you there, as well. No copy and paste required!
Link as many times as you need to get just that perfect look for your .edo subdesign!
If you don’t like the last change, simply Undo to return to the previous state. (By the way, Undo and Redo are virtually unlimited in the mySewnet Embroidery Software!)
These are just a few of many ways you can change-up your whole design experience when you use .edo files in the Embroidery module/app, and then link with Edit in Digitizing for boundless options in texture, style and shape!
If you’re new to the mySewnet Embroidery family, or haven’t had time to check out the extraordinary functionality that linking lends to .edo subdesign elements in your Embroidery window, dig in and play a bit today! It will add a new perspective to your world.
And a Little Bit More!
Did you know that Linking is not limited to .edo files and Digitizing?
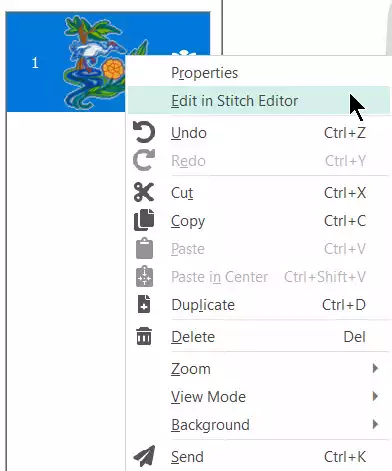
You can also link from a finalized (closed) embroidery file type (right click over the Filmstrip frame or the selected design in the work area to open the menu) into the Stitch Editor module when you have the Platinum version of mySewnet Embroidery Software!
Have a fabulous day from the software team at mySewnet Embroidery!
Try our embroidery digitizing software free for 30 days!