 United States
Design Easy Needle Felting in mySewnet Digitizing
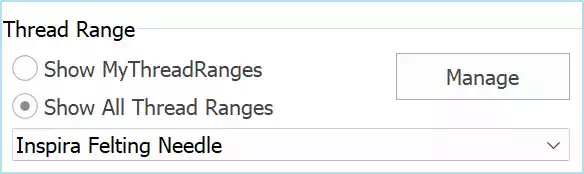
With 30-day Free Trial of mySewnet Embroidery Software you will get to try out the most user-friendly and feature rich digitizing software on the market. It works with all embroidery machine brands and is available for both Windows and Mac.
mySewnet™ Embroidery software has several specialty Thread Effects.
Puffy Foam 
Twin Needle 
Dual Thread 
Wing Needle 
These features are designed to give you a 3D, live preview of how your embroidery will stitch, but they don’t actually change the stitches.
However, when you are designing in the Digitizing  module/application in mySewnet™ Platinum software, one distinctive specialty thread effect lets you transform your stitches into textured felted embroideries!
Let’s take a closer look at the Felting Needle ![]() thread effect, and how to change up designs from embroidery stitches that use thread, to a felting needle technique, in any .edo file that’s opened in the Digitizing module or application.
thread effect, and how to change up designs from embroidery stitches that use thread, to a felting needle technique, in any .edo file that’s opened in the Digitizing module or application.
Areas of stitches can only be converted using the Felting Needle thread effect when an .edo file is open in the Digitizing module.

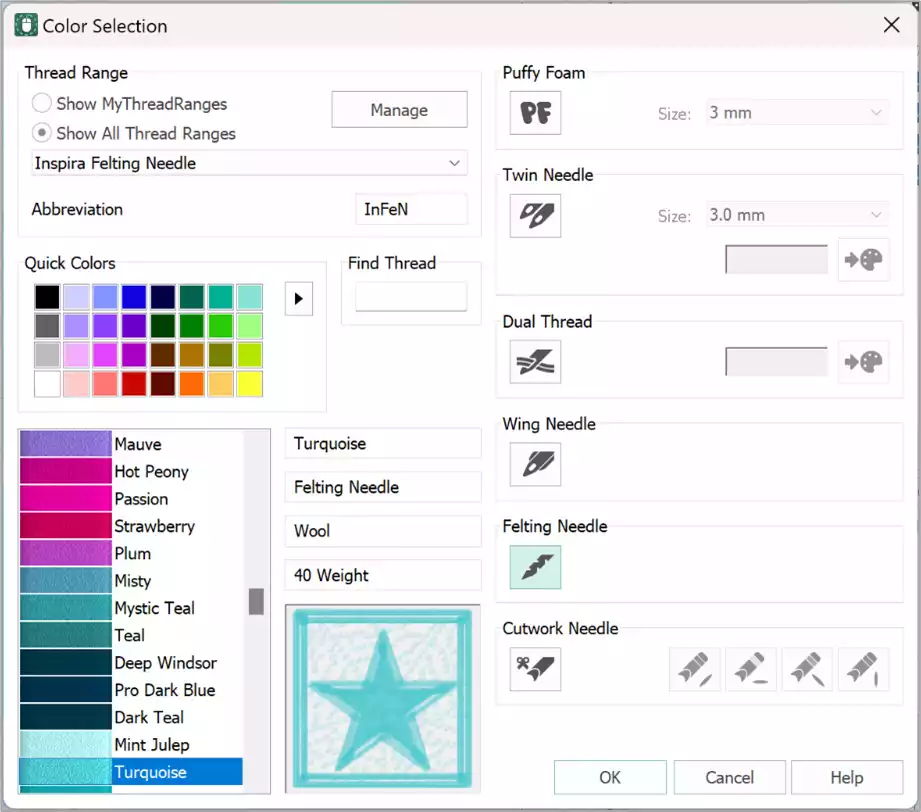
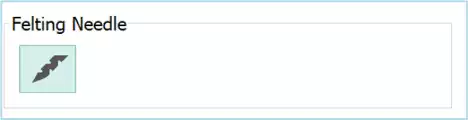
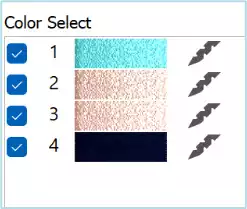
Changing up areas of stitches so they are ready for Felting is easy in Digitizing! Simply open the Color Selection dialogue box, and select the Felting Needle option ![]() .
.
Then, if desired, choose a Felting Needle thread color to guide you in what color fiber to use for that section of your felting design, if you plan to felt in multiple colors.
Close the Color Selection box.
When you add the Felting Needle option in the Digitizing module, stitch length is automatically changed to .03mm, perfect for needle felting!
Thread colors in the Color Select box and Filmstrip will display the Felting Needle symbol, as will compatible embroidery machines, prompting you to convert to the felting kit.
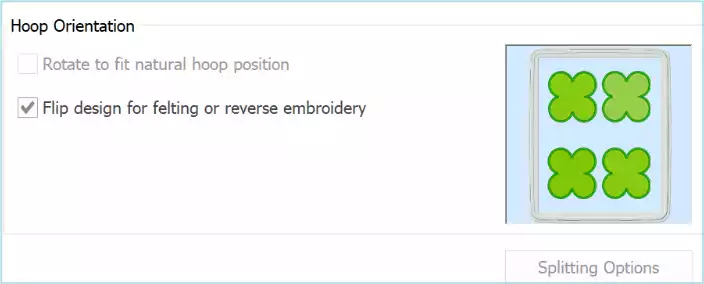
When you Export ![]() the embroidery, if any threads are set for the Felting Needle effect , the Export function will automatically place a check beside ‘Flip Design for felting or reverse embroidery’. Reversing the design is necessary because the underside of your hooped fabric is actually the ‘right’ side!
the embroidery, if any threads are set for the Felting Needle effect , the Export function will automatically place a check beside ‘Flip Design for felting or reverse embroidery’. Reversing the design is necessary because the underside of your hooped fabric is actually the ‘right’ side!
And a Little Bit More!
Here are a few ideas and some tips for designing your own felting embroideries, using Digitizing in the mySewnet™ Platinum package.
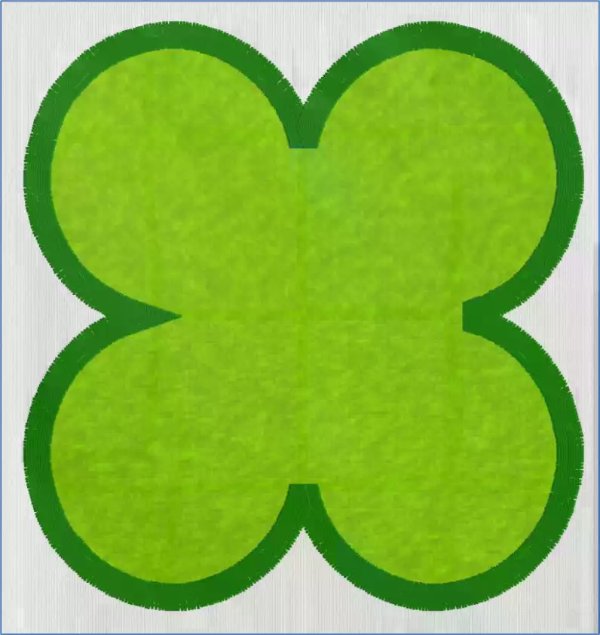
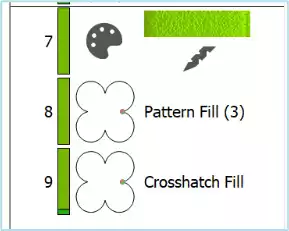
- For light areas of felting with some background showing through, try out a Crosshatch Fill with a Gap of 1.7, Diamond shape, and a Running Stitch.

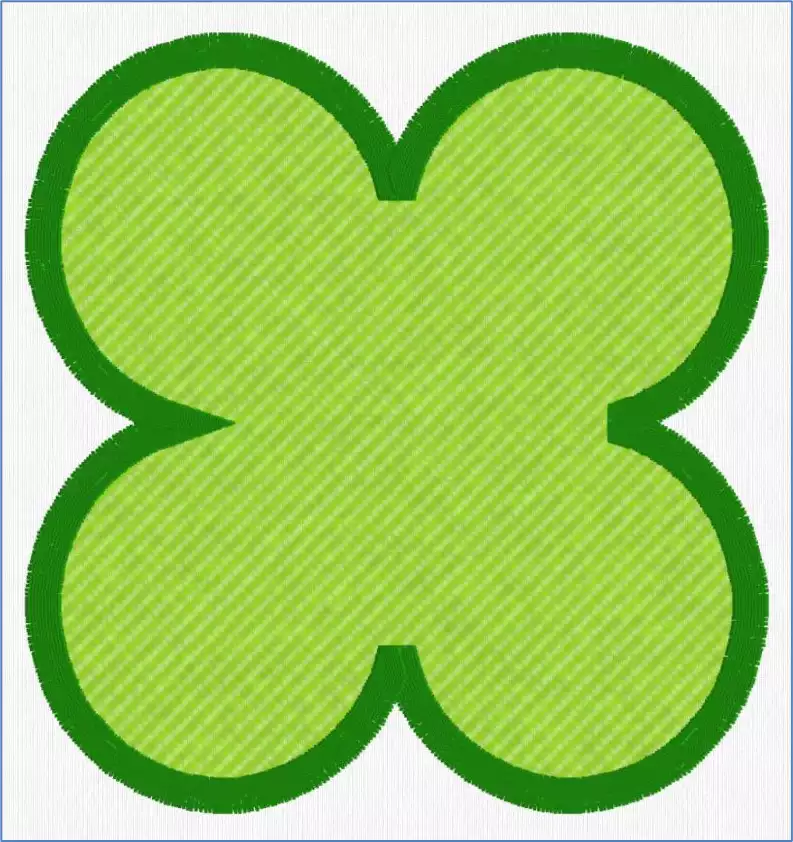
Shown above, Crosshatch Fill clover (Pattern Fill thread set to Felting Needle) with unfelted Satin Stitch border, designed in QuickCreate with Shapes, shape 48.
- For more densely felted areas, select a Pattern Fill 3, Density of 5 or 6, and Underlay Low.

Underlay balances the felting stitches, as the Underlay stitches at a right angle to the top Pattern Fill, evenly distributing the felting so it doesn’t produce ridges of heavier felting.
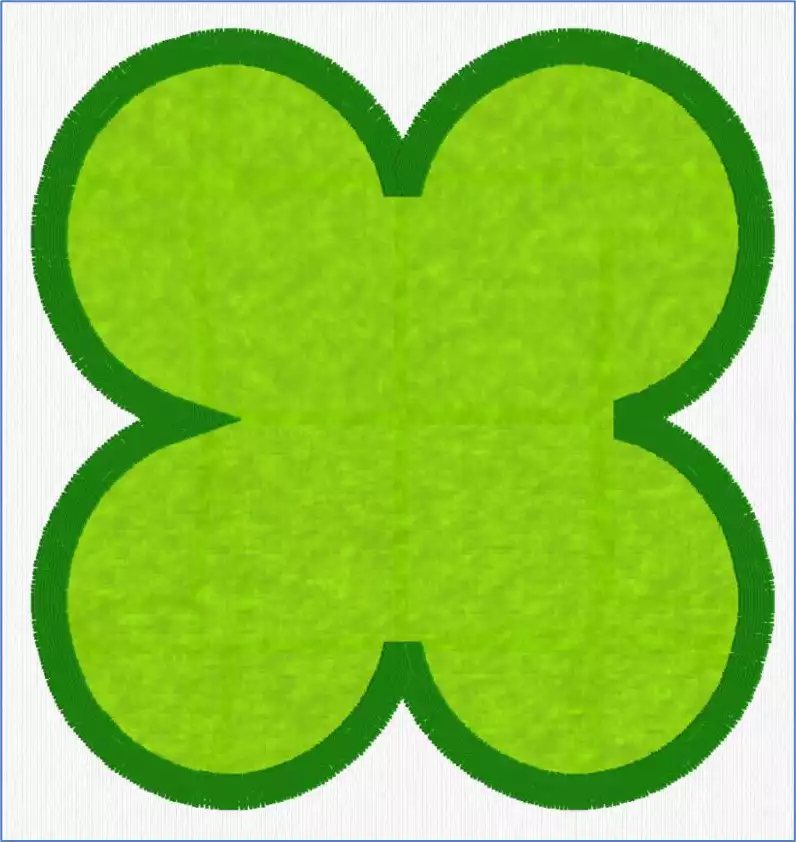
- For a denser and slightly more defined texturing, layer the Crosshatch Fill over the top of the Pattern fill, using the settings suggested above.
Fiber tips:
- For the most durable felting, use natural fiber fabrics.
Natural fibers have texture, and when the felting needles pull the fibers together they will interlock and stay ‘felted’. However, any fibers can be felted together to some degree. - Some fabrics, such as Denim or twills that have different color threads in the lengthwise and crosswise weave, make a distinctive felting pattern on the right side when they are hooped upside down and felted with no additional fibers added.
TIP: Slick or very smooth man-made fibers will often come un-felted over time.
Embroidering tips:
- Always do a test run with similar fibers to ensure the fabric and fibers will felt well.
- Hoop the base fabric upside down, as the barbs on the felting needles will ‘pull’ fibers from the top of the hoop to the back side, and the back side of the hoop will become the finished felted design.
- Add fibers to the top of the hoop, so they will be pulled to the underside producing the felted sections of your design.
- Add a layer of wash-away stabilizer over the top of the hoop to help prevent stretching of the base fabric and/or catching of loose fibers as the needle moves across the design while stitching.
- Set the embroidery machine for the ‘floating foot’ rather than the Spring Action foot, so the foot will float above the surface of the fabric rather than catching in fibers you lay over the top.
Ask your sewing machine dealership about the Felting Embroidery set for select embroidery and sewing machines!
Have a fabulous day from the software team at mySewnet™ Embroidery Software !
Try our embroidery digitizing software free for 30 days!